Previous post

Next post
too many ideas. too little time. (and far too much chai.)

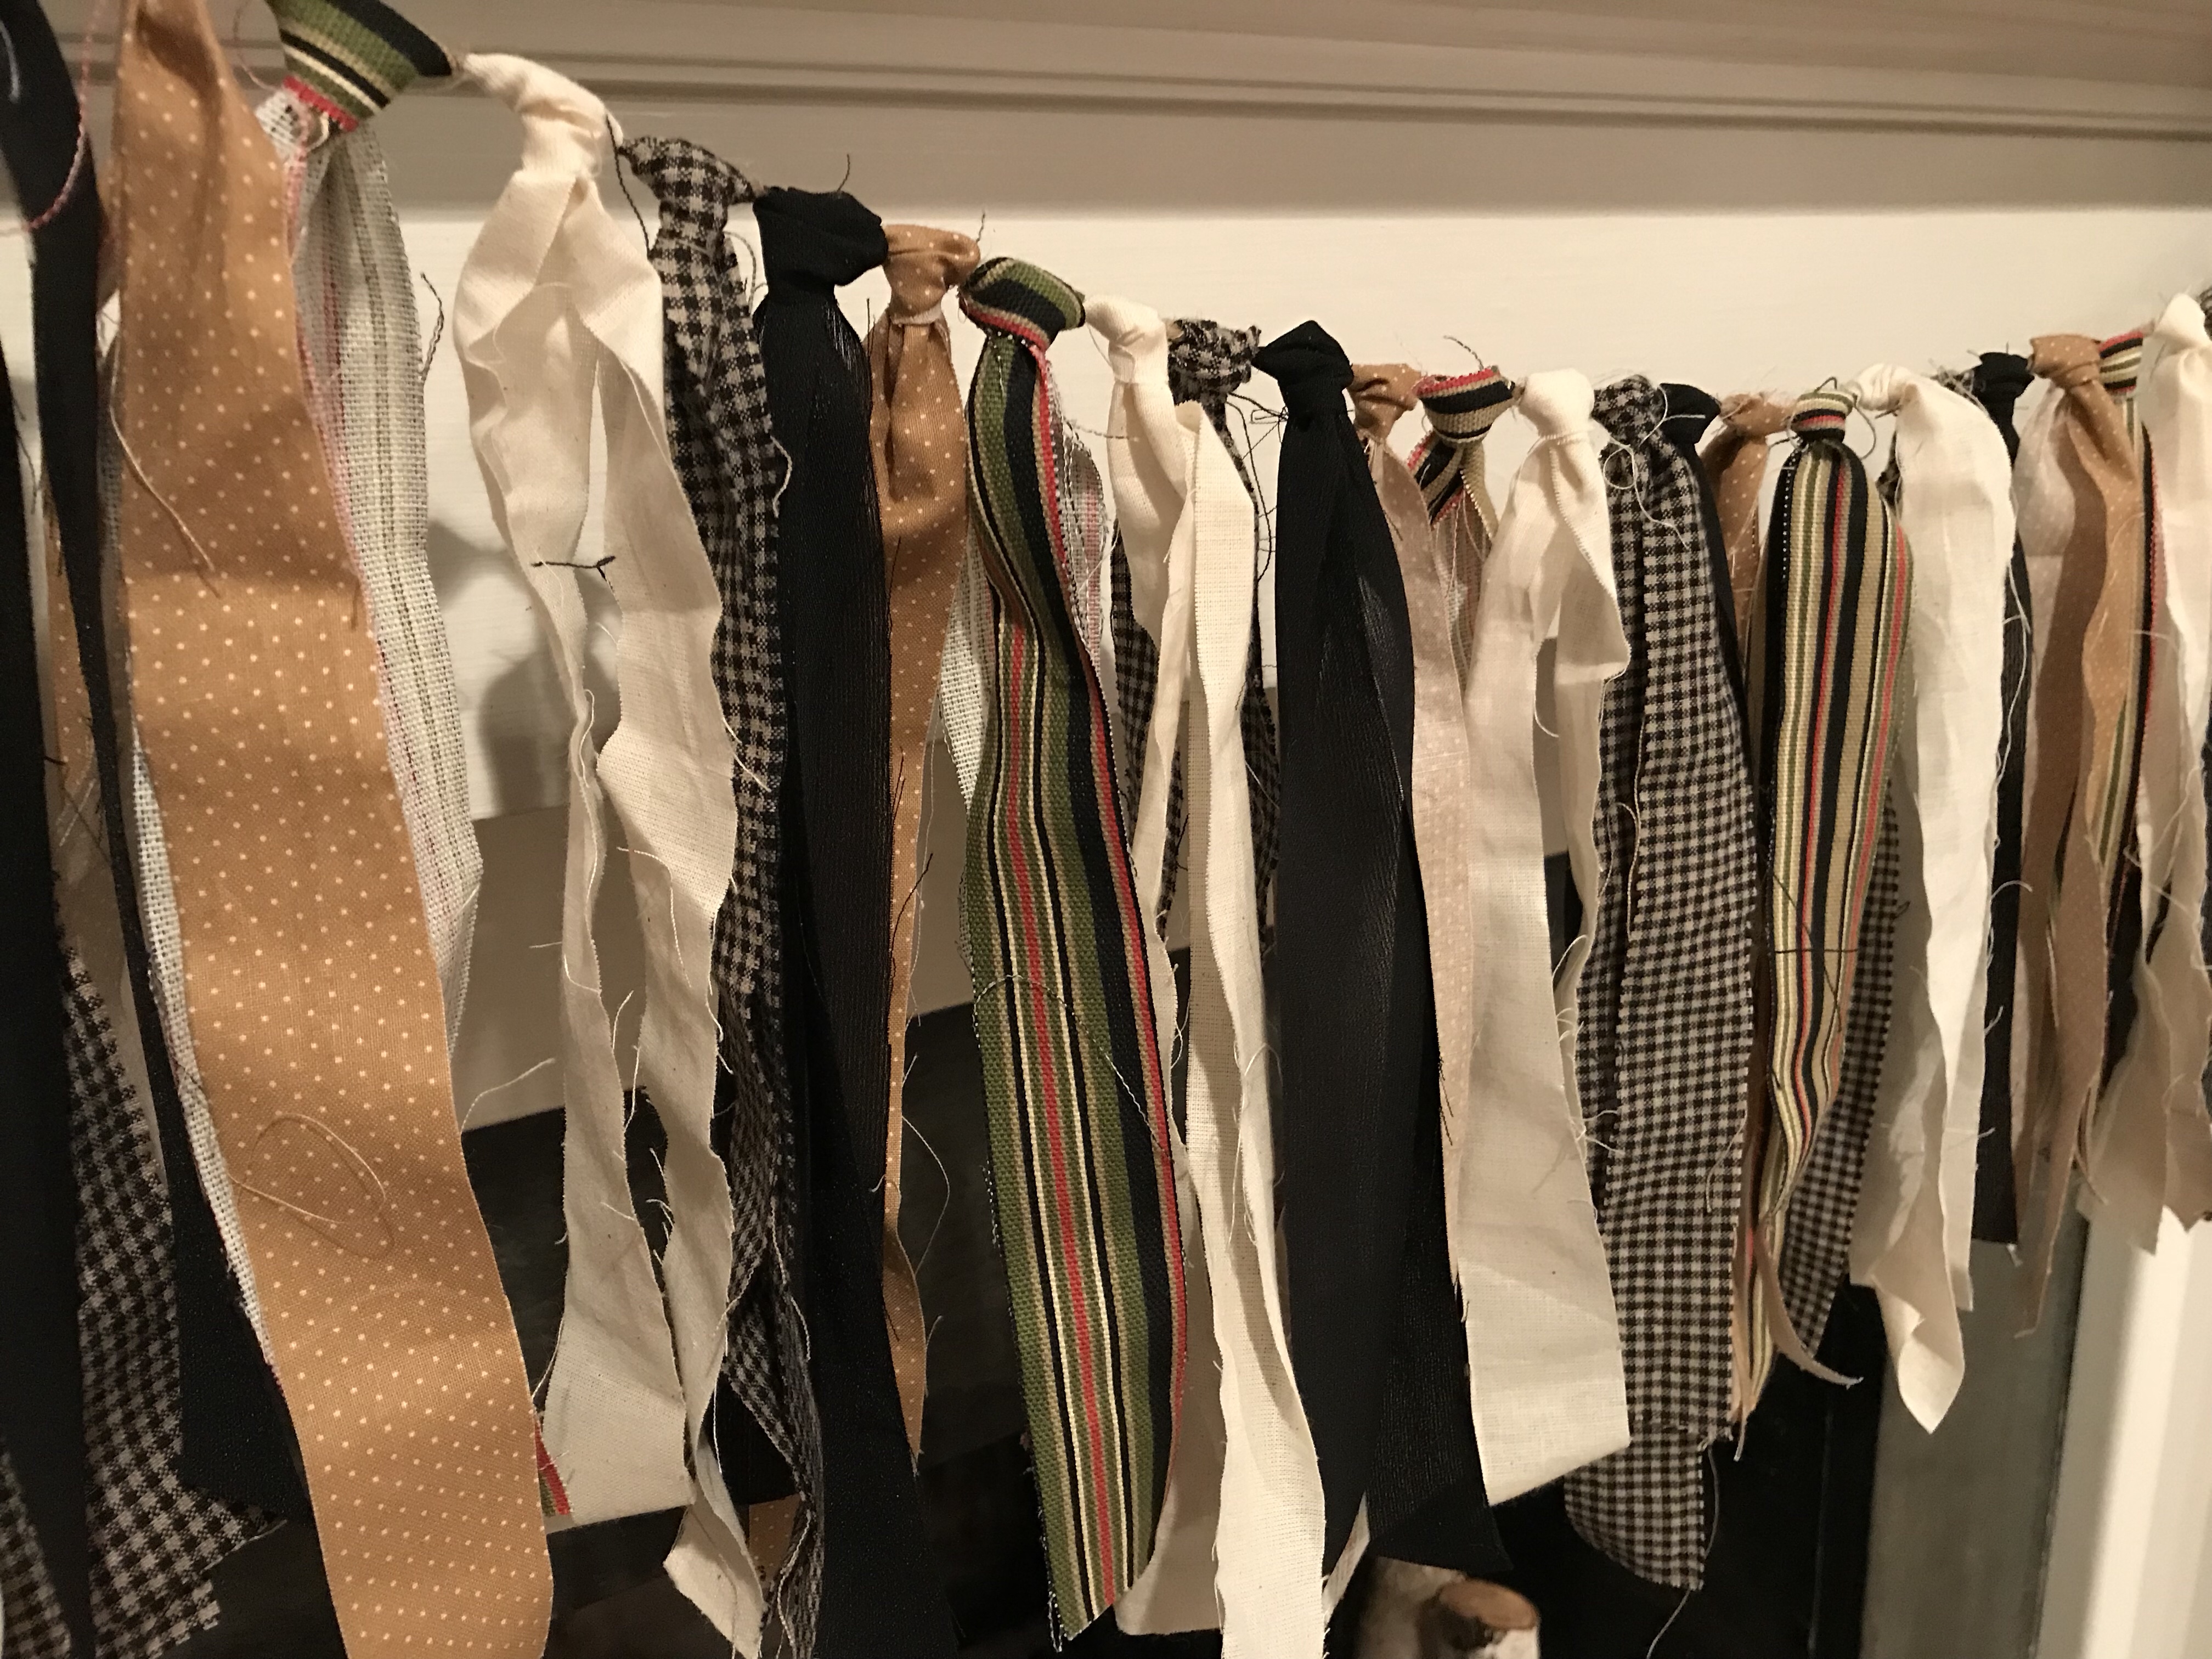
When my daughter sent me photographs of a fabric garland she saw on Pinterest, I spent hours going through my overflowing stash of material. You sewers out there know about the narrow strips of fabric leftover after cutting out pattern pieces that are only good for small projects. These garlands only need strips 1 to 1-1/4 wide by 20 inches long, so it’s the perfect way to use up your scraps.
Better yet? This project couldn’t be simpler. In just four quick steps, you’ll have a decorative garland to use for anything from holidays to seasons changes to special parties and events!
Lightweight cotton material works best. I’ve tried using canvas or twill-type materials which are heavier fabrics, but they are a bit too stiff for my liking. If you do use those, I find that a narrower strip works better.
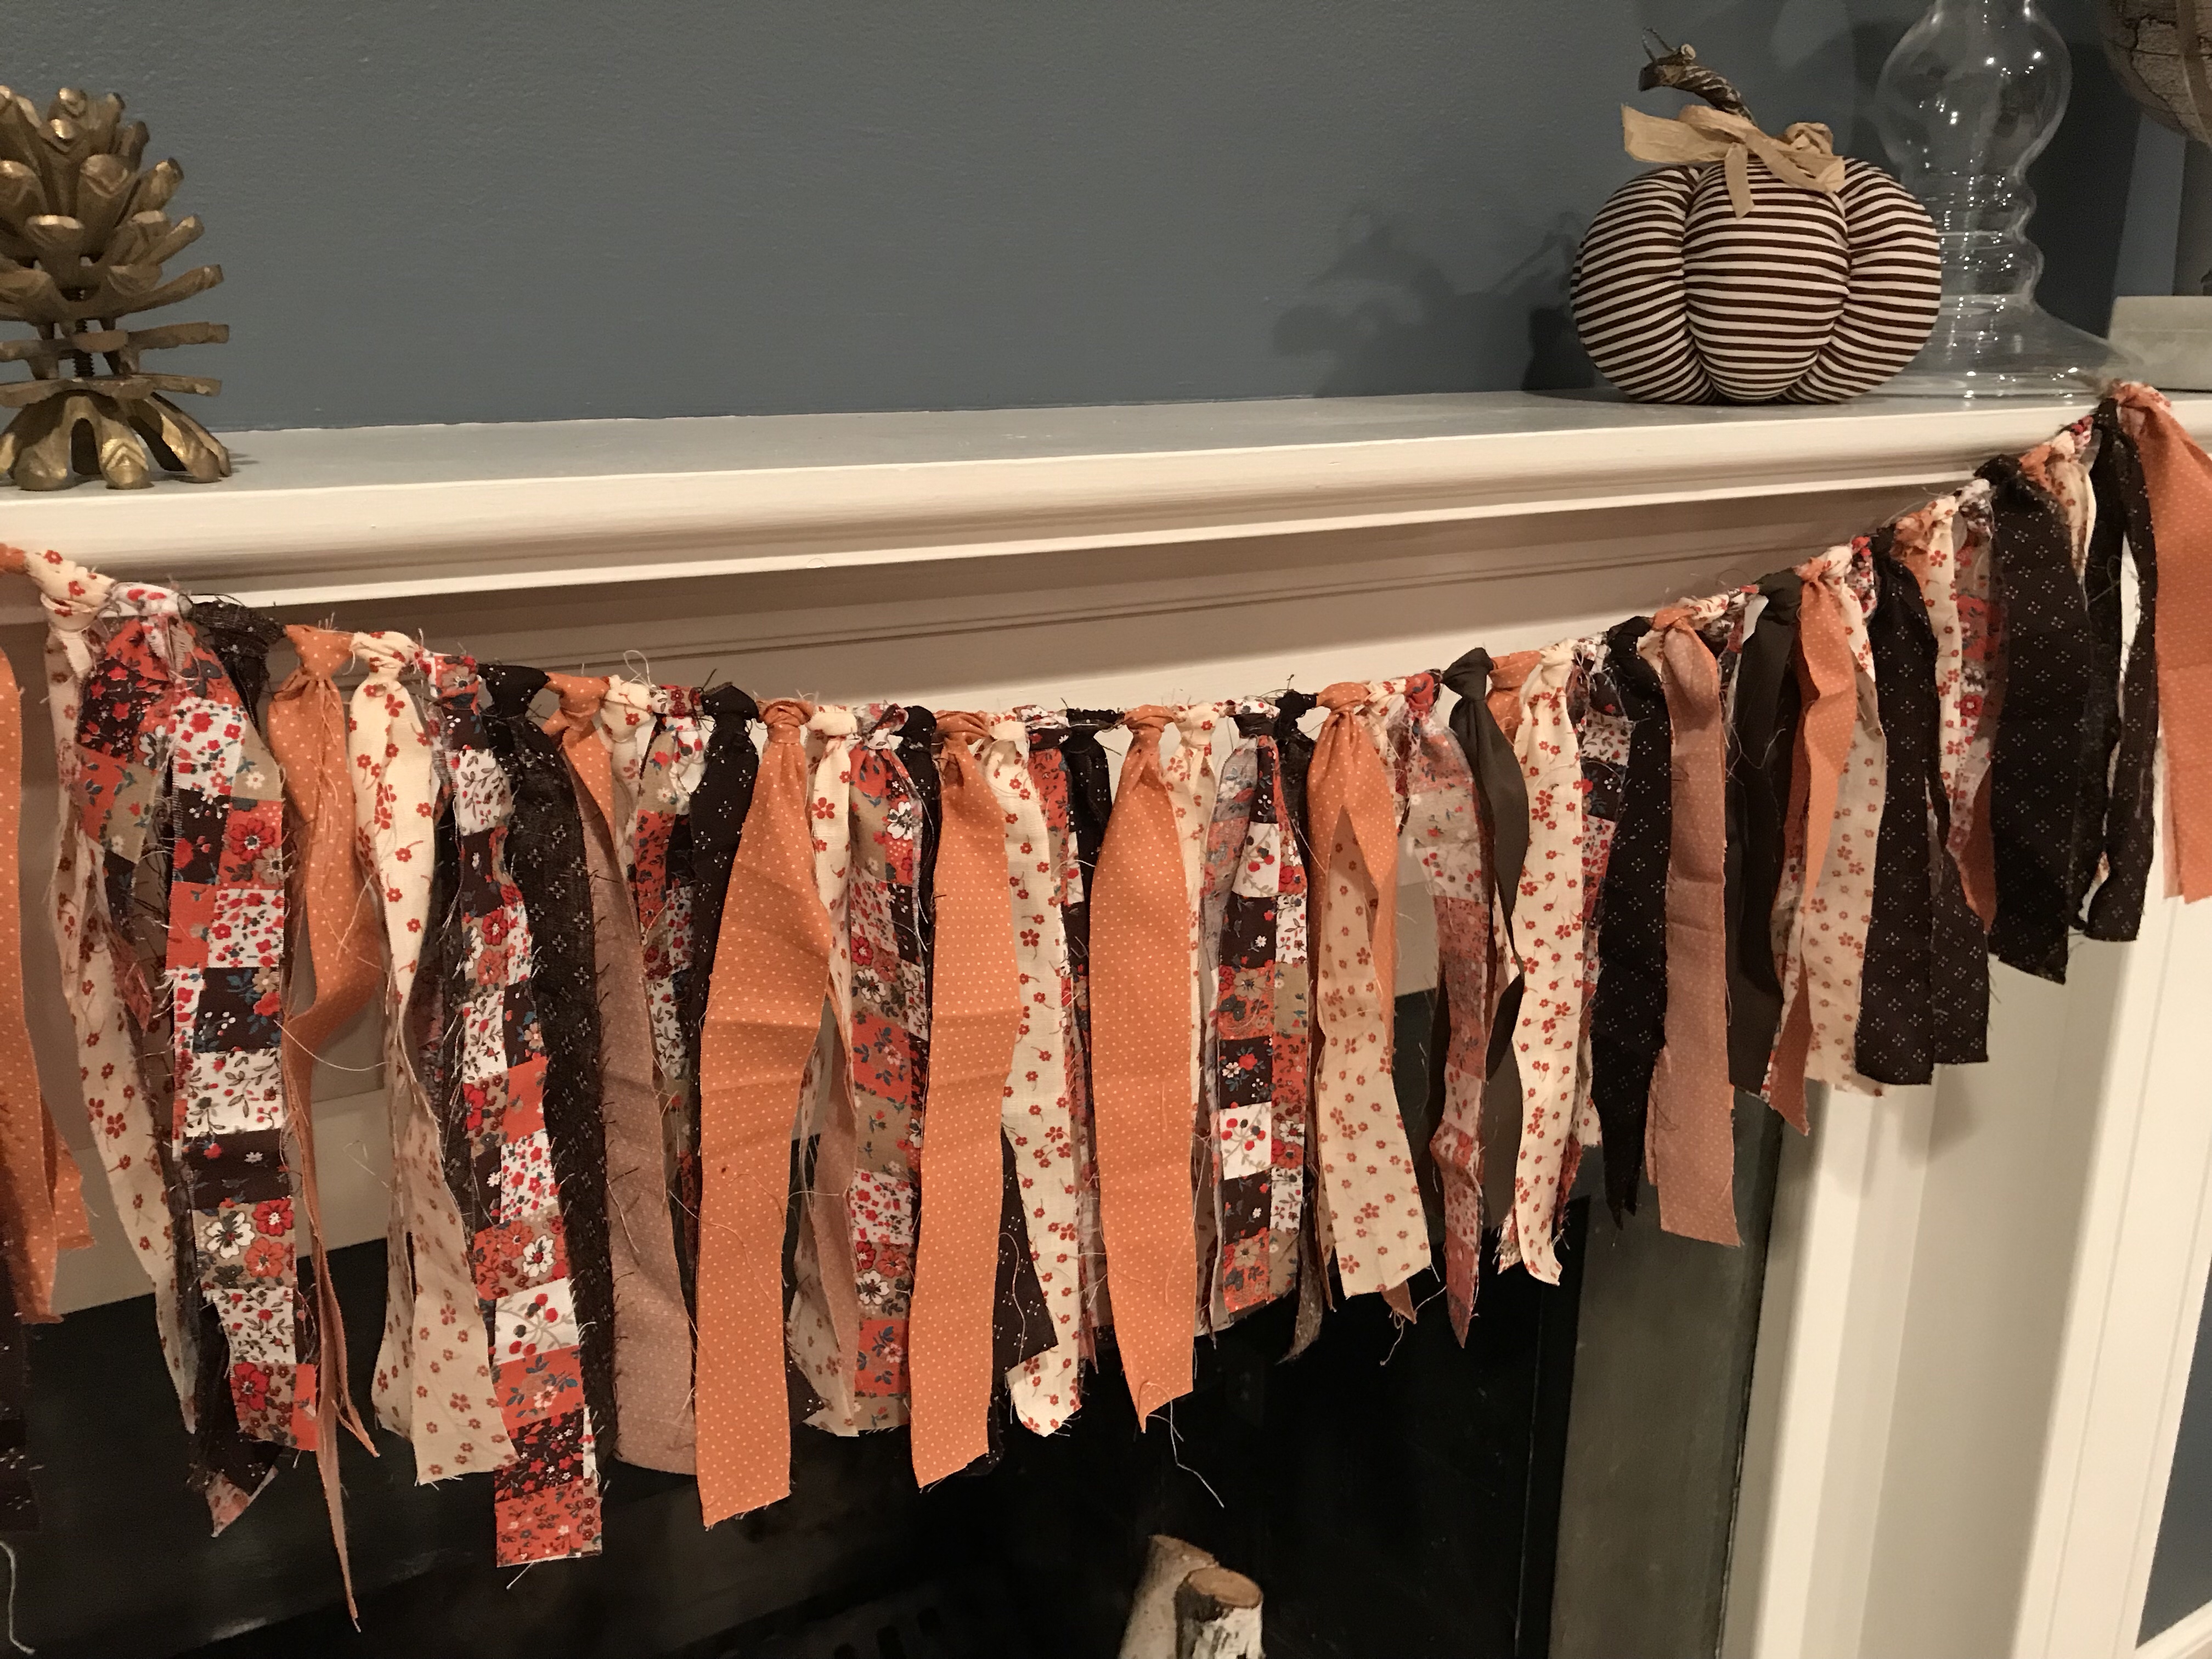
I use anywhere from 40-50 strips of material per length of garland. In my case, I consider a 36-inch length the perfect size (not counting the extra twine on the ends to hang), but you can make them however long or short you need.
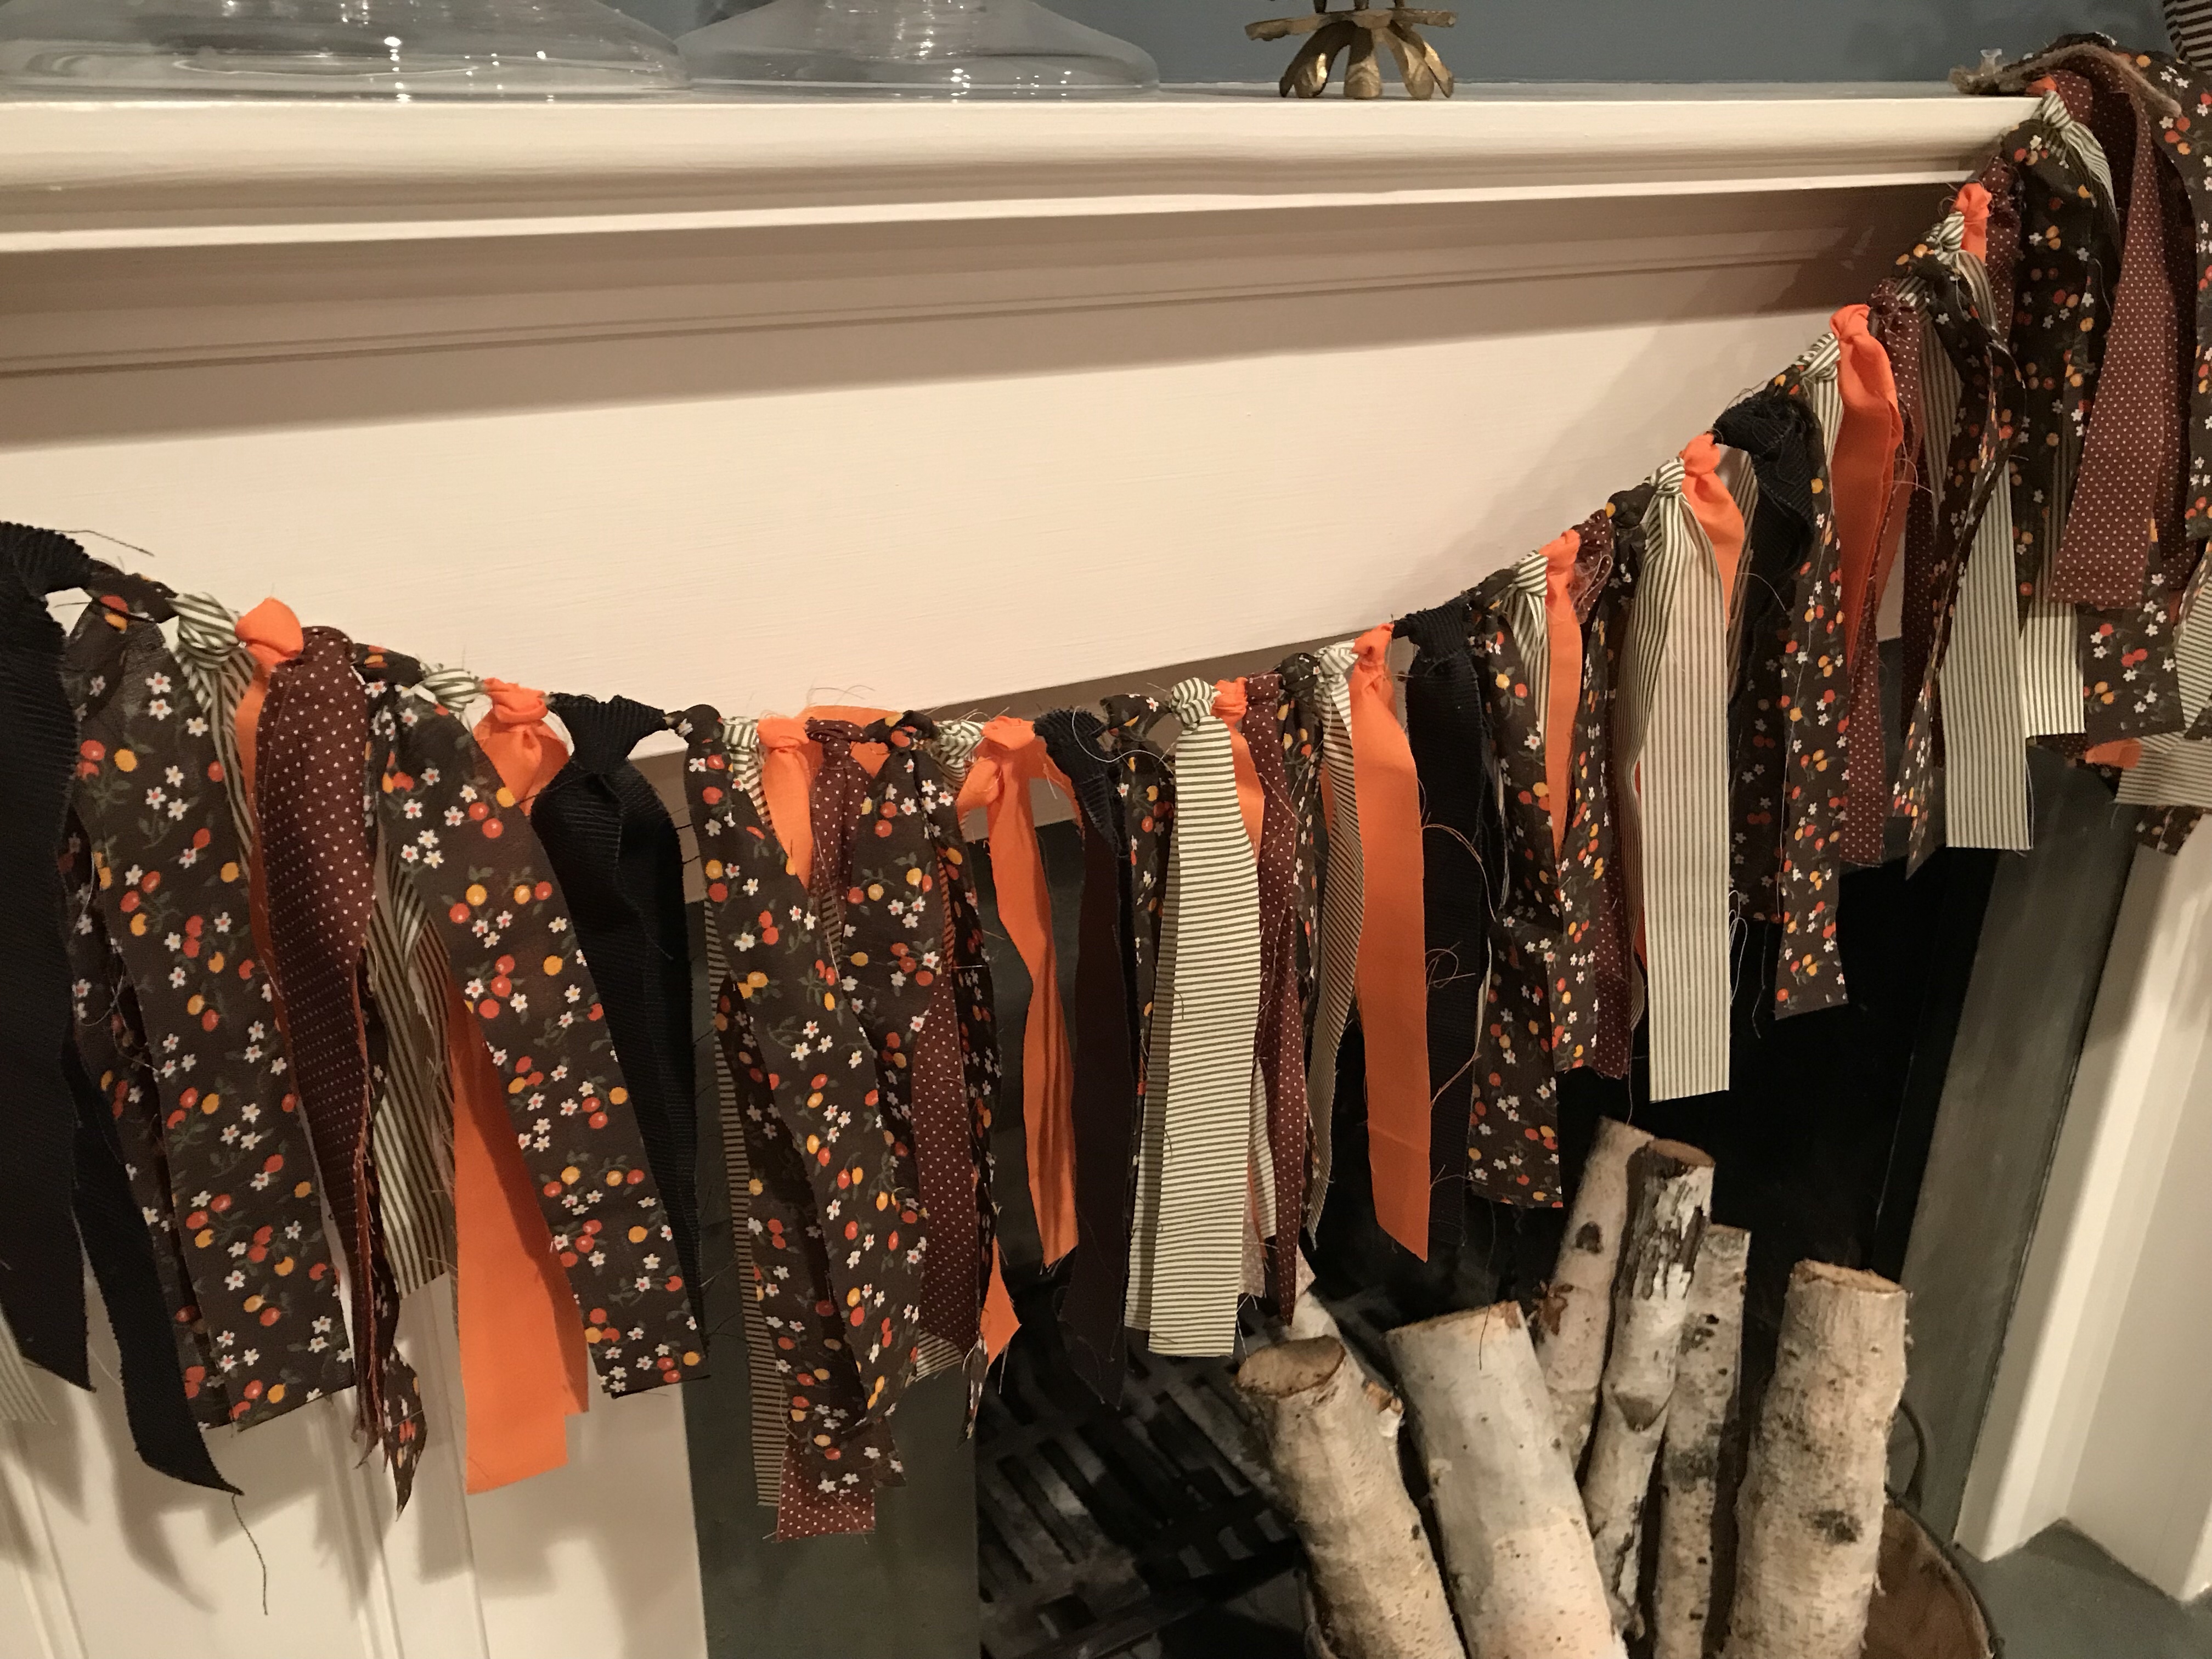
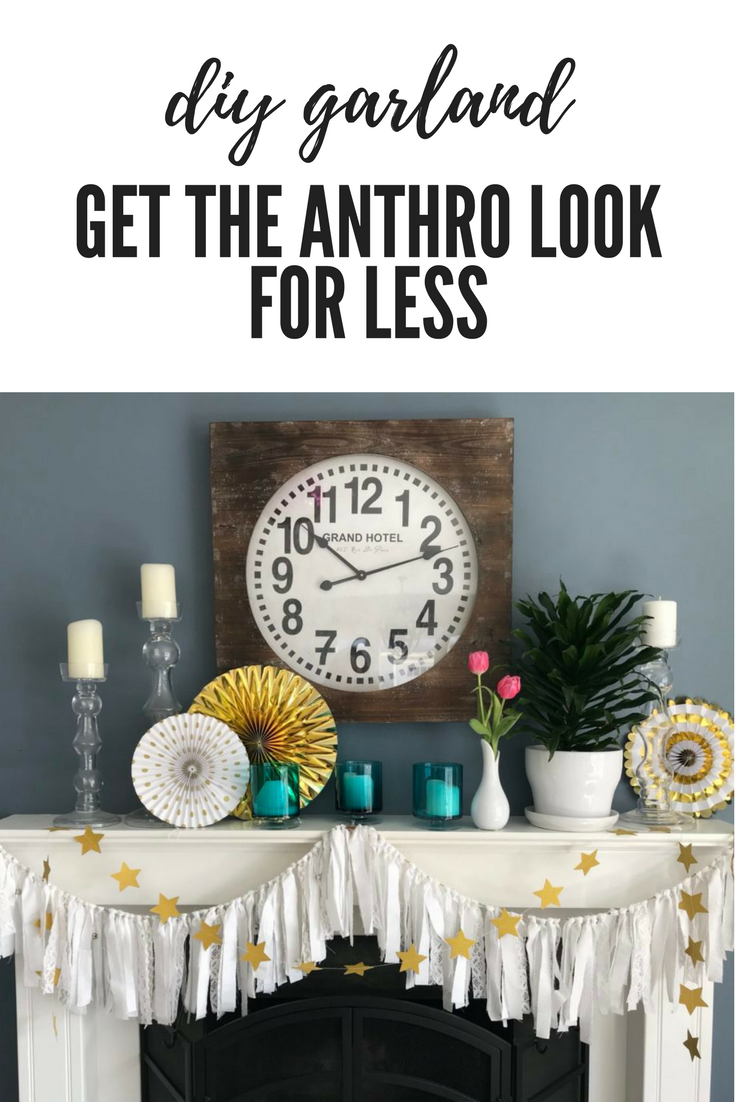
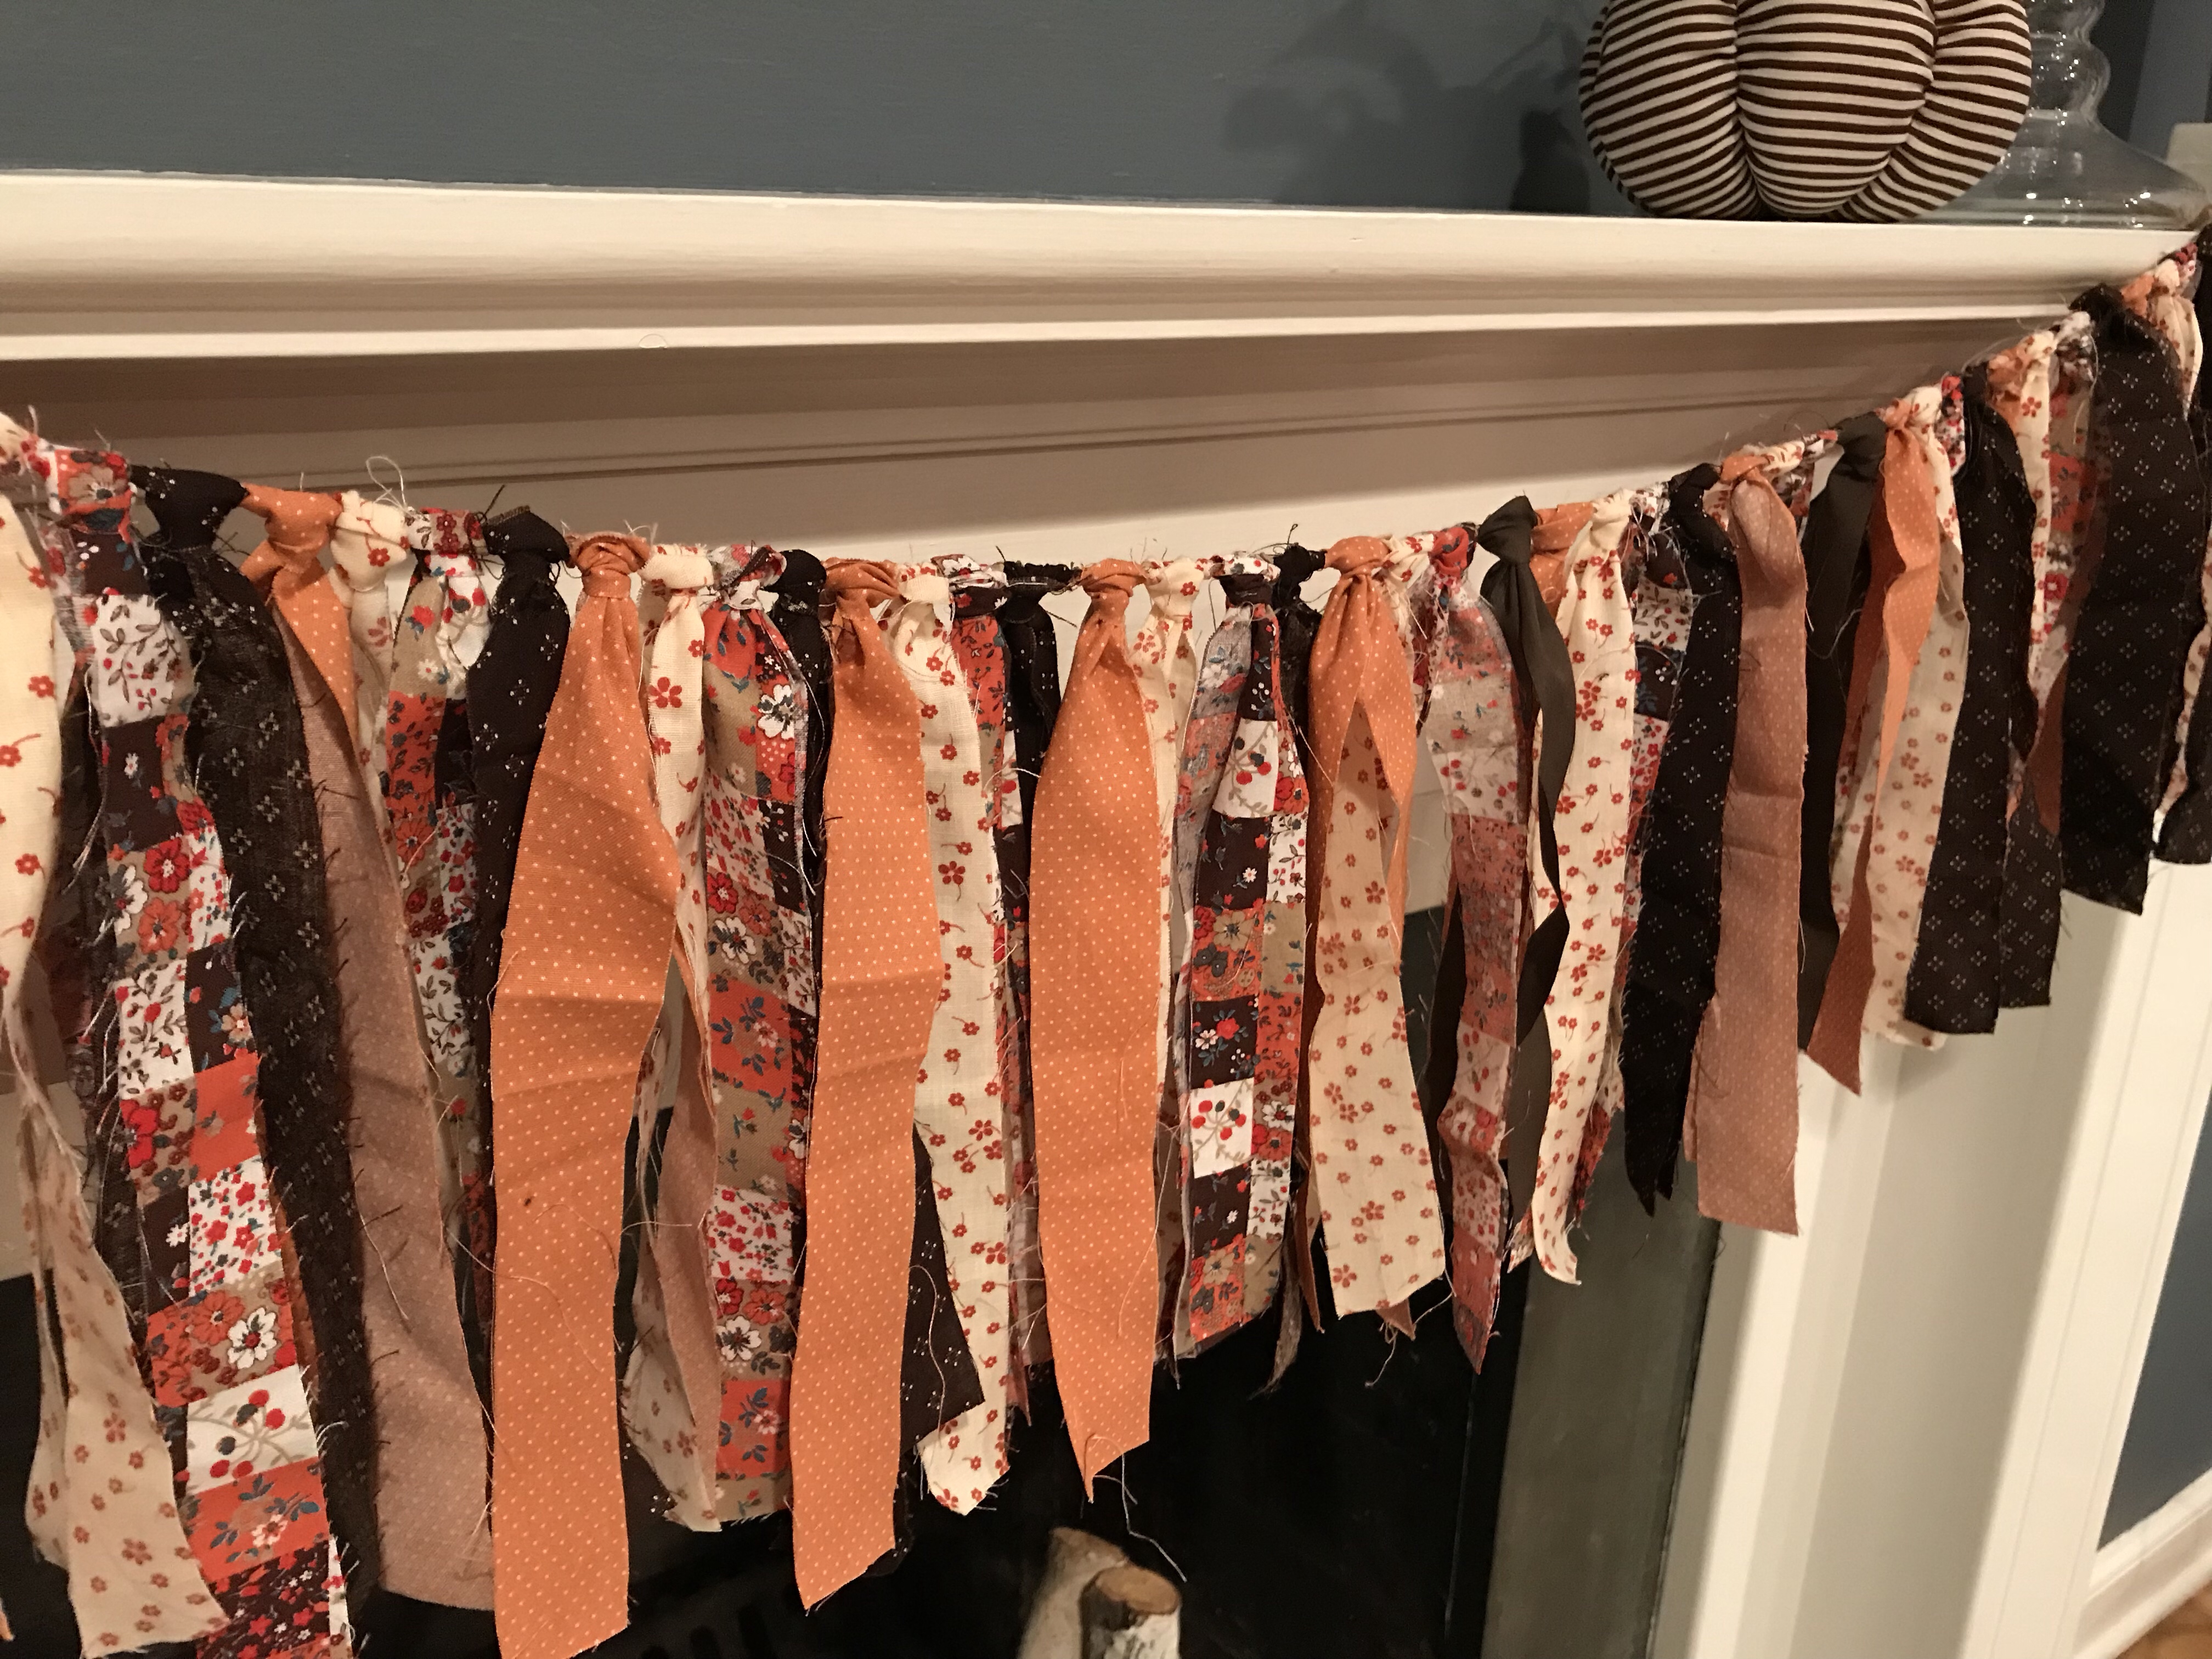
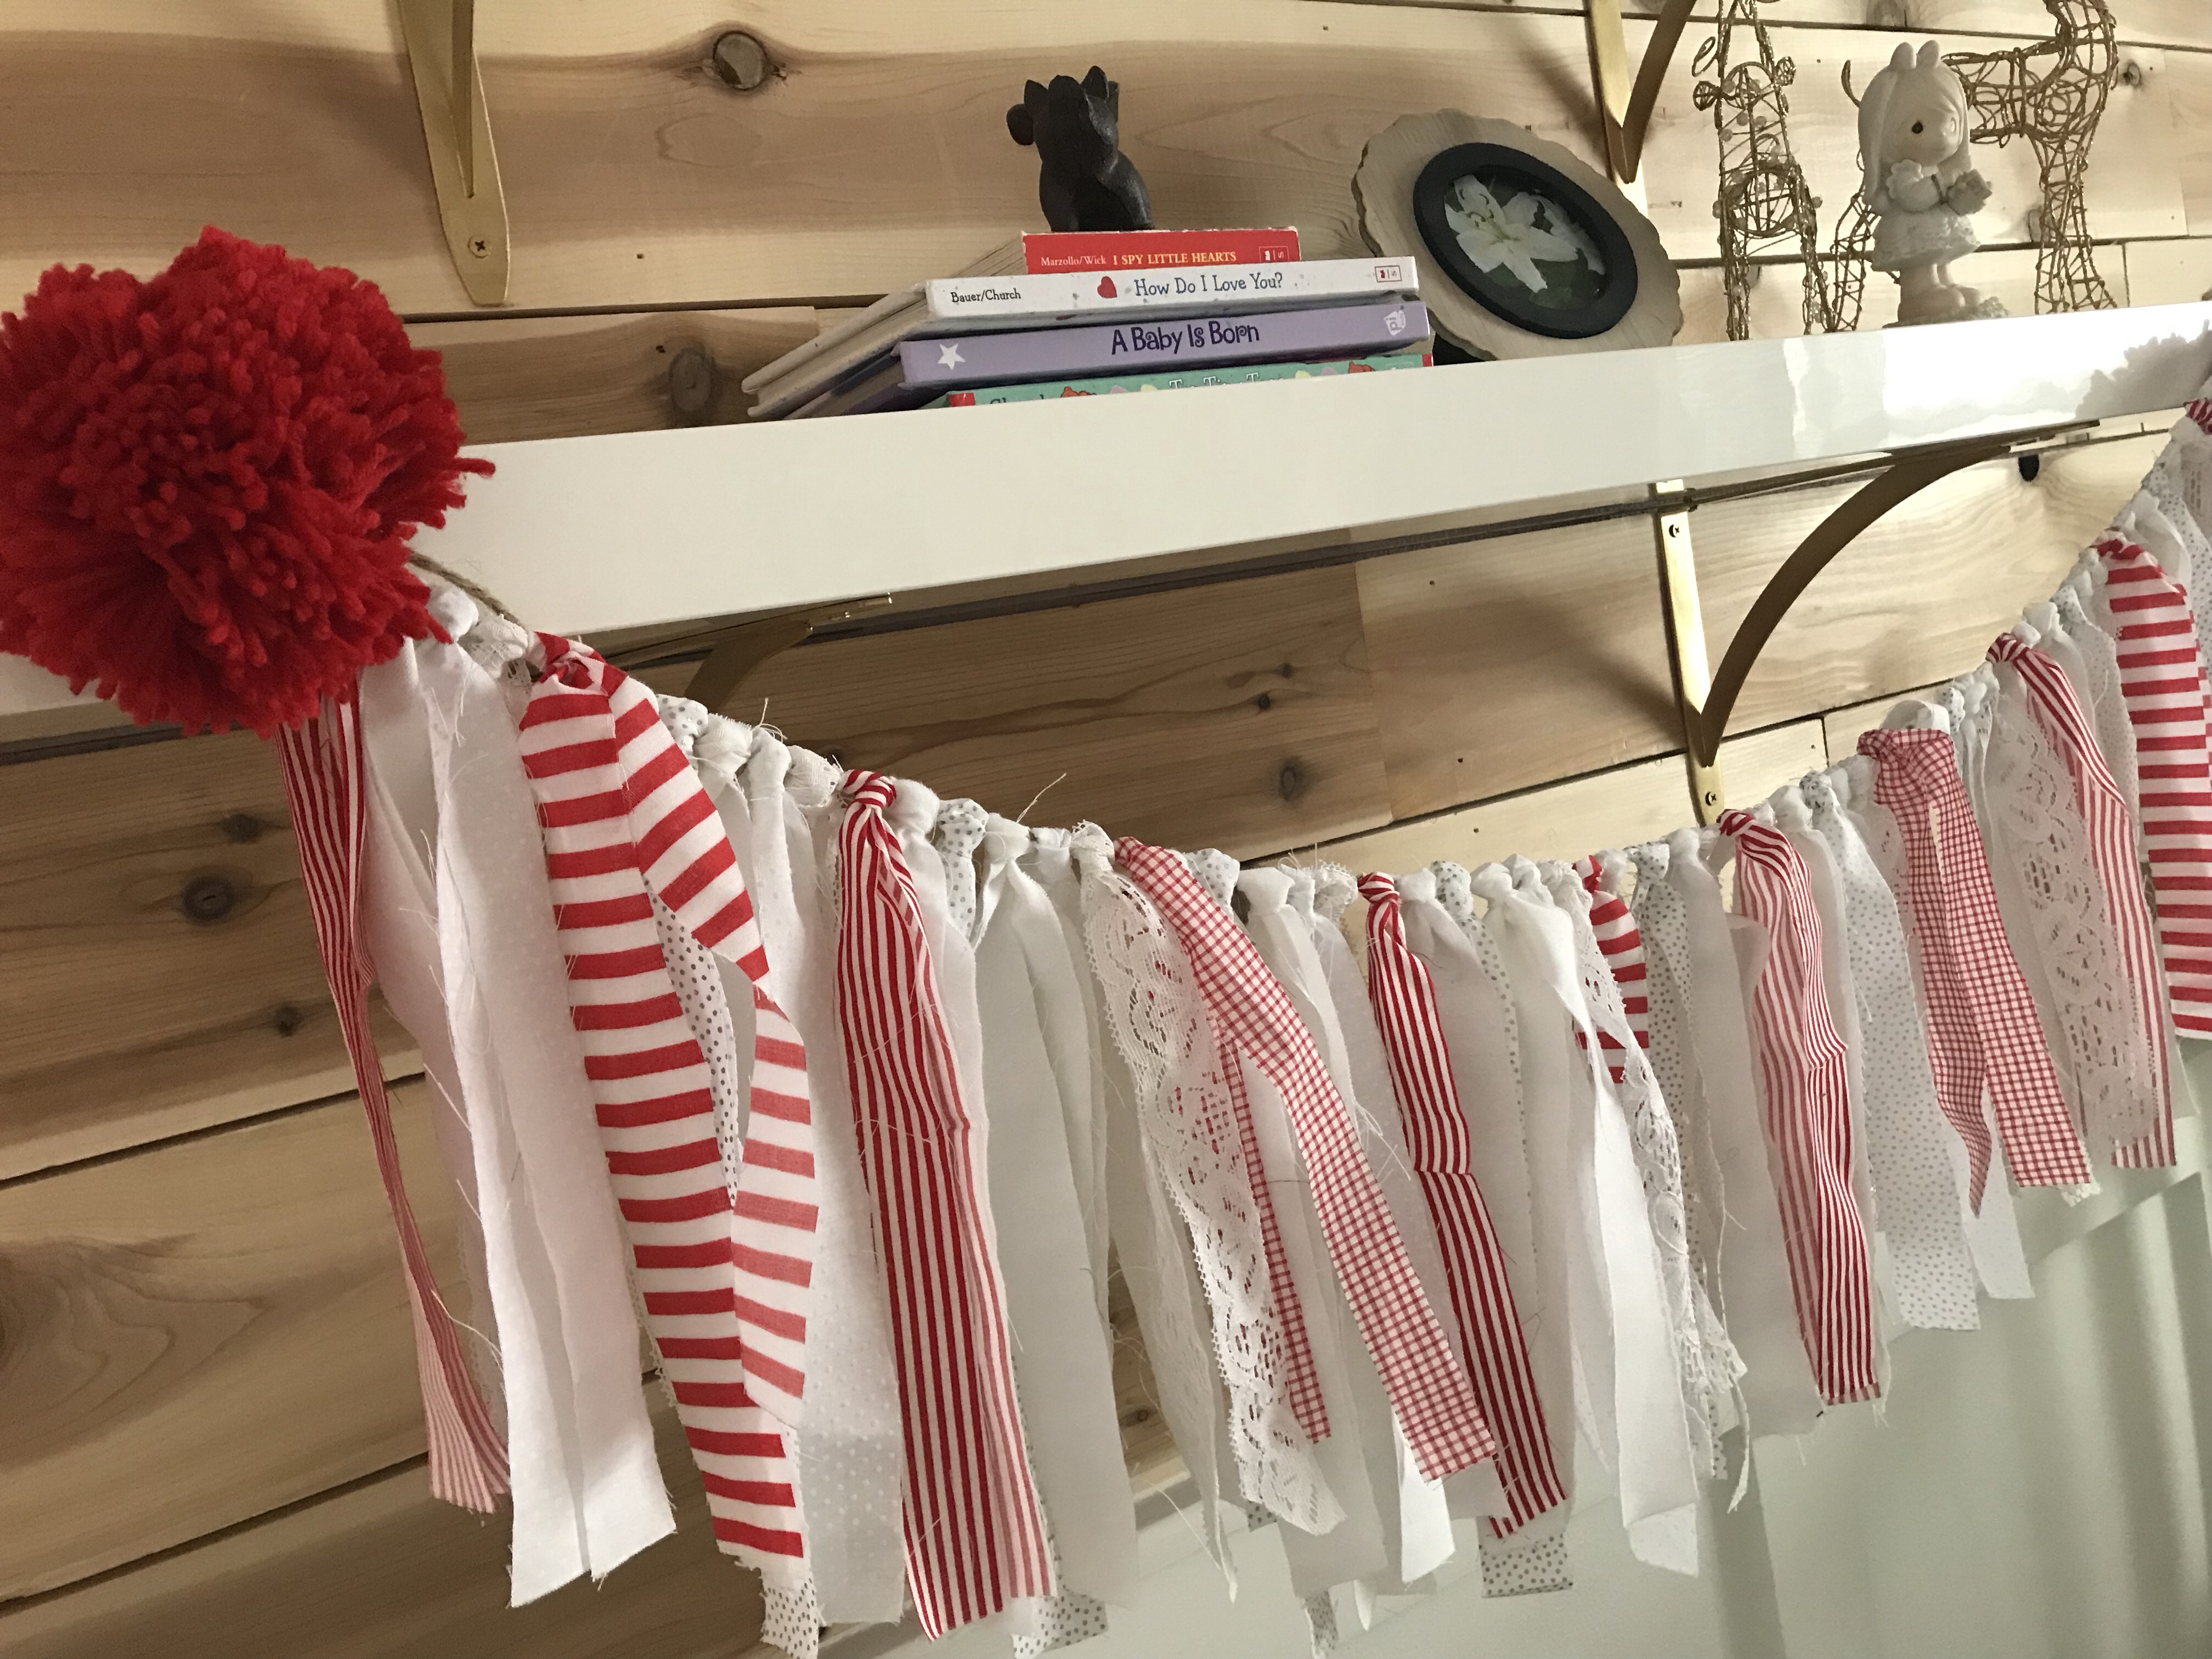
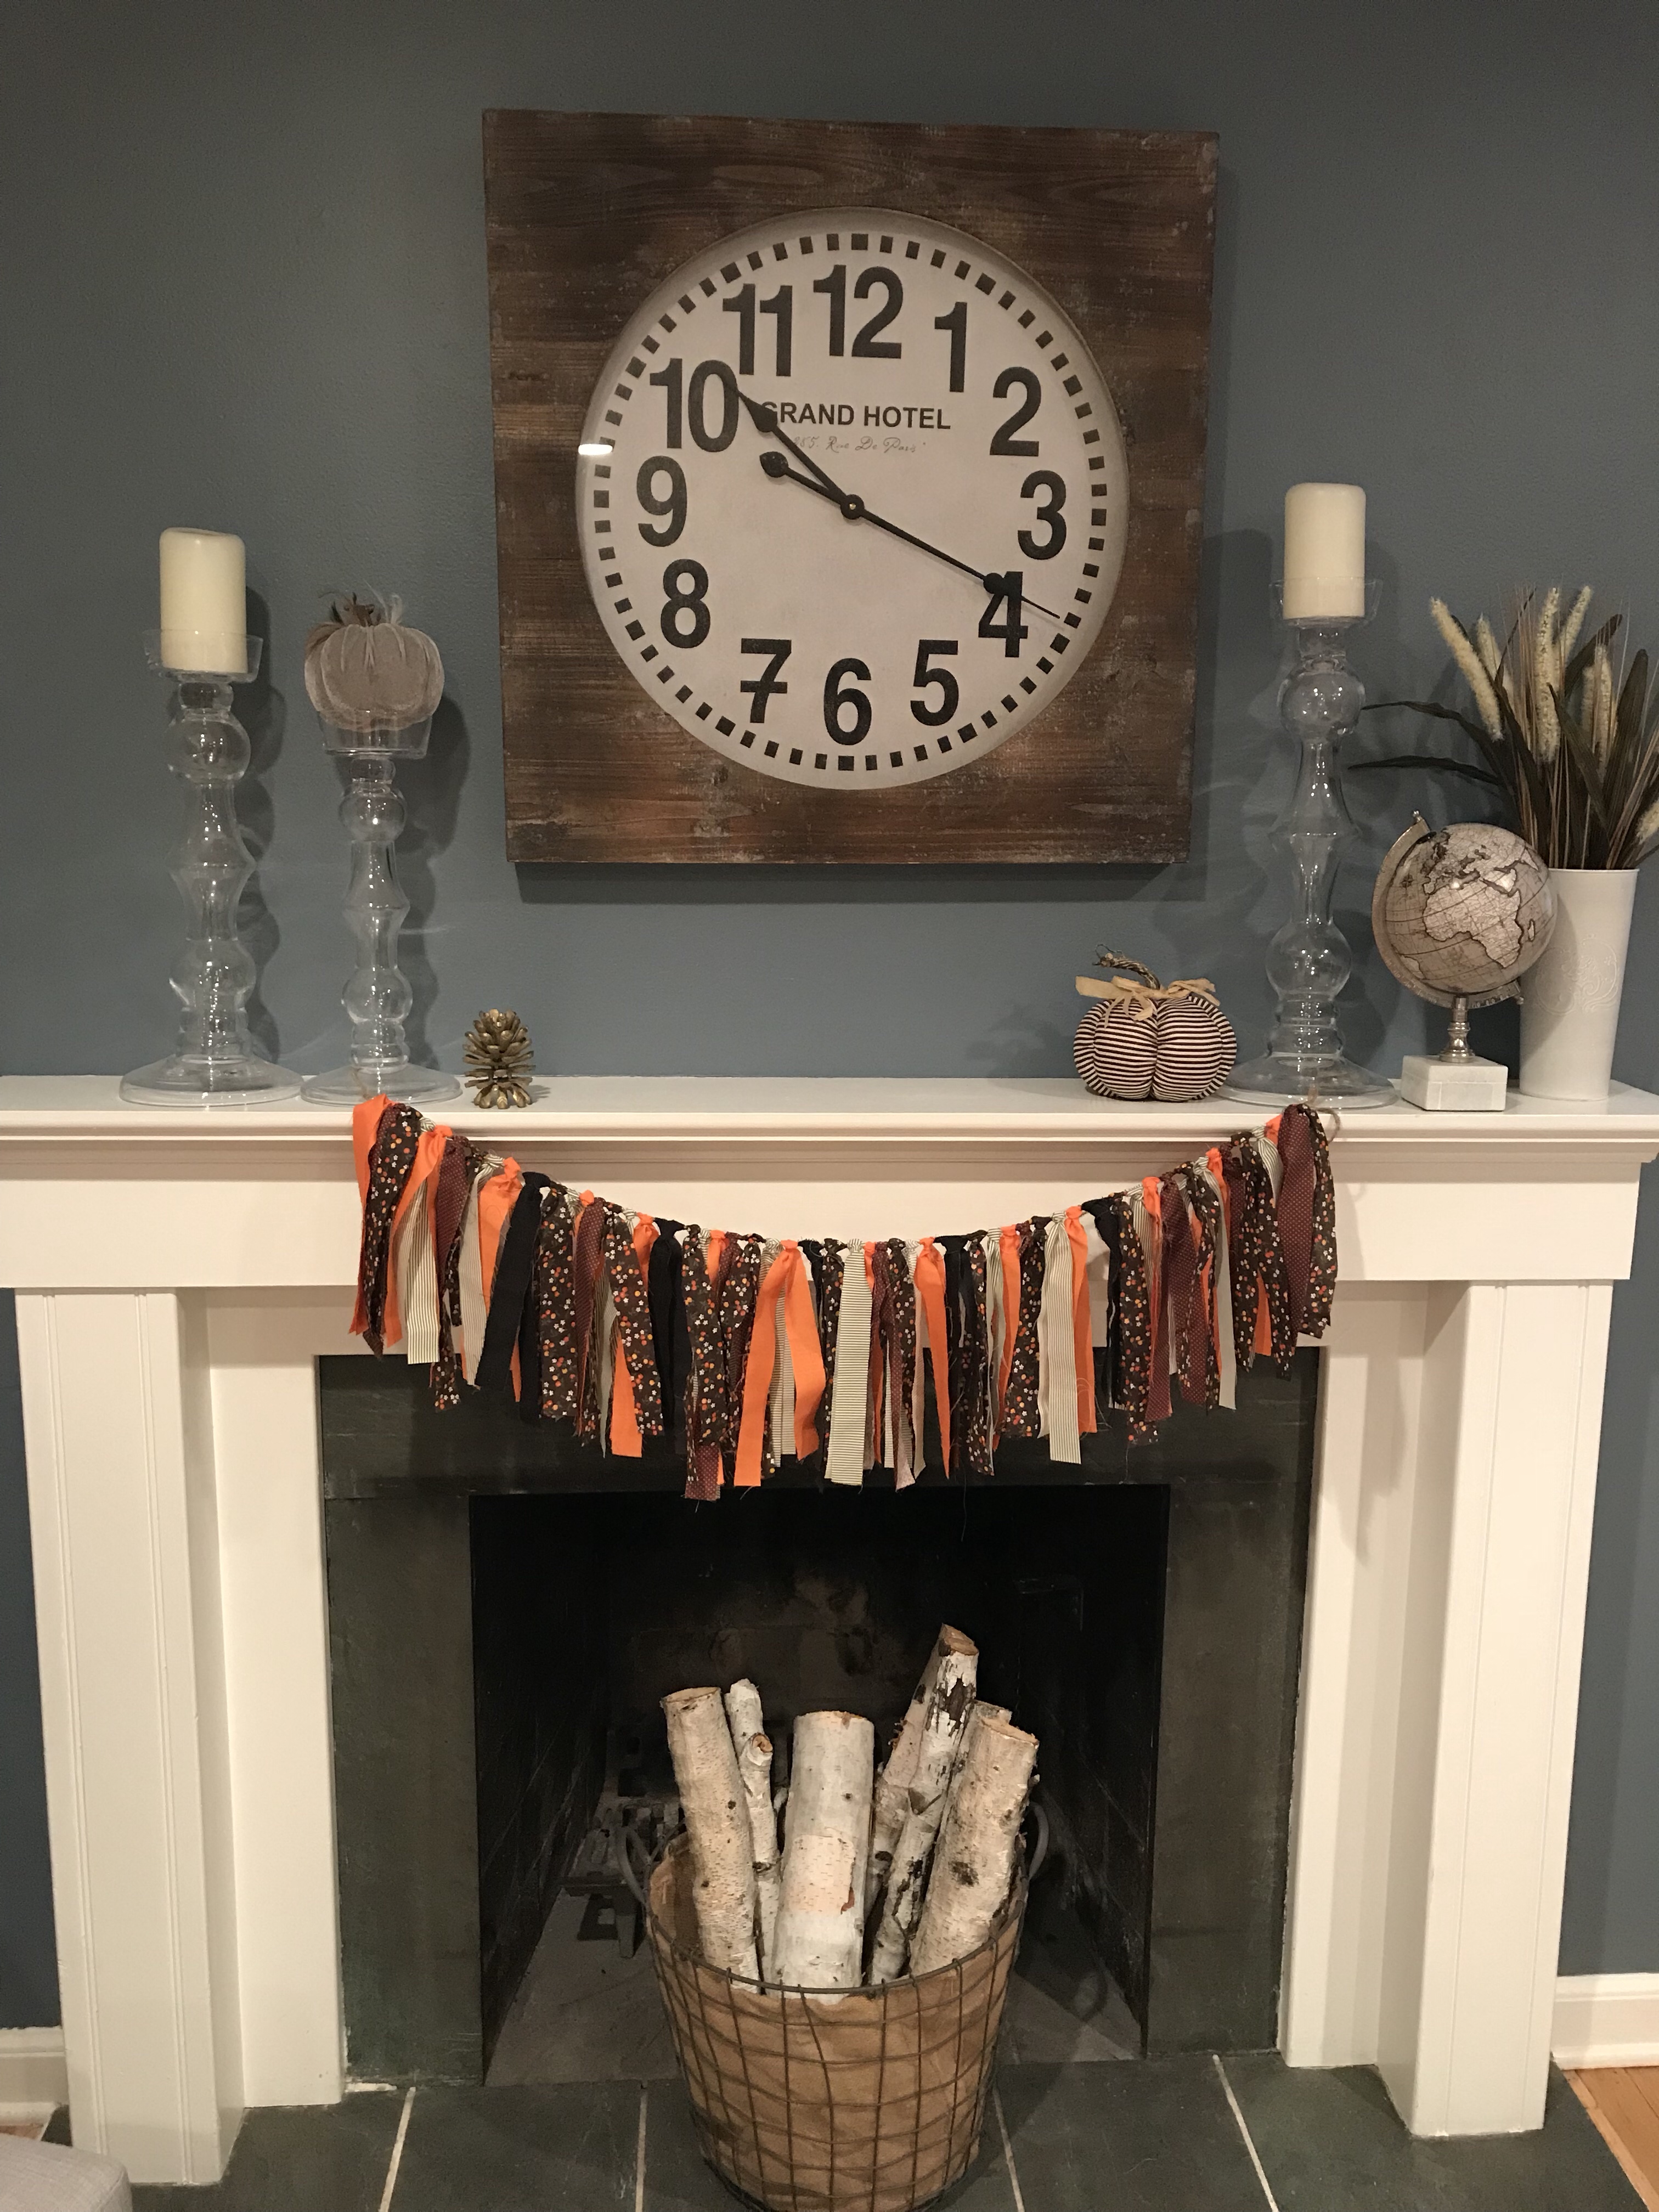
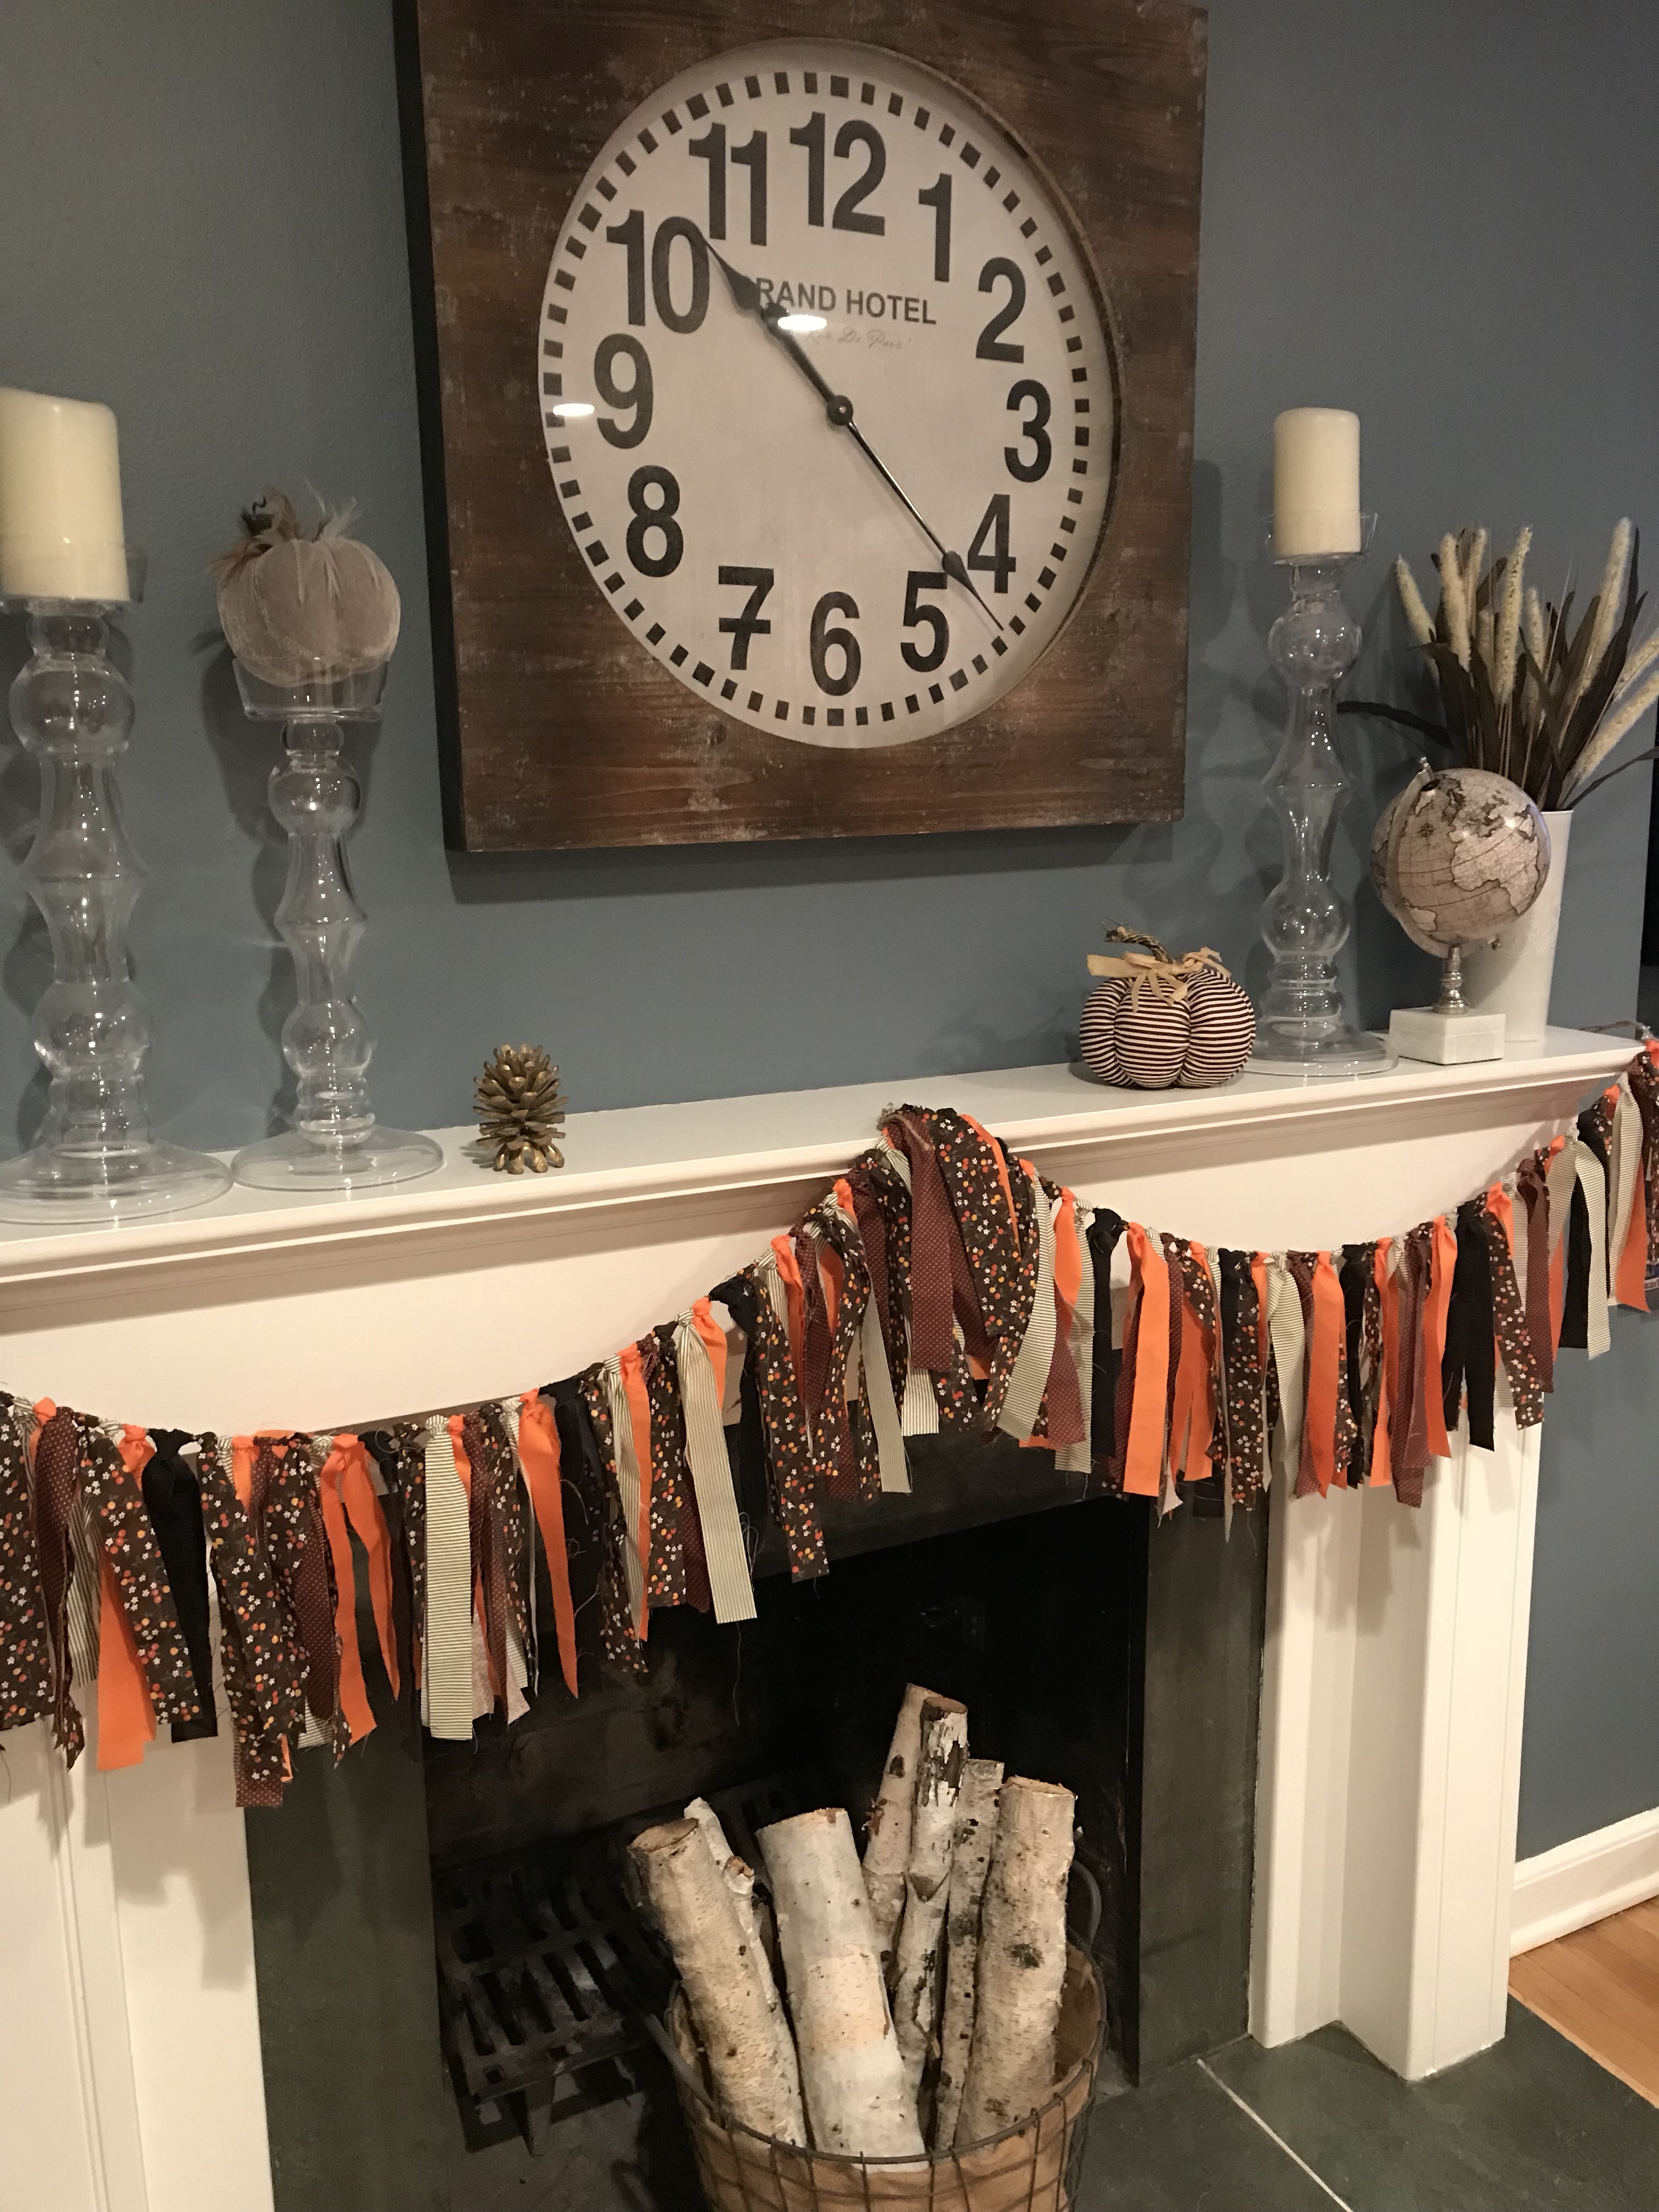
Strips consist of about 4 or 5 different coordinating materials, so that is roughly 10 strips of 1 color. I cannot tell you how fun it is to come up with different color combinations. I tend to prefer 1 bold color, 1 stripe, 1 polka dot and a floral. I also really love the Anthropologie-inspired look. Here’s one I love that would likely cost a fortune, but not if you use my method. It’s perfect for fall:
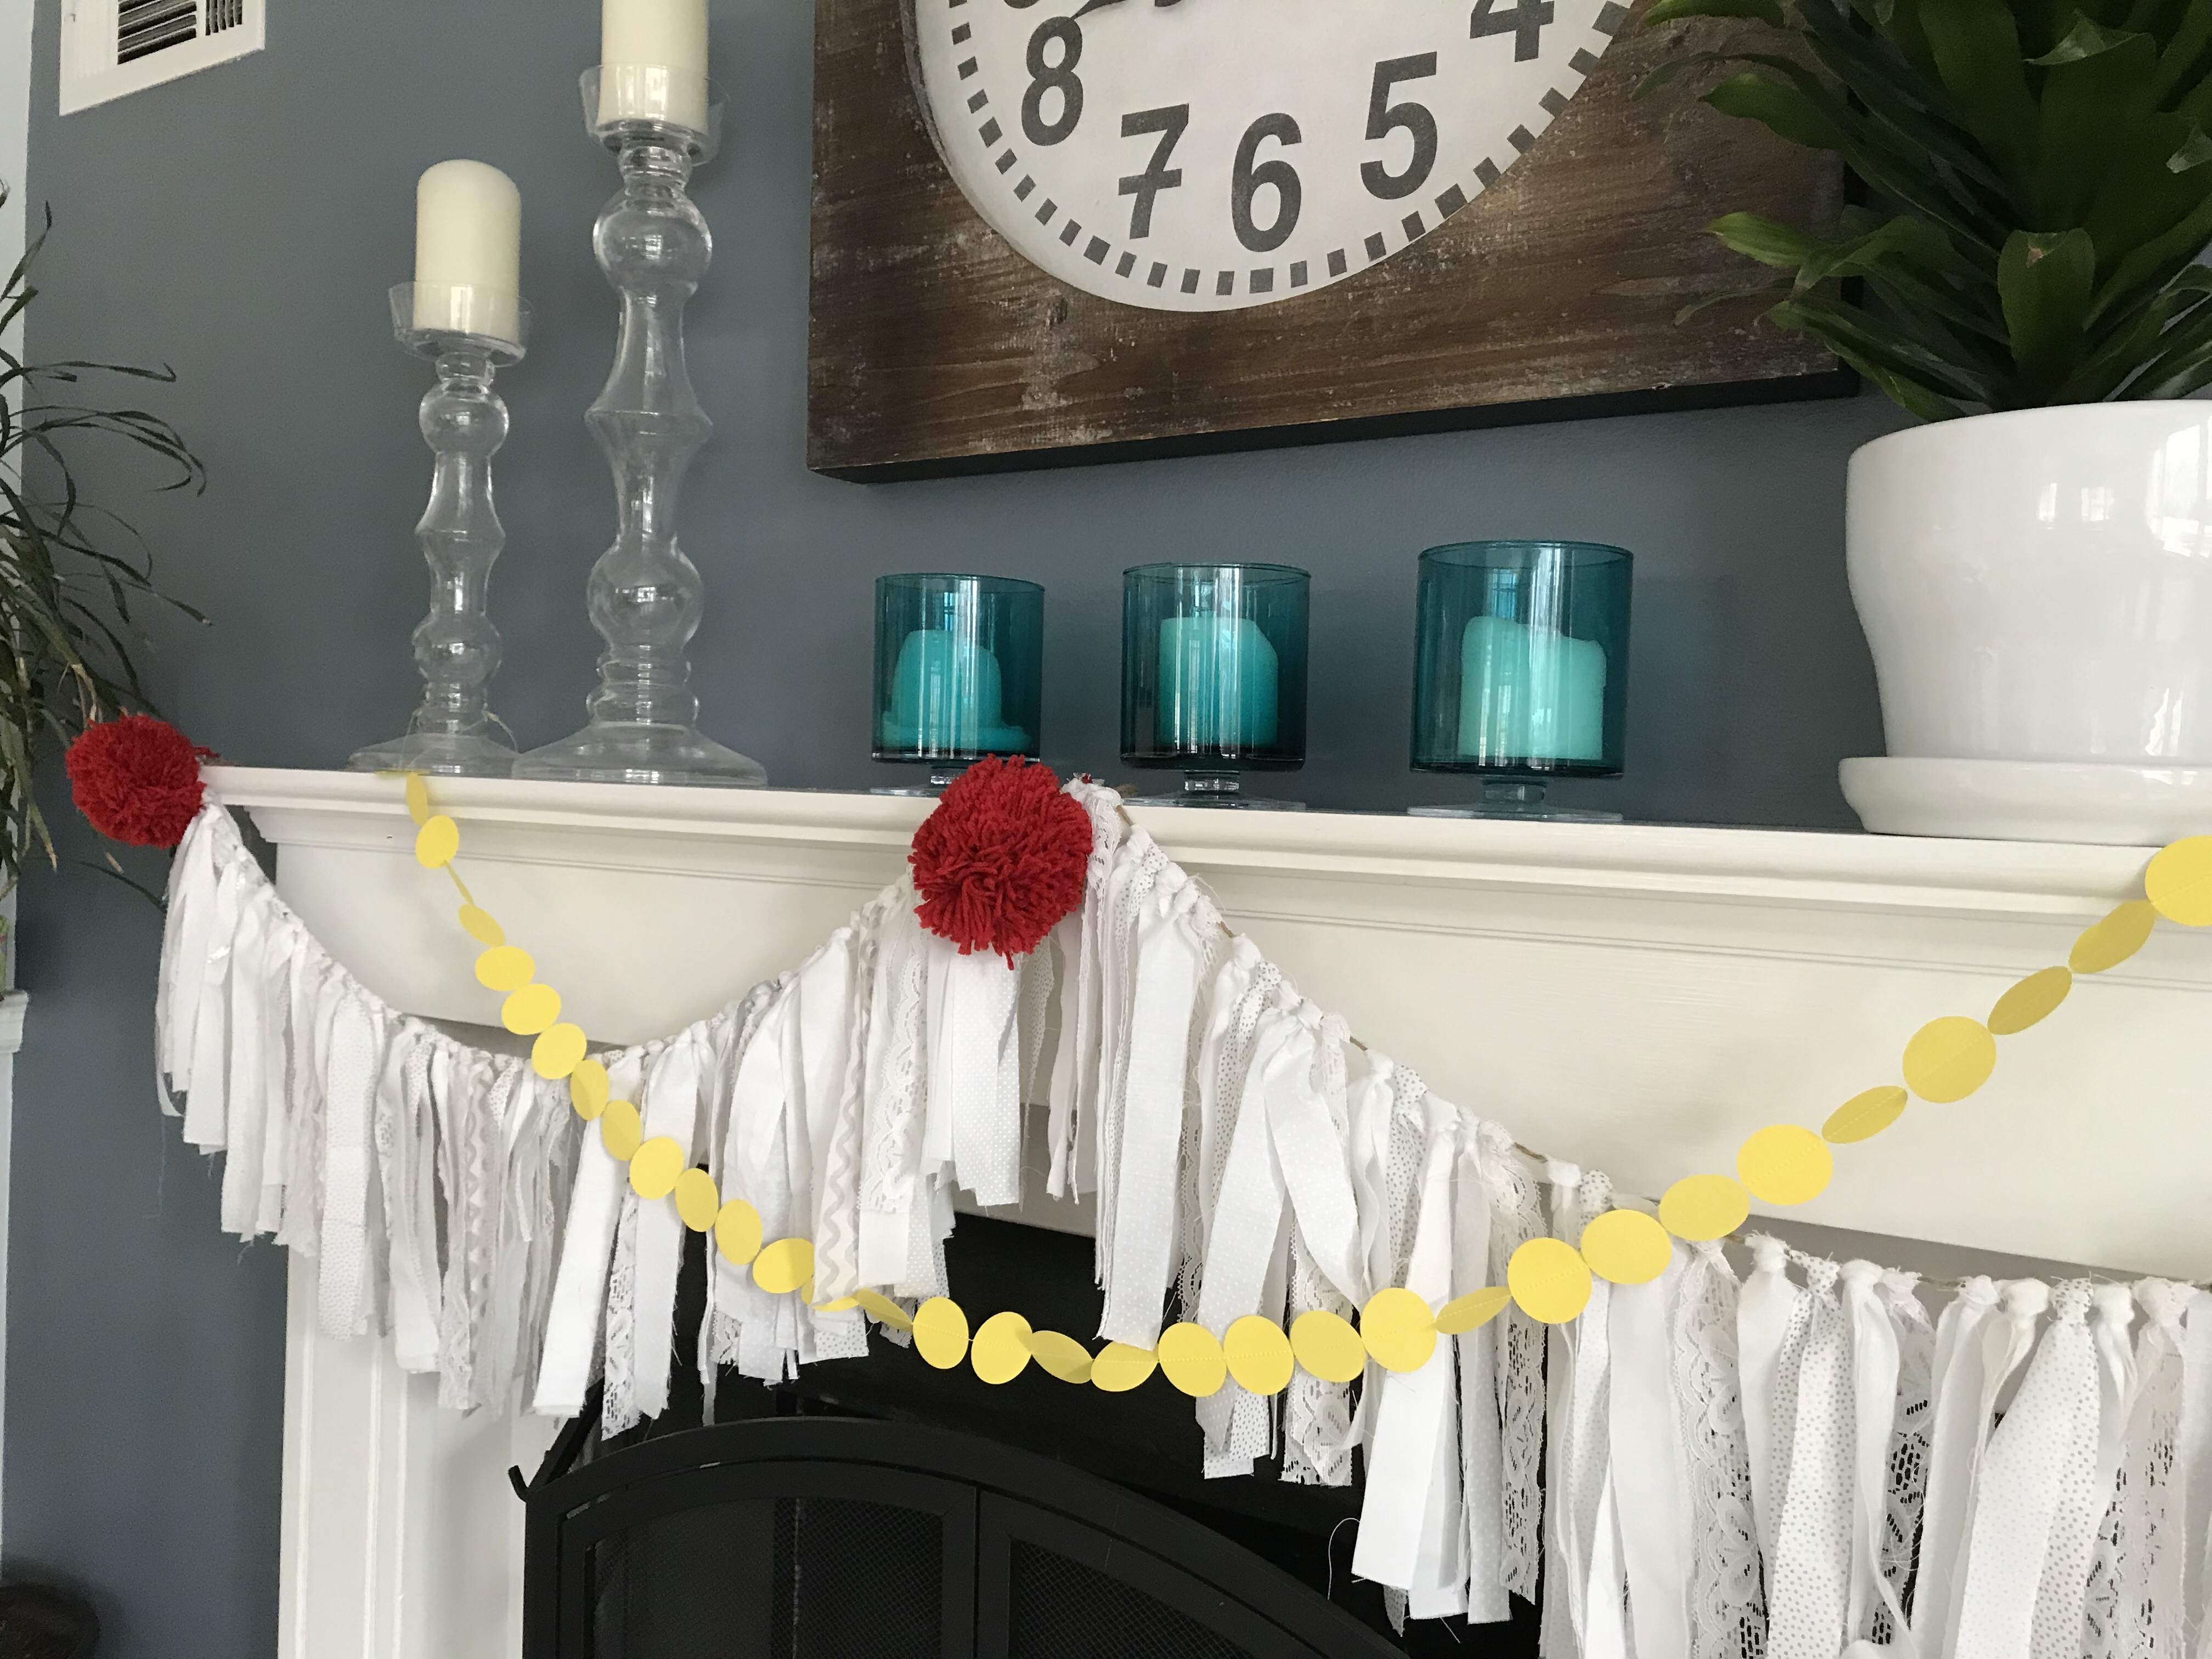
Different textures also look great—like the thick lace I once painstakingly took off a stained tablecloth… eureka! How ’bout strips of burlap left over from the tablecloths at my nephew’s wedding—why not?! Or what about homemade pom-poms from all my leftover yarn!! You get the idea.
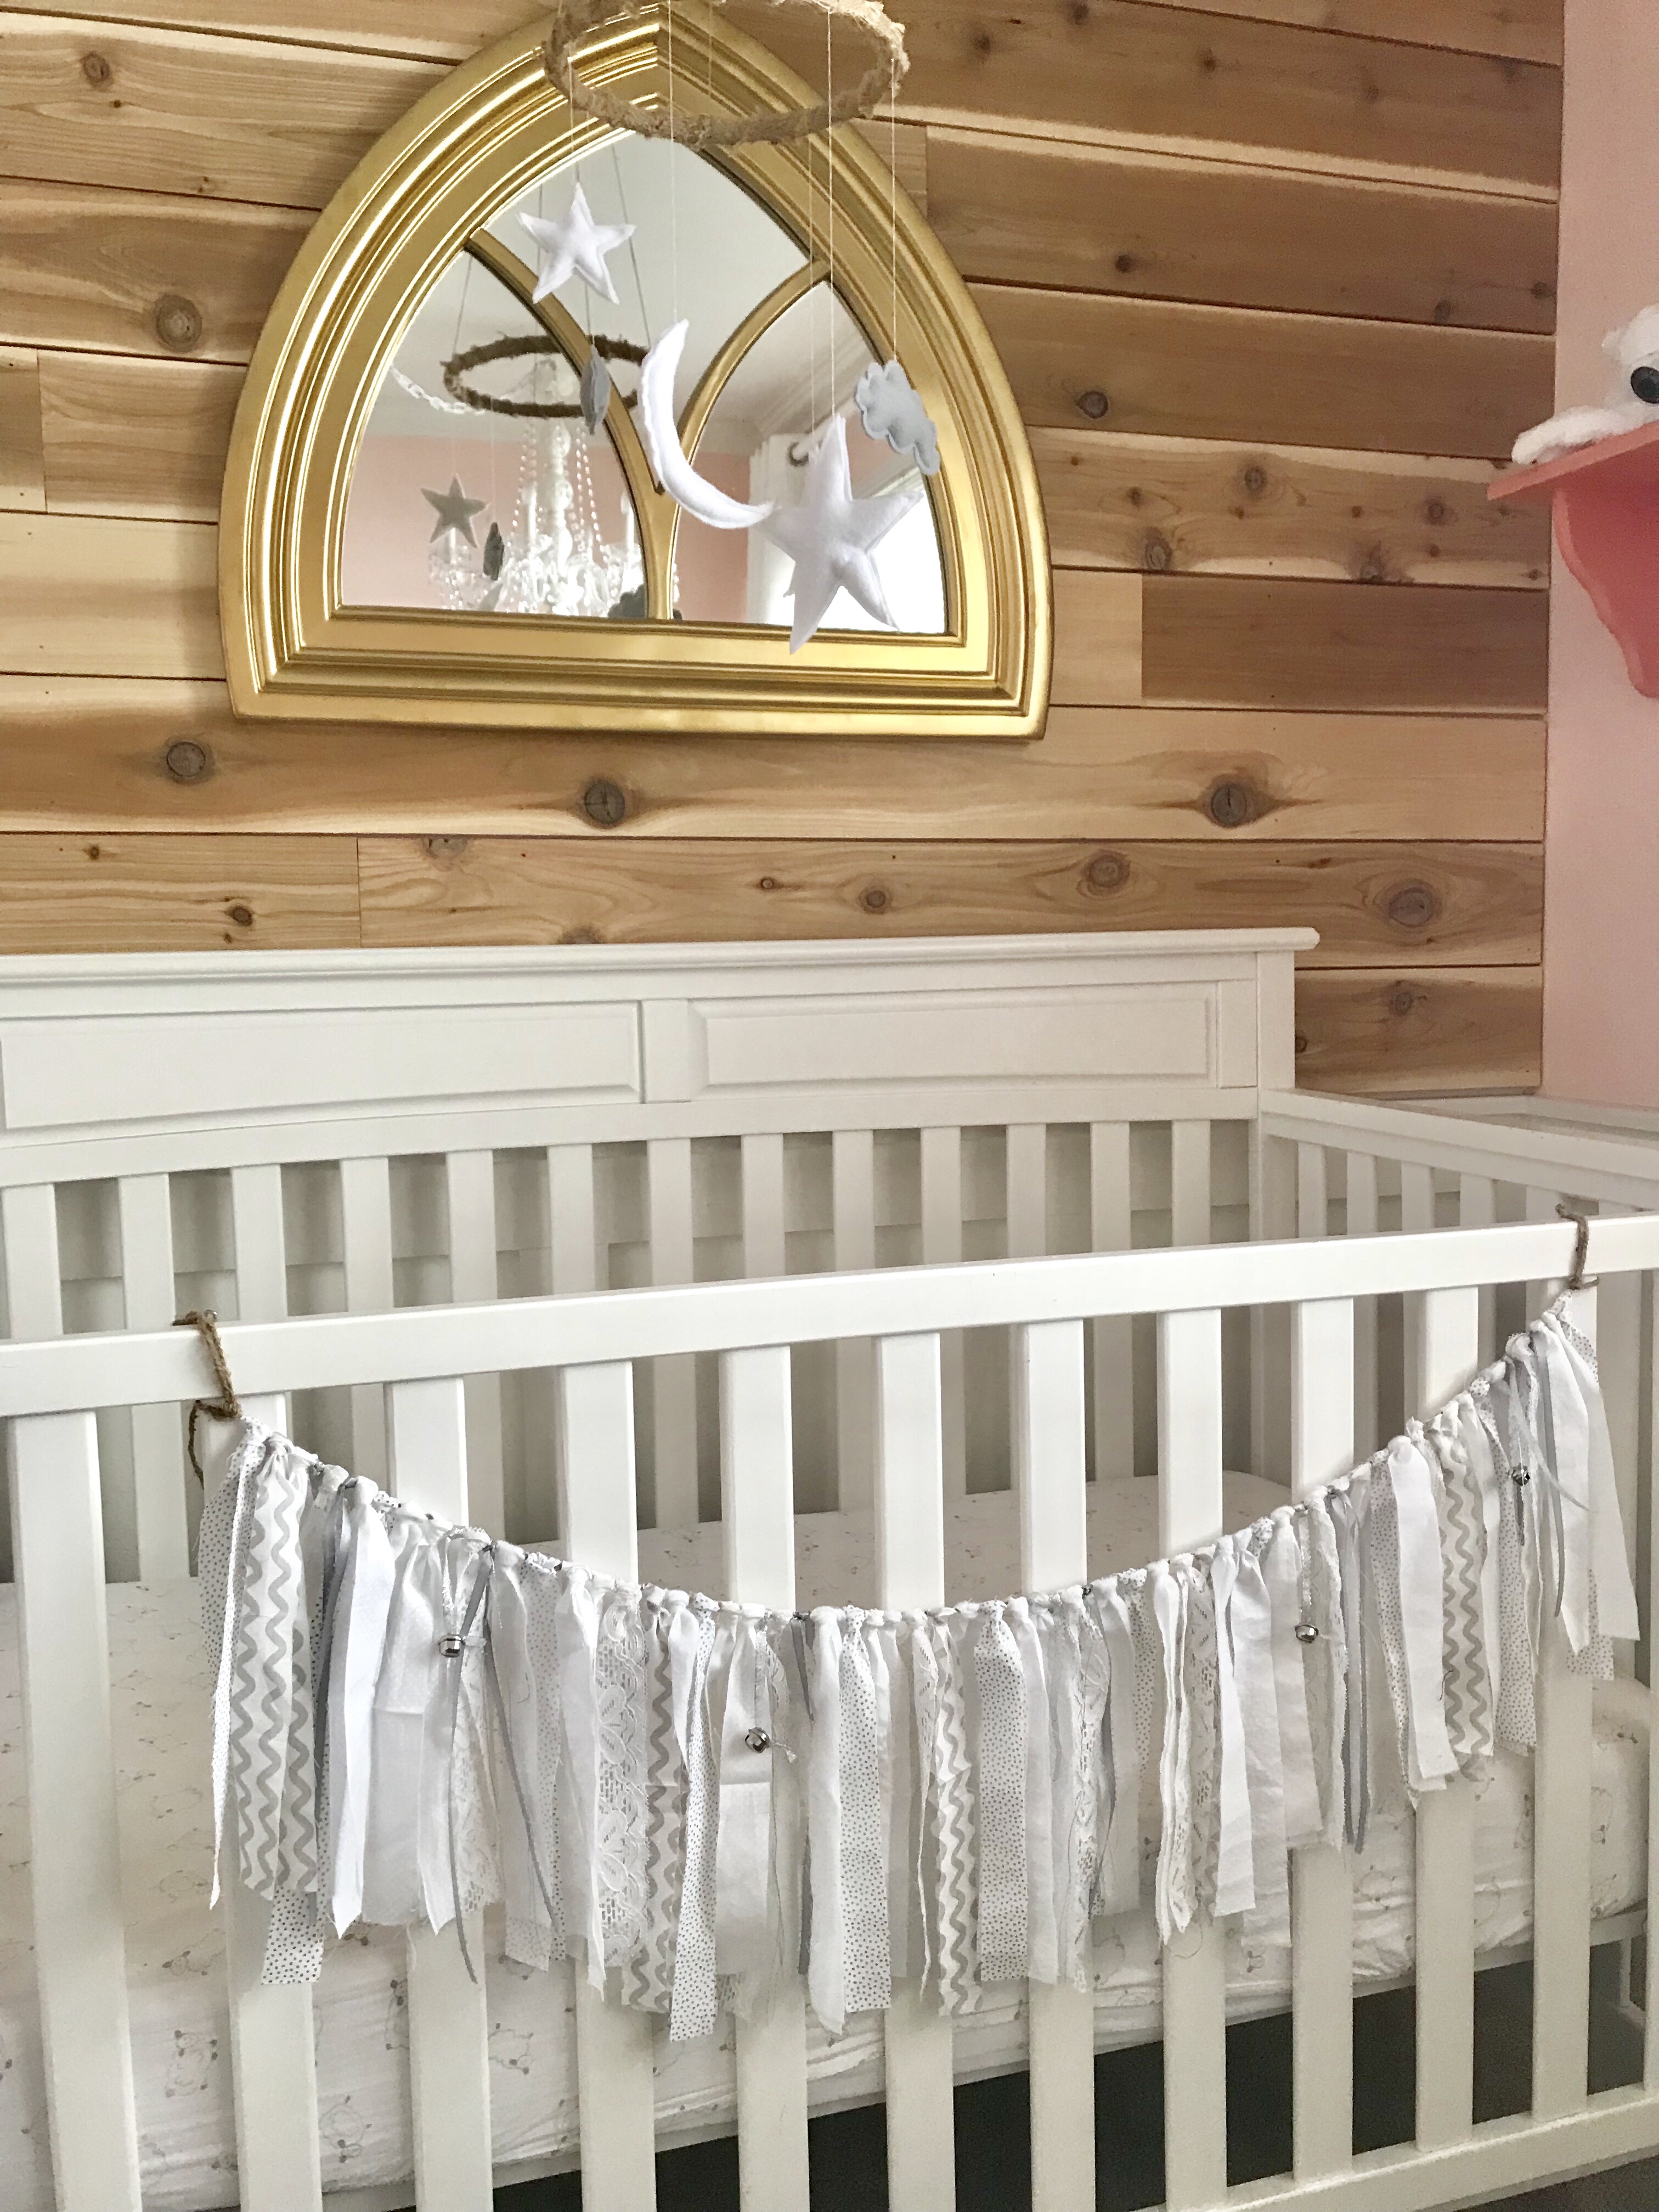
I am currently working on pastels which will be great for spring (if it ever graces us with its present here in the Midwest), or even wedding and baby showers. For other ways I put my scrap fabrics to use, check out another one of my posts here.
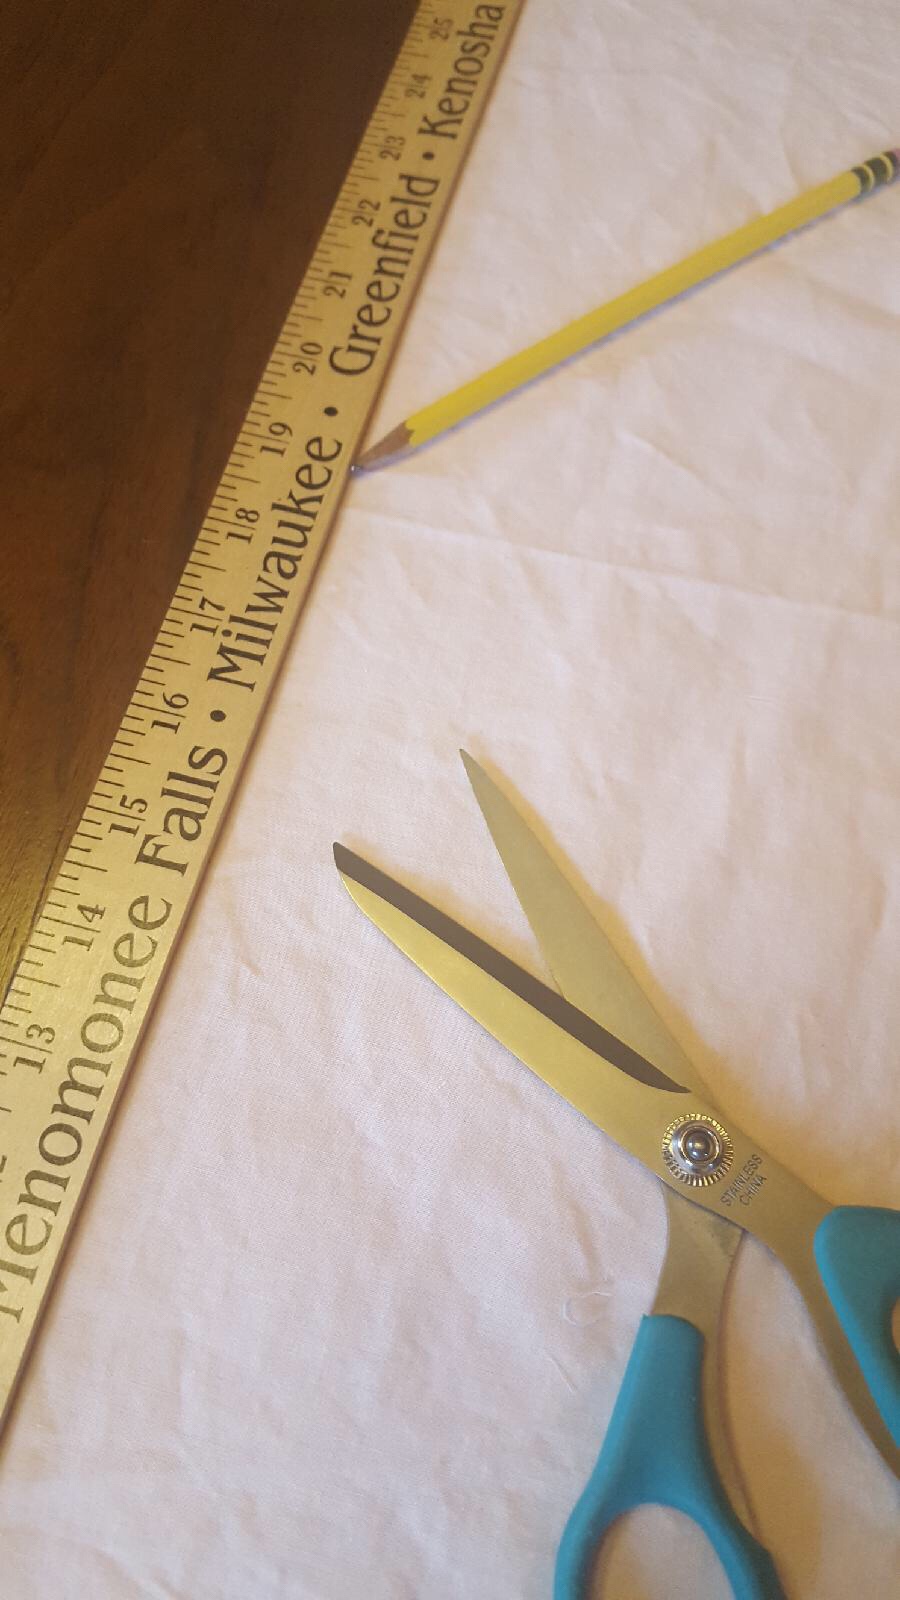
I like to measure my strips with the width of a yardstick. It makes it easier to keep things straight and consistent. Mark with a pencil and cut.
I prefer to cut my strips with sharp fabric scissors, but I’ve also tried a rotary tool, which is fairly fast. My preference is still scissors, for what it’s worth. If you cut a few layers, that’s also quicker. You can even tear your strips which is quick and lends more of a frayed edge that is really cute for rustic or shabby chic looks. Again, strips are about 1” x 20”.
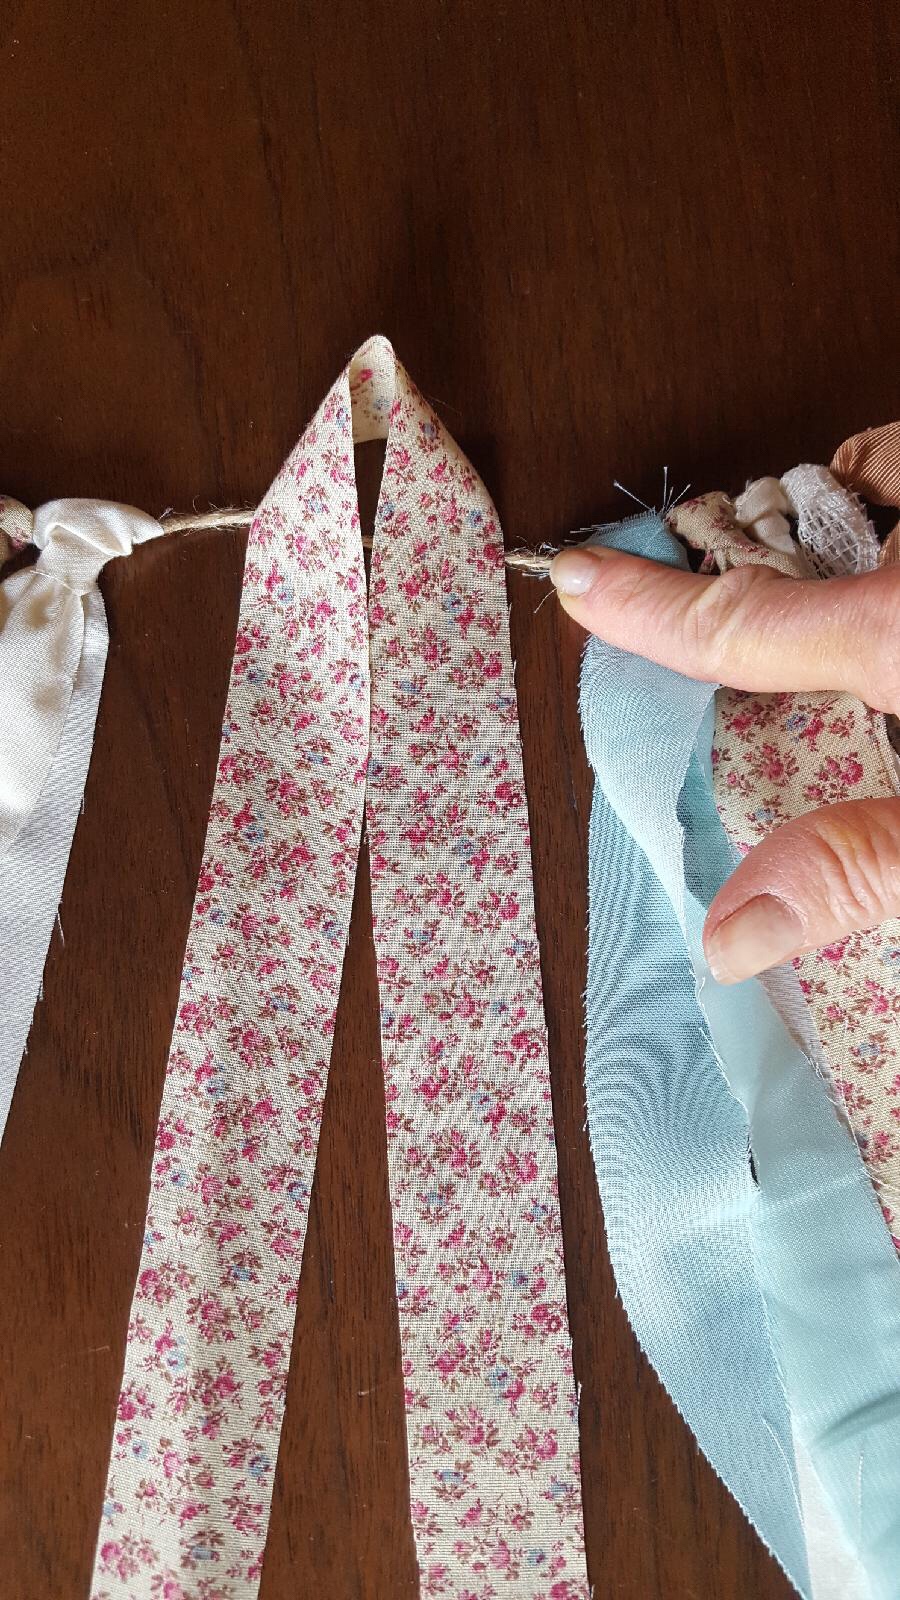
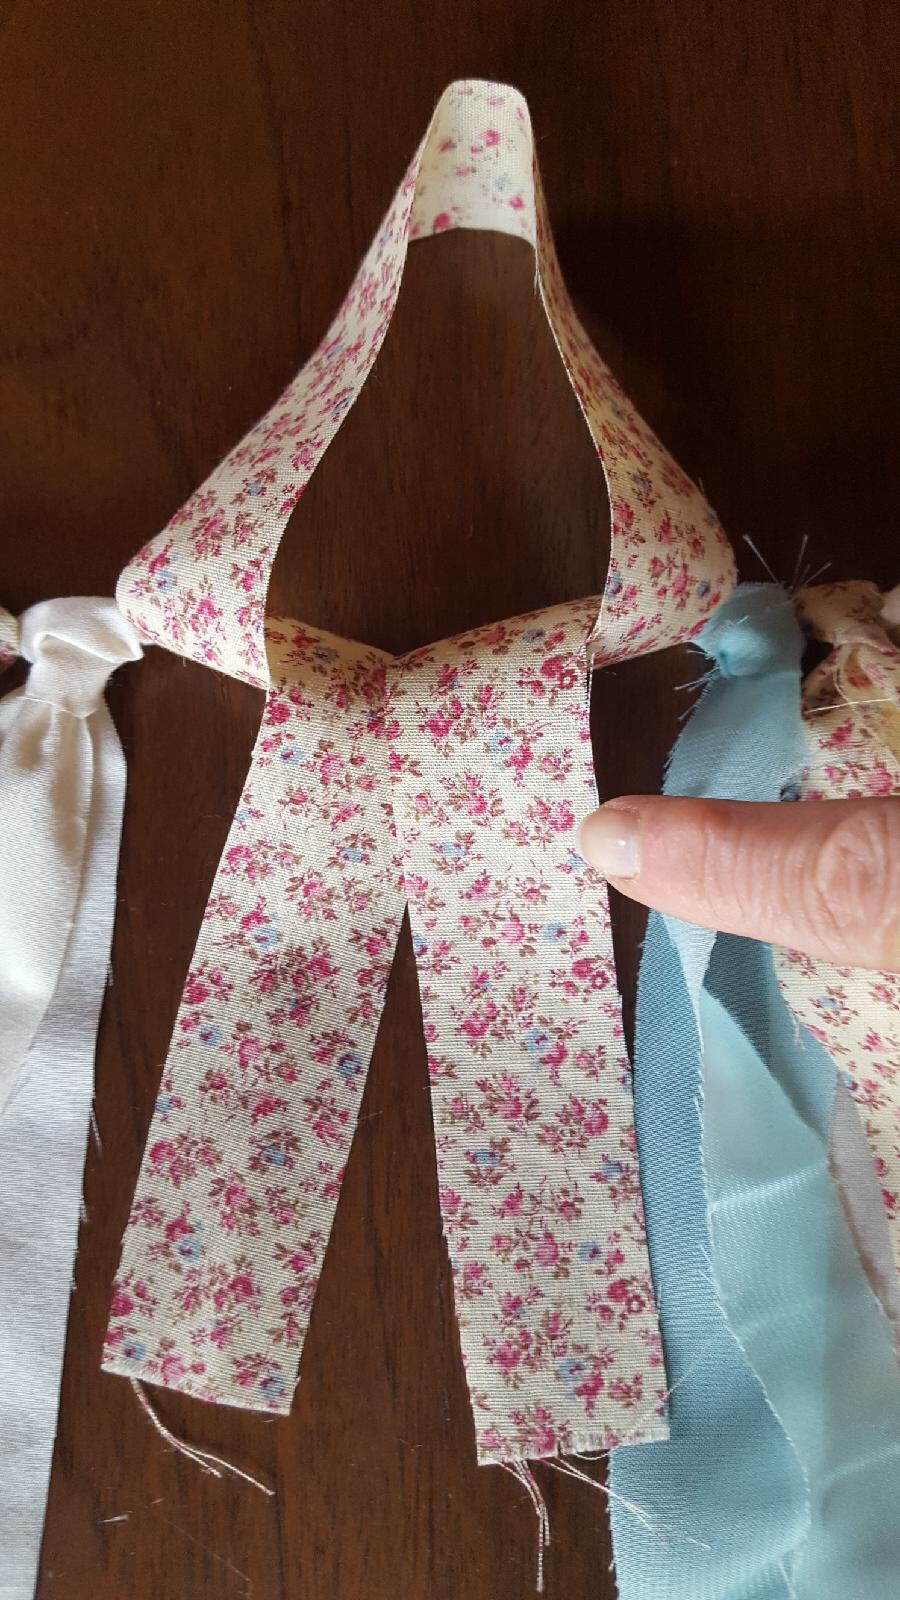
This step is so simple. Just fold the strip in half so you have a loop. Start by placing it on top of the twine. Holding both tails of the strip, bring them behind the twine and up through the loop. Tighten, and then space them as close or as far a part from each other as you want. It helps to take a step back to see how it’s looking before you decide.

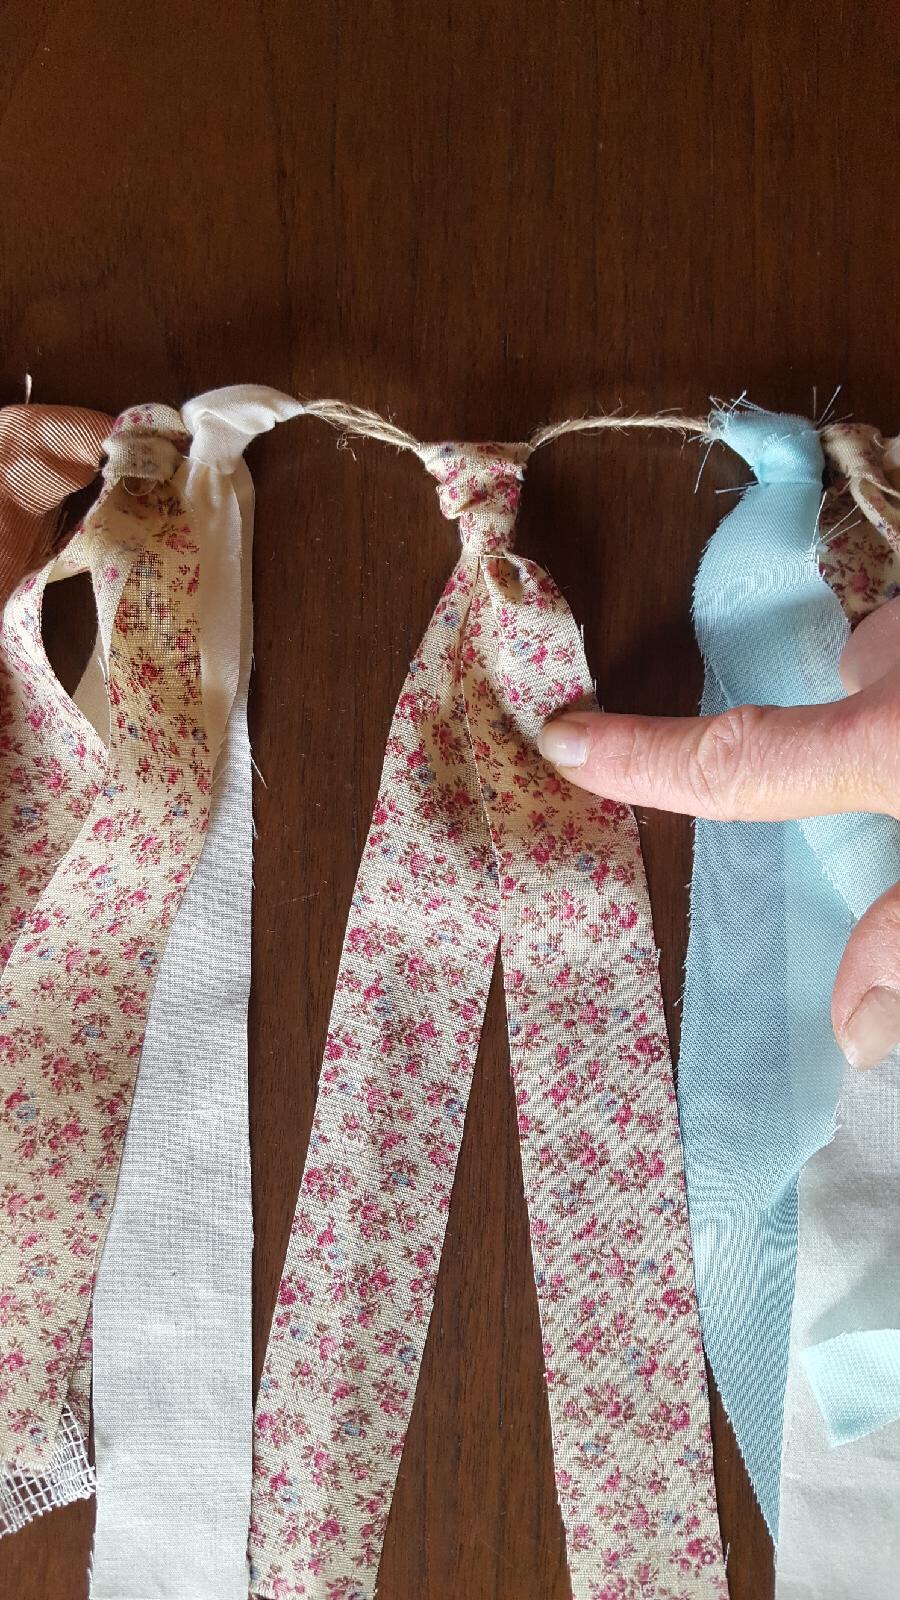
I used a piece of medium weight twine, about 48” long, but you could also use ribbon, yarn or any number of other materials. Tie about 50 strips onto the twine to fill up about 36”inches.
Tie a loop on either end, and hang it up wherever you want. It’s that easy.
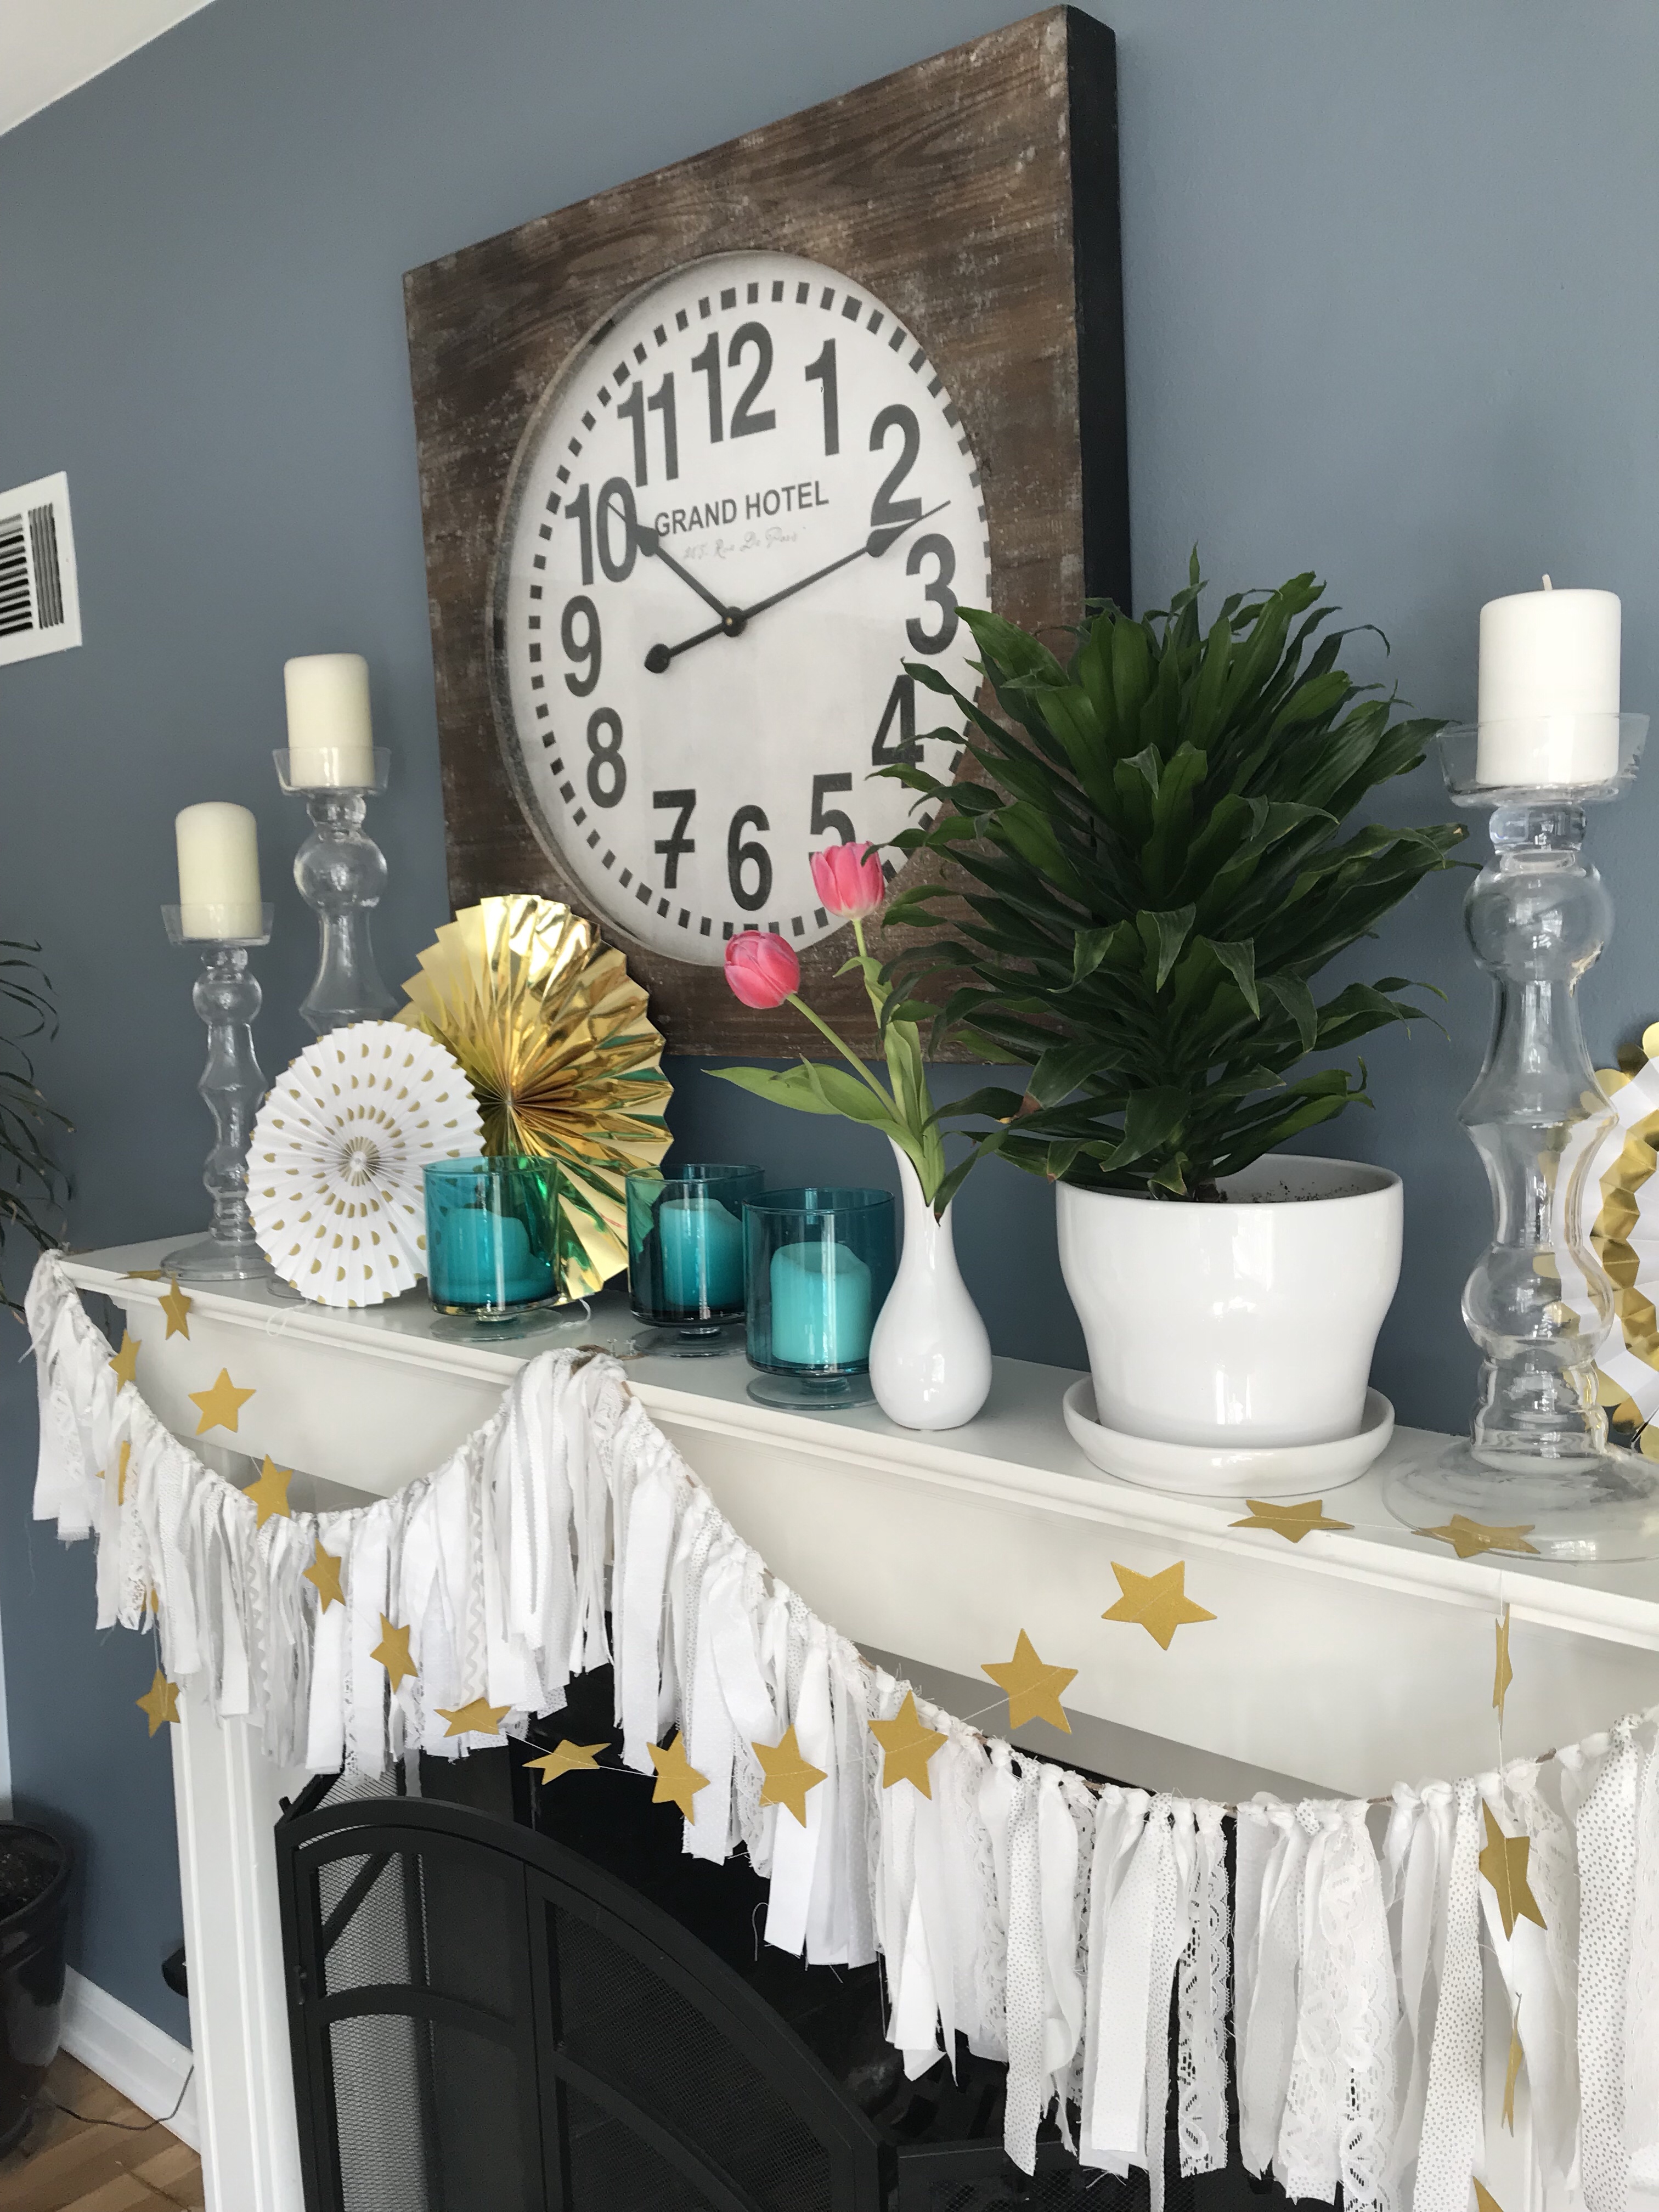
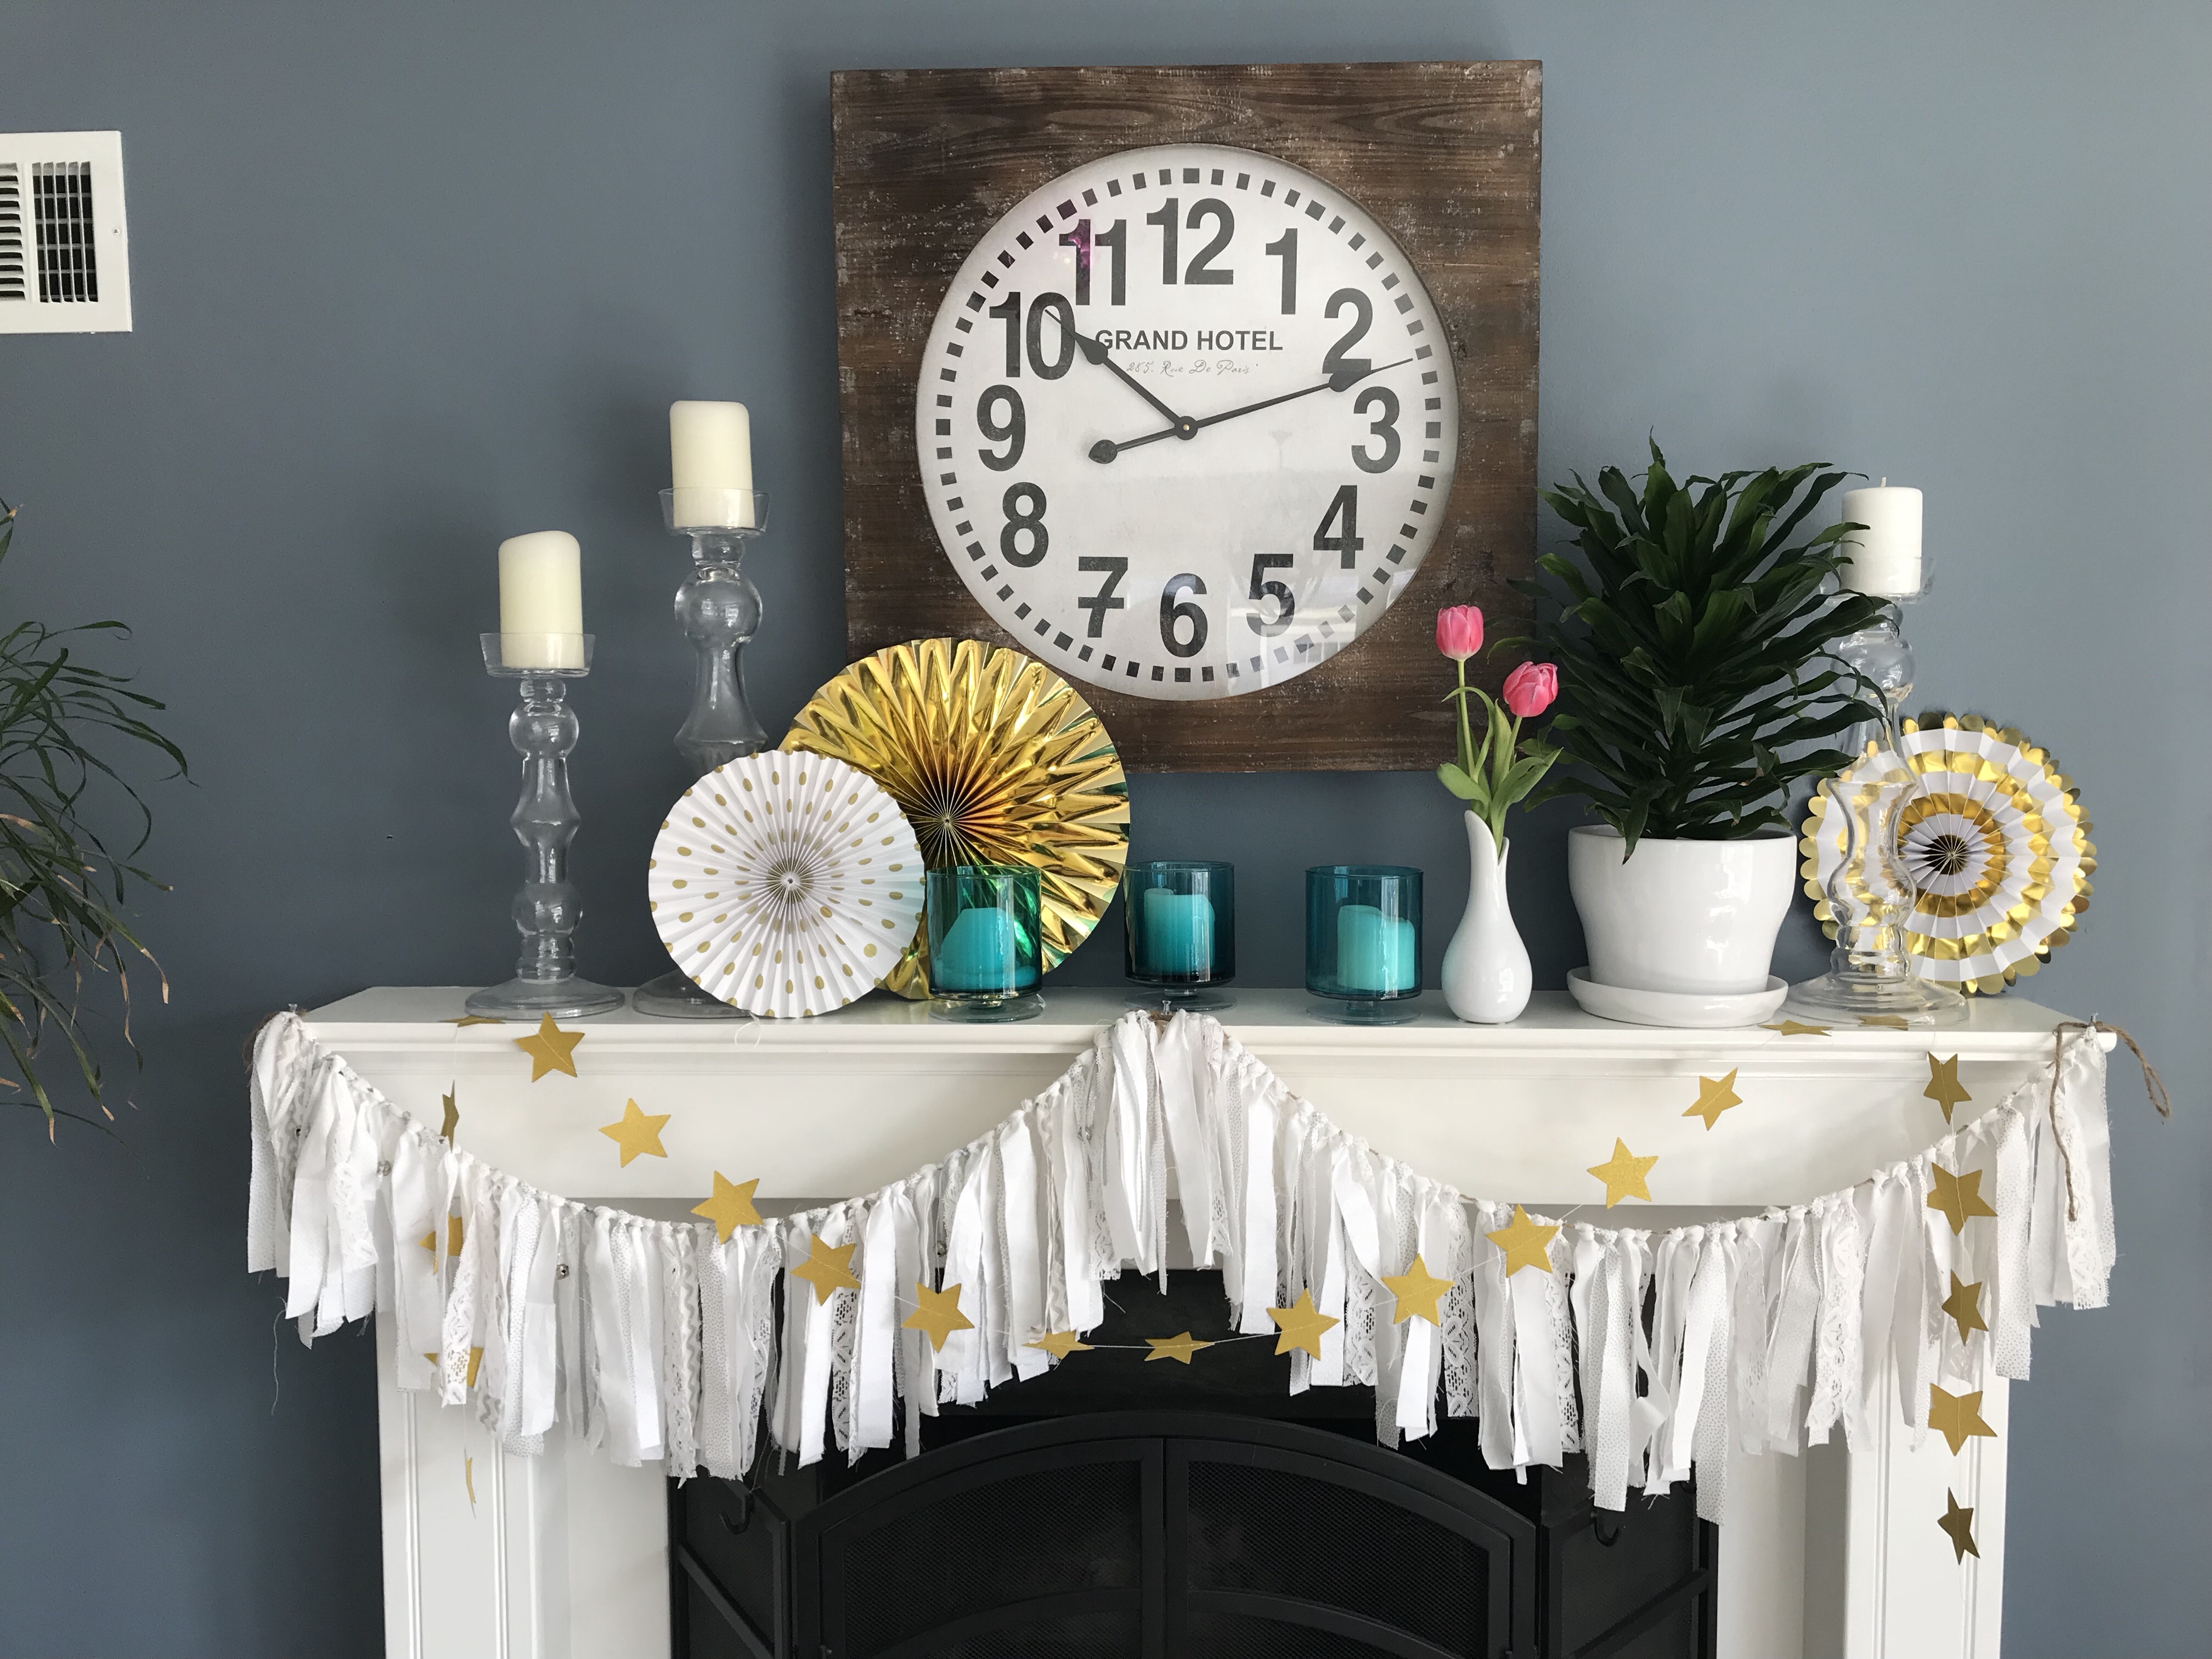
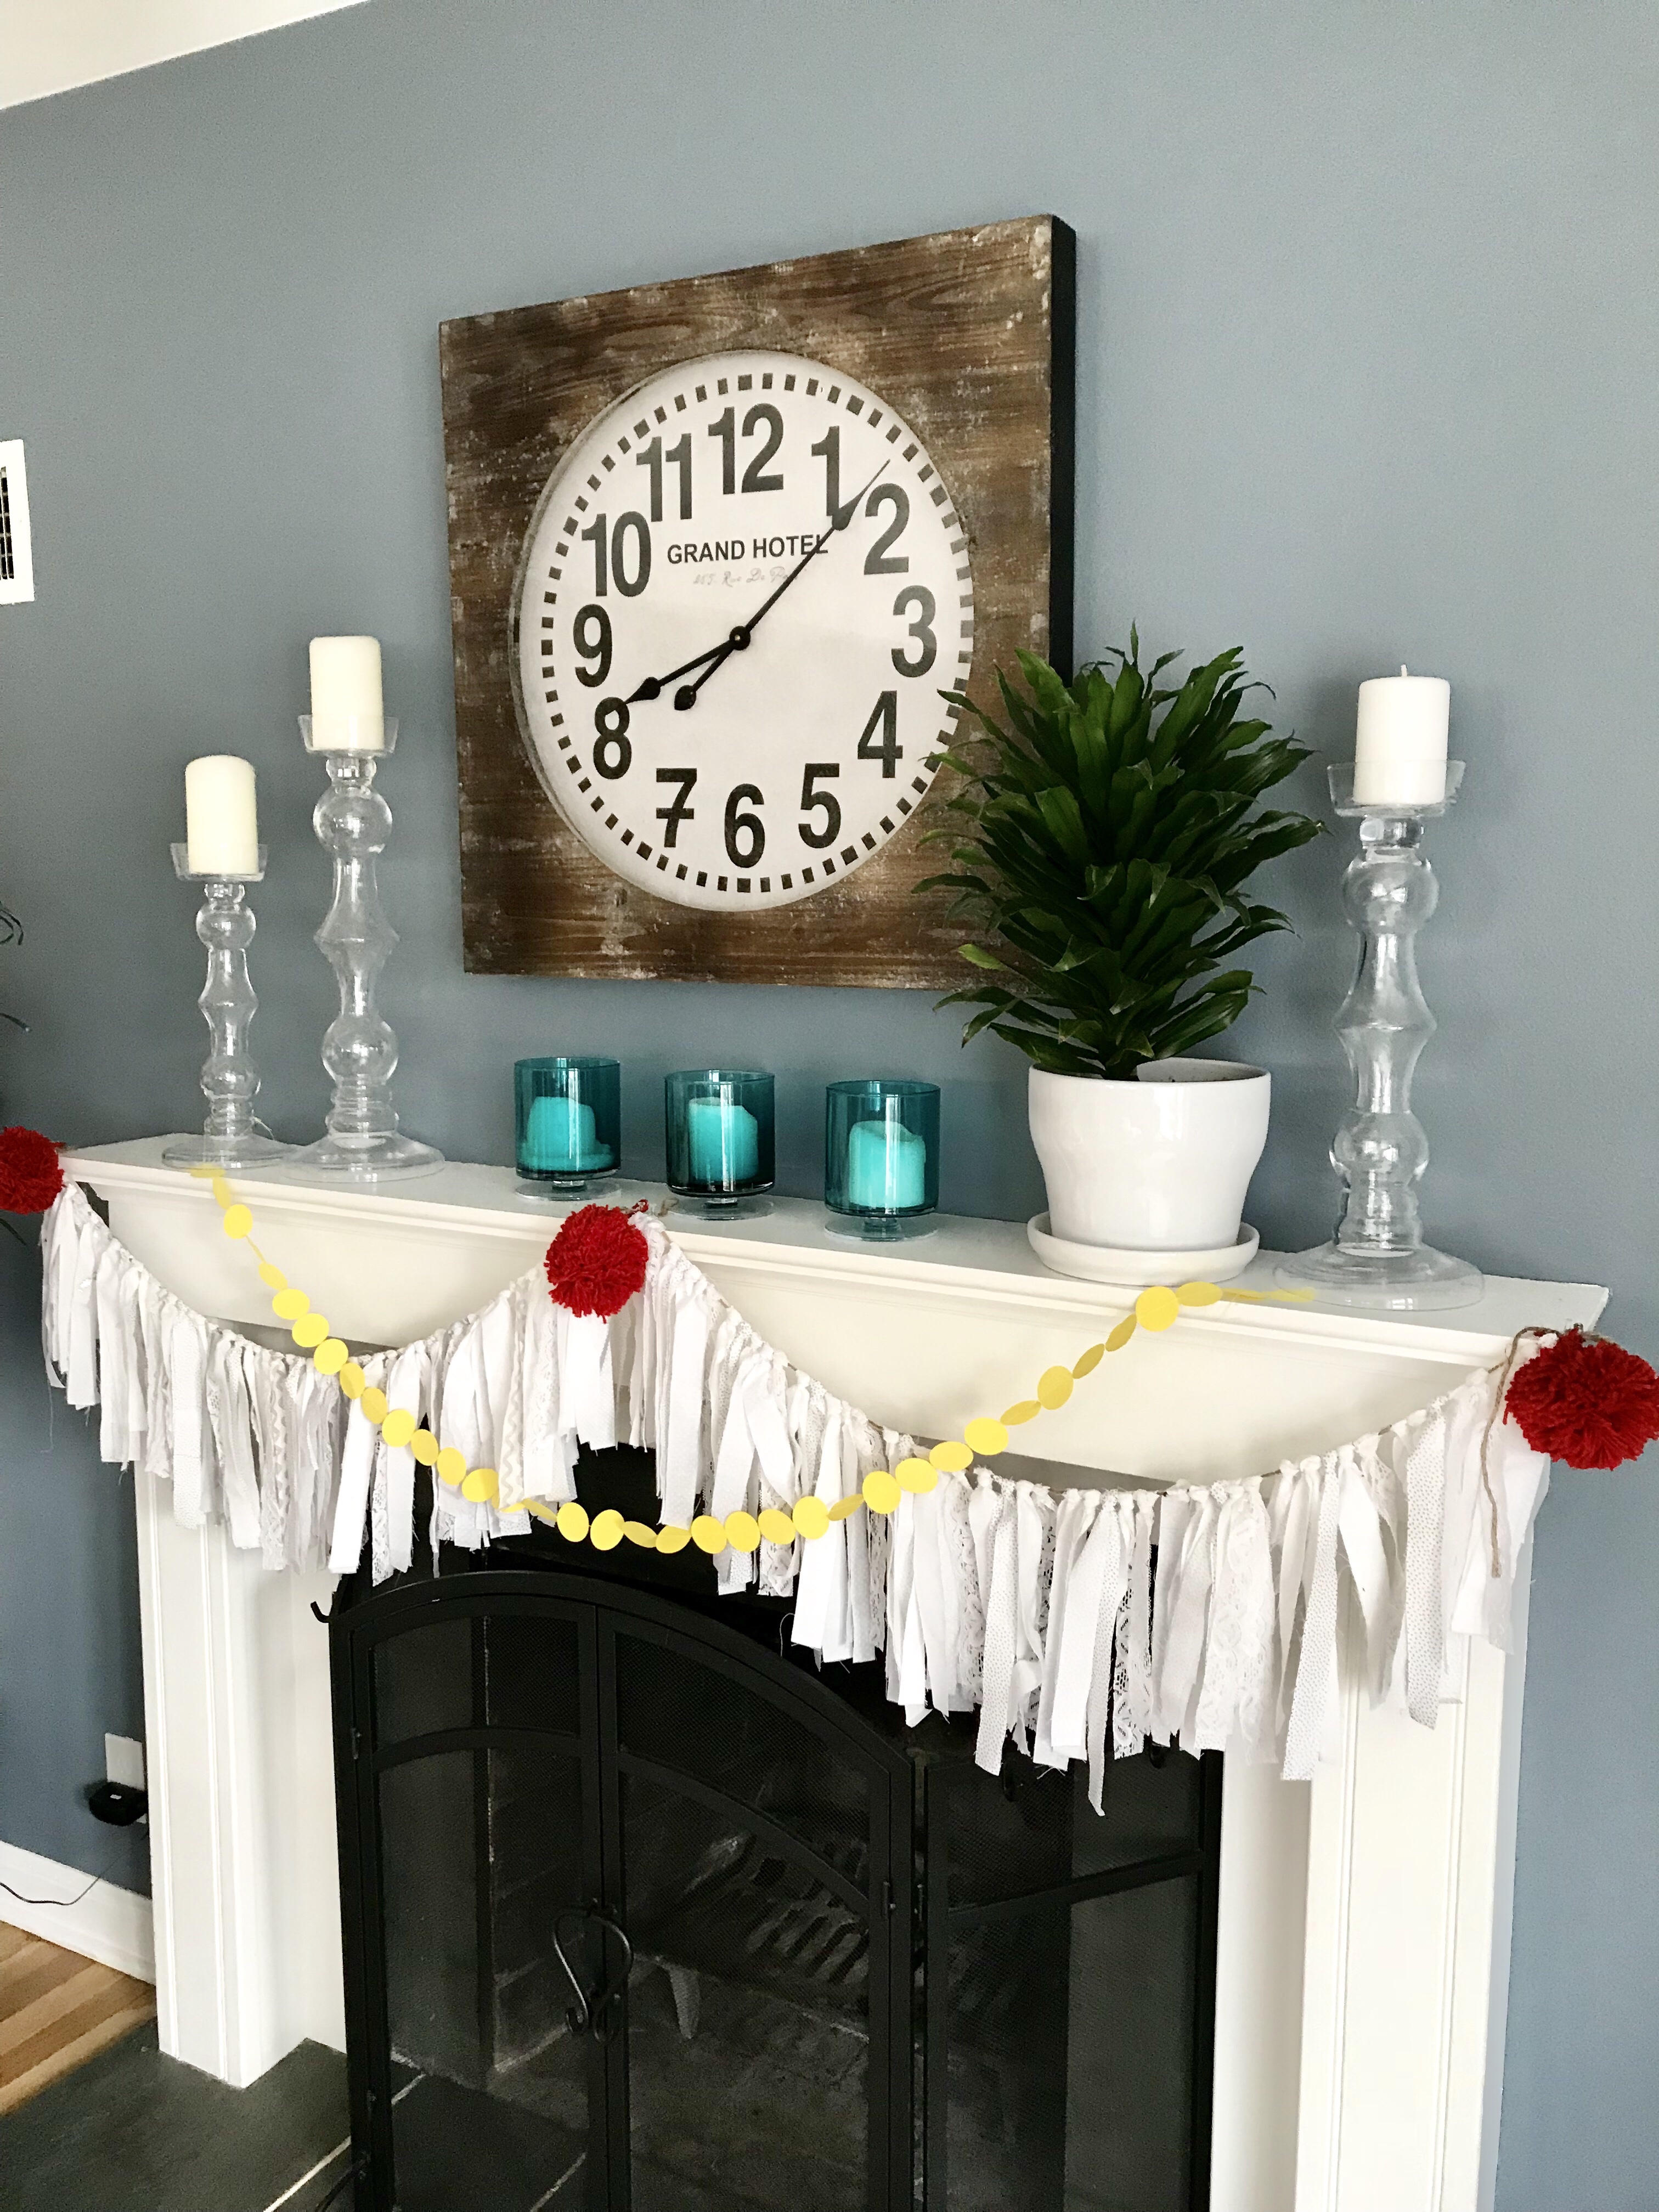
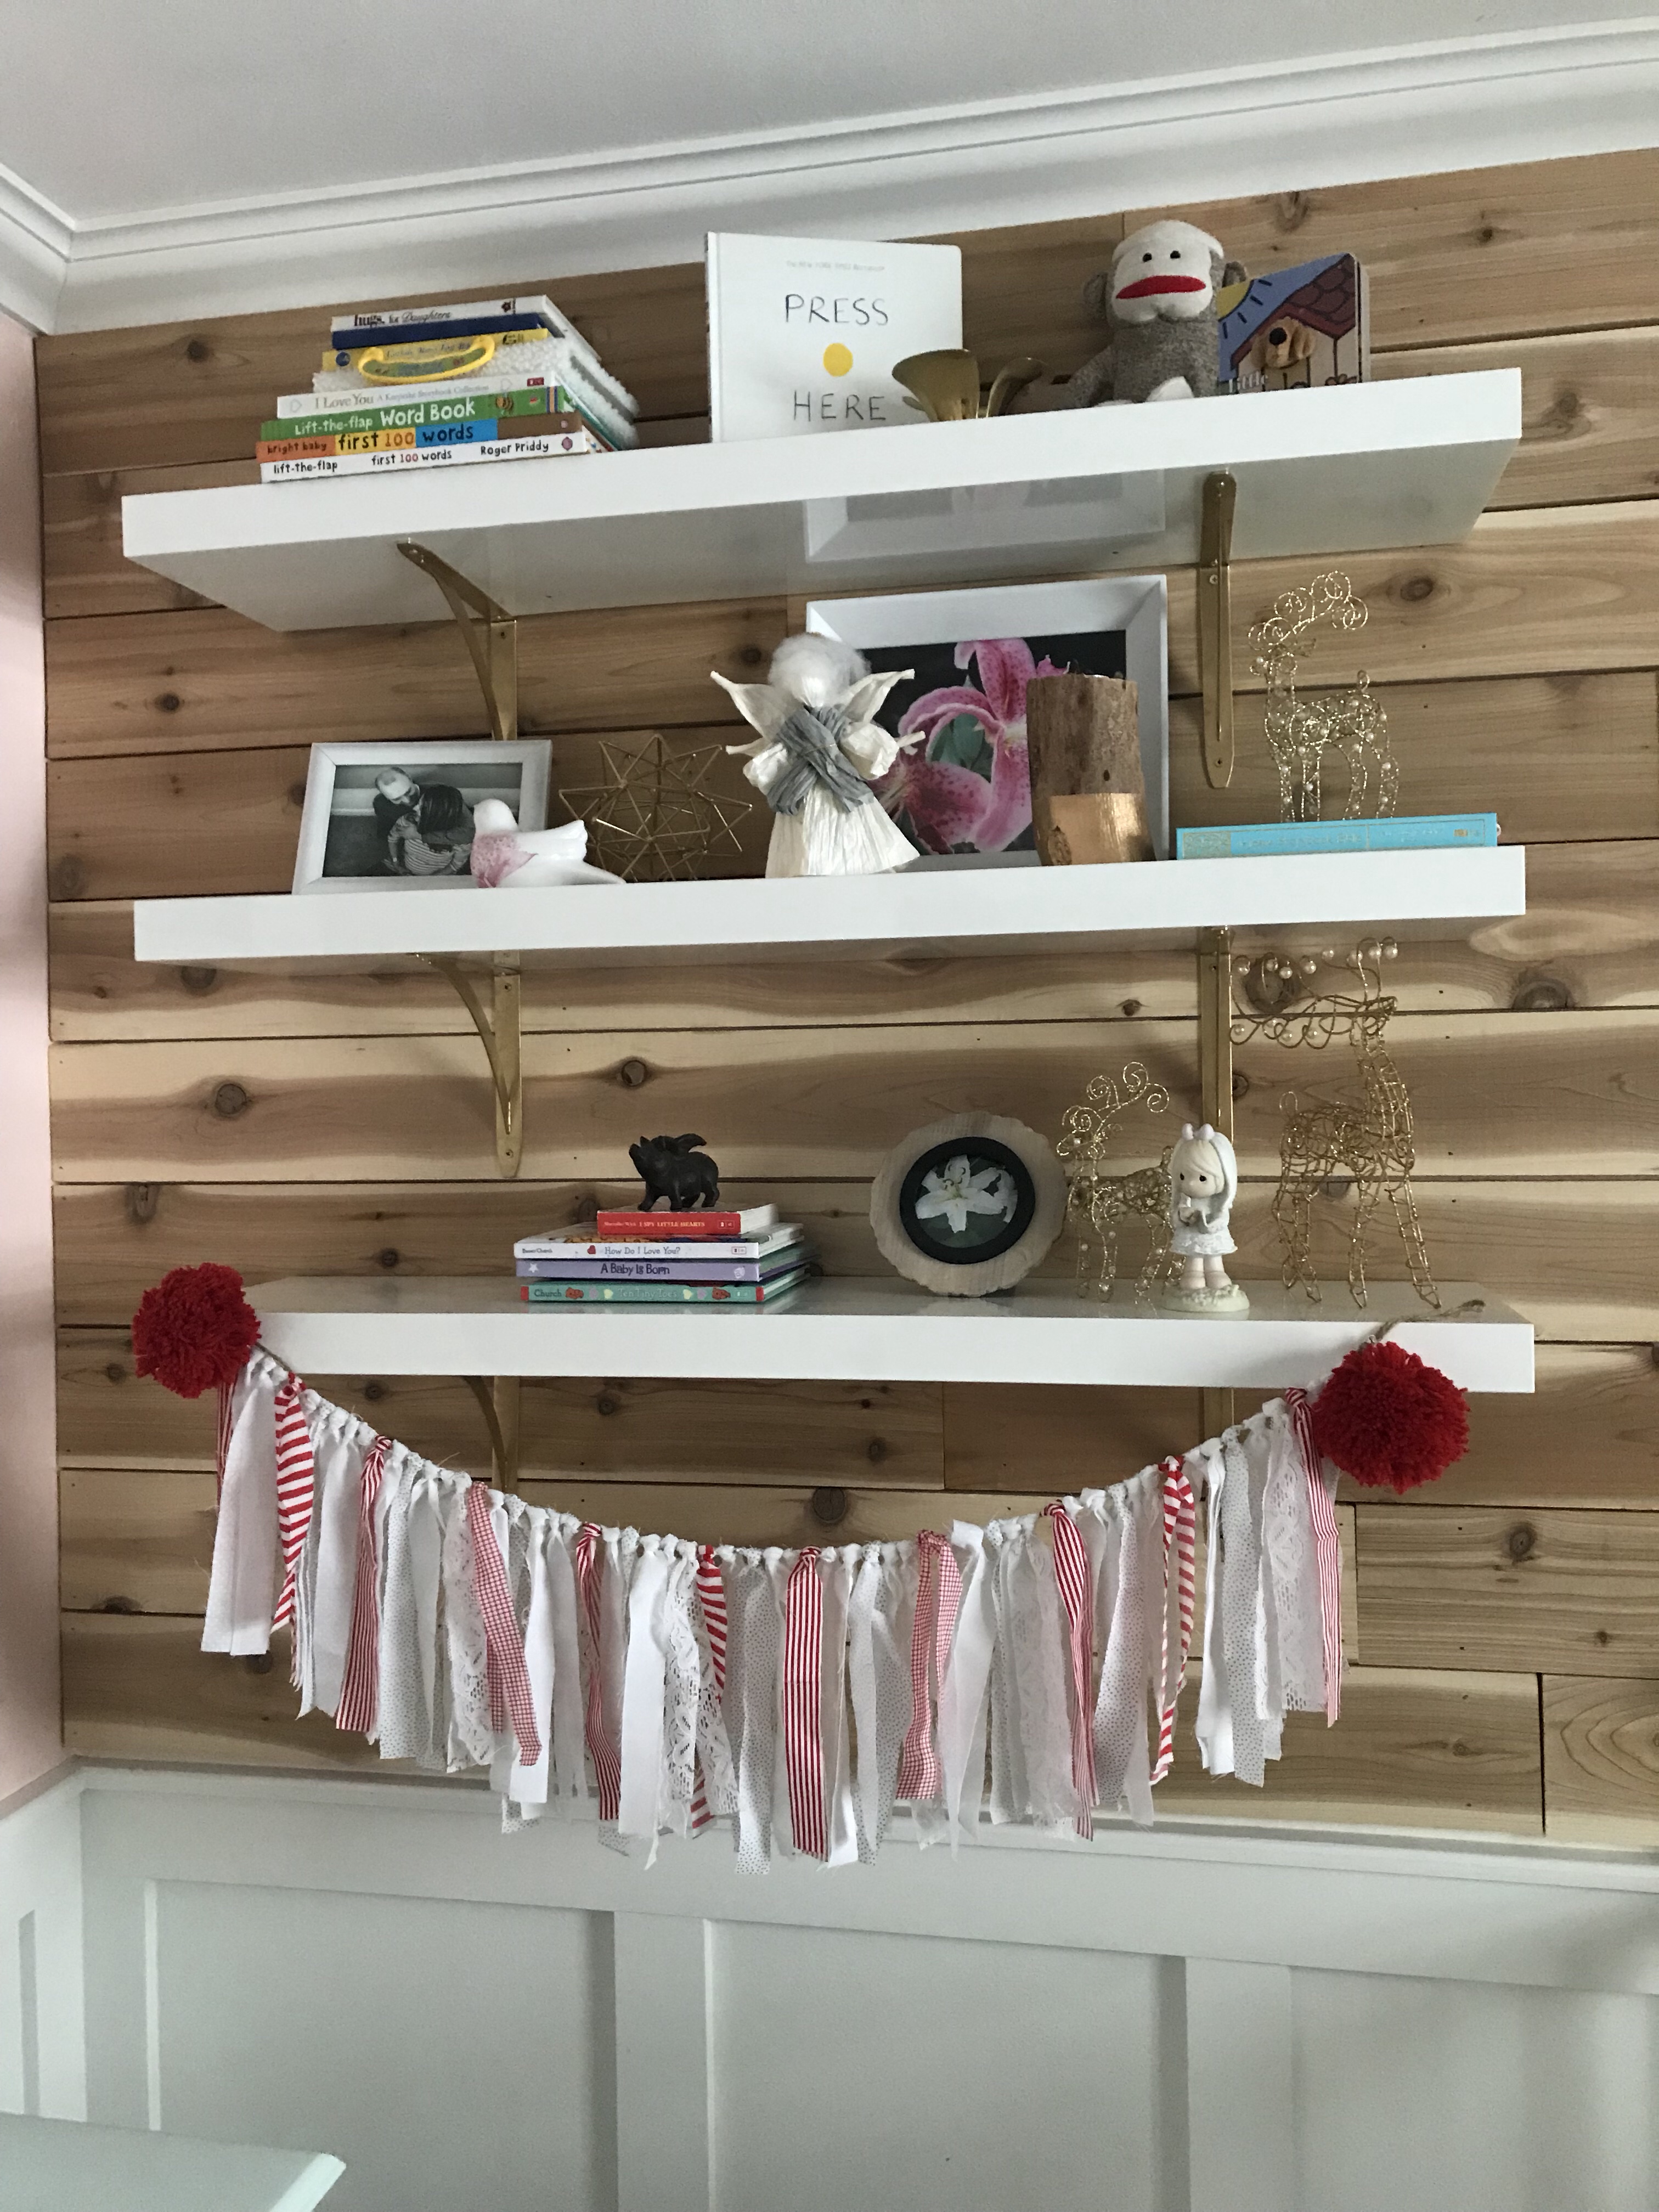
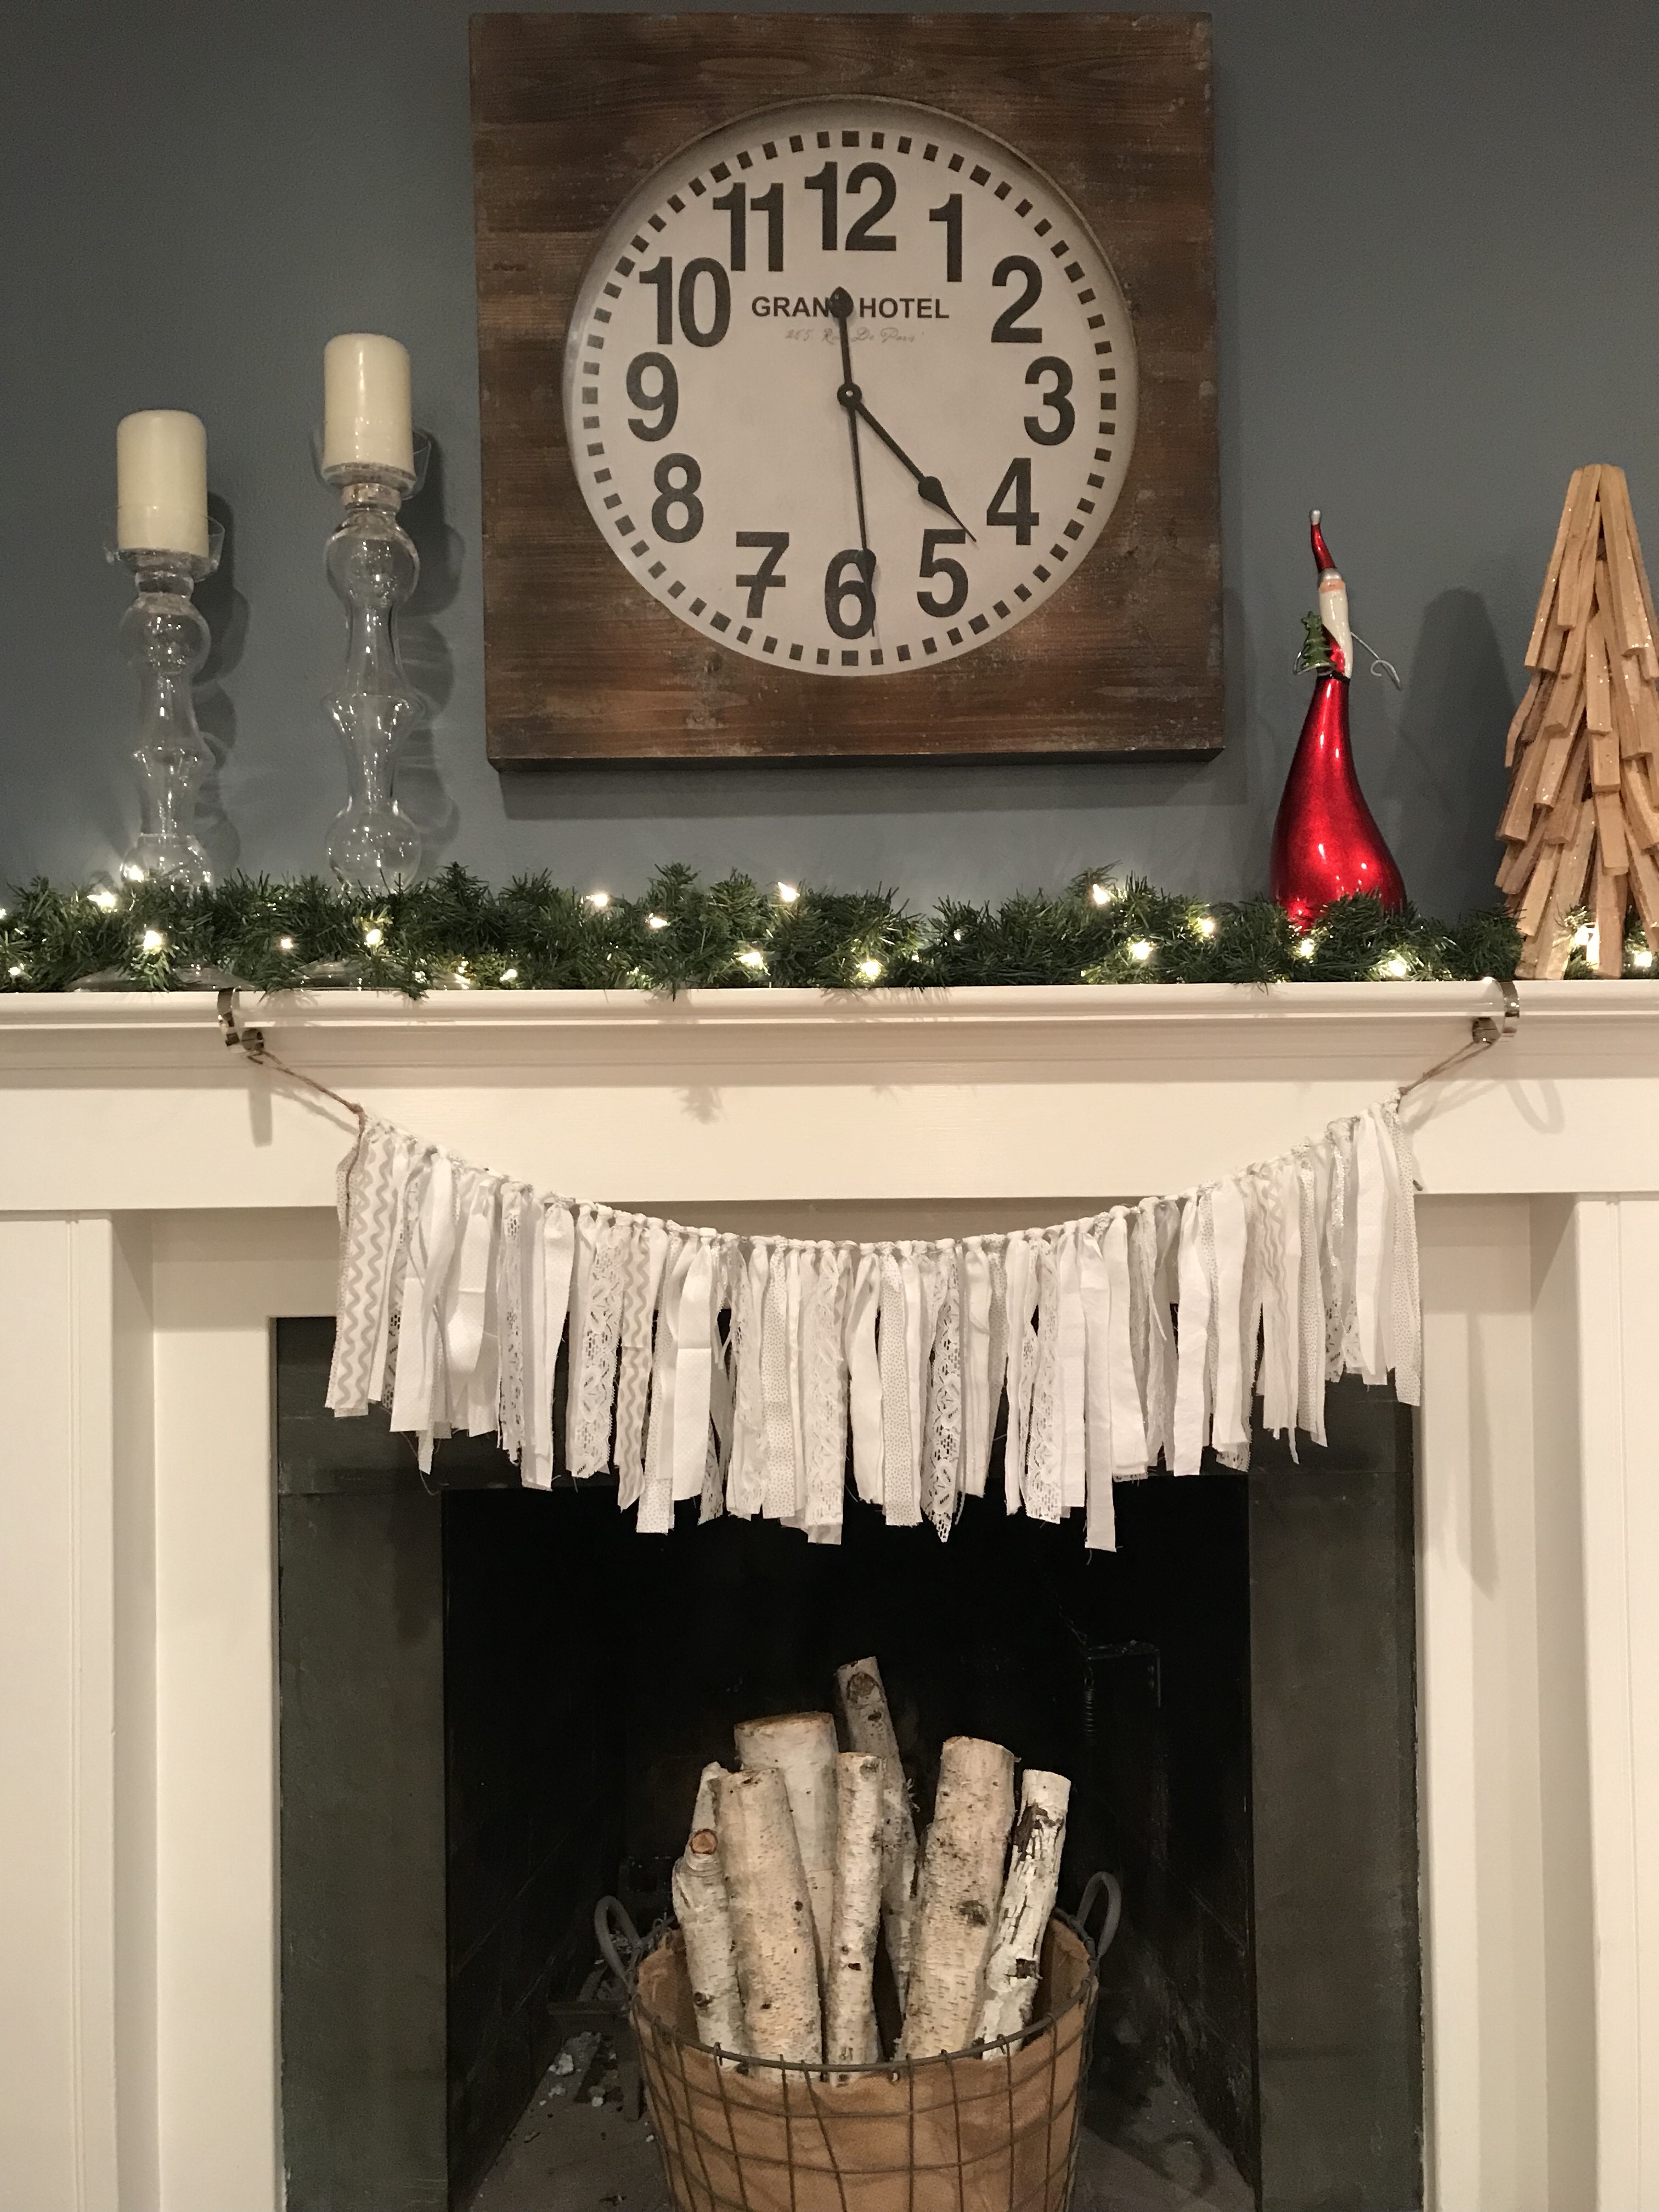
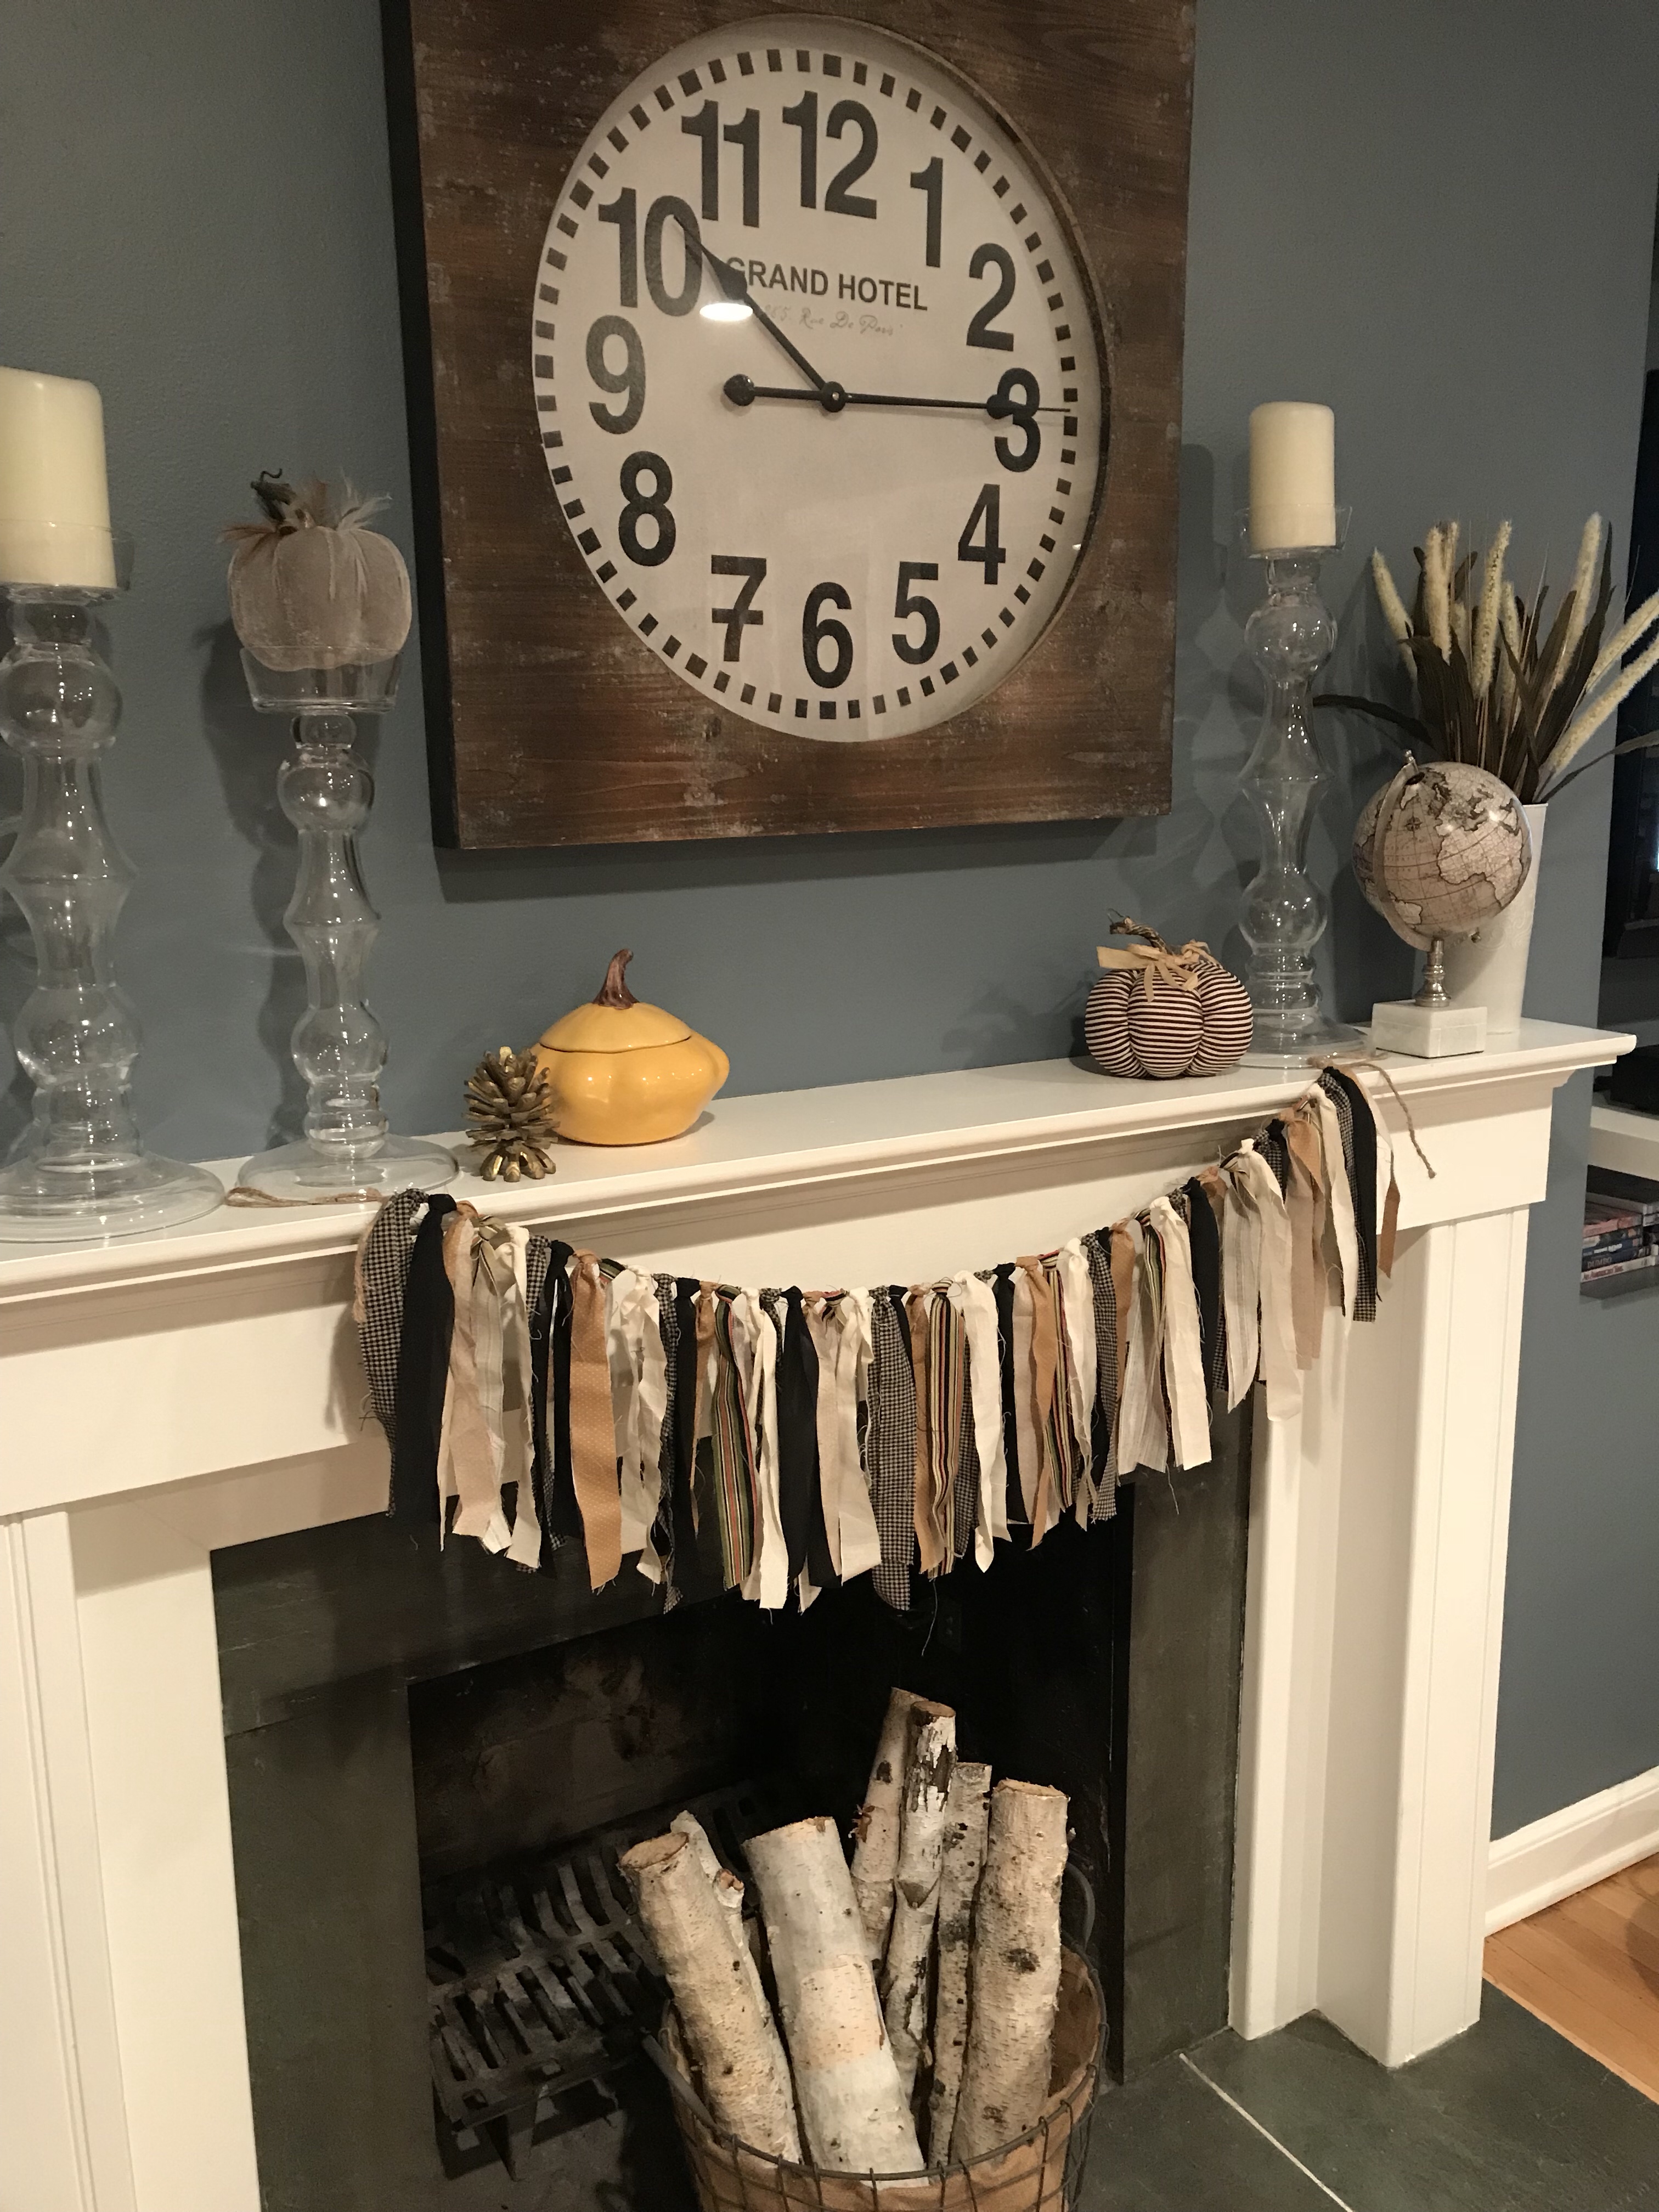
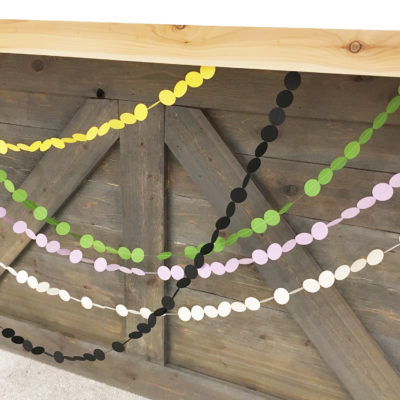
Here’s a quick glimpse of a few ways my daughter and I have hung these, often layered with other details like a strand of paper garland. You can find the steps for that here. Enjoy! And happy crafting : )


Leave a Reply