
Previous post
Next post
too many ideas. too little time. (and far too much chai.)

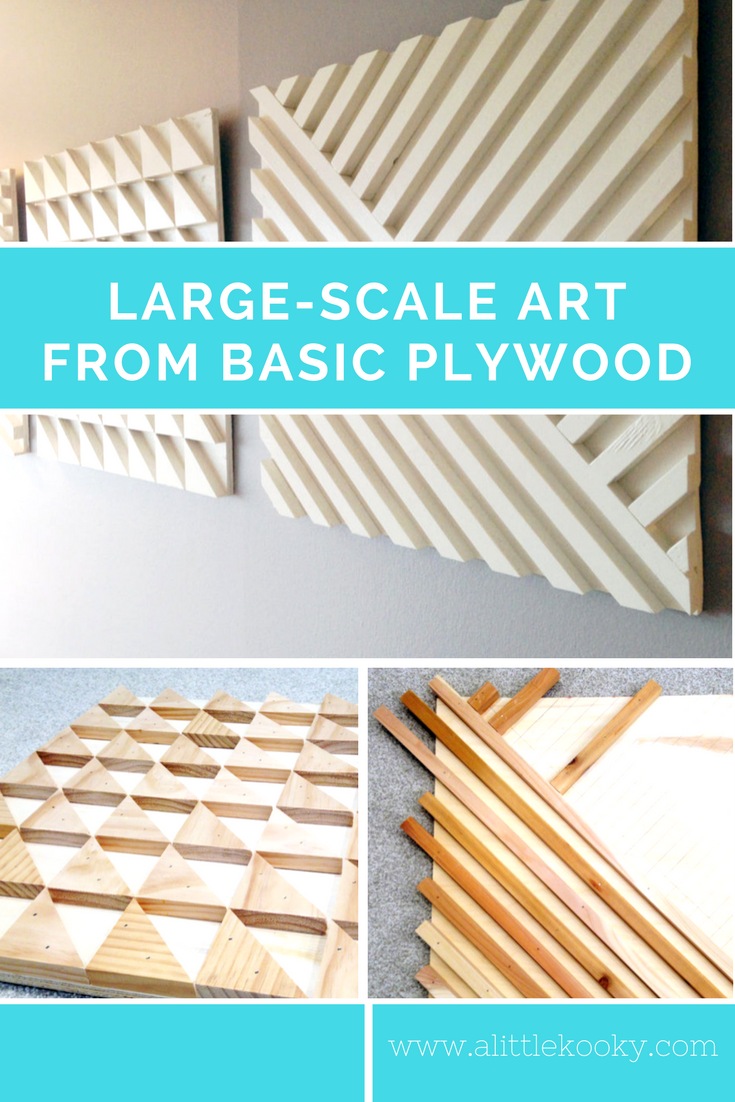
A while back, I wanted to make my brother and his wife a housewarming gift, but I had no idea where to start. They said they needed artwork–big artwork–and they had a spot in mind above their sofa, but other than that, all I had to go off was their home’s general aesthetic: Neutral and serene.
Lucky for me, I love a project I can completely creative direct, and this 3-piece artwork from West Elm was my inspiration.

I love the geometric, modern lines, and I especially love that it looked like something I could re-create, or at least use as inspiration. That’s how this piece began.
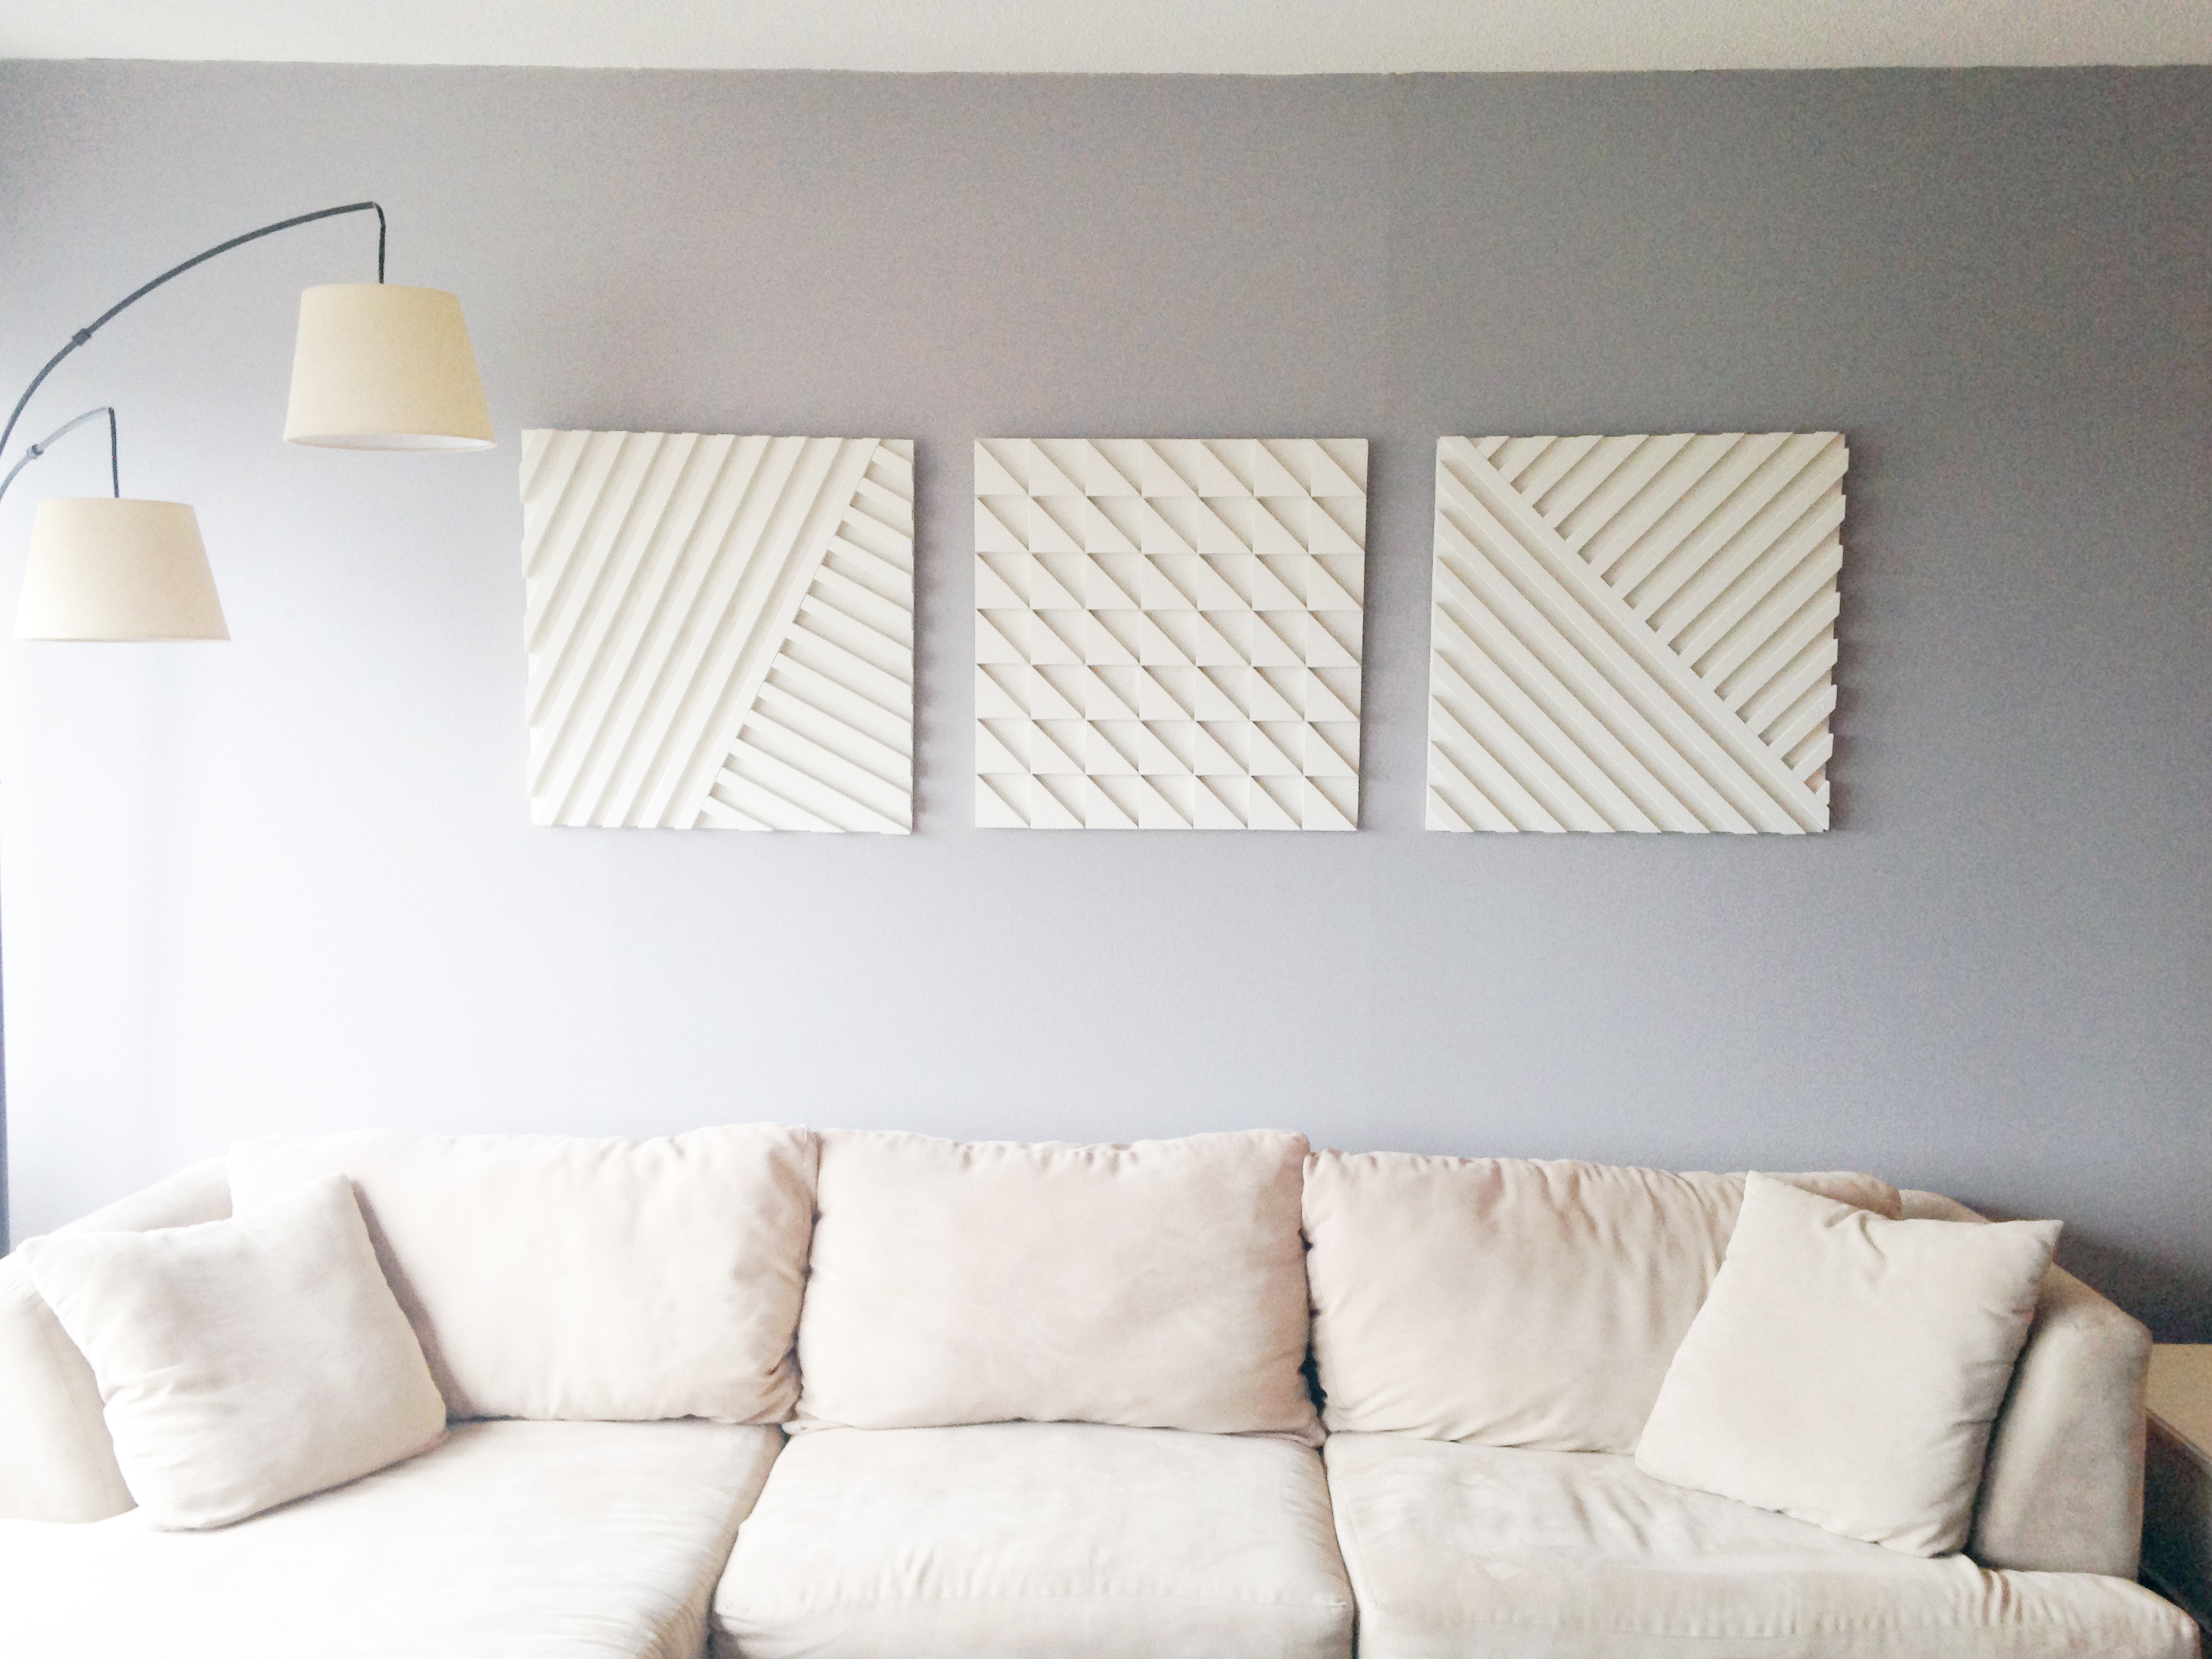
I decided on 3 squares of equal size because I was going for balance and symmetry. Plus, I really wanted a substantial piece for them.
I used standard plywood as the base, and had it cut down to 2ft x 2ft at Home Depot. I had this laying around, but you can also purchase. I found these great ones online — just make sure you determine the size. There are tons of sizes available.
I really liked the straight lines of the two bigger pieces in West Elm’s art, so I decided I would do something similar to two of mine. The problem was, what to do with the third board? I turned to my scrap wood pile for inspo. Interestingly, I had a few scrap triangles lying around from a previous project my husband did, and they sparked my interest. That said, if you don’t have a stash of scrap wood like I do, there are plenty available to purchase – I’d start here.
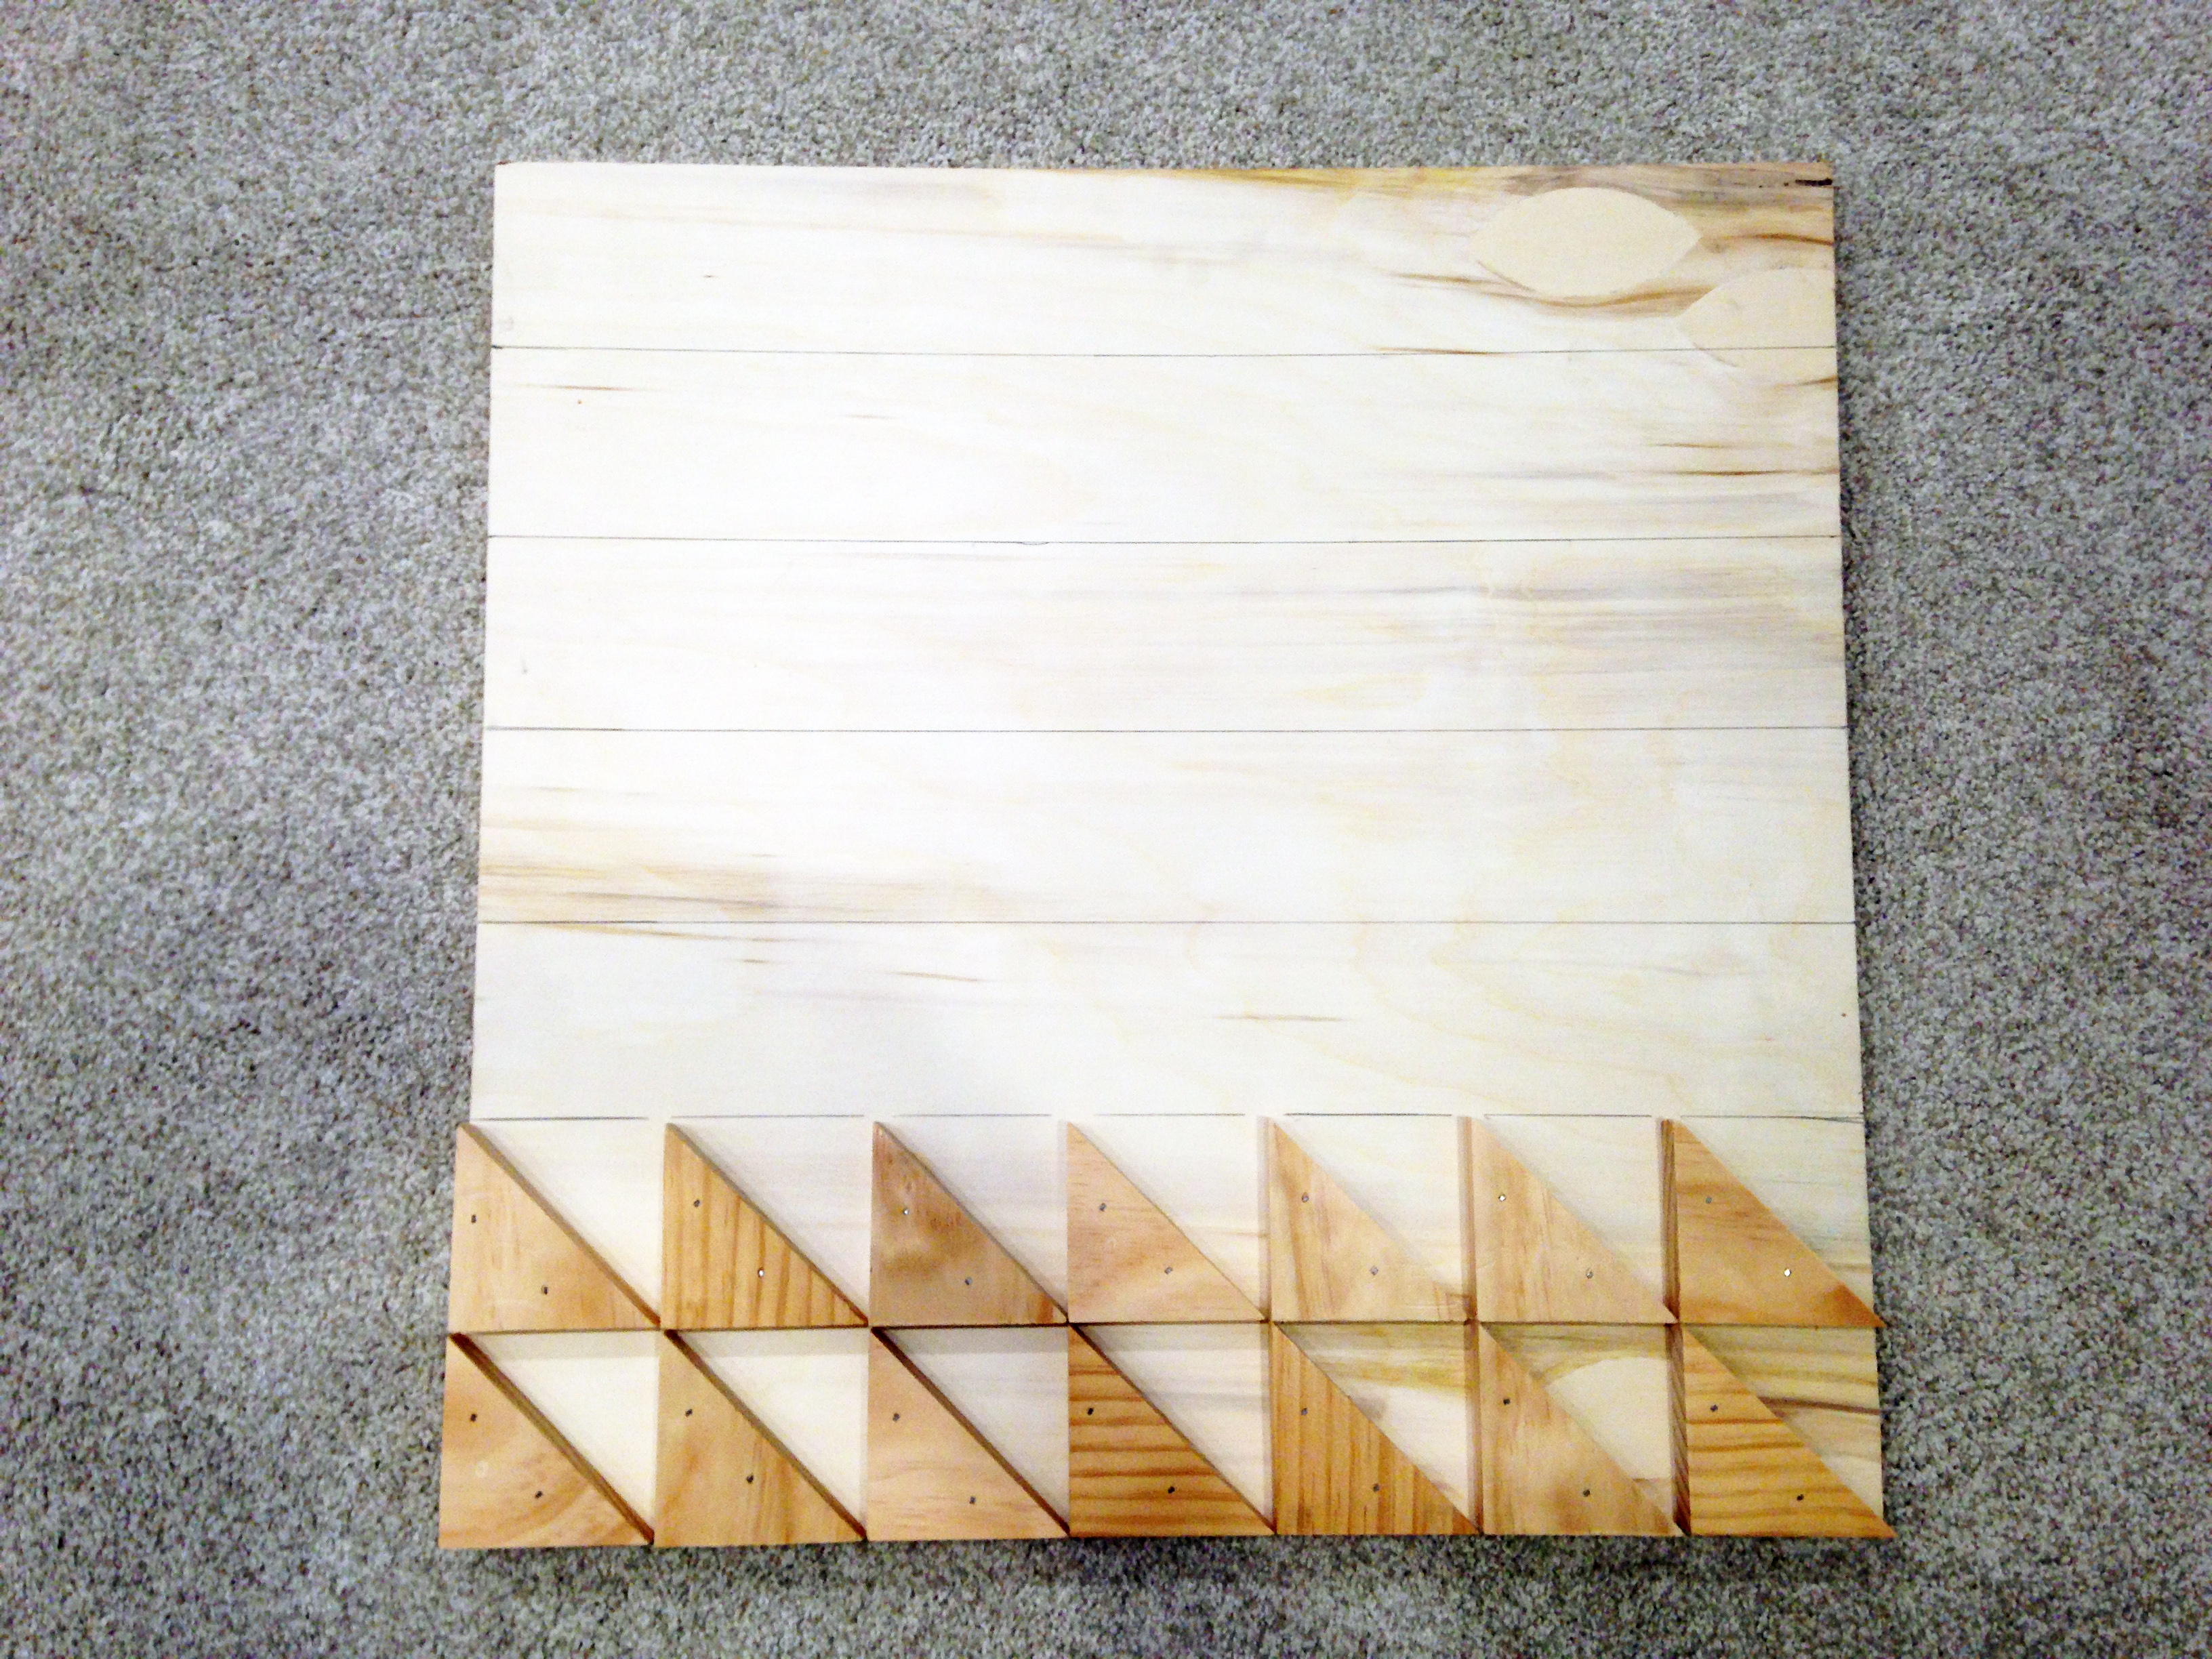
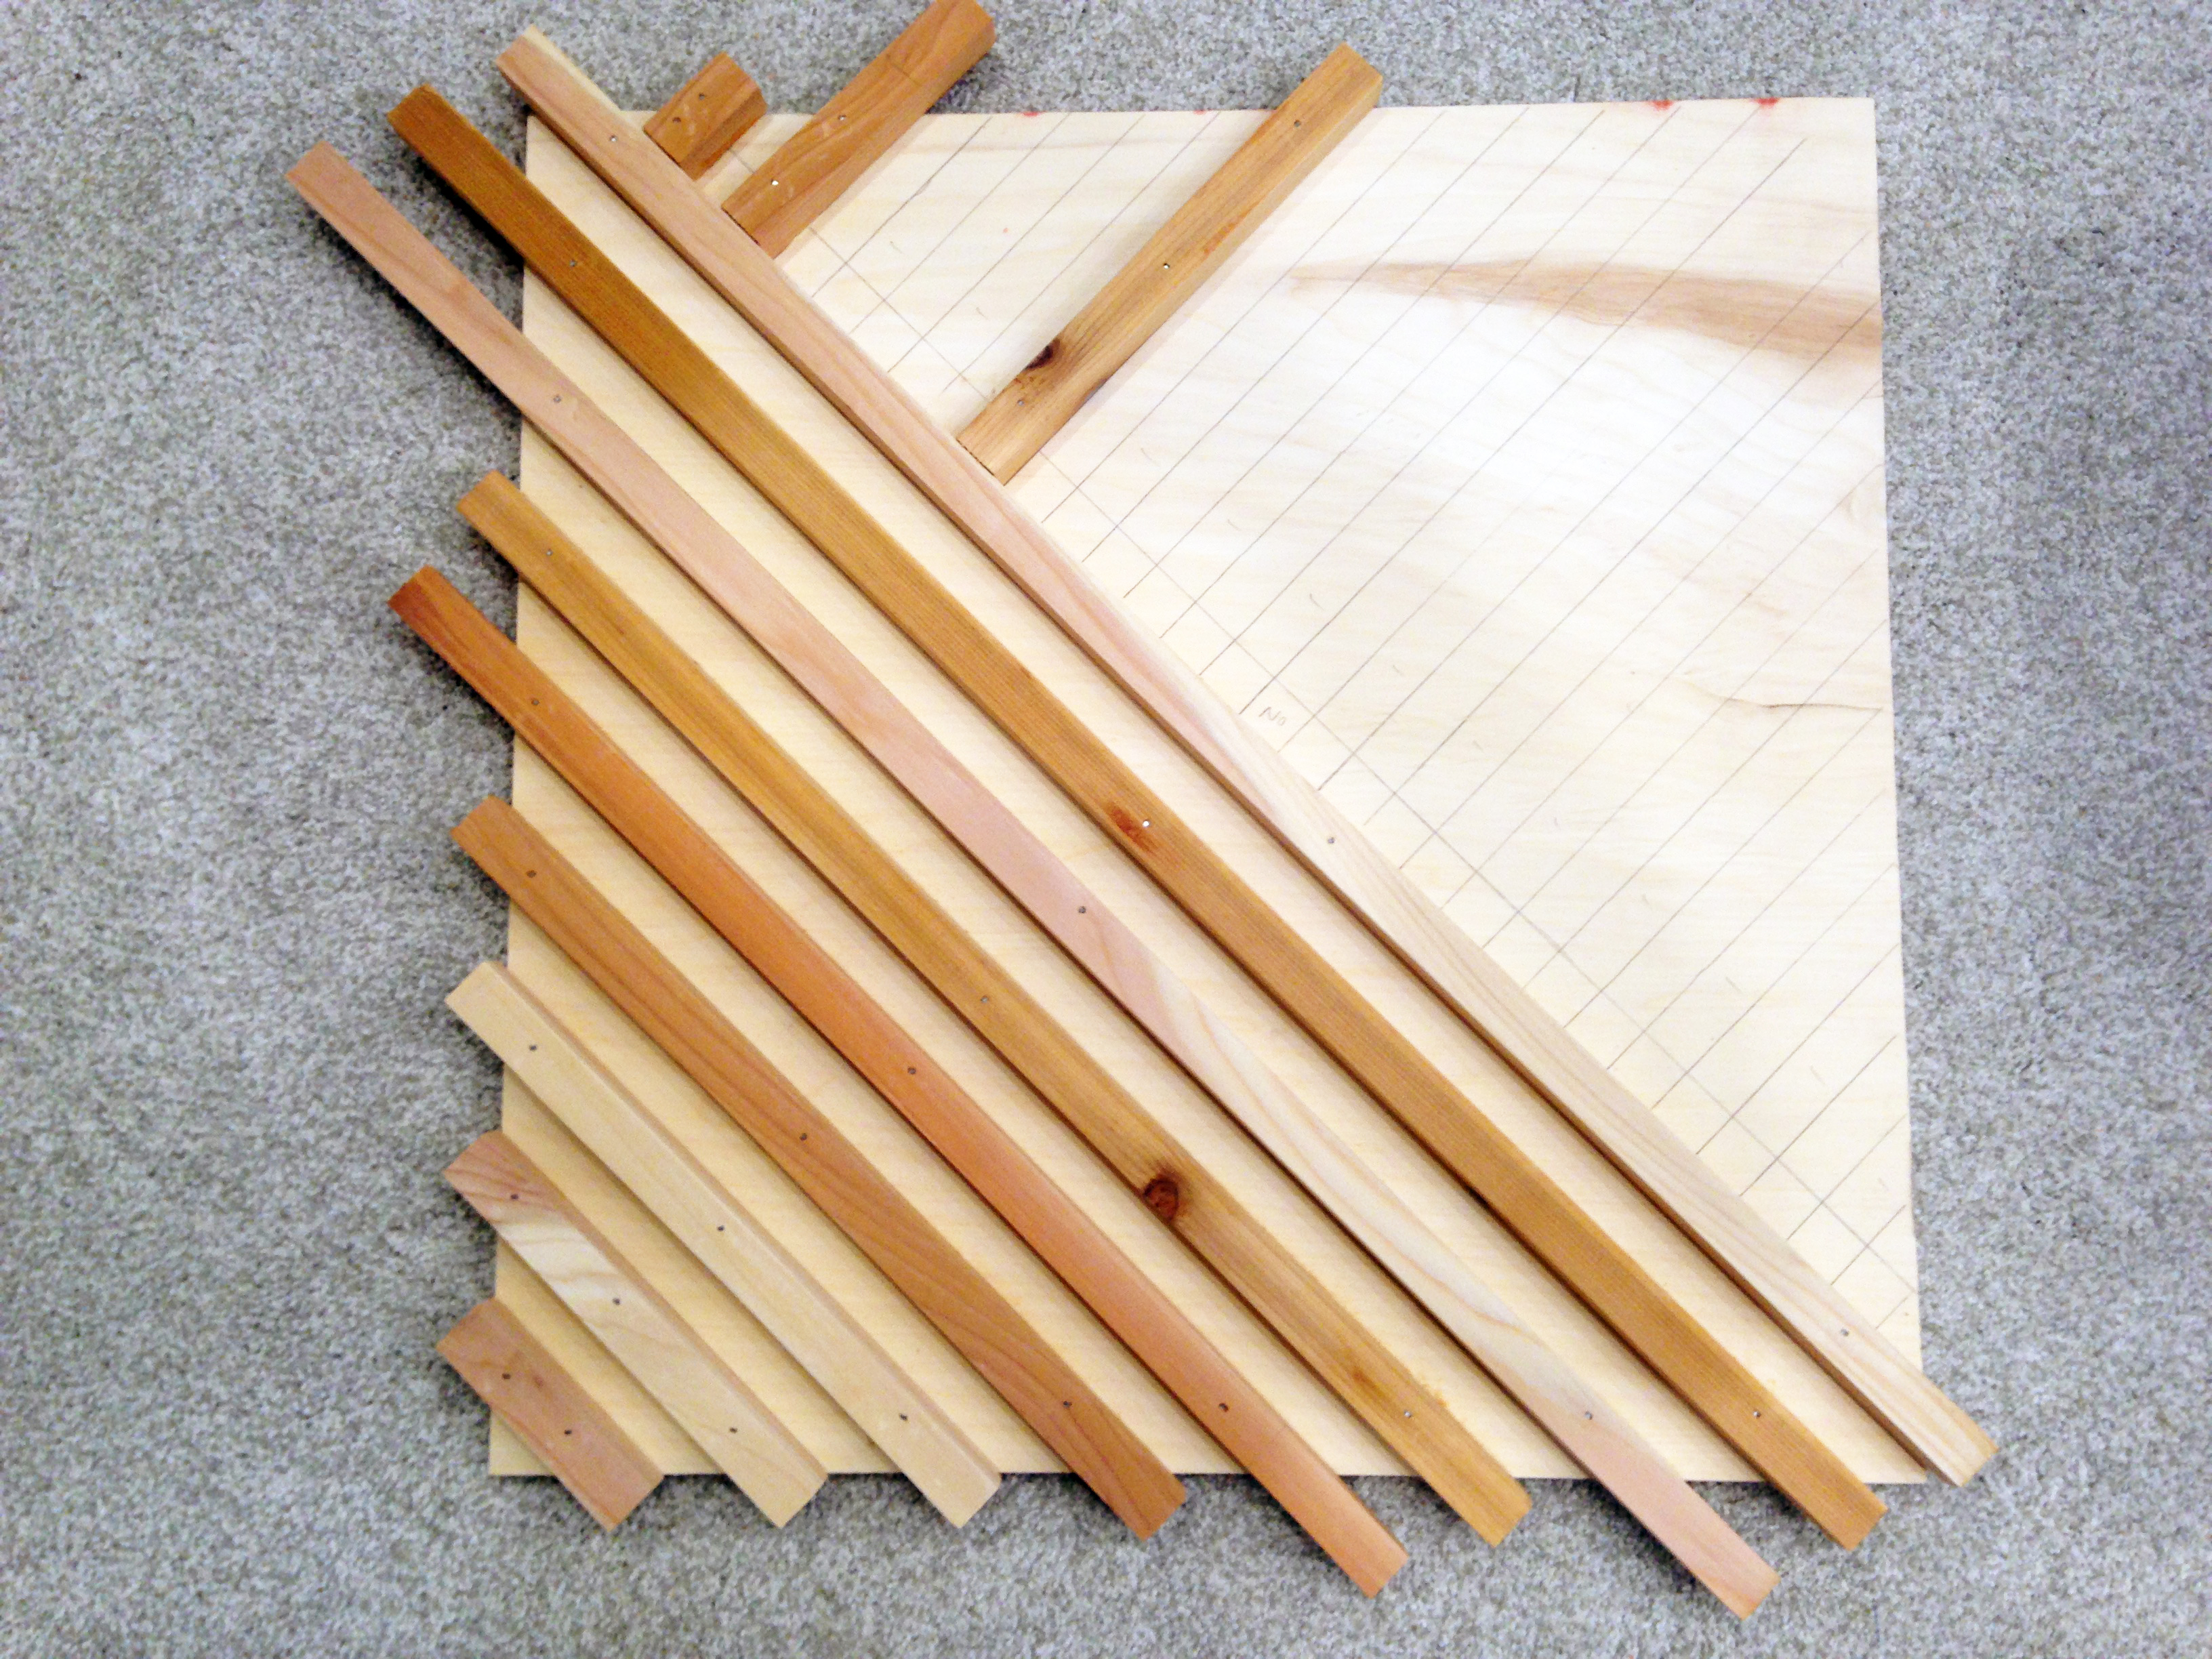
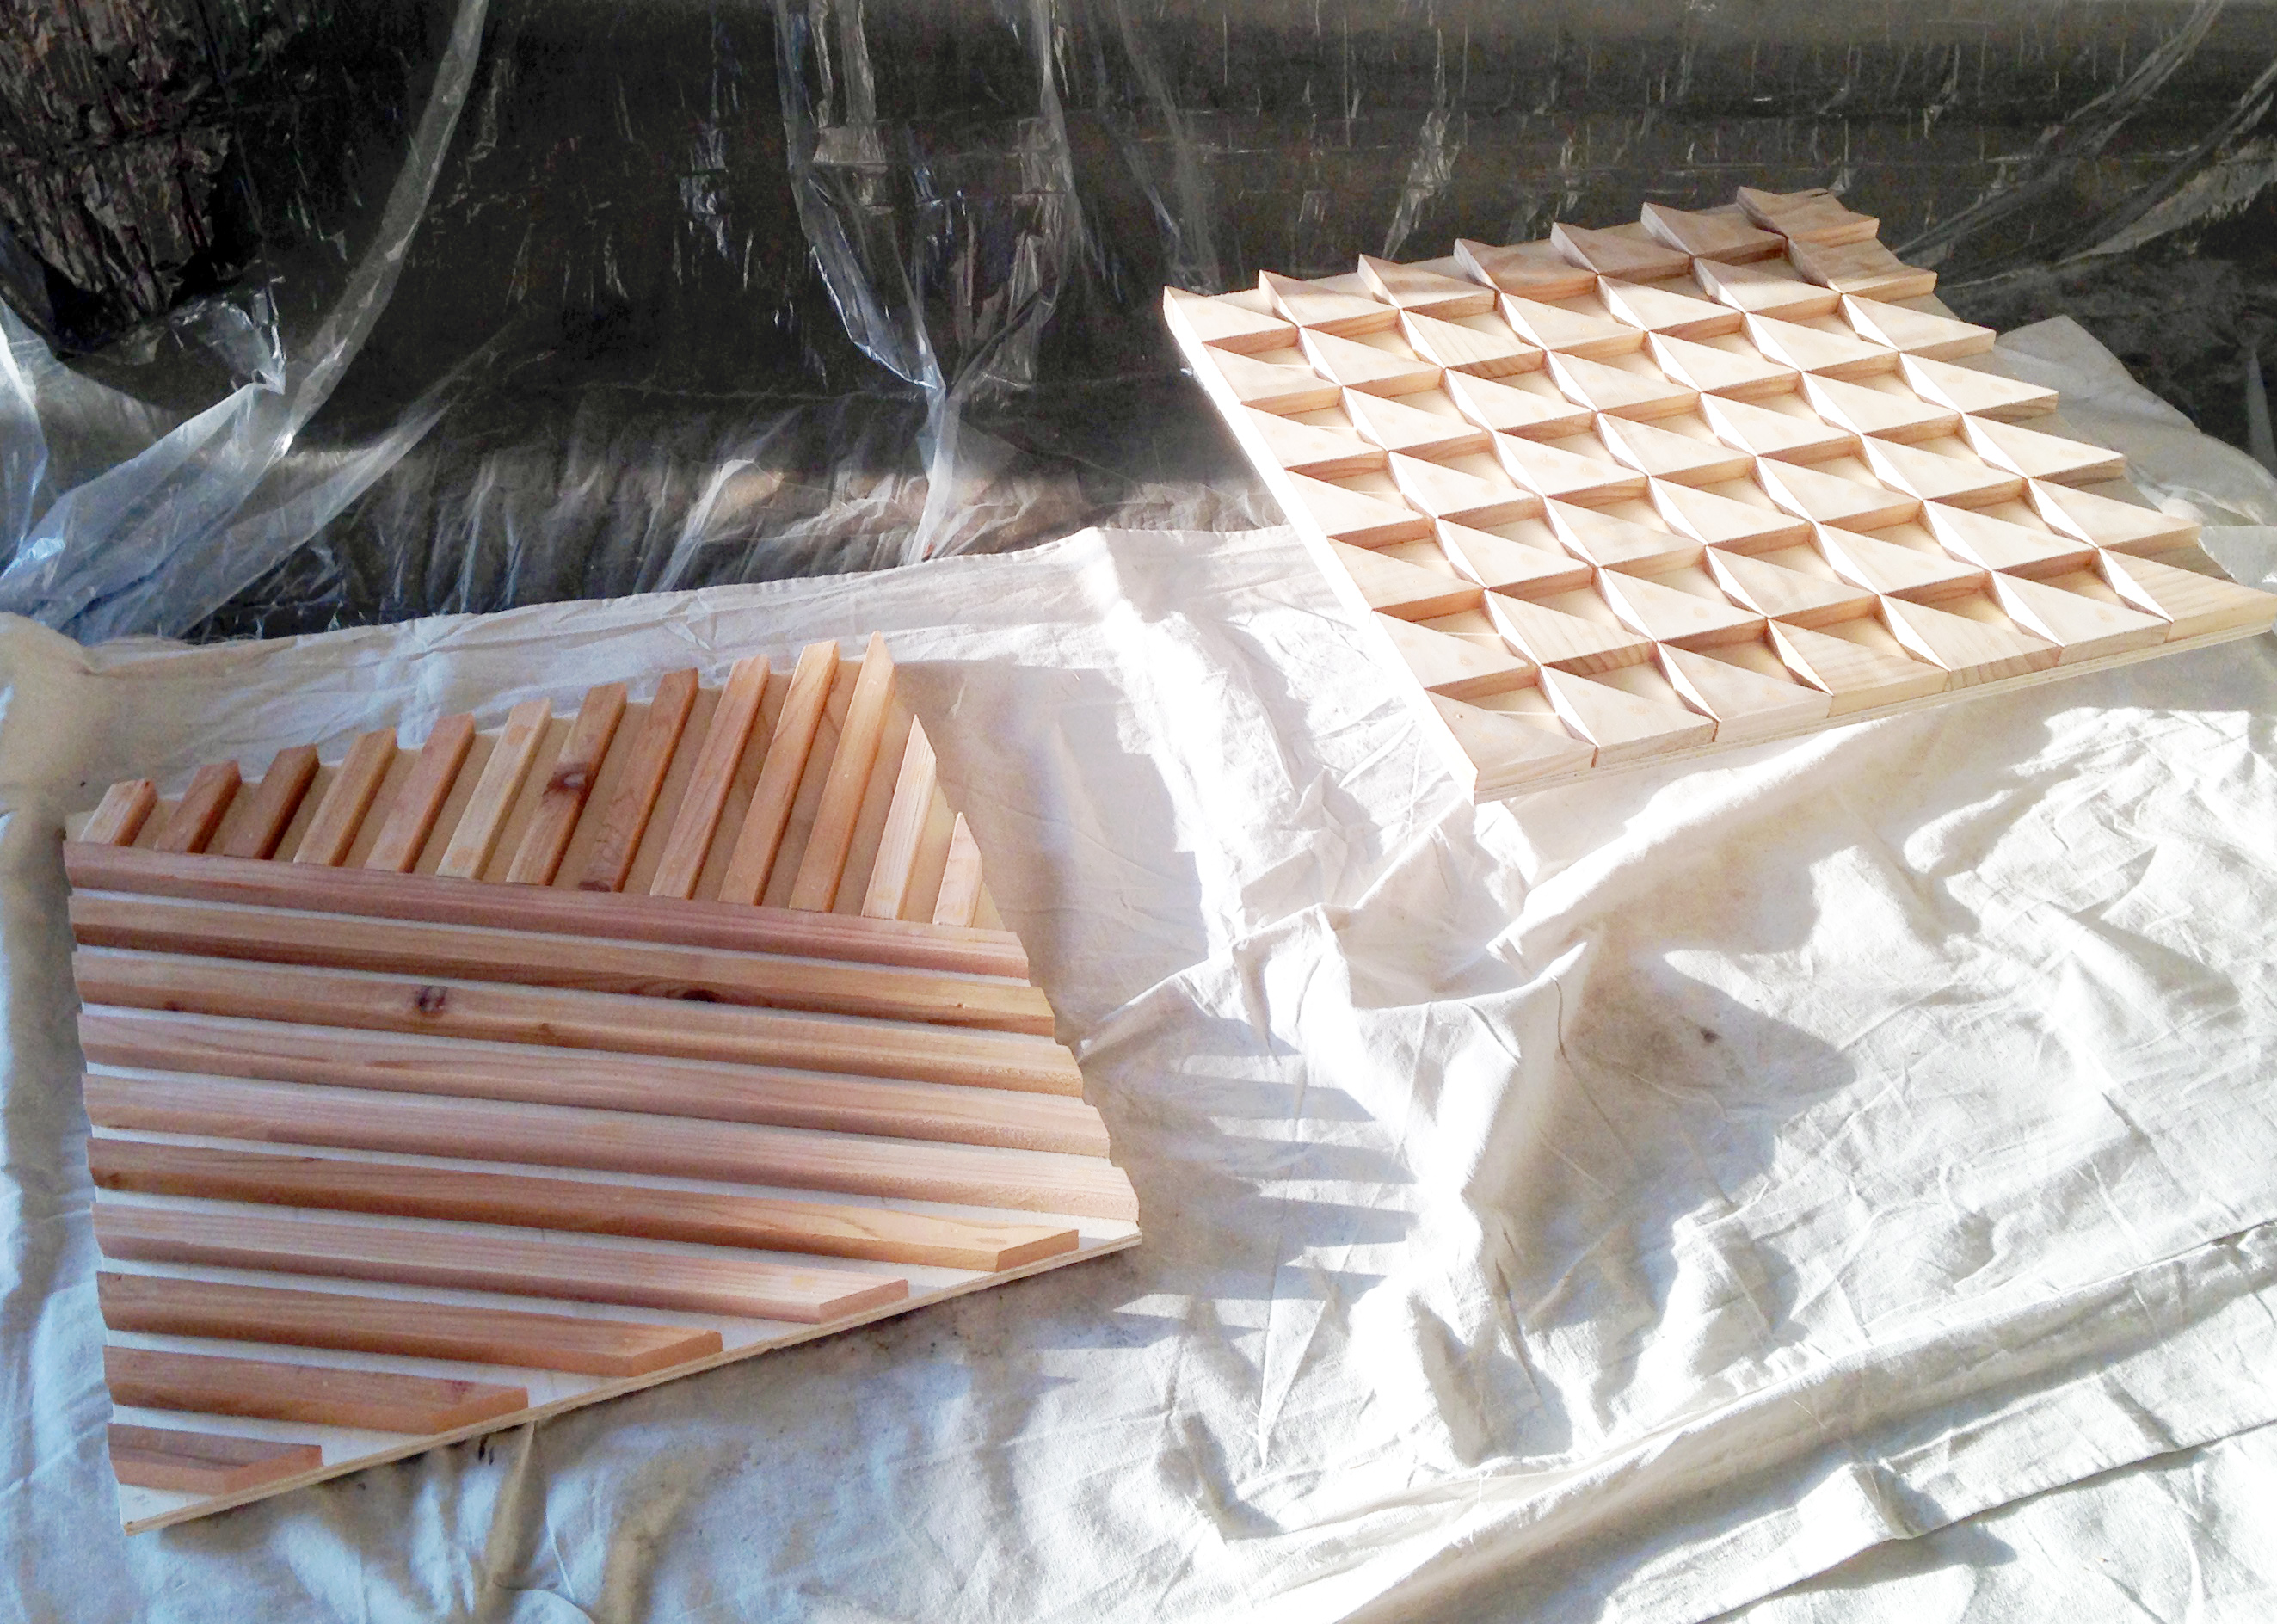
The octagons on the West Elm piece were too time-consuming for me, so triangles were the perfect compromise to still align with the geometric aesthetic, without tackling something I didn’t feel comfortable with. Here’s how it started:
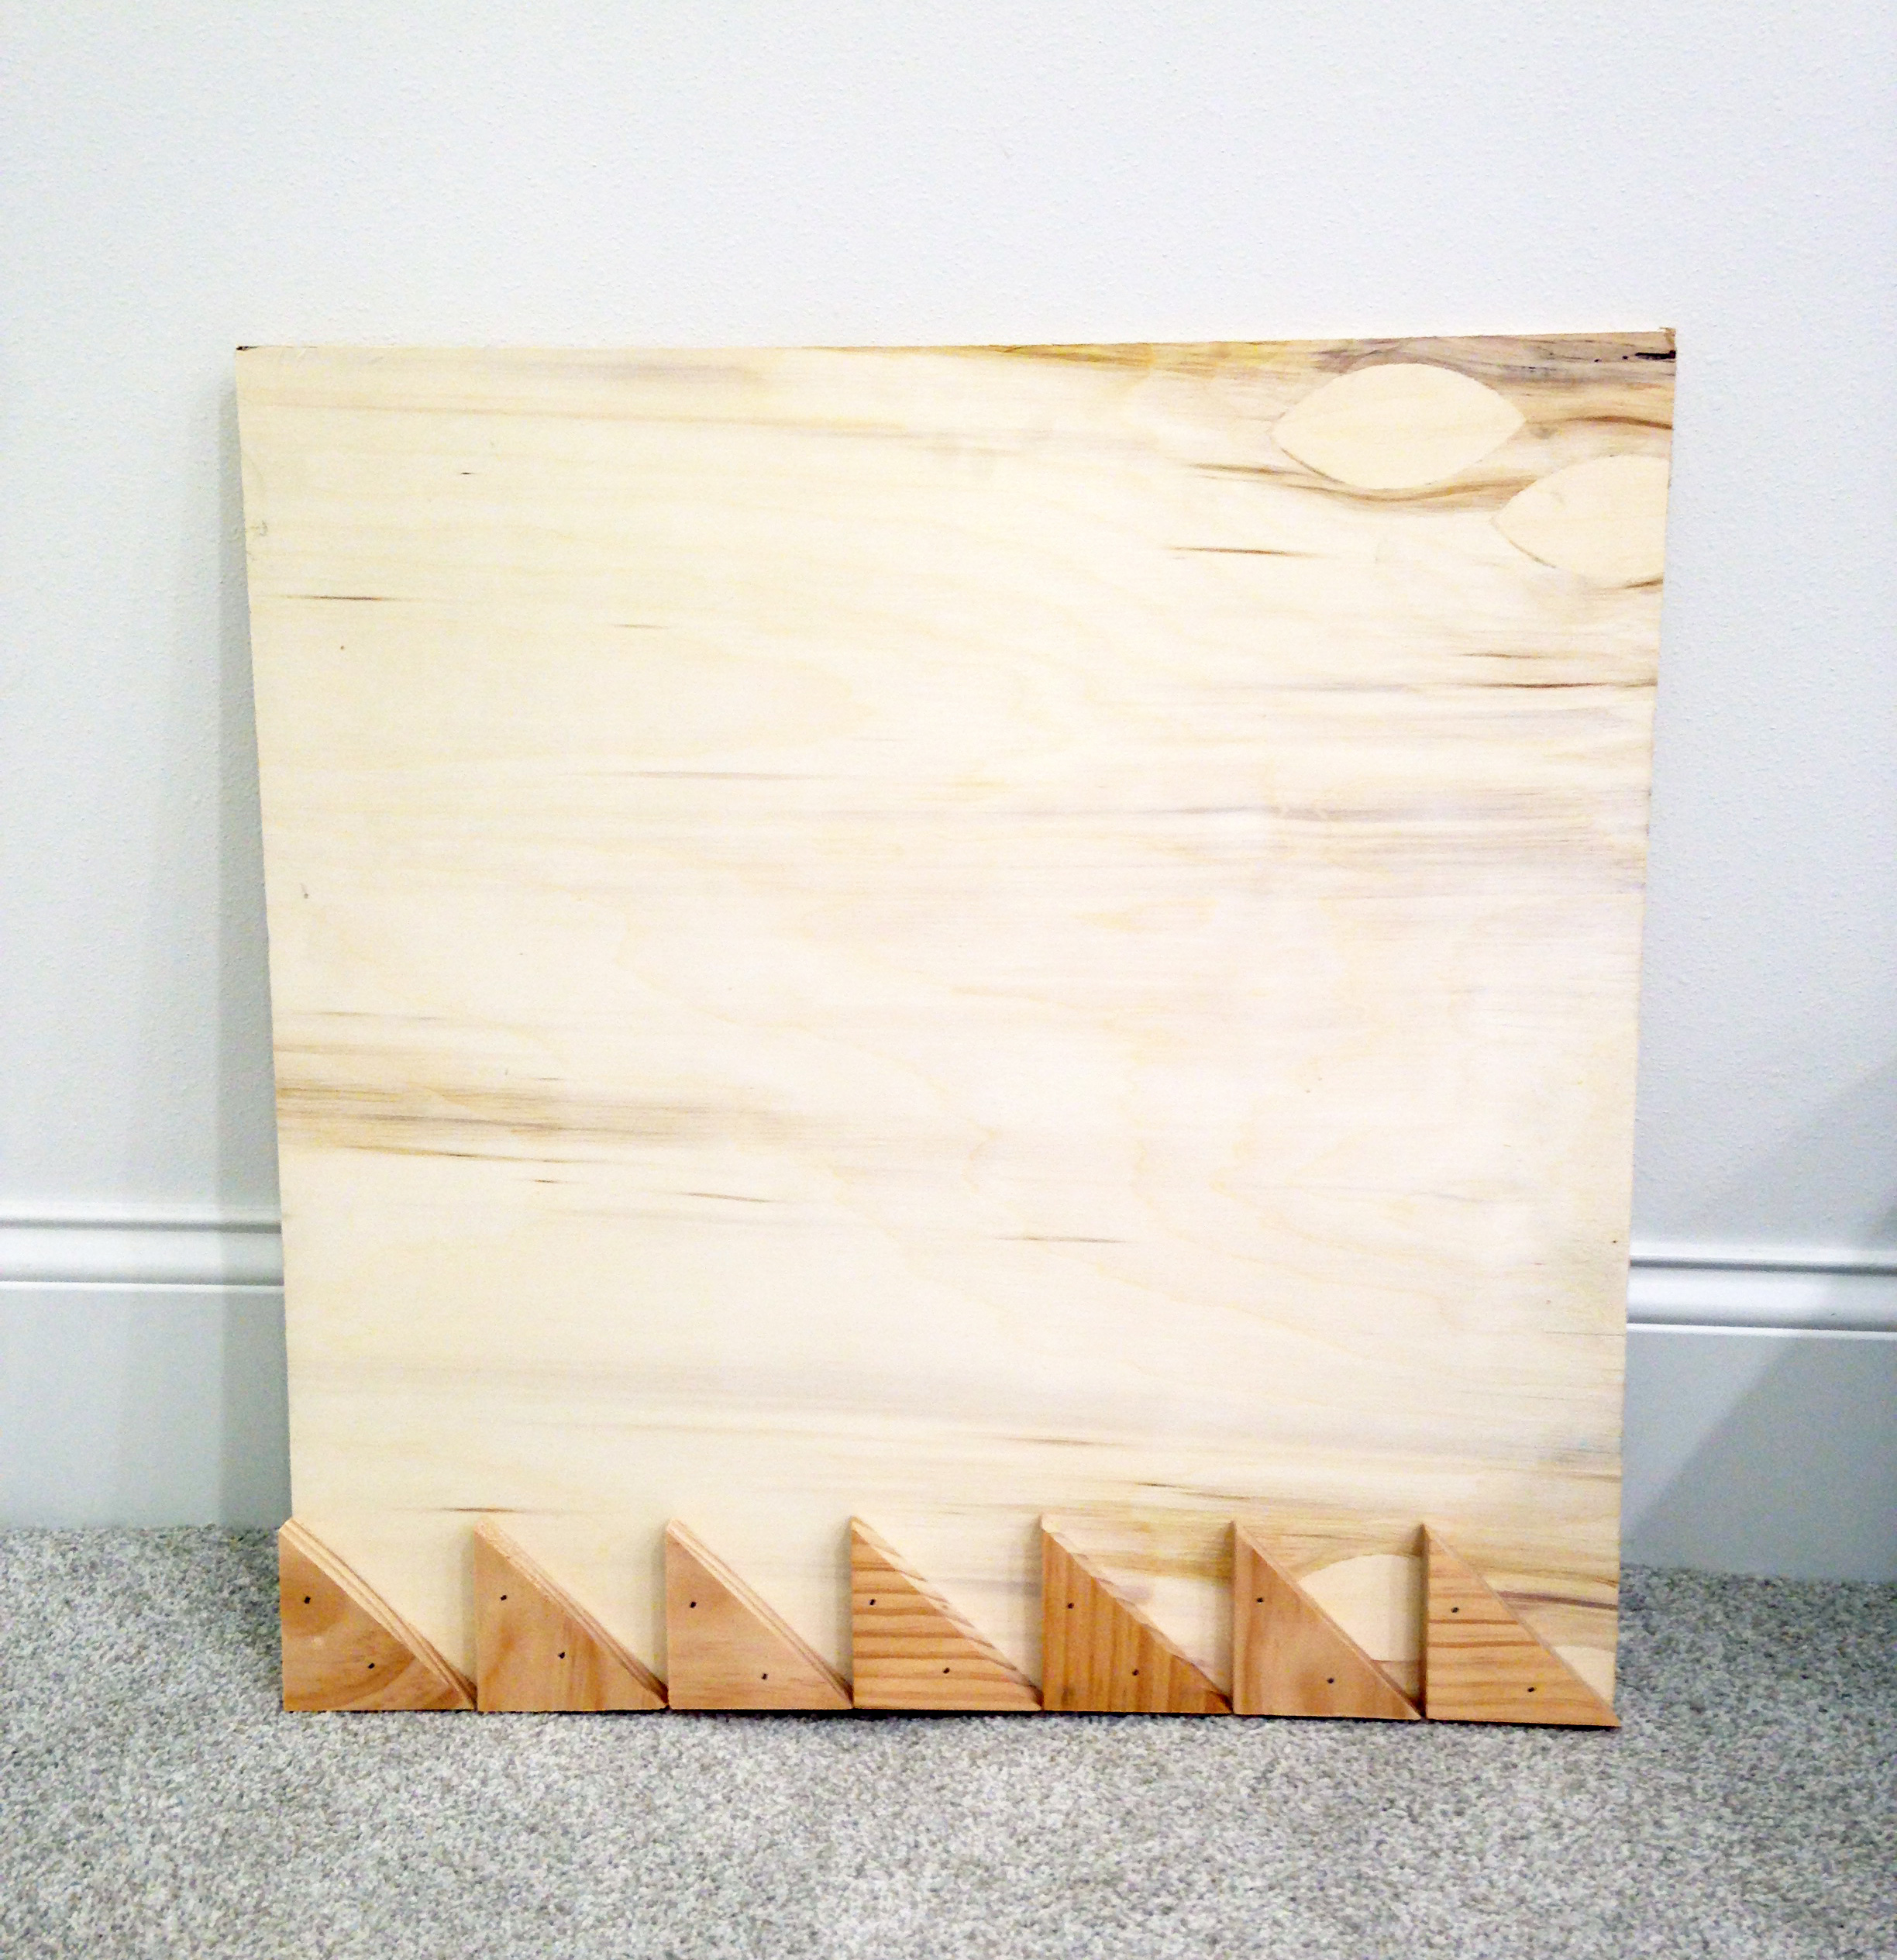
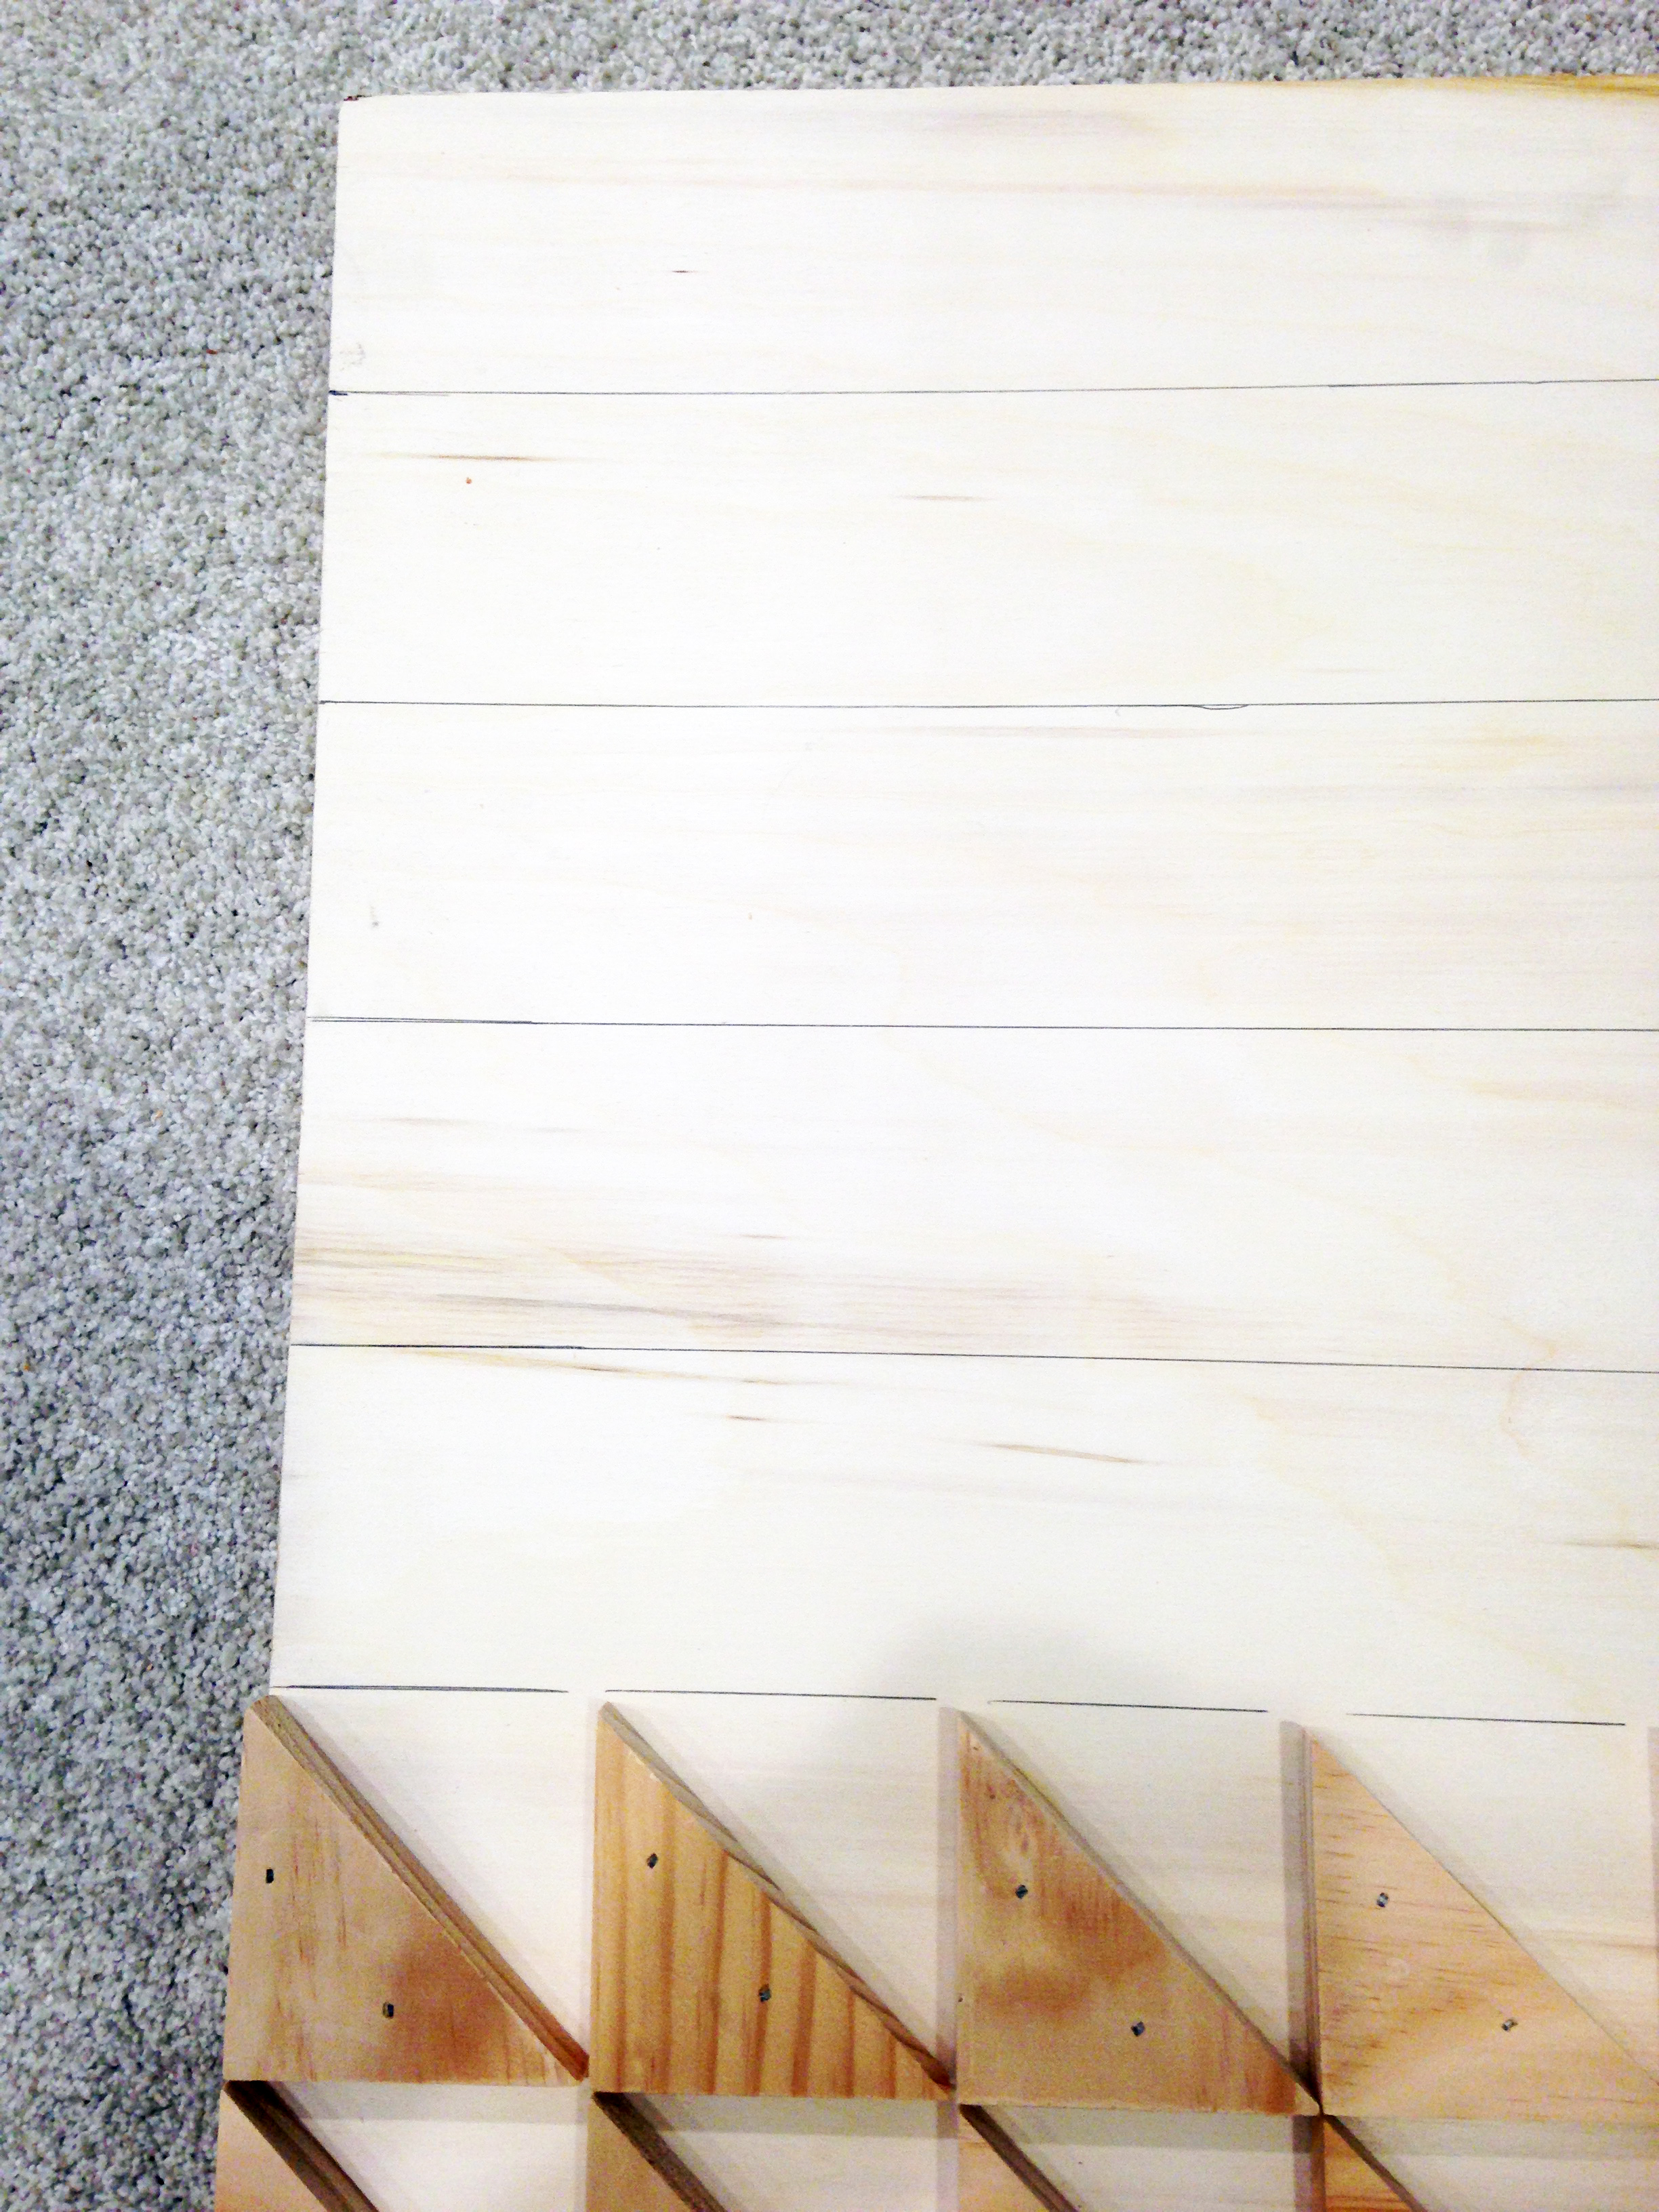
I decided to perfectly align the triangles horizontally across my board, but it didn’t prove easy. So to help myself out, I drew myself some lines to follow. This way, I knew exactly where to nail my triangles. I should also note that for all 3 boards, I didn’t just use nails, I also used wood glue to ensure they’d never budge. Better safe than sorry, in my book (especially when the piece is for someone else).
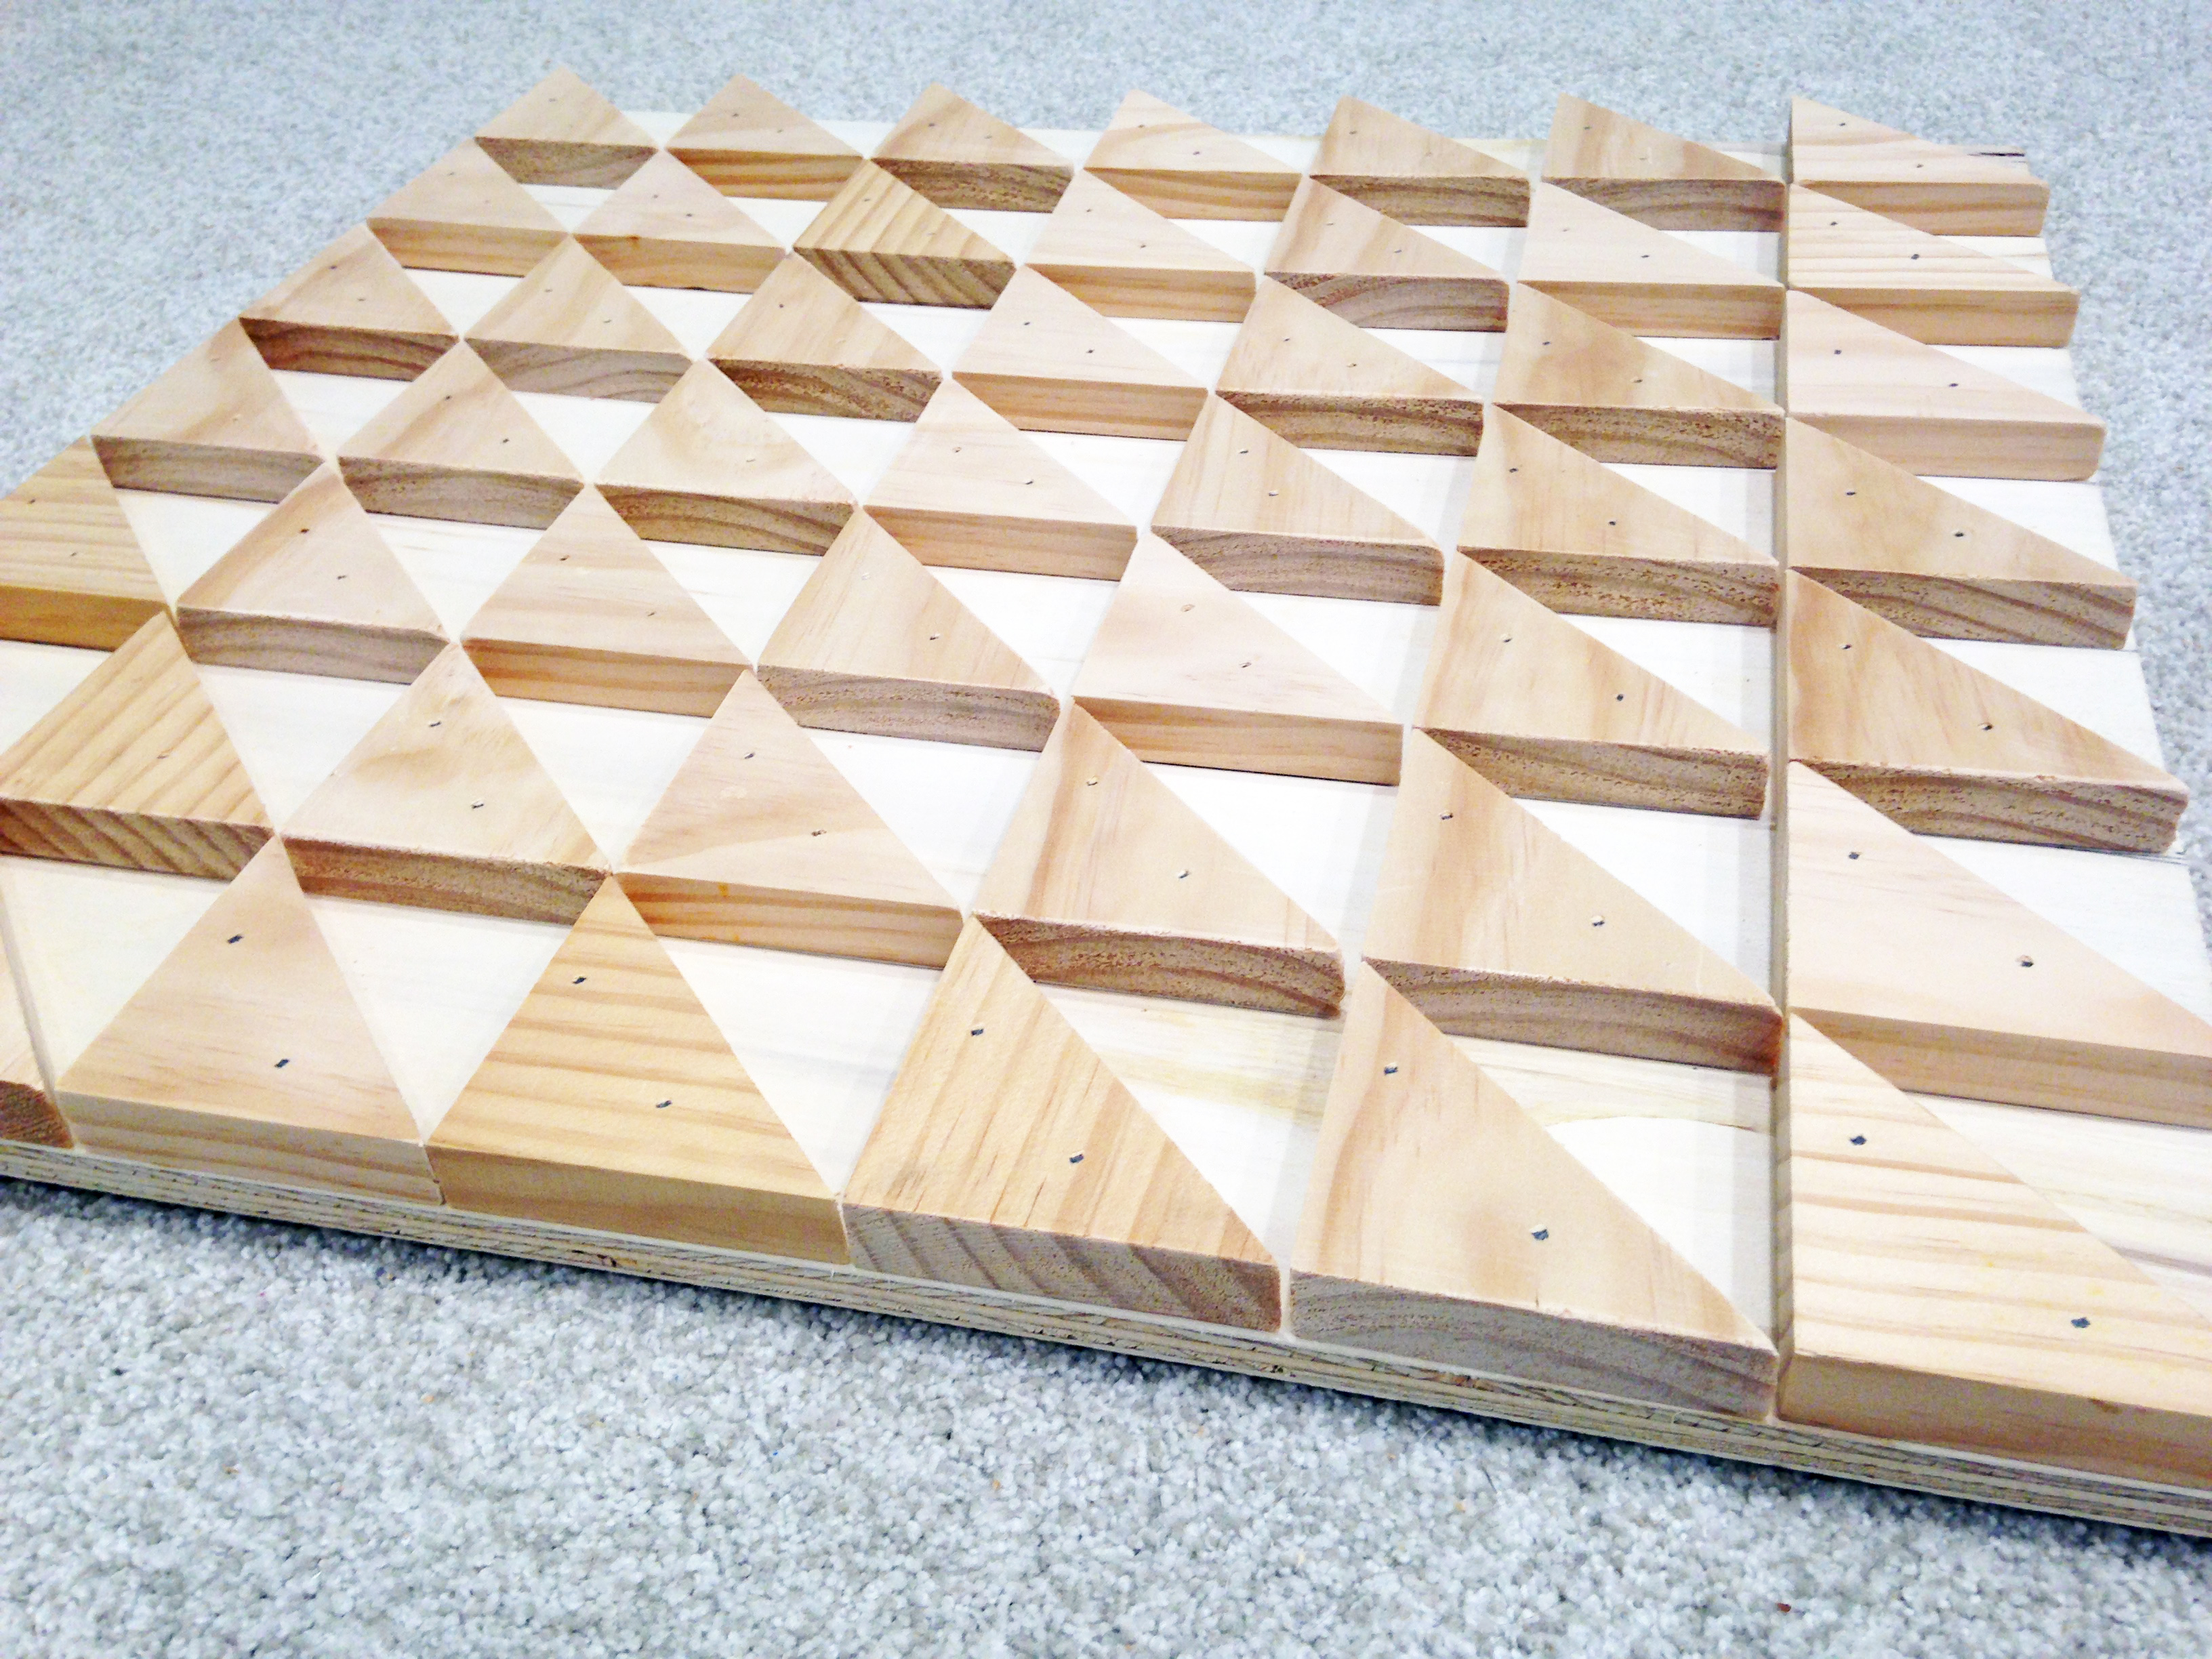
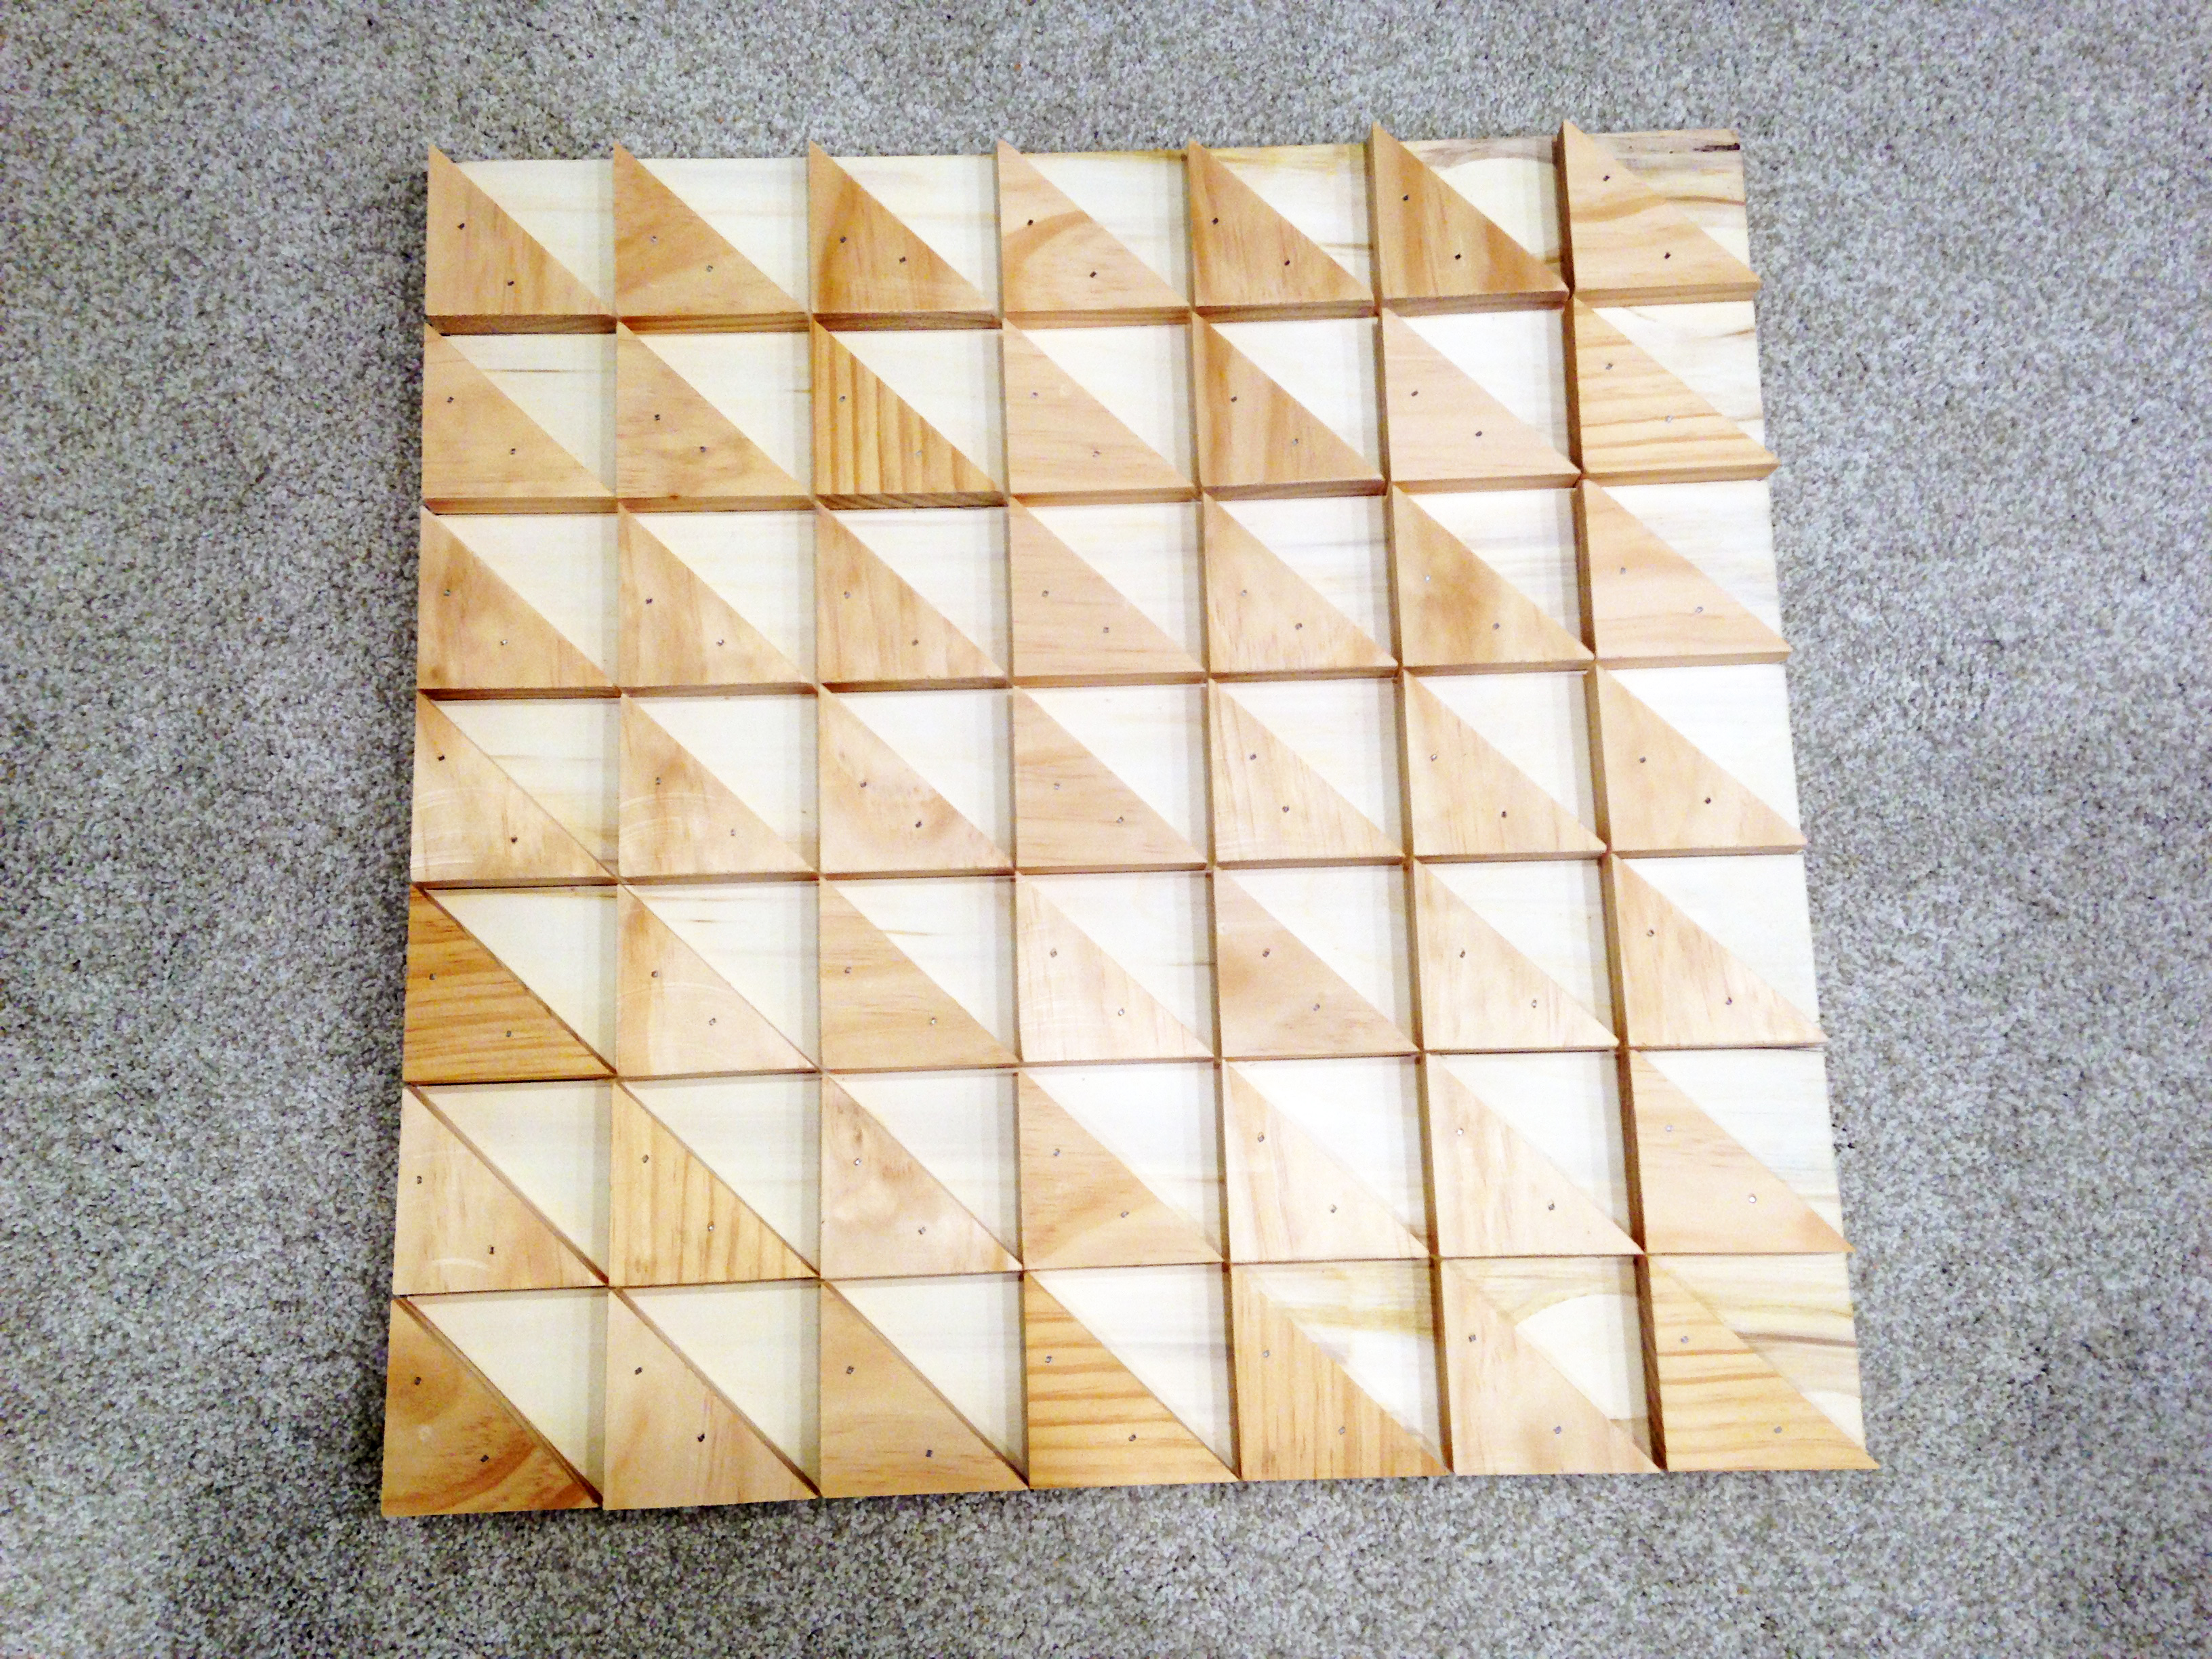
Here she is with all the triangles glued and nailed in place.
This part is simple; just takes a little time. I used a standard wood filler and really made sure I was generous with the amount per hole. That way, there would be no trace of nails once painted.


Once the wood filler had time to dry, I lightly sanded it to make sure I covered every hole (thankfully I did), and I also did a light sanding on all the edges. Some were a little rough – after all, I’m no master sawer 🙂
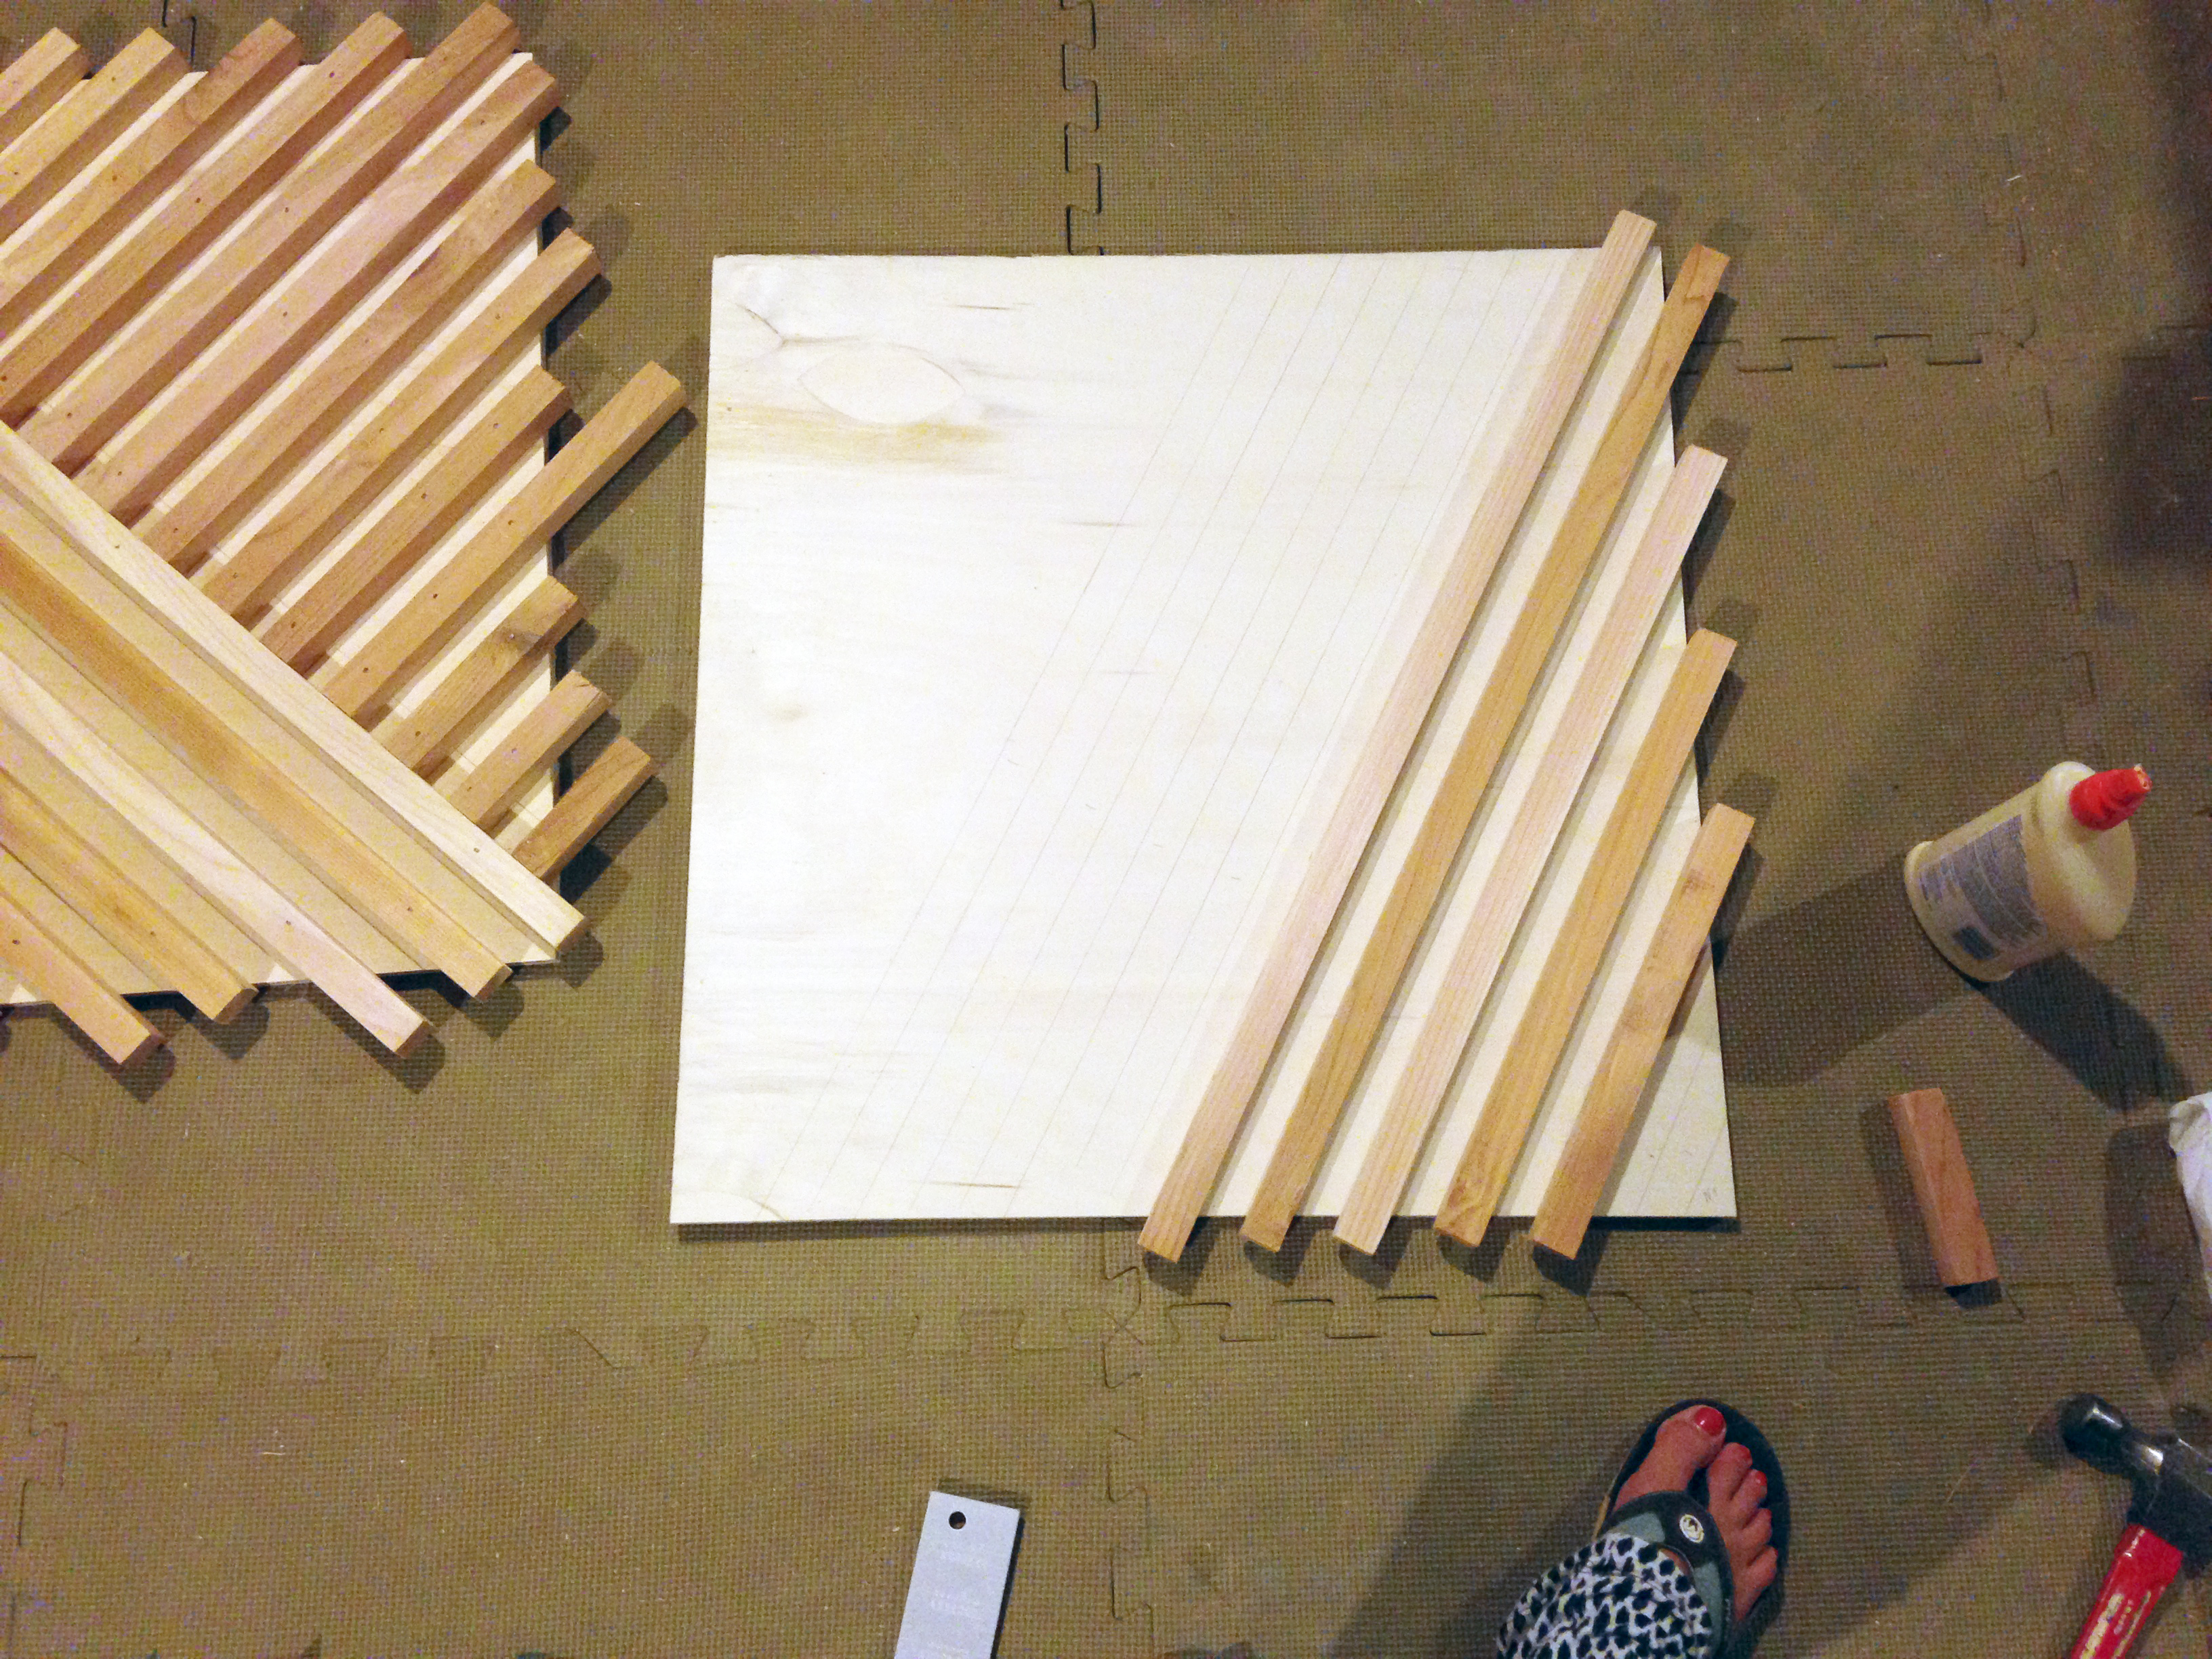
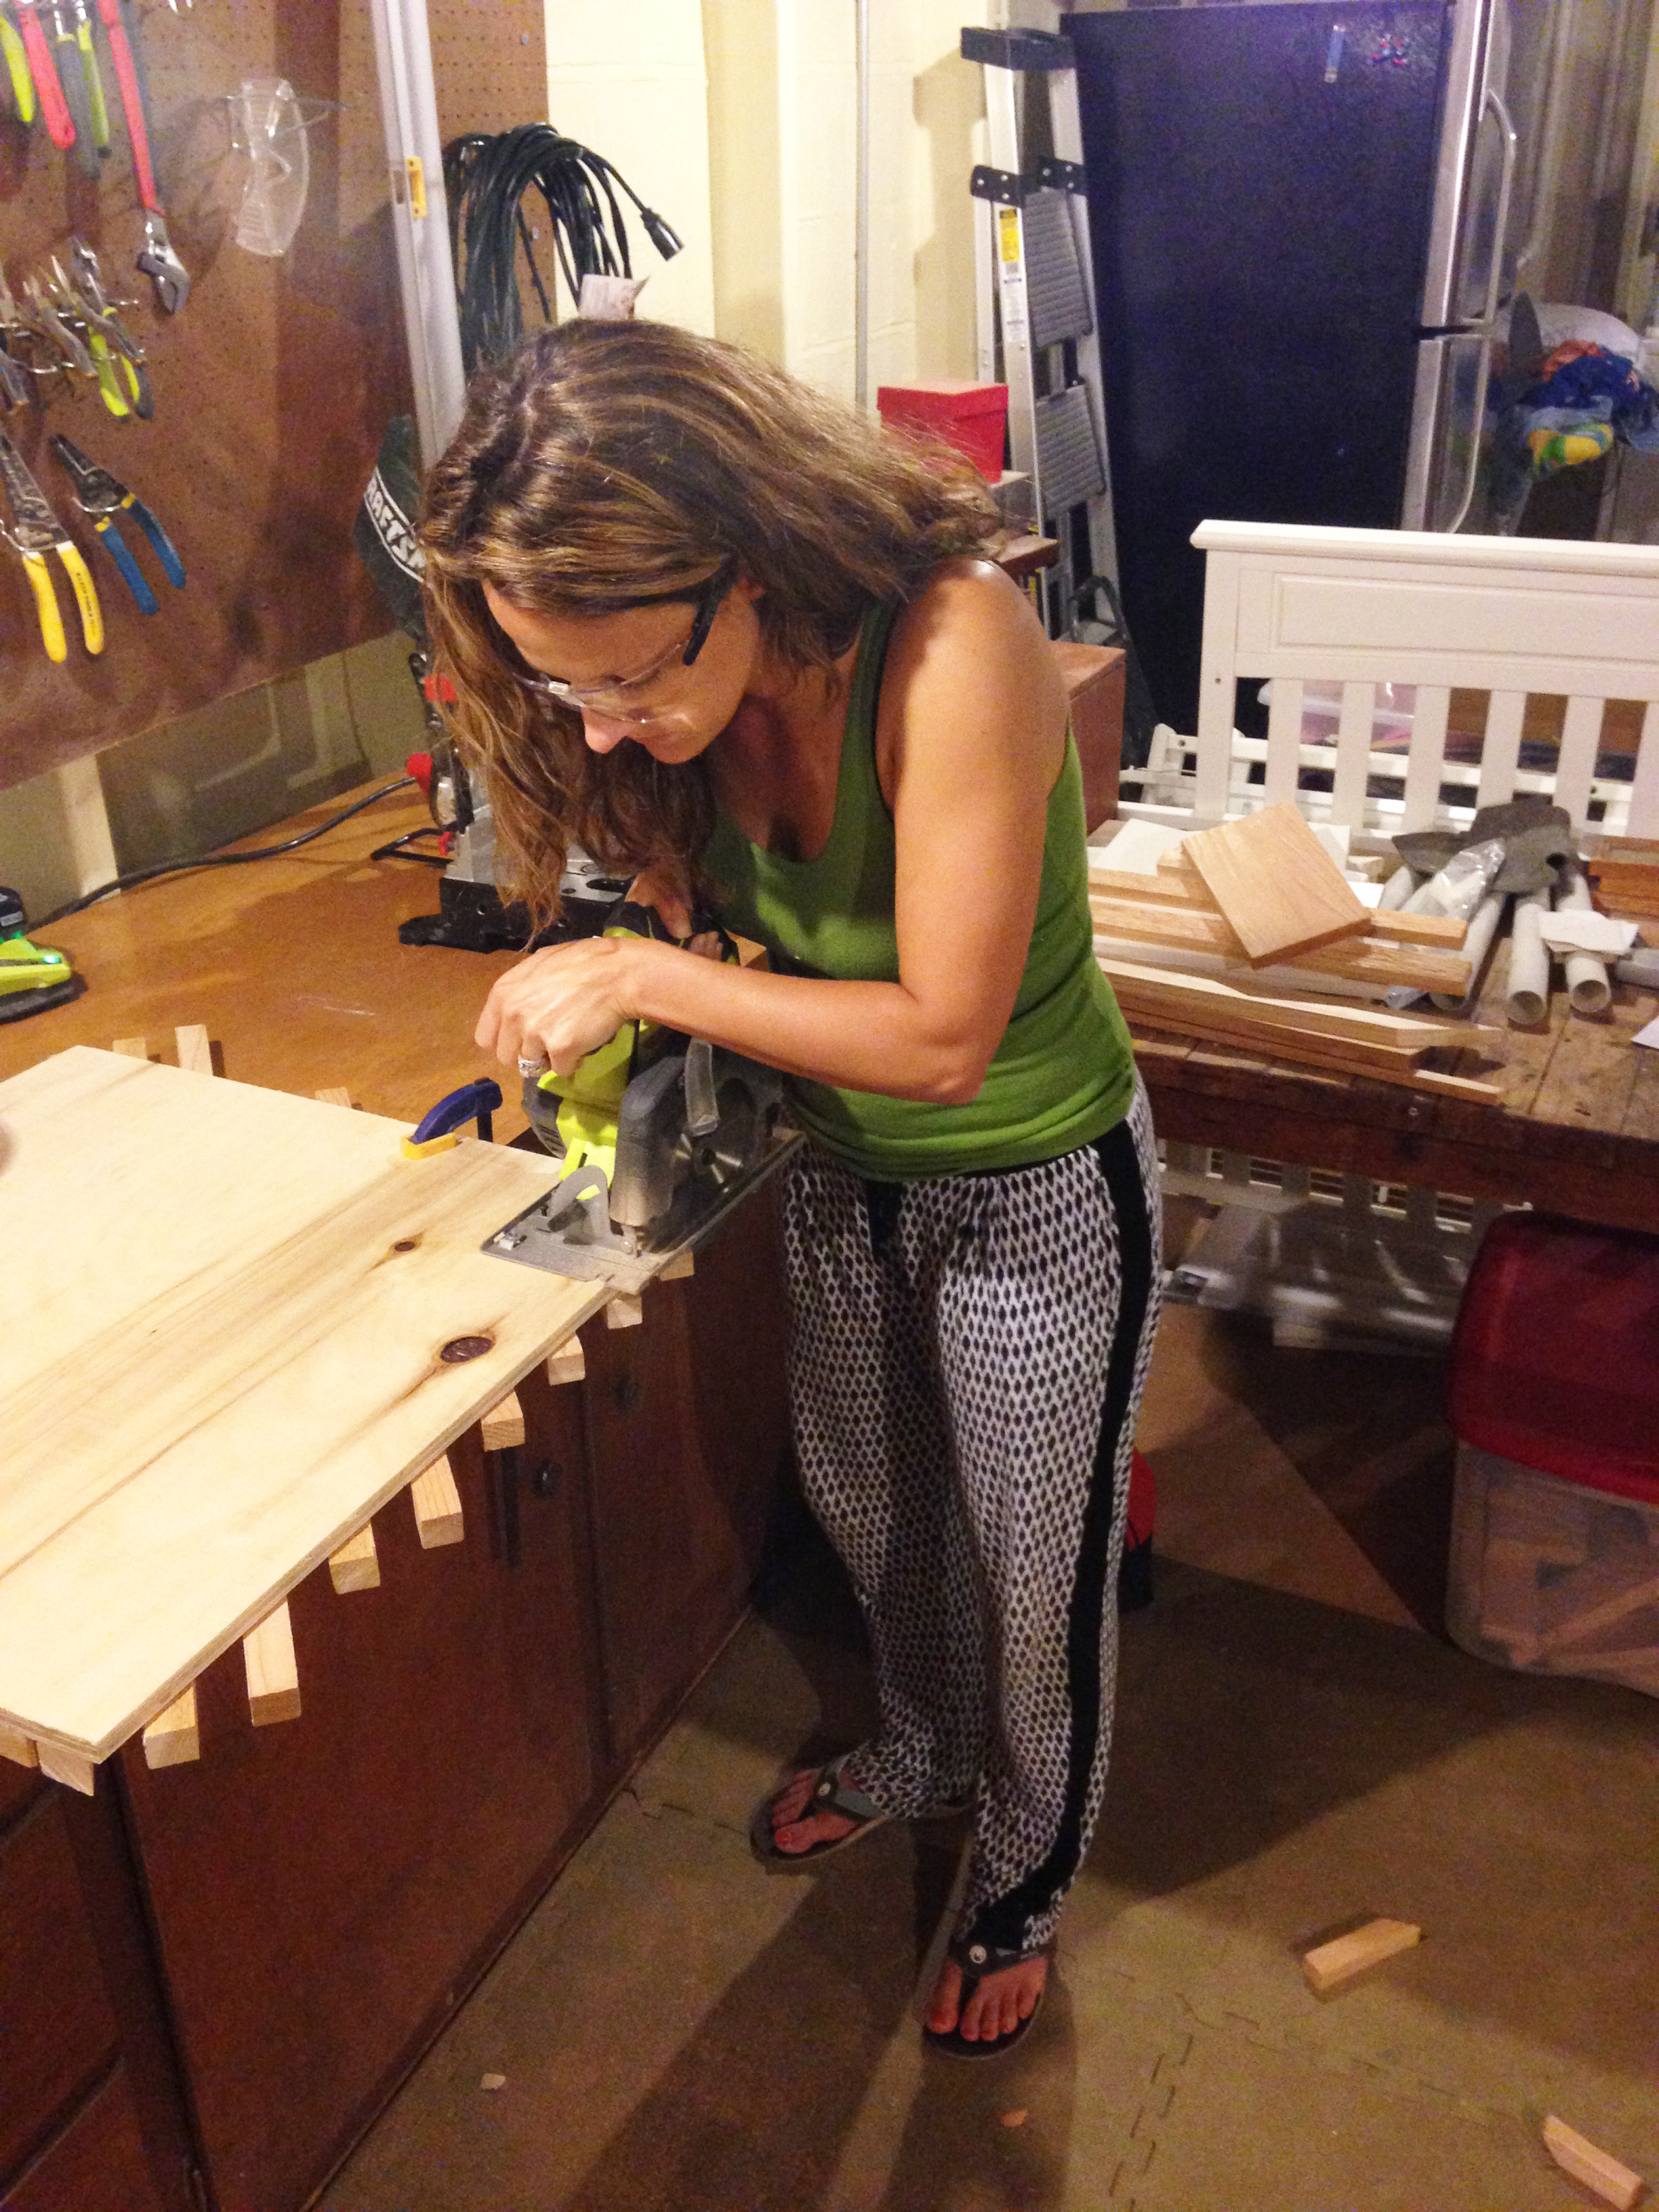
The other two boards were pegged to have straight diagonal lines (instead of triangles), but the steps I took to accomplish them were basically the same as for the triangles. The most time-consuming part is definitely cutting all the pieces and aligning them on the boards. Just like with the triangles, I made sure to draw myself some follow lines for accuracy.

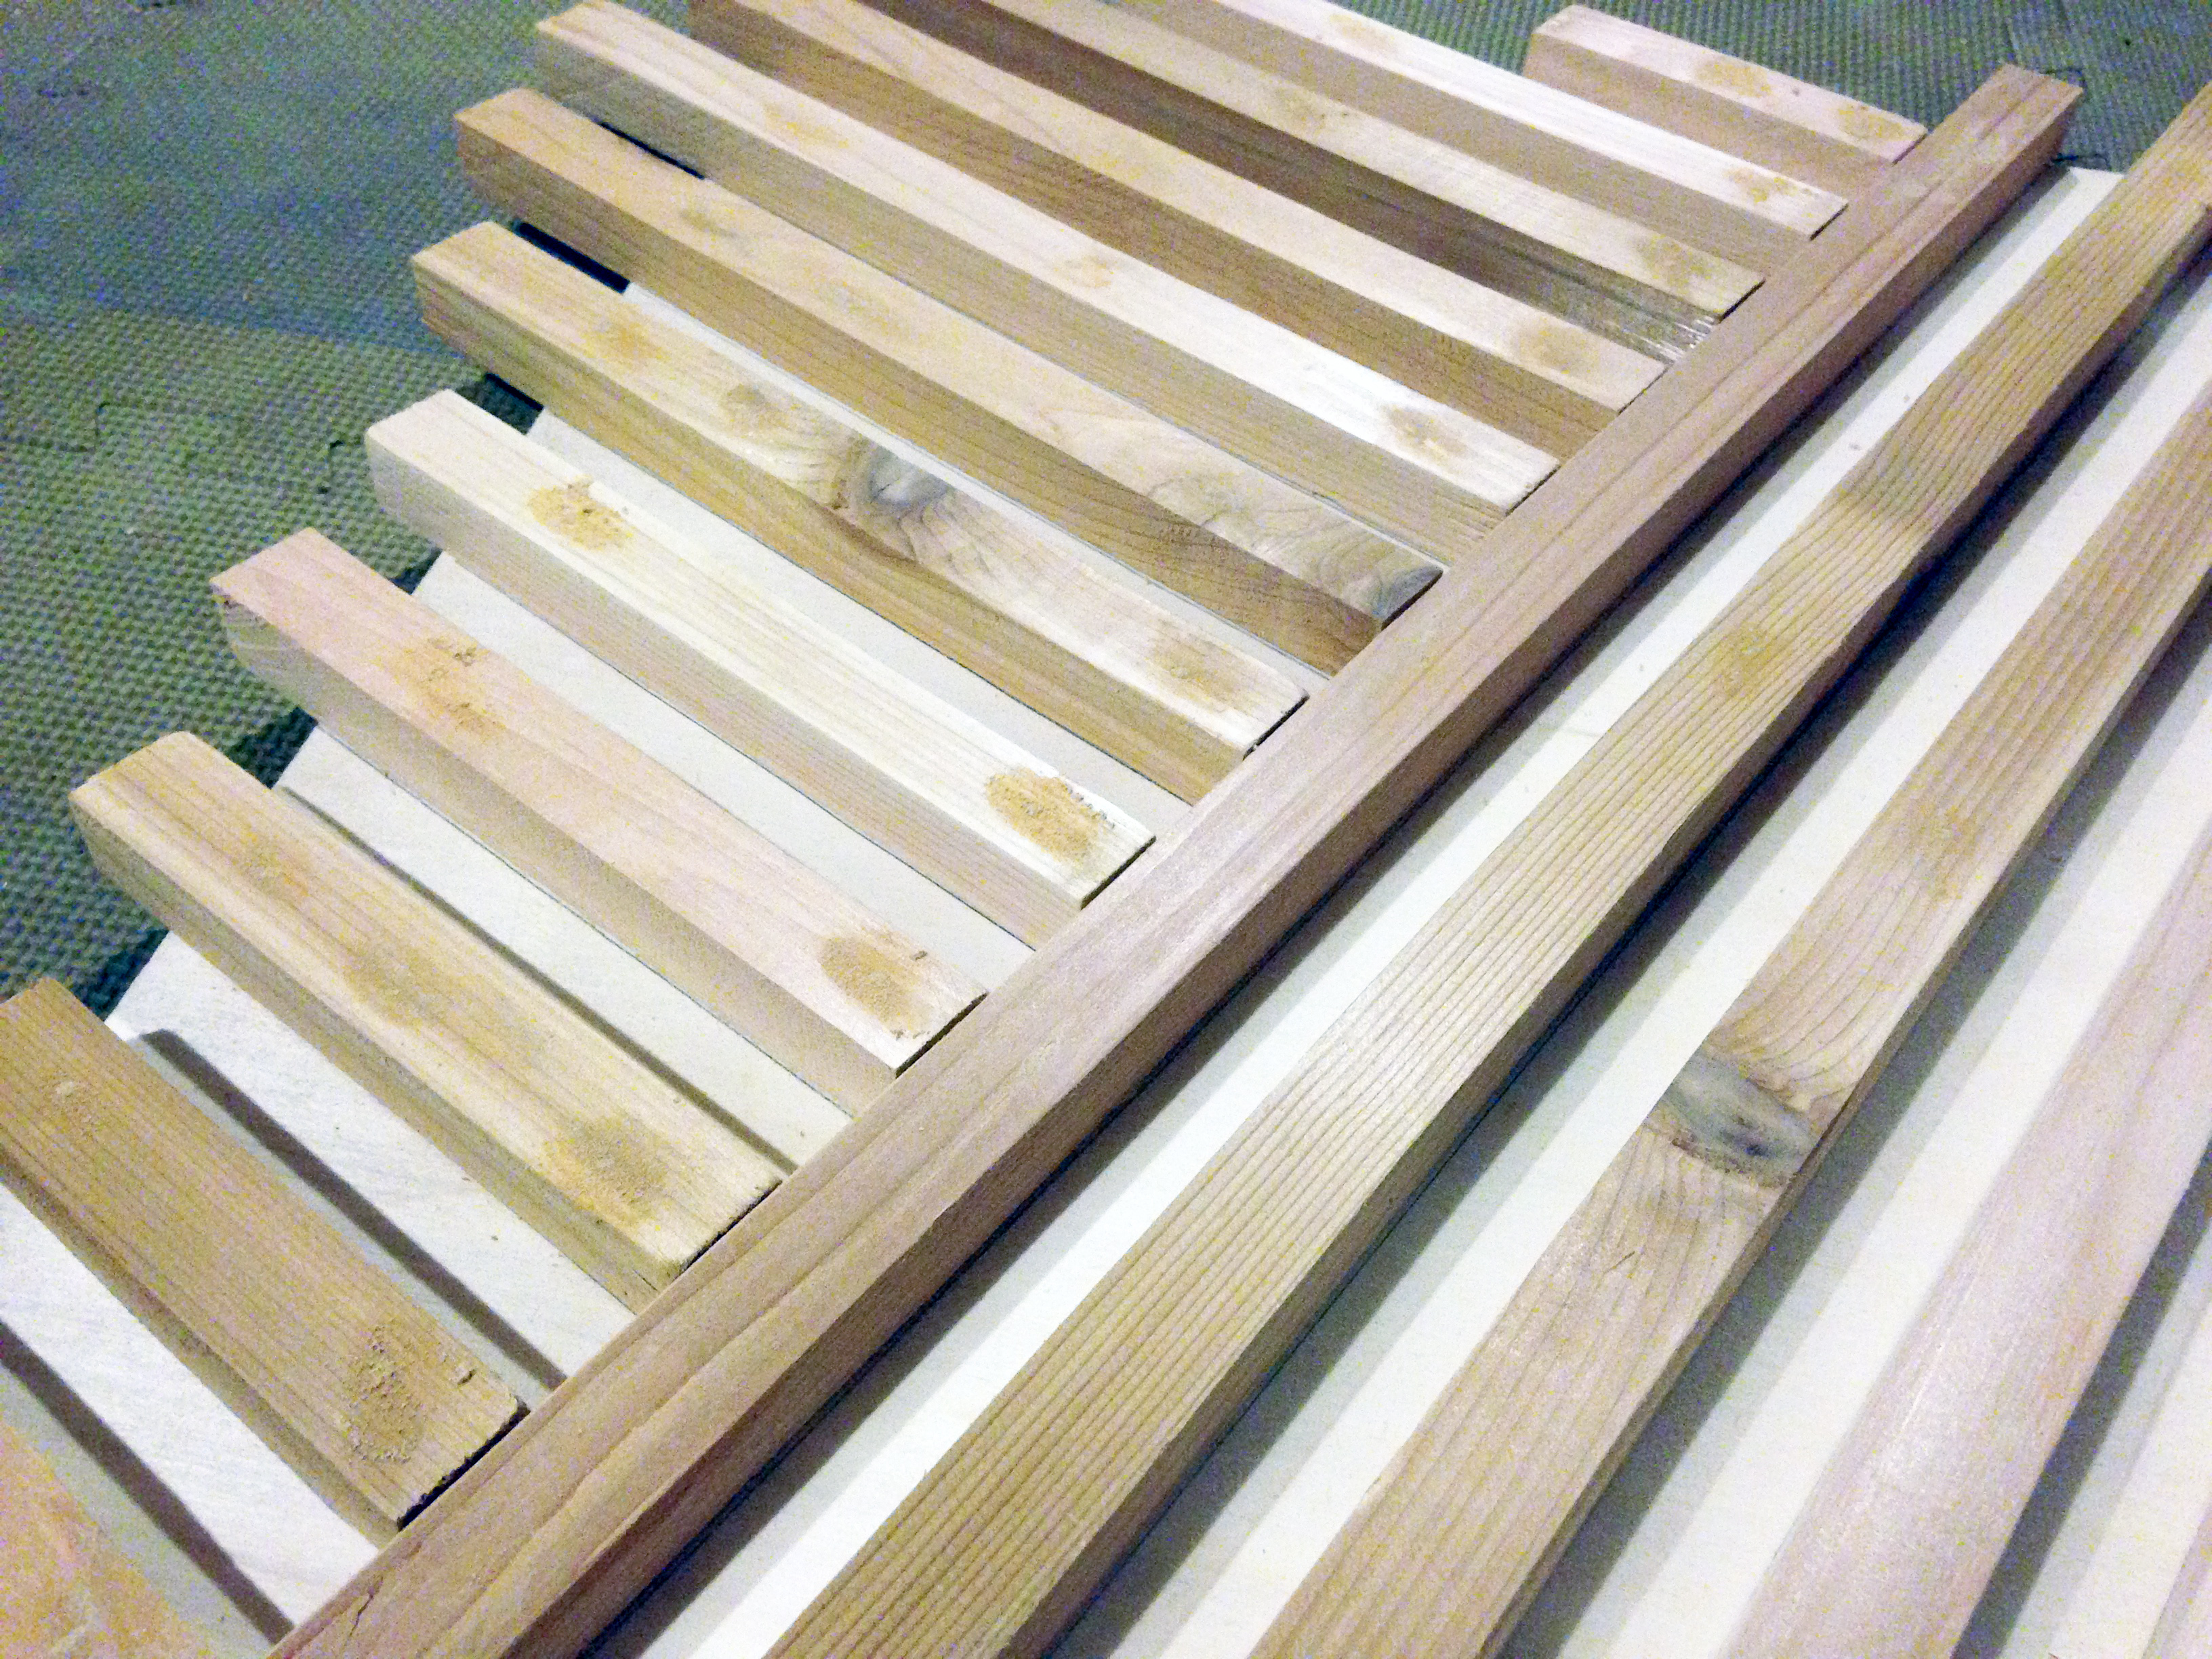
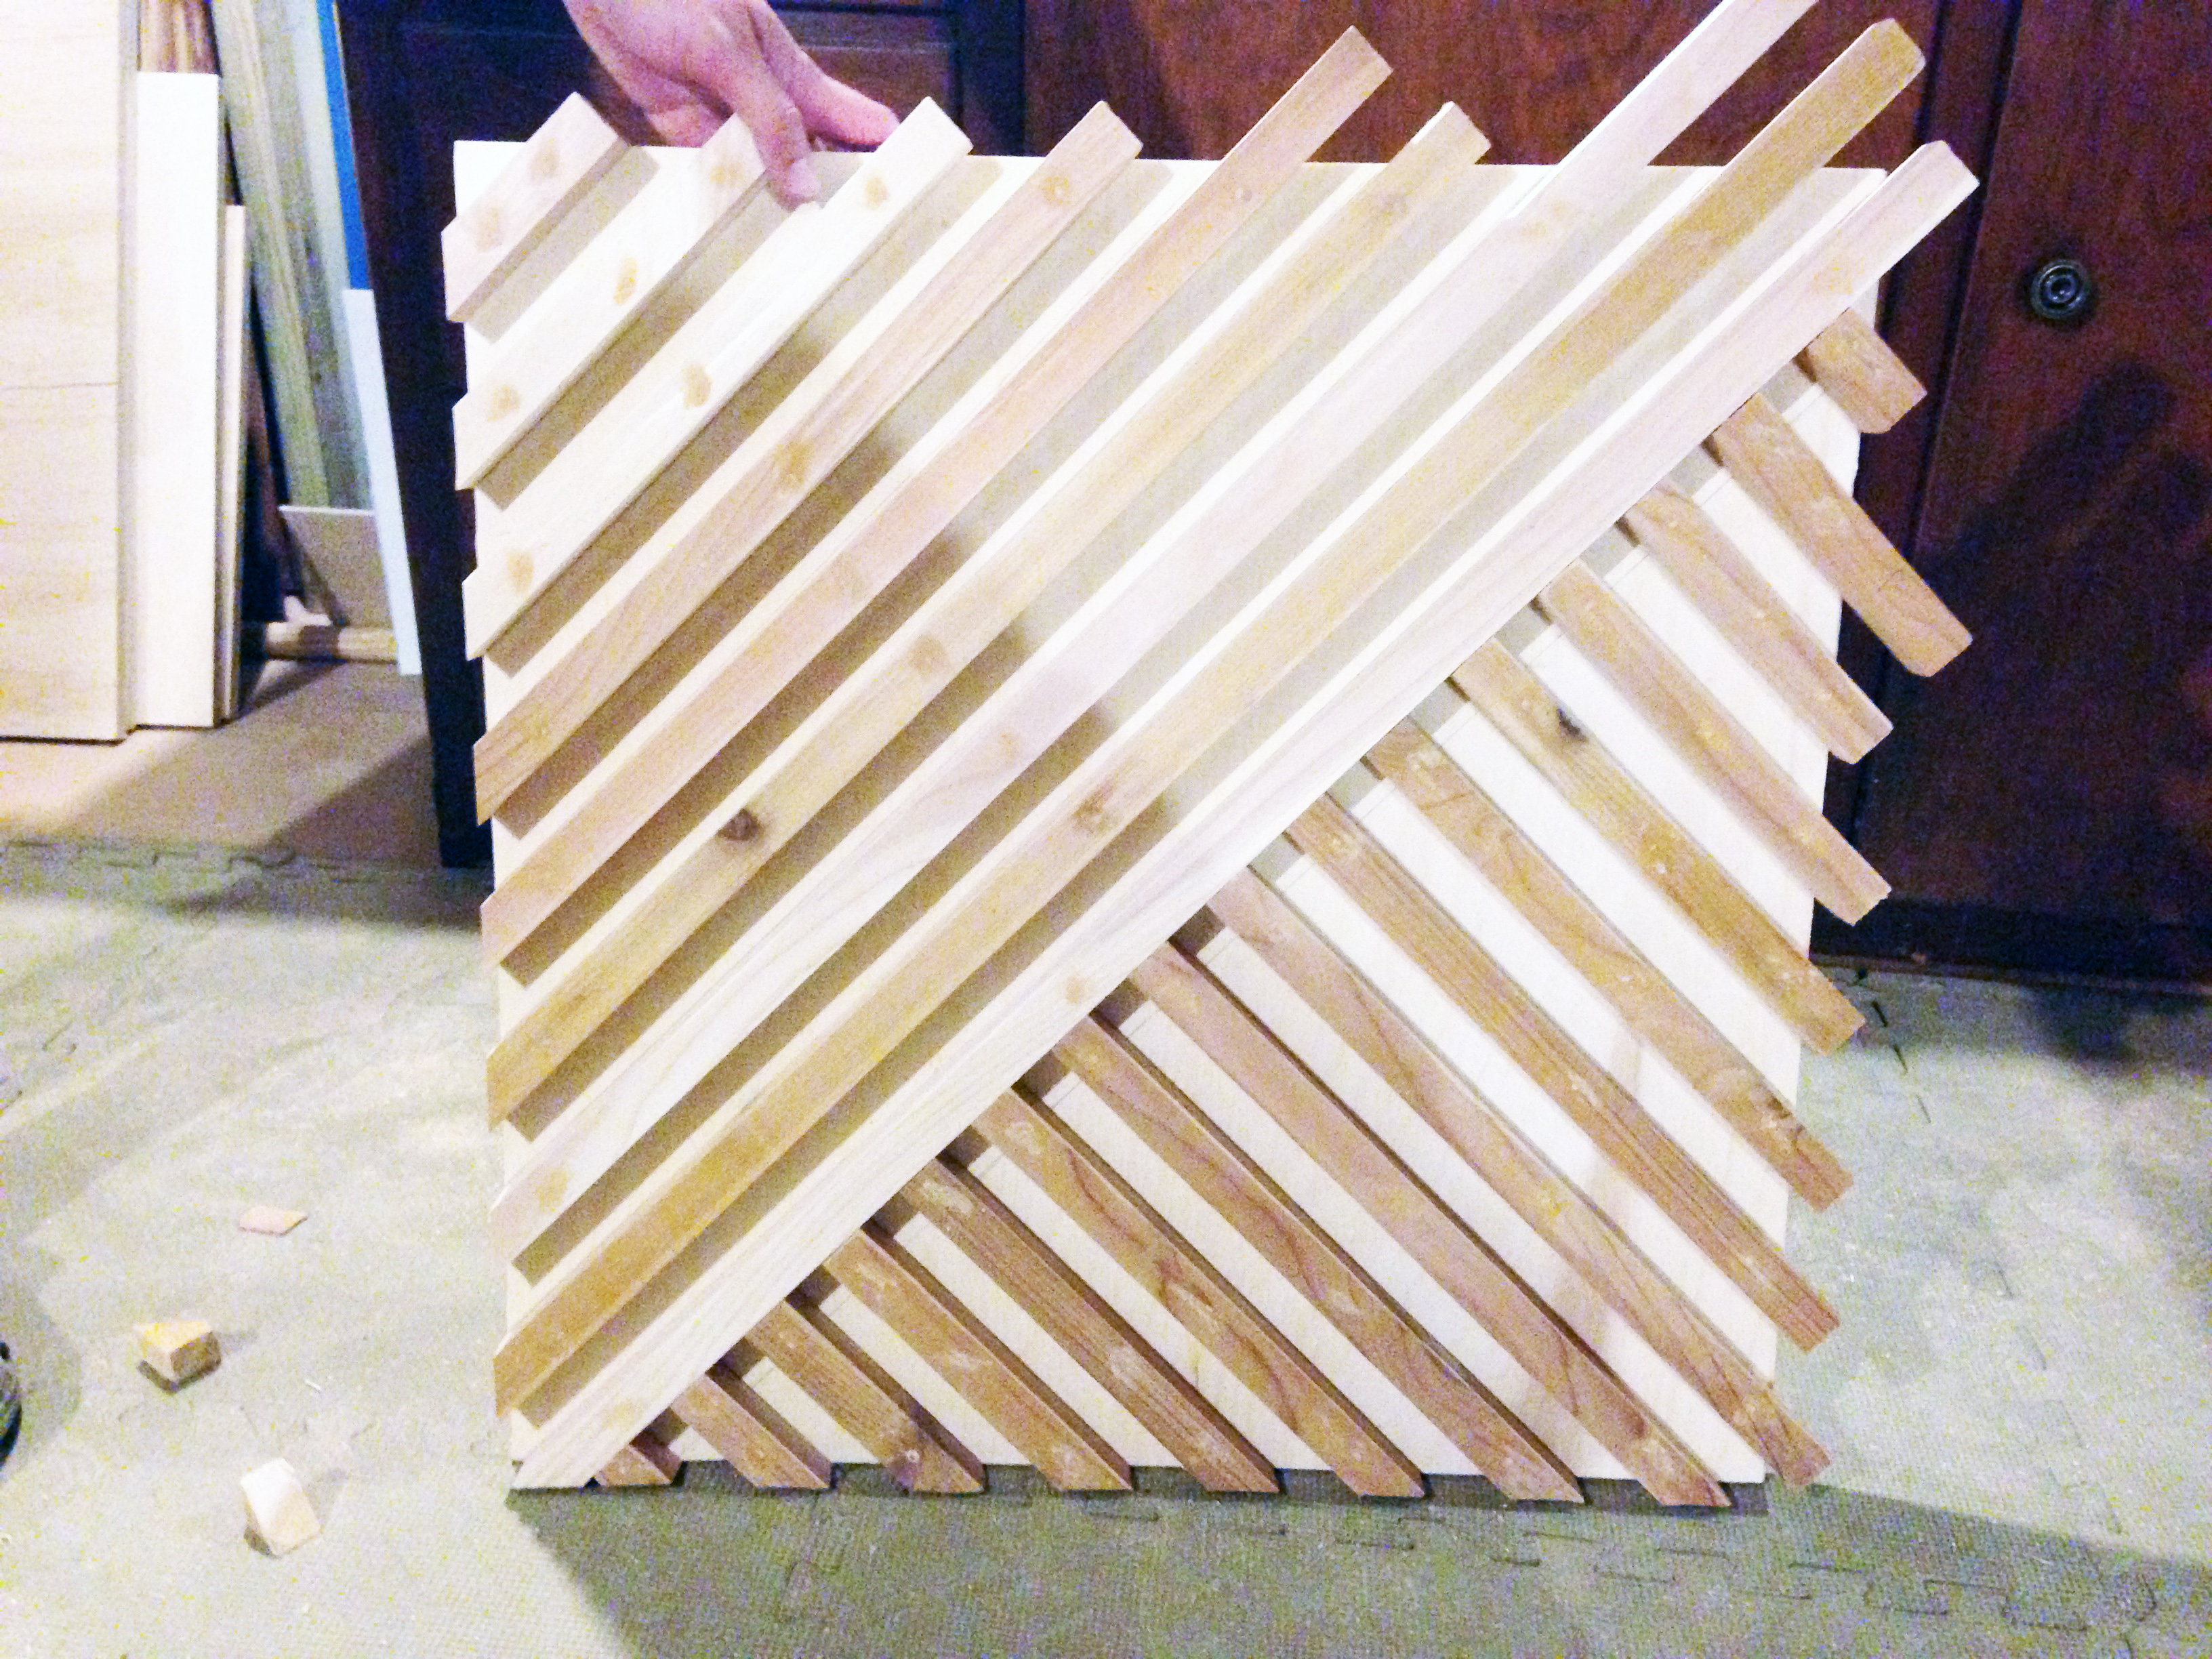
This was my first time using a circular saw (Ryobi brand, which we love), and I have to admit: I’M HOOKED. As long as you’re OCD about going slow, and following your edge, it’s really pretty easy. Here’s another look at the before pieces, with wonky edges:

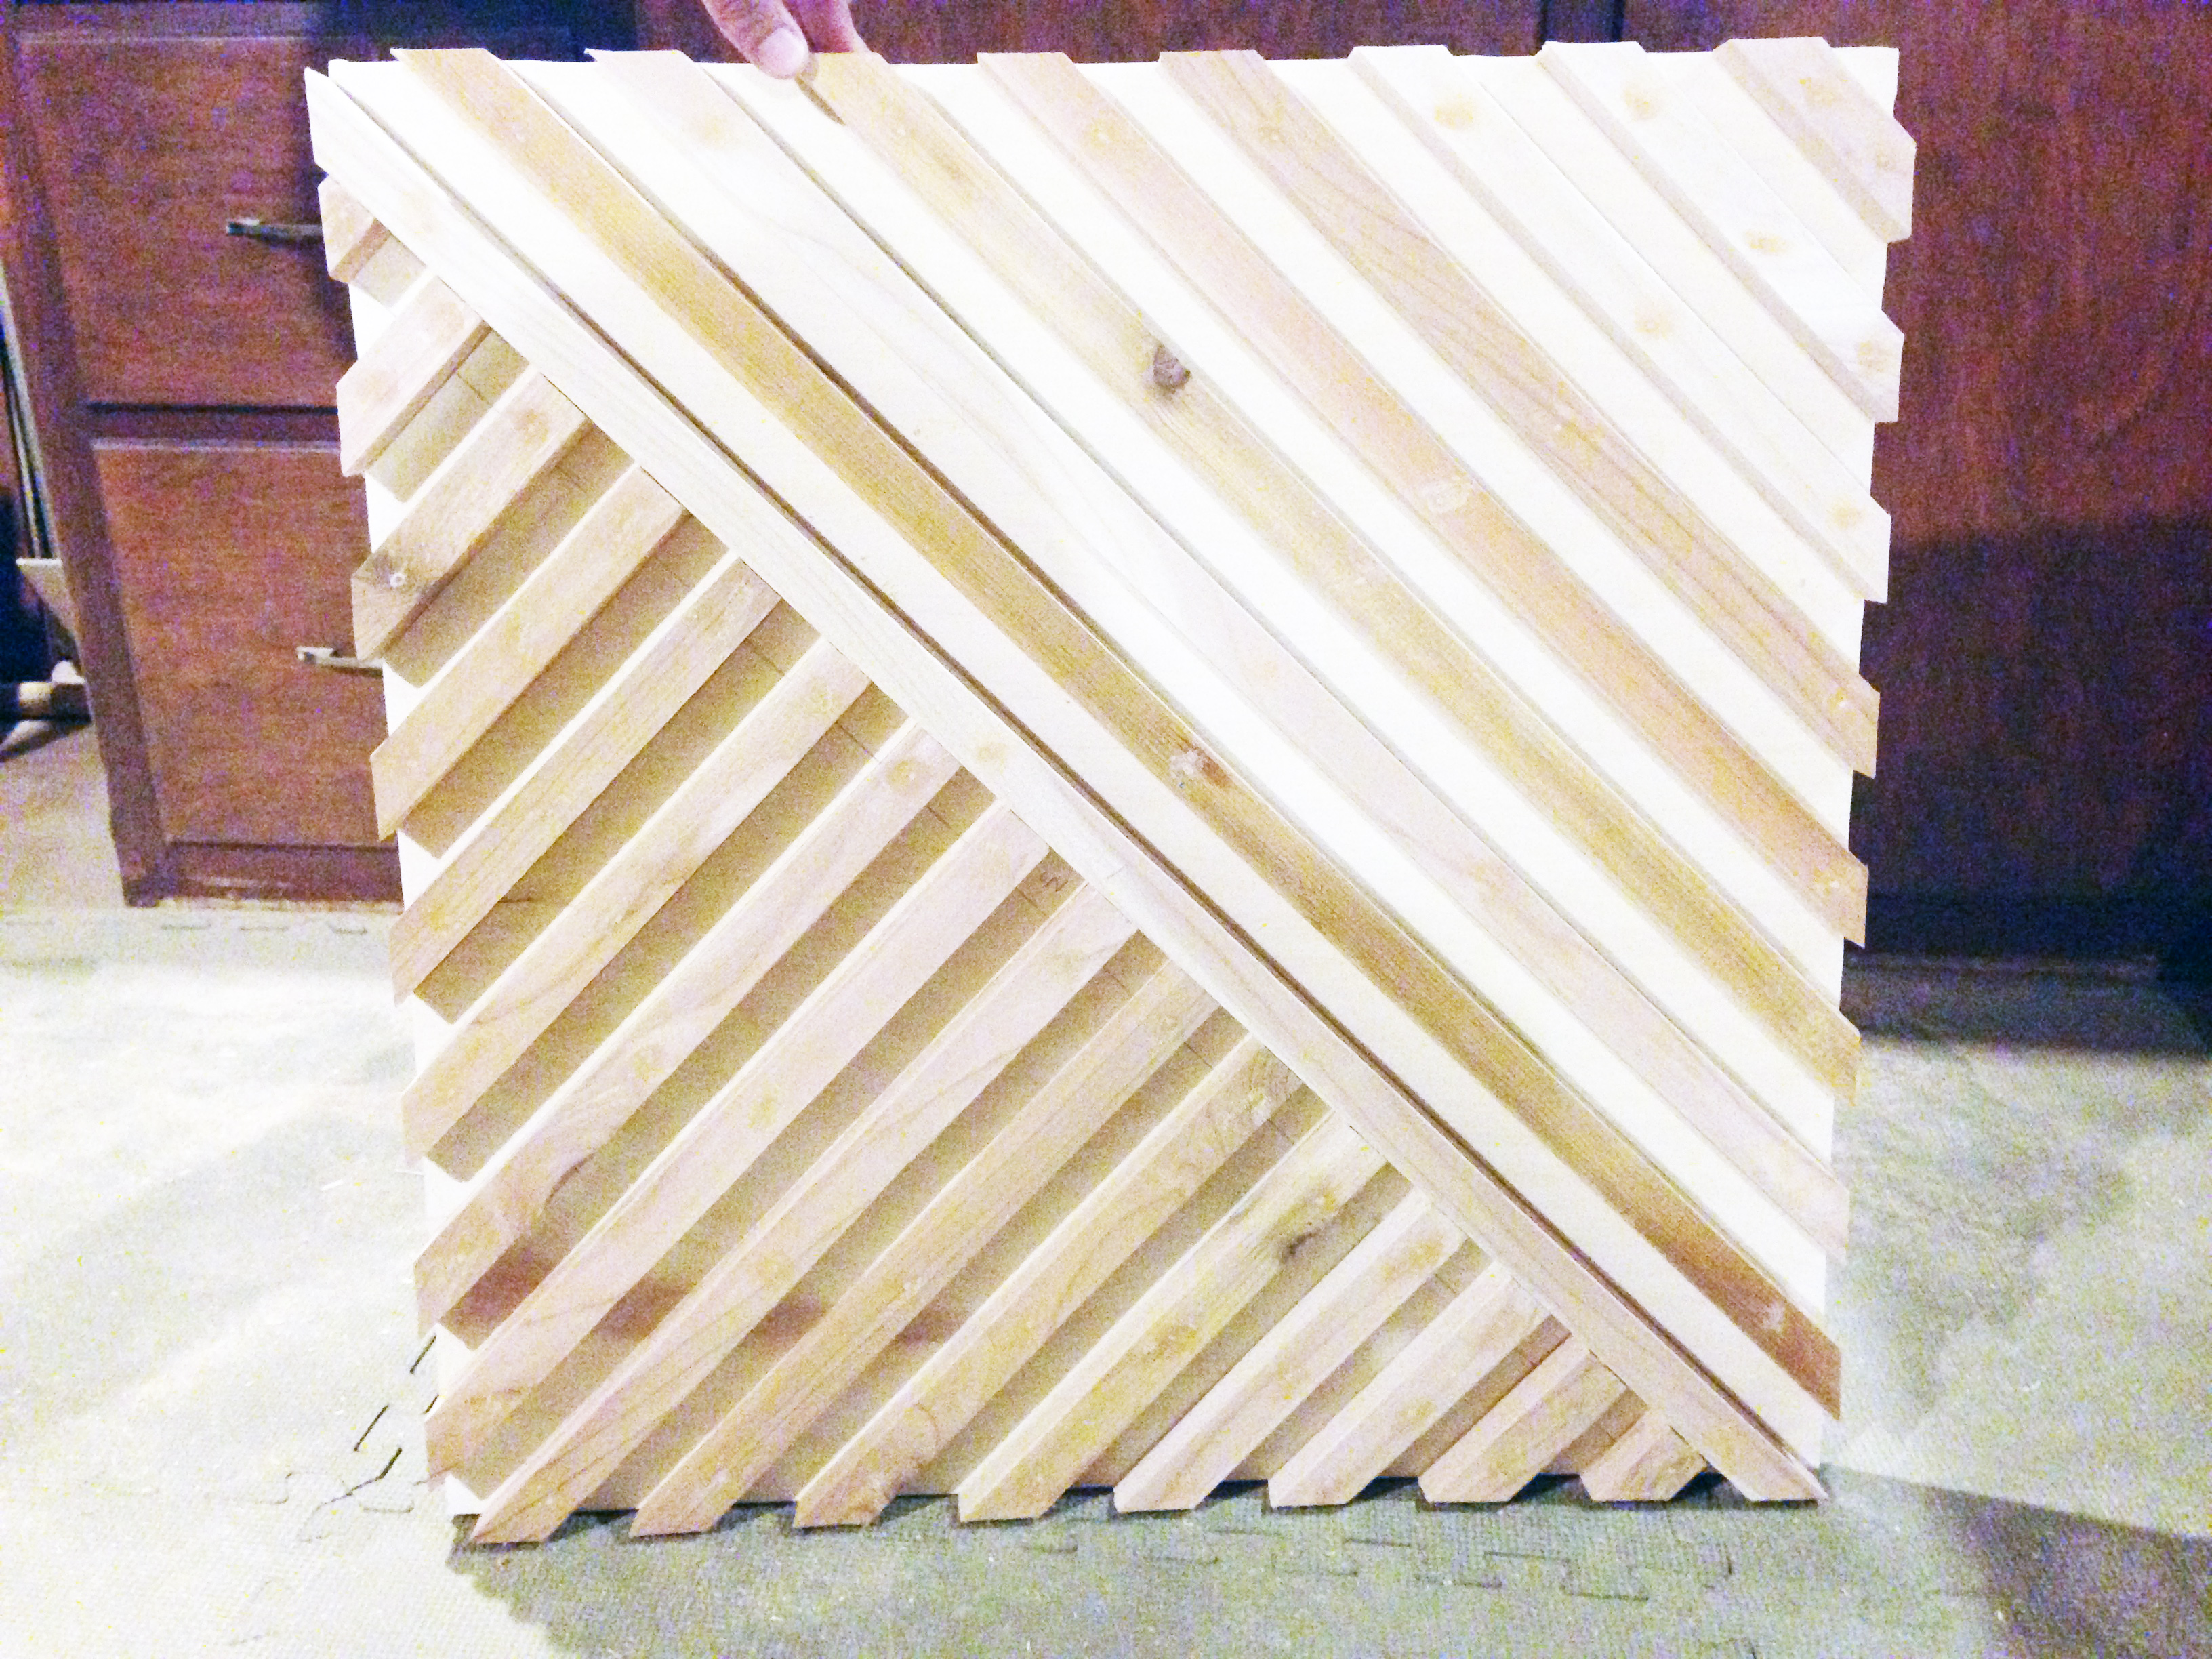
Here’s what it started to look like once I trimmed two sides:
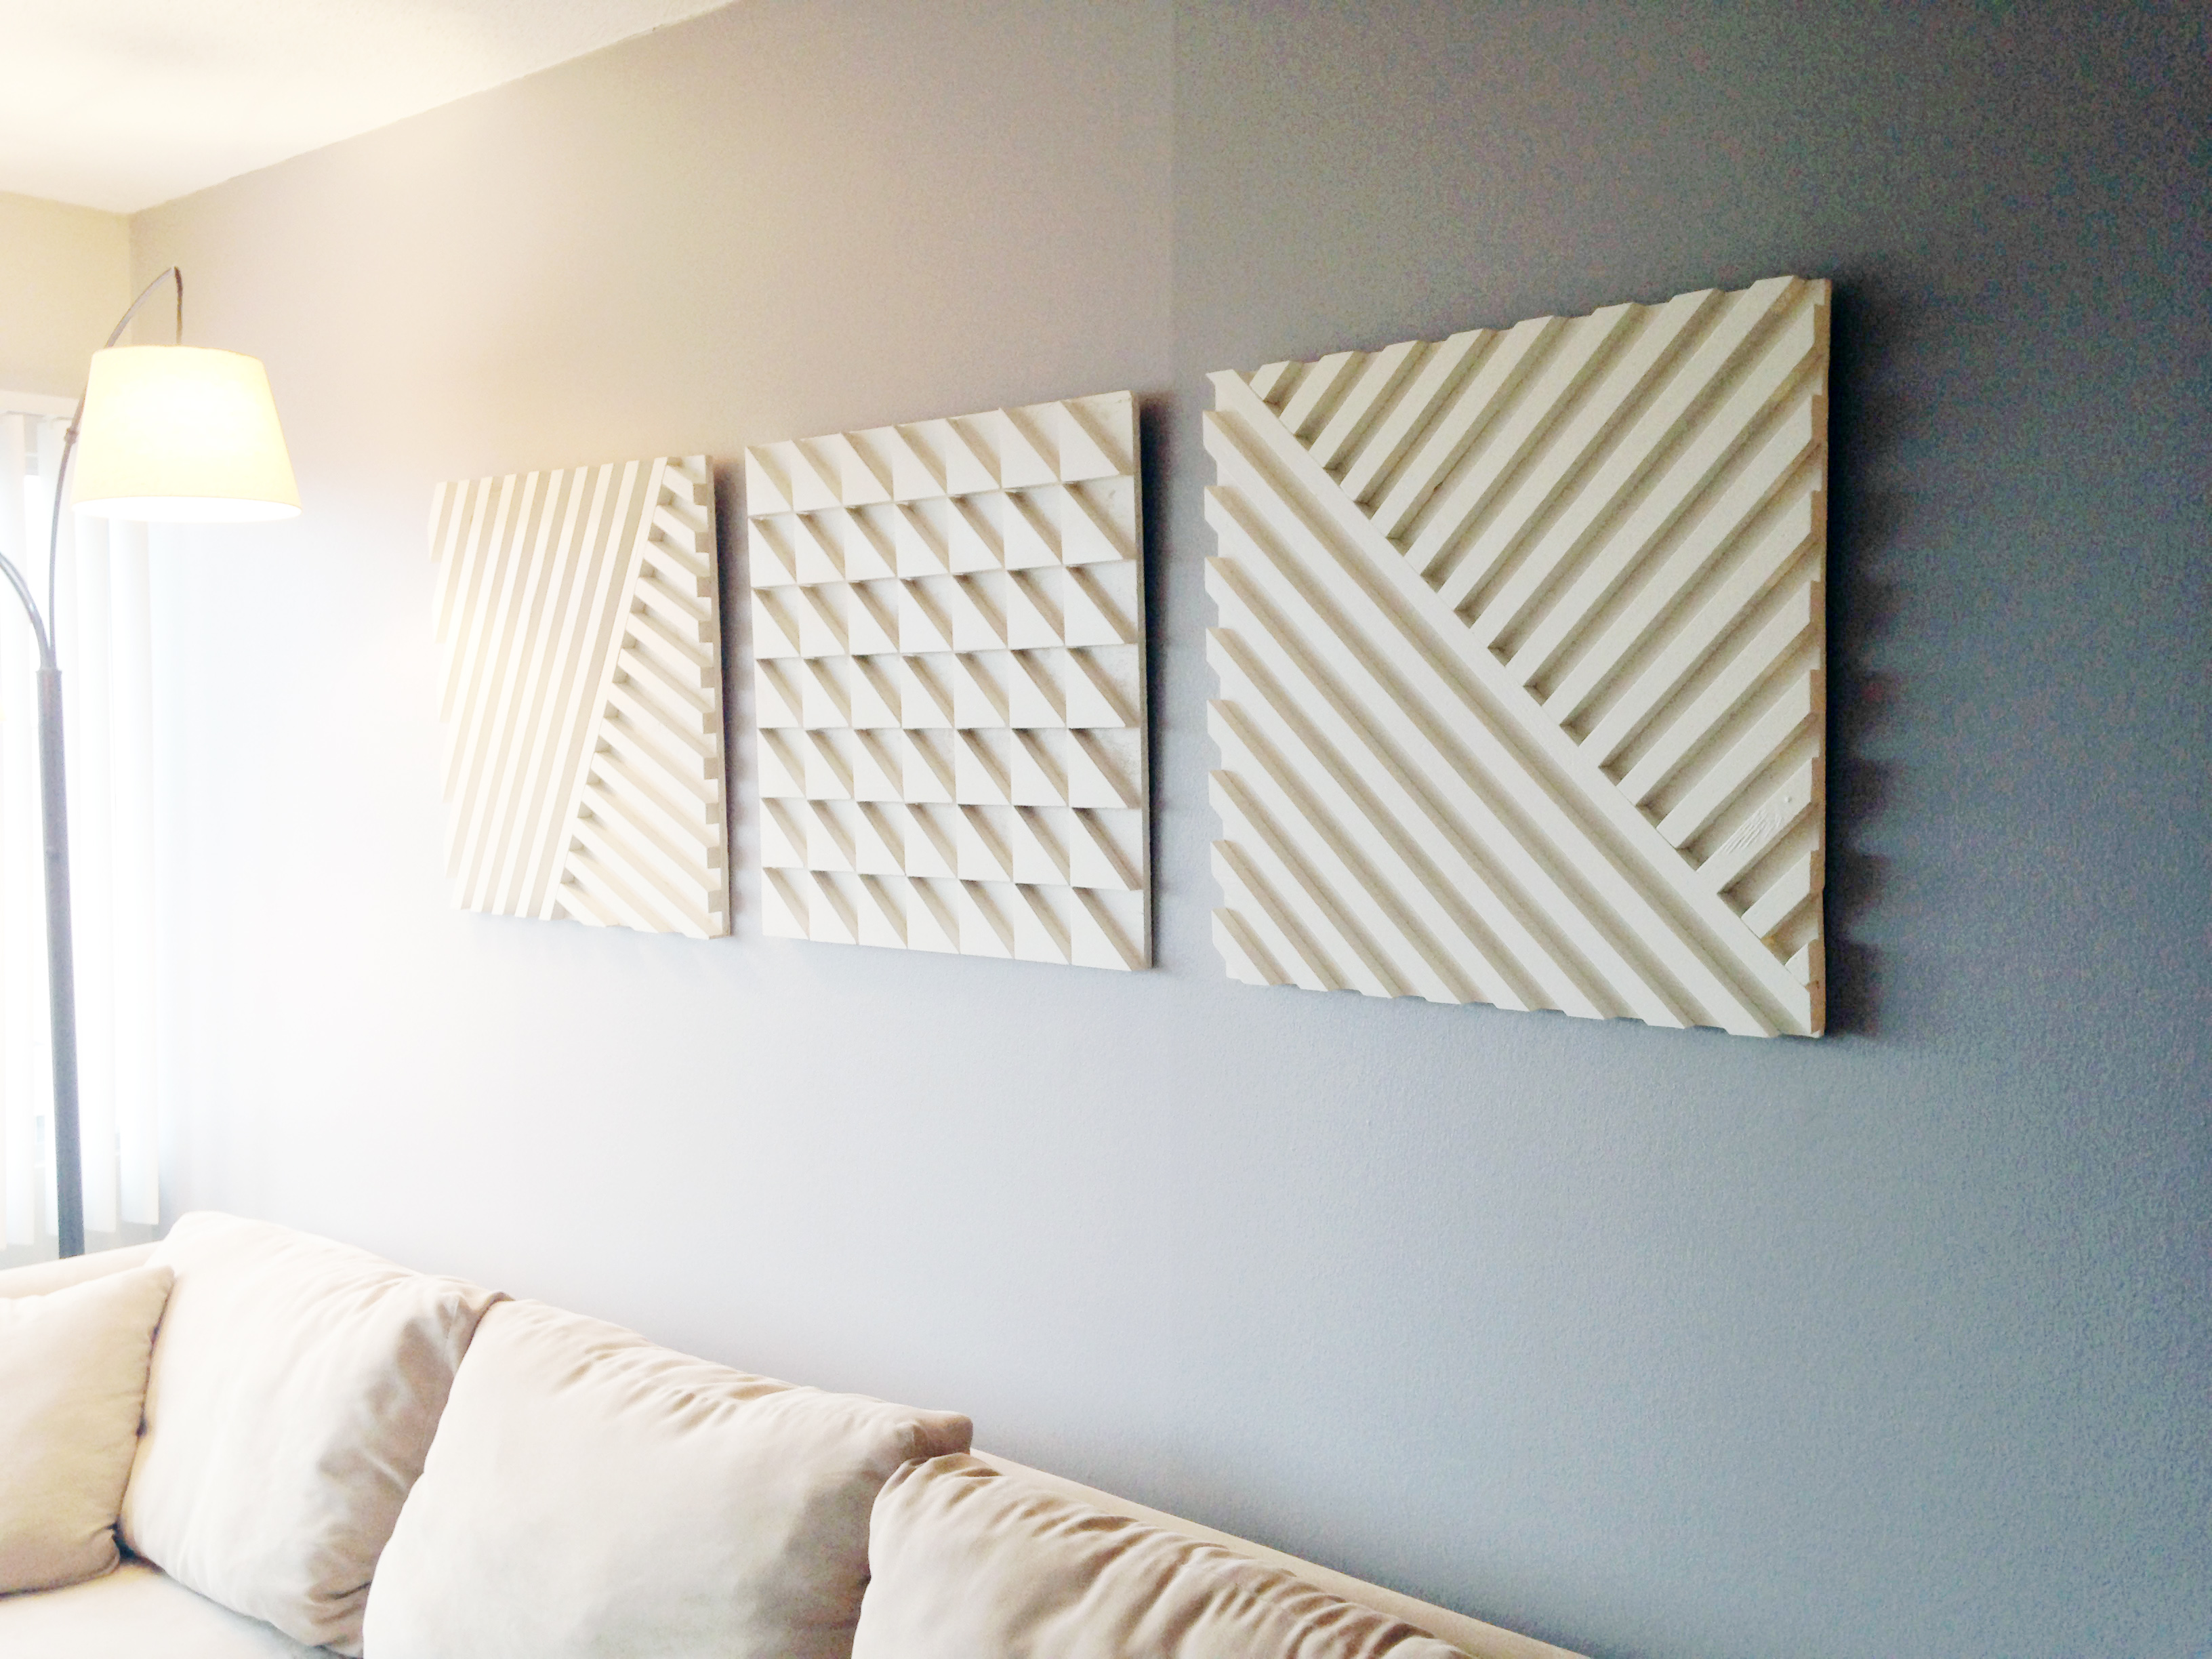
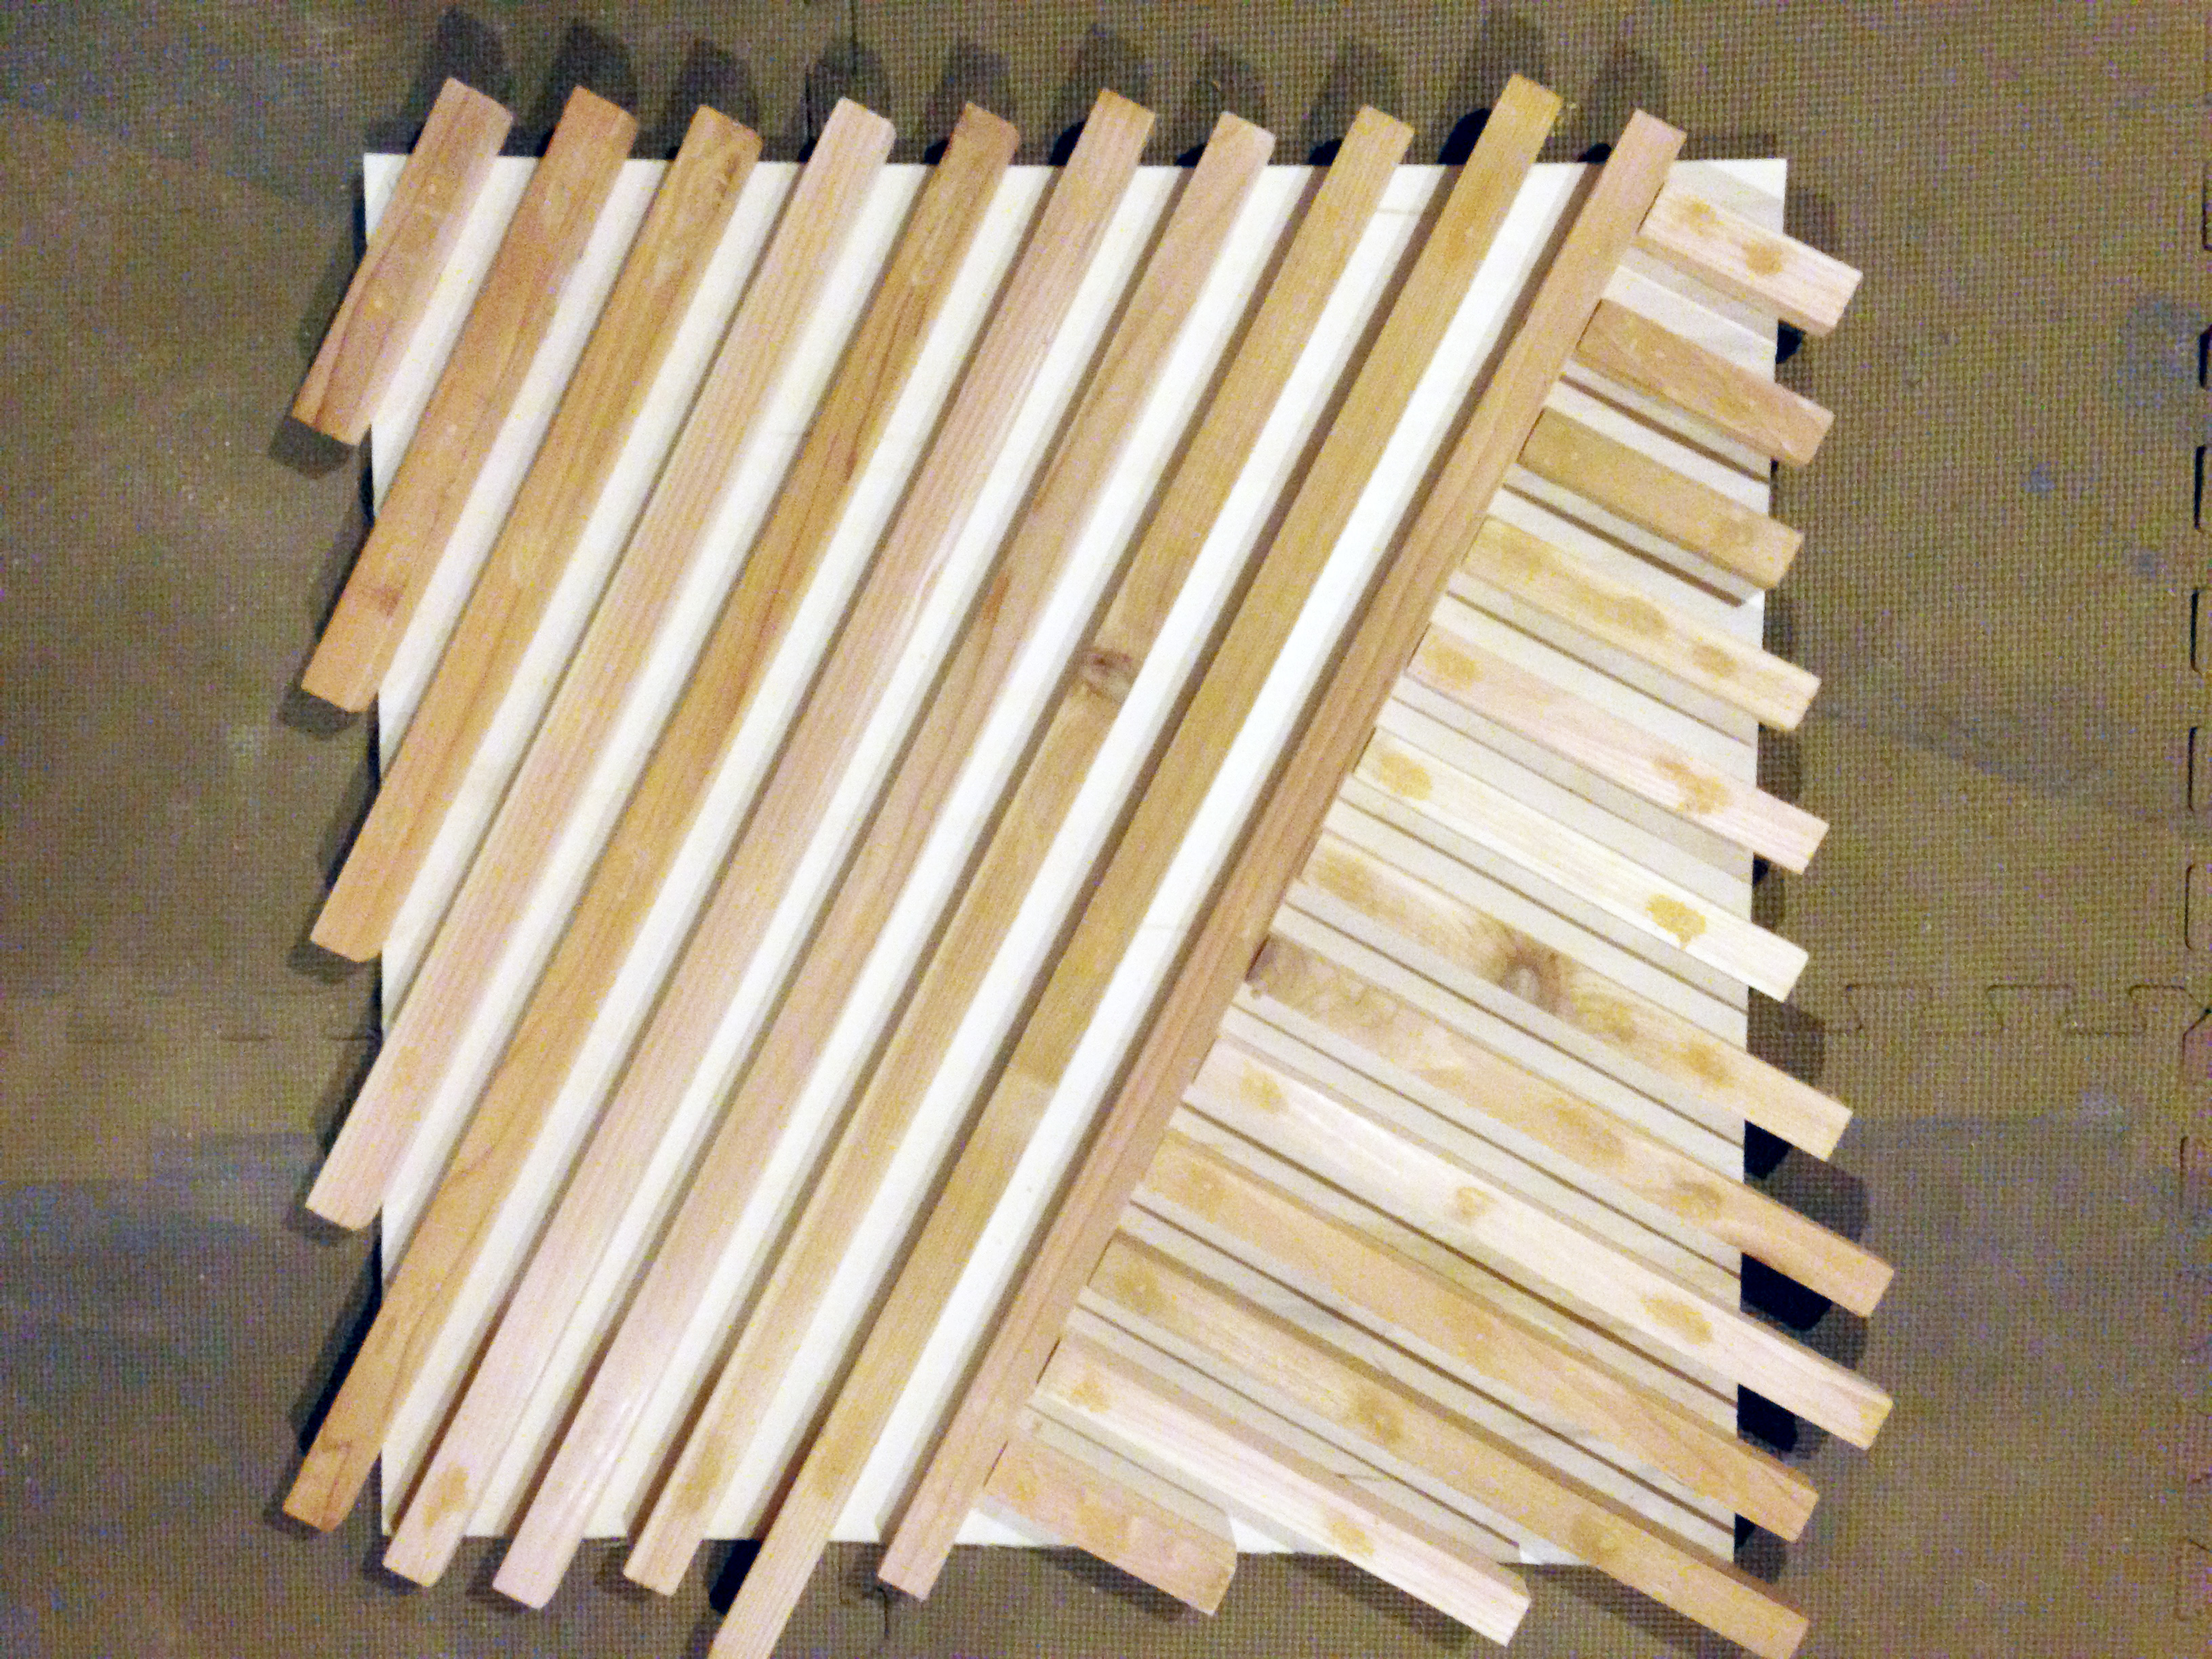
And here’s the finished product, pre-paint, of course:
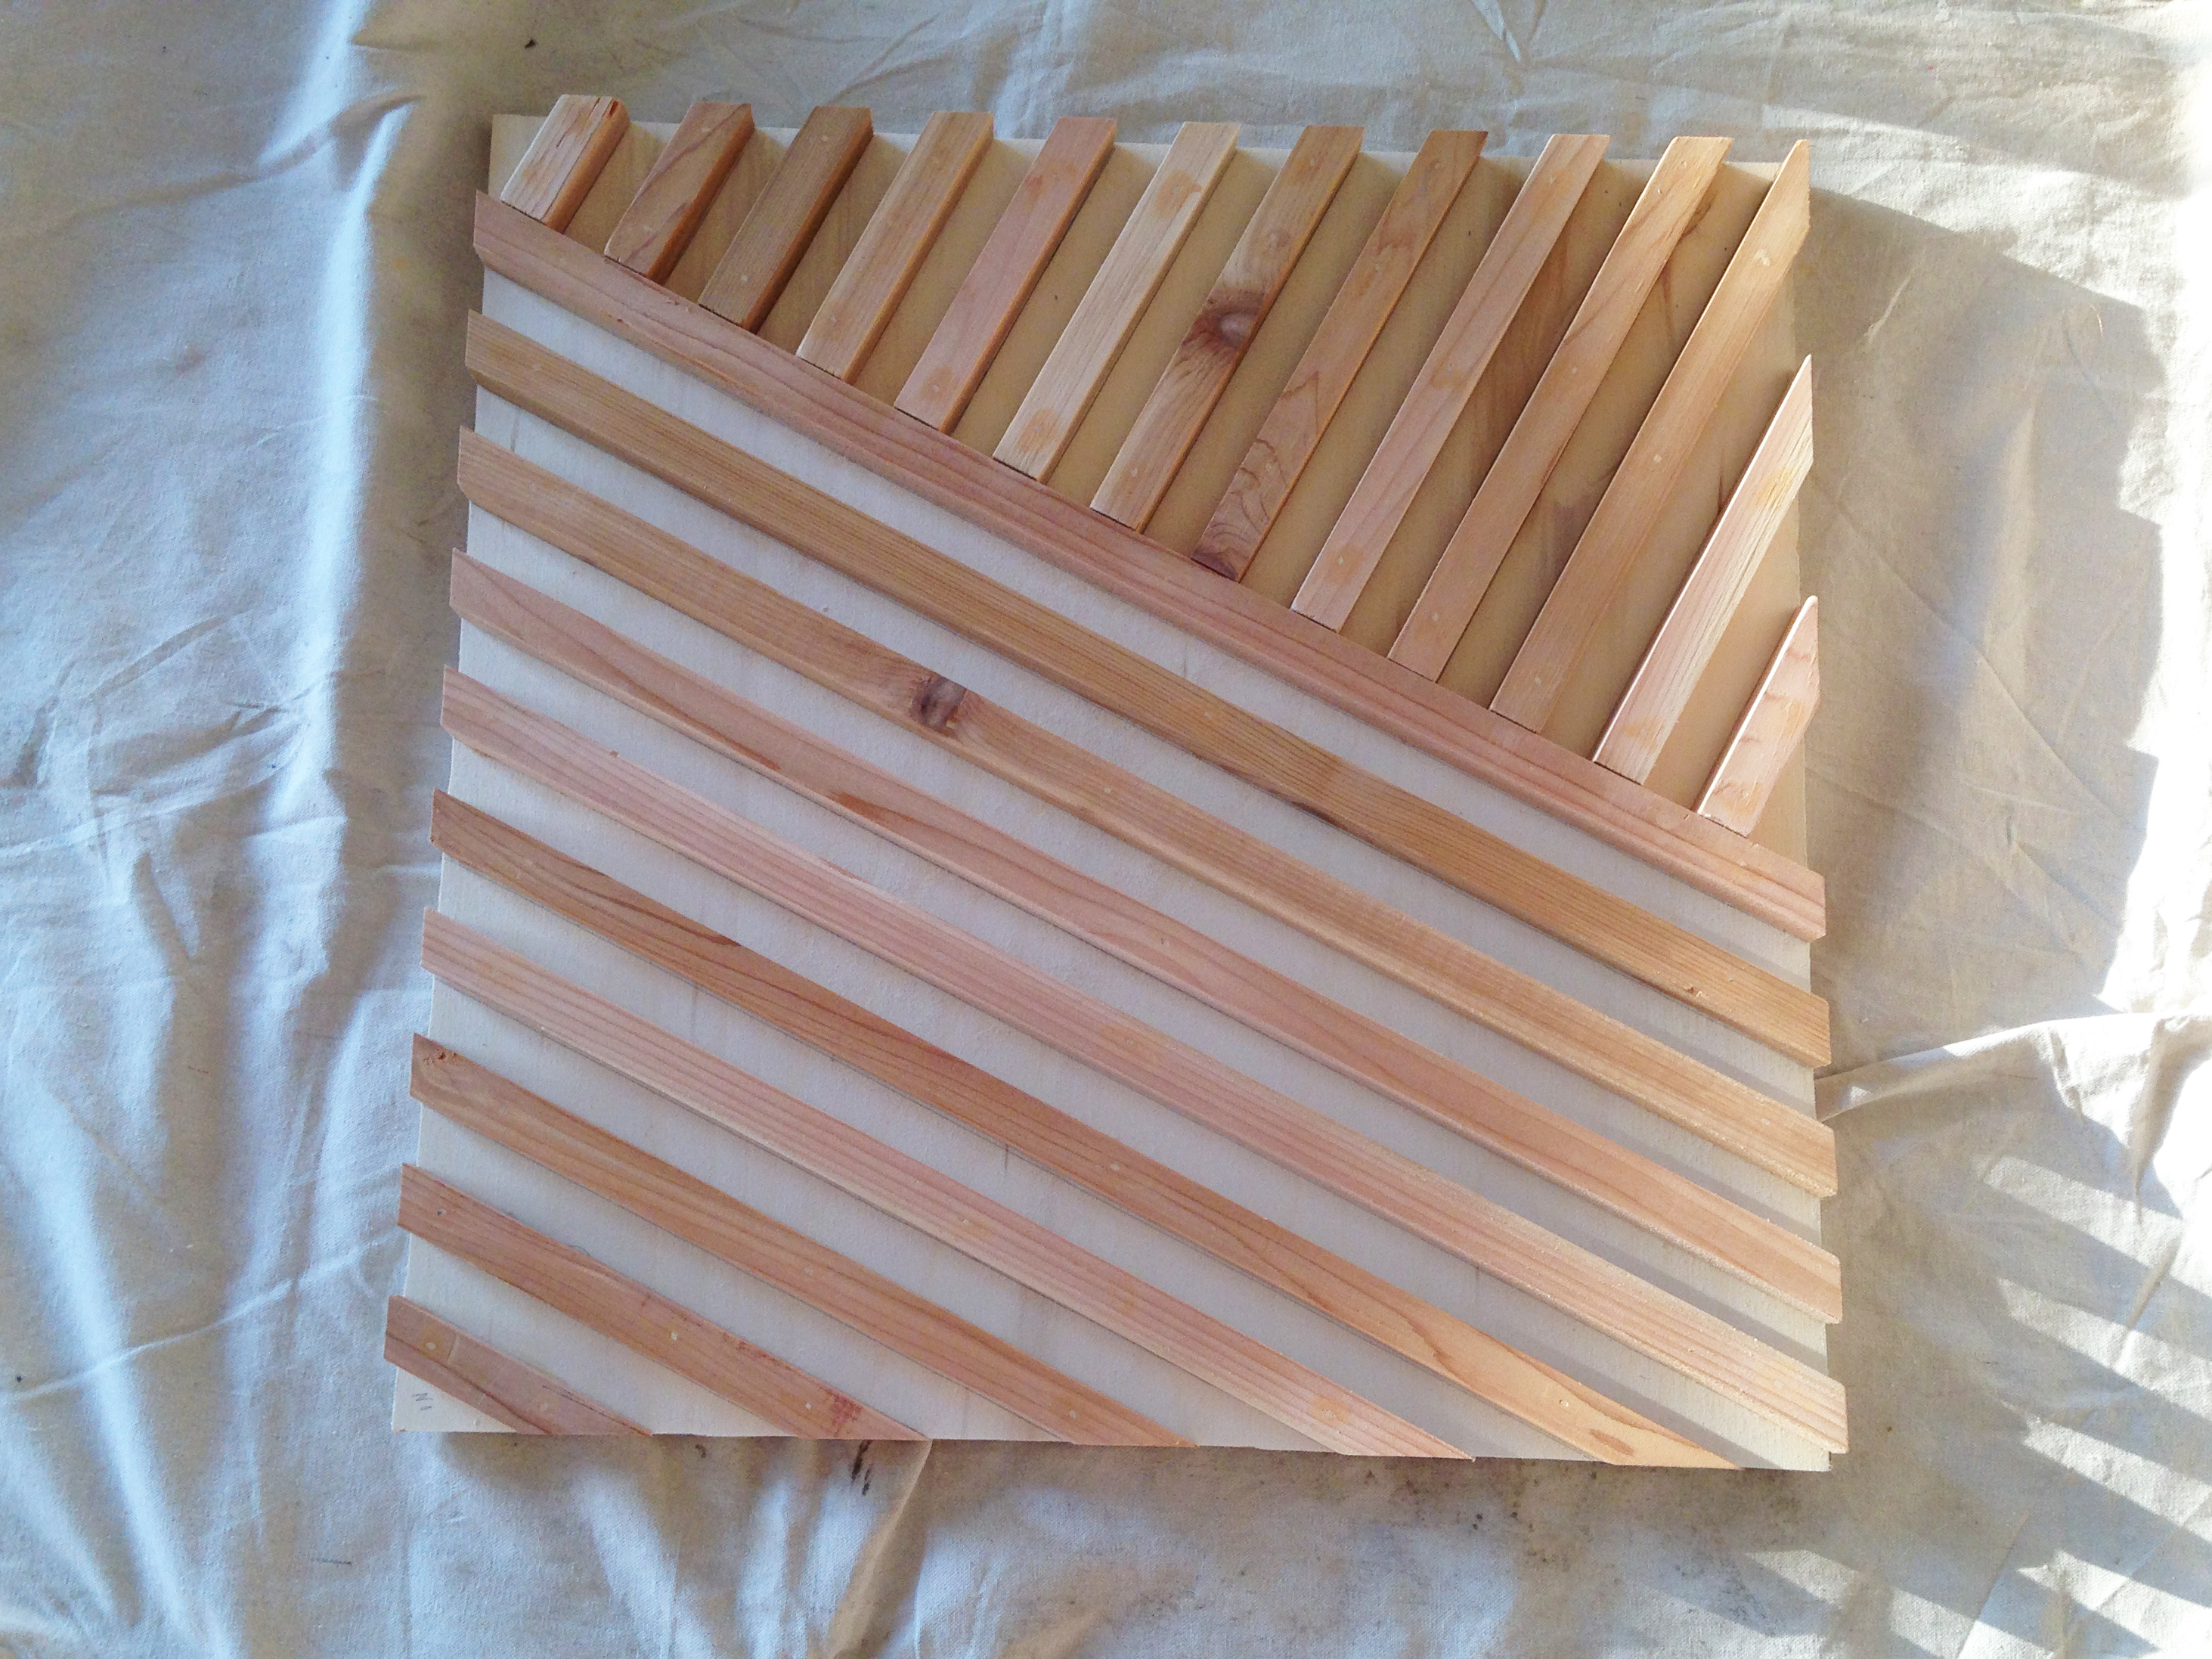
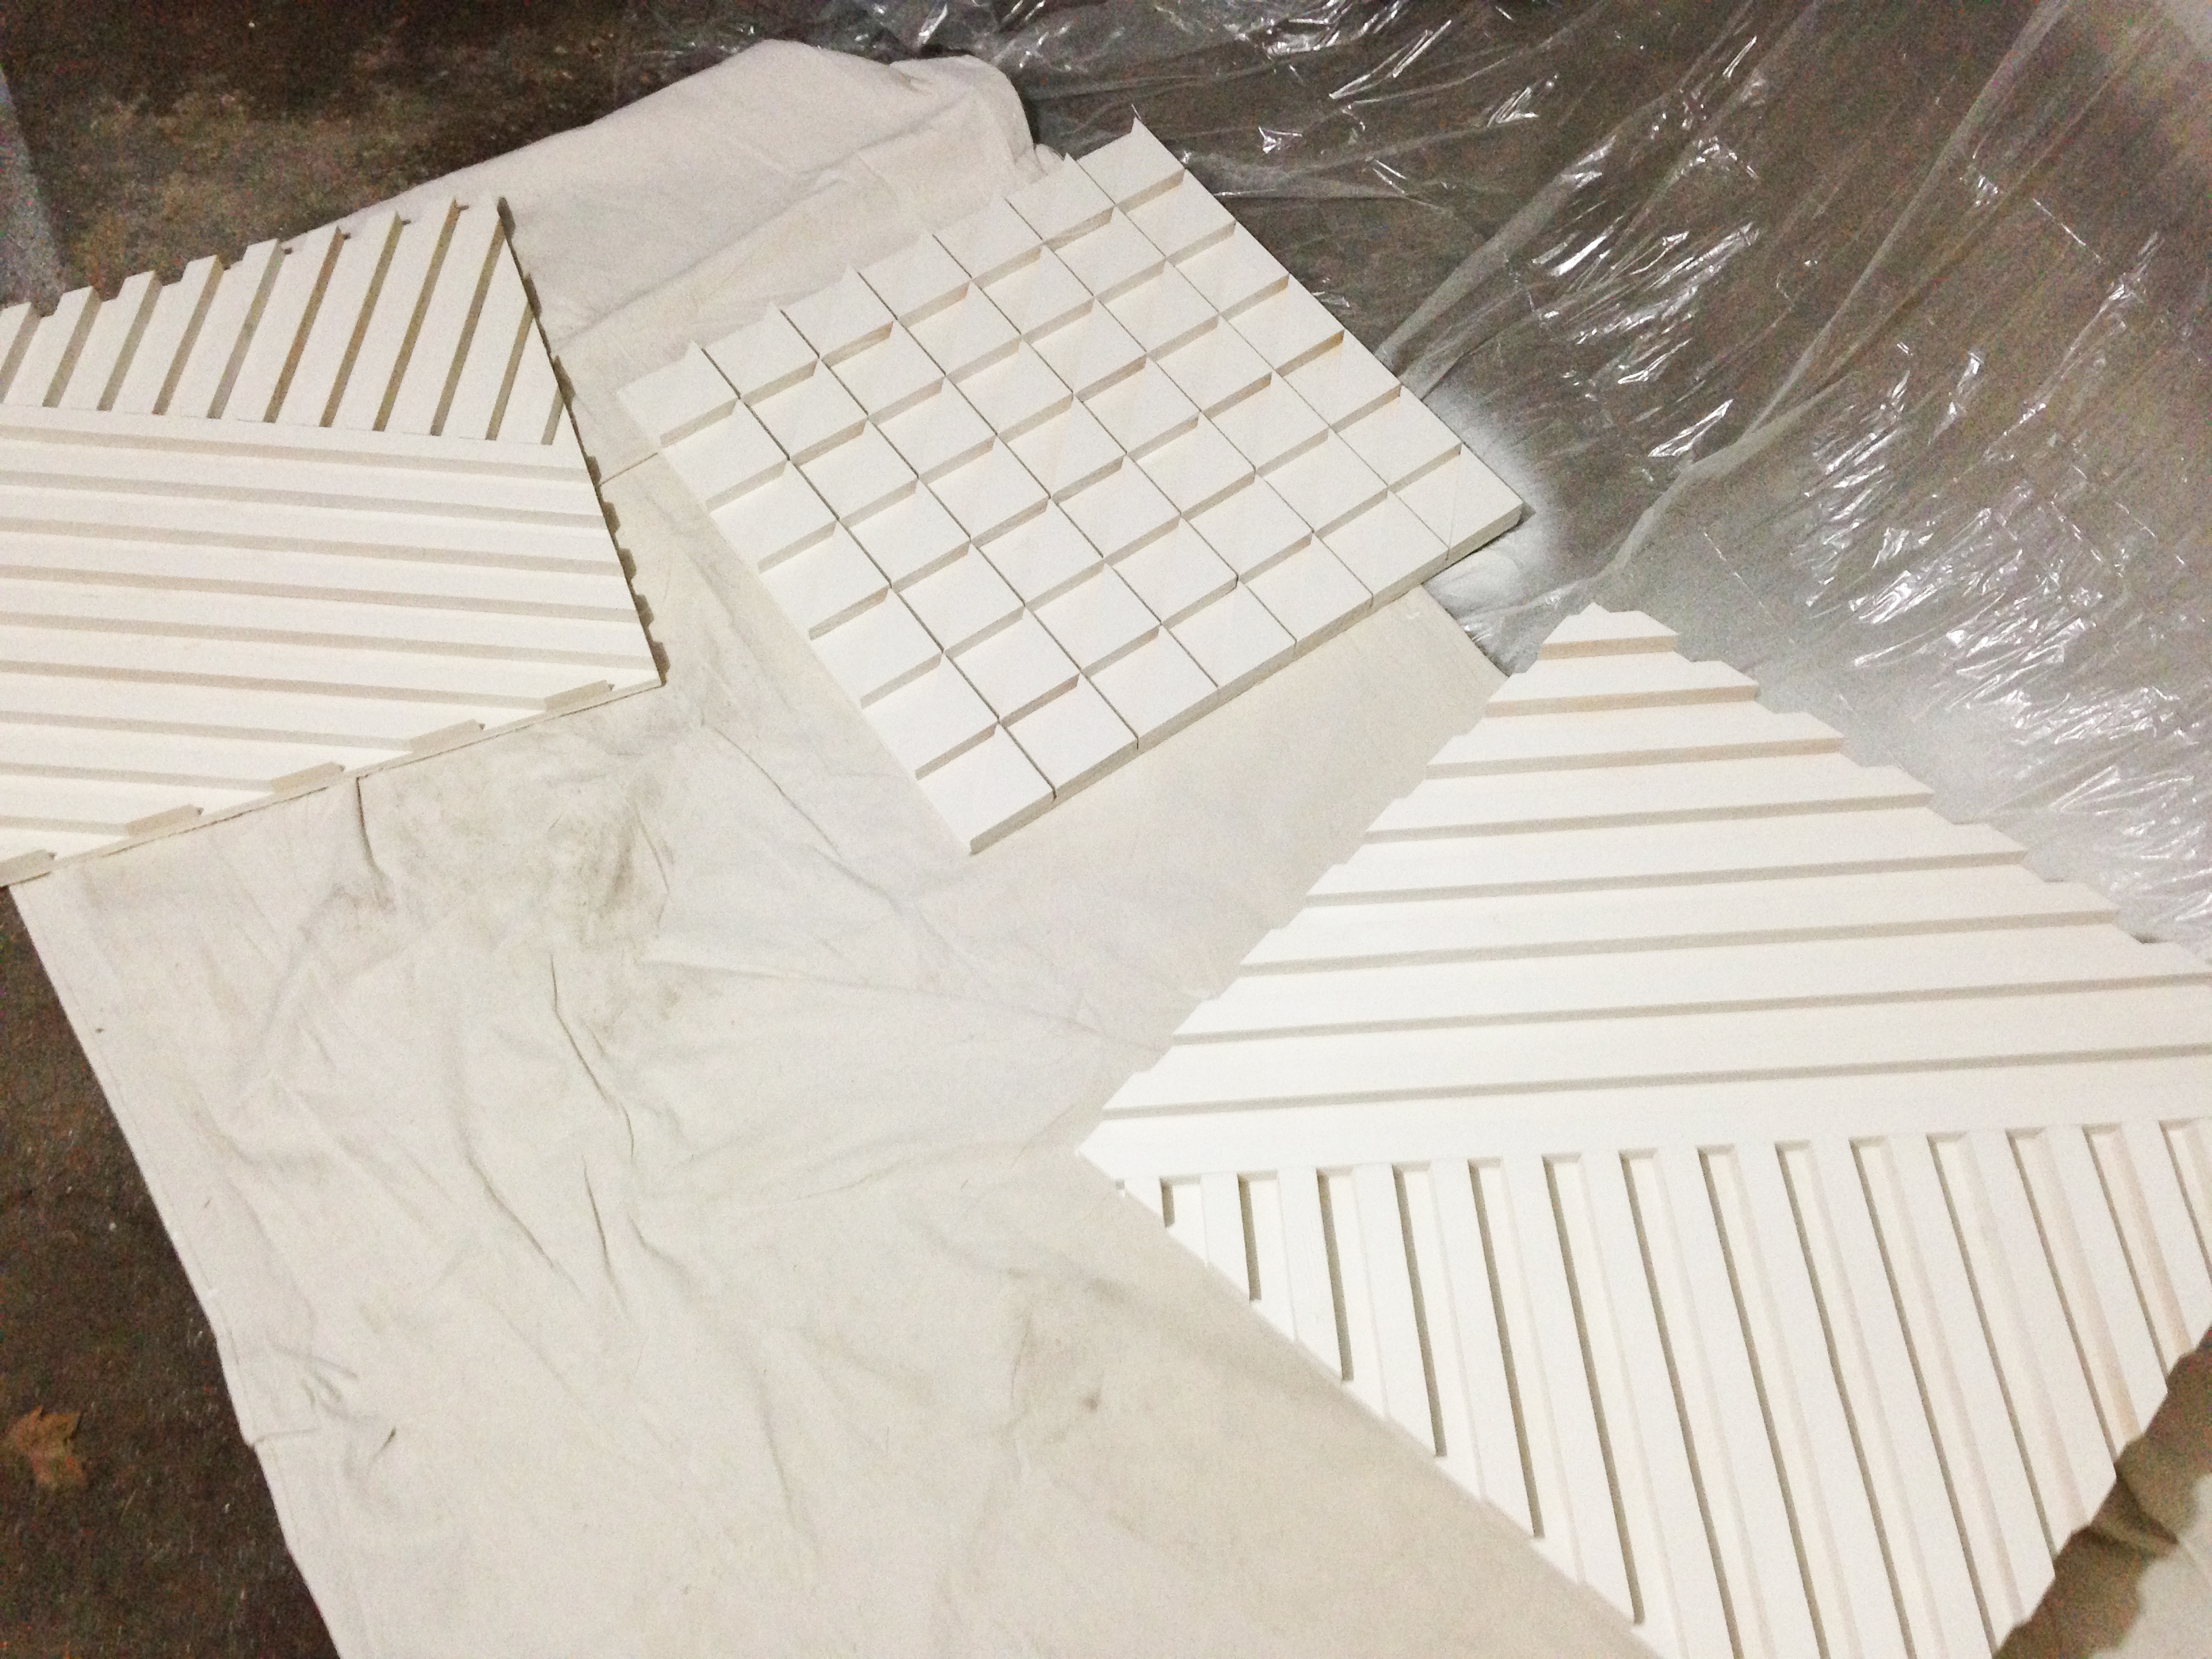
Once all the pieces were put together, I loved the dimensionality of it. They were so visually interesting (the geometric design, that is) that I didn’t want to take away from that with a fussy paint finish. That’s why I decided a perfect white/linen finish was the way to go. In the beginning, I thought a distressed look would be nice, but I wanted the focus to be on the art, not the weird paint job. So a couple of coats with my paint sprayer is all it took, along with a lot of prep work, and dry time in between. I love the result.

We used standard picture hanging wire and hardware, and it did the trick. Plus, it’s so much easier to hang when each piece only needs one nail/screw! I don’t know about you, but I think it’s a statement piece.

I love that as moms we make our kids do things like wear a helmet to be safe, but we use circular saws in flip flops 🤣 same cover here girl! These are beautiful!
Awesome! Going to make. What were the size of the wood you used for the straight lined one? They look like 1×2’s?

4 Comments