
Previous post

Next post
too many ideas. too little time. (and far too much chai.)

Can I get a FIAT LUX?!
If you saw my entryway when my husband and I first moved into our home, you’d be shouting the Latin phrase, “Let there be light,” too. (In Latin, you know… because you’re so smart 🙂
It. Was. So. Dark. Granted, there are other design issues I have with my entry, but expensive projects like changing out the charcoal-colored slate floor, toning down the original pecky cypress wall paneling or replacing the dark brown front doors are not an option for us on our current budget. Luckily, updating the dated light fixture… is.
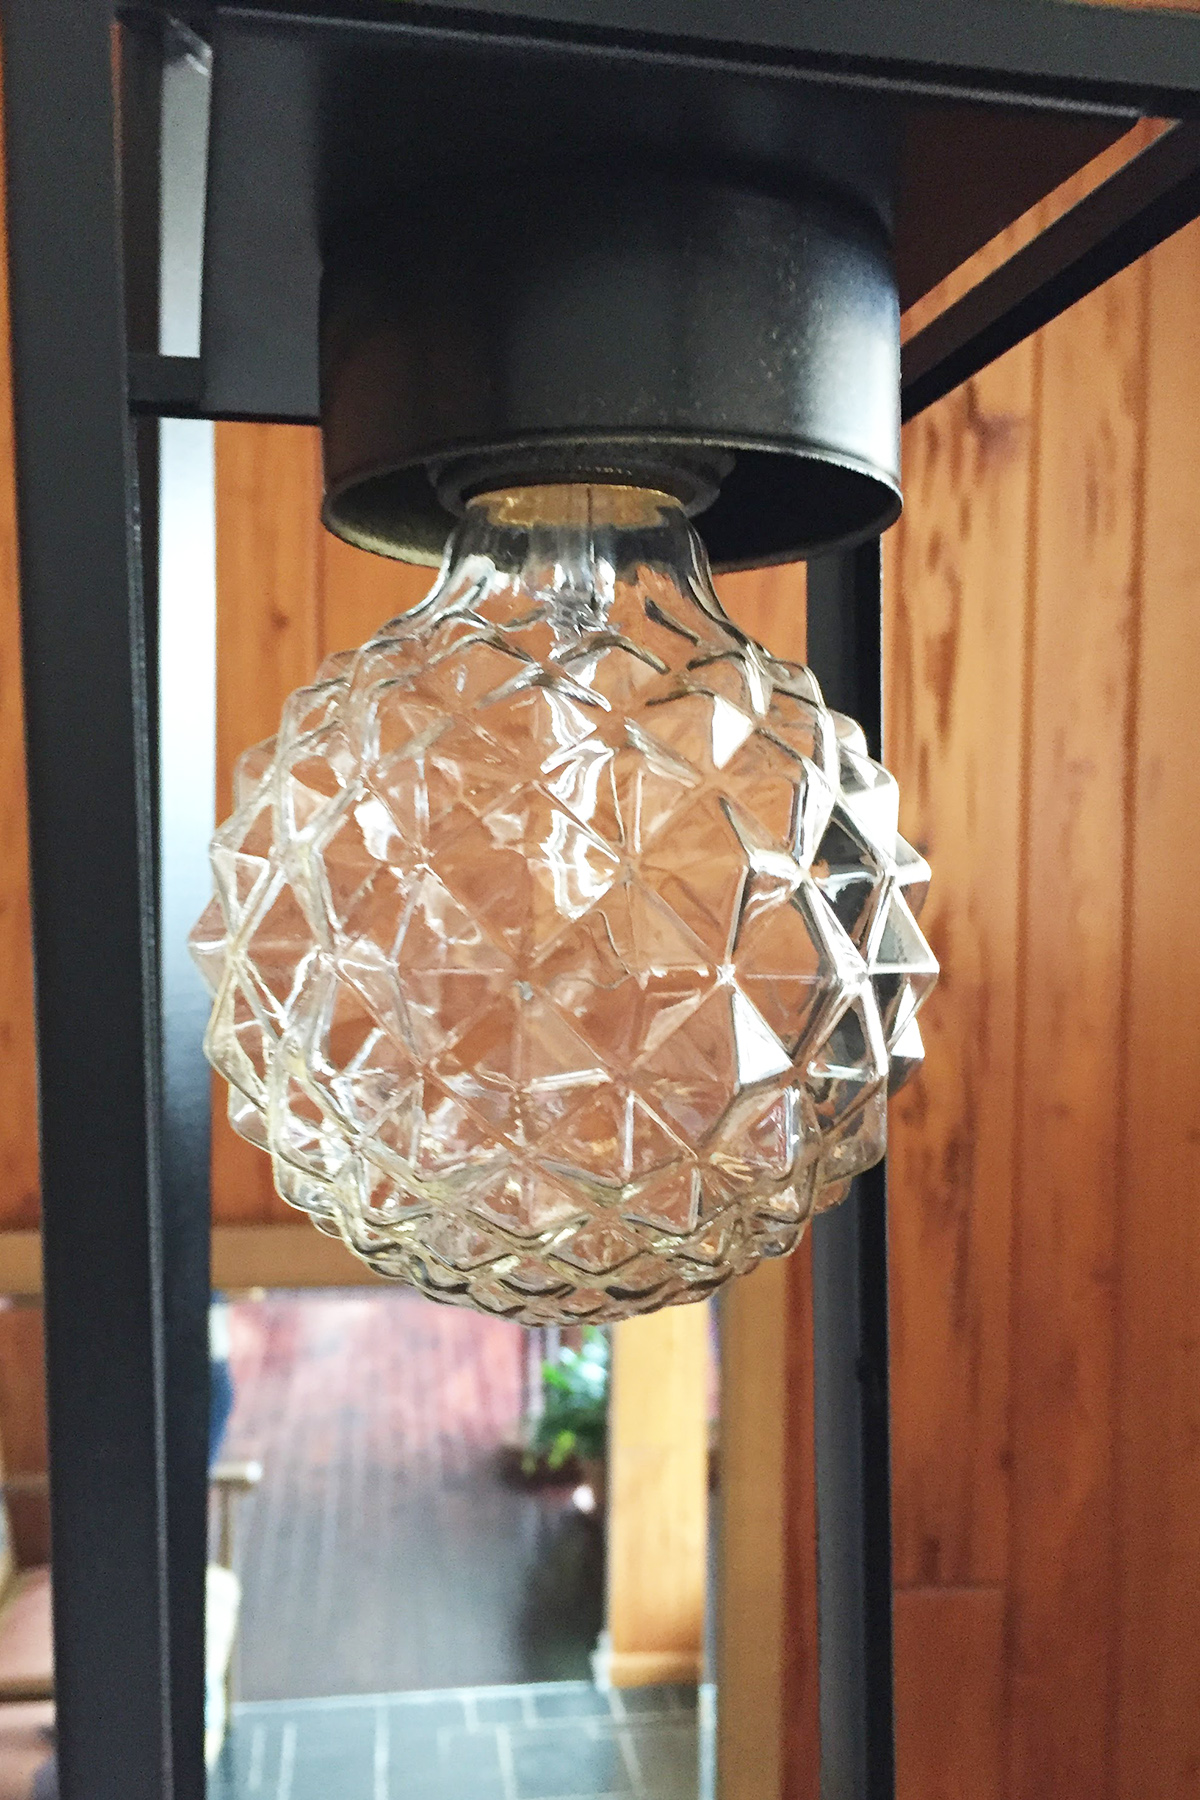
Here’s a look at the pendant in all its brassy glory:
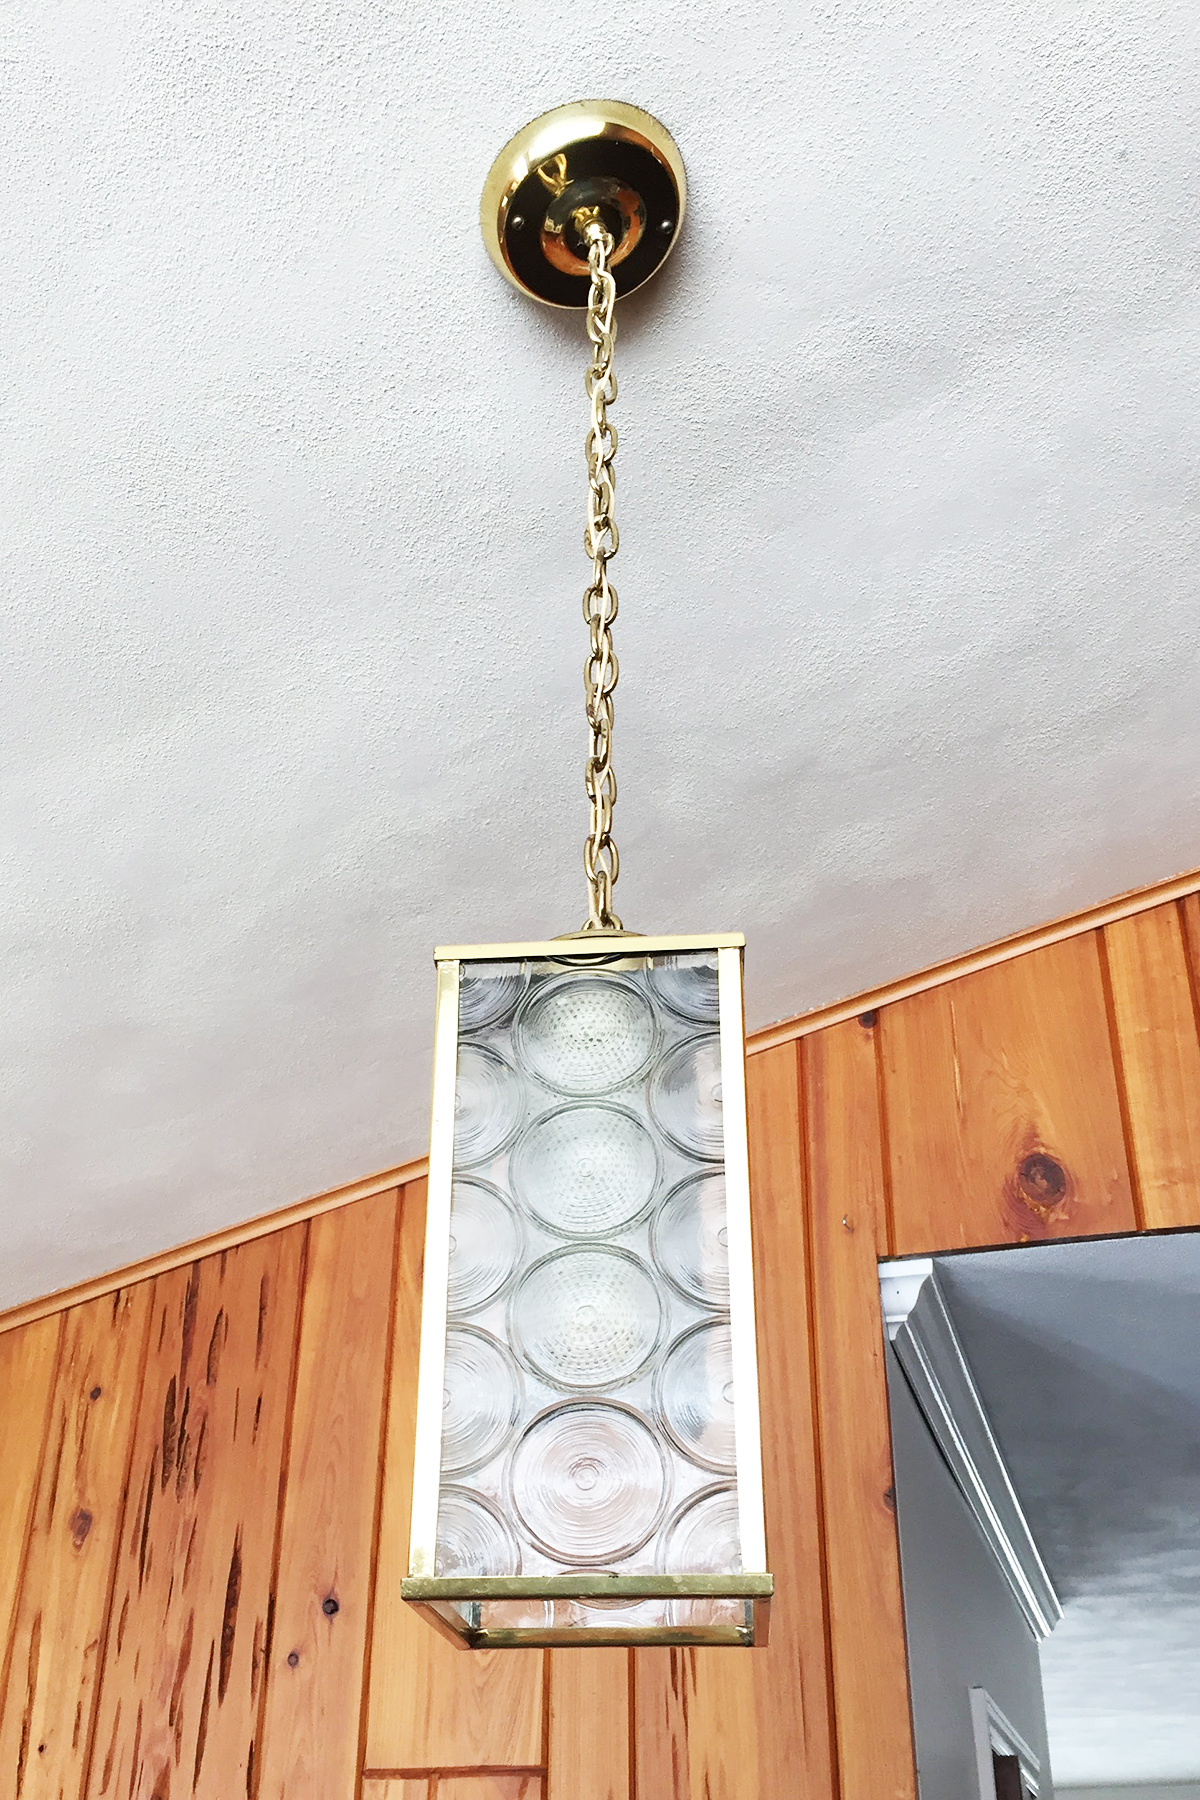
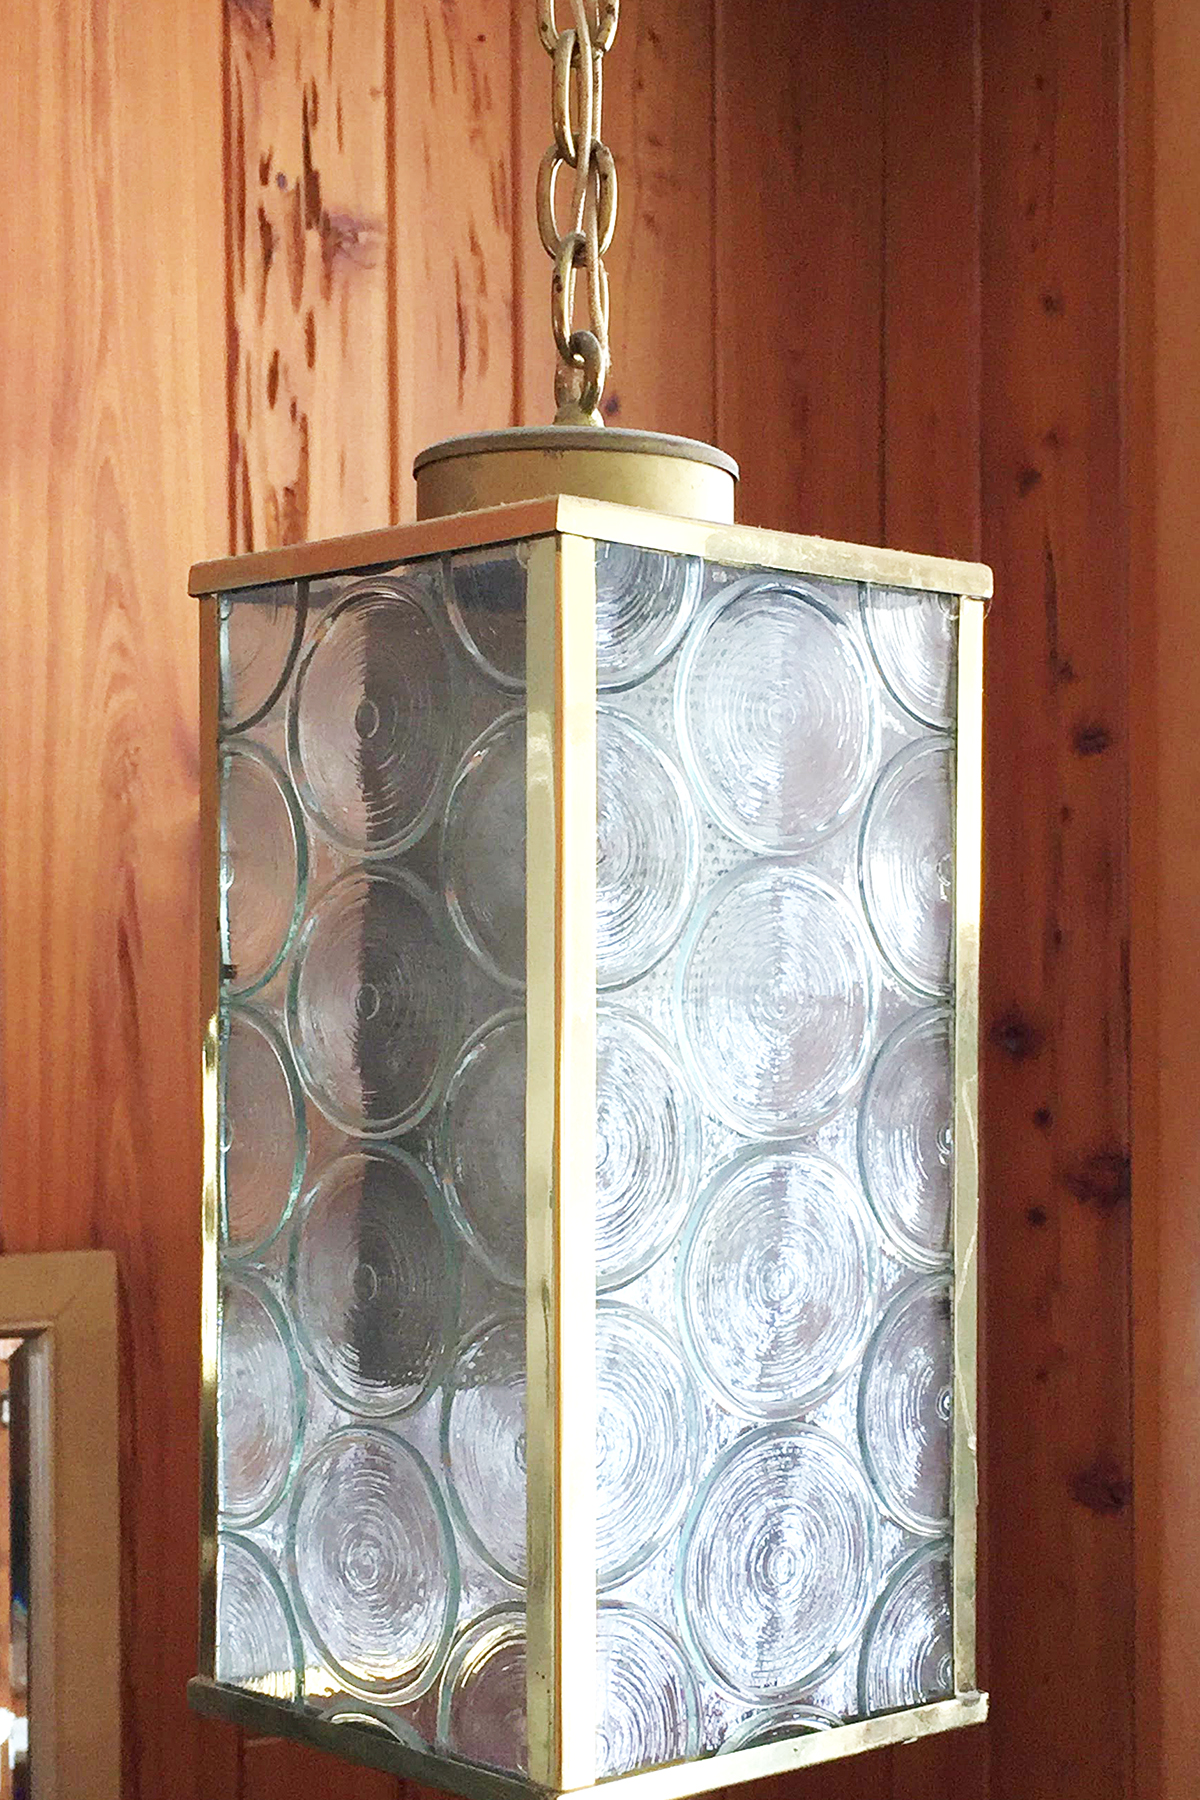
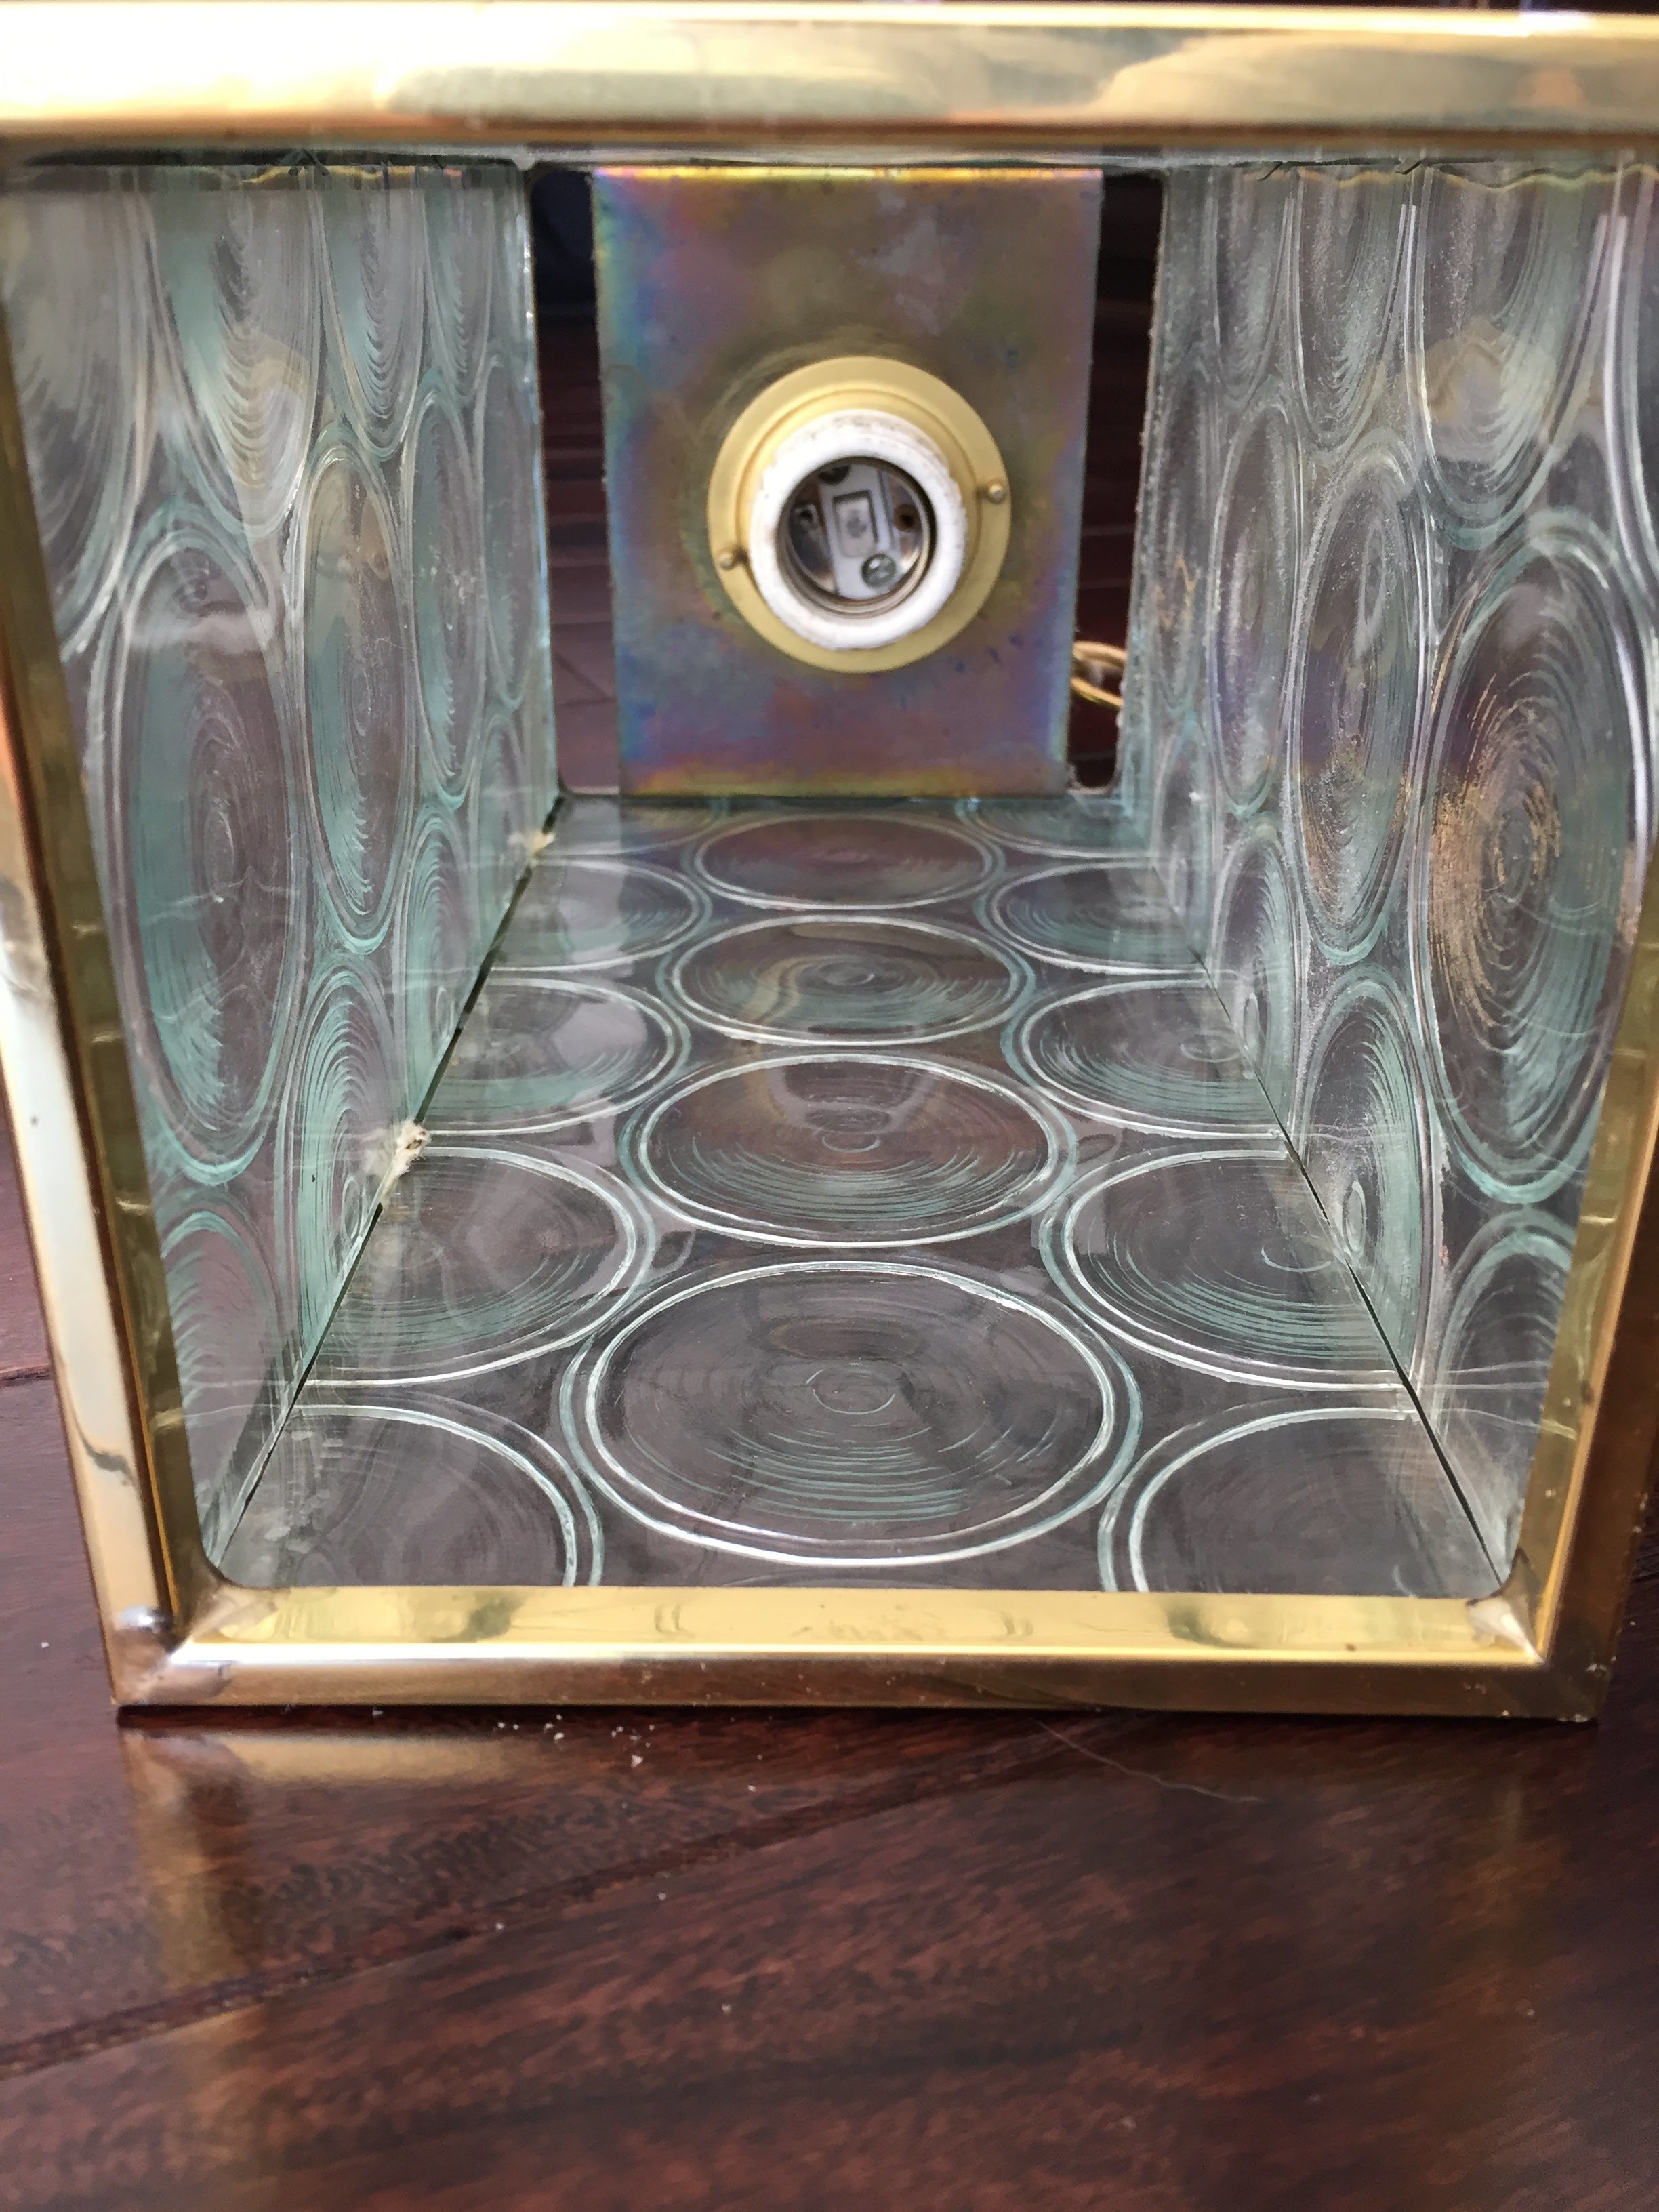
Now, don’t be jealous… I’ve been living with this beaut for a year and a half. A year and a half, people. And although I know what I don’t like about it – it’s far too small for the space, it’s dated and it’s oh so dim – I couldn’t figure out what to do about it.
Until recently, that is. What I’ve learned is that sometimes you have to live with something for a while (even if it taunts you daily) to realize its potential.
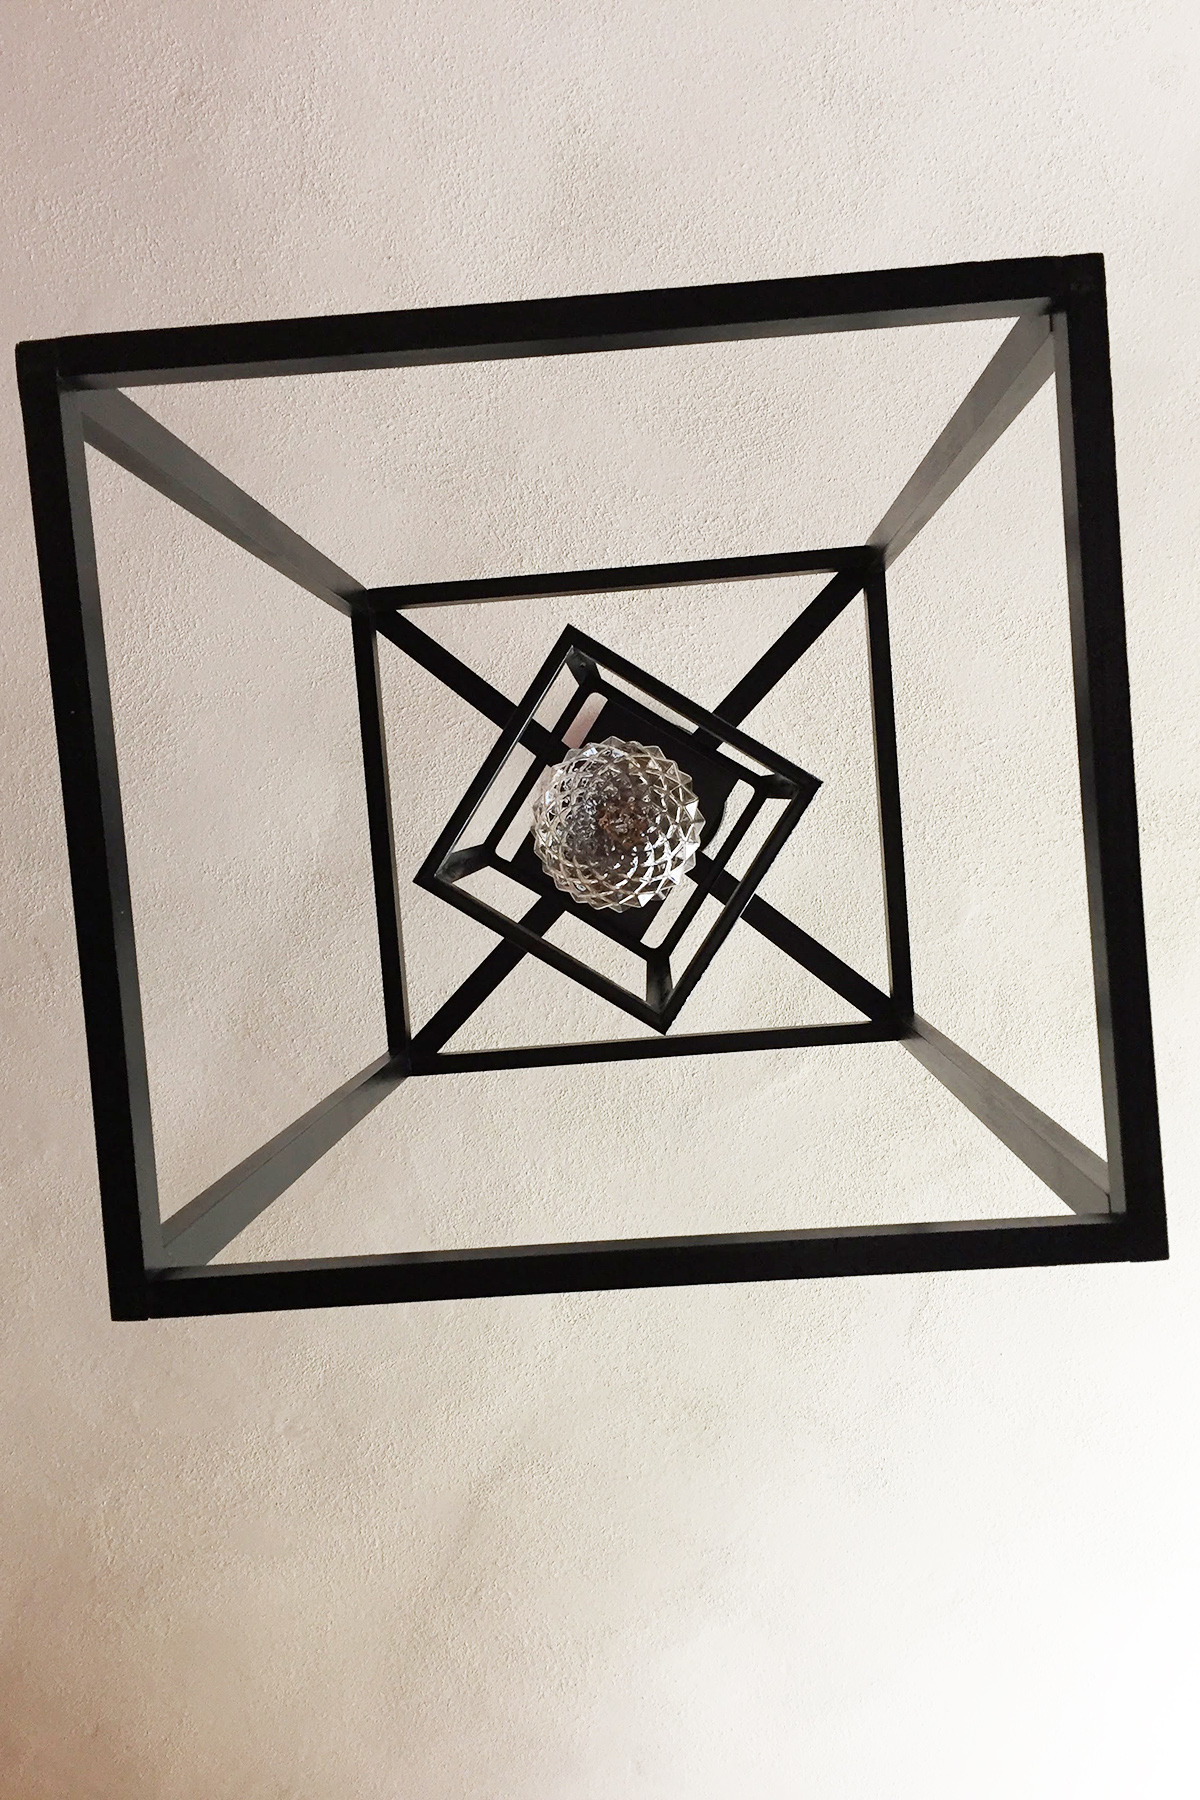
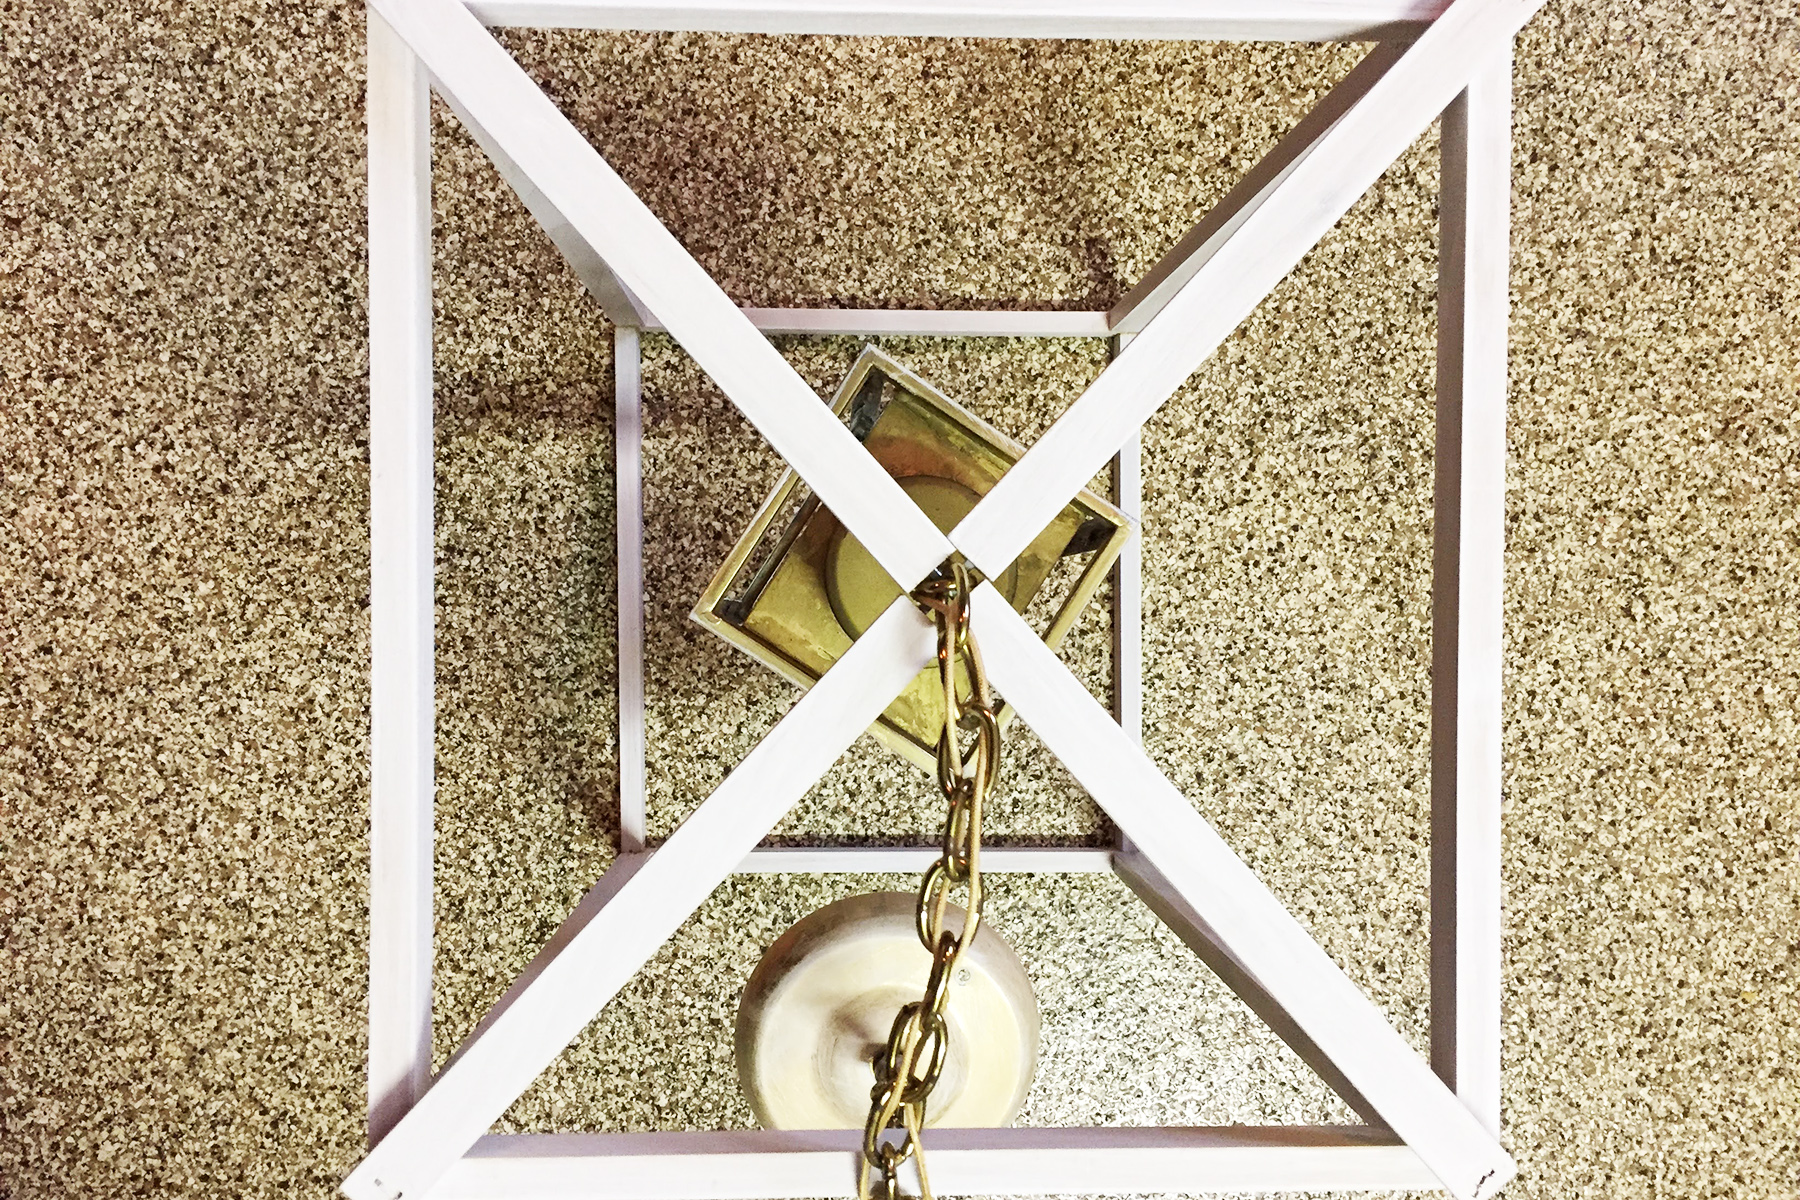
That definitely applies here. Here’s what I came up with:
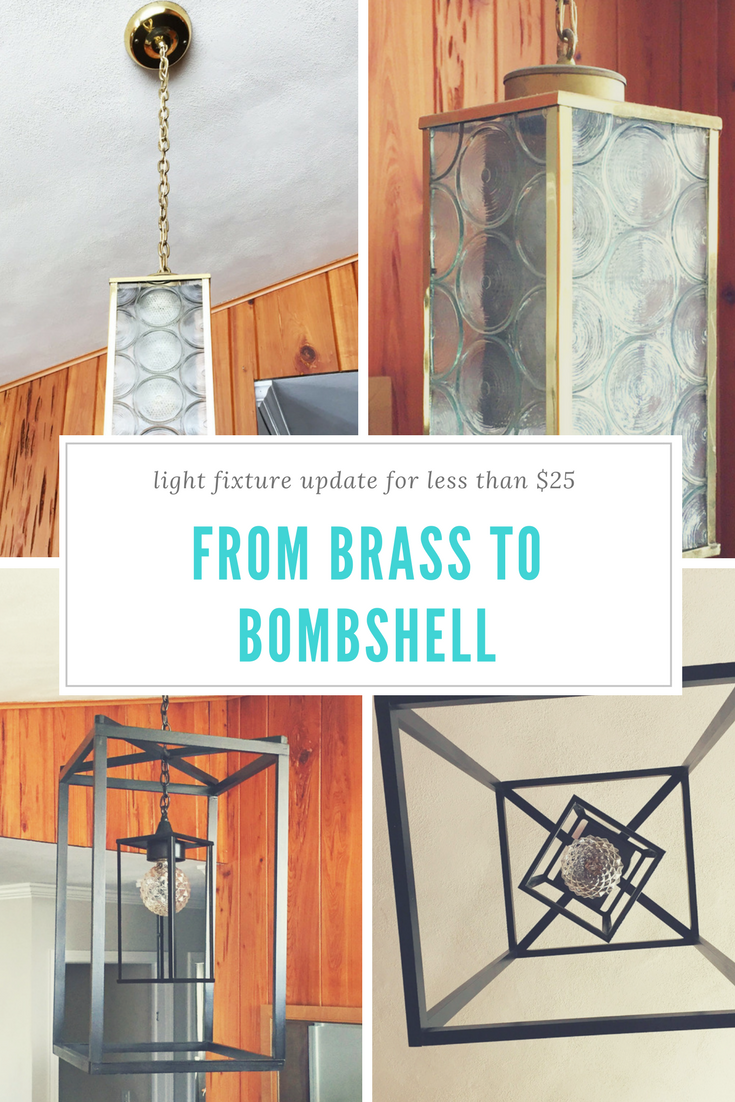
And here’s how it all went down.
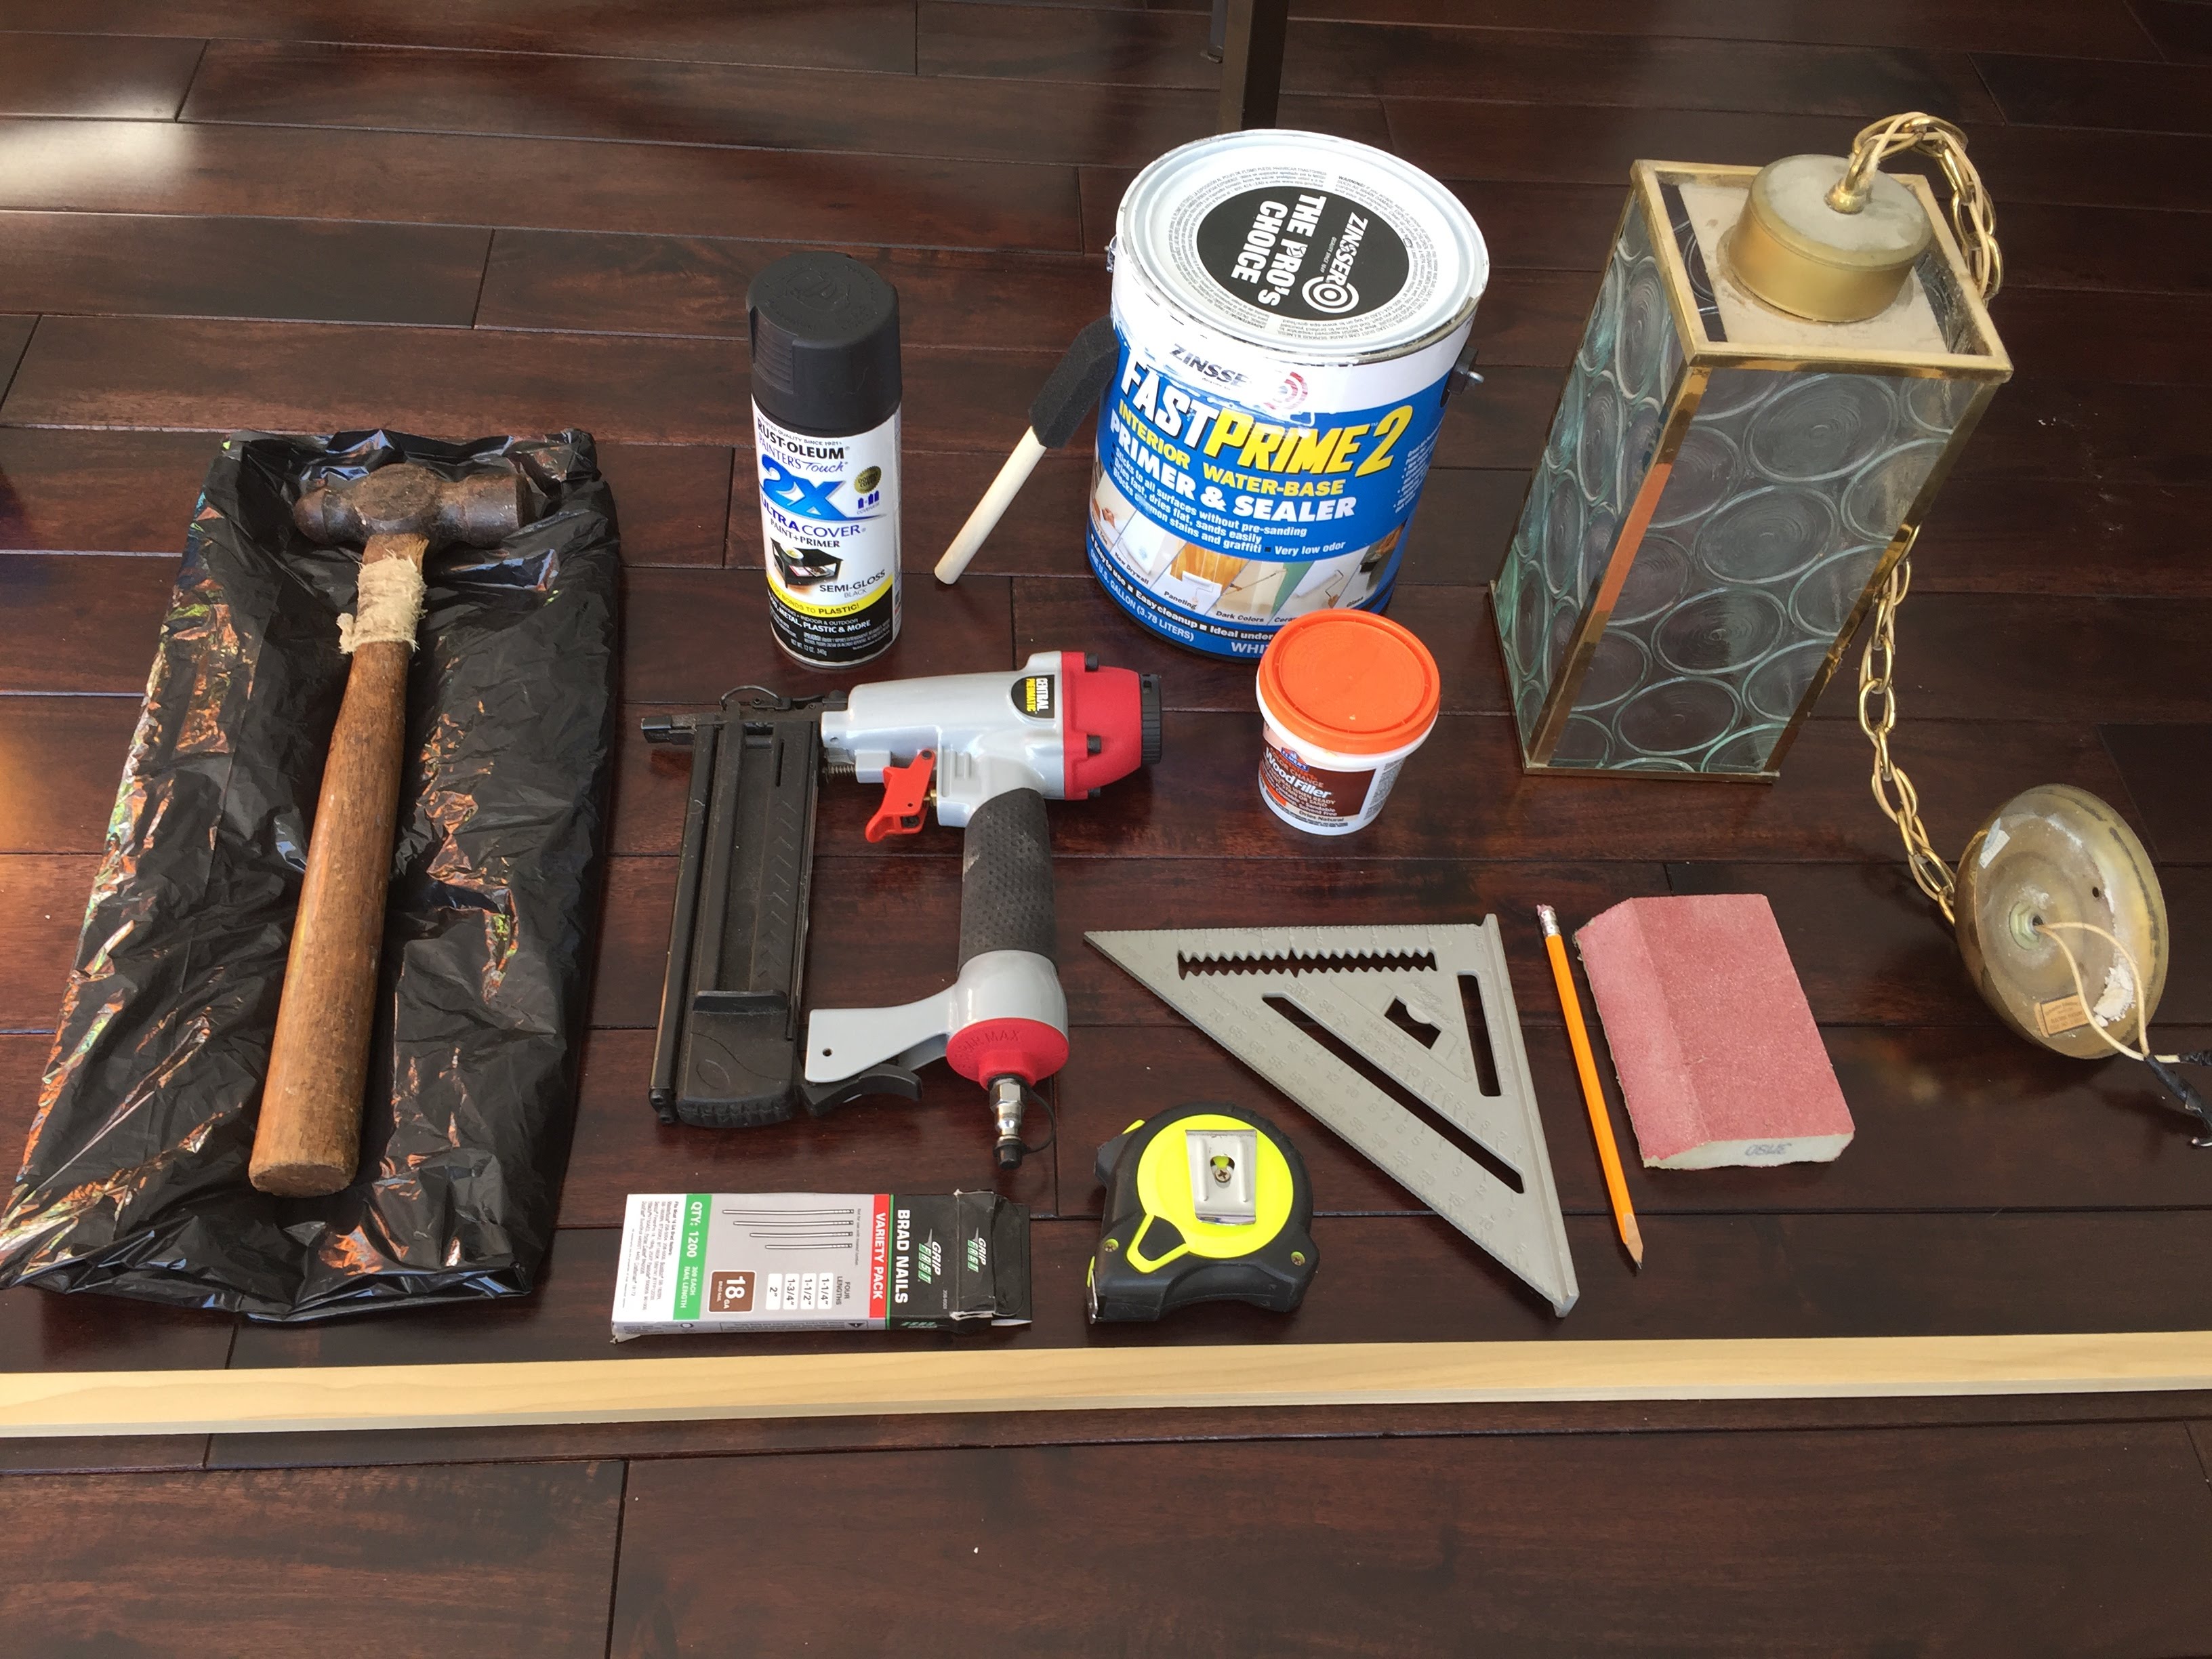
As always, I wanted to spend the least amount of money possible, and you guys: I only spent $25 for the whole project! The wood trim pieces were $3.50 each, key locks were less than $0.50, light bulb was $5 and we ended up buying a new lighting kit for $10 since the original wiring was beginning to fray. I also take advantage of Menards’ 11% rebates (CHA-CHING) = even more savings.
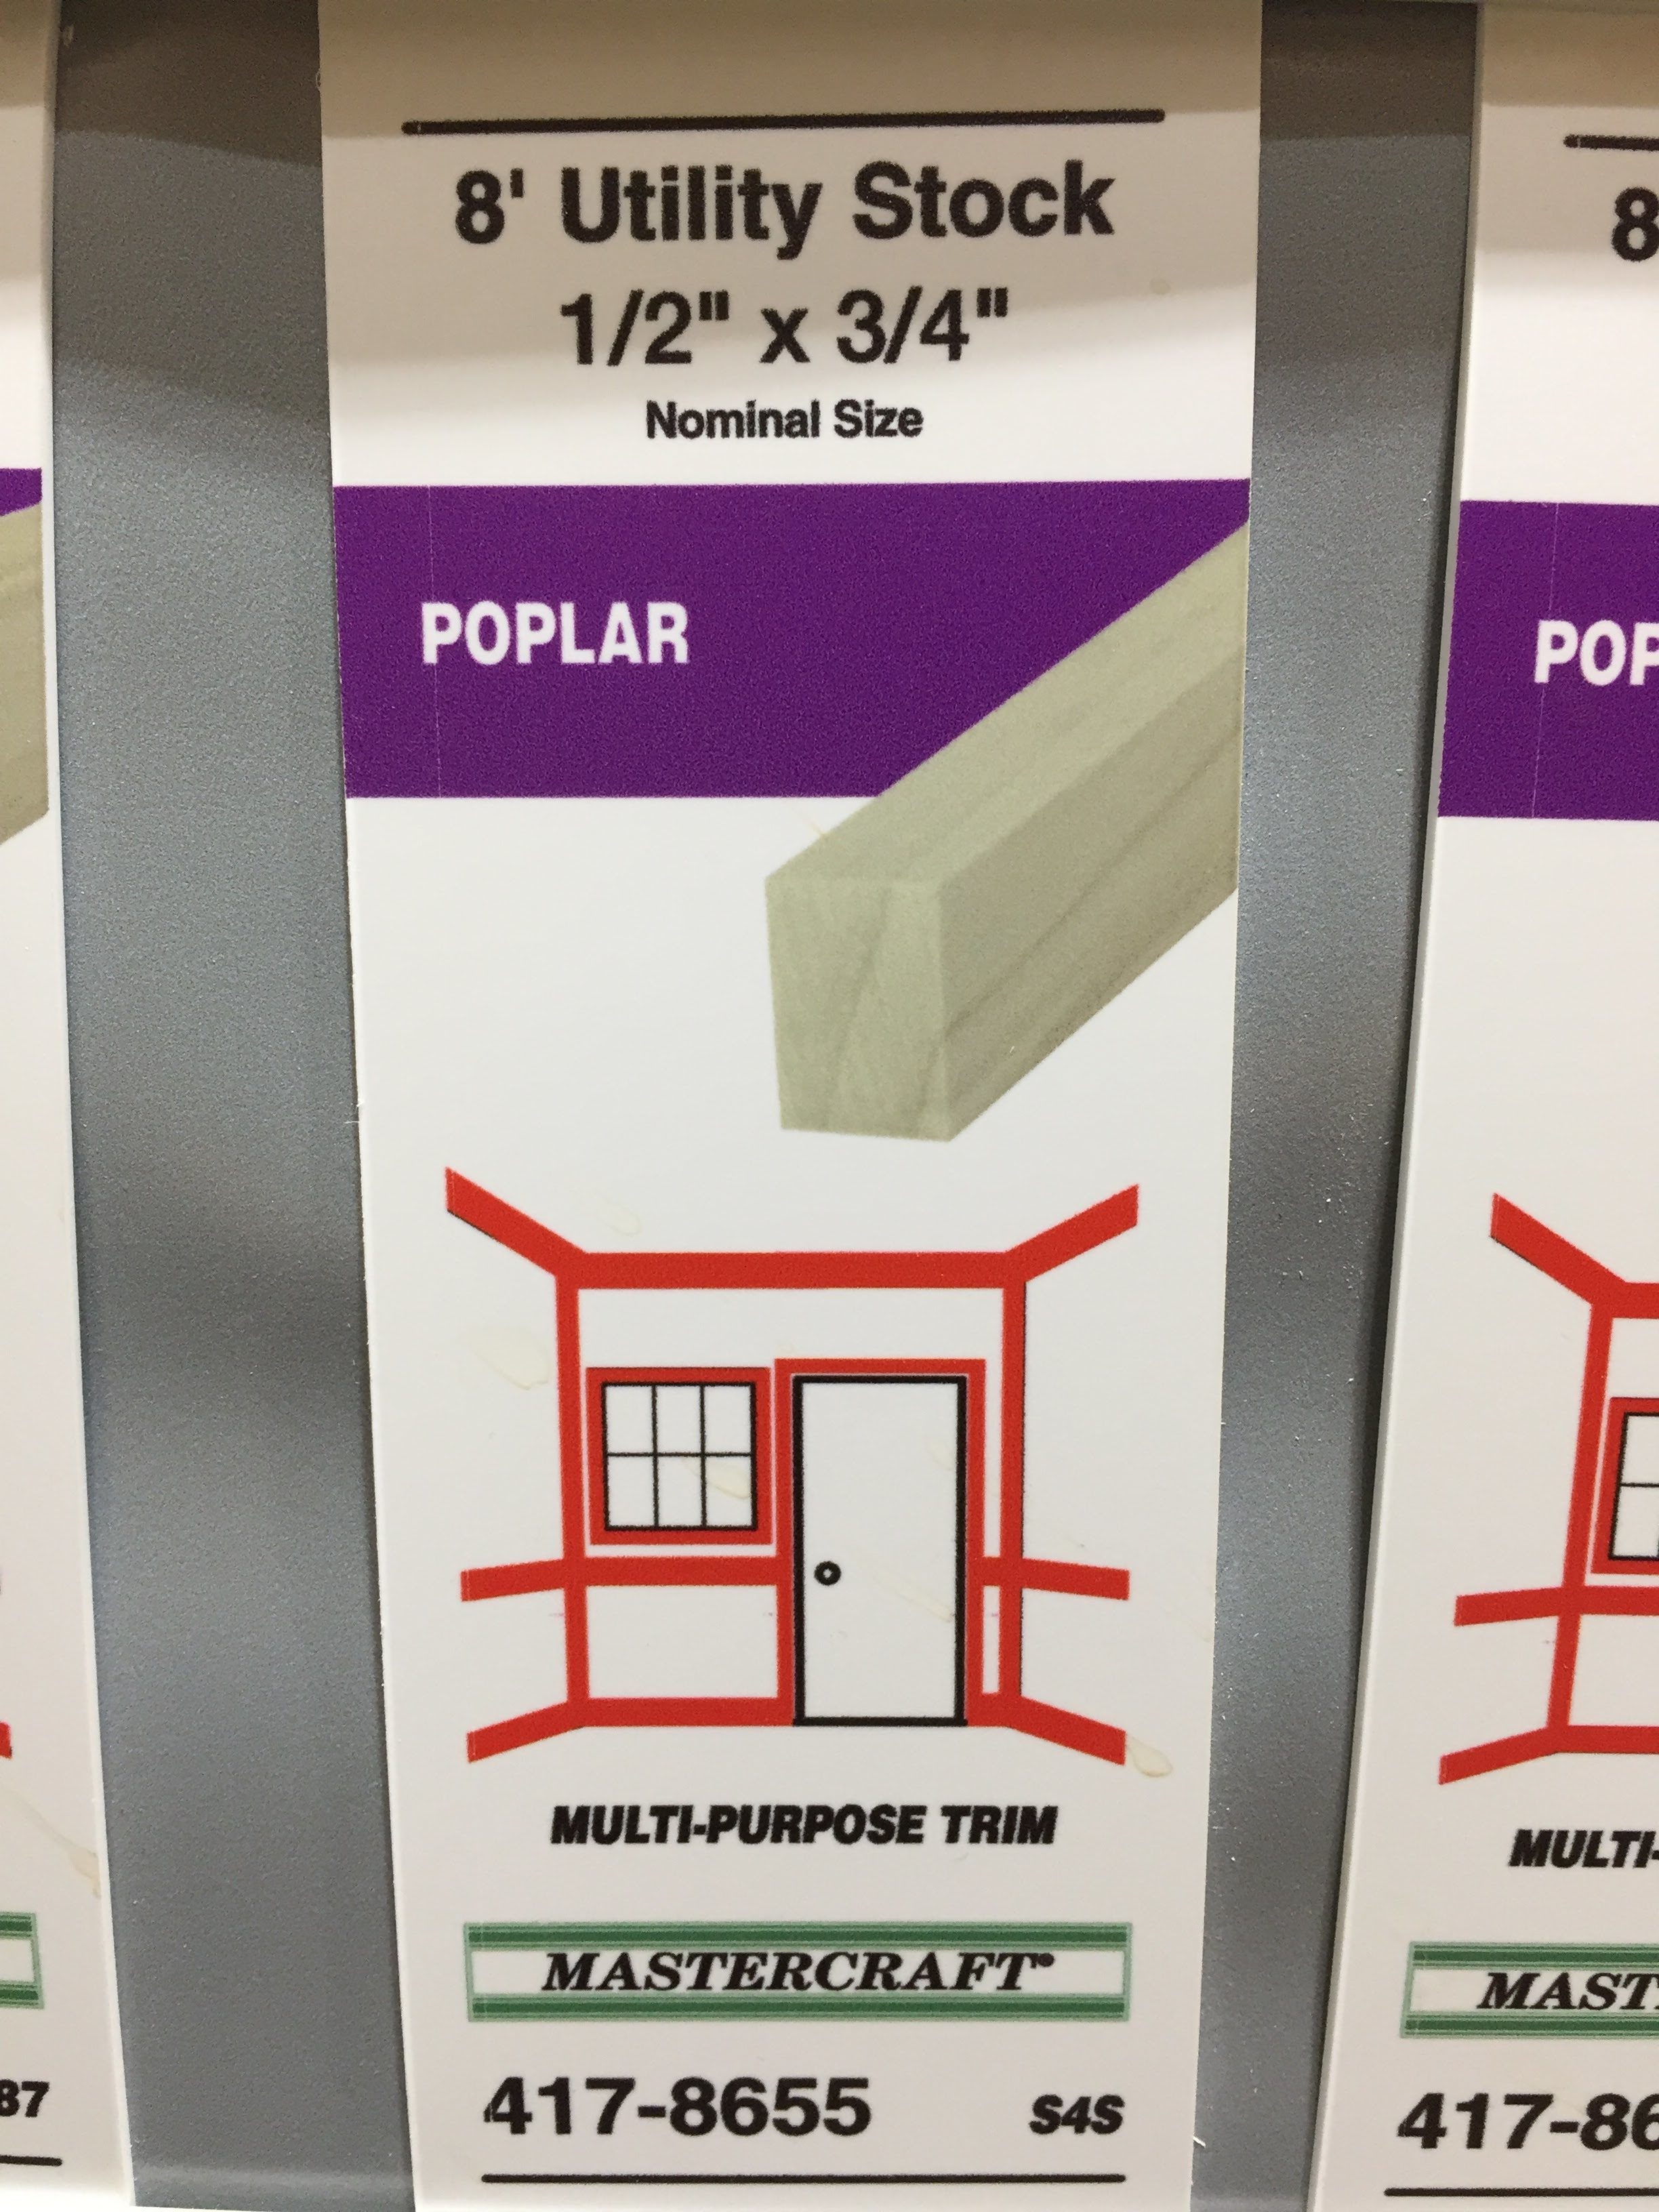
If you don’t have a pendant needing updates, start from scratch with an actual lantern. You can usually find these rather inexpensively at wedding decor online stores, home improvement stores or even antique shops. From there, you just add a lighting kit from a home improvement store, and then decide on the “look” you want. If you like my modern, rectangular overhaul, I get into the details below.
Mark down the measurements of your current fixture. Mine was 10″ high by 6.5″ wide. Since I wanted to increase its size, I doubled those measurements, so my new height is 20” (cut 4 of these – they will be the long vertical sides) and my new width is 13” (cut 8 of these – they will be the top and bottom squares).
While you have your saw out, go ahead and cut four 9-inch pieces, too. These will be at the very top to attach your new piece to the existing chain/light fixture.
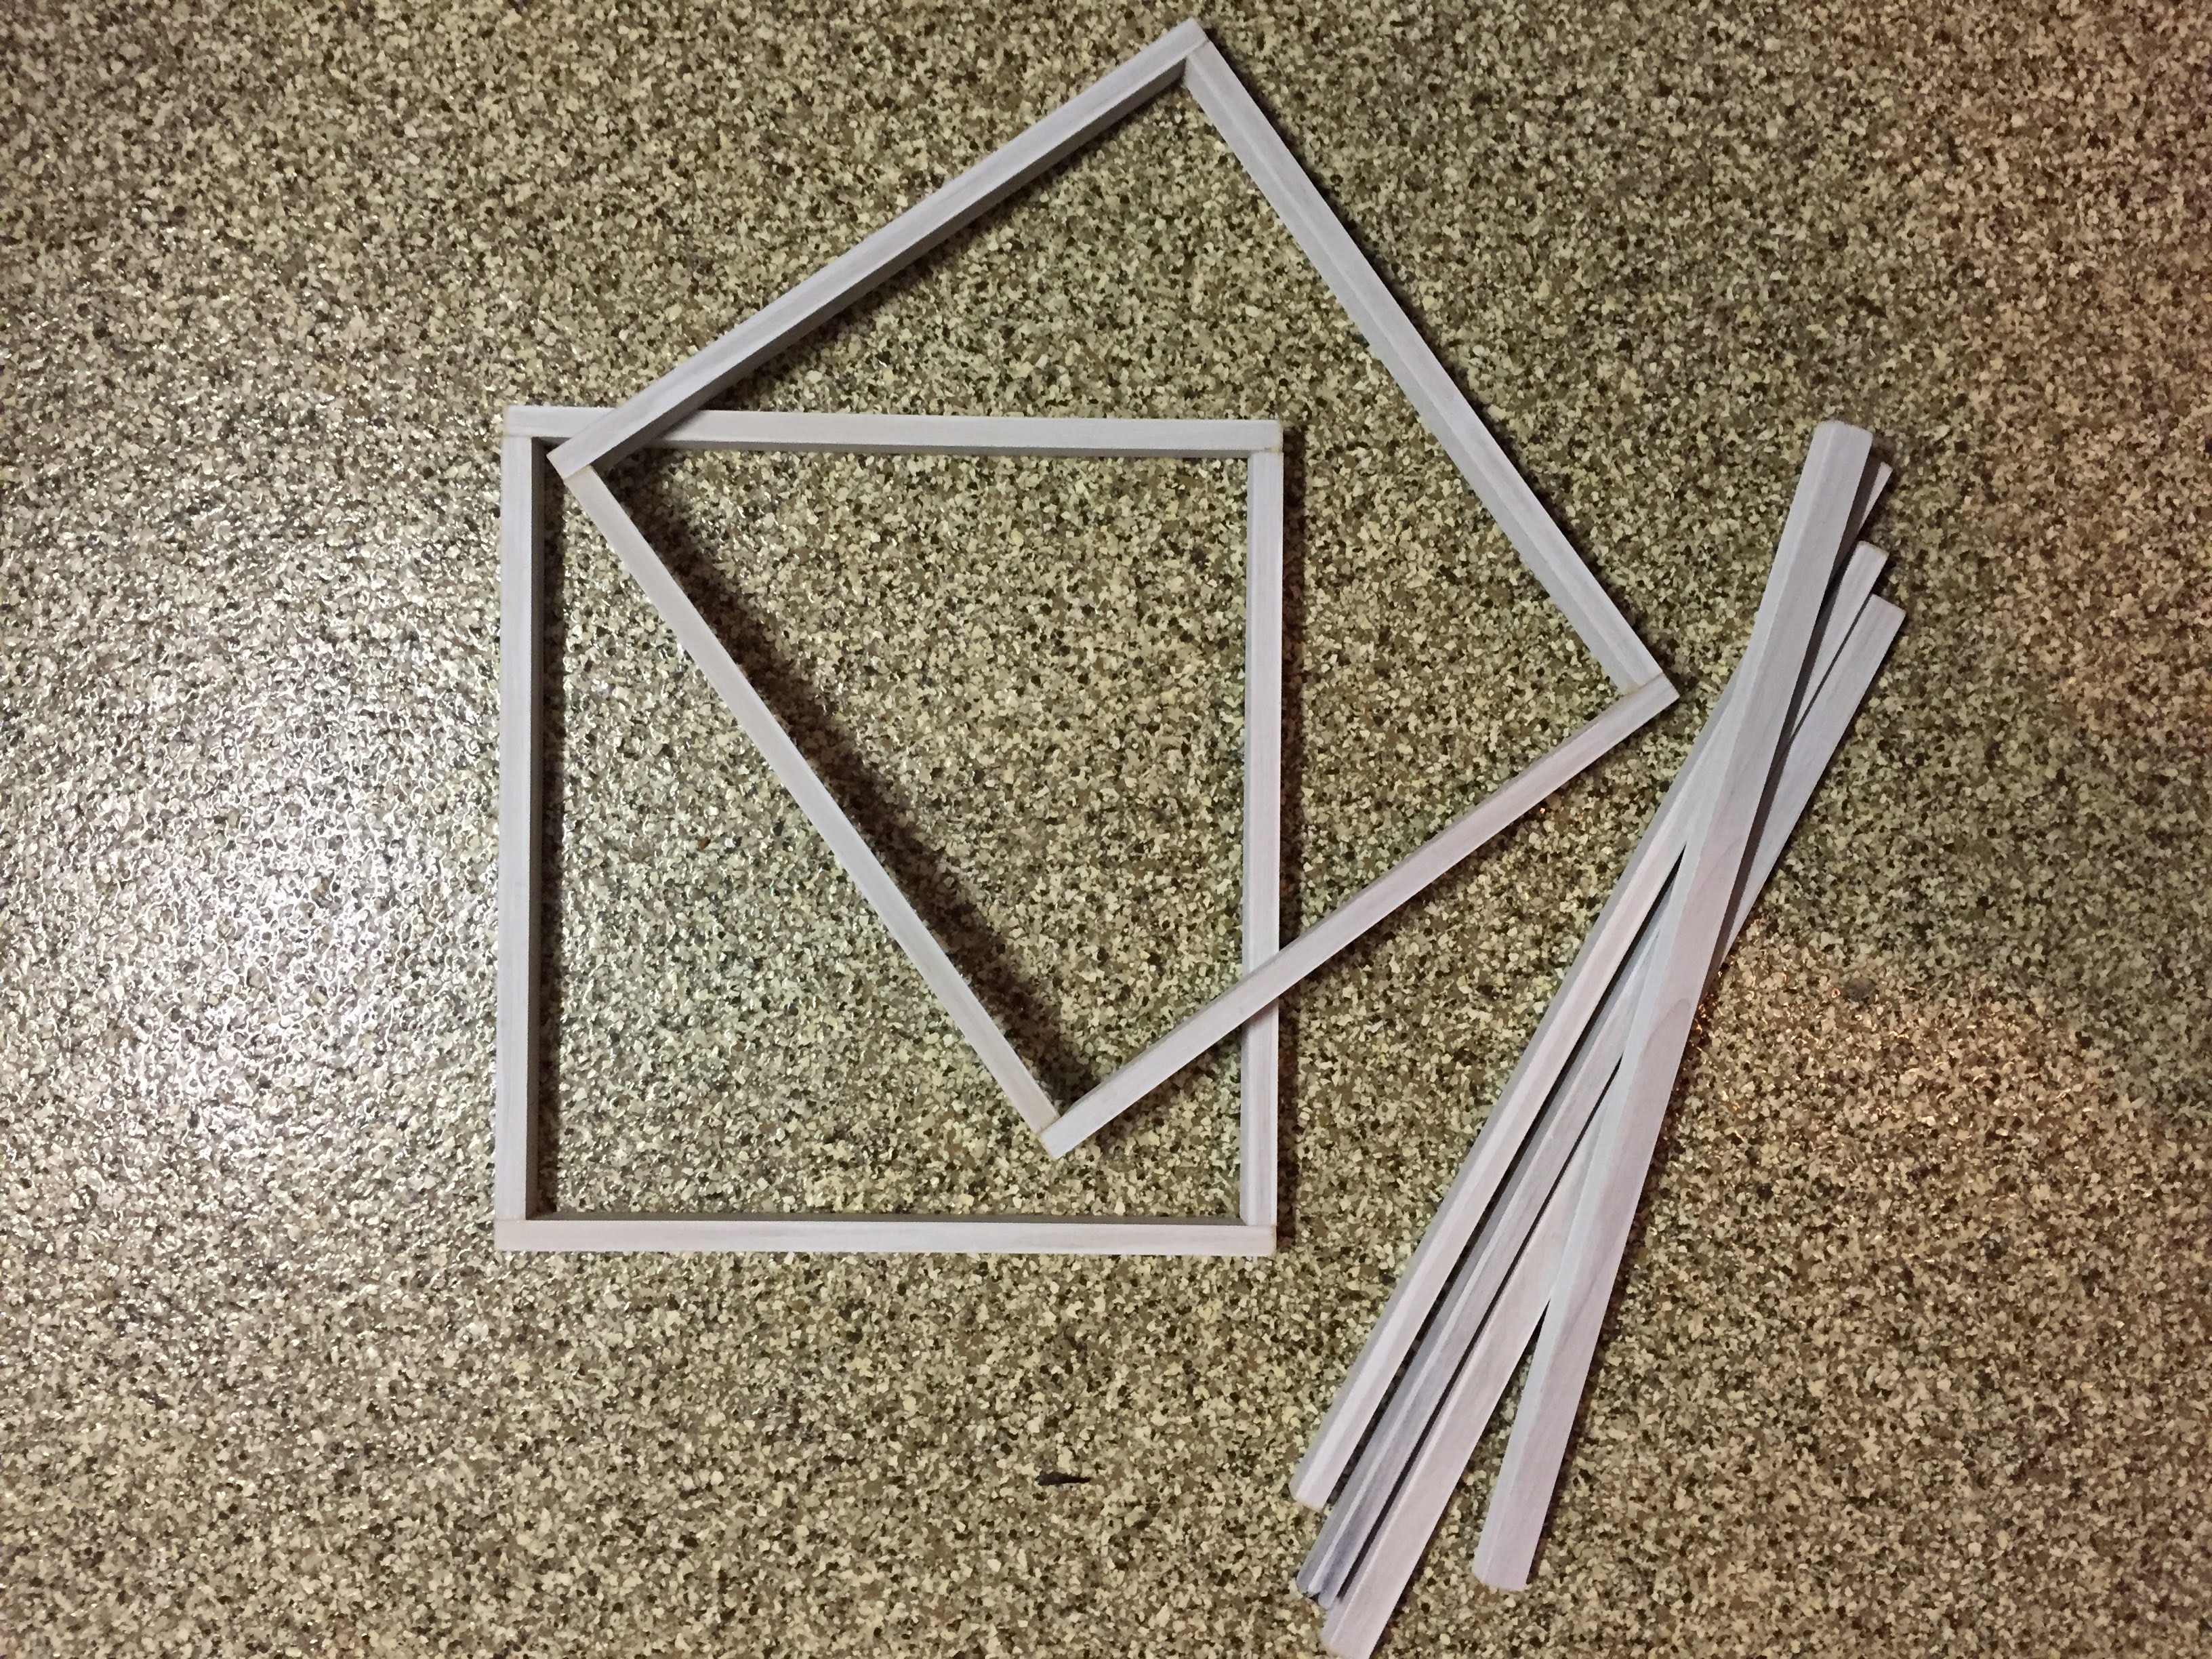
If all these MEASUREMENTS and NUMBERS are driving you nuts, just reference this picture. As you can see, there are not too many pieces to cut.
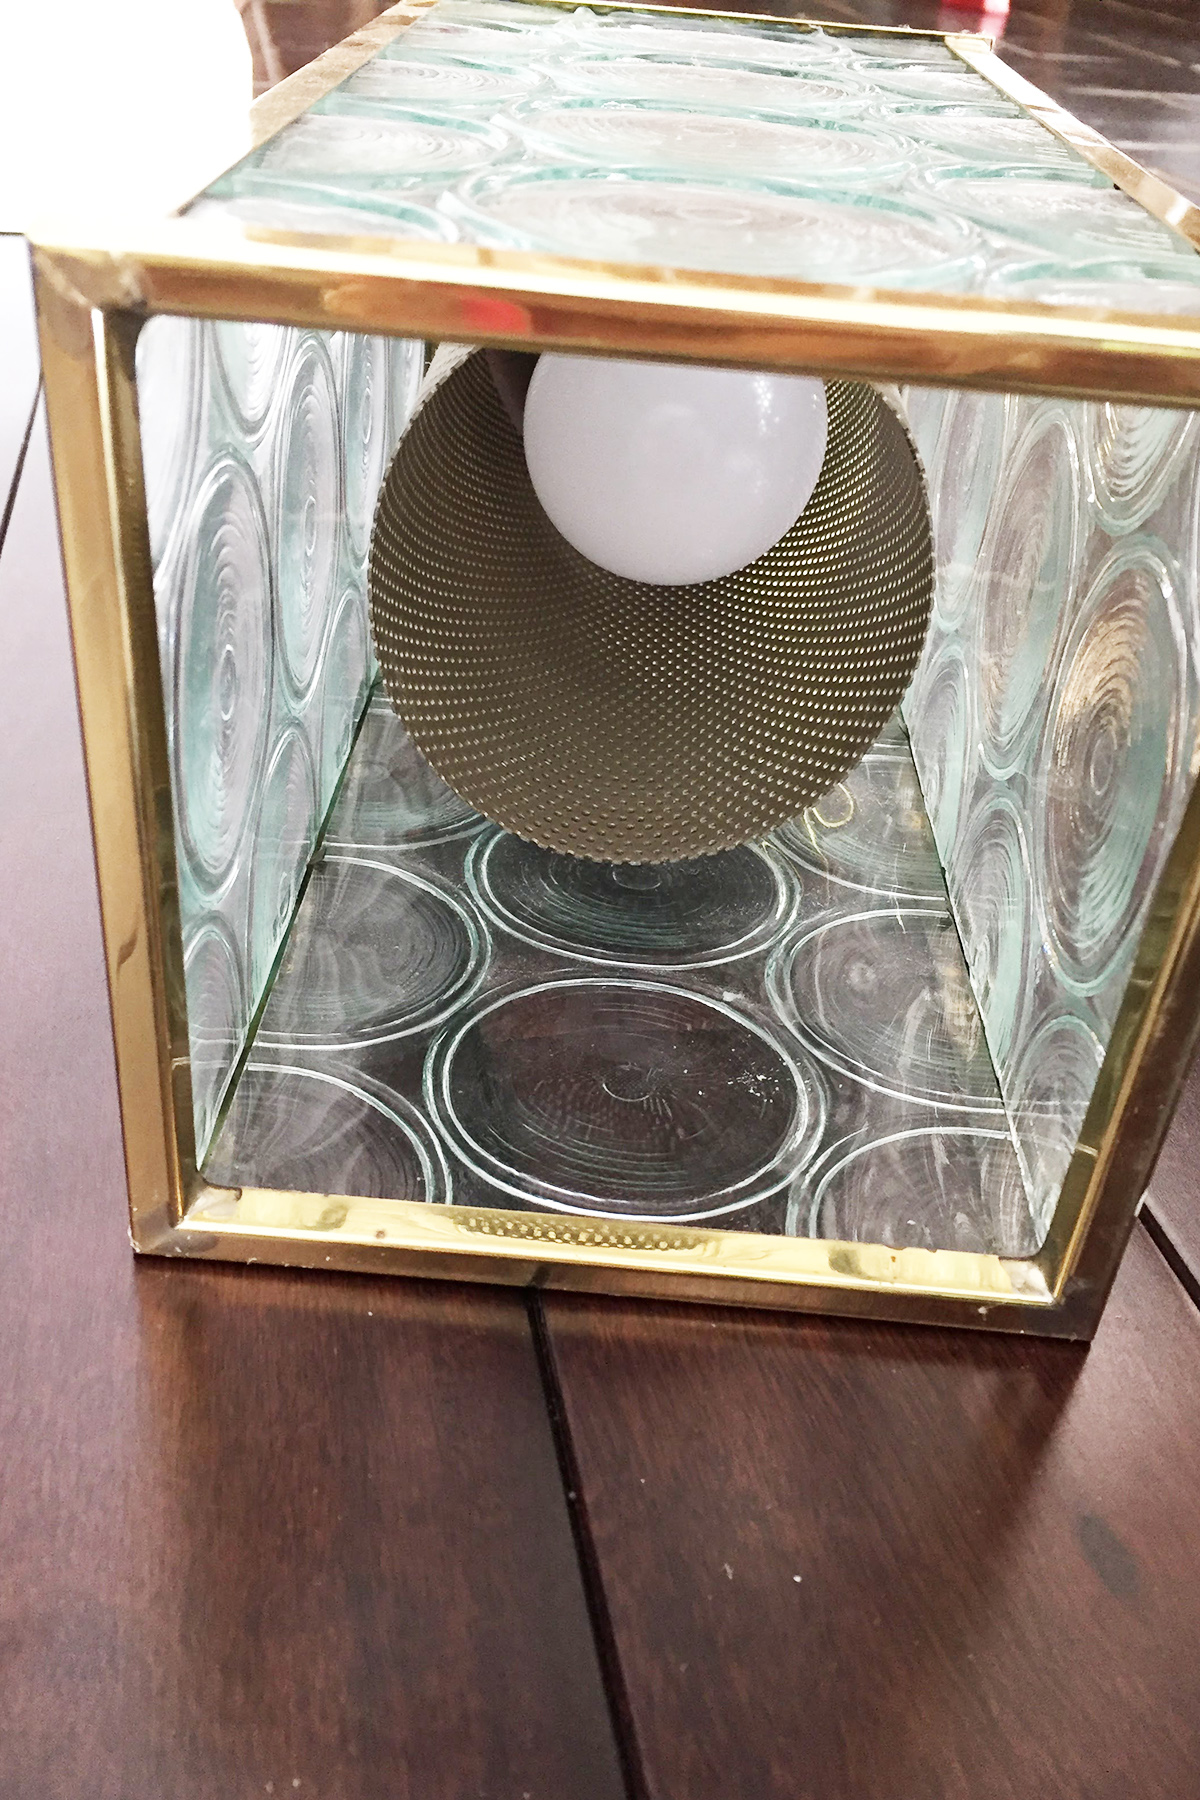
Once cut, apply primer to each piece of wood and let dry. Meanwhile, prep the pendant/lantern. To remove the glass, I got super technical… no, no I did not. I busted it out with a hammer, let’s get serious. But beware, I had to be kindaaaaa careful not to break the shell of the pendant. So just take your time.
TIP: Place the fixture inside a thick garbage bag to bust the glass for easy cleanup. Next, I lightly sanded the pendant to give the primer and paint something to grab onto.
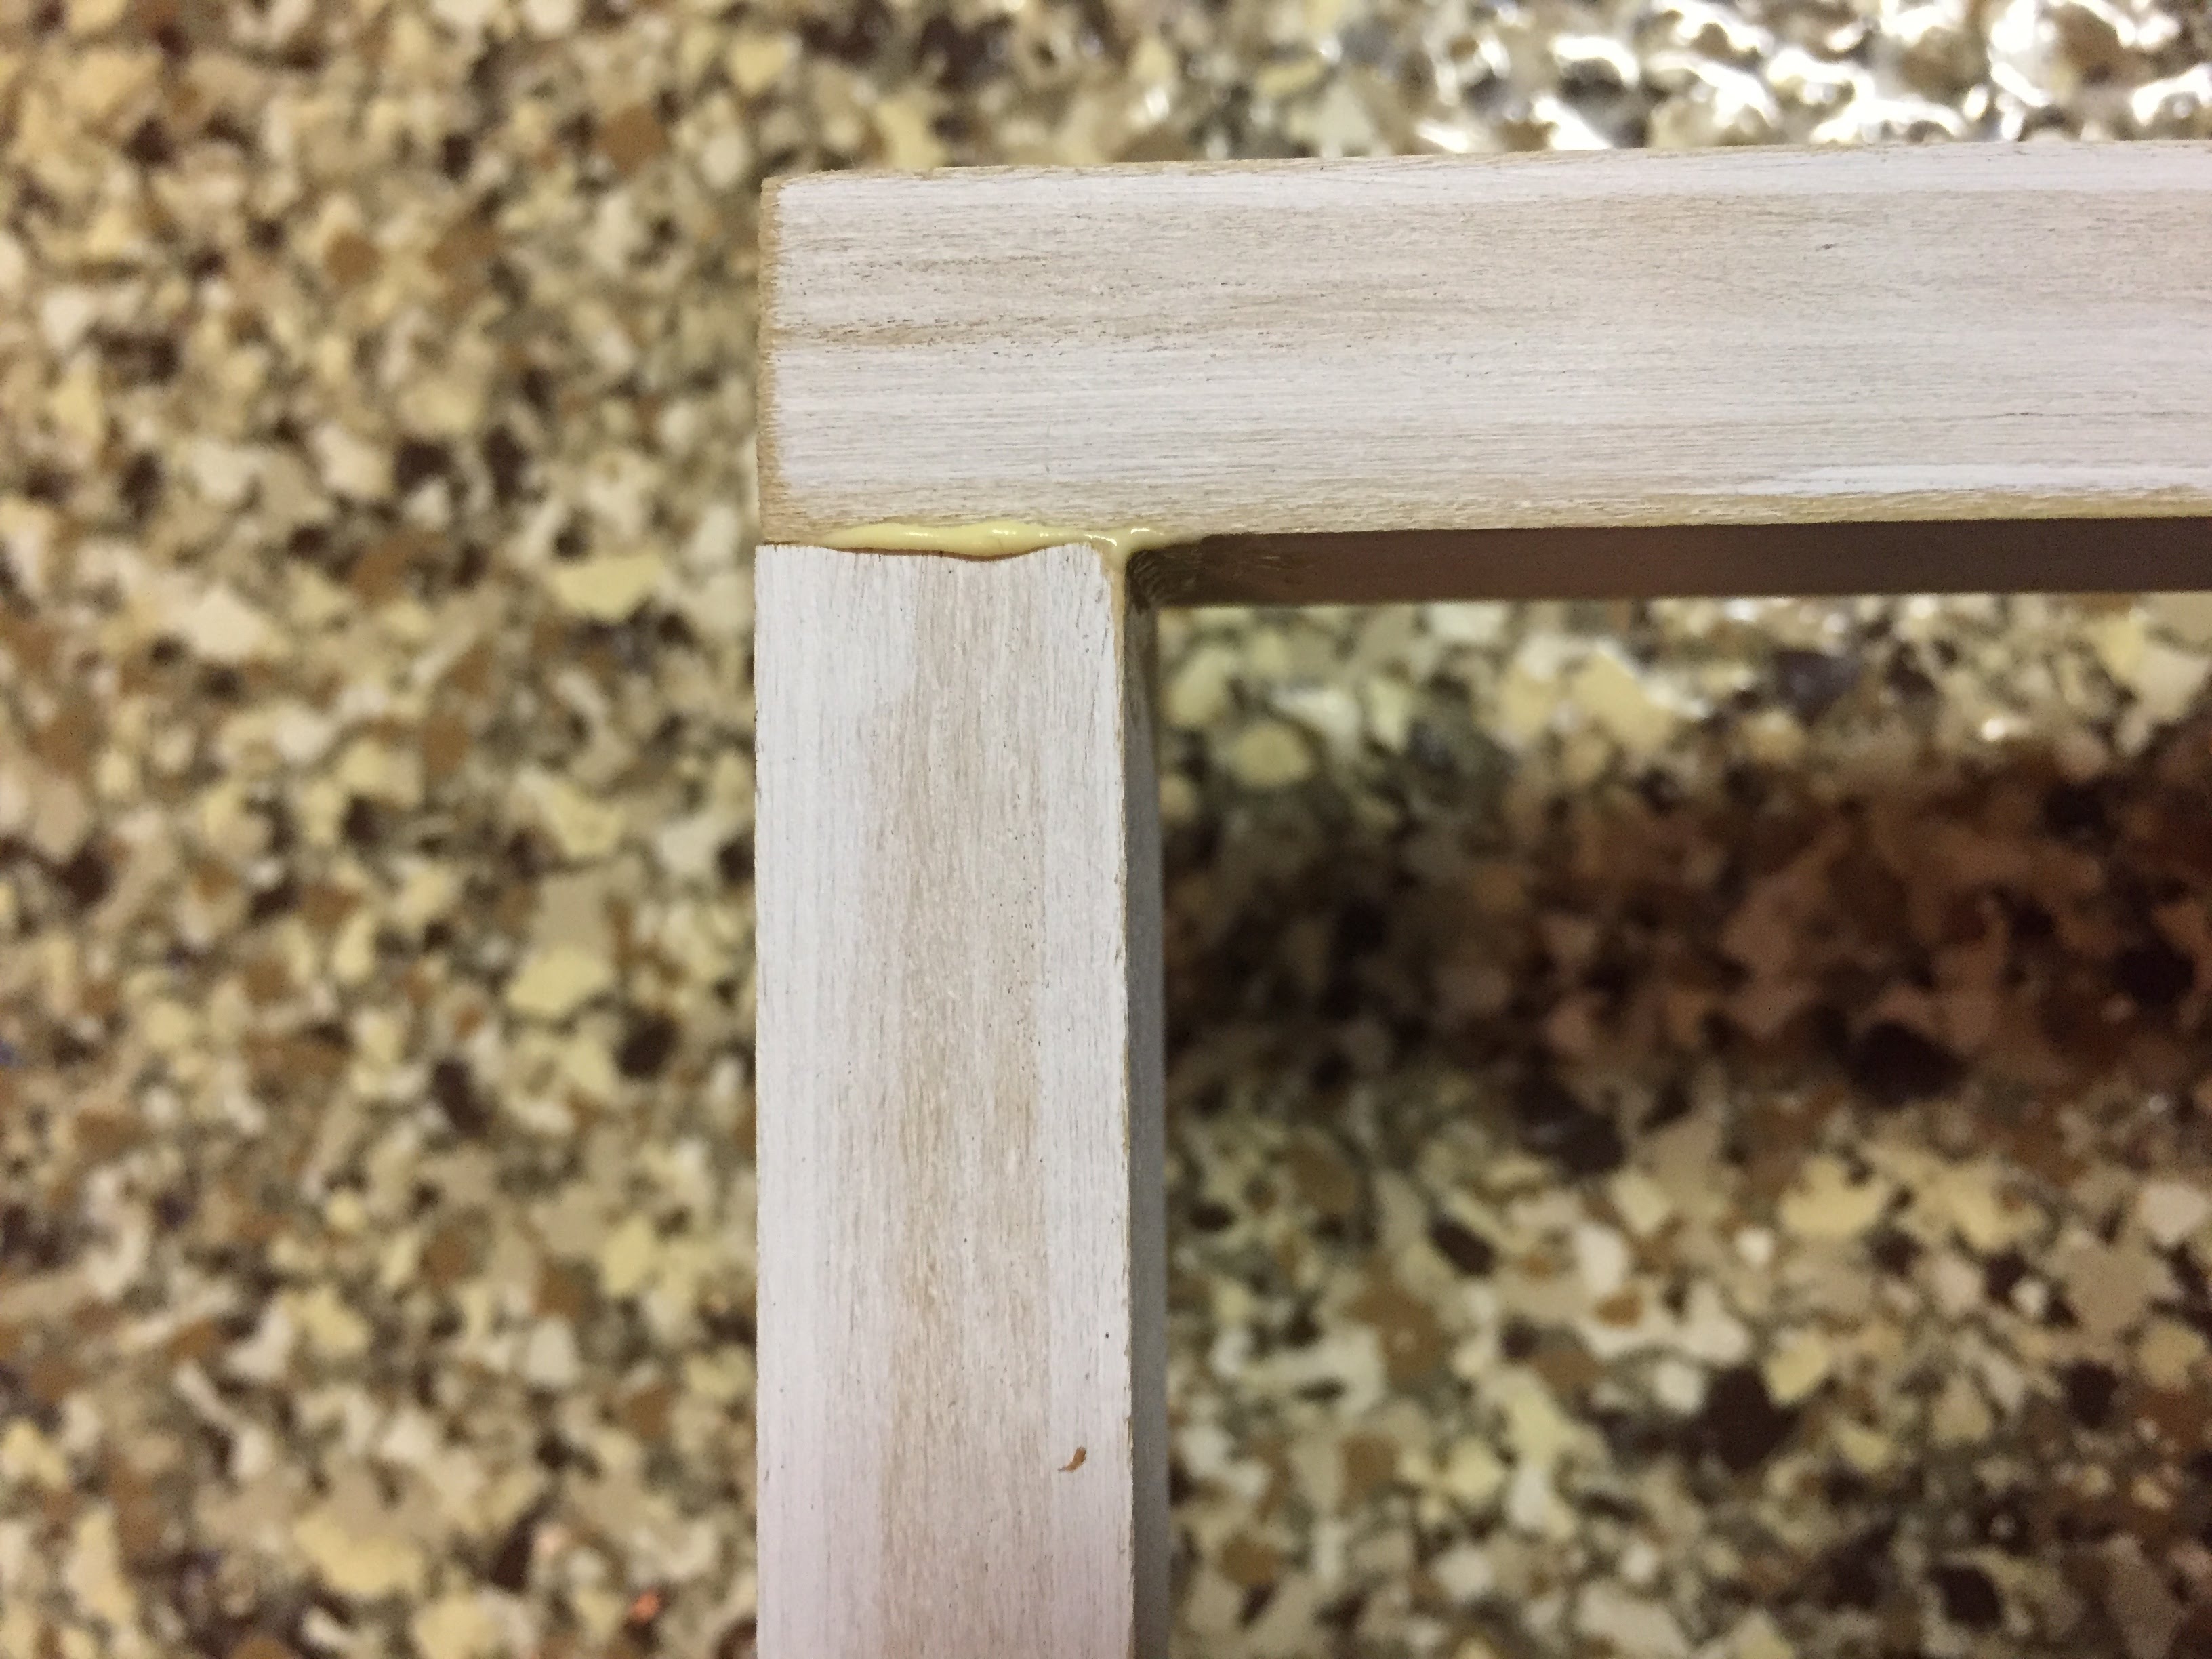
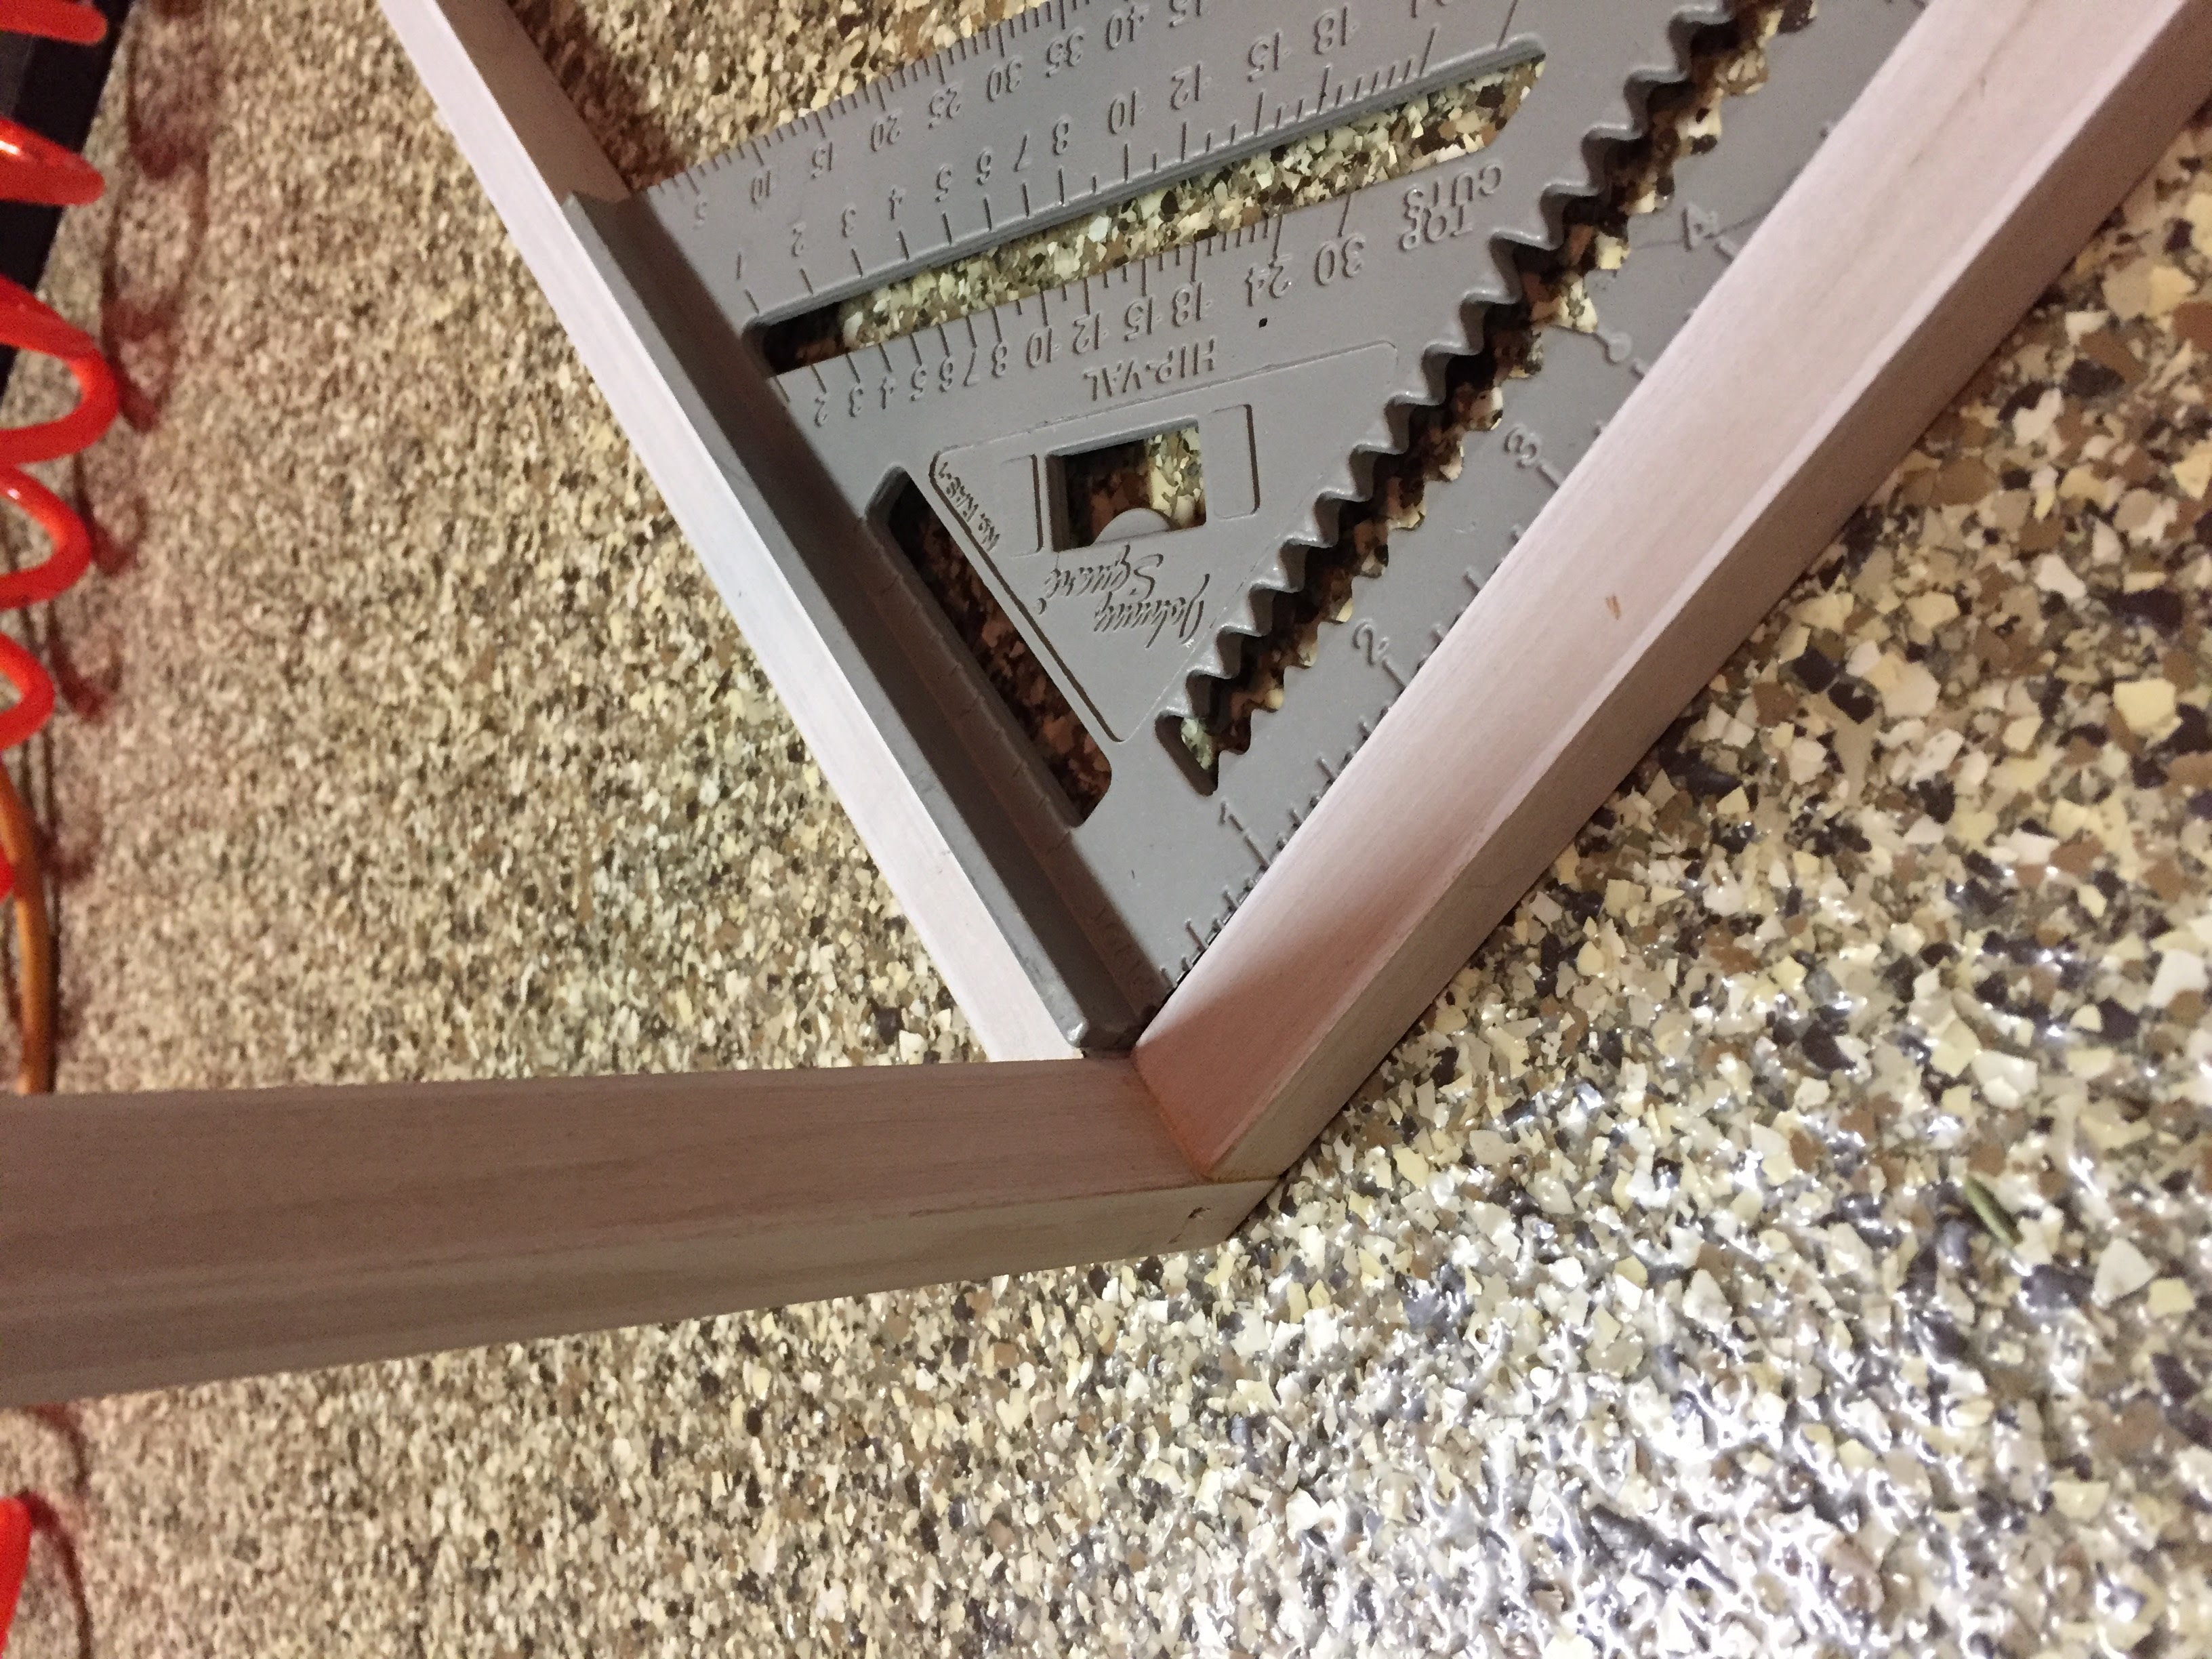
I used a square tool to keep everything as even as possible. I also recommend wood glue for extra hold. Just wipe off any excess after you nail your pieces together. Again, take your time. The trim pieces are skinny, so you could have some nailing mishaps. I know I did!
Start by building your two top and bottom squares (those are the eight 13″ pieces). A little wood glue is all I used. That, and the square tool for accuracy.
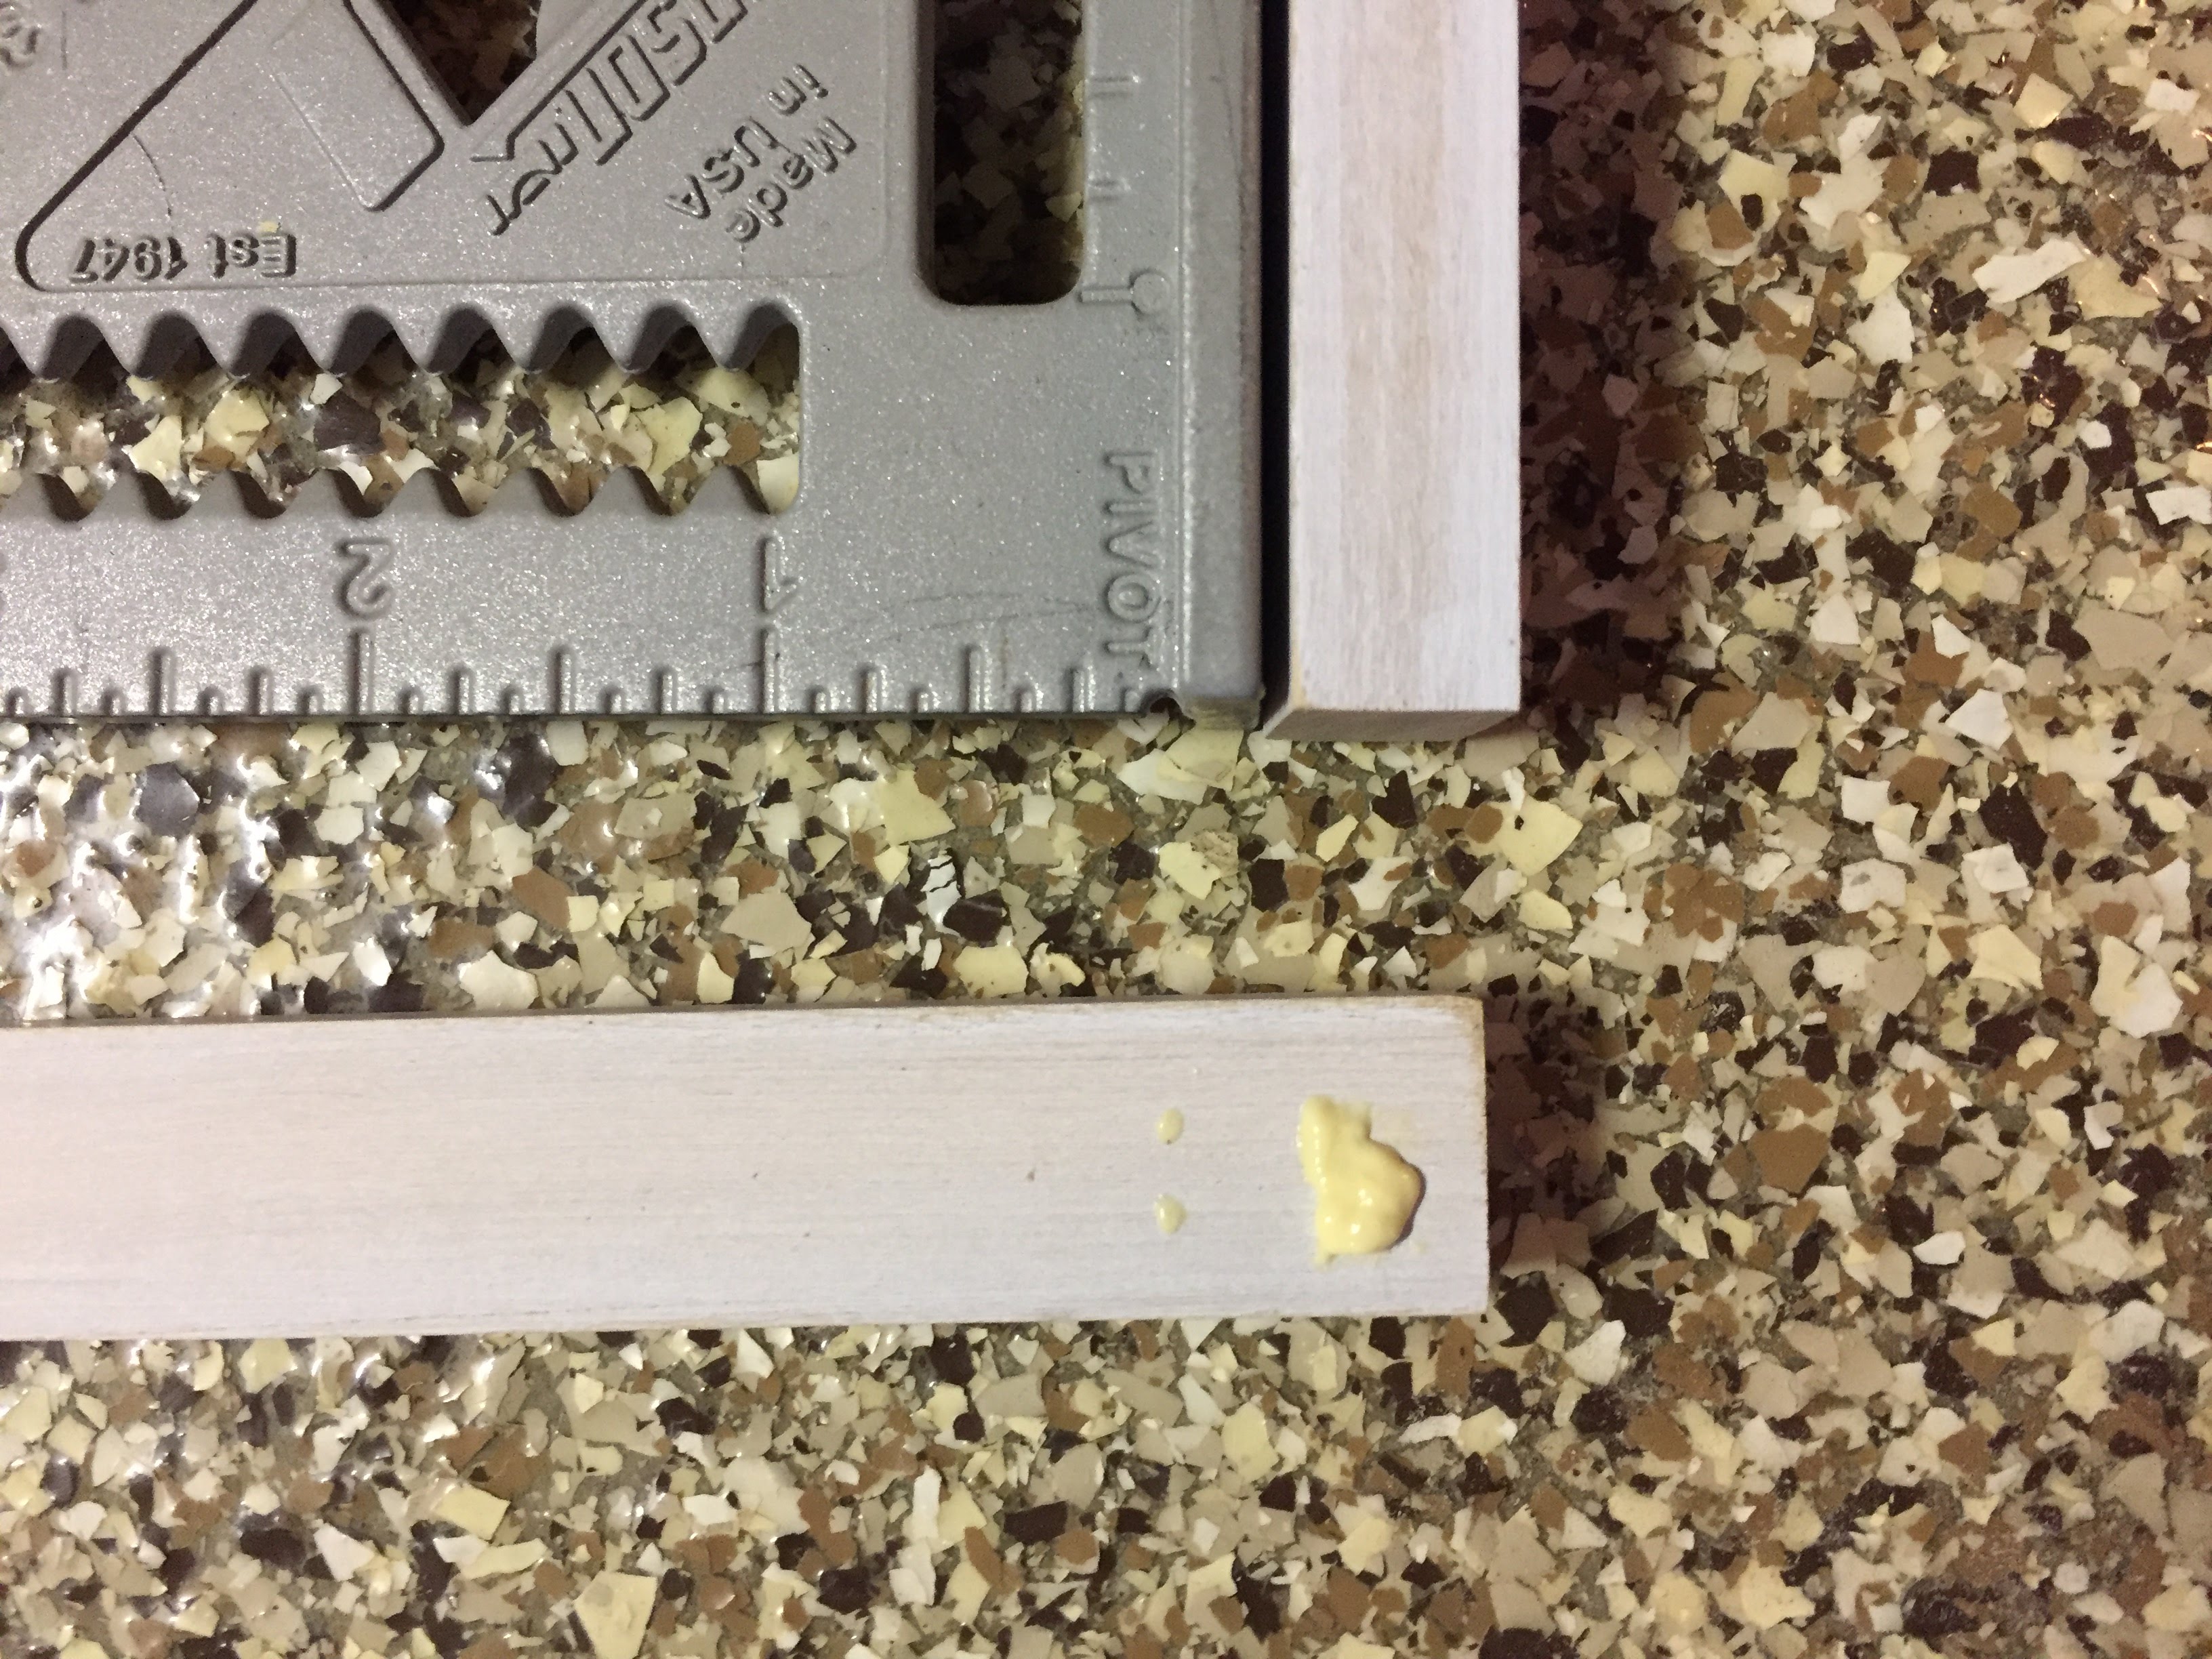
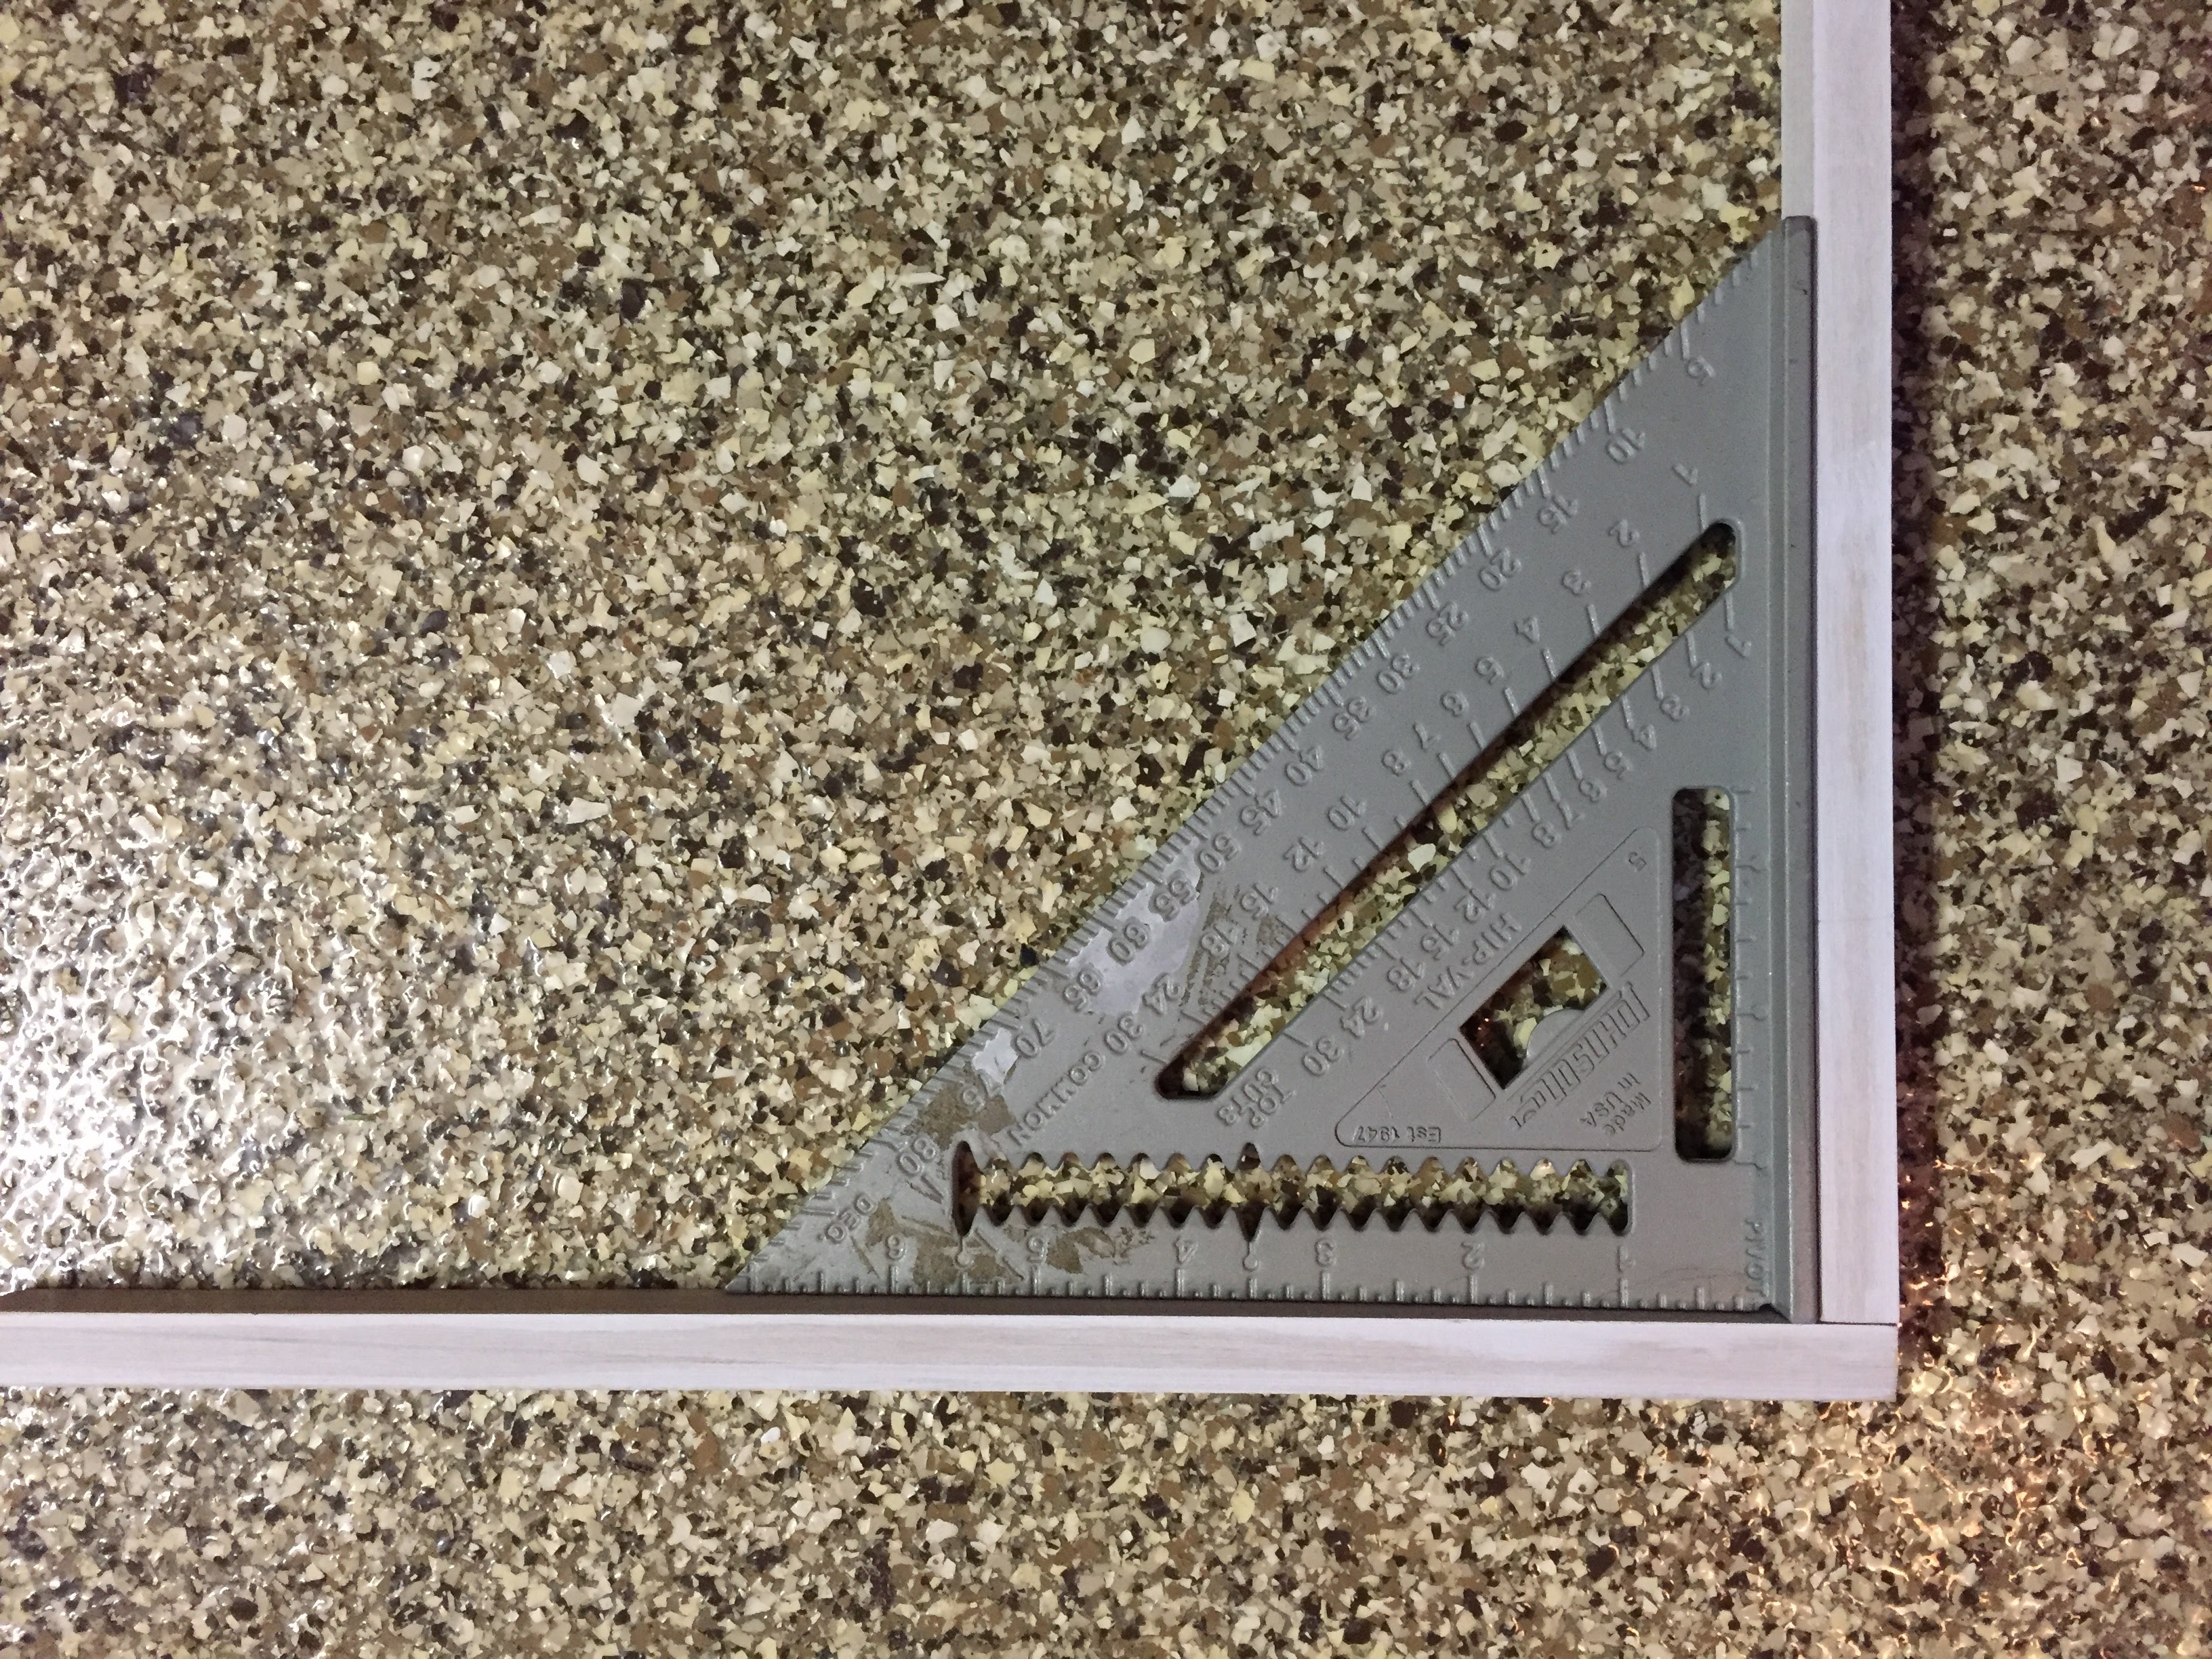
Here’s what you should be left with:
Then, attach the four longer pieces to create the dimensional cuboid (SUPER SPIFFY word for rectangular box).
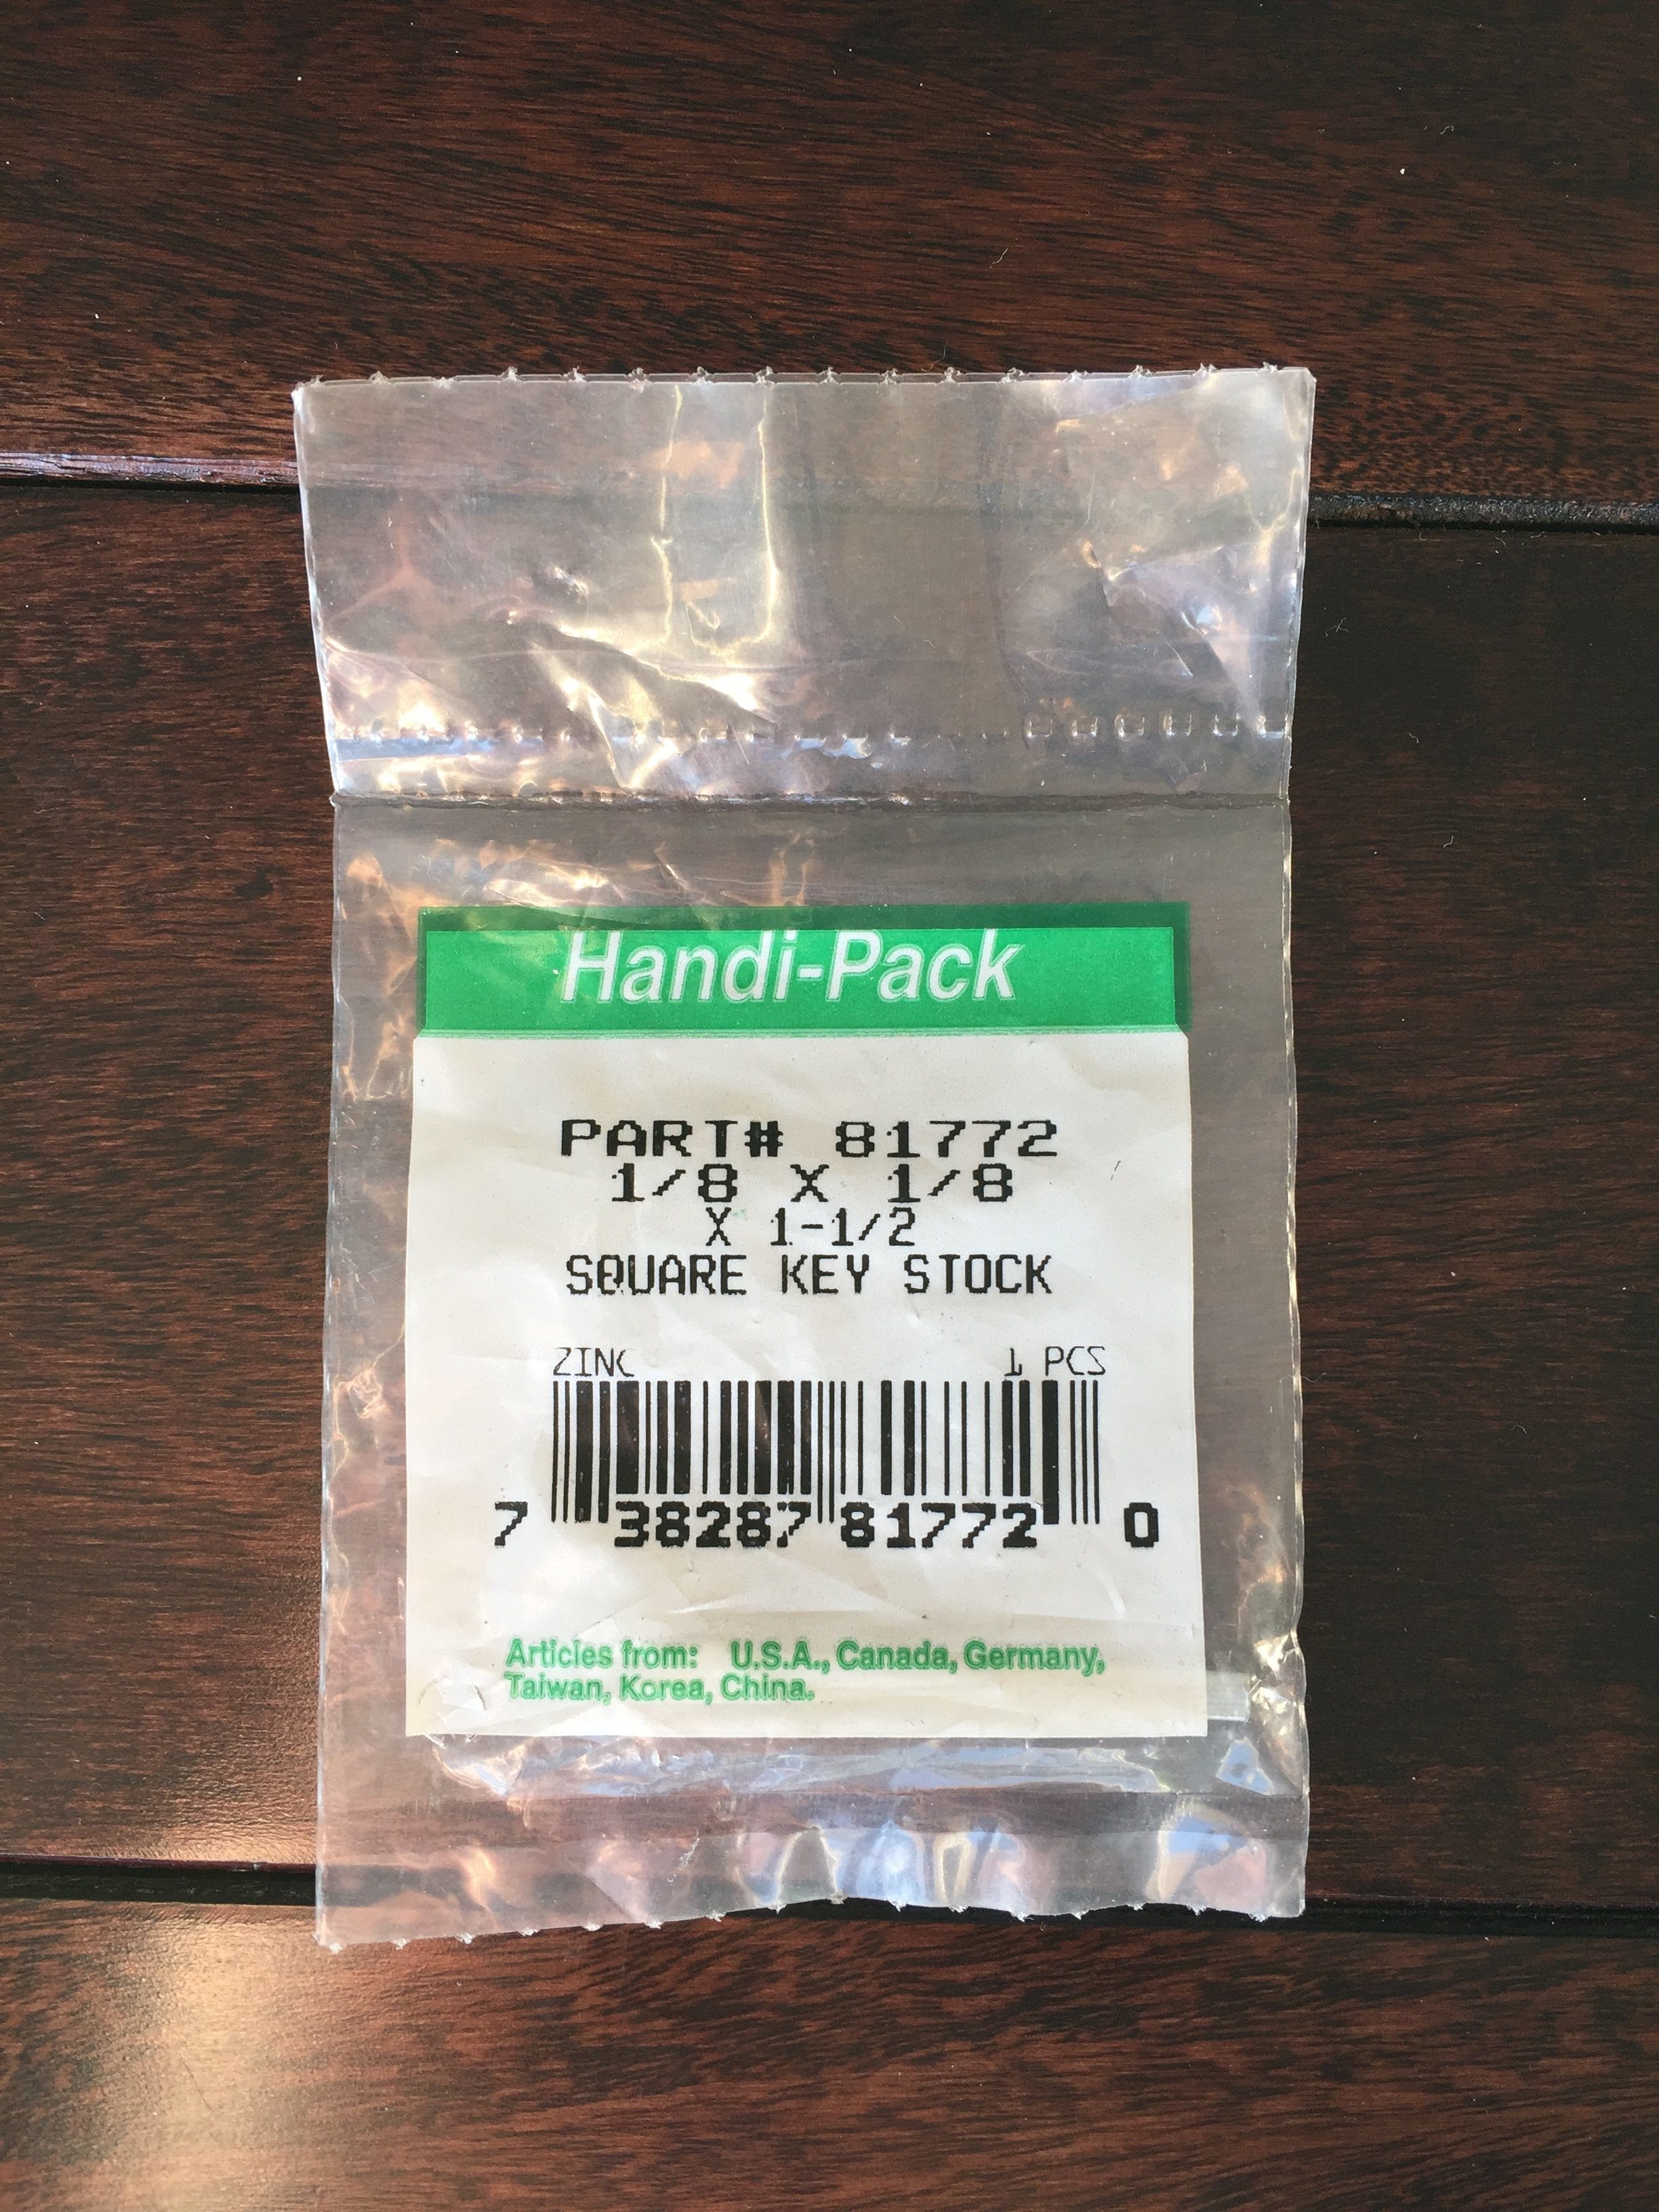
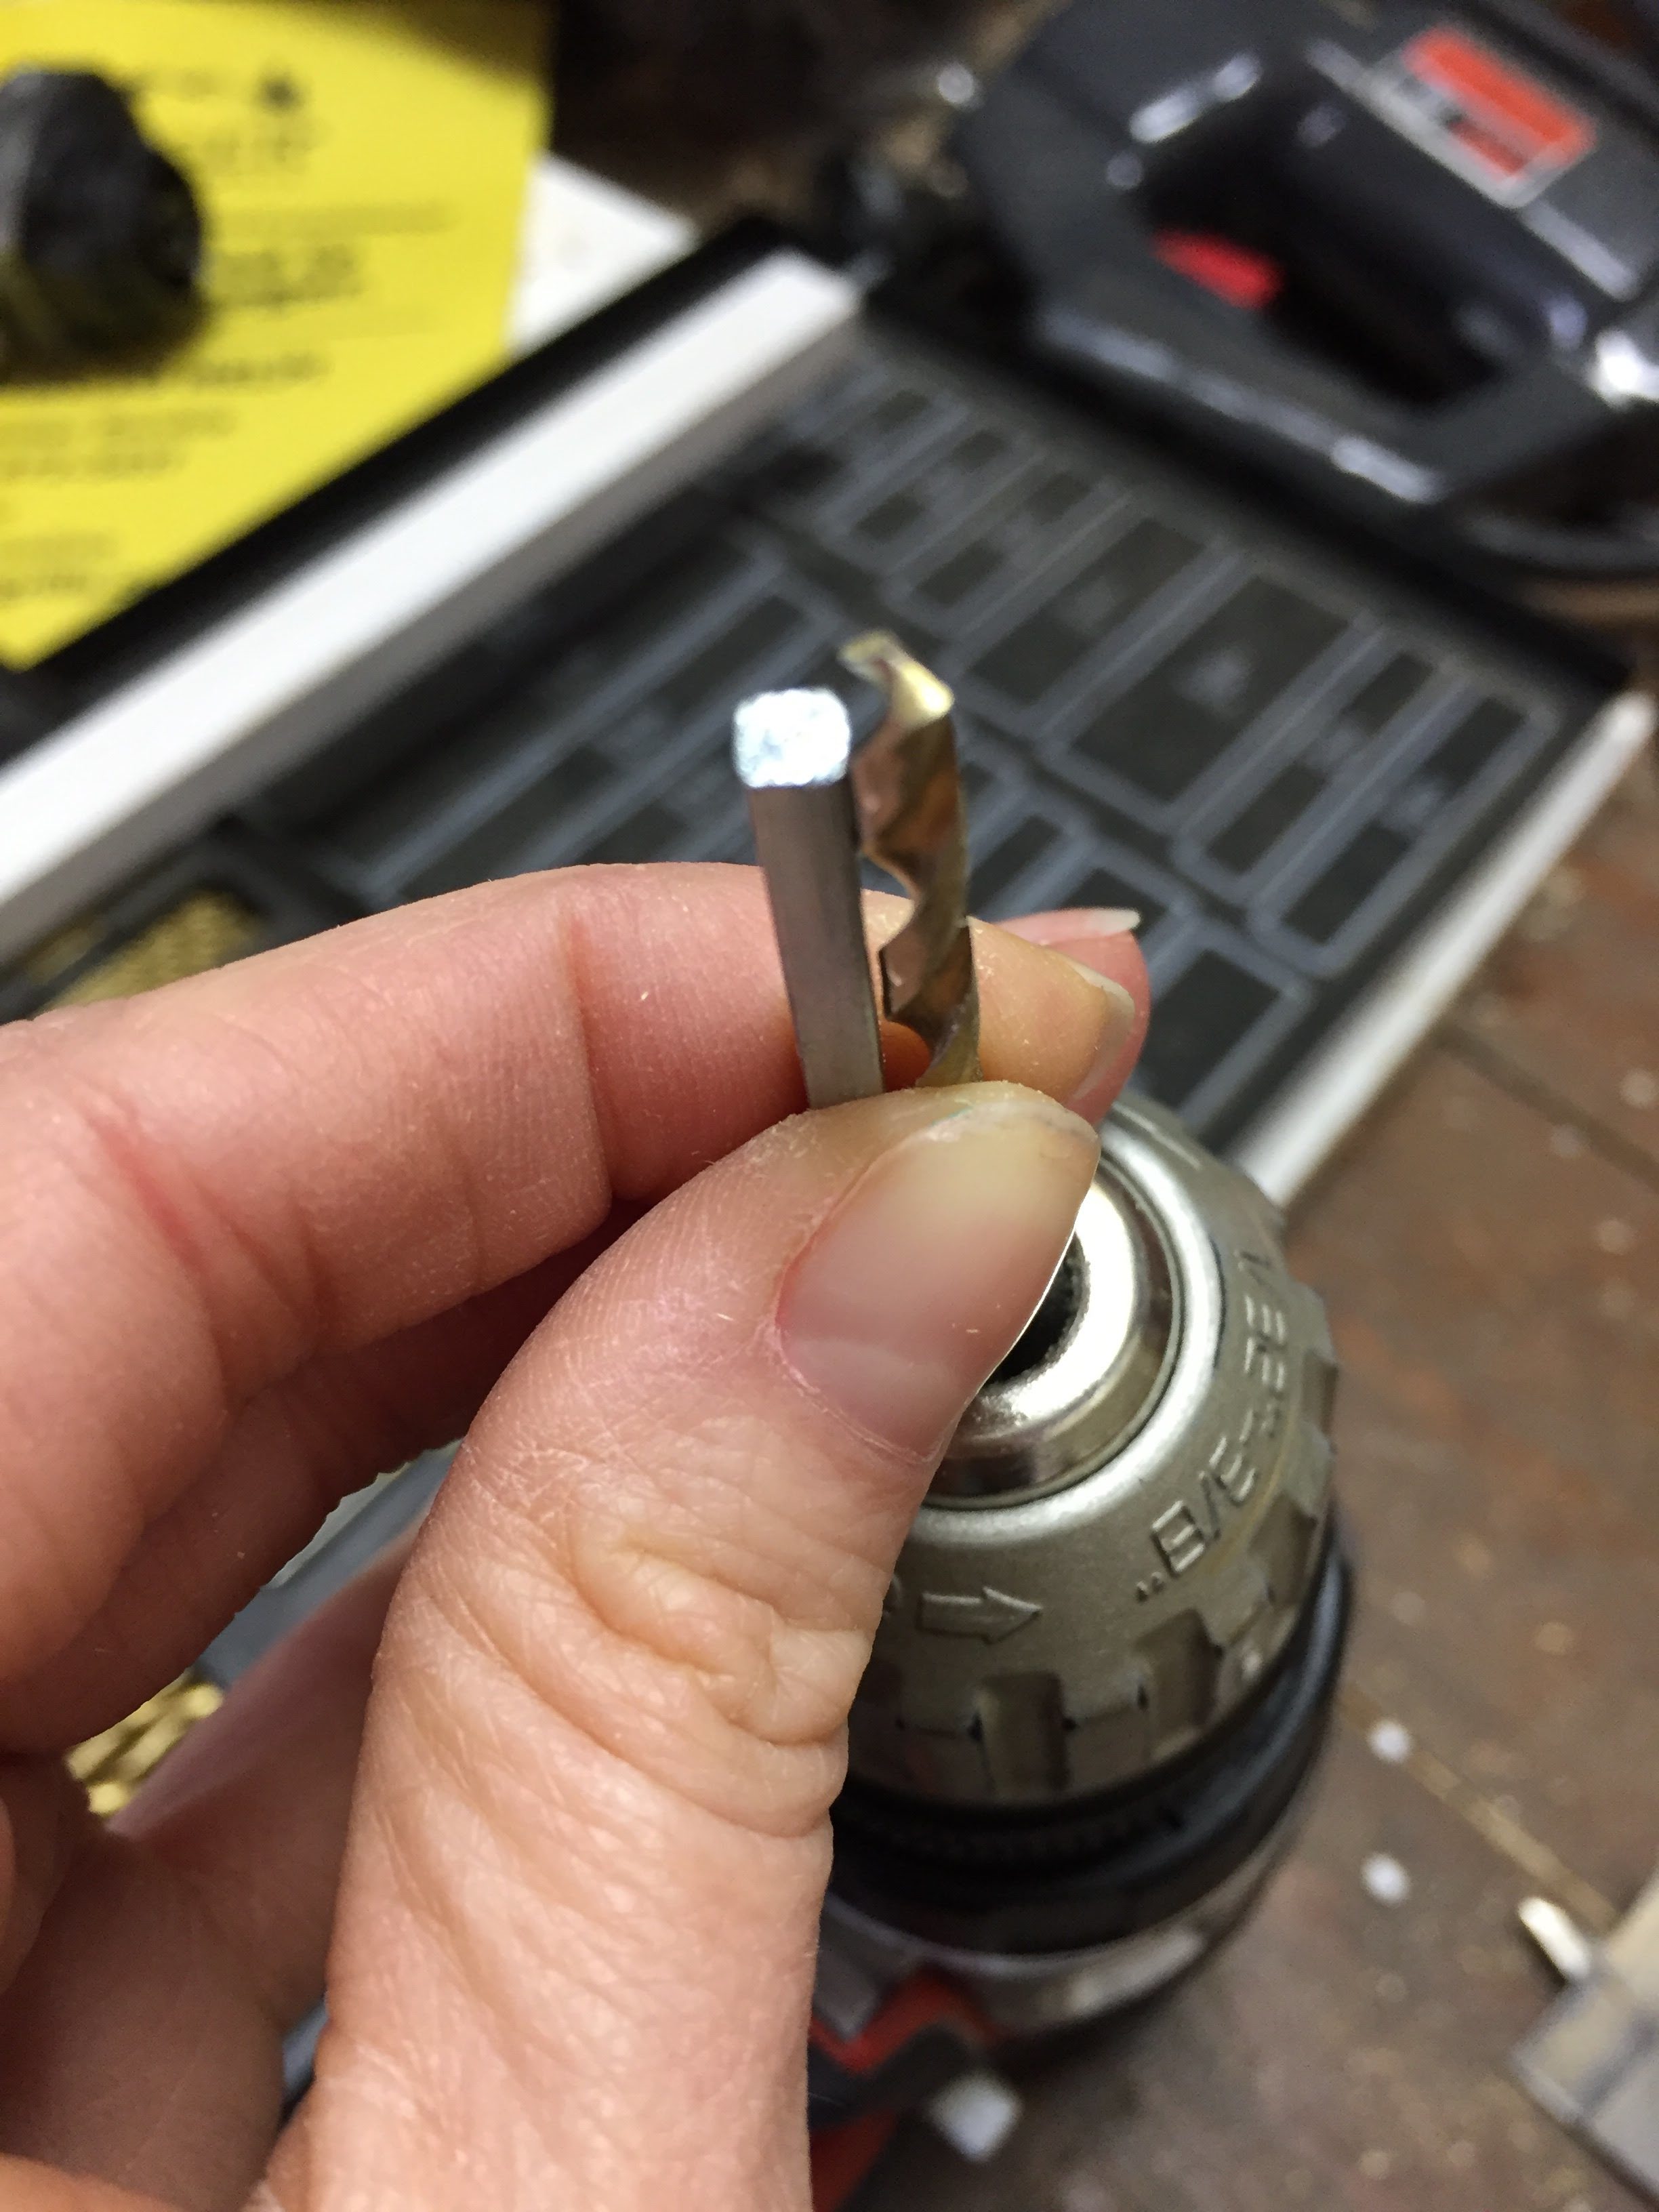
Finally, attach the new cuboid to the chain of the original pendant. You’ll need your 4 – 9” pieces of wood, your square key locks and drill with 1/8” bit.
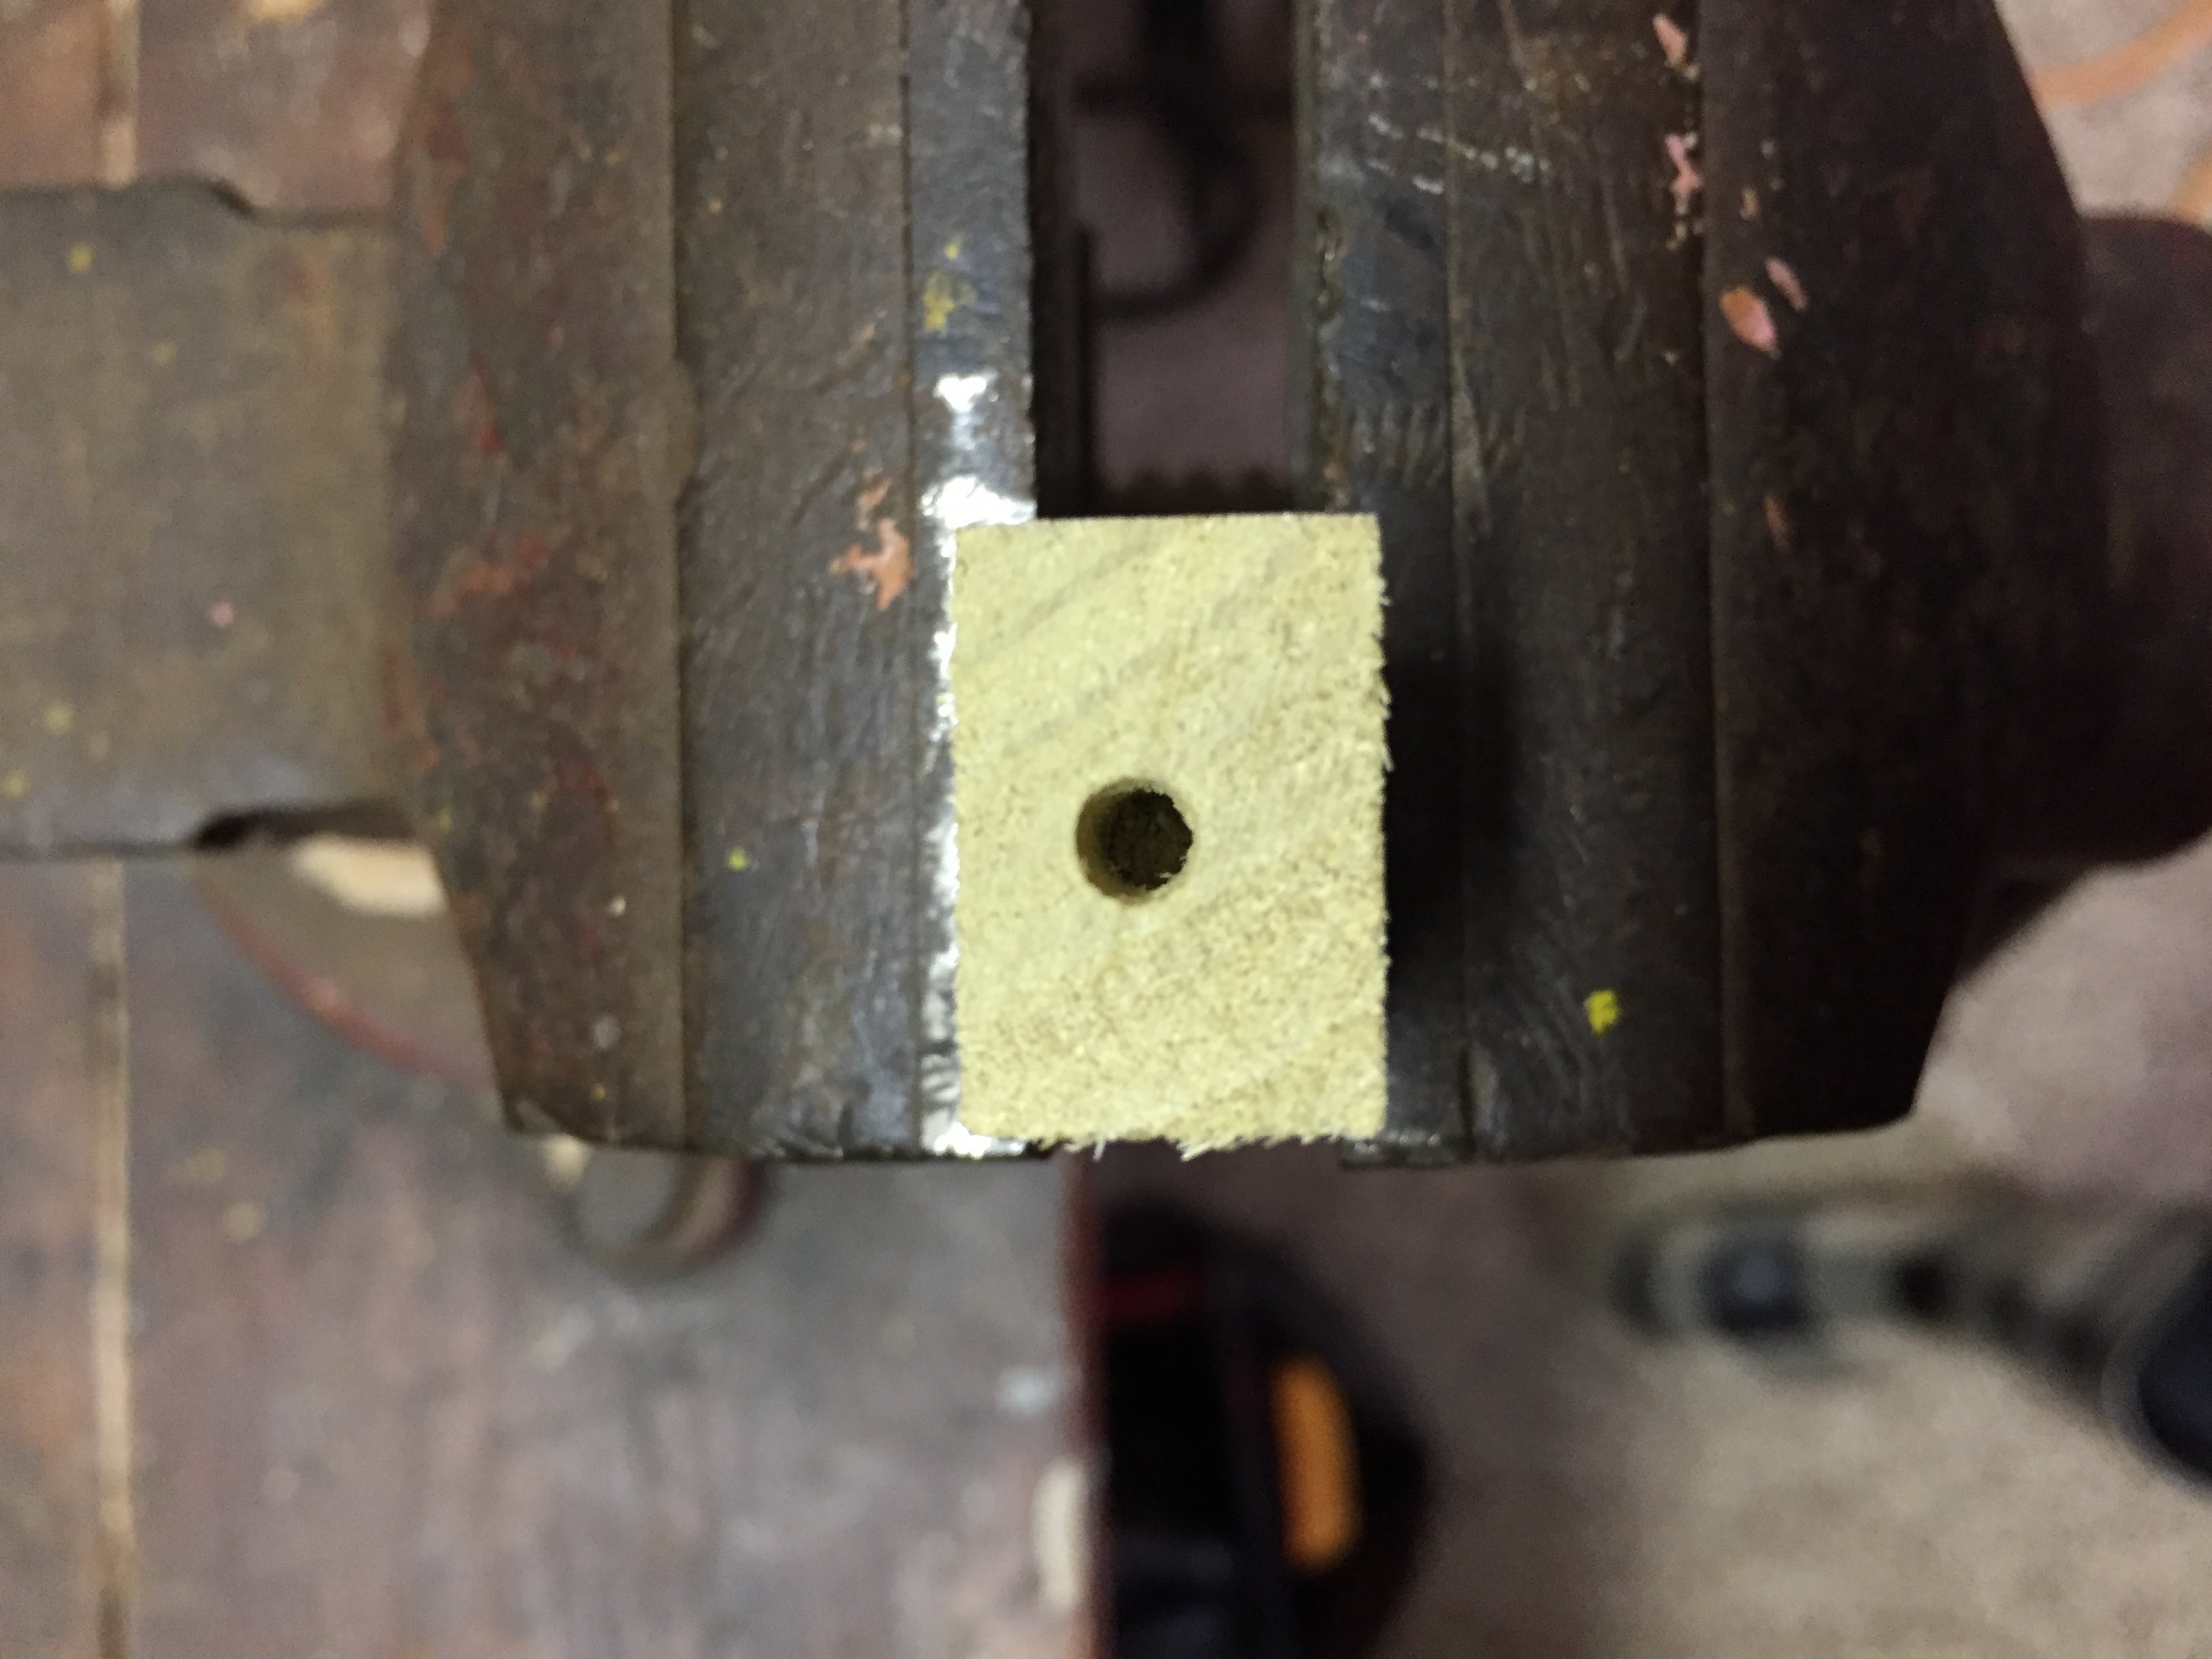
On one end of each 9” wood trim, drill a pilot hole, as centered and straight as possible.
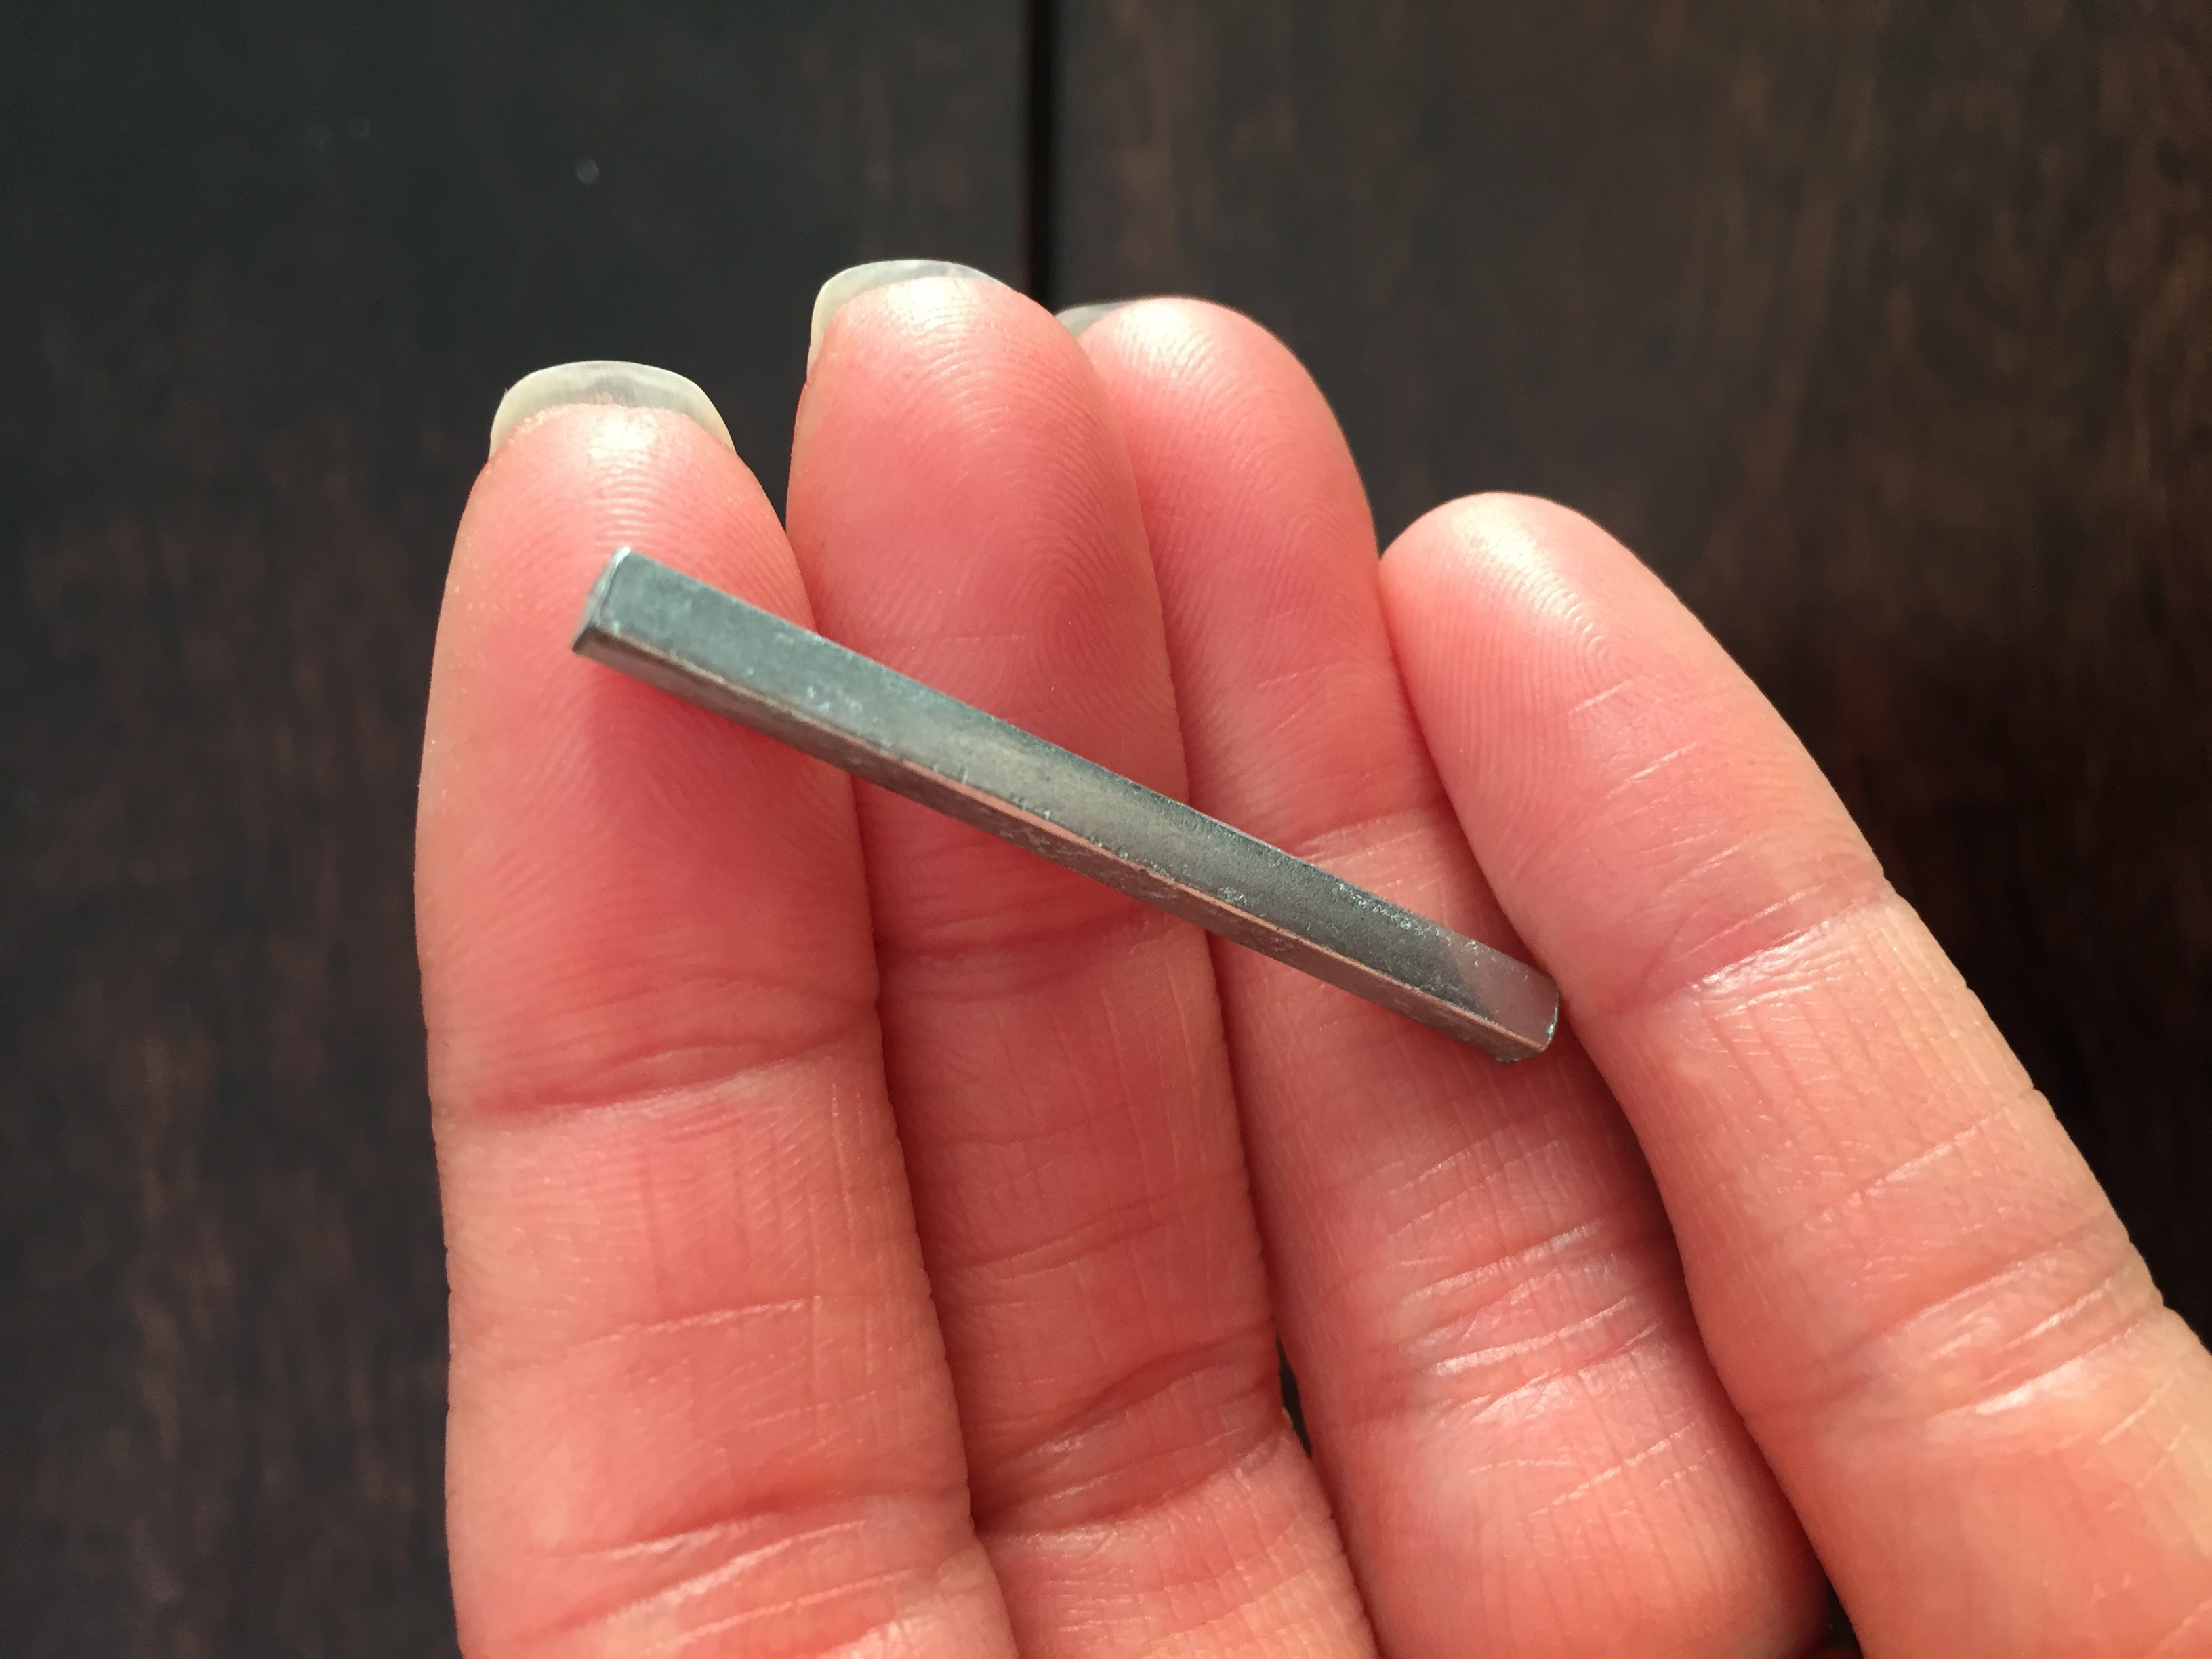
Then insert your 2 square lock keys with a touch of wood glue into 2 ends.
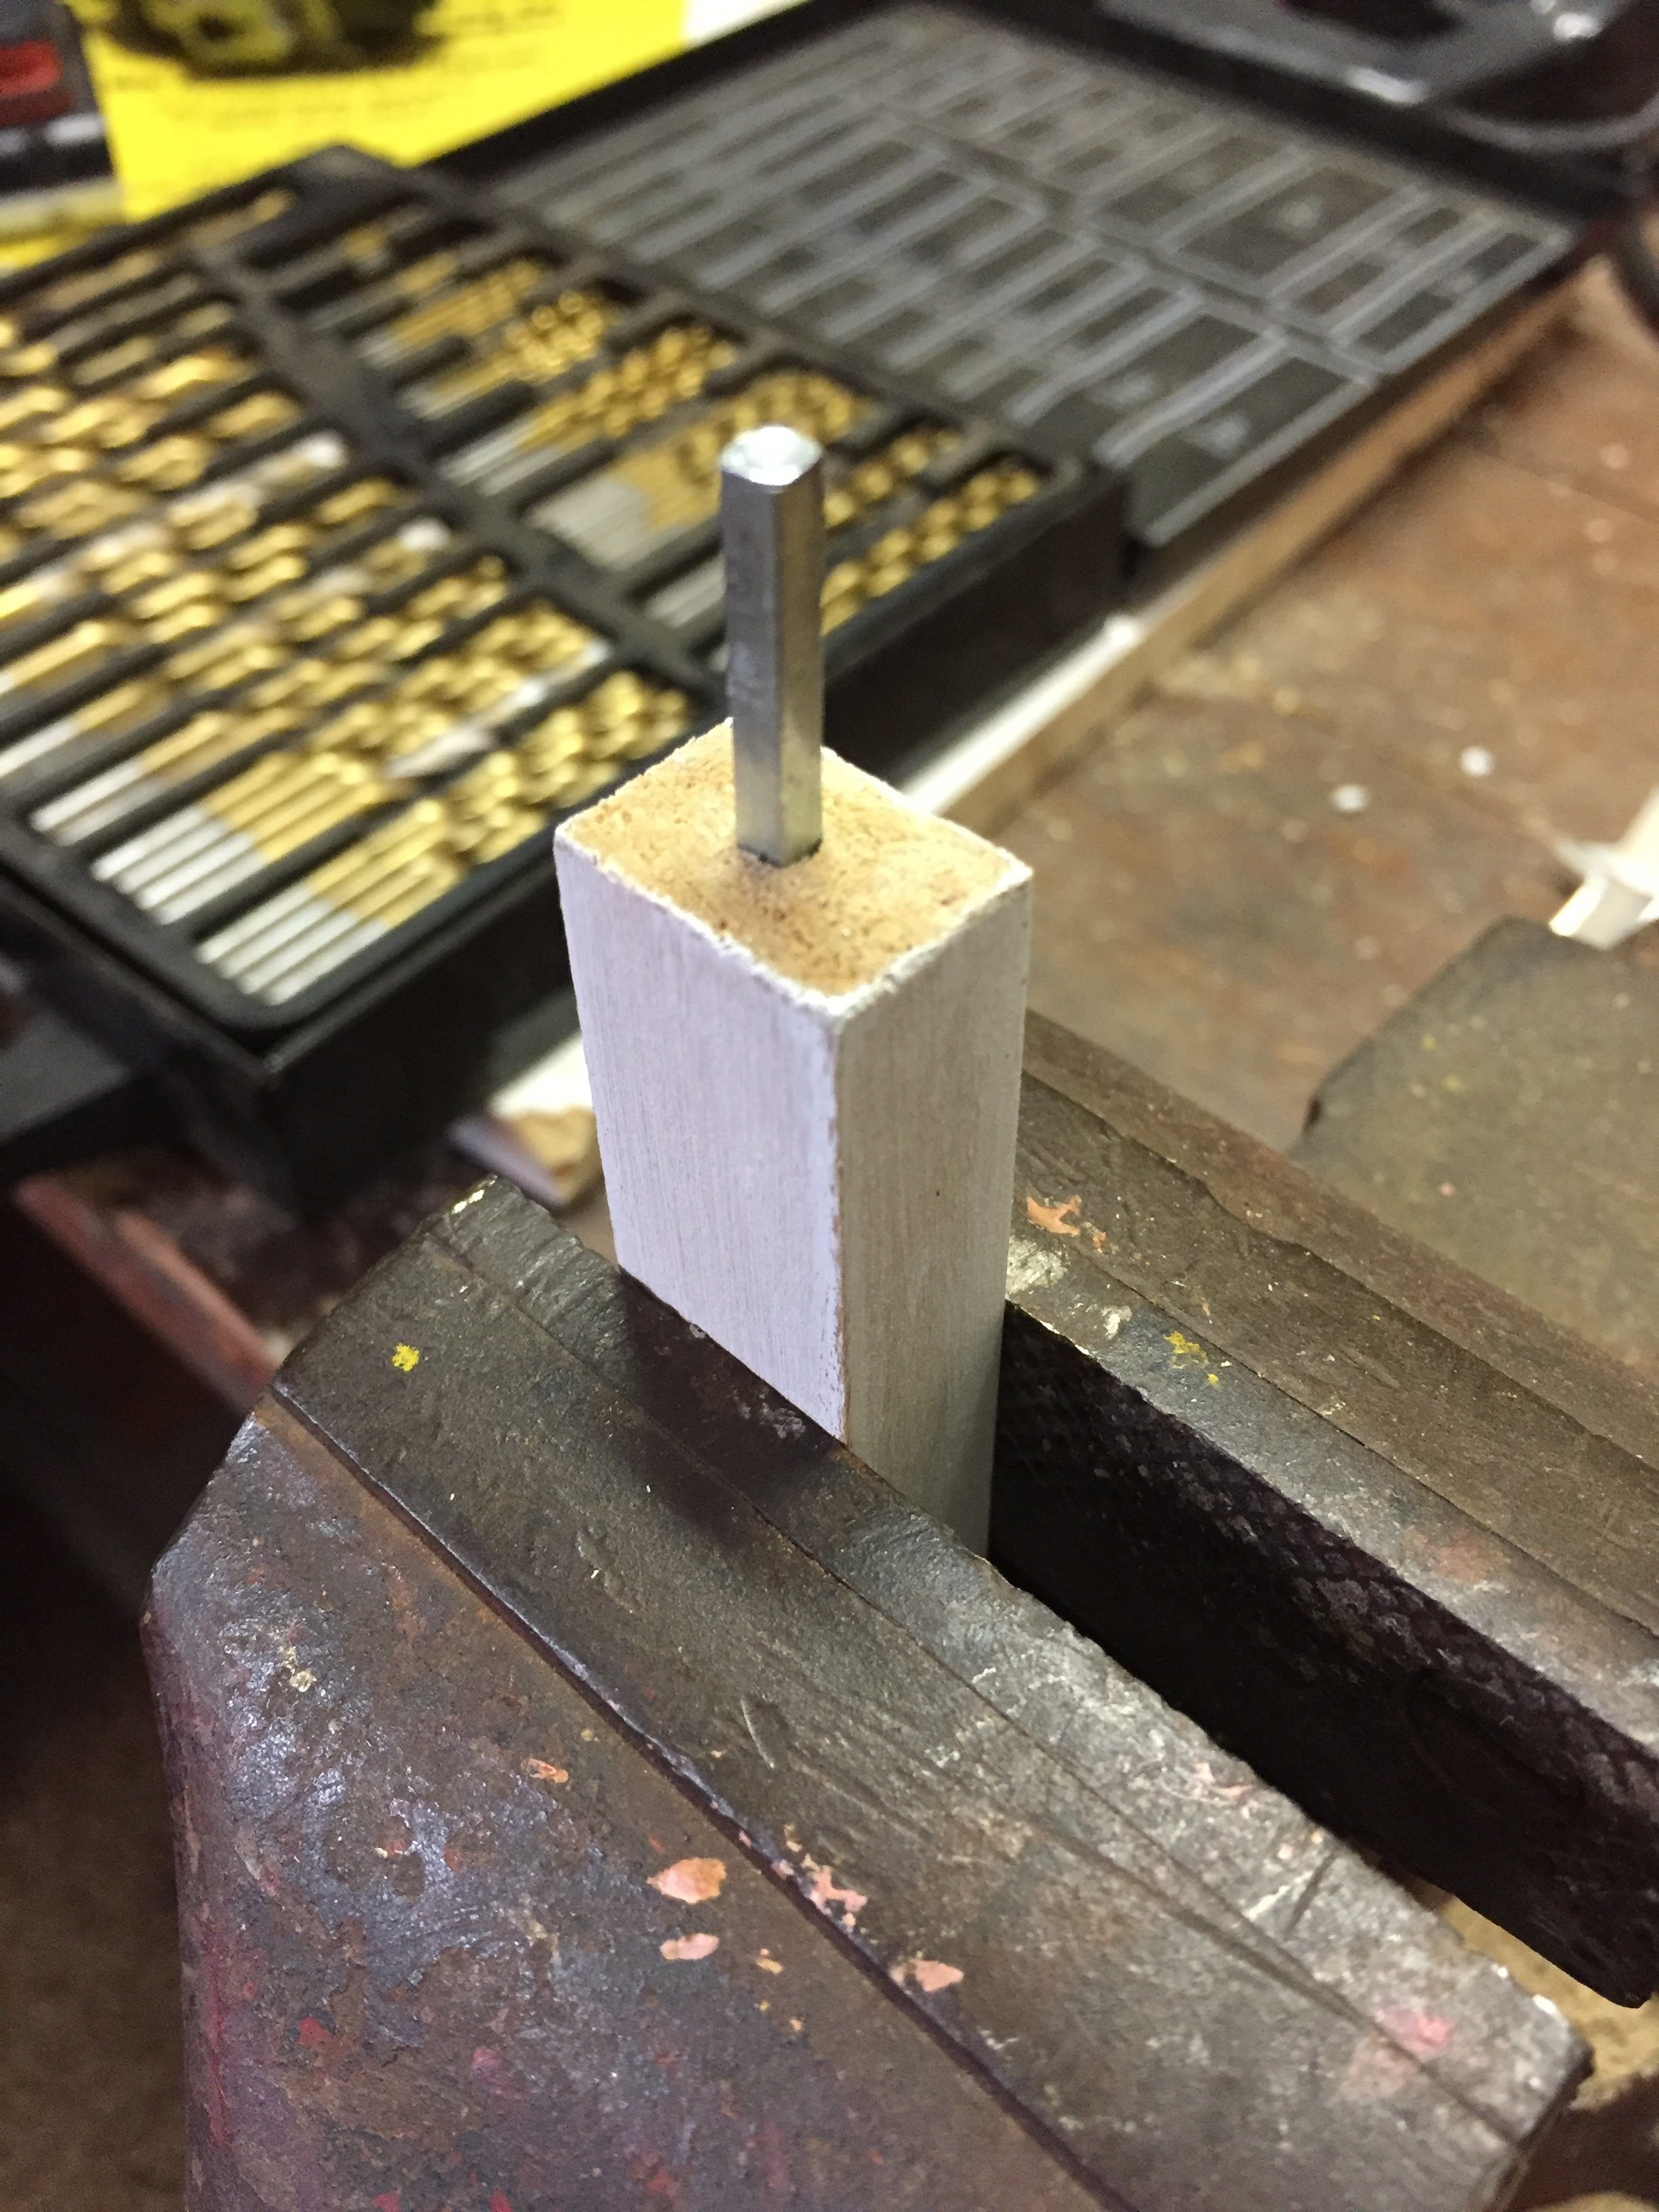
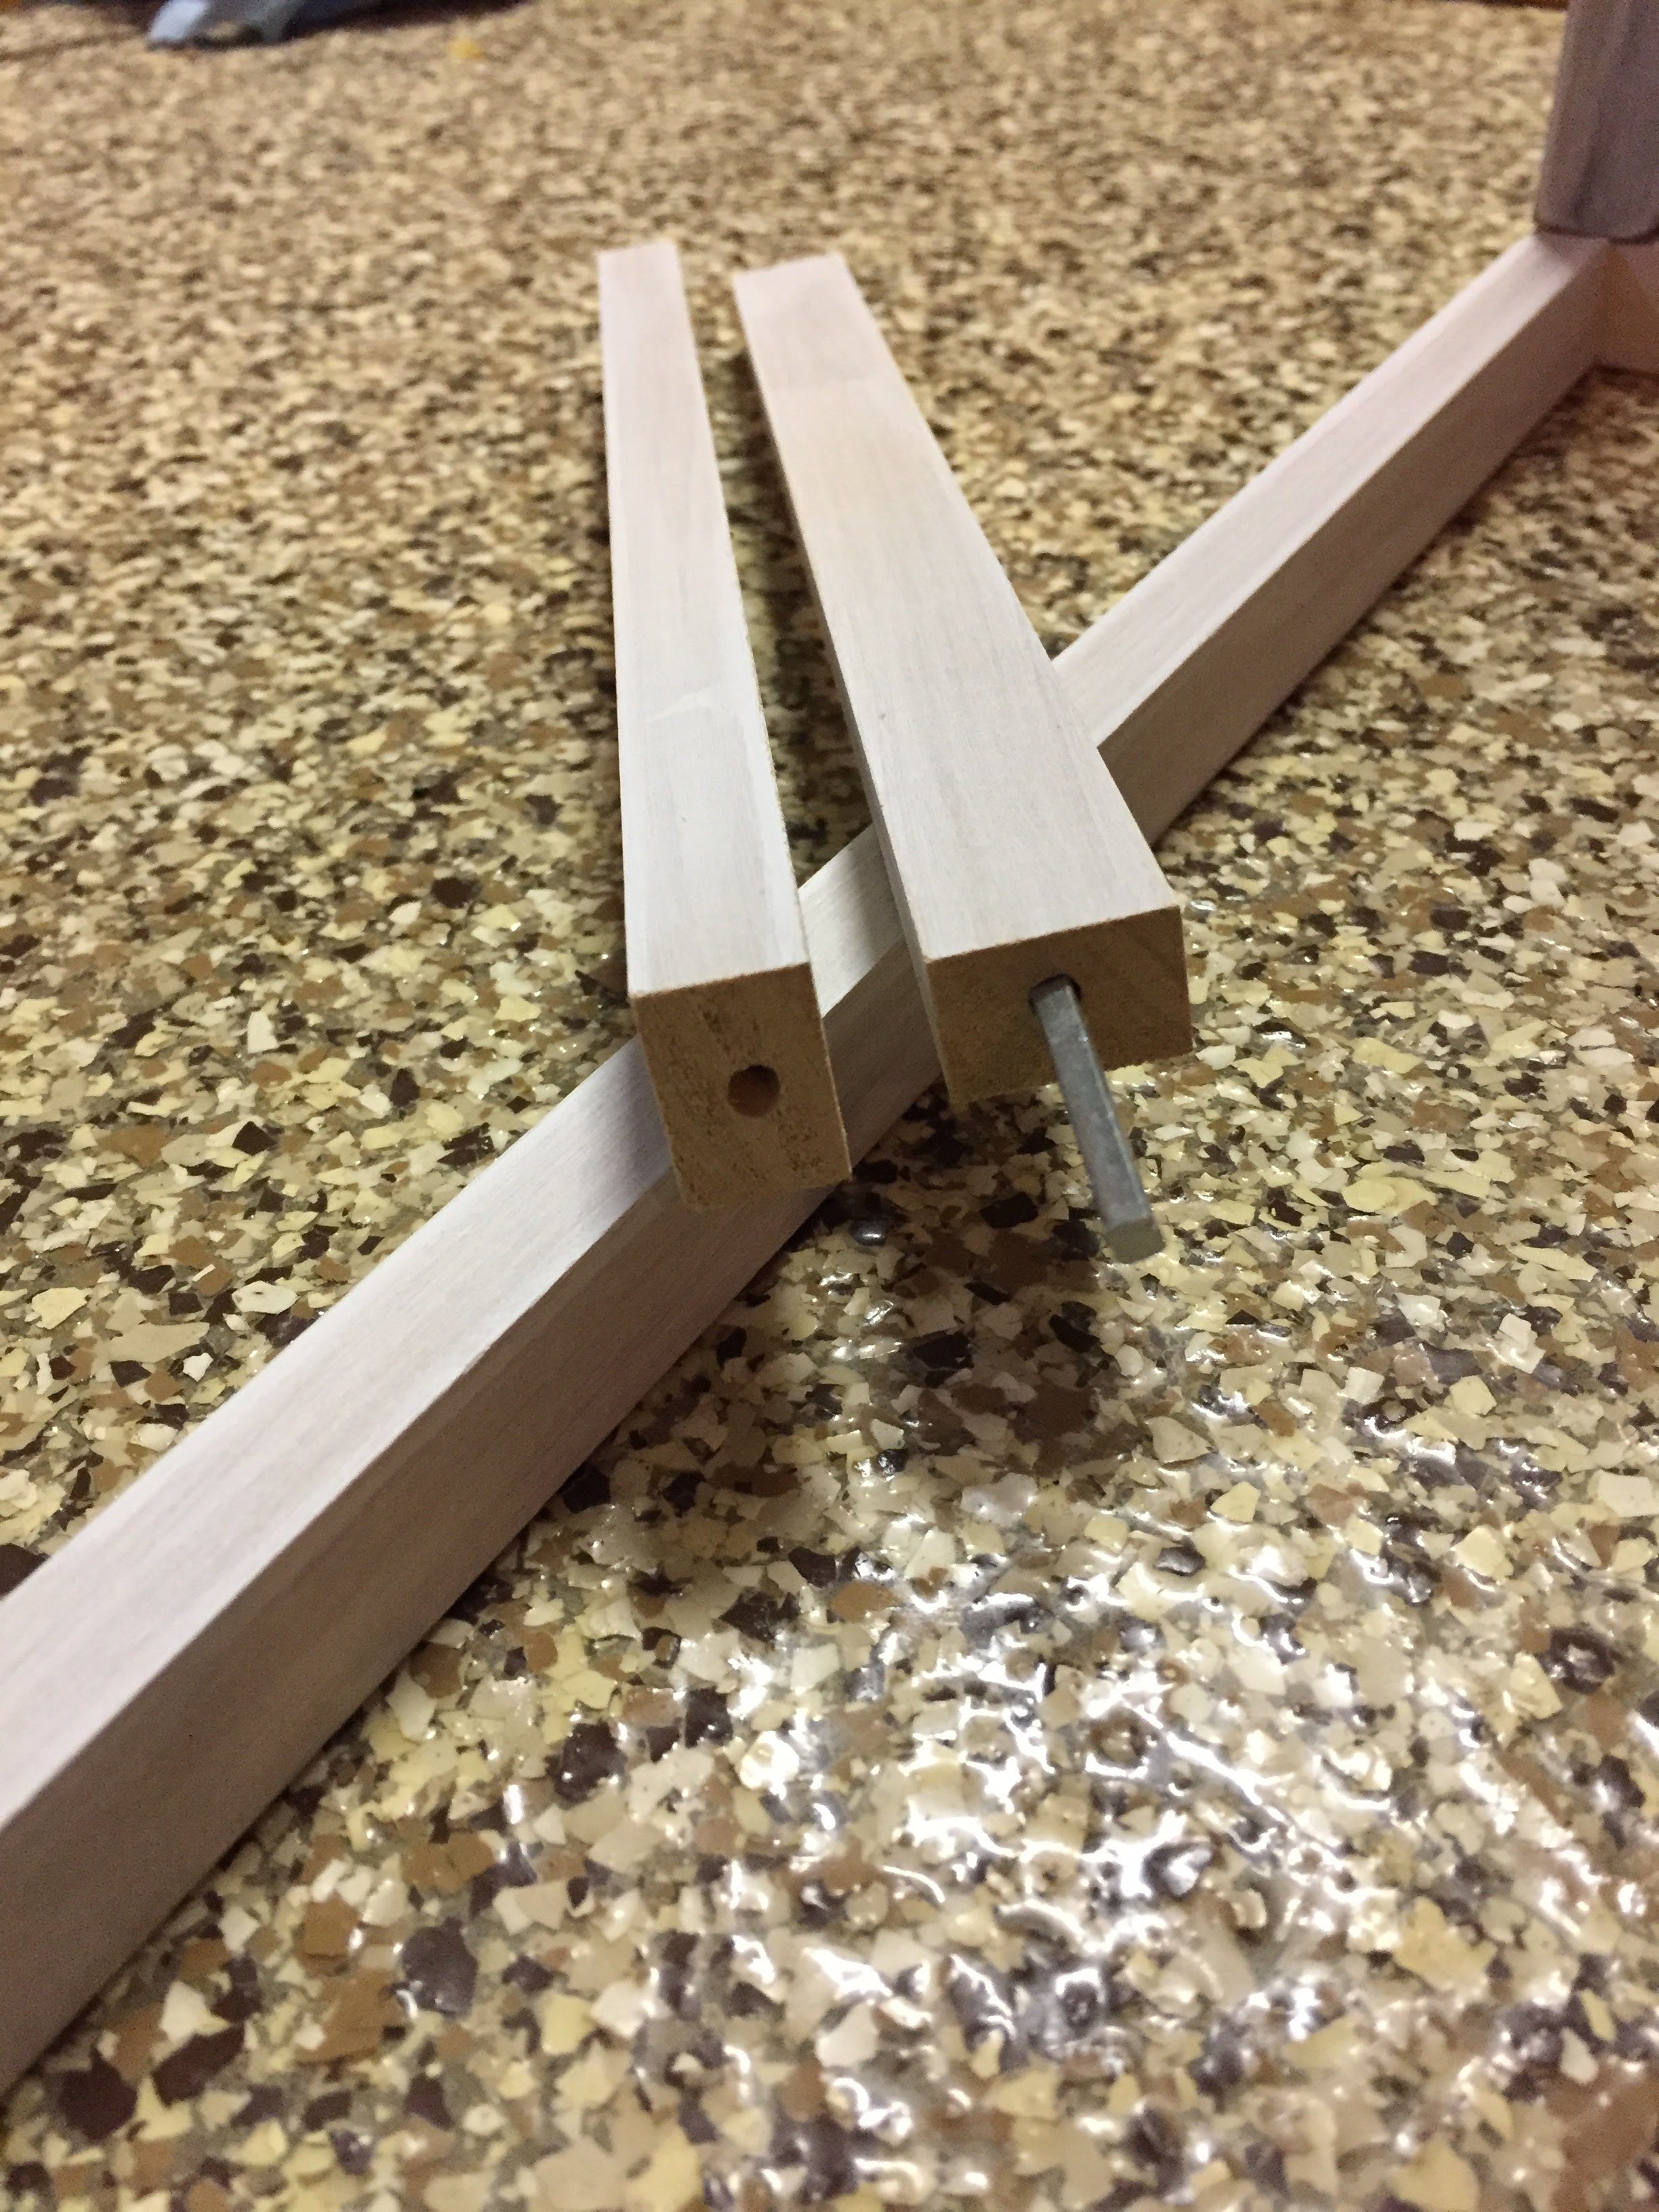
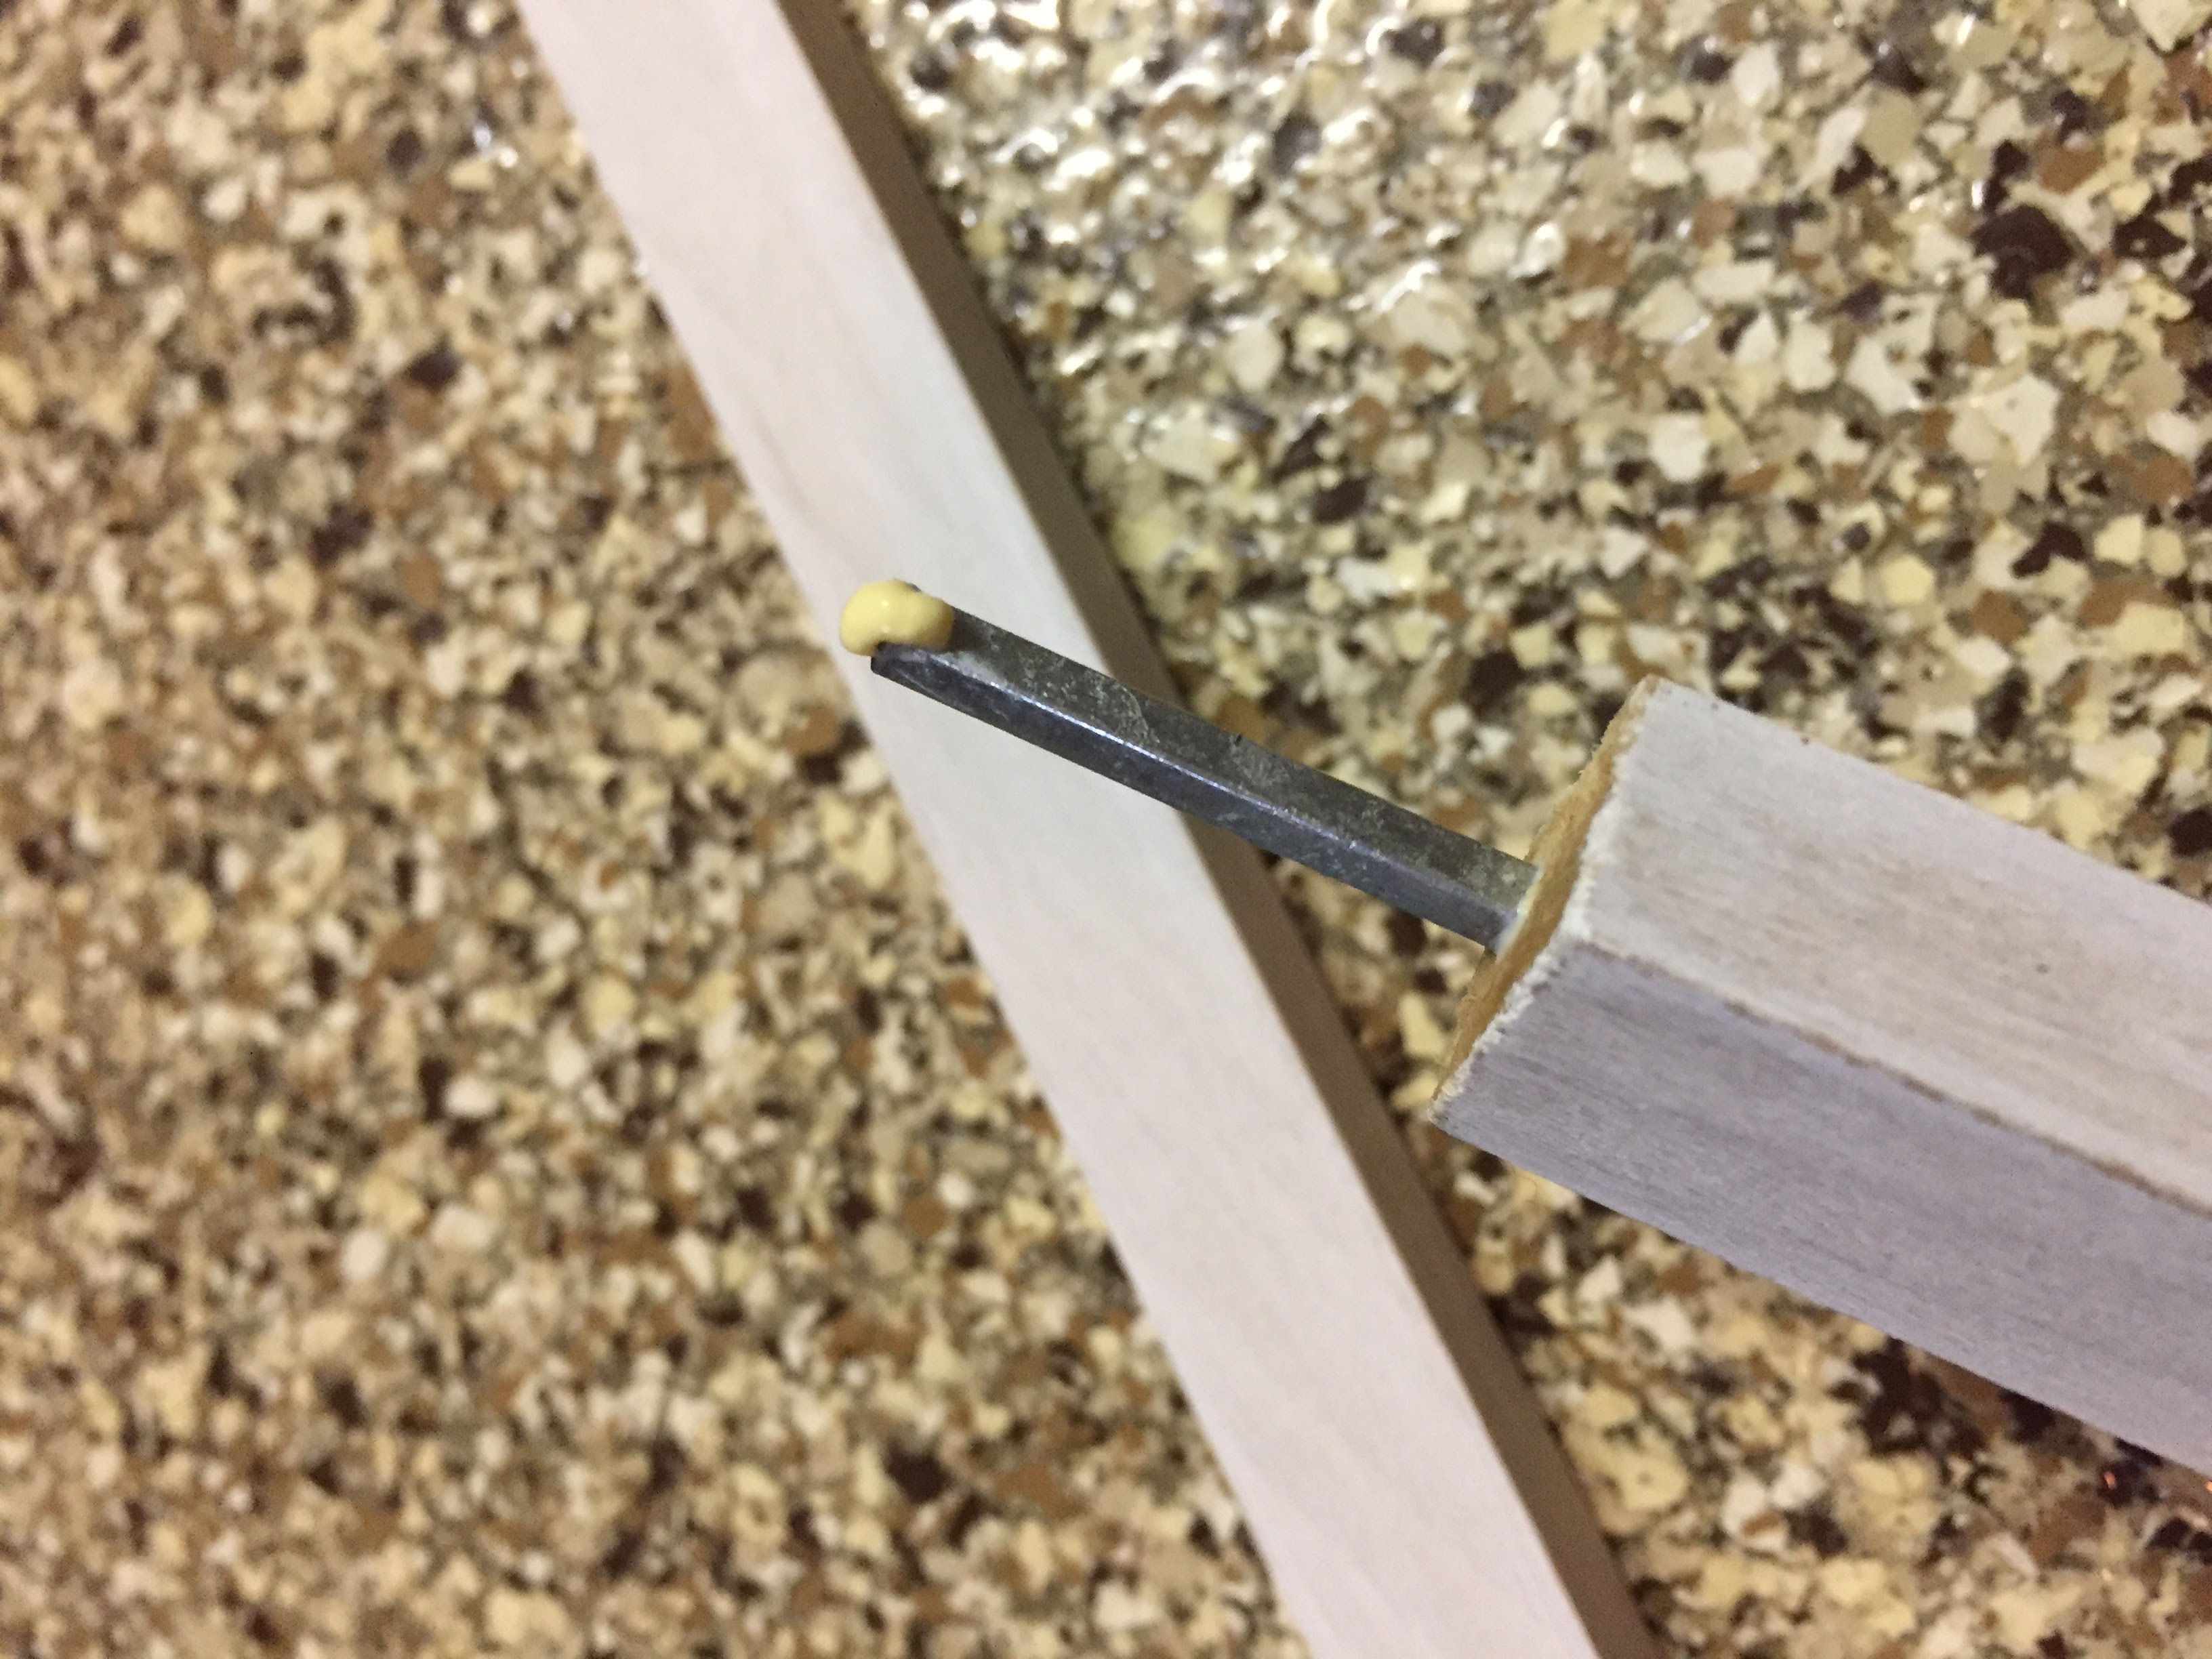
These are how I will attach the cuboid to the chain. Next, insert the lock keys through the chain so that the pendant is suspended in the very center of the cuboid.
Gently pound the square key lock into the pilot hole of another end (again, use a dab of wood glue inside pilot hole to help hold together). Repeat with the other 2 pieces. To complete the assembly, use the brad nail gun to attach the ends of your support pieces to each top corner. Fill the nail holes with wood filler. Once dry, smooth everything out with your sandpaper or detail sander.
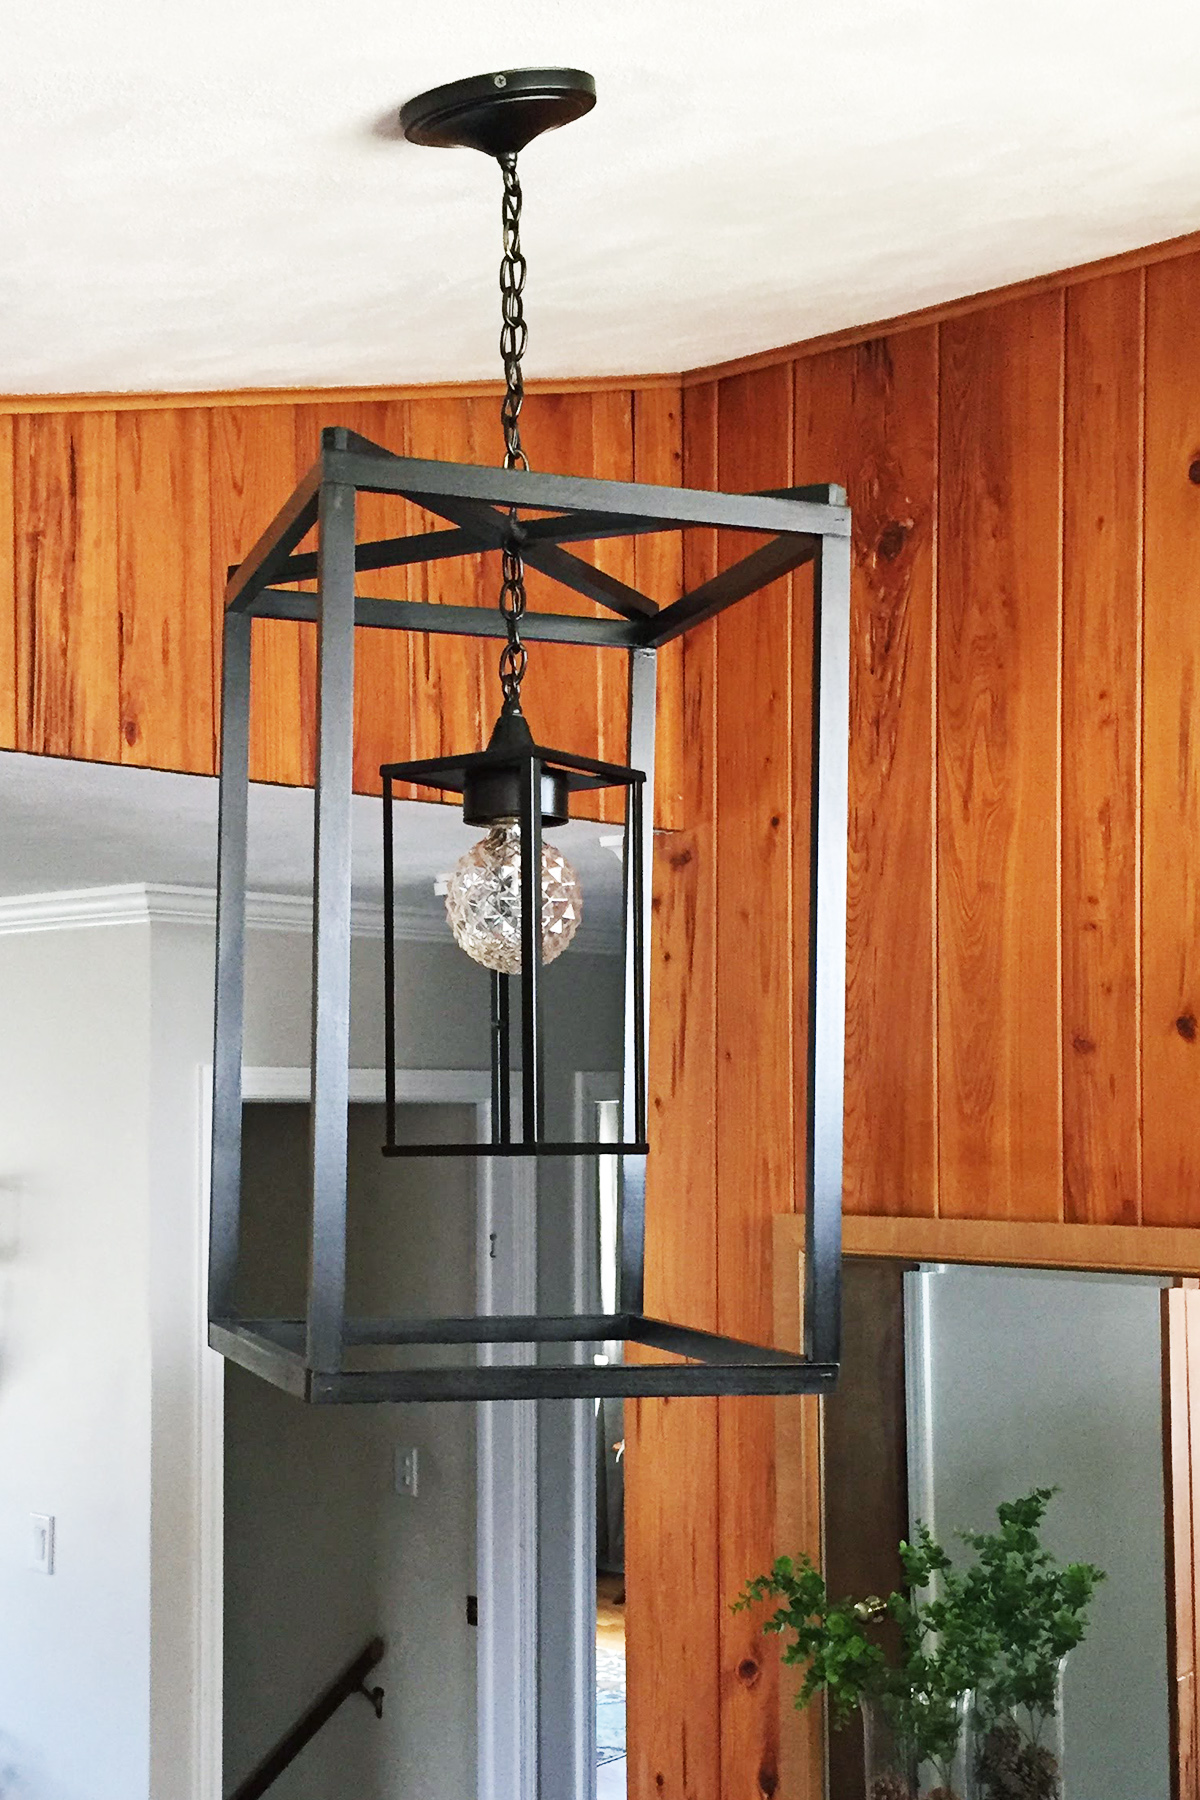
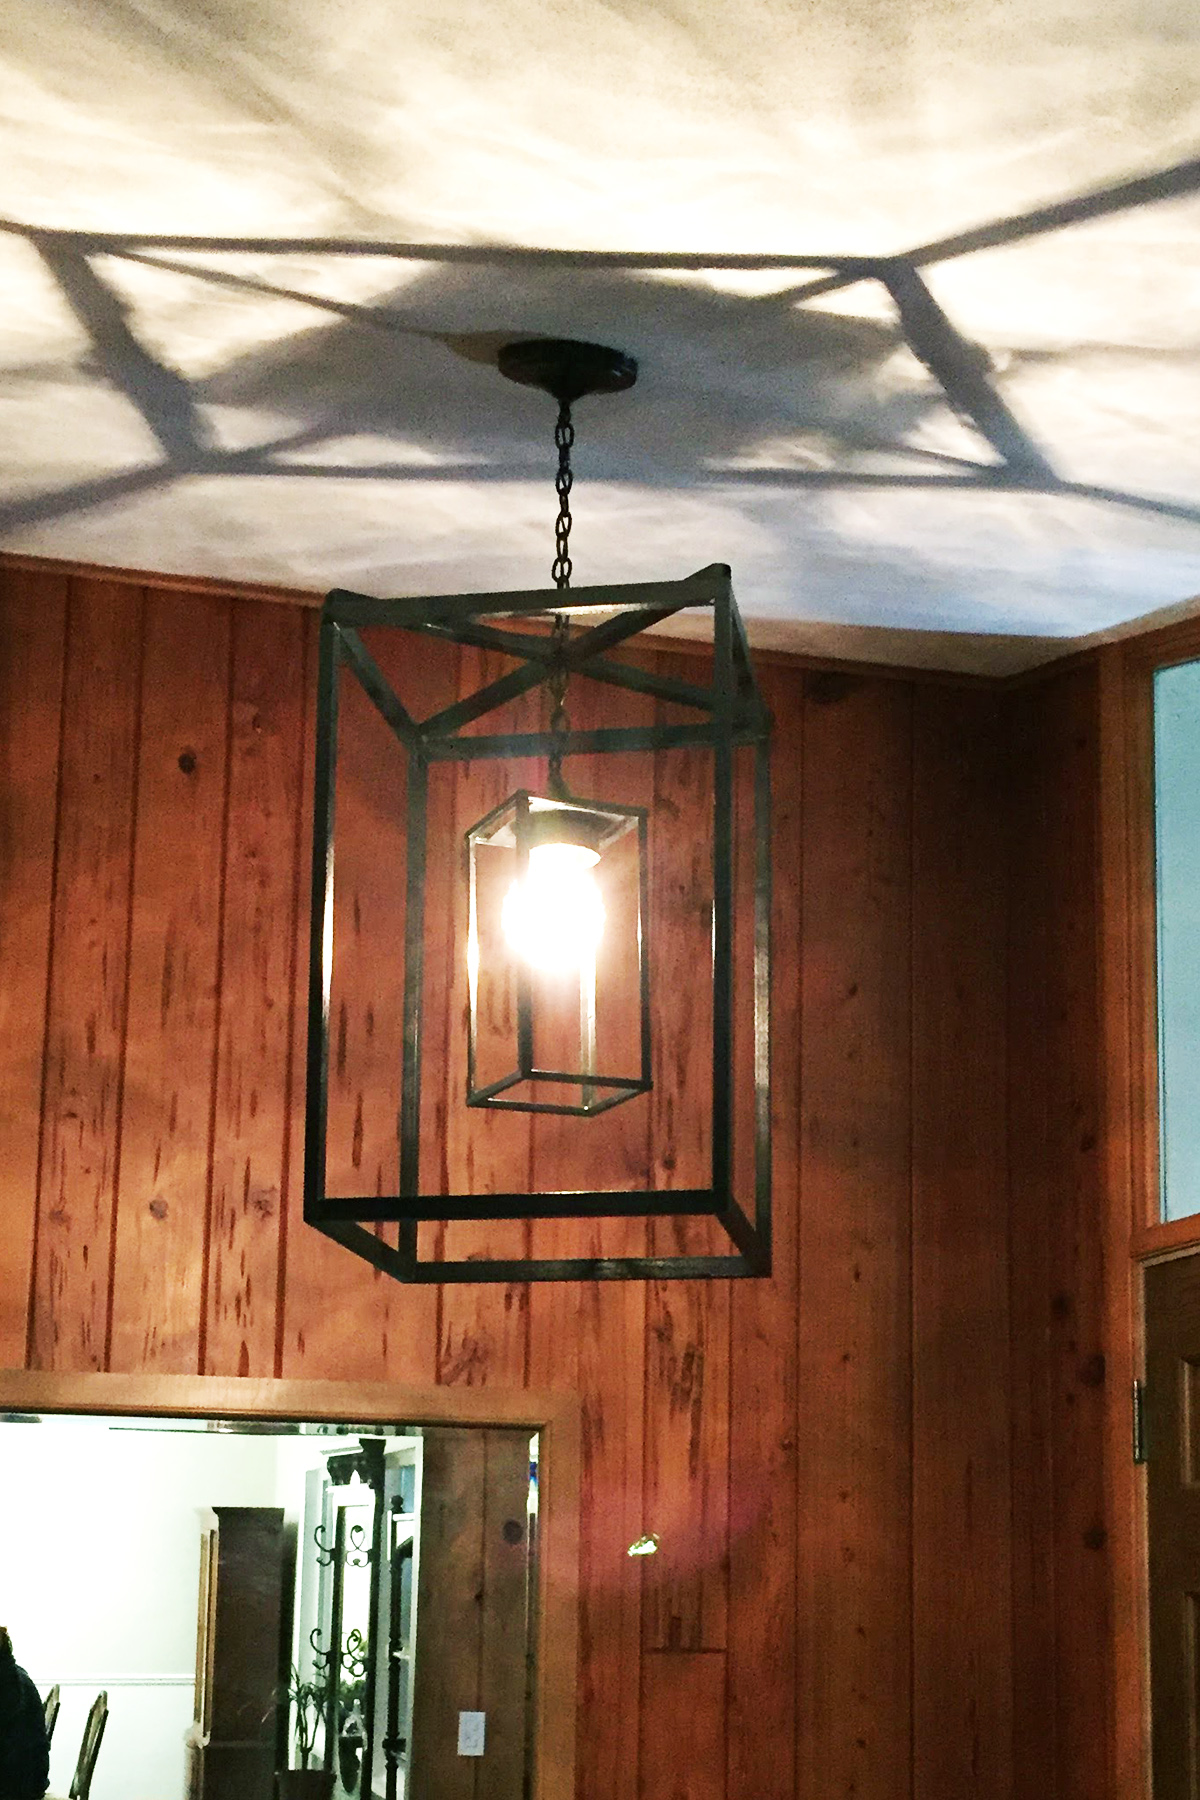
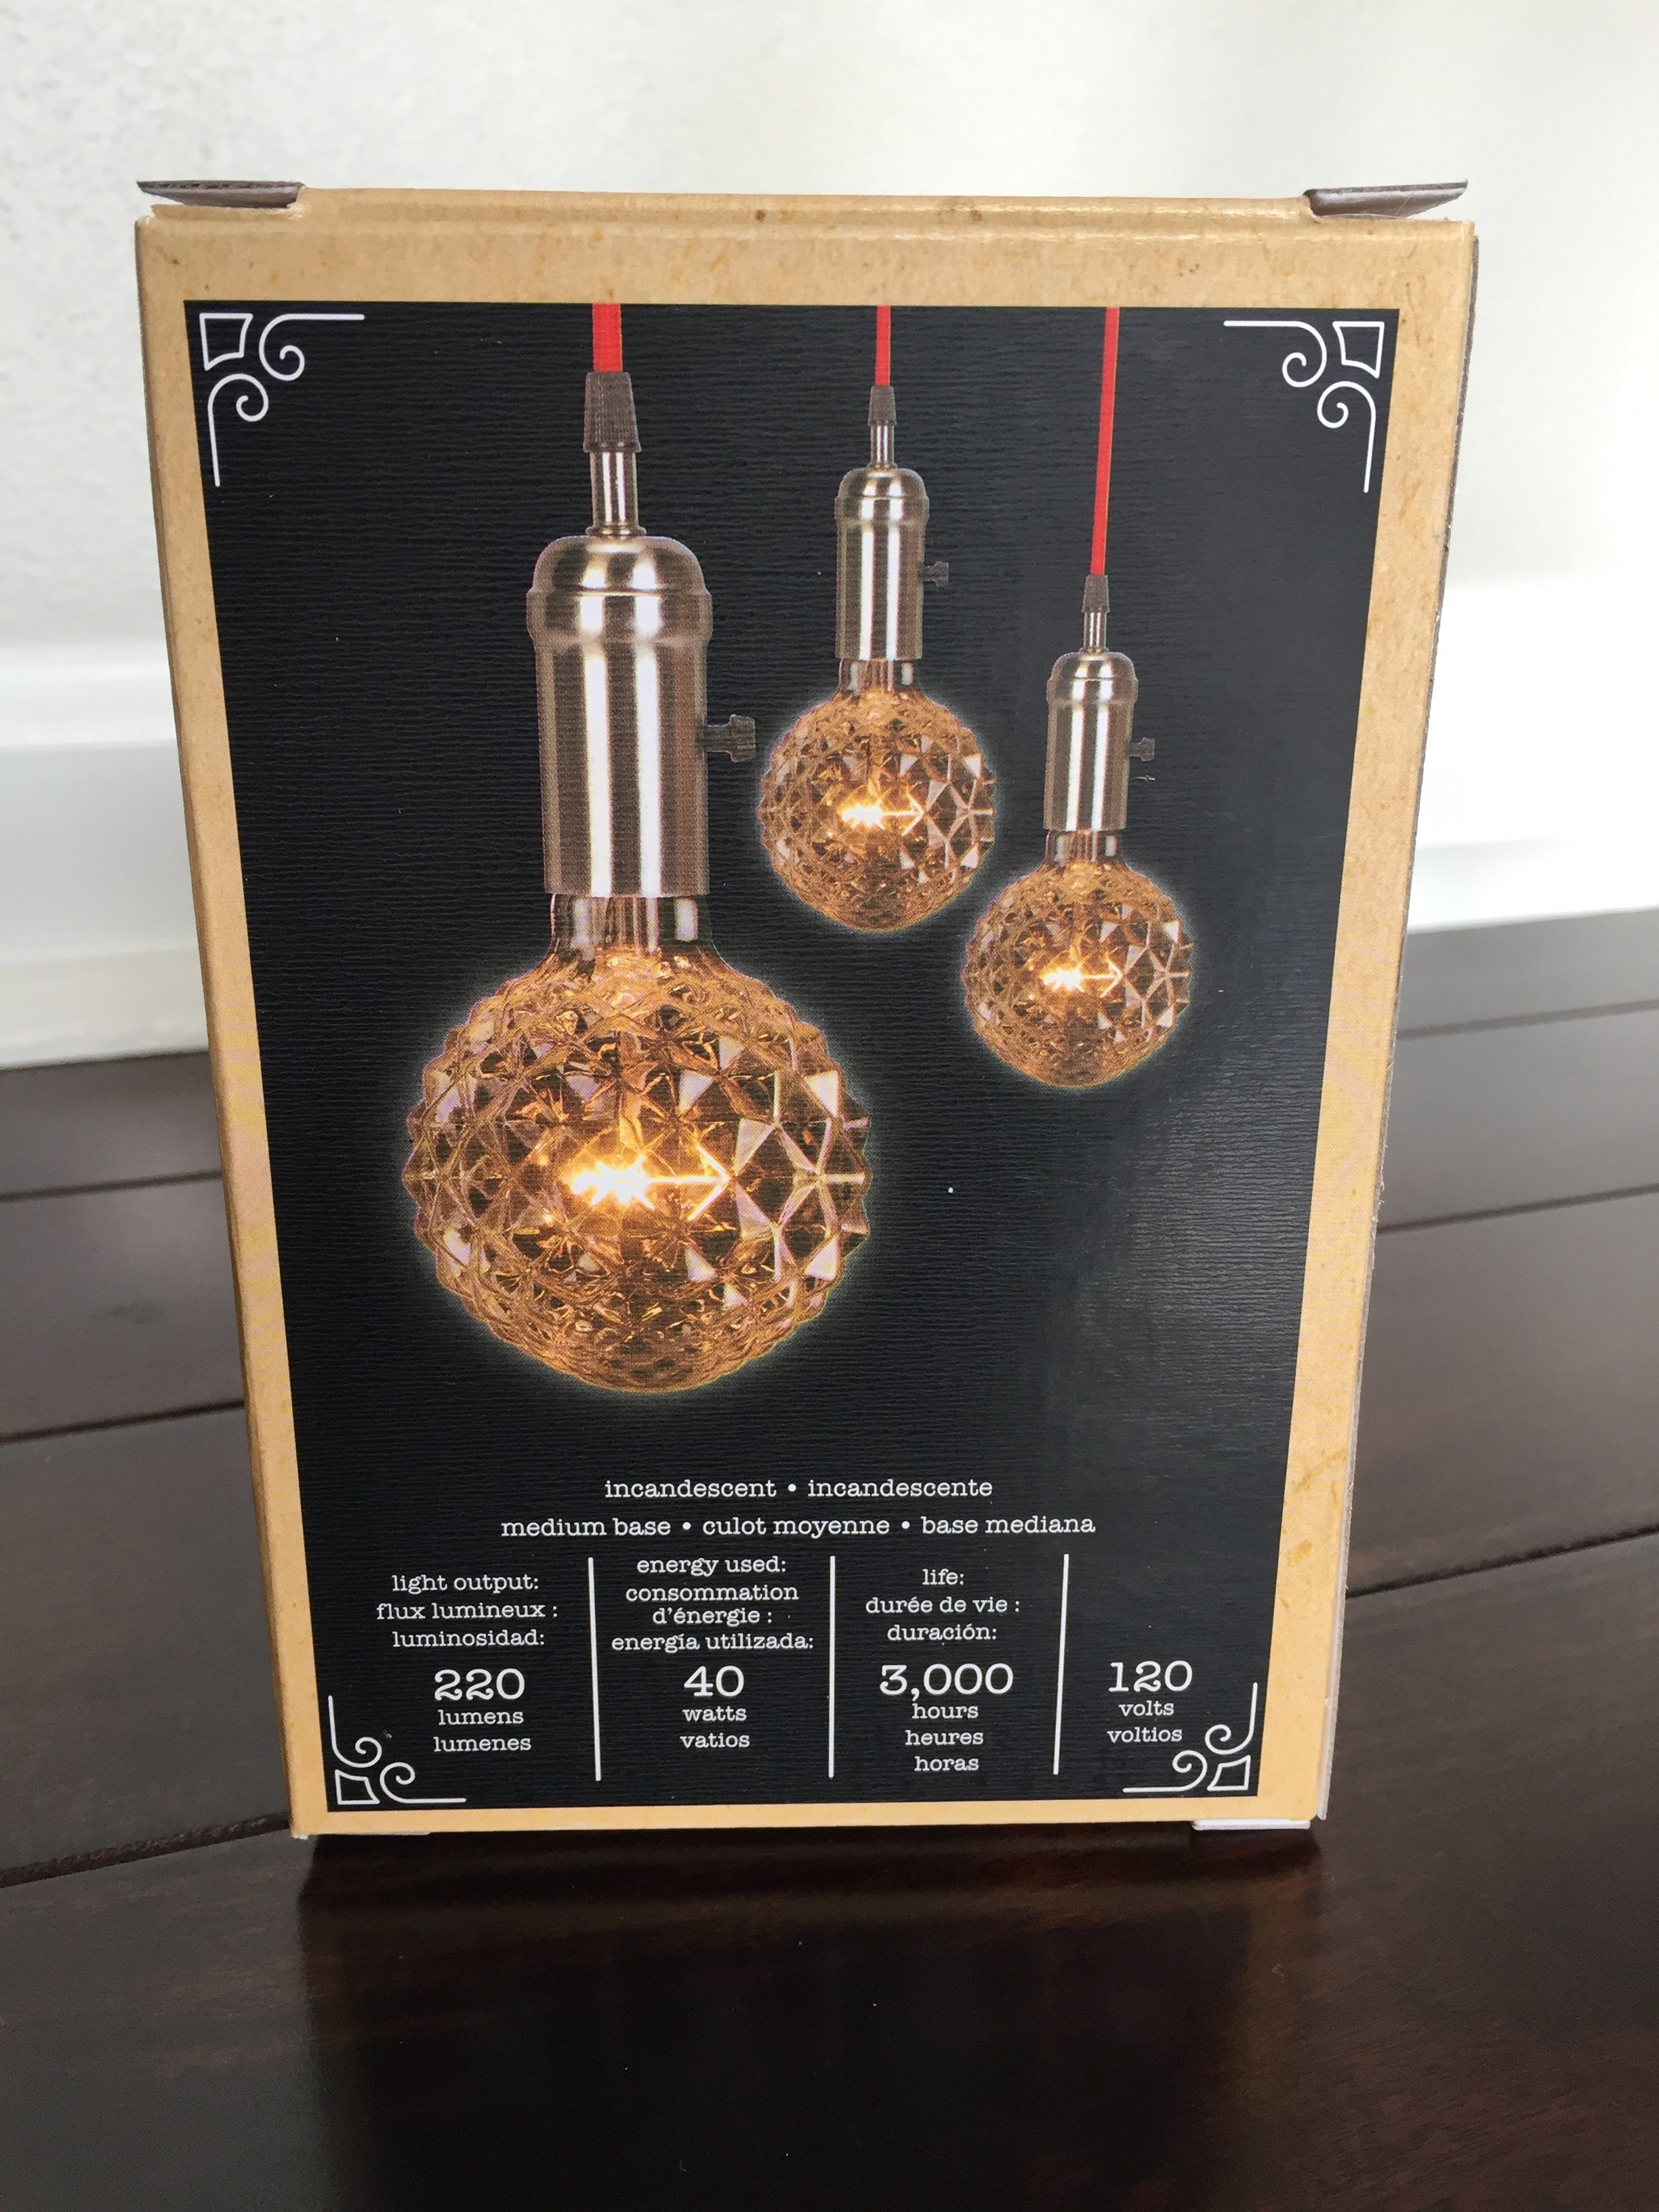
I chose a semi-gloss black to coordinate with the legs of my entryway console table. Once dry, add a decorative light bulb – I chose a crystal-looking lightbulb and I absolutely love it!

This light adds a little bit of much-needed glam to my ONCE very dark and woodsy entryway.
GOOD LUCK!!!! And happy updating 🙂

Leave a Reply