Previous post
Next post
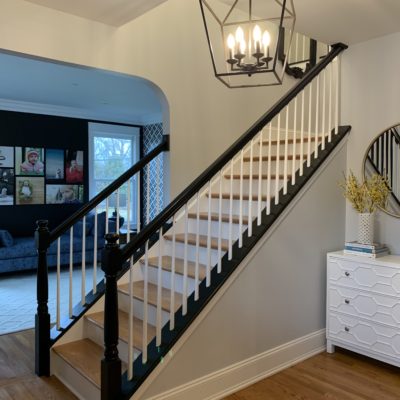
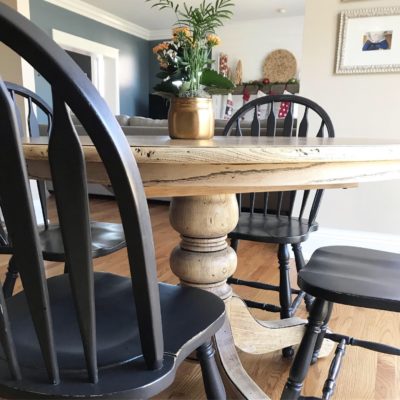
too many ideas. too little time. (and far too much chai.)


I have never wallpapered before, friends. I’ve torn out my fair share, but have never hung it…
Never say never.

This post was sponsored by Photowall, but all opinions, ideas, tips & tricks are my own.
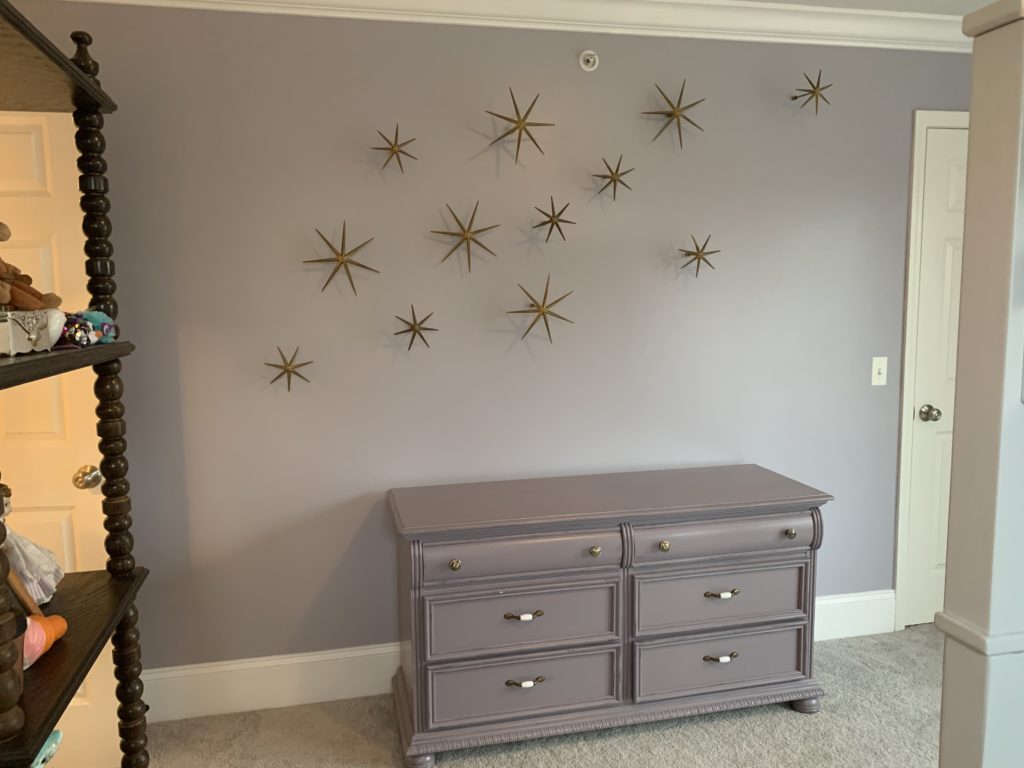
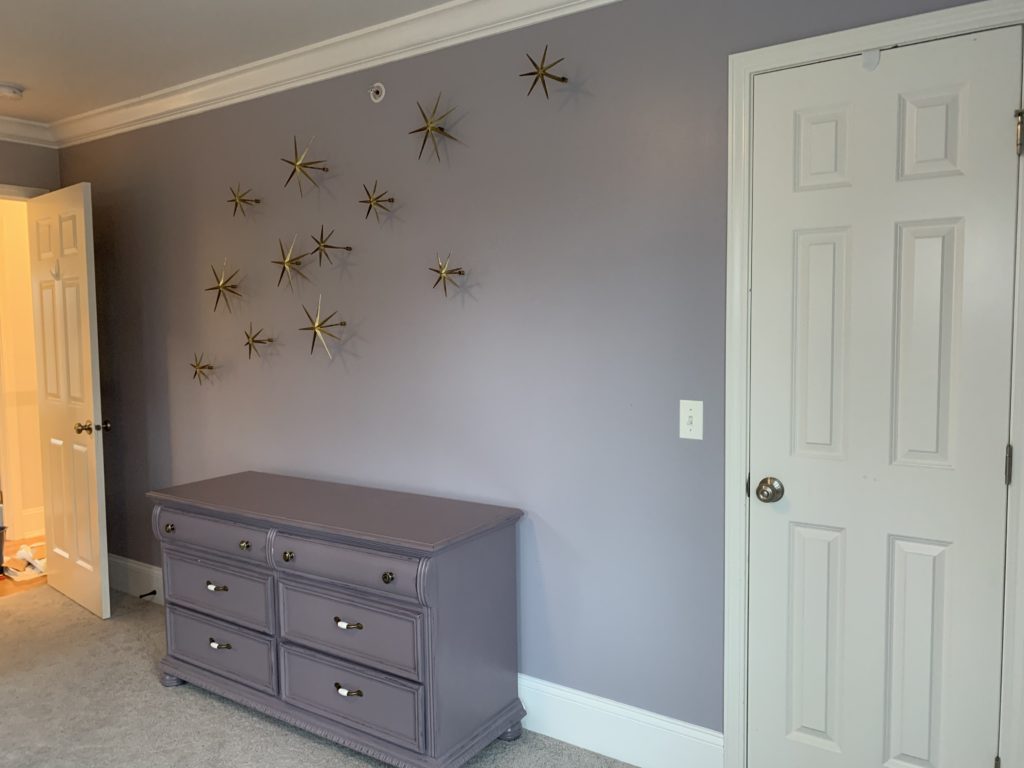
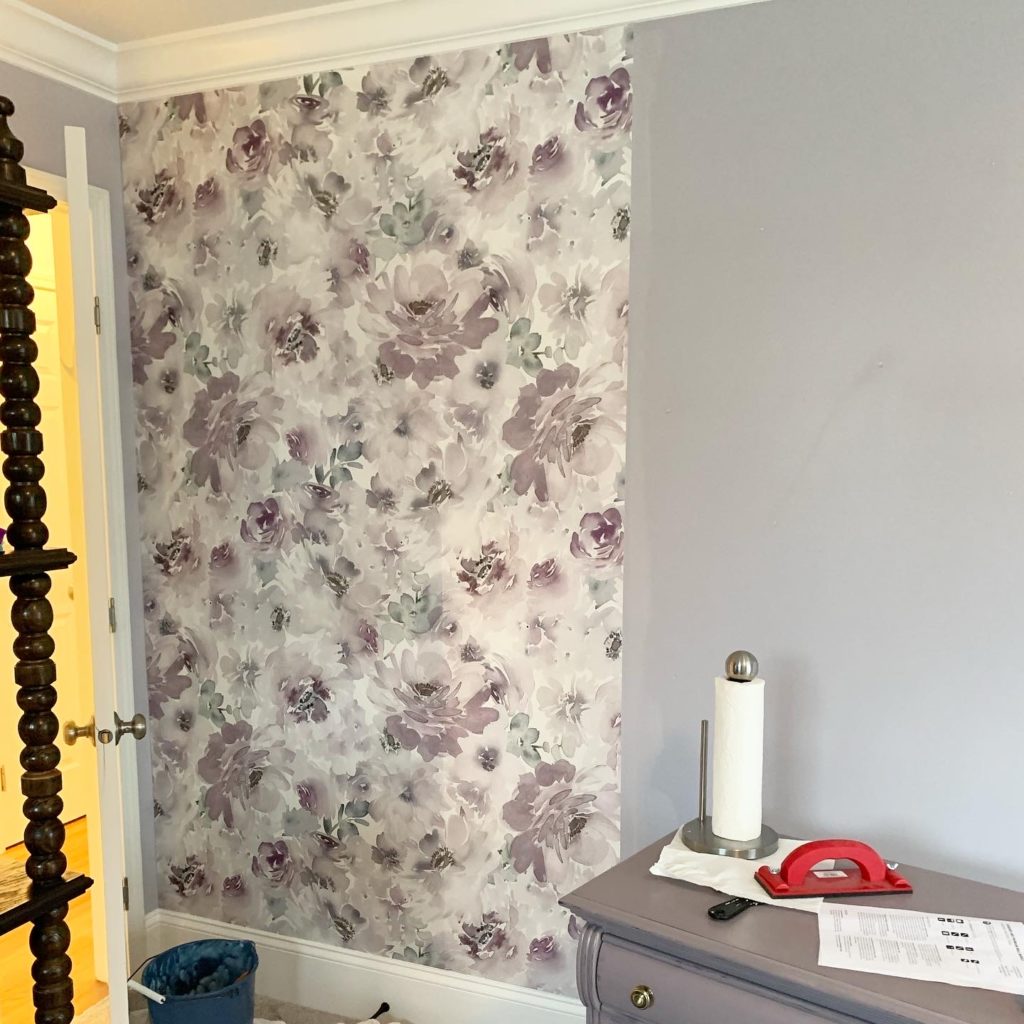
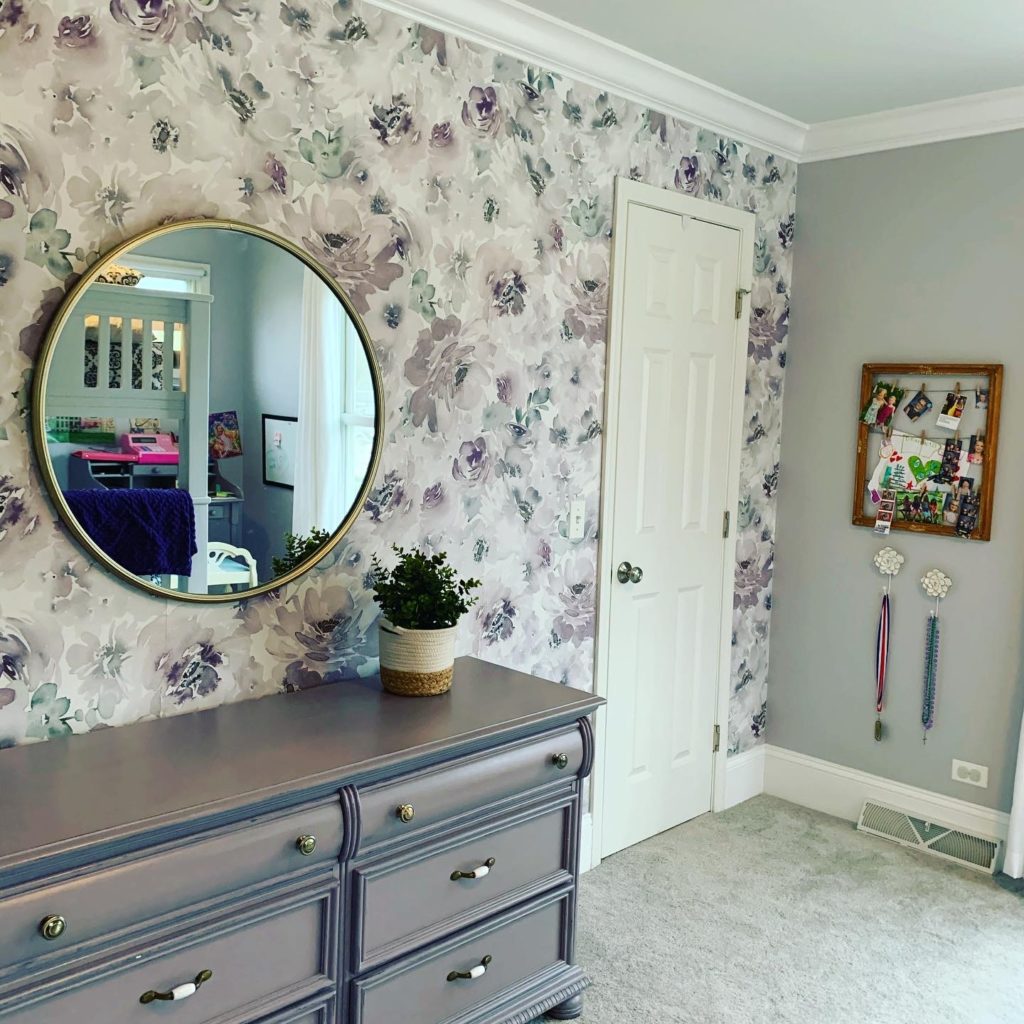
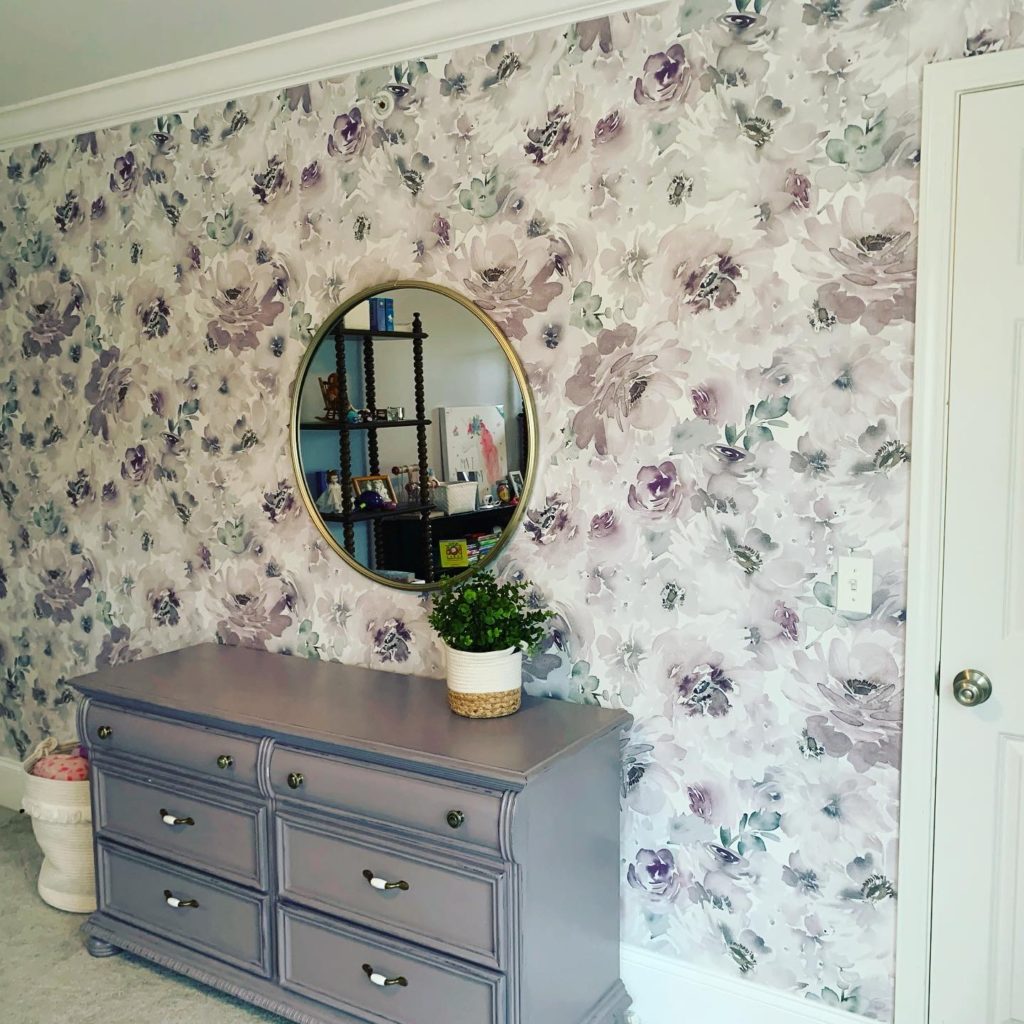
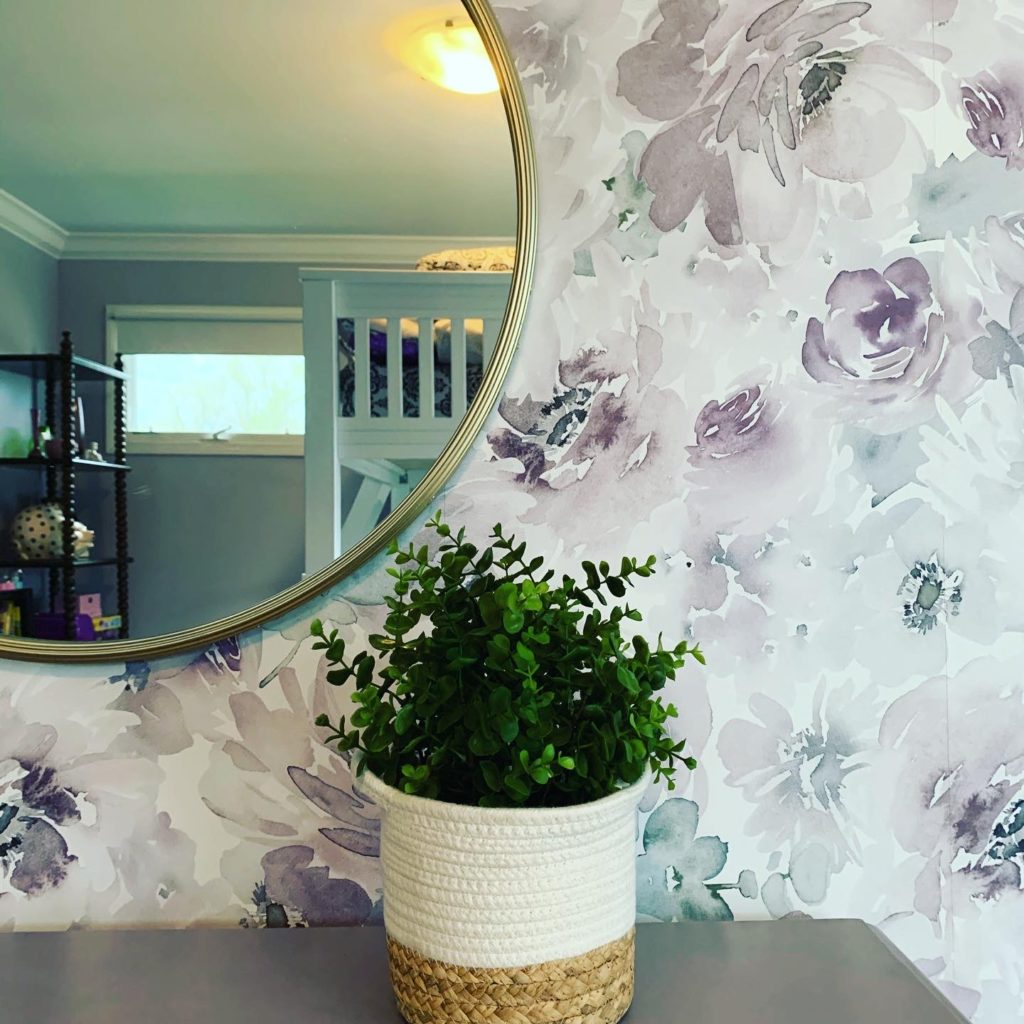
First off, this wall in my daughter’s room was super blah. We could never quite get it right. Just always felt… underwhelming. Wallpaper had been in the back of my mind, but I didn’t have a sense of the pattern that would jive in here. That is, until I found it.
I got the opportunity to work with an incredible company called Photowall that offers an amazing selection of designer wallpapers. I completely fell in love with this floral pattern called Flower Spirit, but it was insanely difficult to choose. I could have easily gone with any of about 20 choices. But once I realized the color palette for this floral was a perfect match for my daughter’s already-lilac walls, I knew it was the winner.
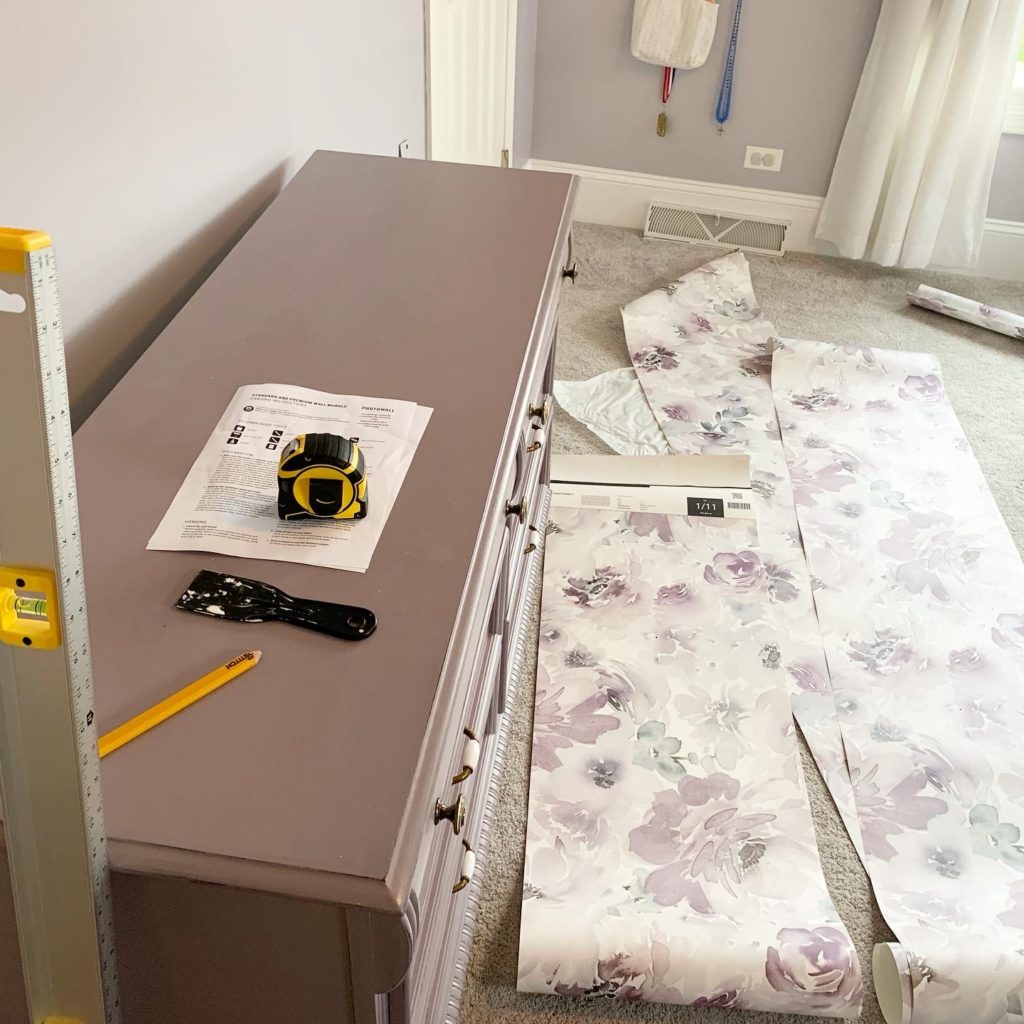
The actual process of hanging the wallpaper is super easy. Photowall includes the glue, which sounds scary, but I assure you, it’s not. The instructions are simple and clear. You mix the paste with water, wait a few minutes and it it’s ready to start applying.
Start to finish, it probably took me a few hours, and I did it alone. I’d recommend having a partner to help you hold, but if you don’t, you too can do as I did and wallpaper the heck out of your next feature wall SOLO!
I don’t claim to be an expert, but I share with you a quick breakdown of what you’ll need, and how to do it.
You can also scrap my whole list in lieu of the kit that Photowall sells. Even easier.
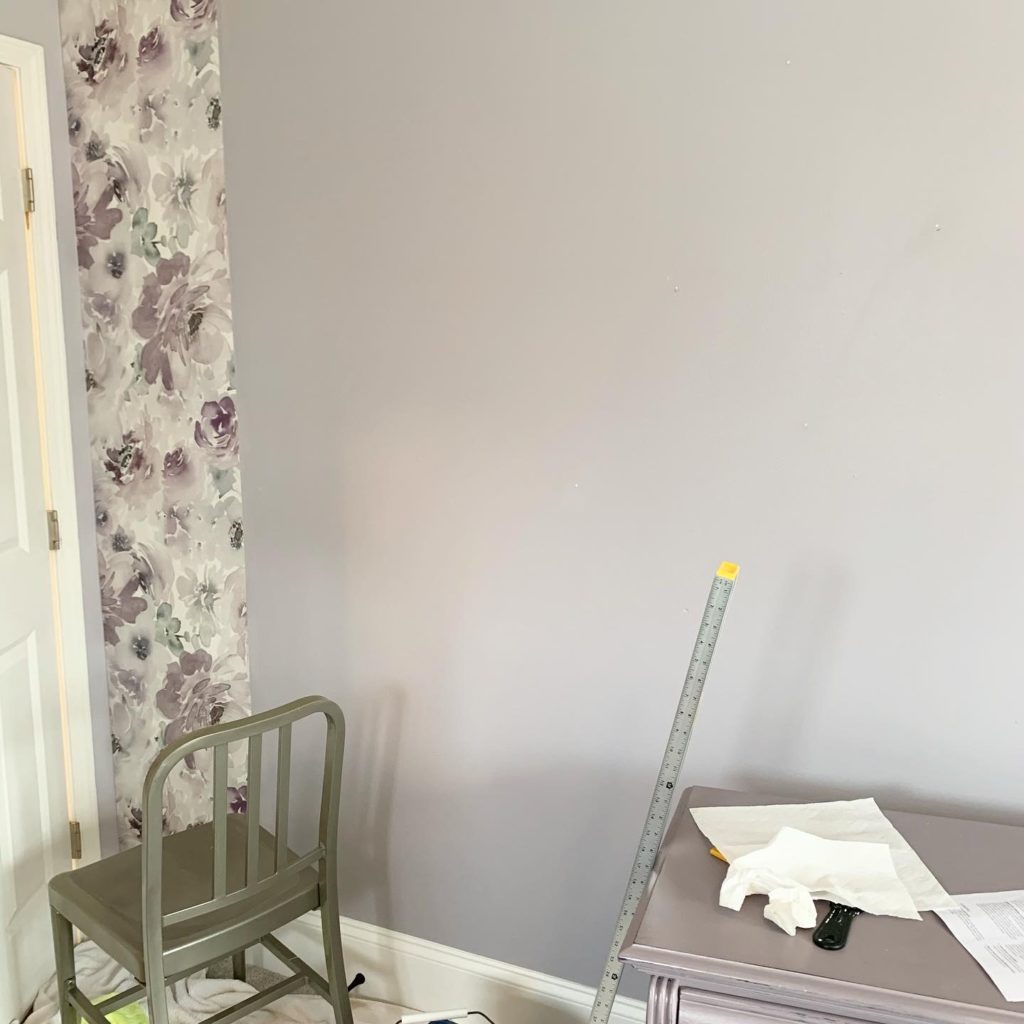
Here’s one last look at the before:
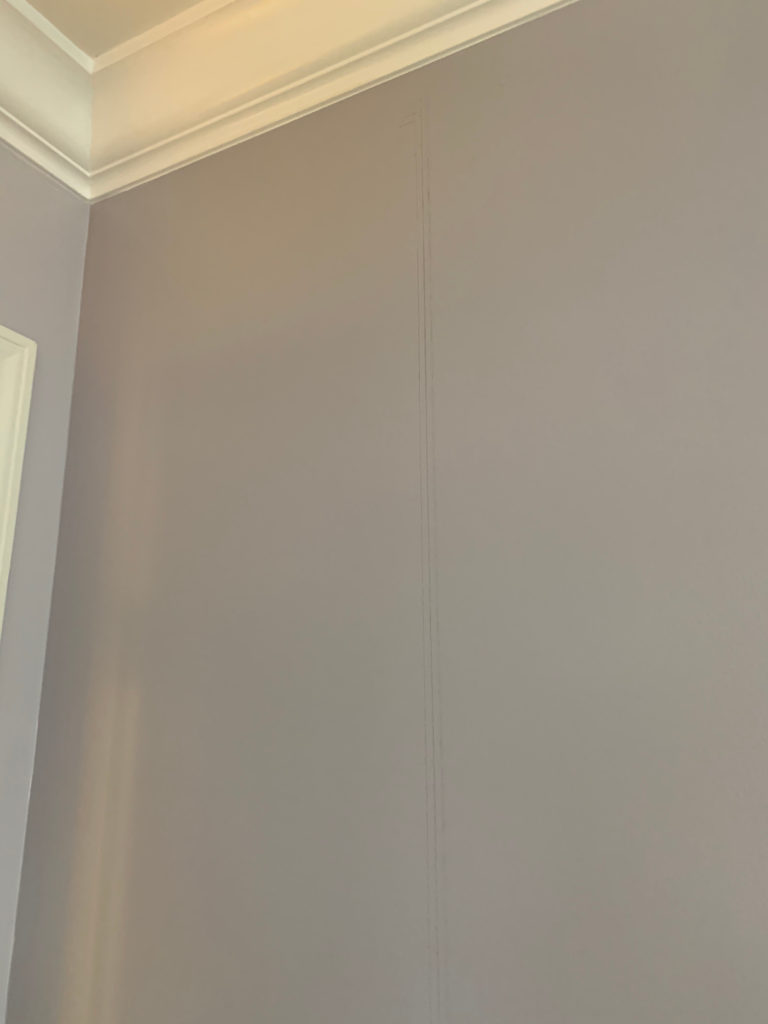
Before you begin (I started in the left corner of the wall/room), get out a strip of your paper and roughly measure and mark the RIGHT edge. Walls are never perfectly plum, so you MUST – I repeat MUST – mark out a perfectly straight line on the right side of the paper, so you have a straight guide to align the paper with. DO NOT use the corner wall as your guide.
This is probably the most important step, because if your first piece is crooked, everything else will be exponentially worse after that.

I used a very wide paint brush, and it worked just fine, but you could use any number of brushes for this as well. Apply so you’re fully coating the wall without it dripping (almost like a thick coat of paint).
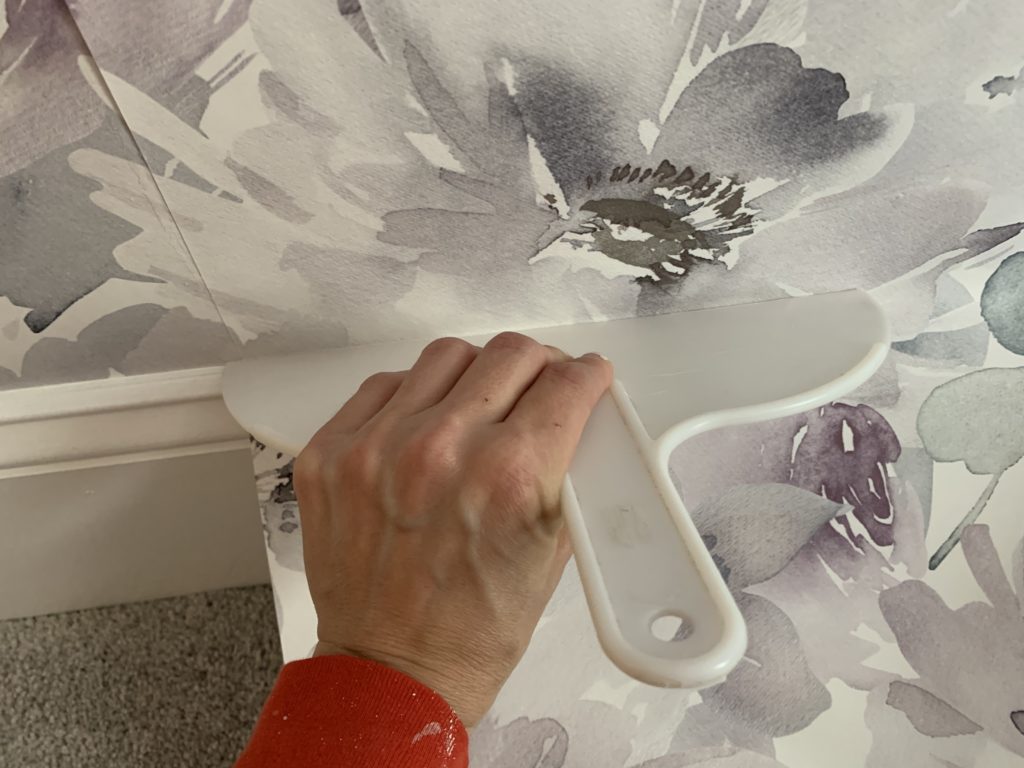
Again, the first strip is the most important. Make sure you use your guideline (not the wall) to align and hang. Some people only apply glue to half the wall at a time. I found it easiest to do the whole strip’s worth at once. This is where the smoothing tools come in handy. My scraper worked well for this, in combination with a (dry) paint roller. I also went back over it with a clean, dry towel to make sure all air bubbles were smoothed.
When I say “scraper” this is what I’m referring to:
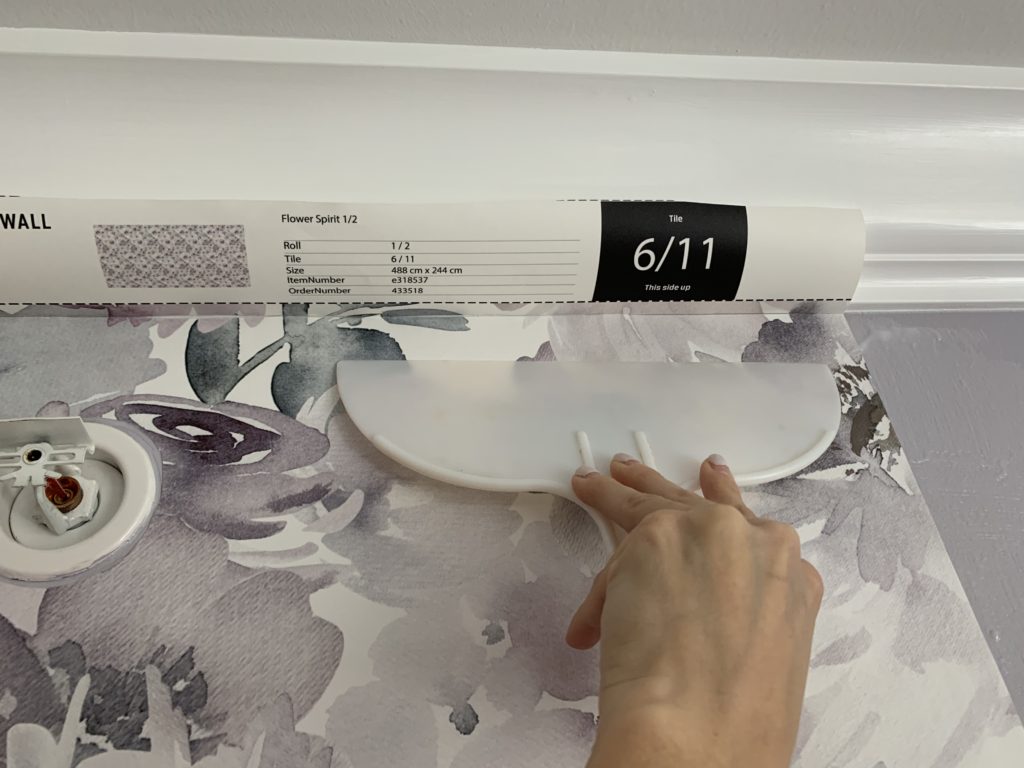
You can also see from this pic how easy Photowall makes it to hang your wallpaper. They number each strip, so all you have to do is cut strips apart and hang them in order. Super simple.
Don’t forget to pay particularly close attention to the seams when smoothing and rolling out the paper. Seams need to be tight and precise, so make sure they are.
I messed the alignment up the first time and had to peel the paper off and rehang it. One sheet was almost overlapping the other, and it was super visible. It was fine to redo – no big deal – but just make sure you’re careful here.
What you don’t want is visible seams.
Once you smooth out your paper, you’ll want a sponge, a bucket of water and some paper towels handy for quick clean-up. Wouldn’t want any glue drying on your perfectly picked wallpaper!
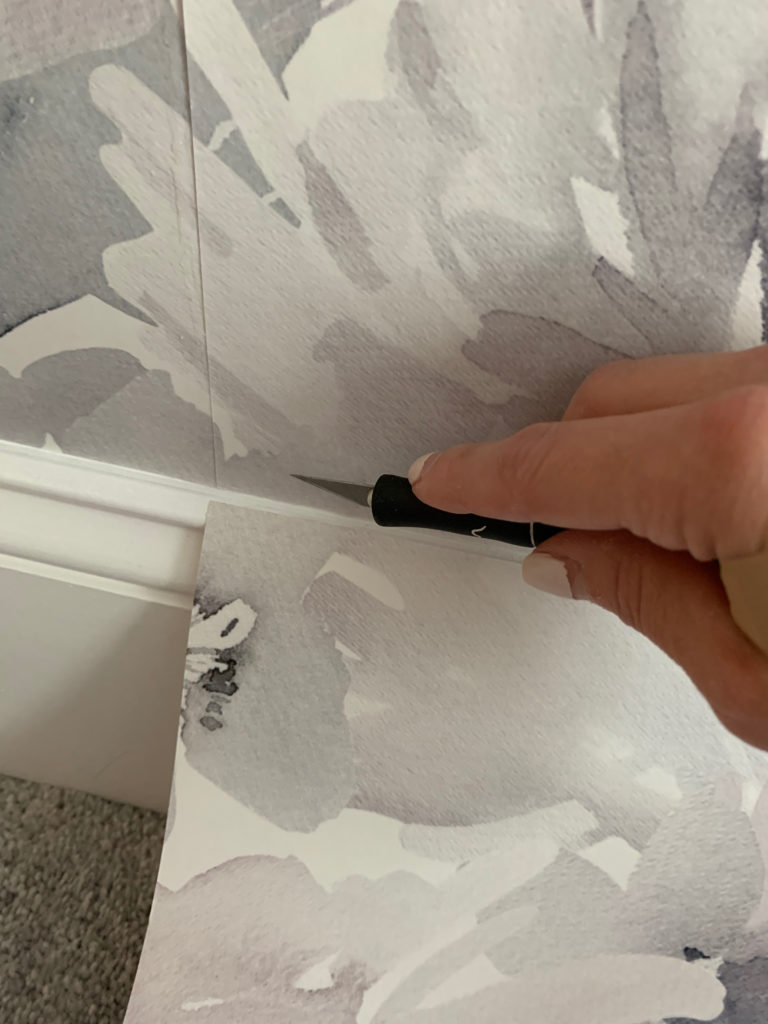
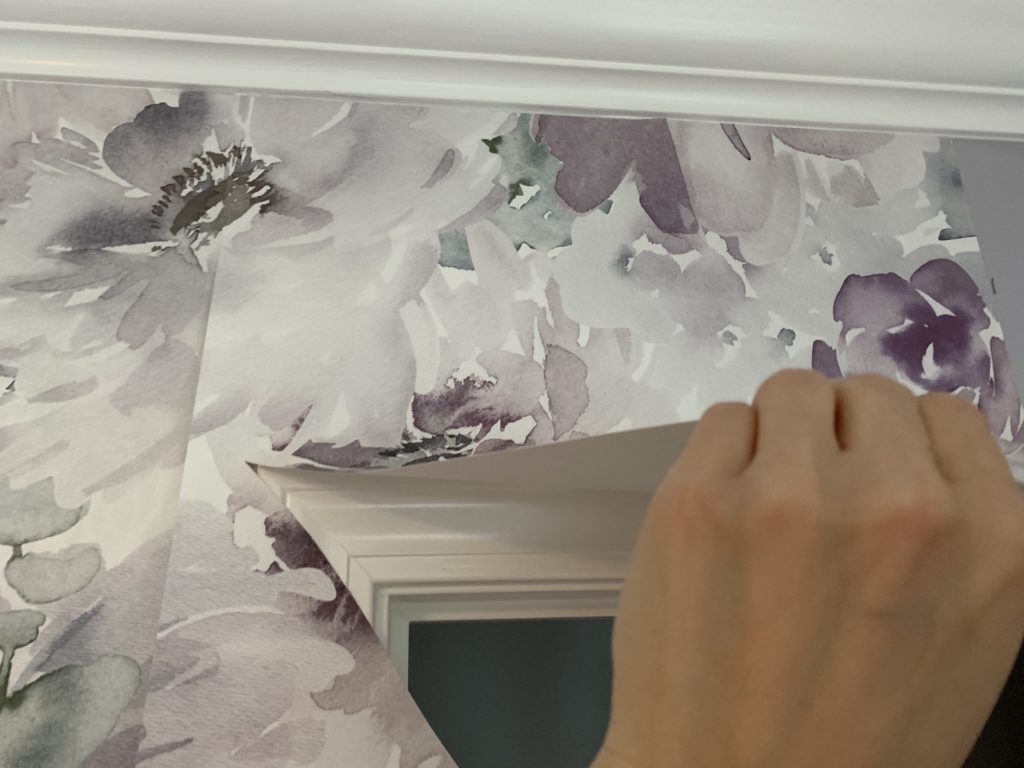
Some people wait until the end to trim, but I found it easiest to trim each strip after it was hung. Before you do, make sure you’re using your tools to really smooth the wallpaper into your trim. You want to make a sort of crease, and then you can go ahead and trim off the excess with your exacto. Again, my scraper worked well as my cutting guide, but you could also buy an ACTUAL CUTTING GUIDE 🙂 #details
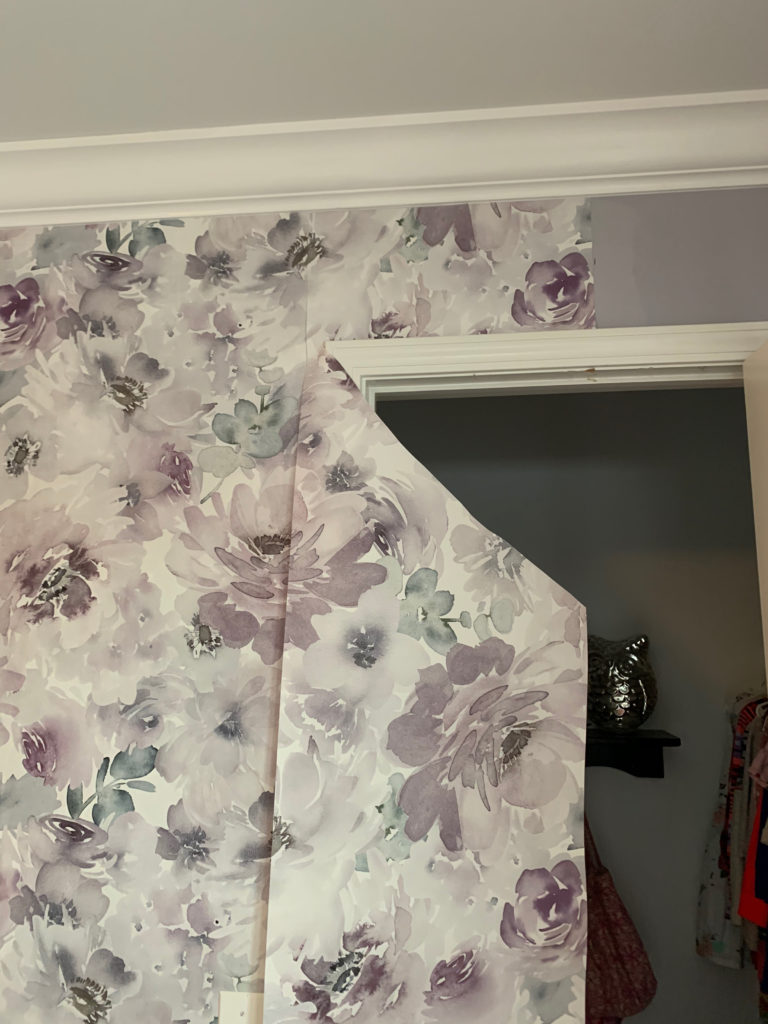
I should also mention that trimming around doors/windows and outlets/switches is fairly simple. You just have to plan it out. I had one light switch, one outlet and a closet door to deal with.
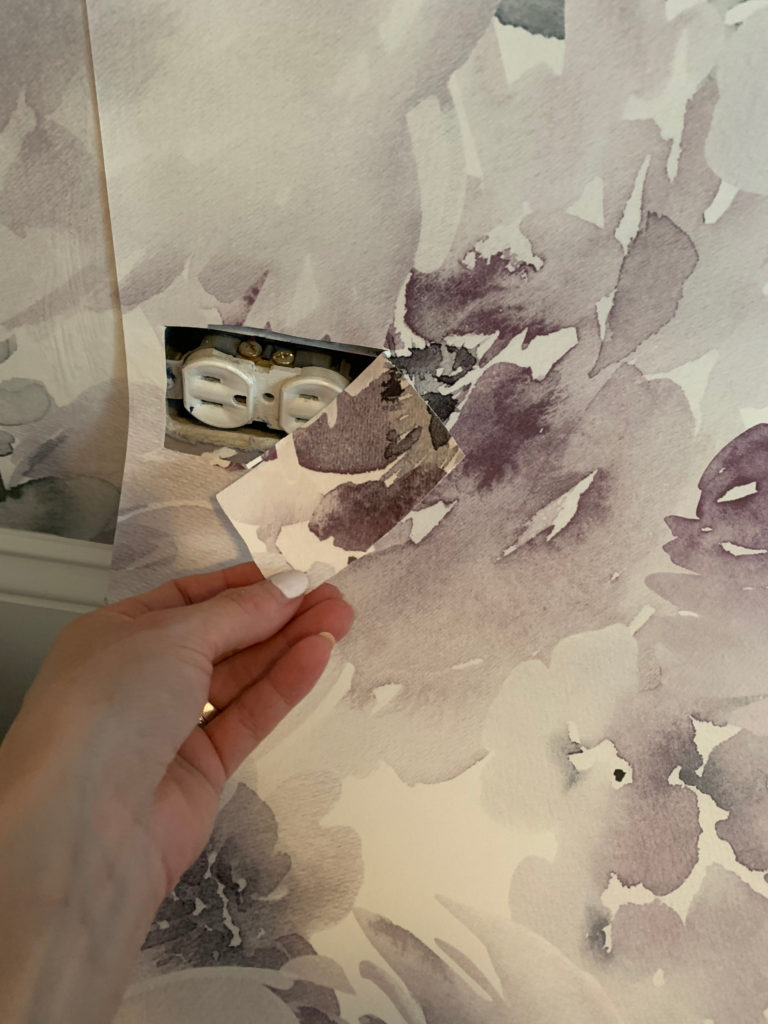
Outlets/light switches are easy. Remove the plate first, then apply your glue and hang strip as normal. You can then simply feel where the hole is and cut your rectangle. Luckily, you have a “little” room for error since your plate will cover a lot of it. Just go slow. Small cuts at a time.
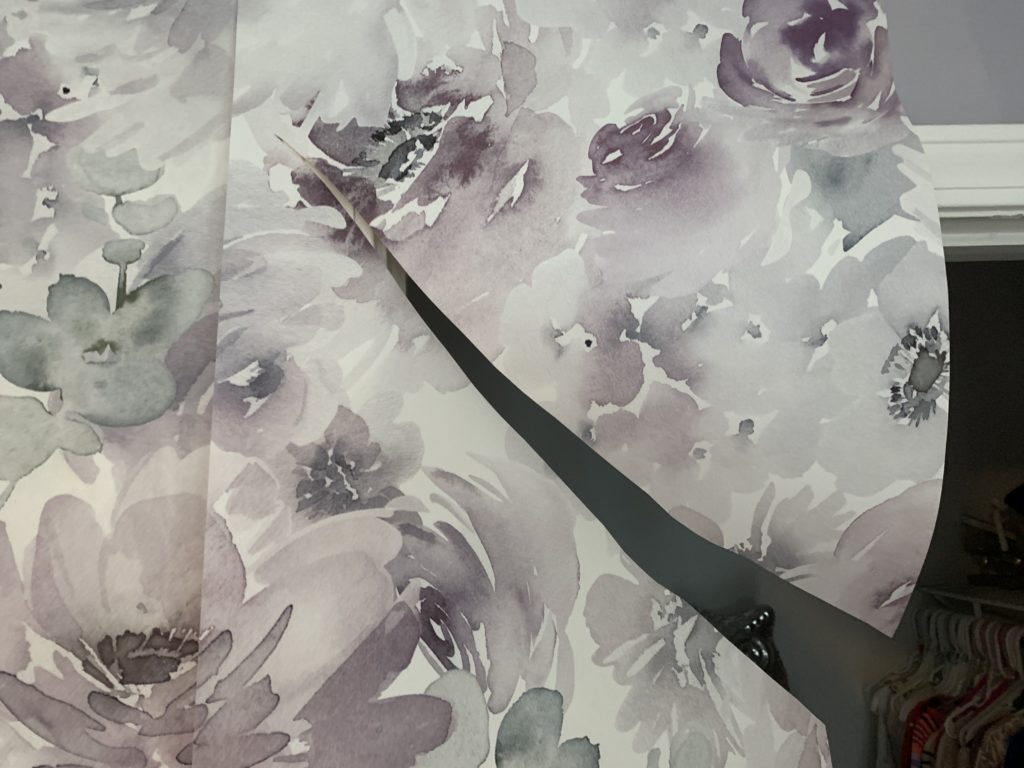
Apply your glue above the door and hang/smooth just that portion of the paper. Then take a pair of scissors and cut a diagonal line up to the top corner of the trim. Again, go slow so you don’t OVER-cut.

This is honestly a no brainer update for any home. Find a pattern you like, and go for it. You won’t be sorry. Unless you choose a pattern you hate : ) I kid. Just take your time and enjoy your hard work.


Leave a Reply