Previous post
Next post
too many ideas. too little time. (and far too much chai.)


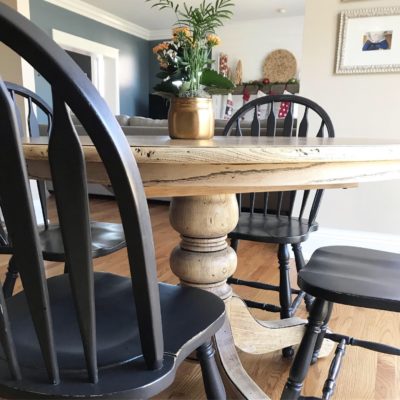
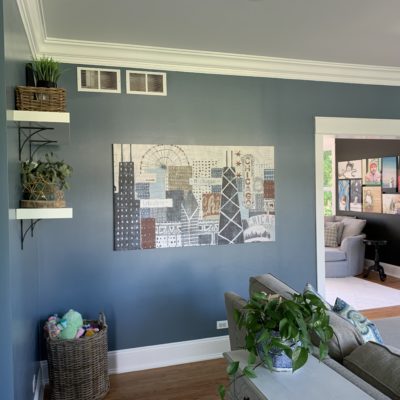
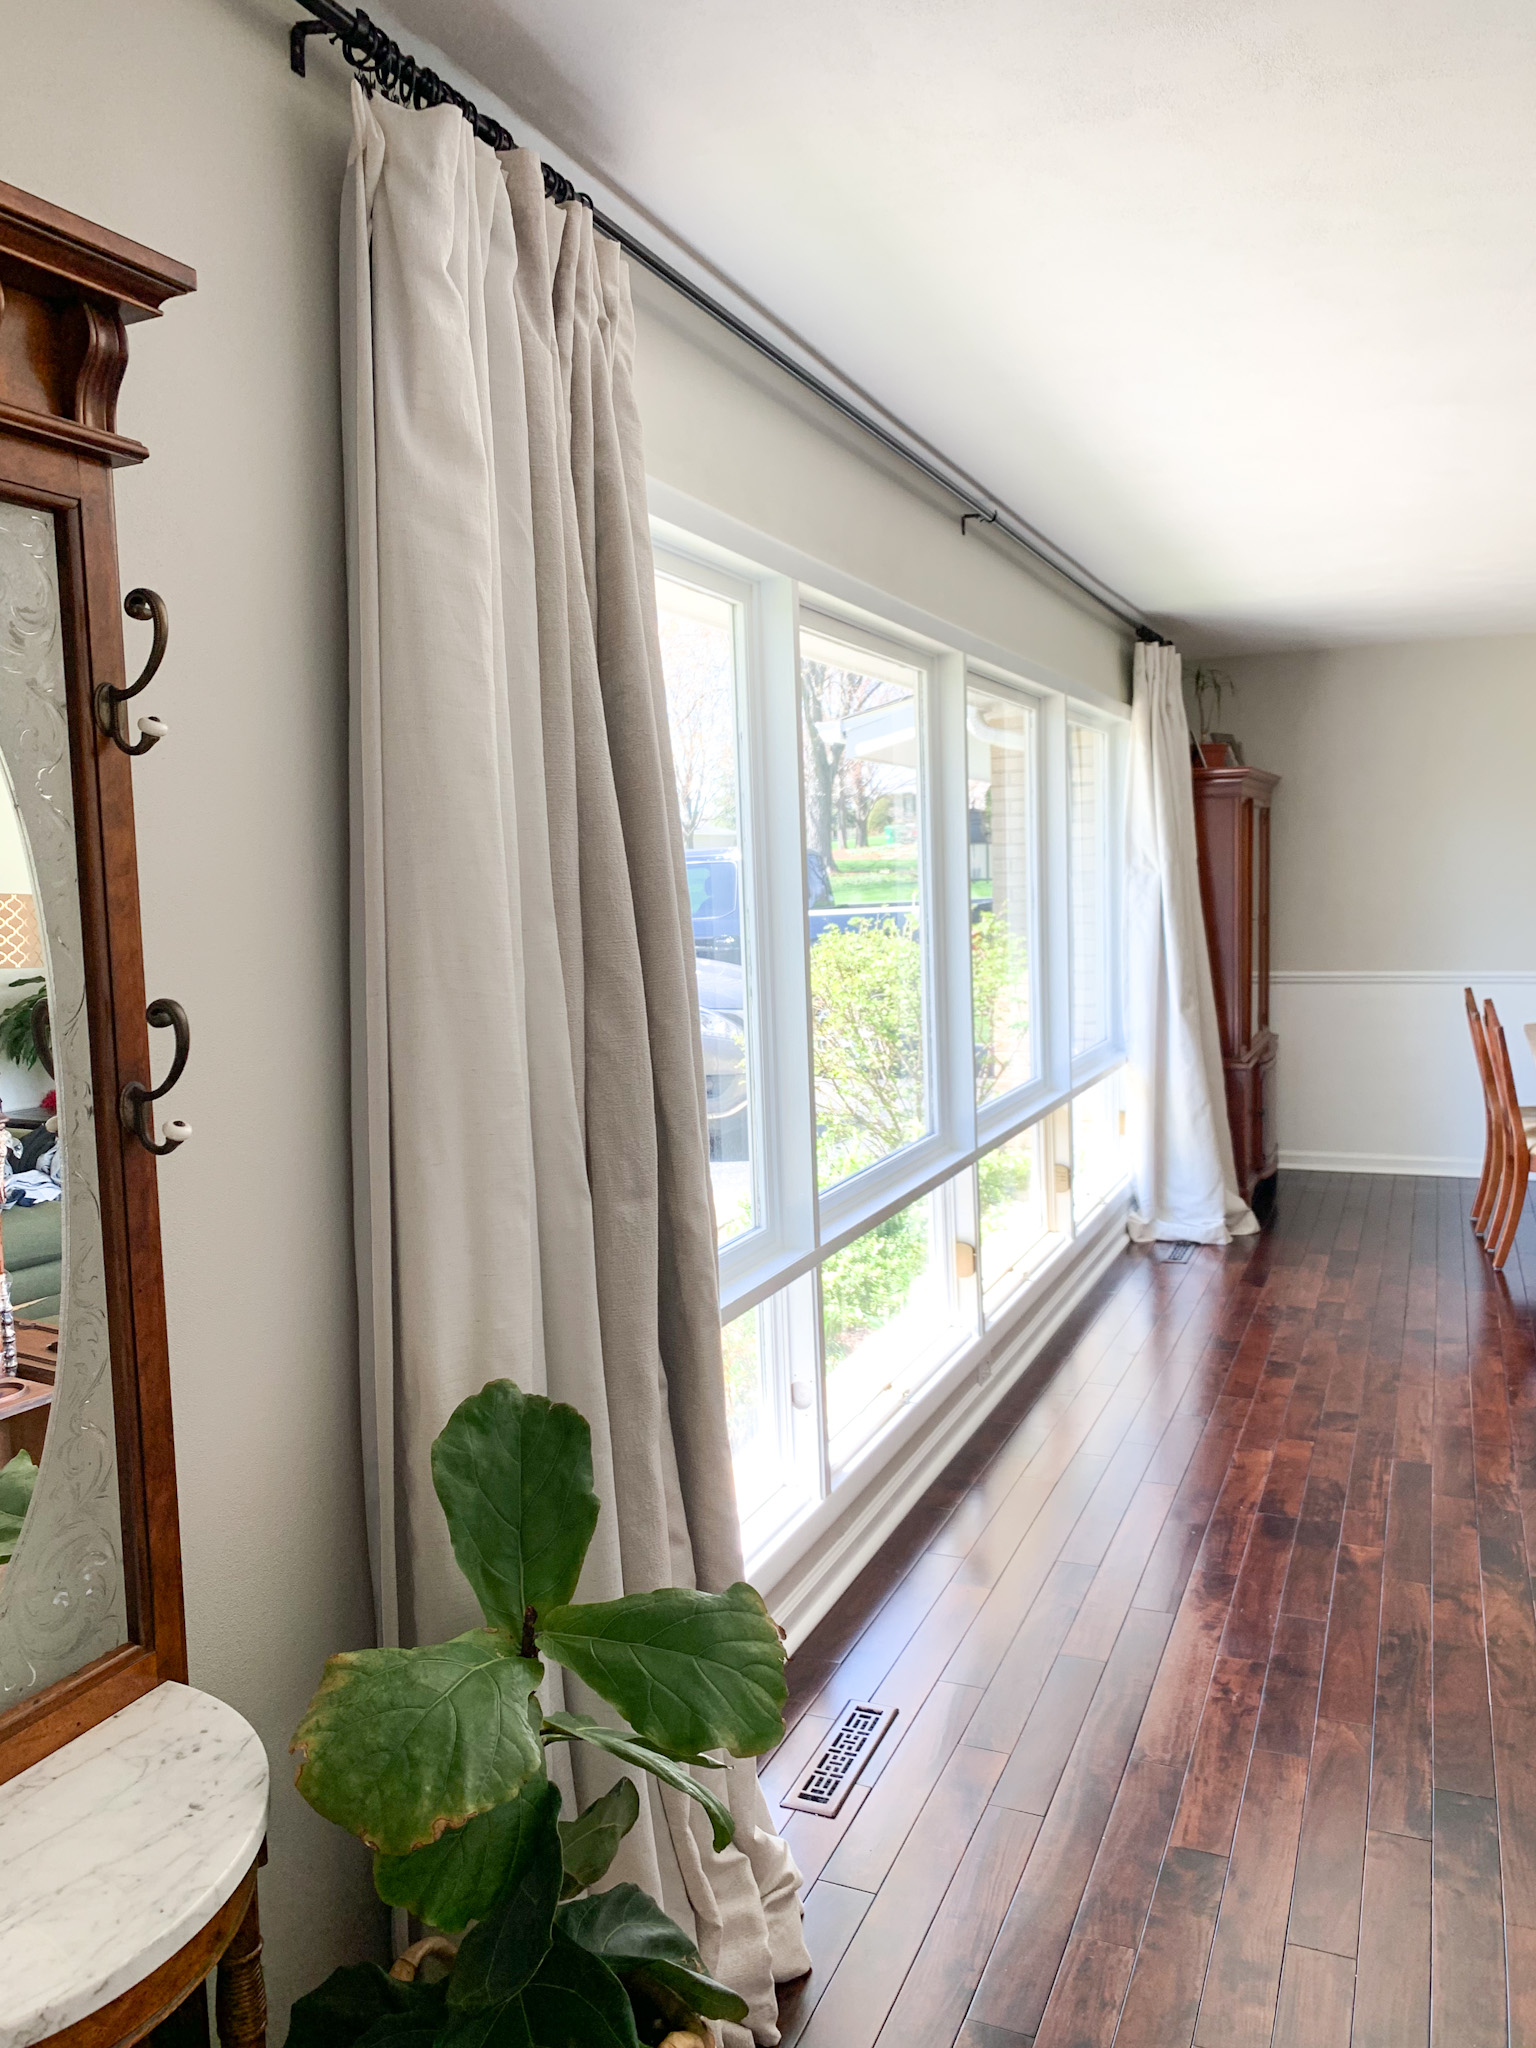
When we moved into our house, one thing stood out: A huge picture window in the very first room you walk into. It was beautiful, but the window treatments WERE NOT.
Originally, the window had one long set of custom mini blinds & a valance. Can you imagine trying to open and close those blinds? It literally took two people – one to pull the strings & the other to lift the opposite end.
To put it into perspective, the window is 16 feet long.
Why not just skip window treatments at all, you might be asking? Let’s just say our neighbors would have a pretty sweet view then, too – straight into our house.
When searching for extra long curtain rods, my options were… limited:
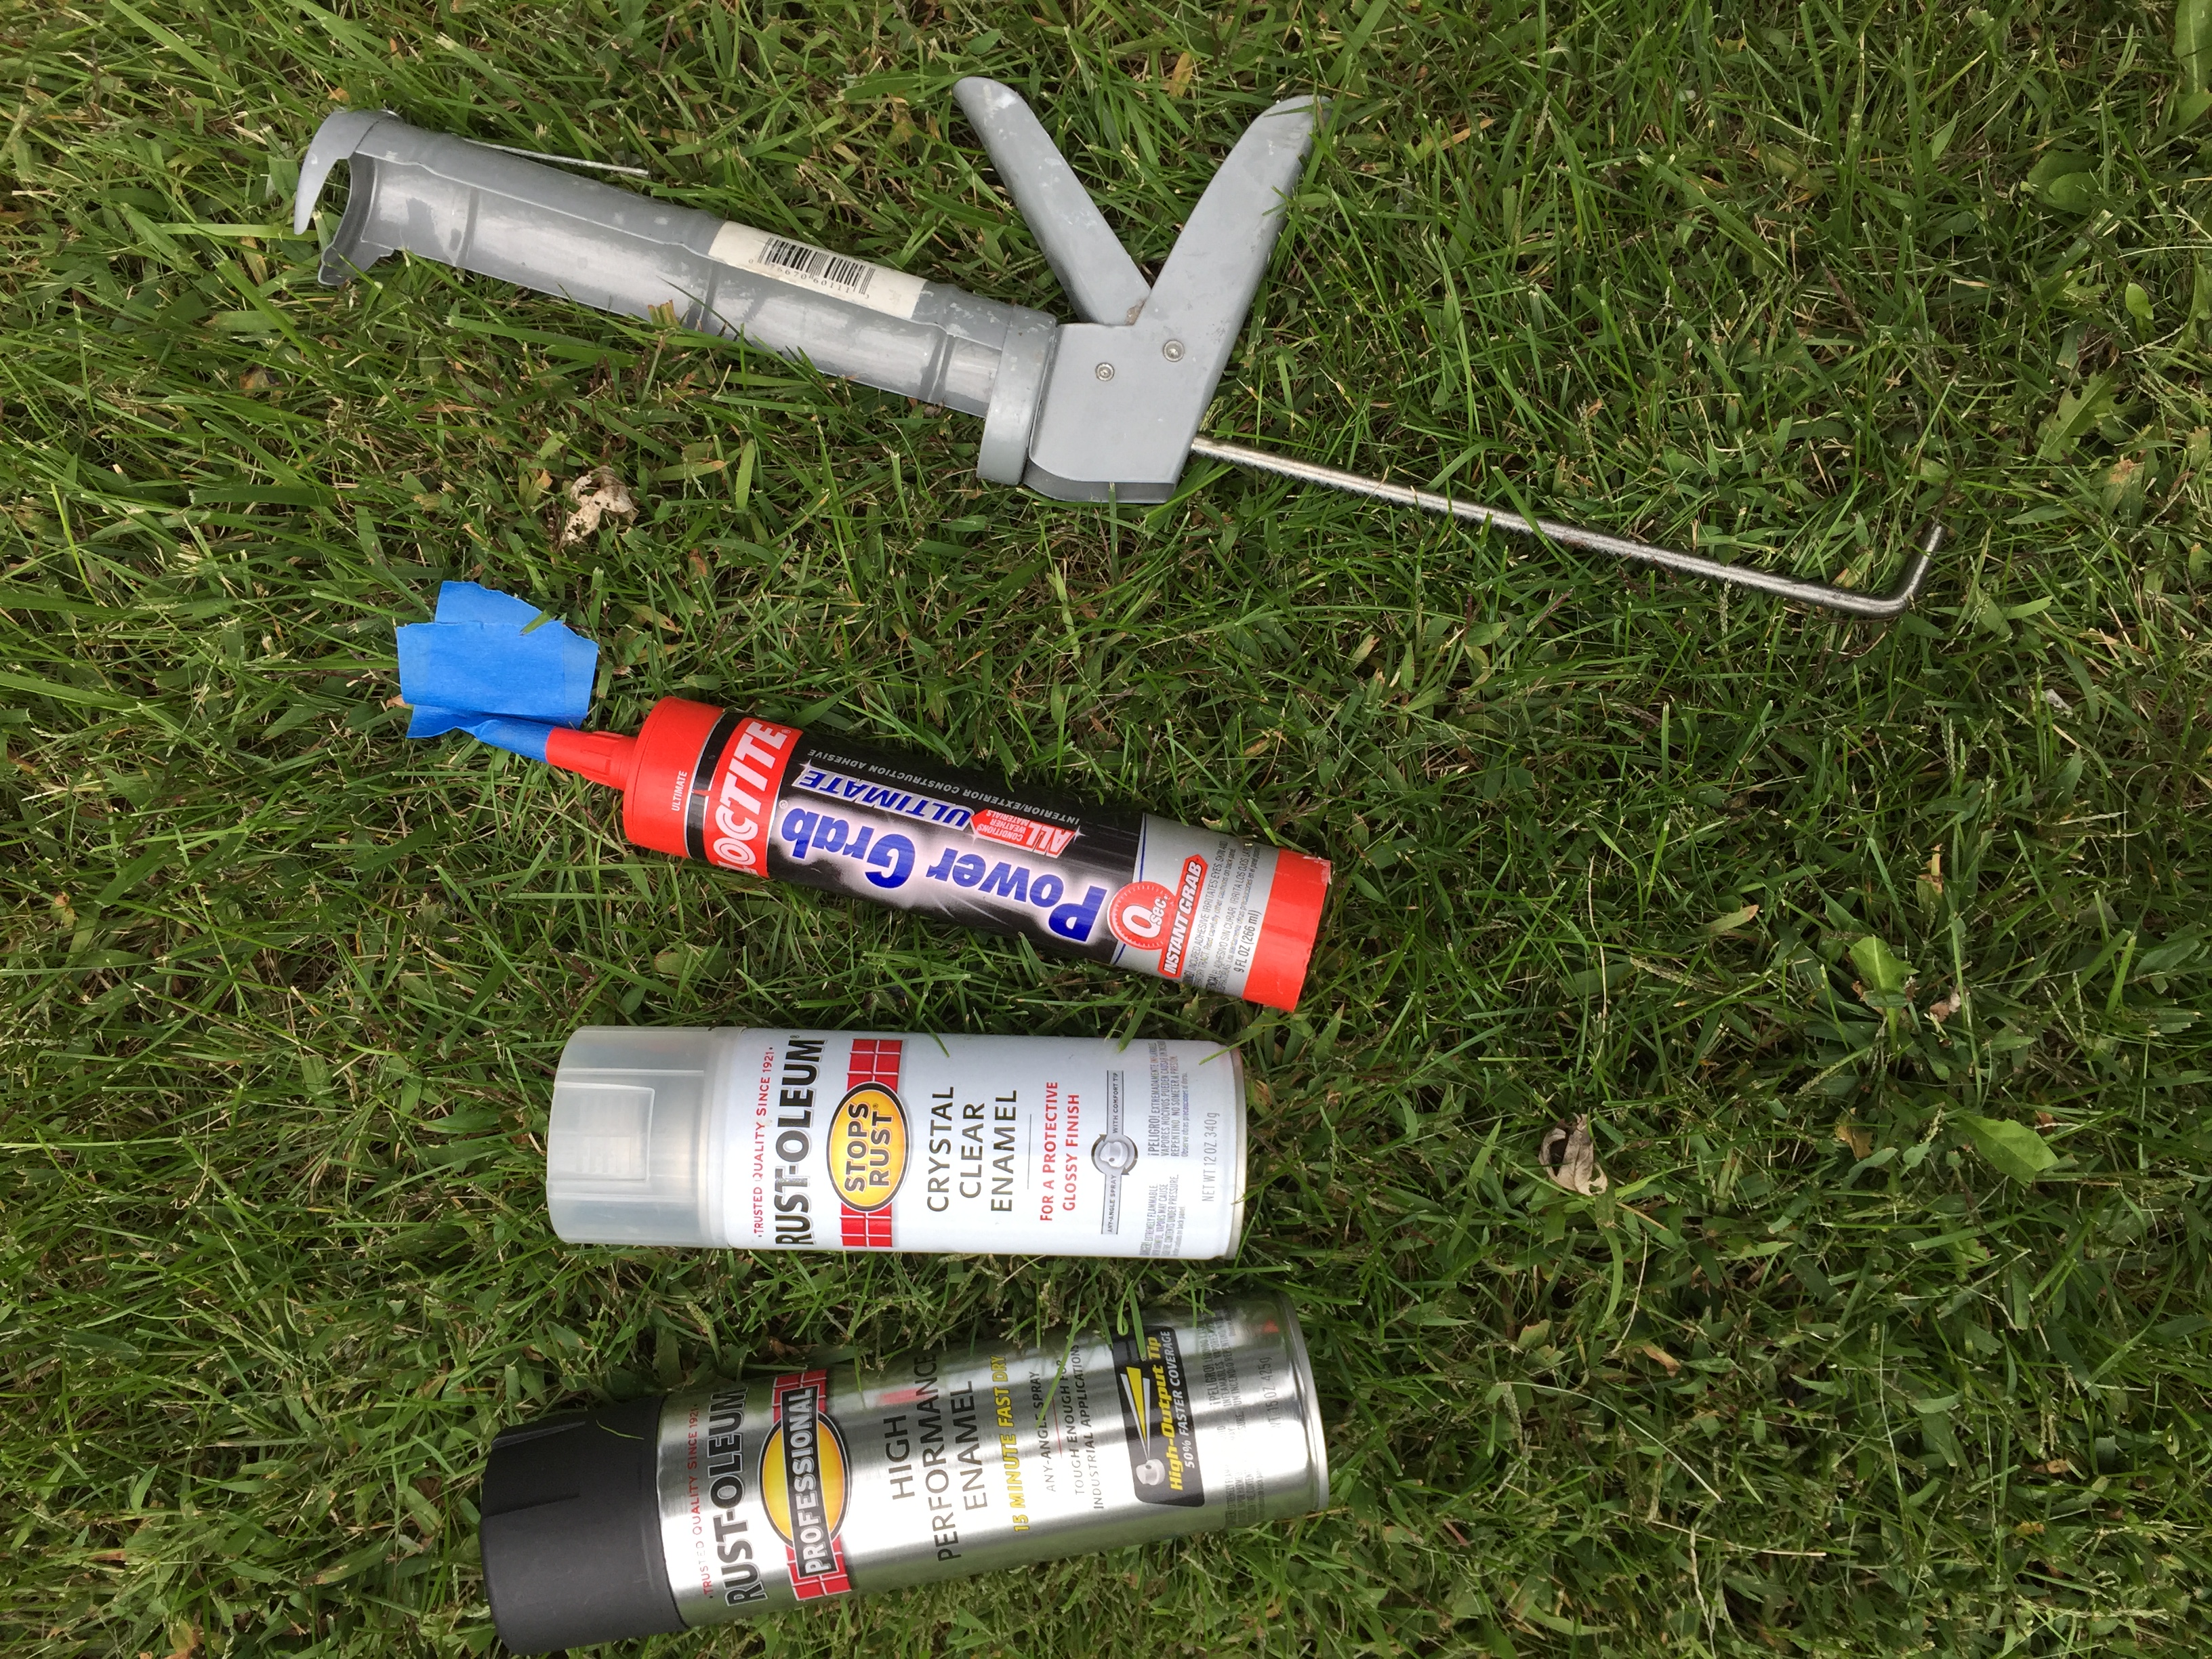
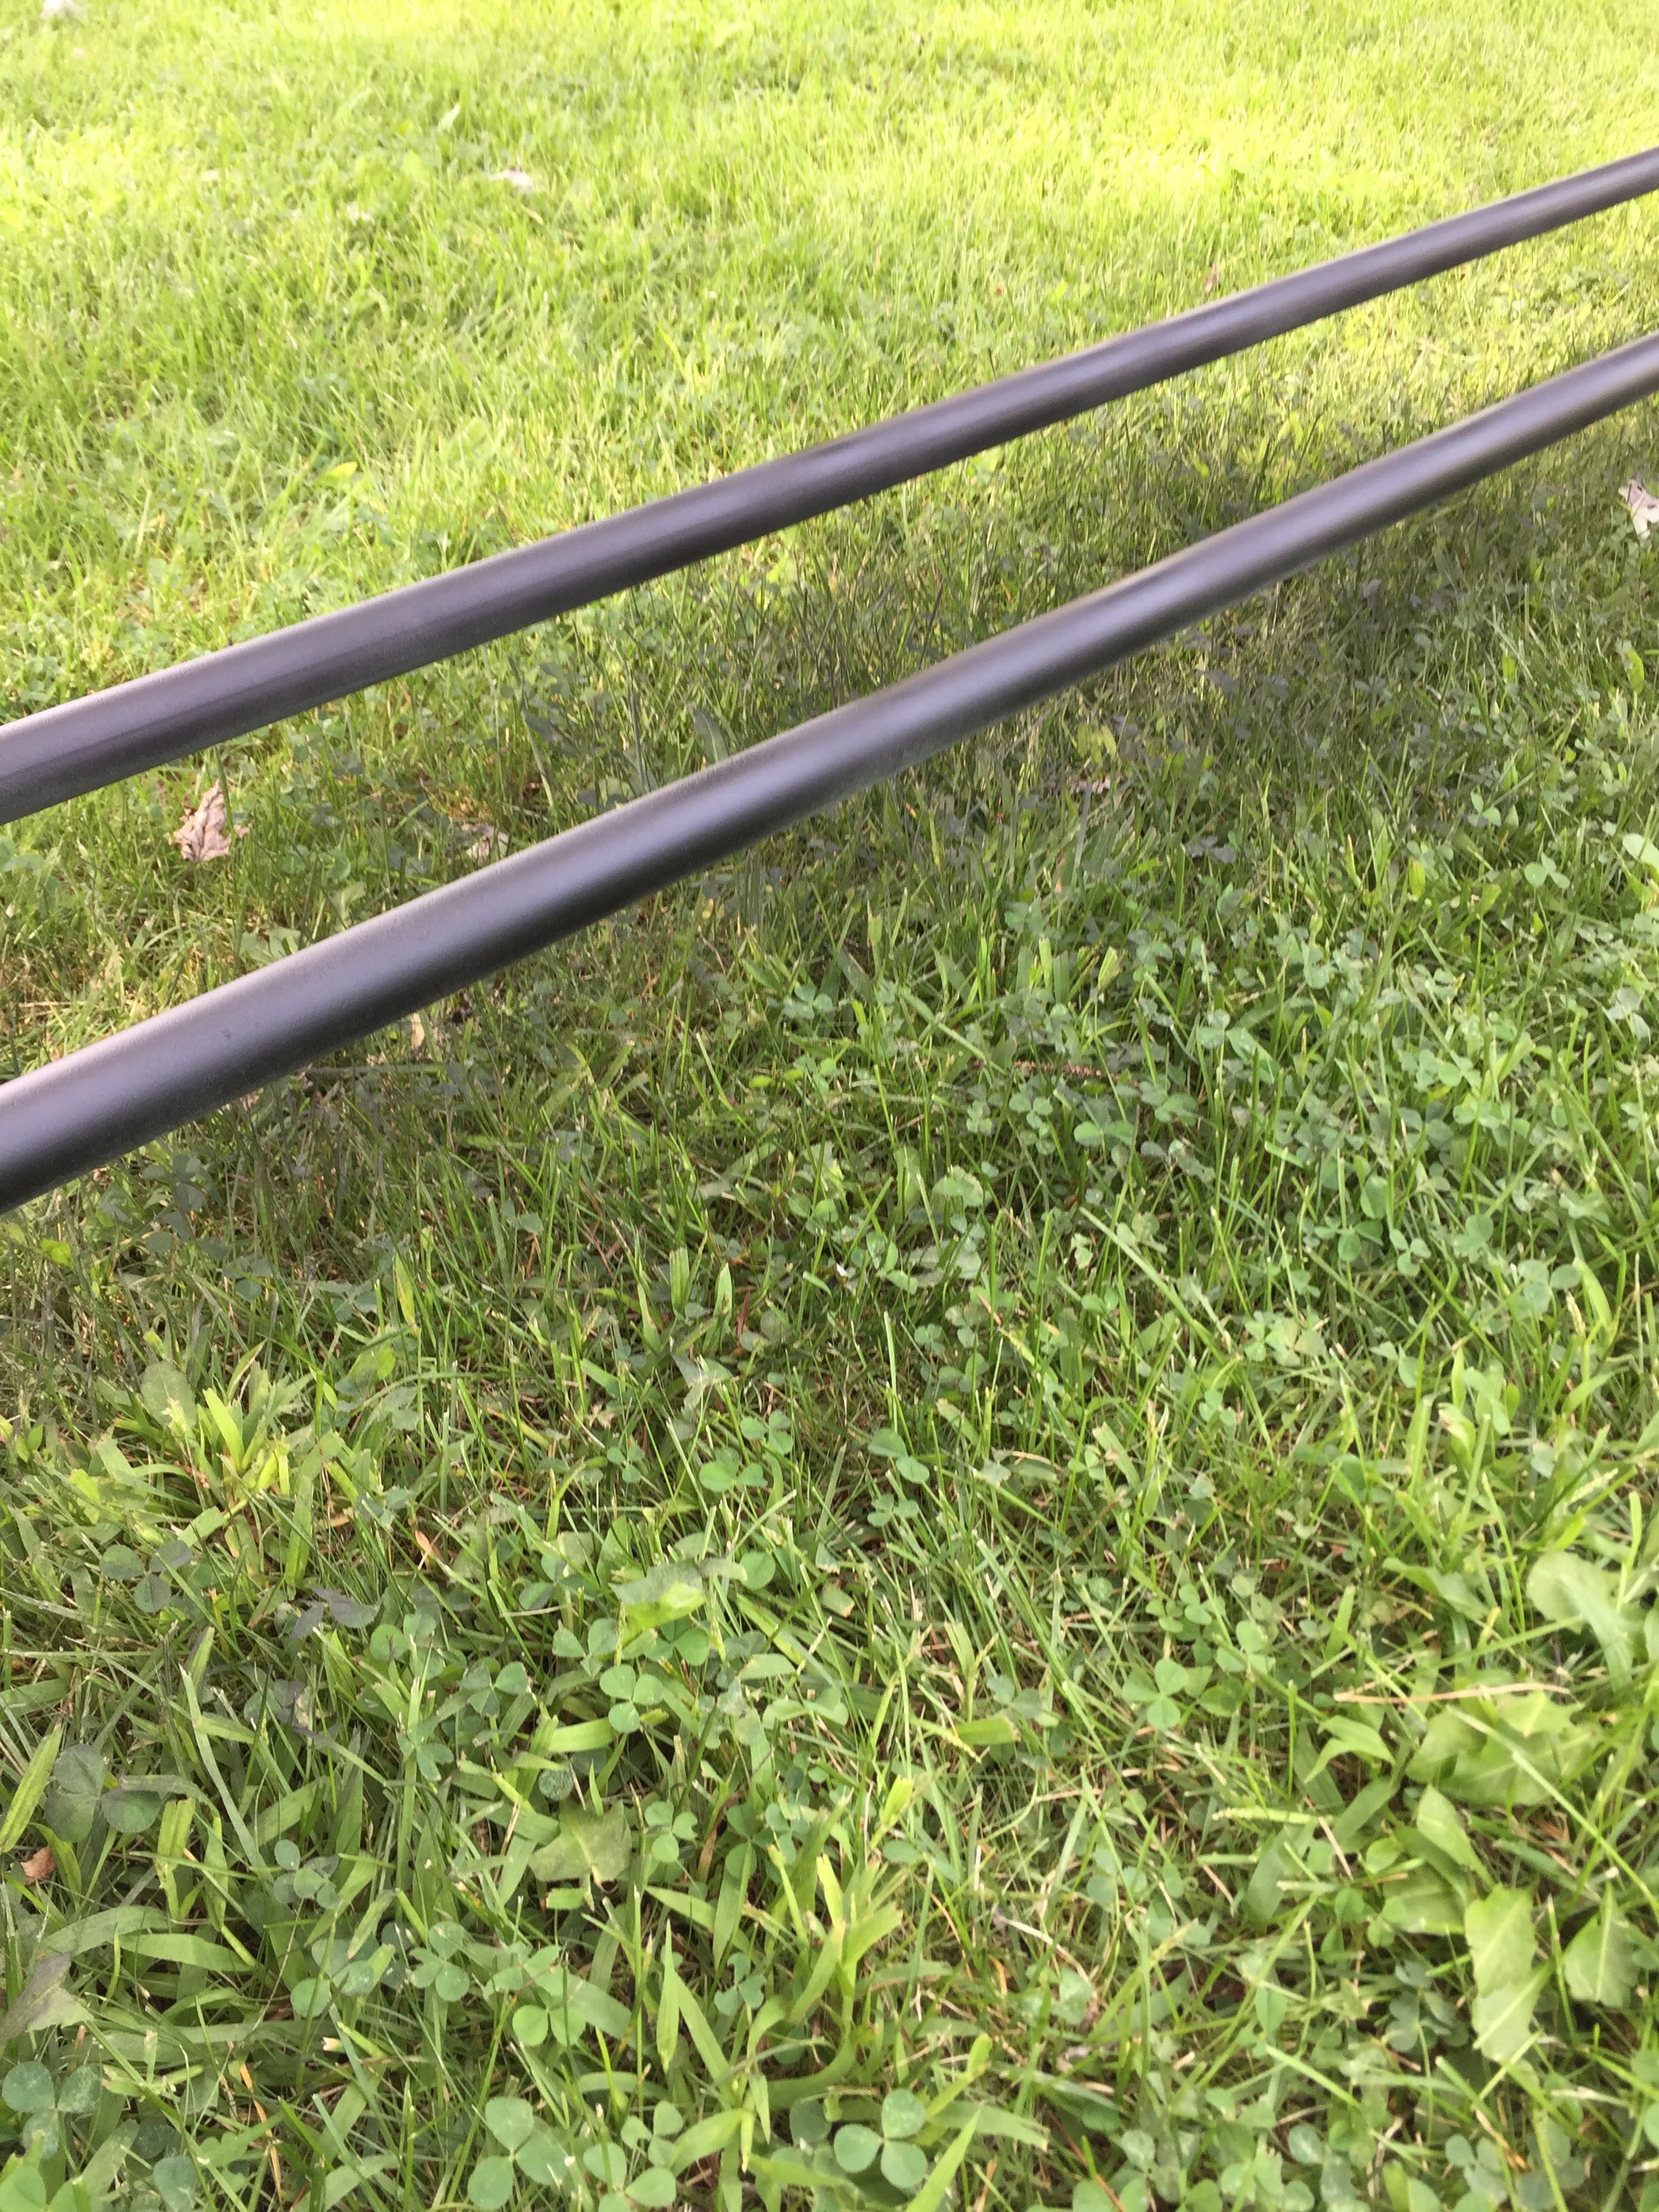
Options = no bueno. I finally landed on making my own with sturdy conduit piping (could use PVC, but that could also sag). Bonus: It costs only a few dollars!
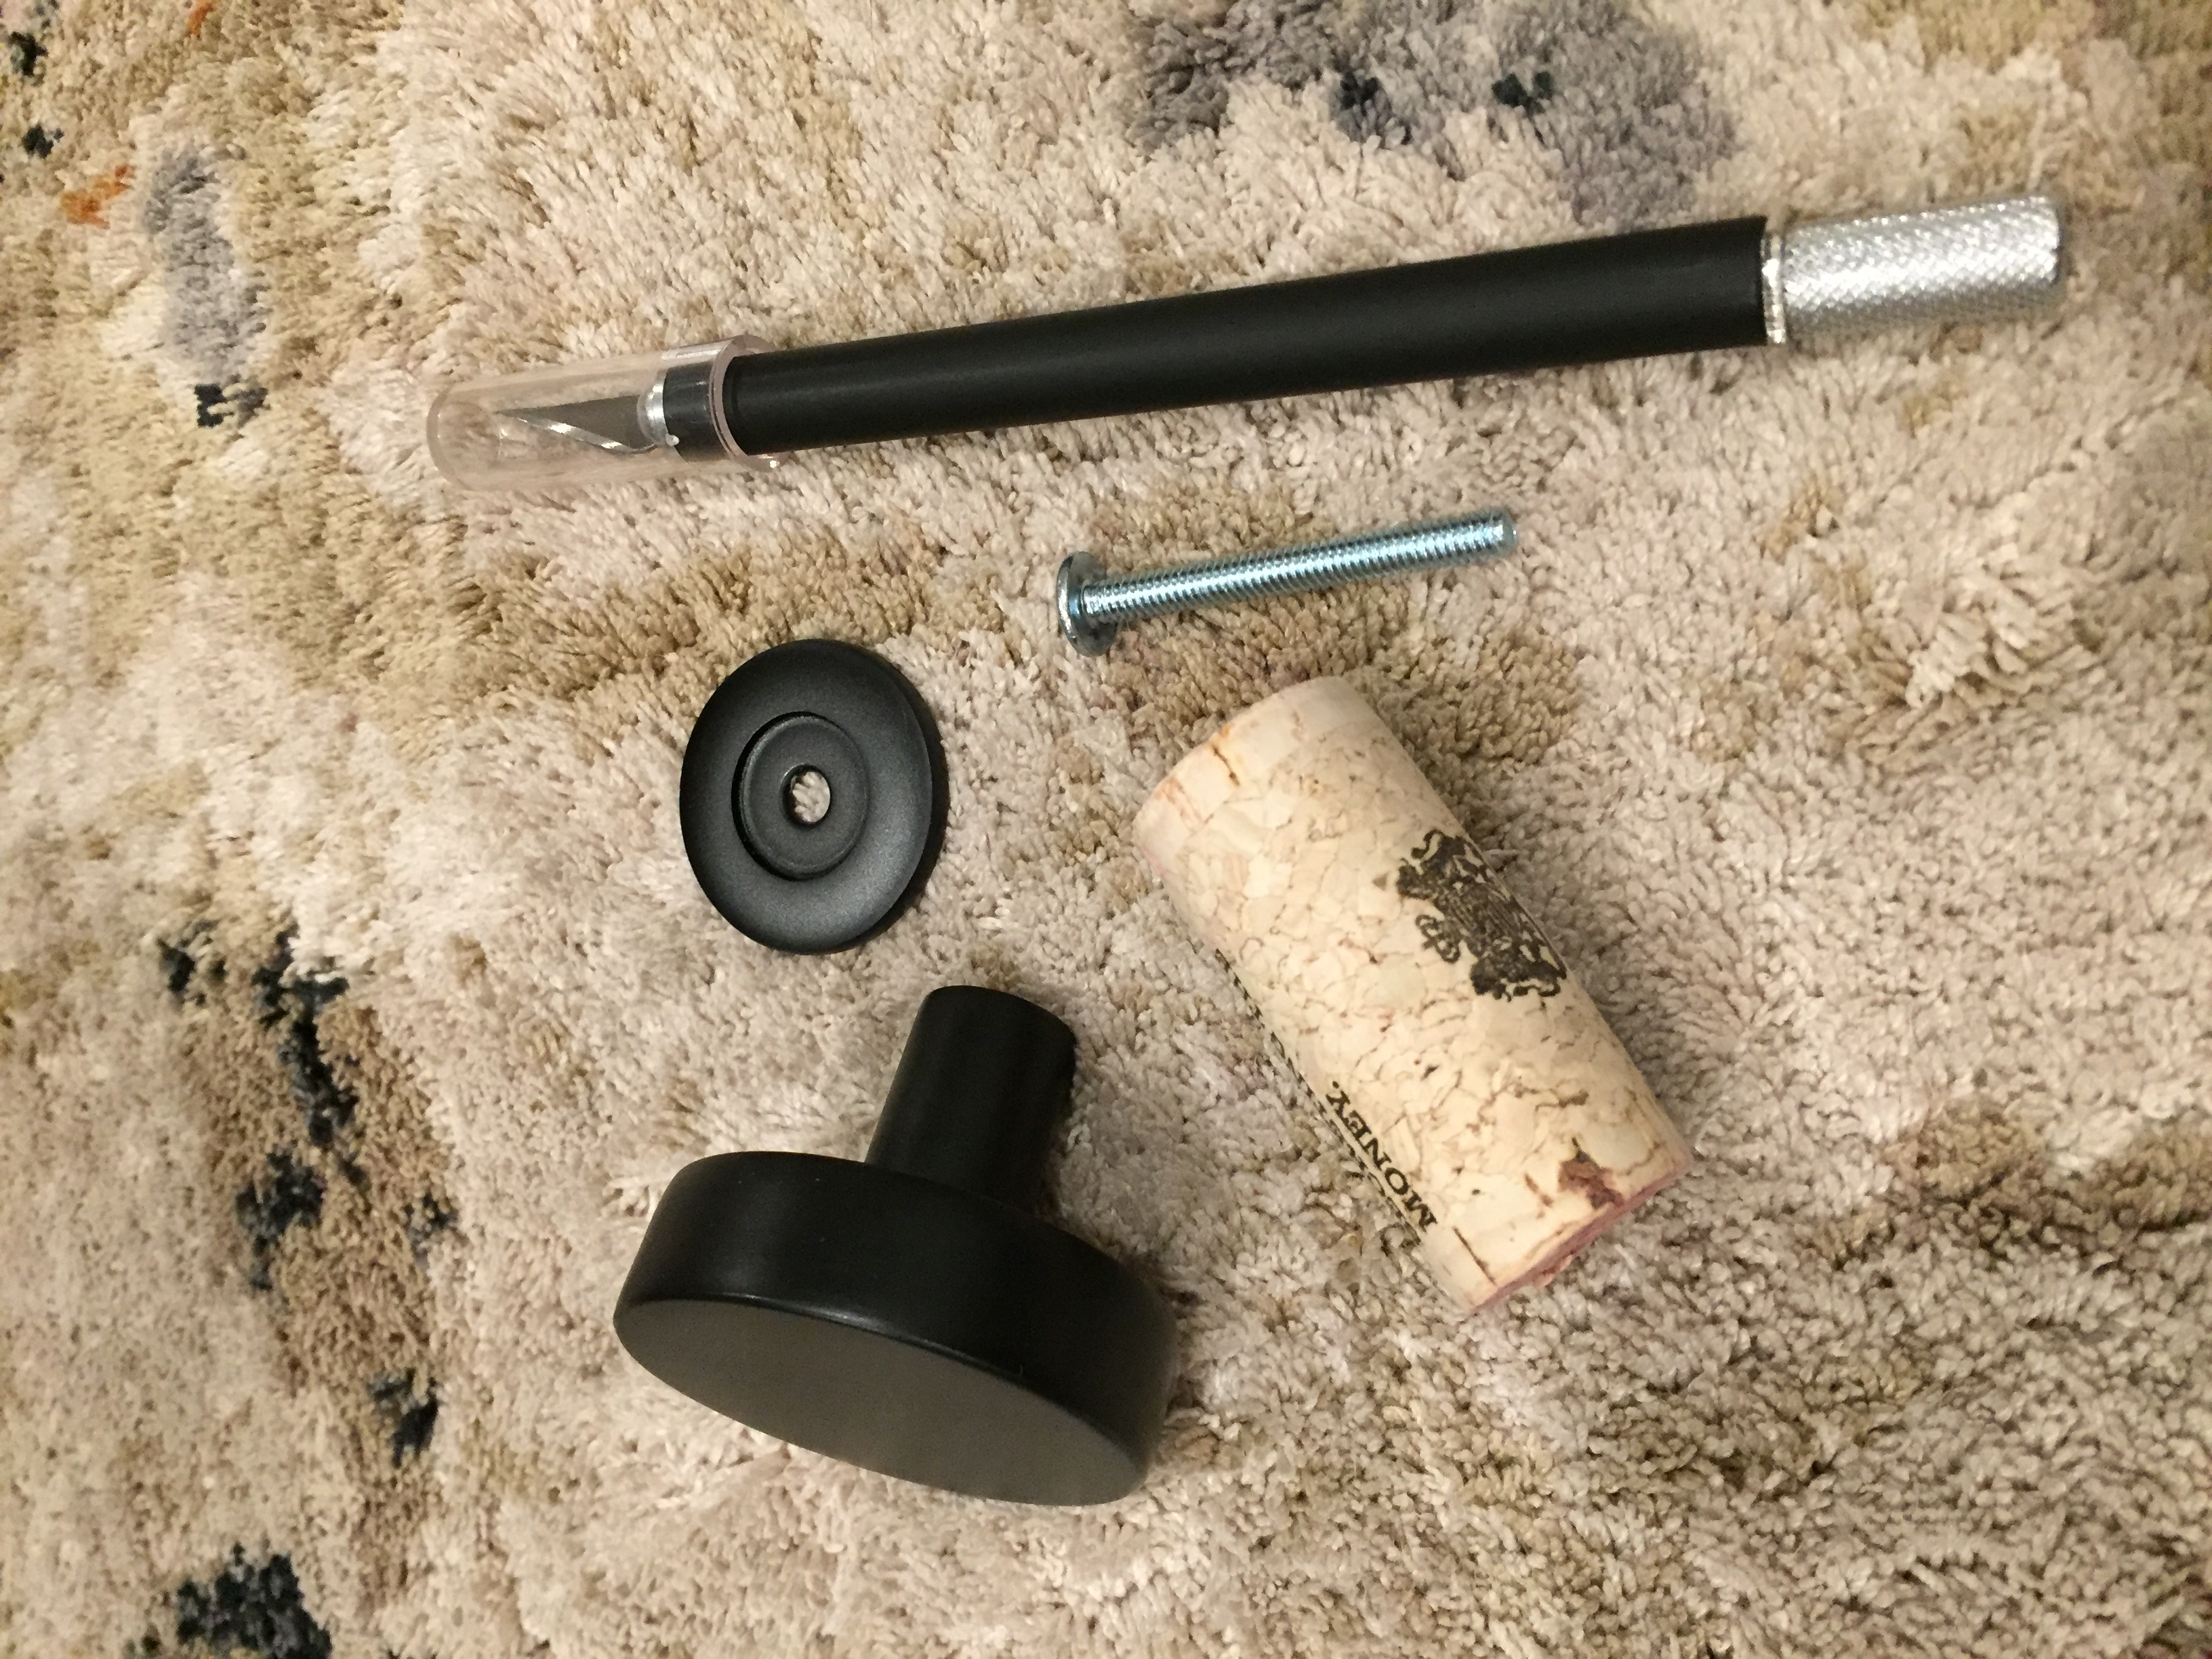
(2) 1” diameter, 10’ long conduit piping
Power Grip adhesive
Scrap dowel piece to fit inside conduit
Rust-Oleum High Performance Enamel in Matte Black
Rust-Oleum Crystal Clear Enamel
(2) wine corks
(2) cabinet hardware to act as finials
Exacto knife
Drill with bit same size as screw from hardware
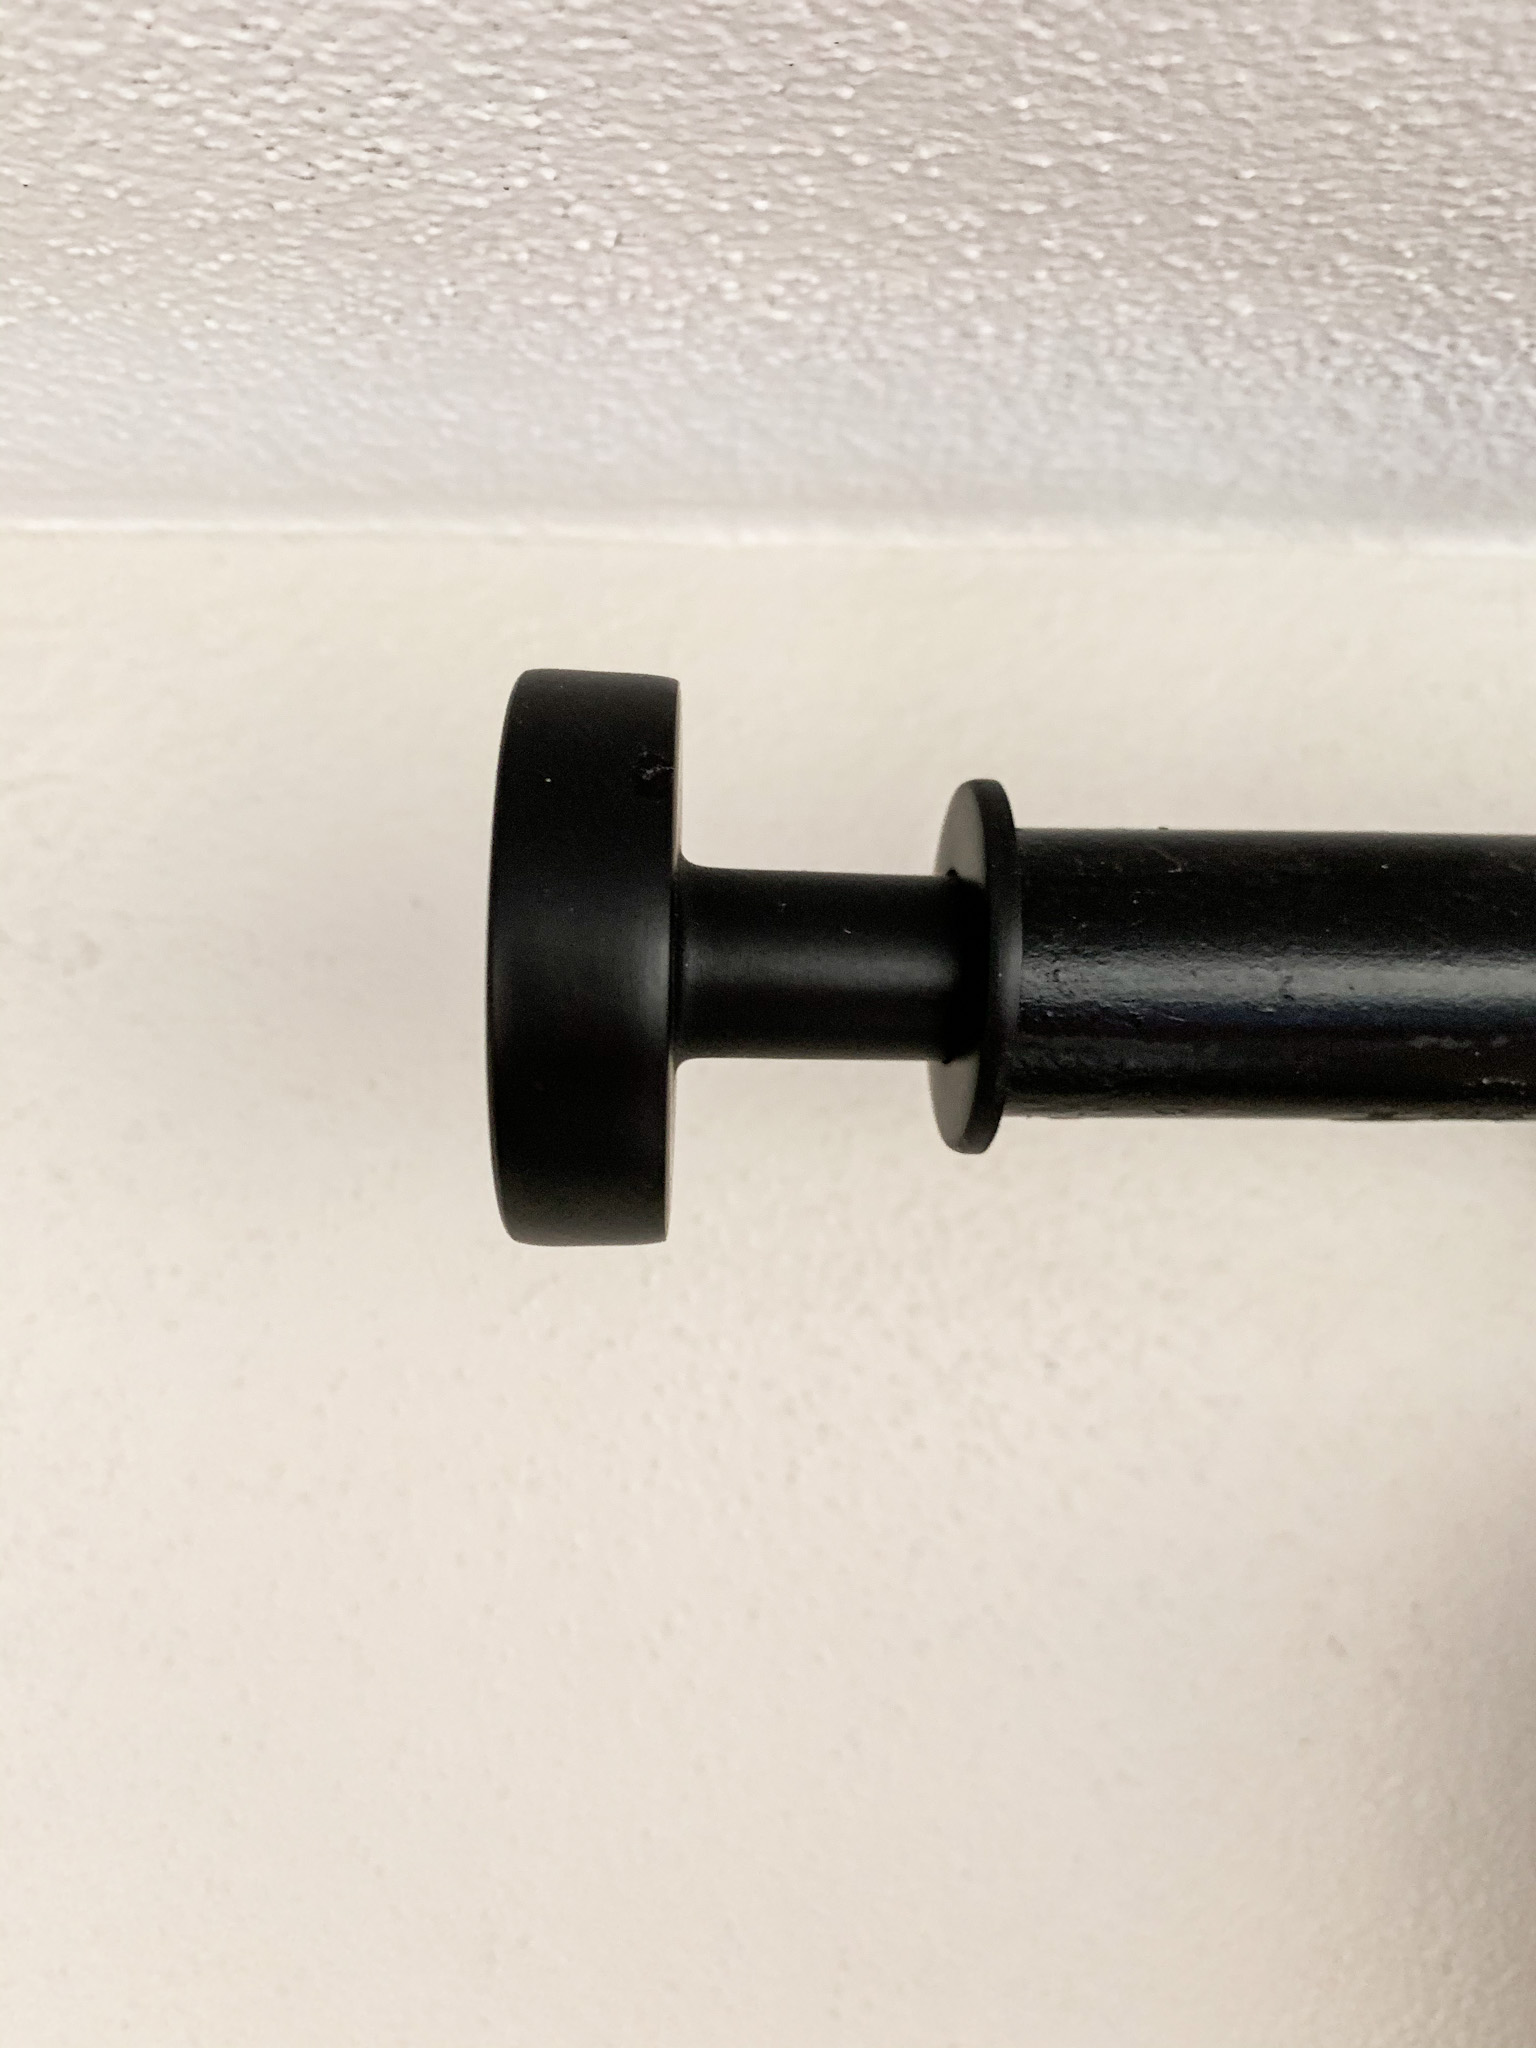
3 brackets to fit a 1” curtain rod
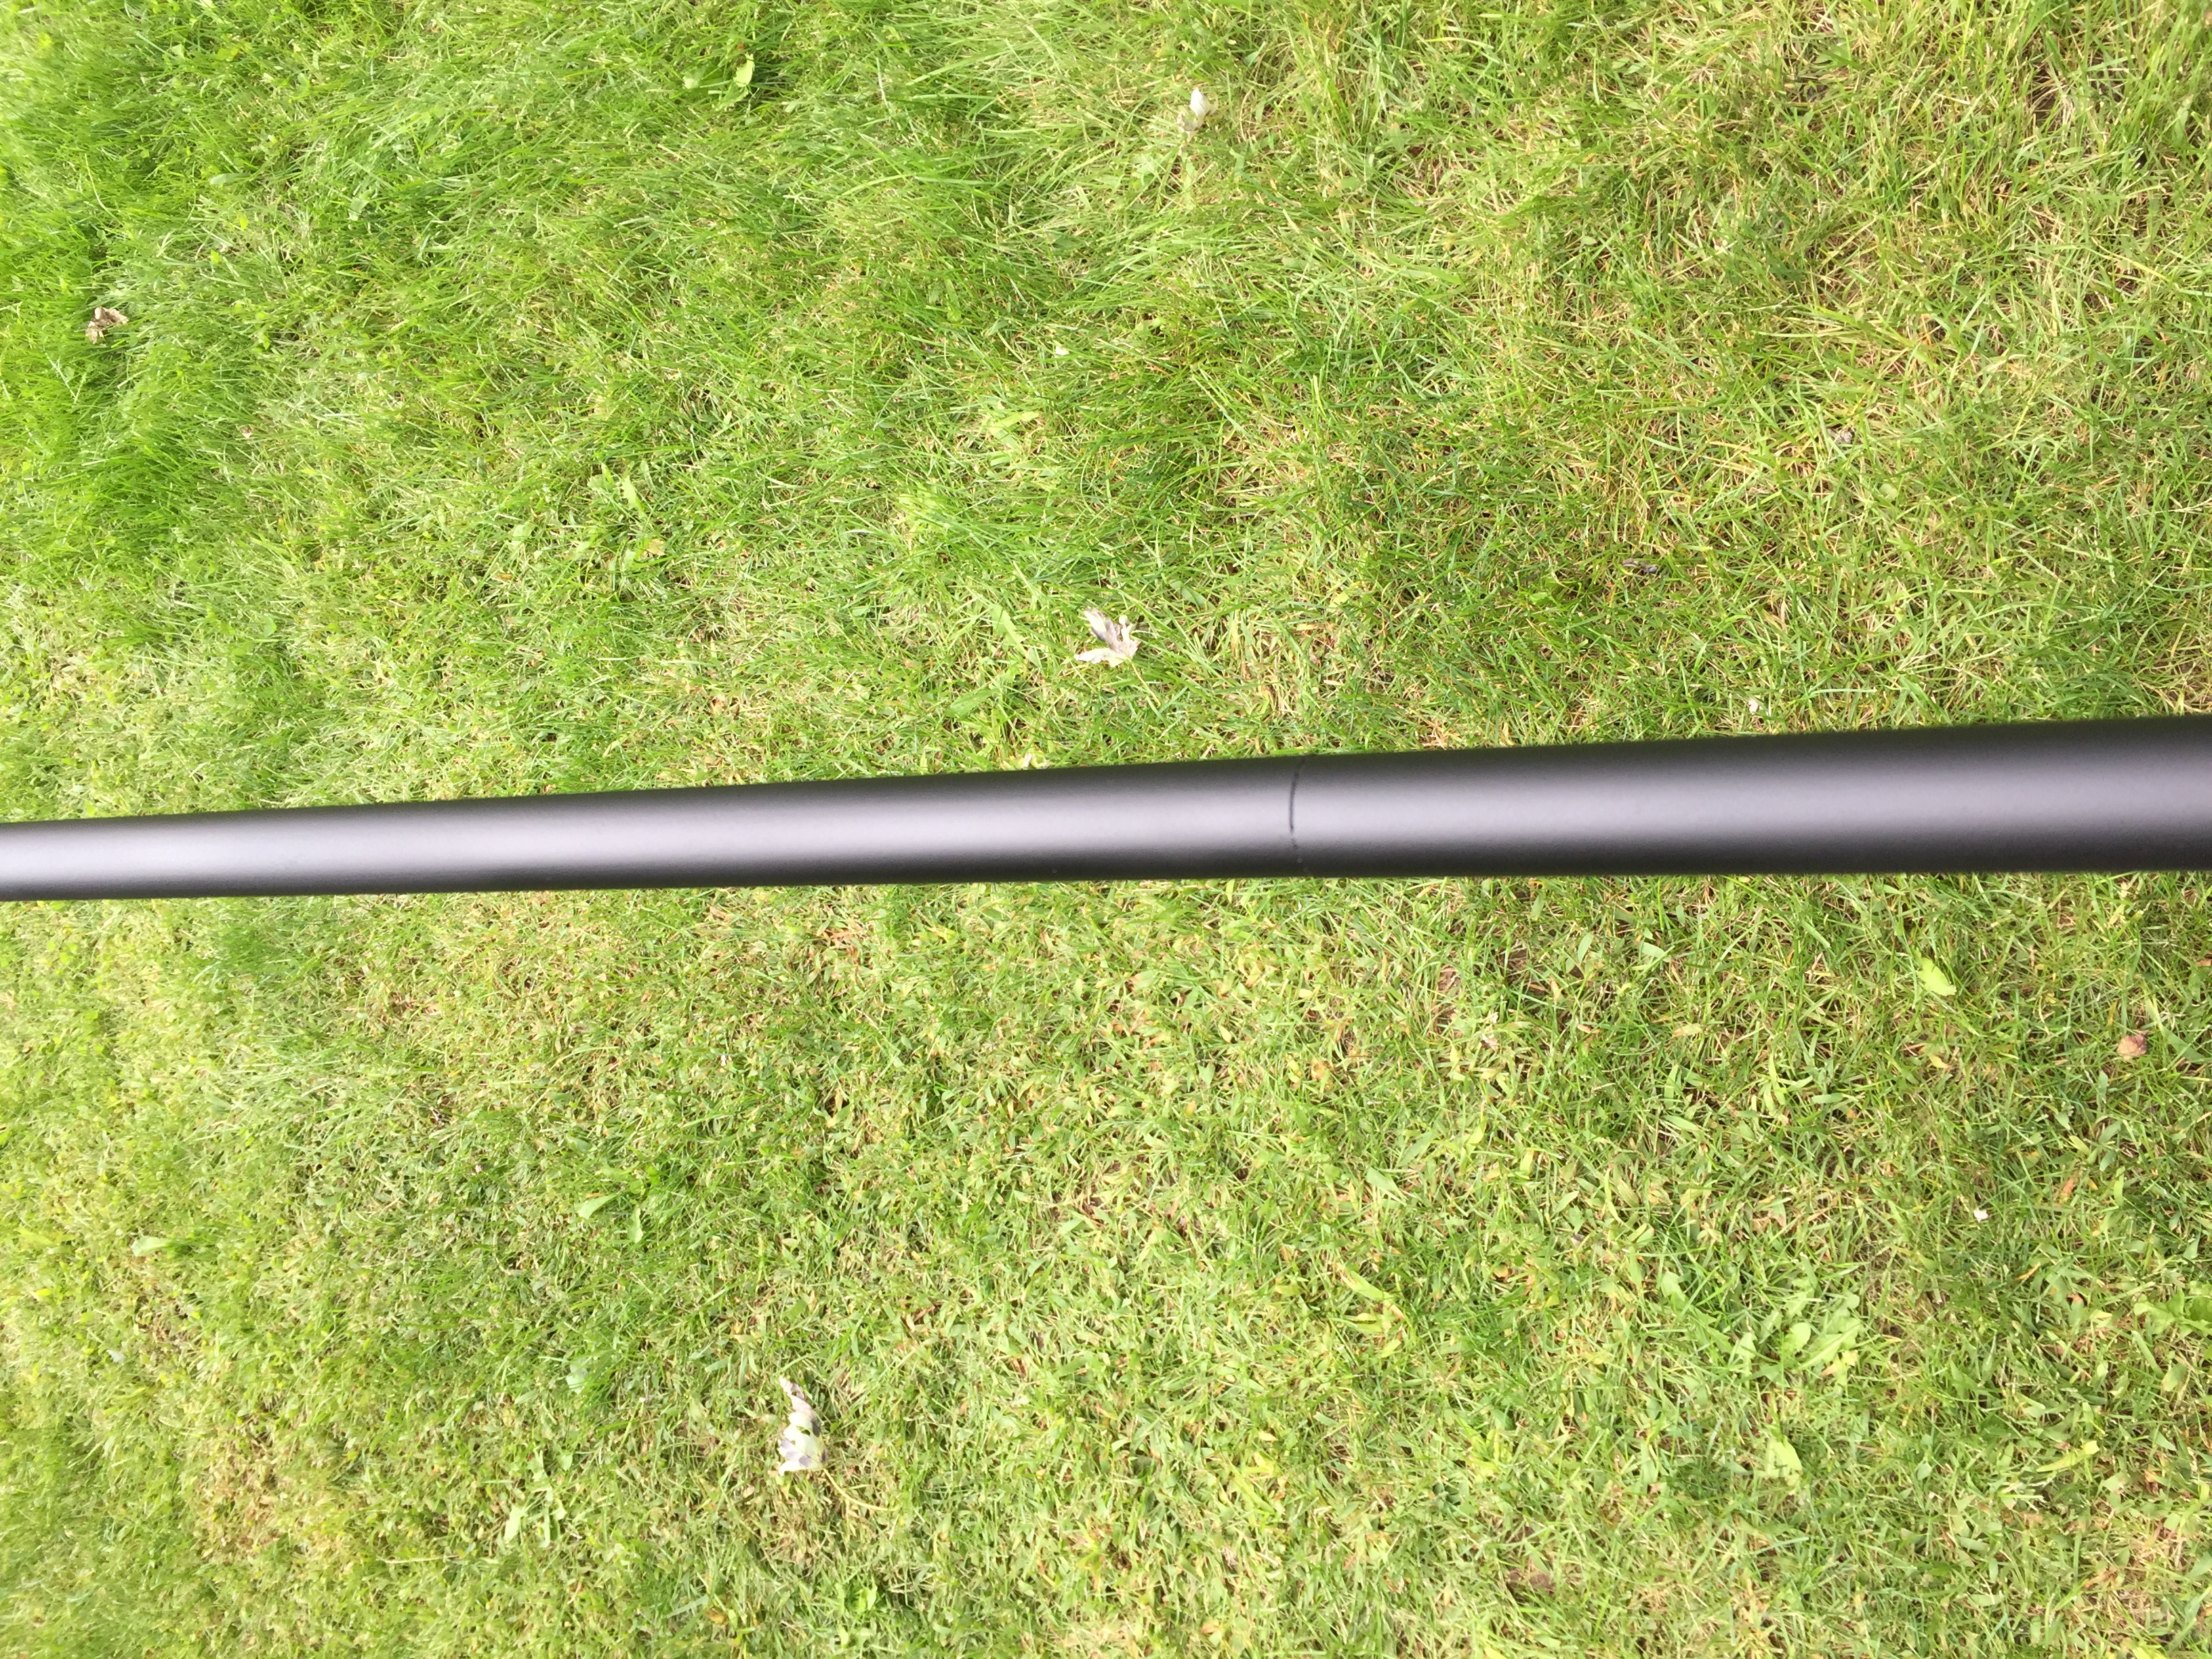
1.) PAINT: I set up the rods on saw horses and gave a good couple coats. Make sure to turn the rods around a lot to get a good even coat. You’ll finish with the clear coat later.
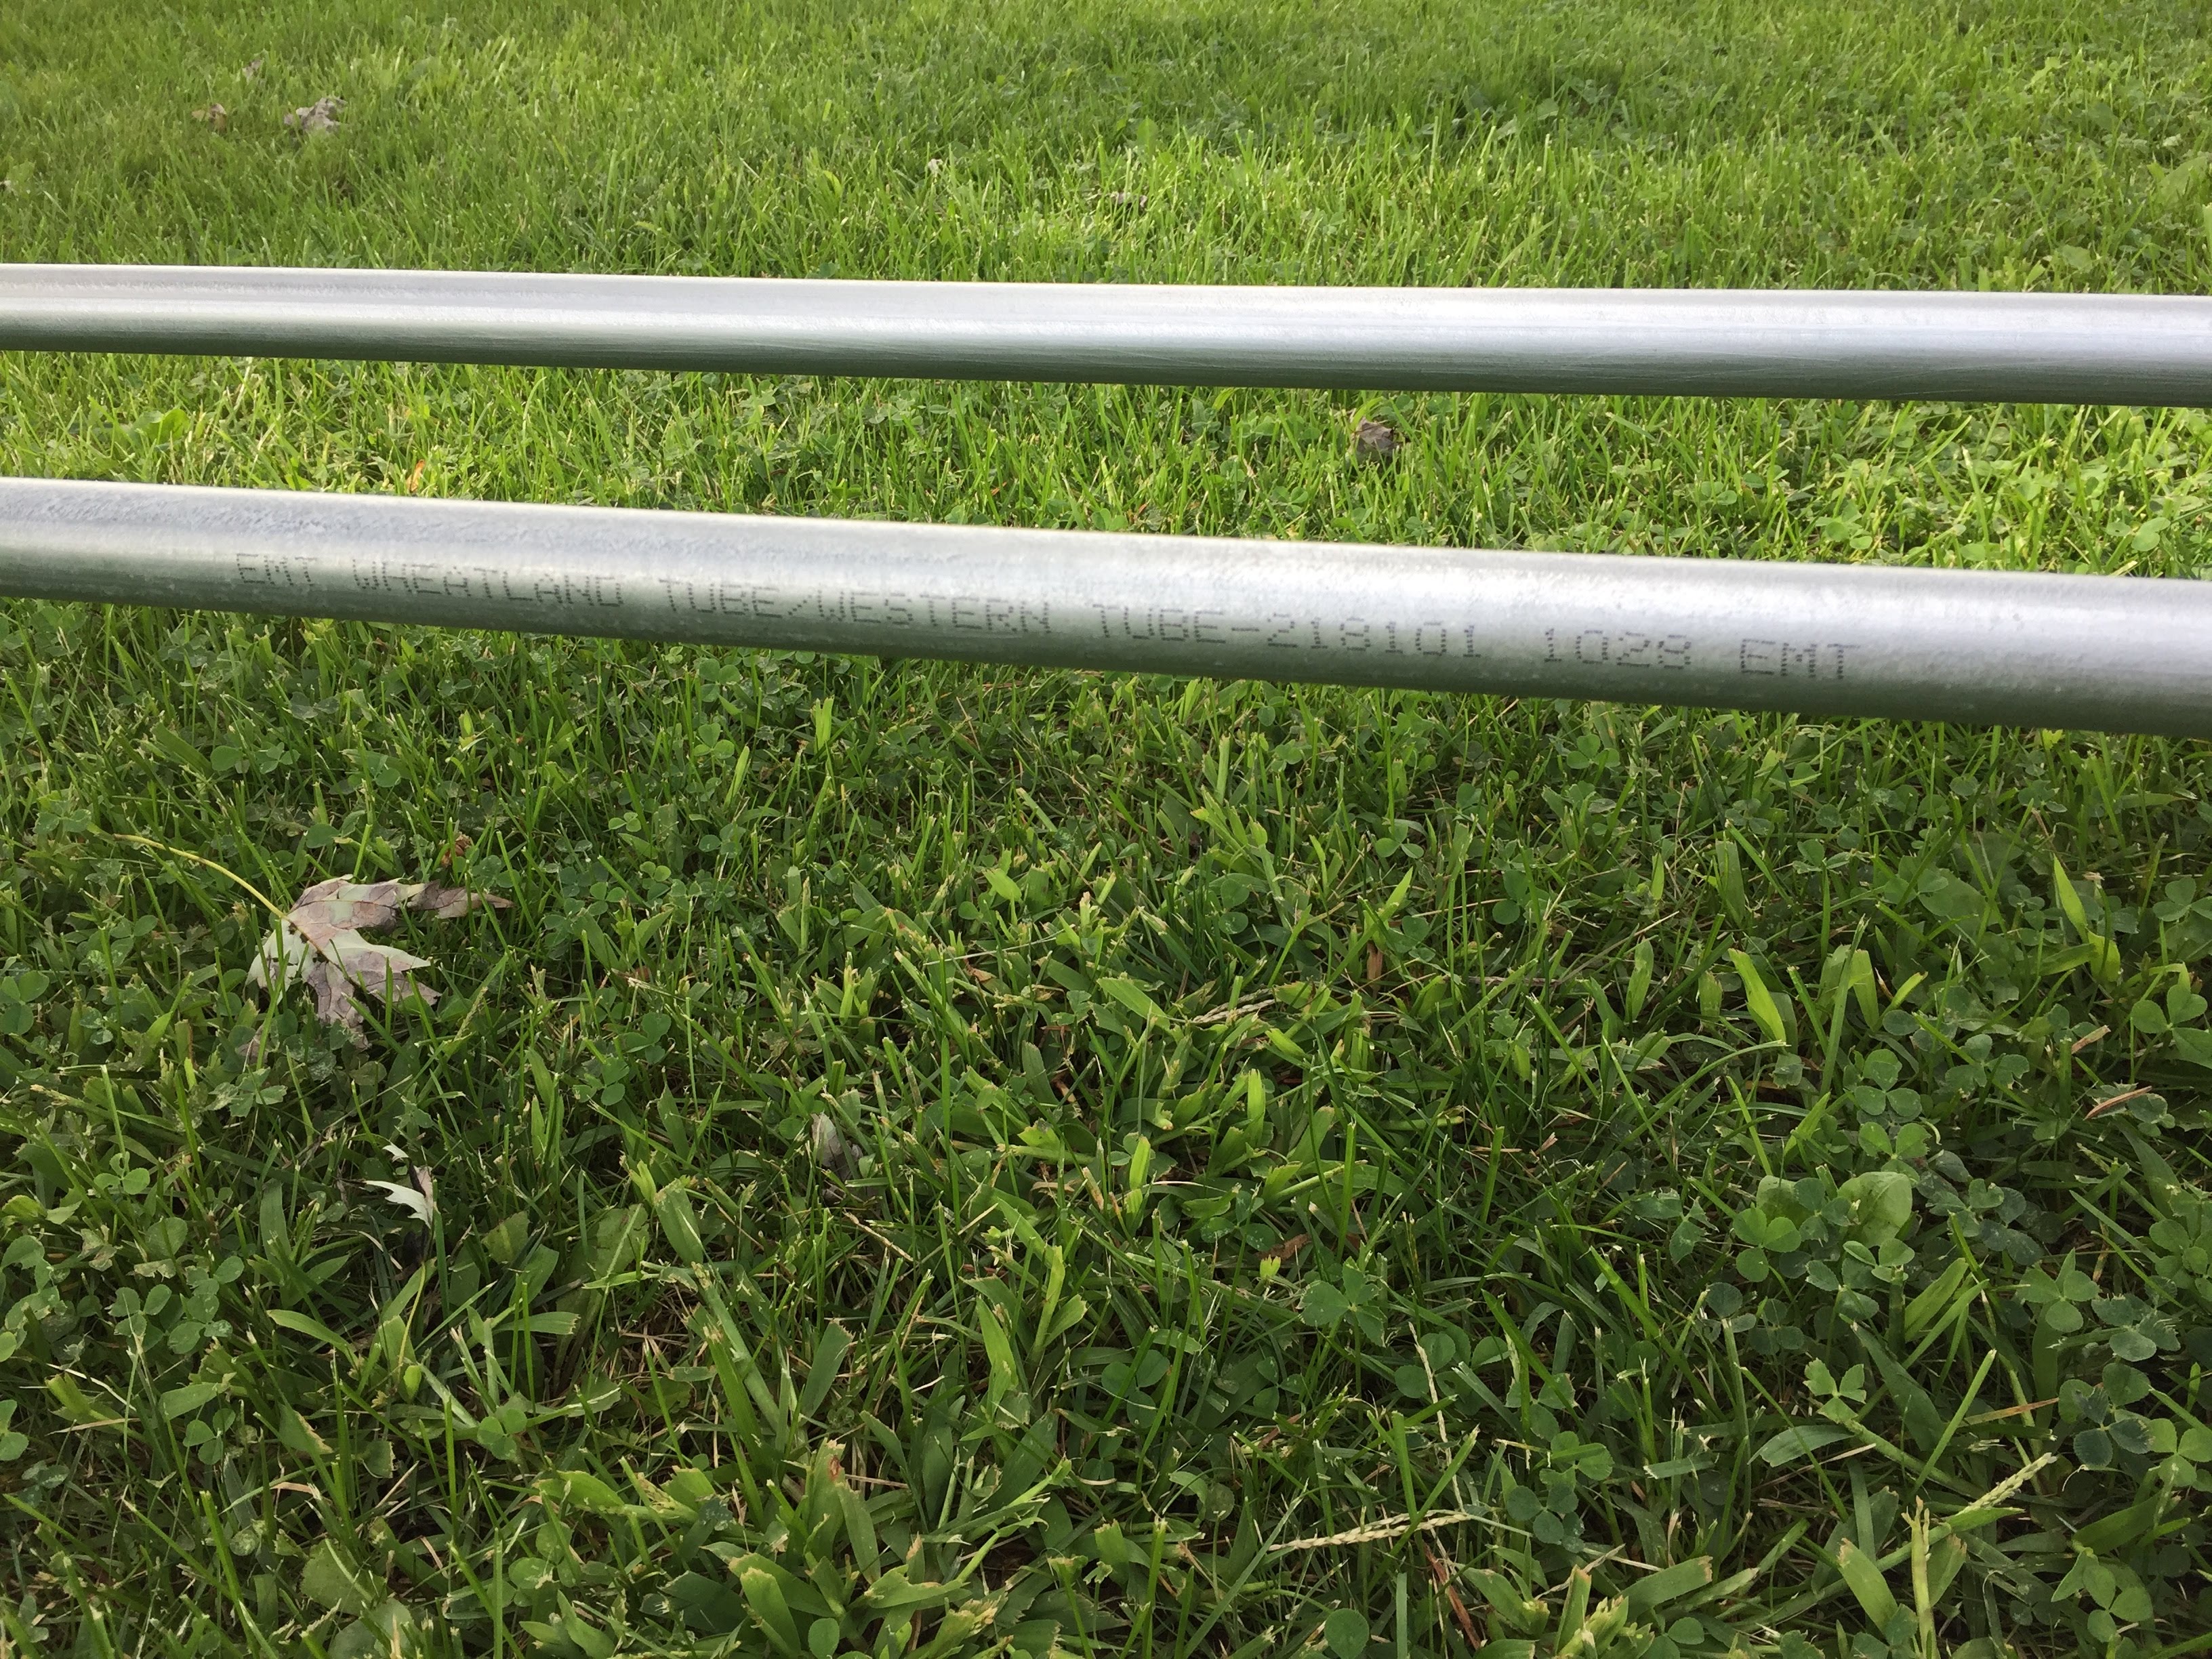
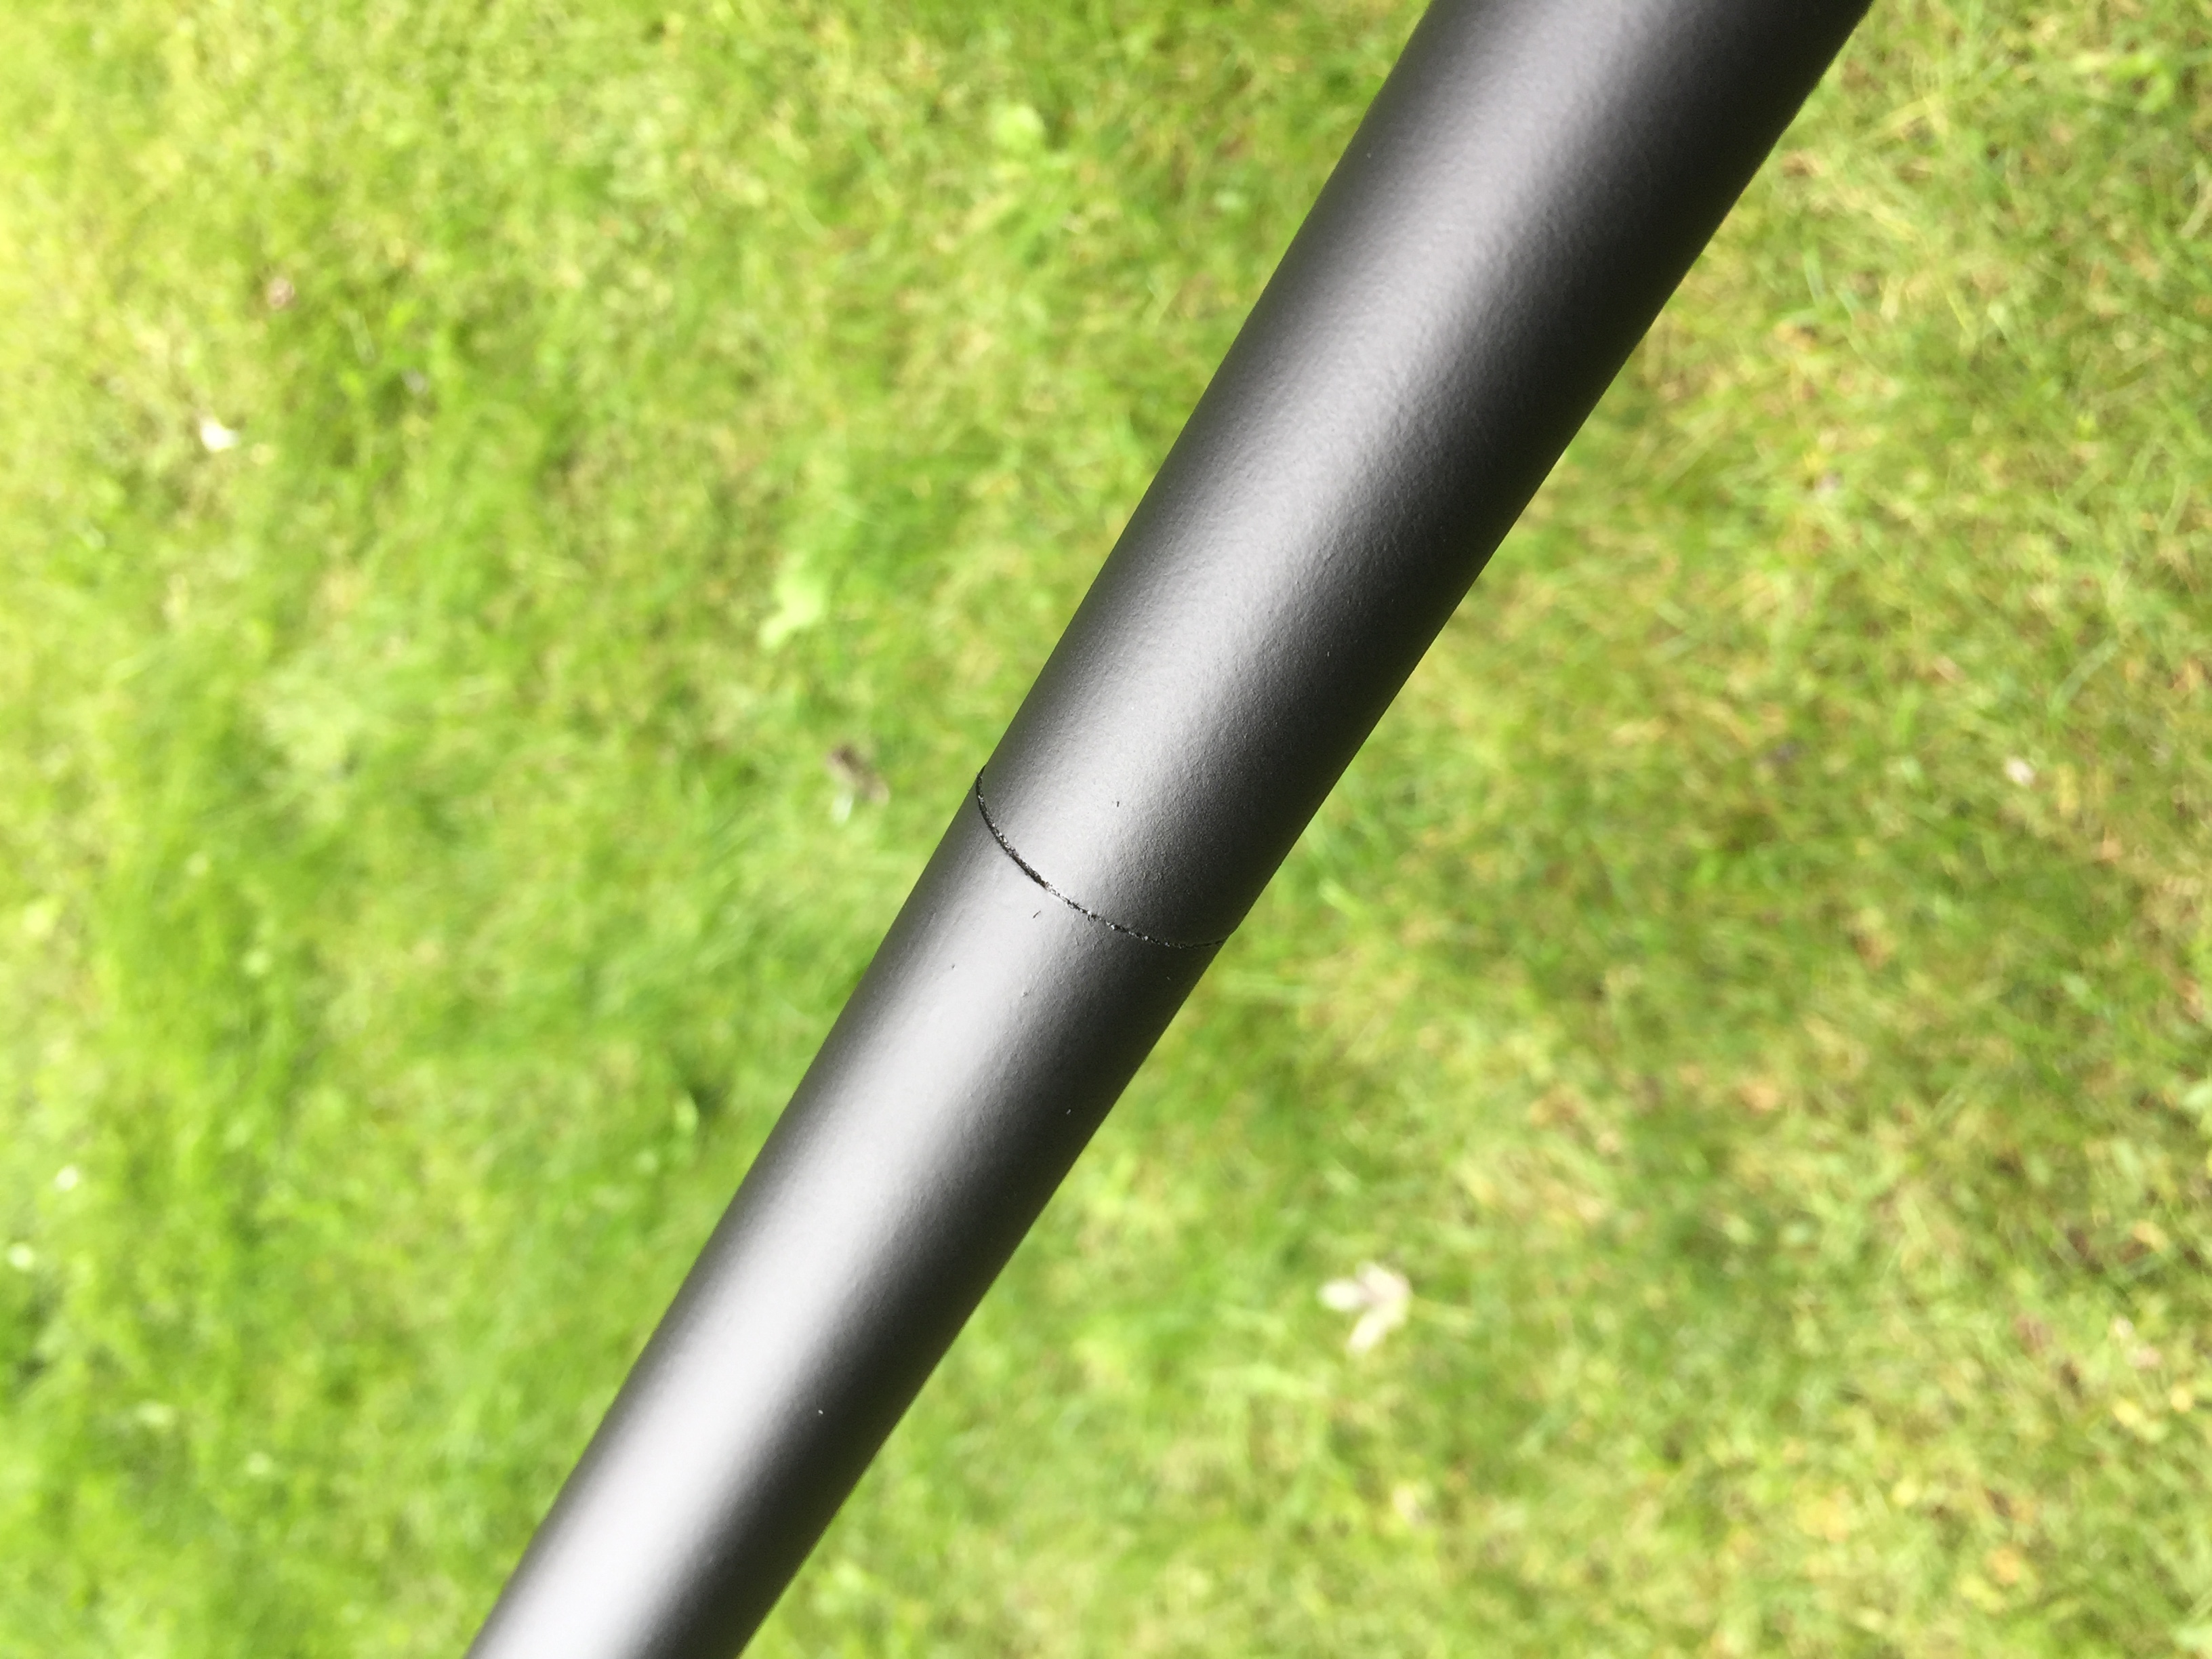
2.) CONNECT: Using a dowel & strong adhesive, connect the 2 pipes. Unfortunately I forgot to take photos of this step, but I used a foot-long dowel and fit it inside the pipe. I covered the dowel in Power Grip and slid half of it in one pipe & the other half in the other pipe – this is the center of the curtain rod but the seam will be covered by the center bracket. Clamp together and let dry fully so you ensure a tight grip.
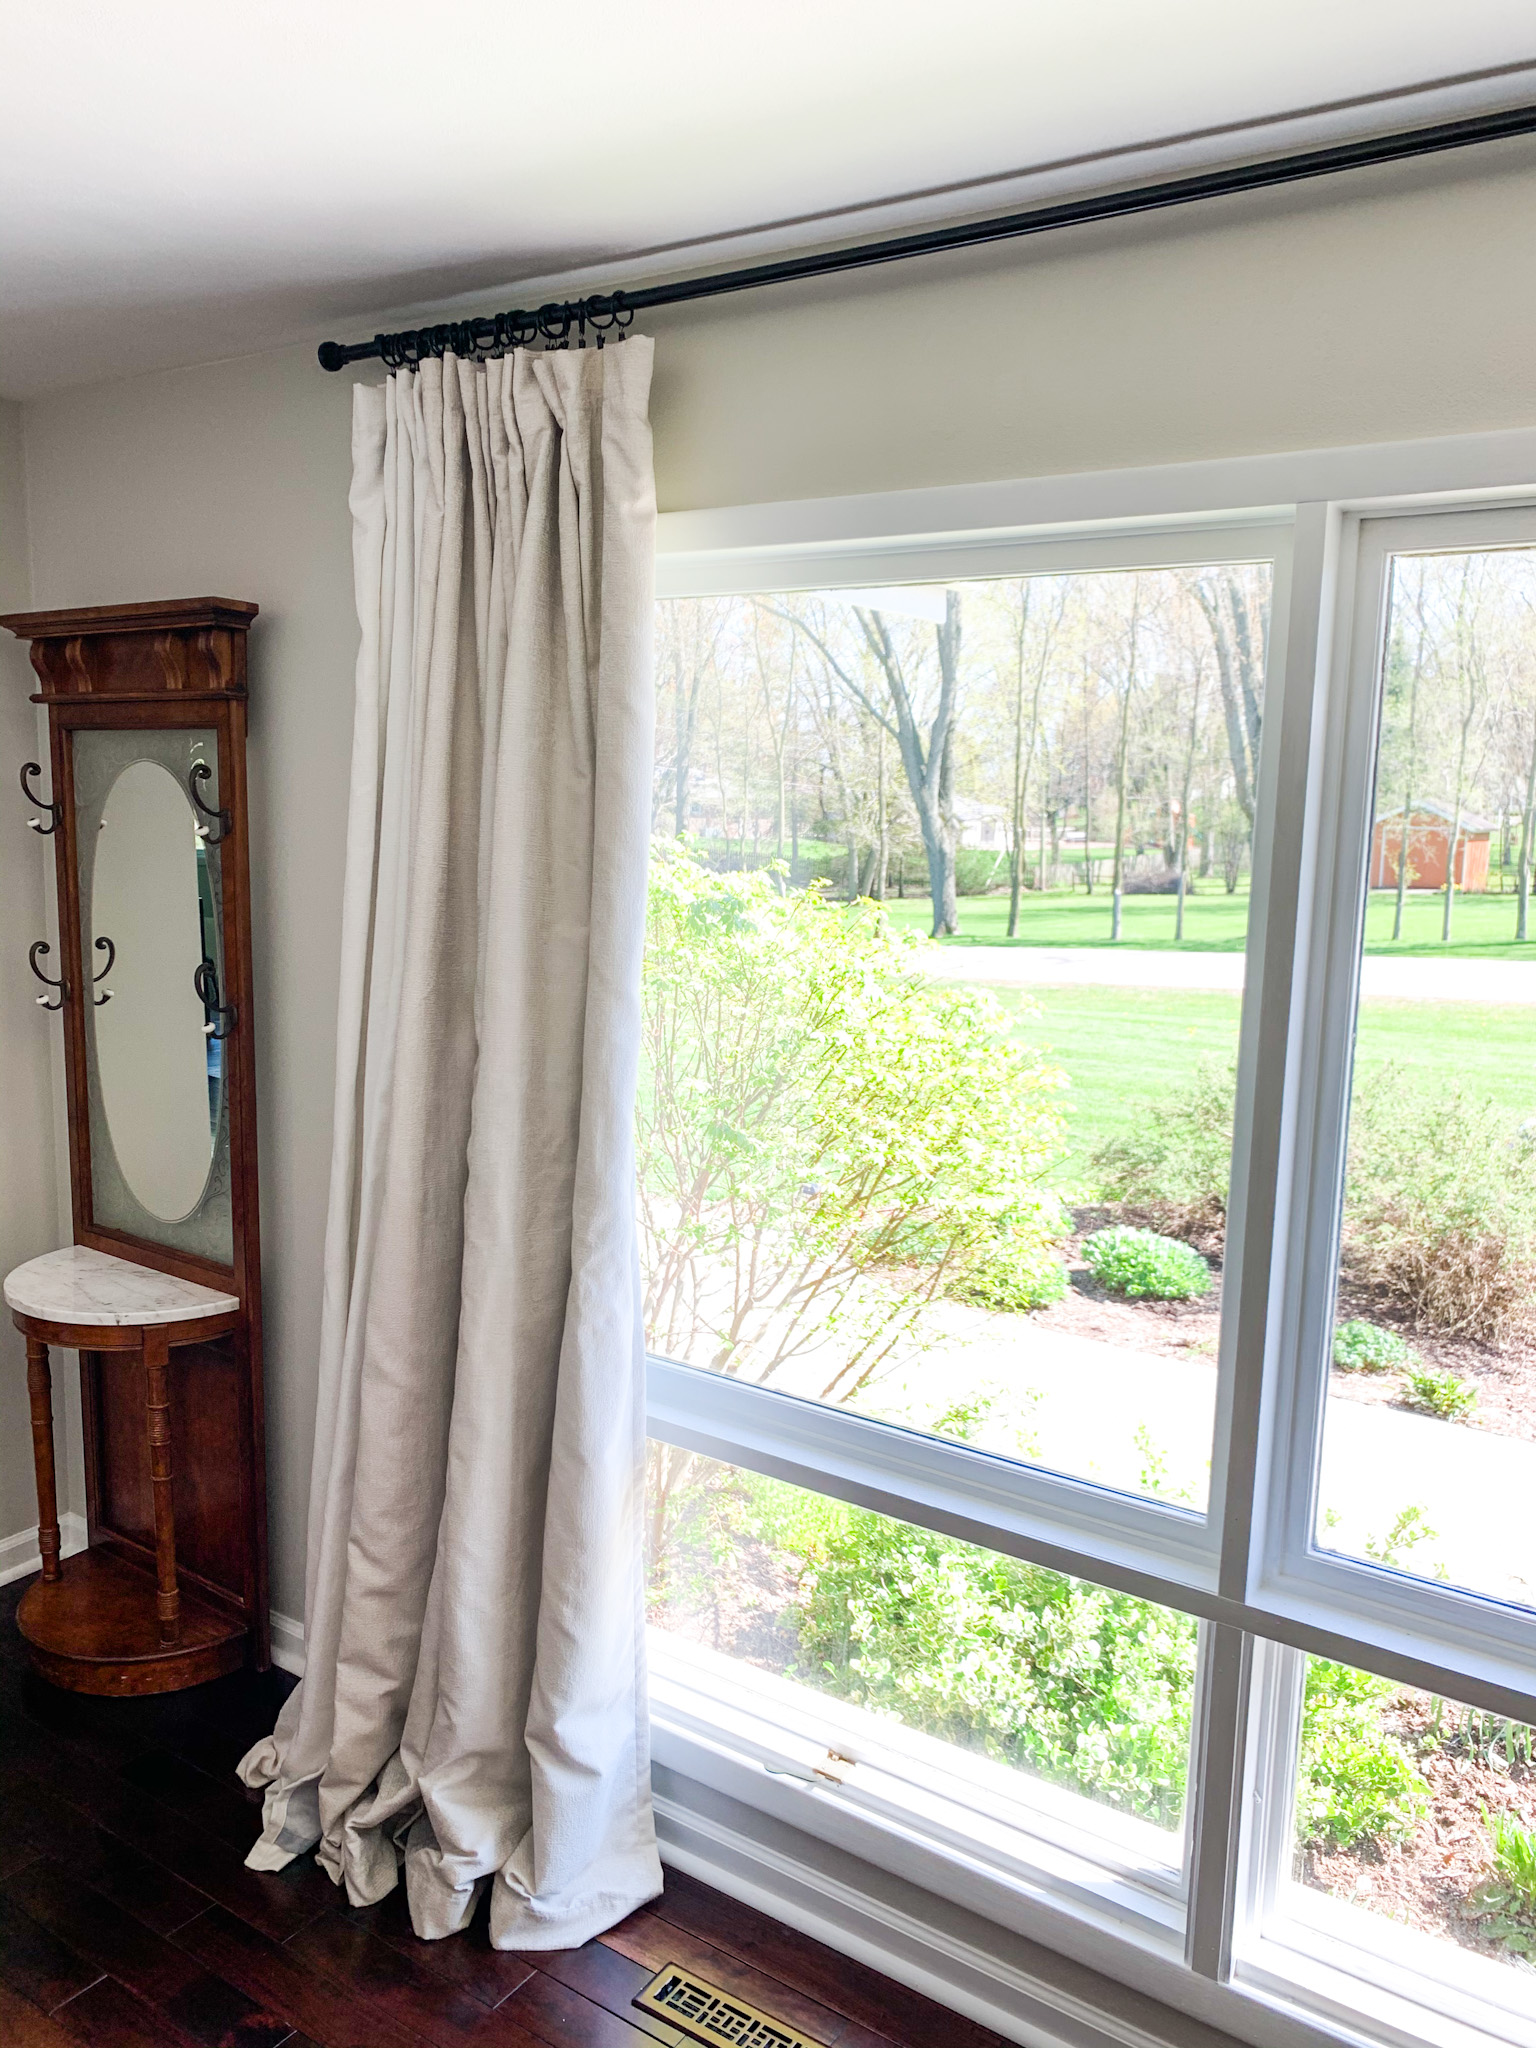
3.) MAKE FINIALS: I wanted to be sure the finials could be removed easily so I can take the curtains down for cleaning or replacing, so I found hardware I liked and attached a cork as a sort of stopper.
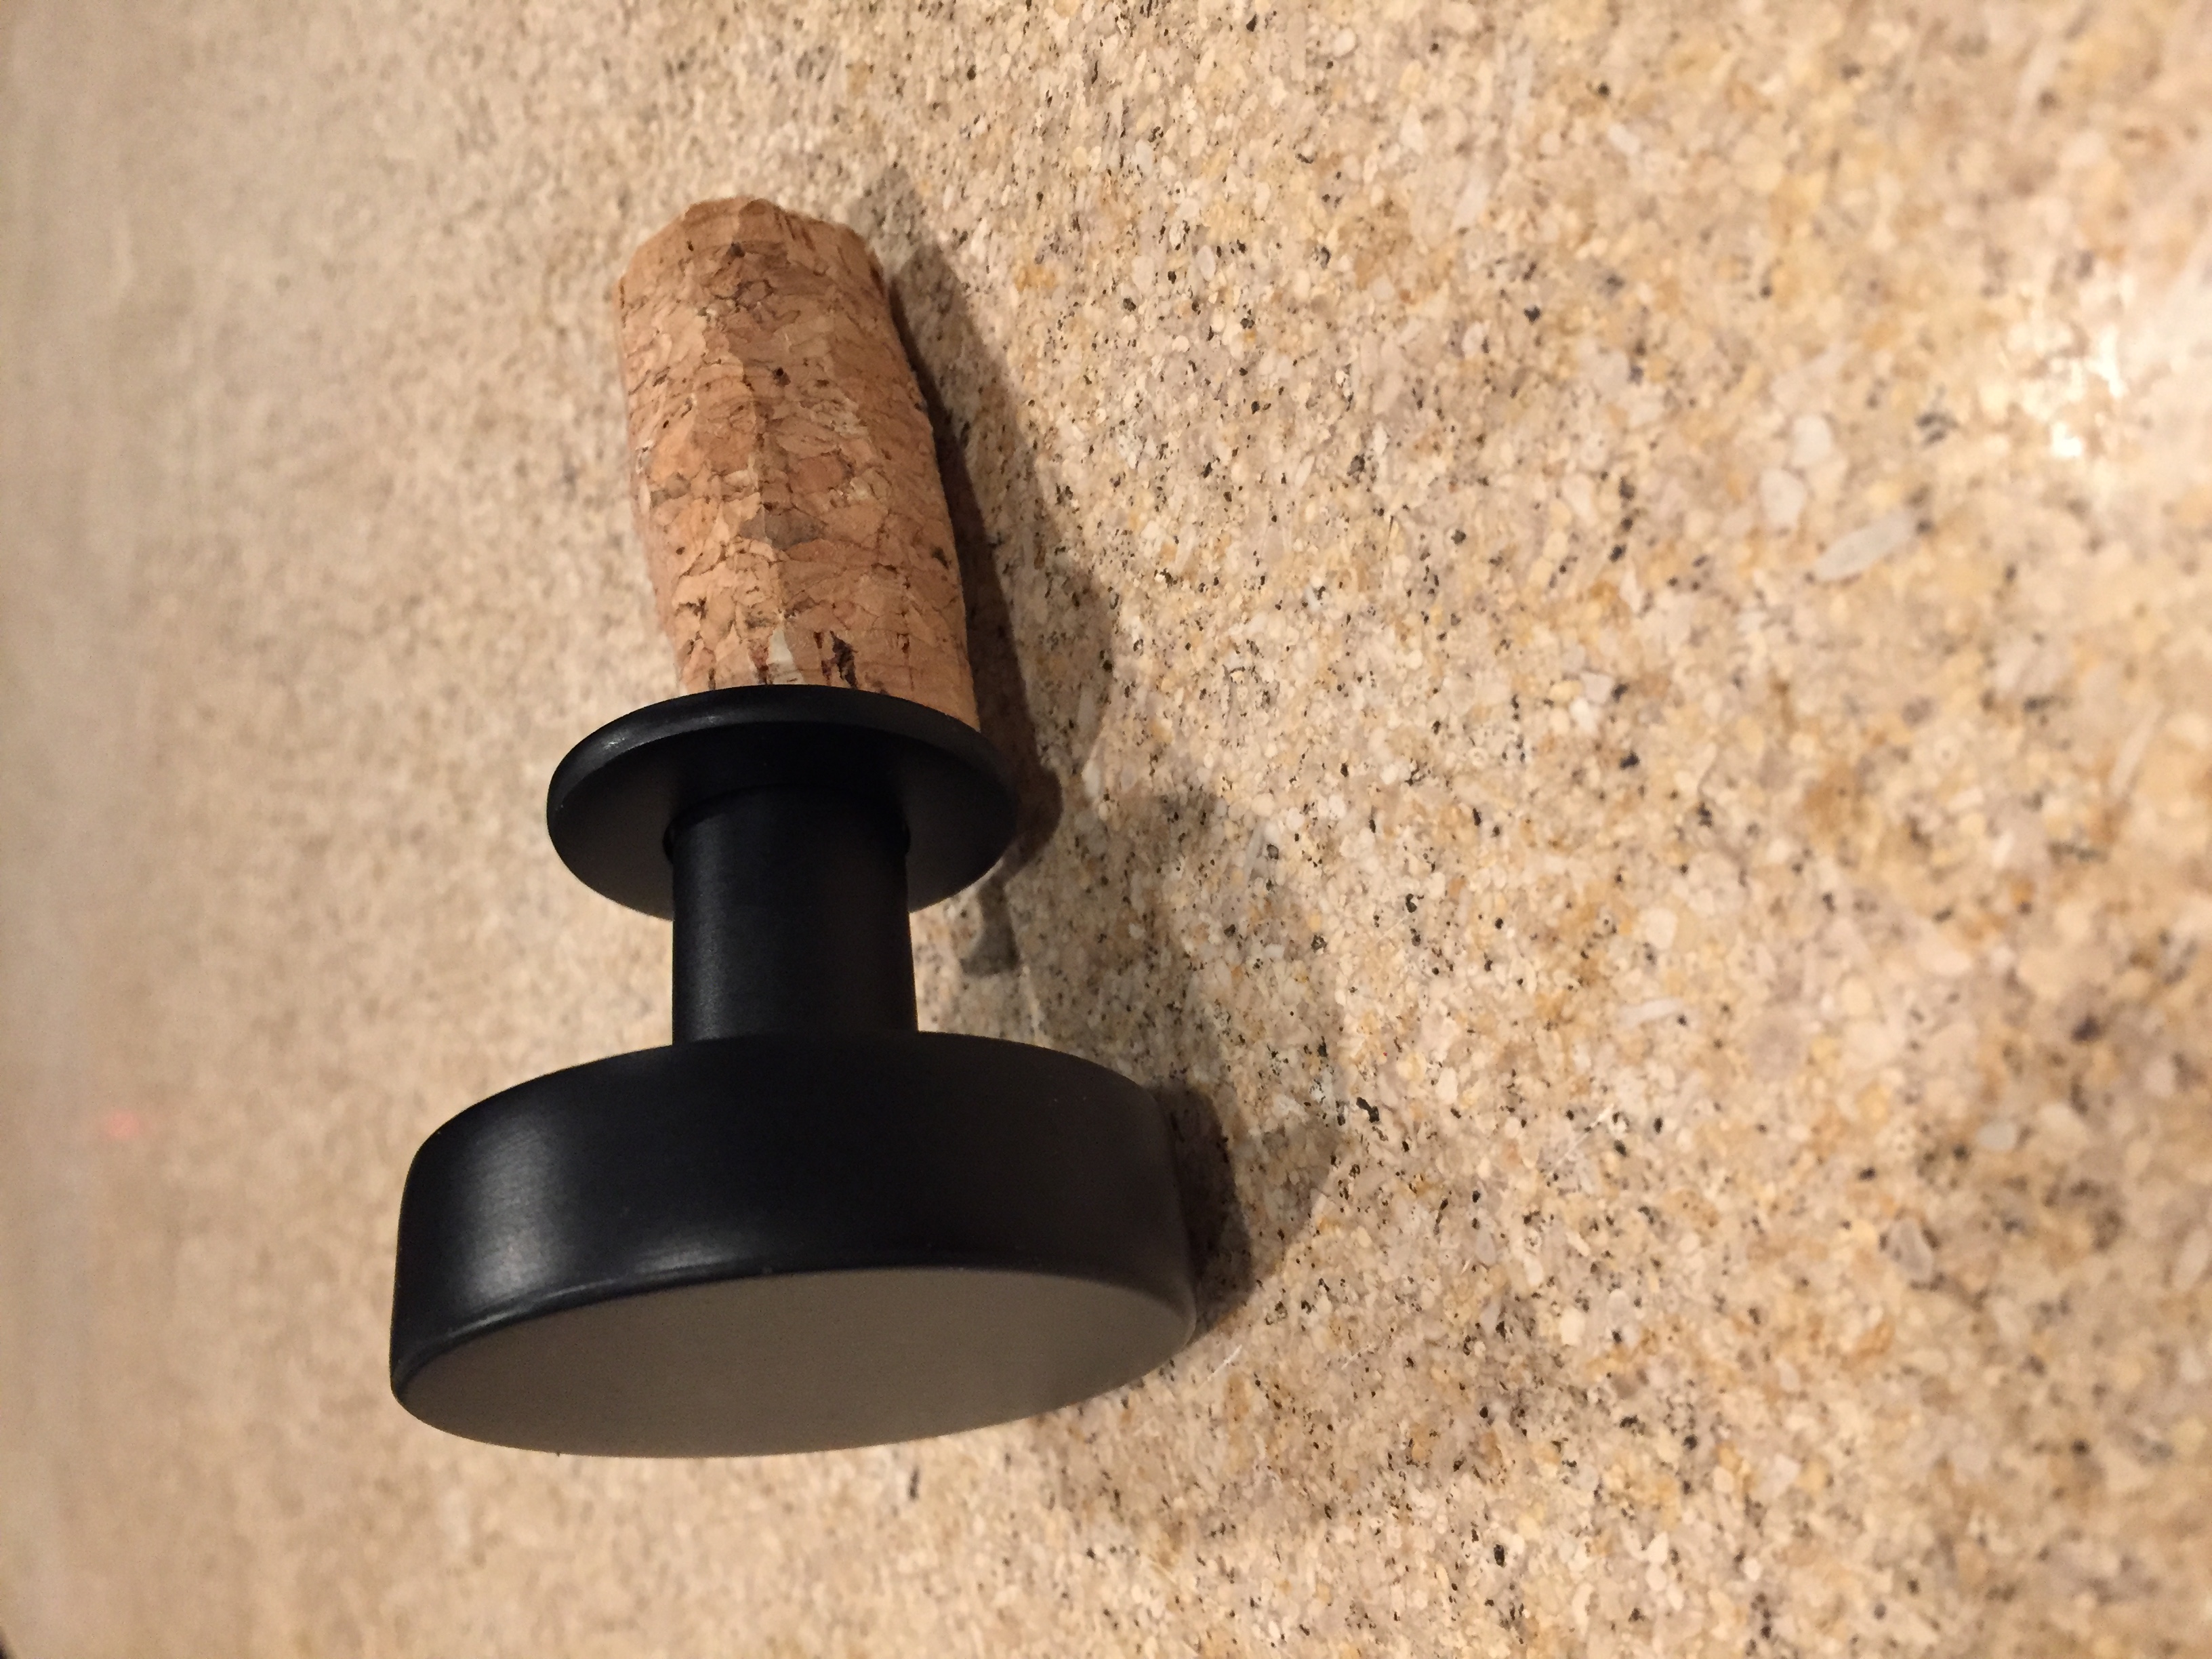
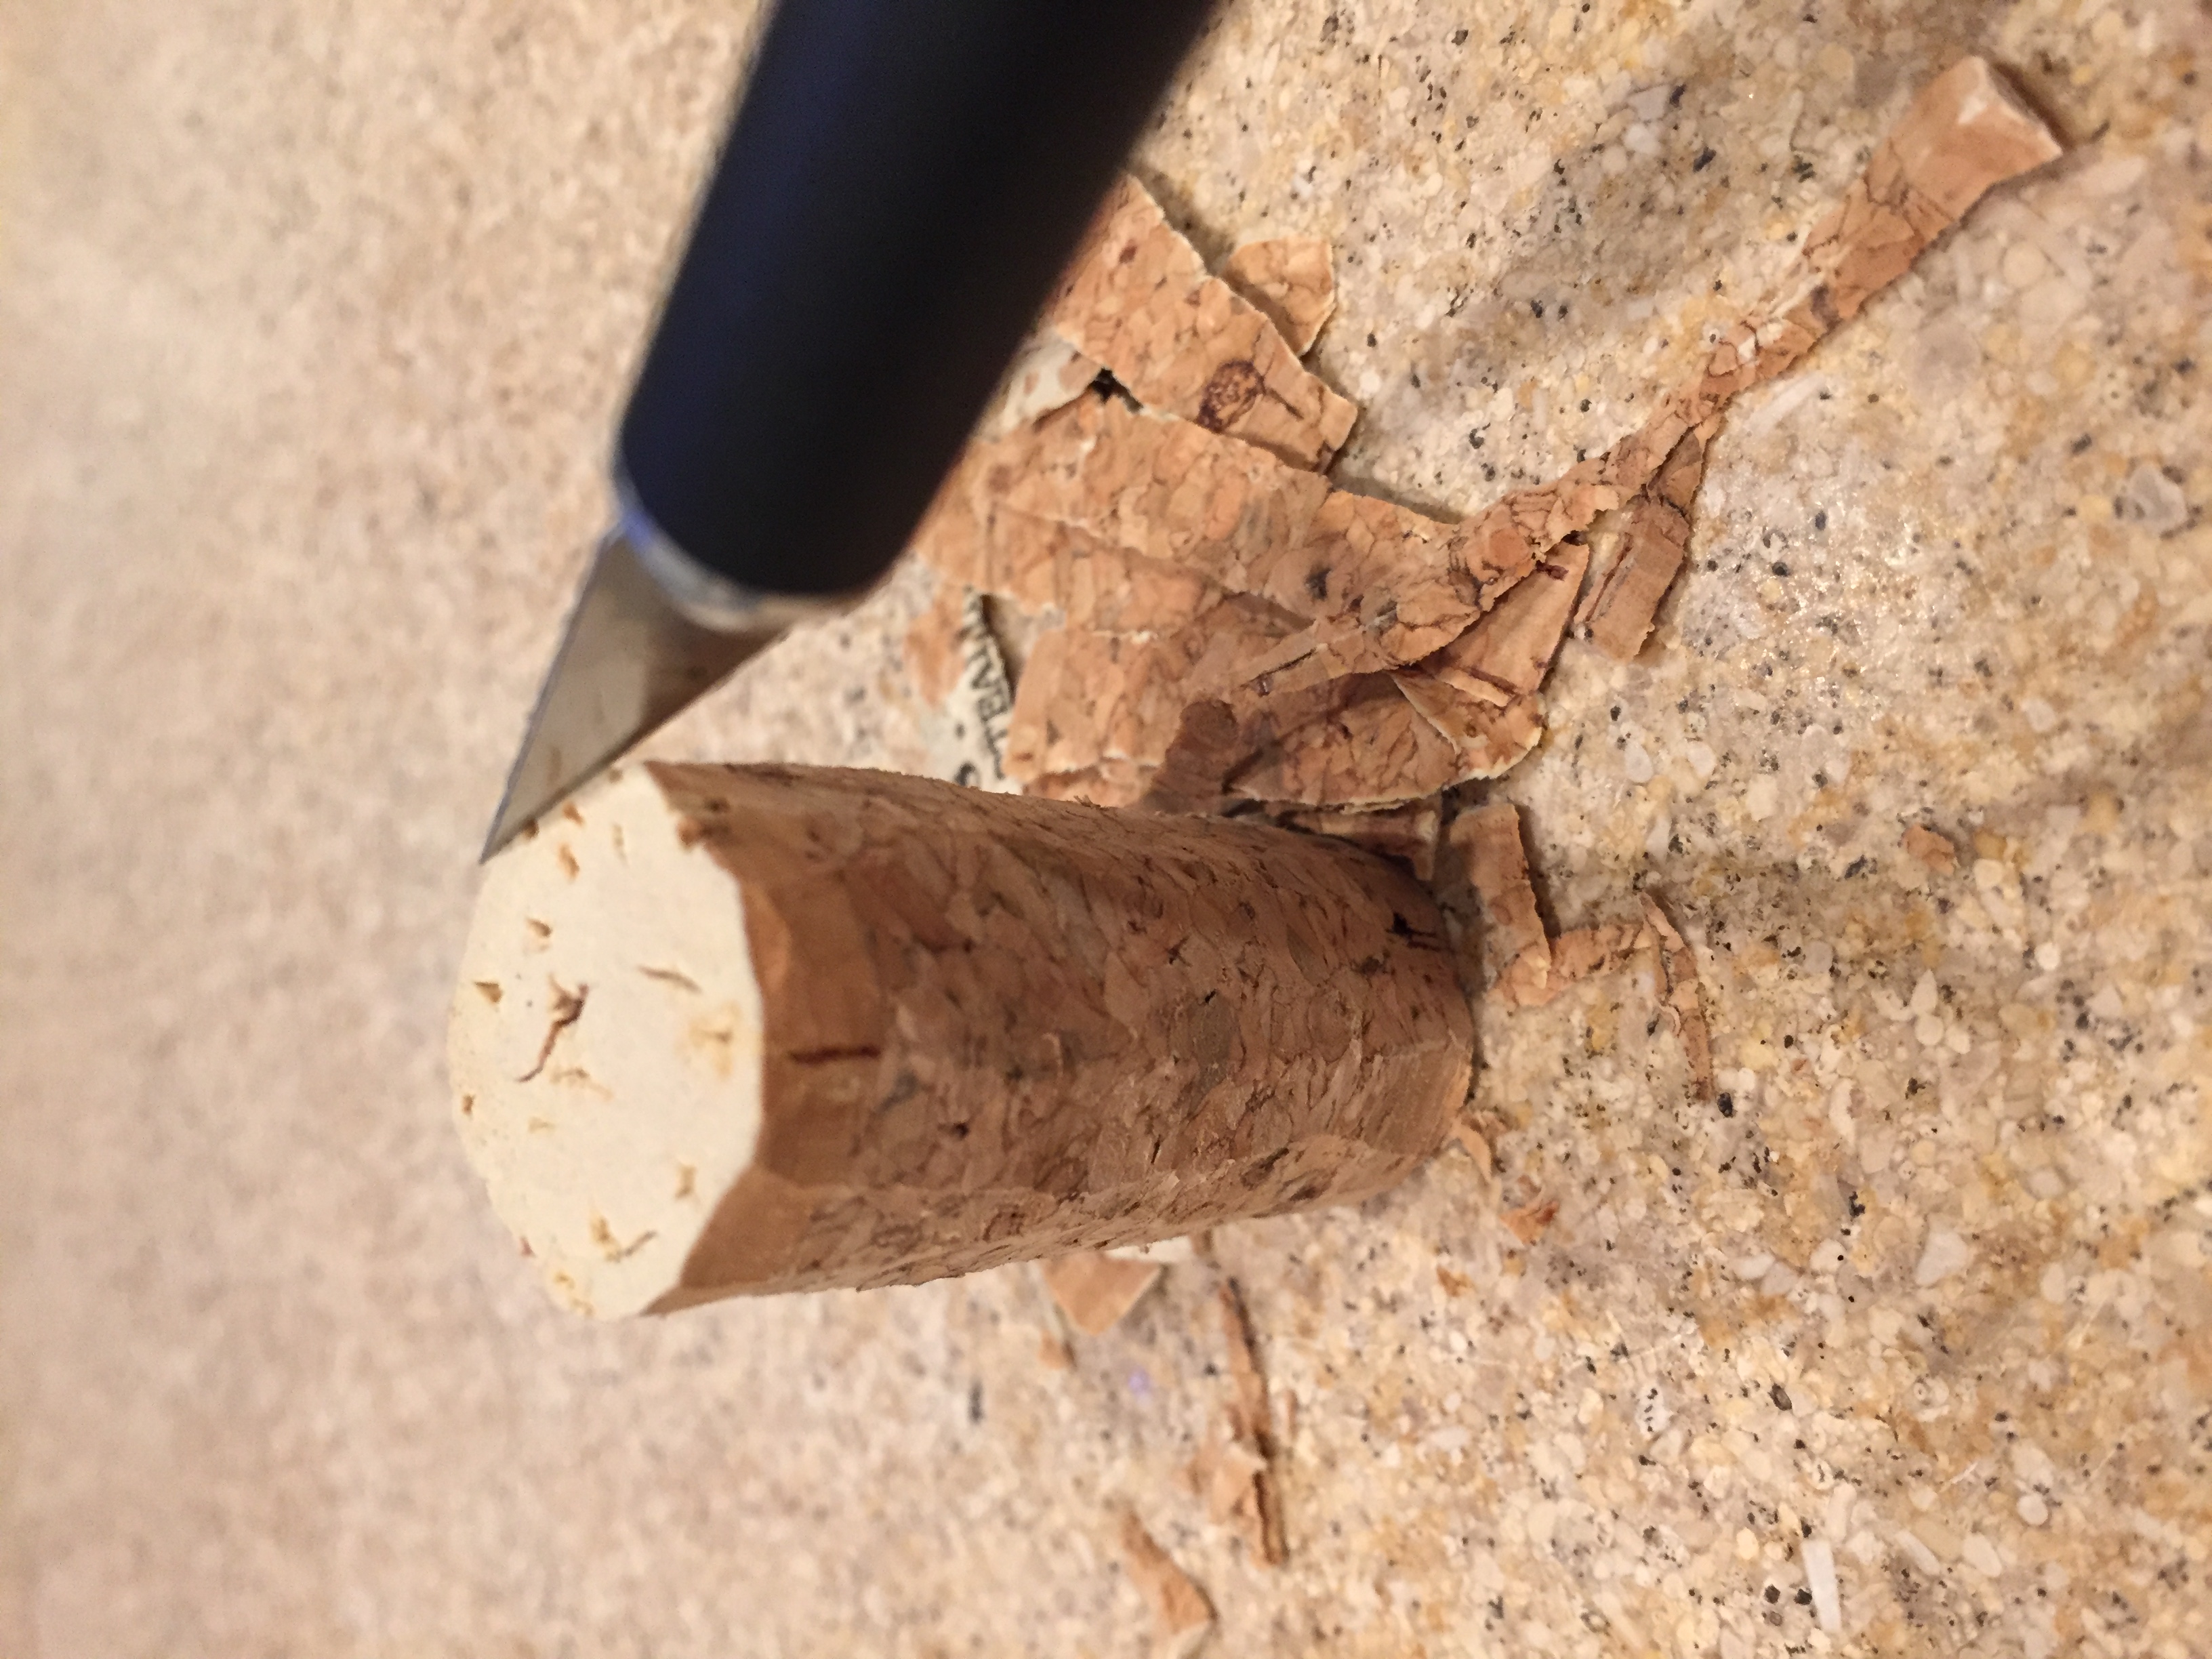
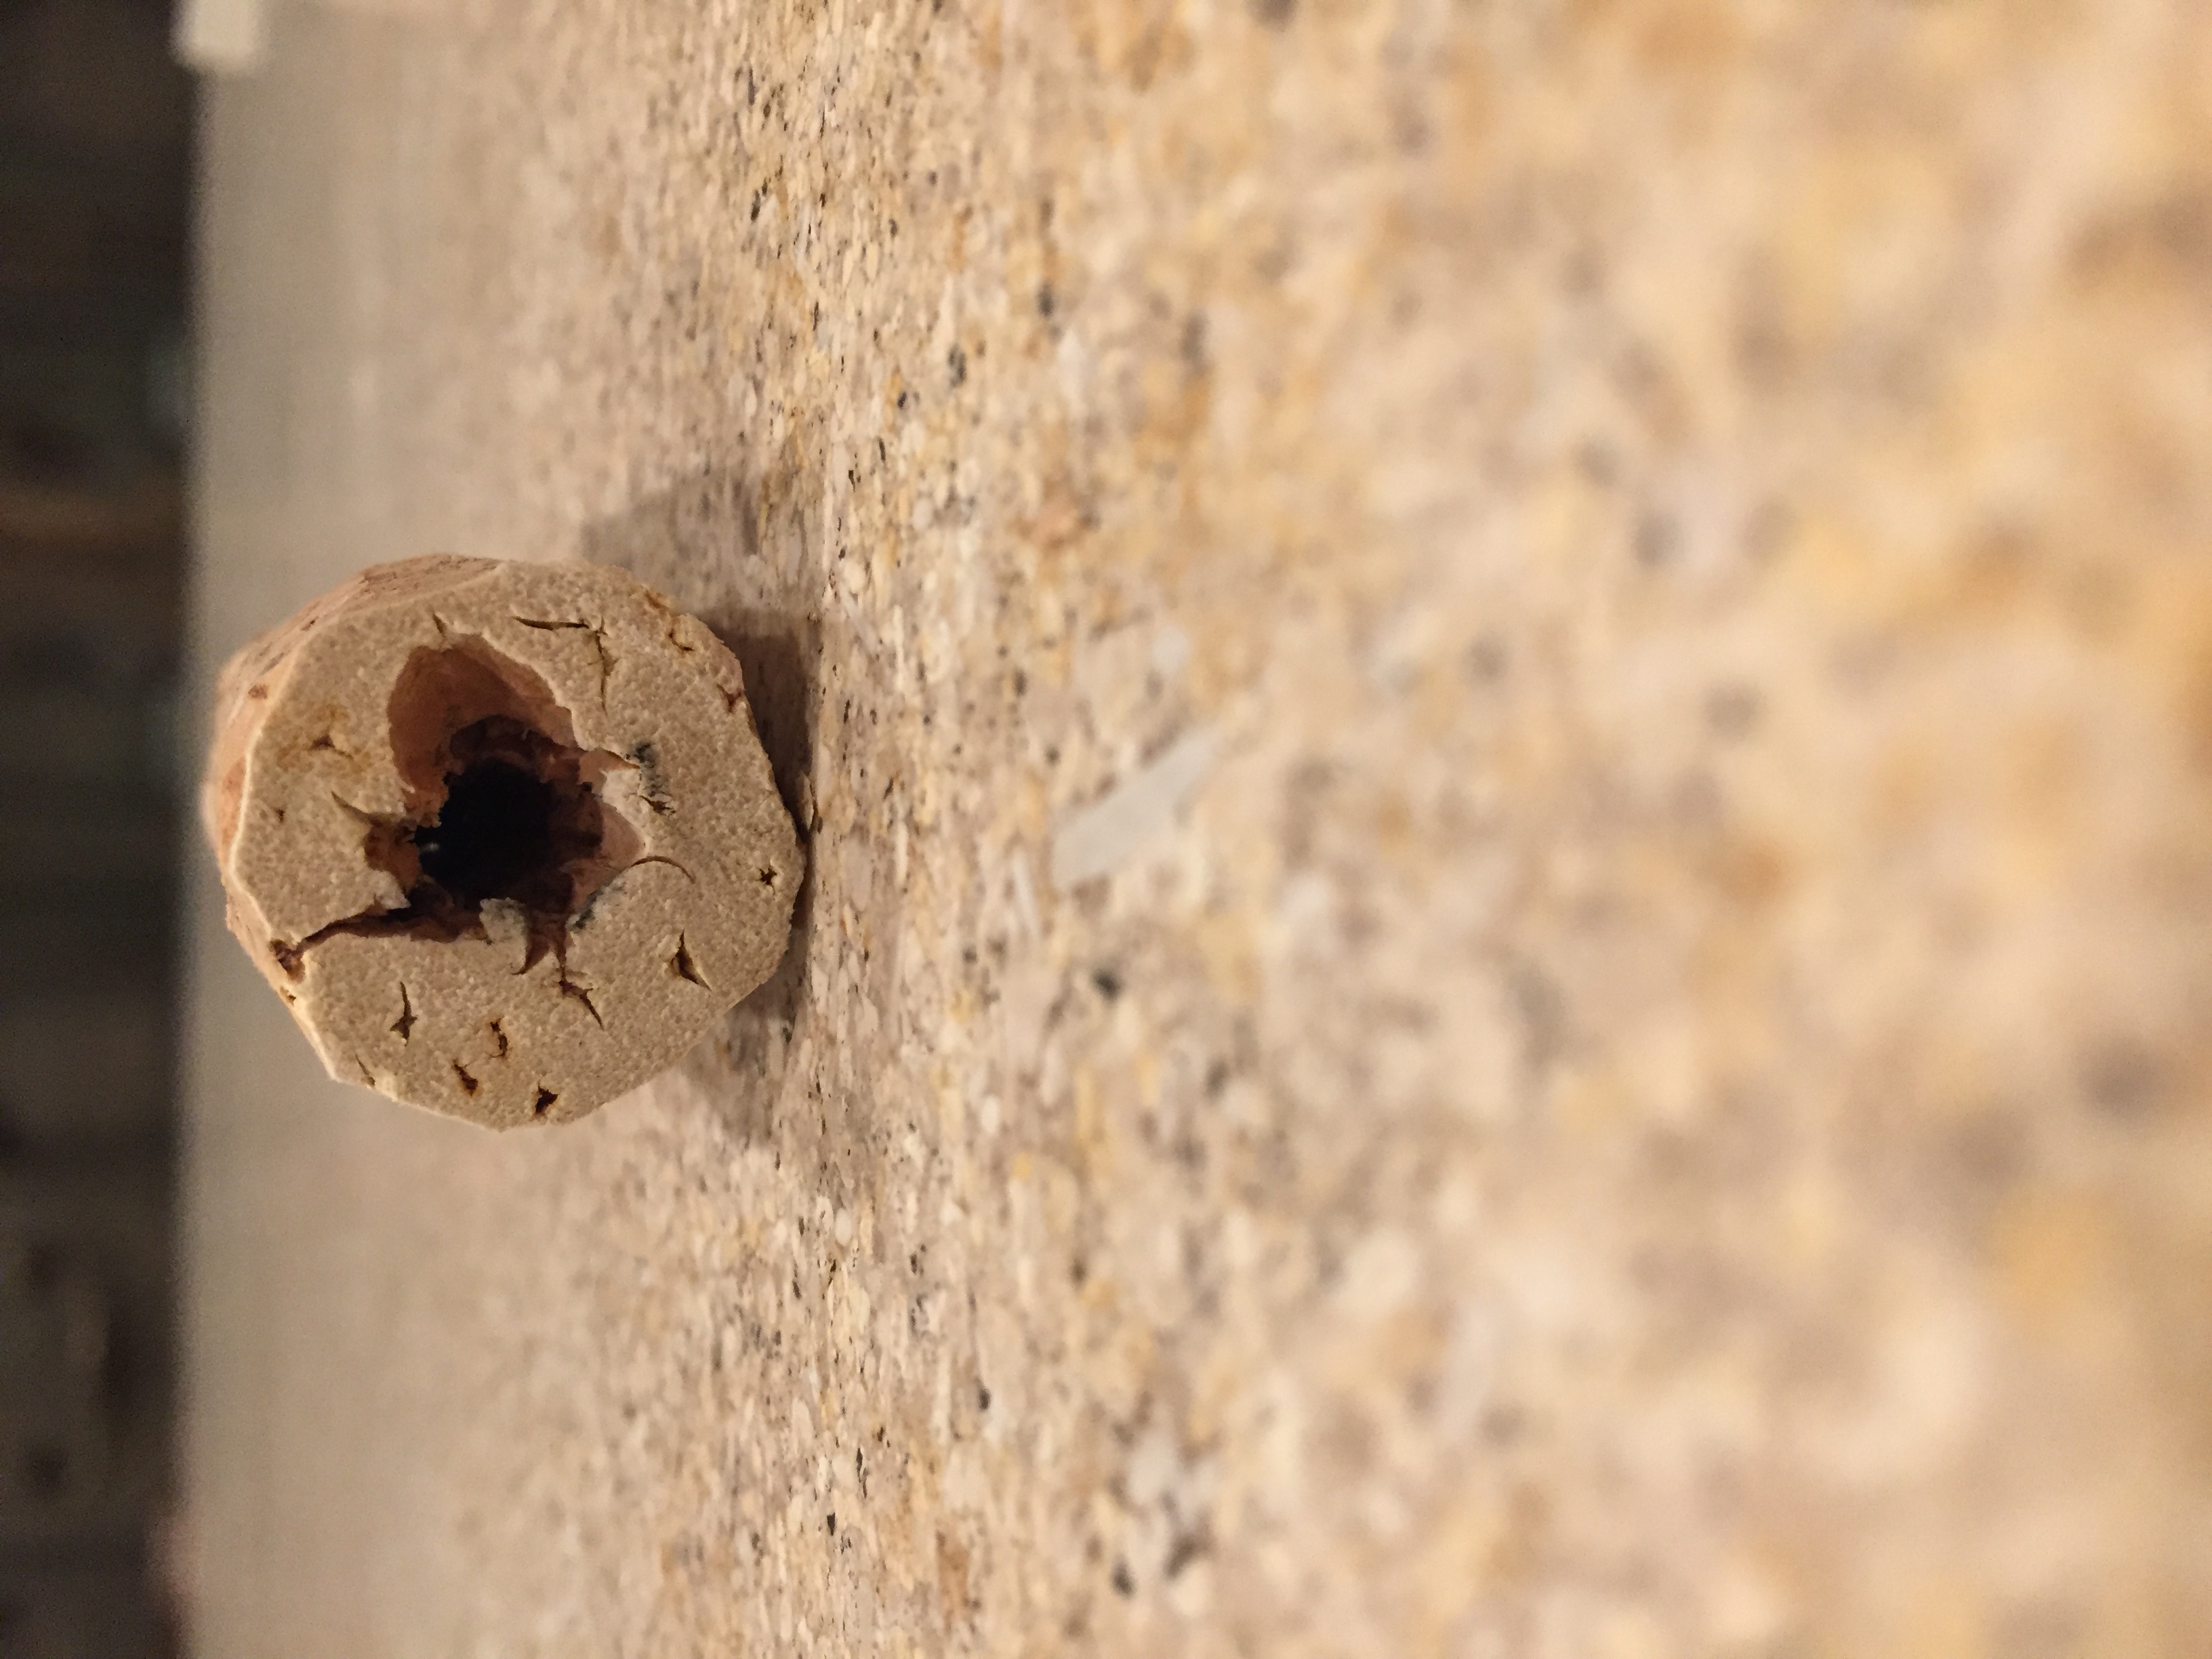
The hardware came with screws, so I measured the length of the screw onto the cork and cut the cork to fit.
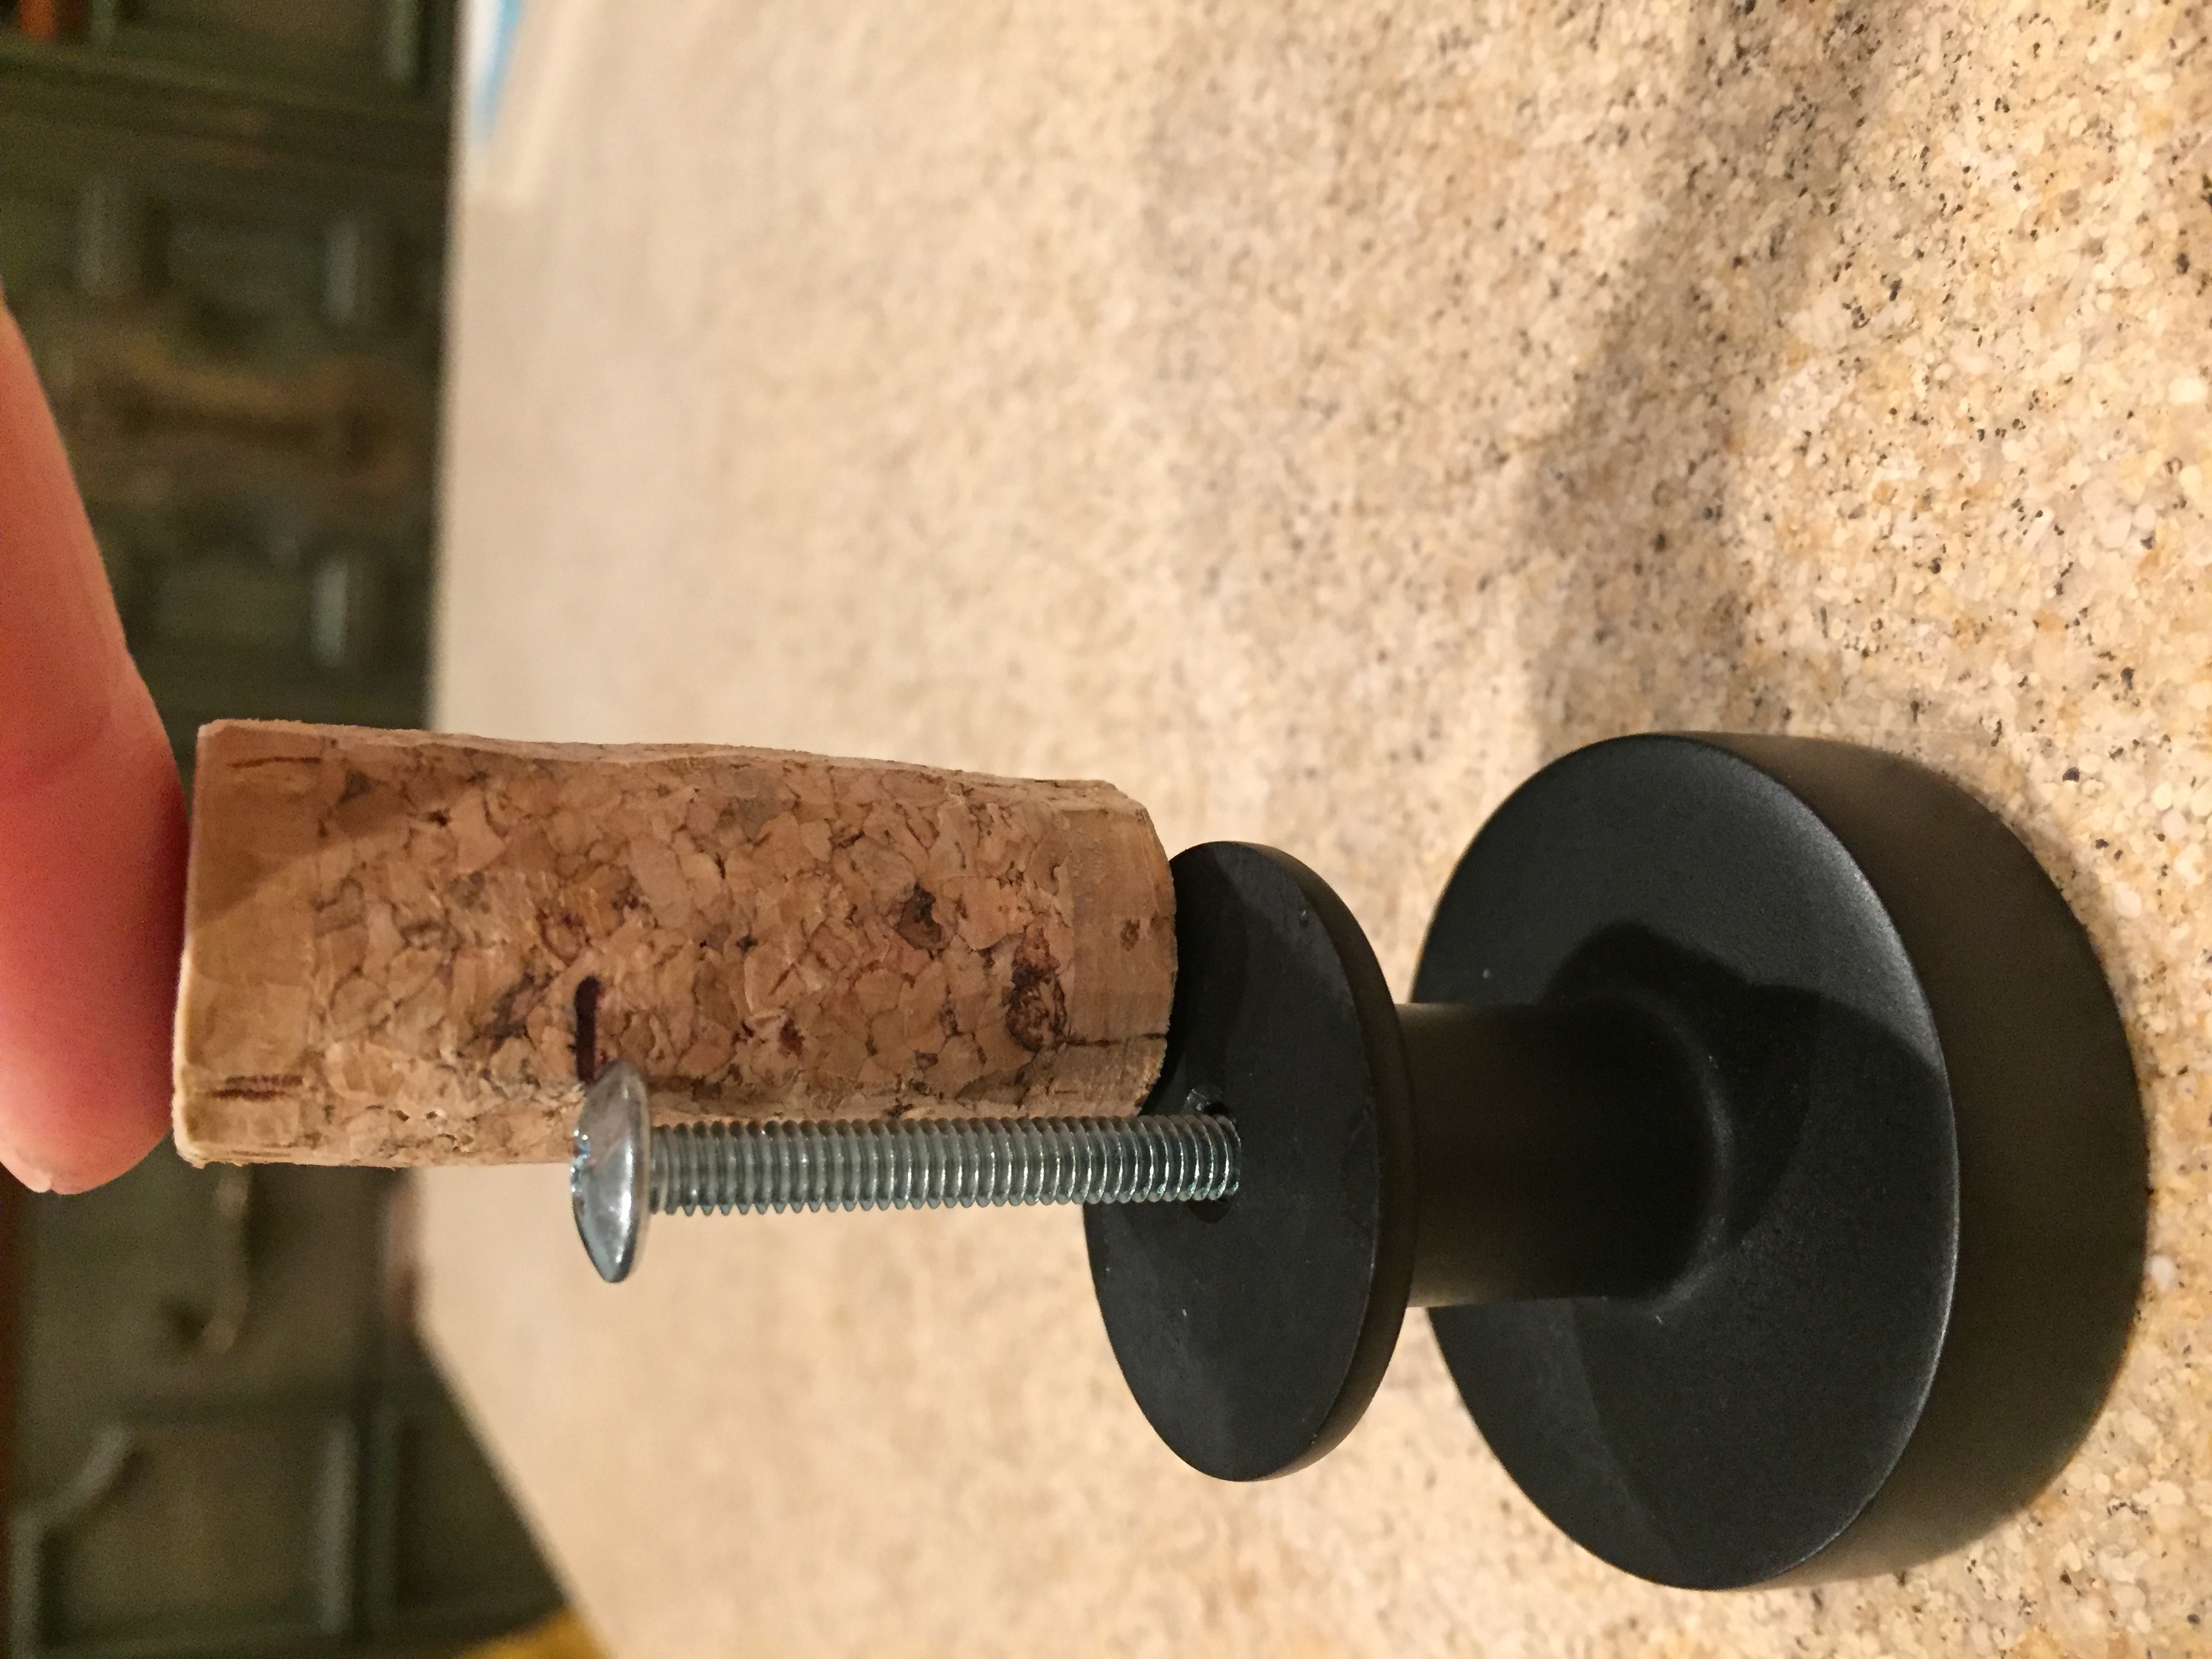
I then trimmed the diameter of the cork with an exacto so the cork fit snuggly into the end of the conduit.
Next, I used a drill bit that’s about the same size as the screw and drilled into the center of the cork, all the way through. I wanted the screw head to be on the inside of the cork so that the end that fit into the hardware stuck out. You’ll have to play around with this a little to get the end of the screw sticking out enough so that the hardware fits nicely.
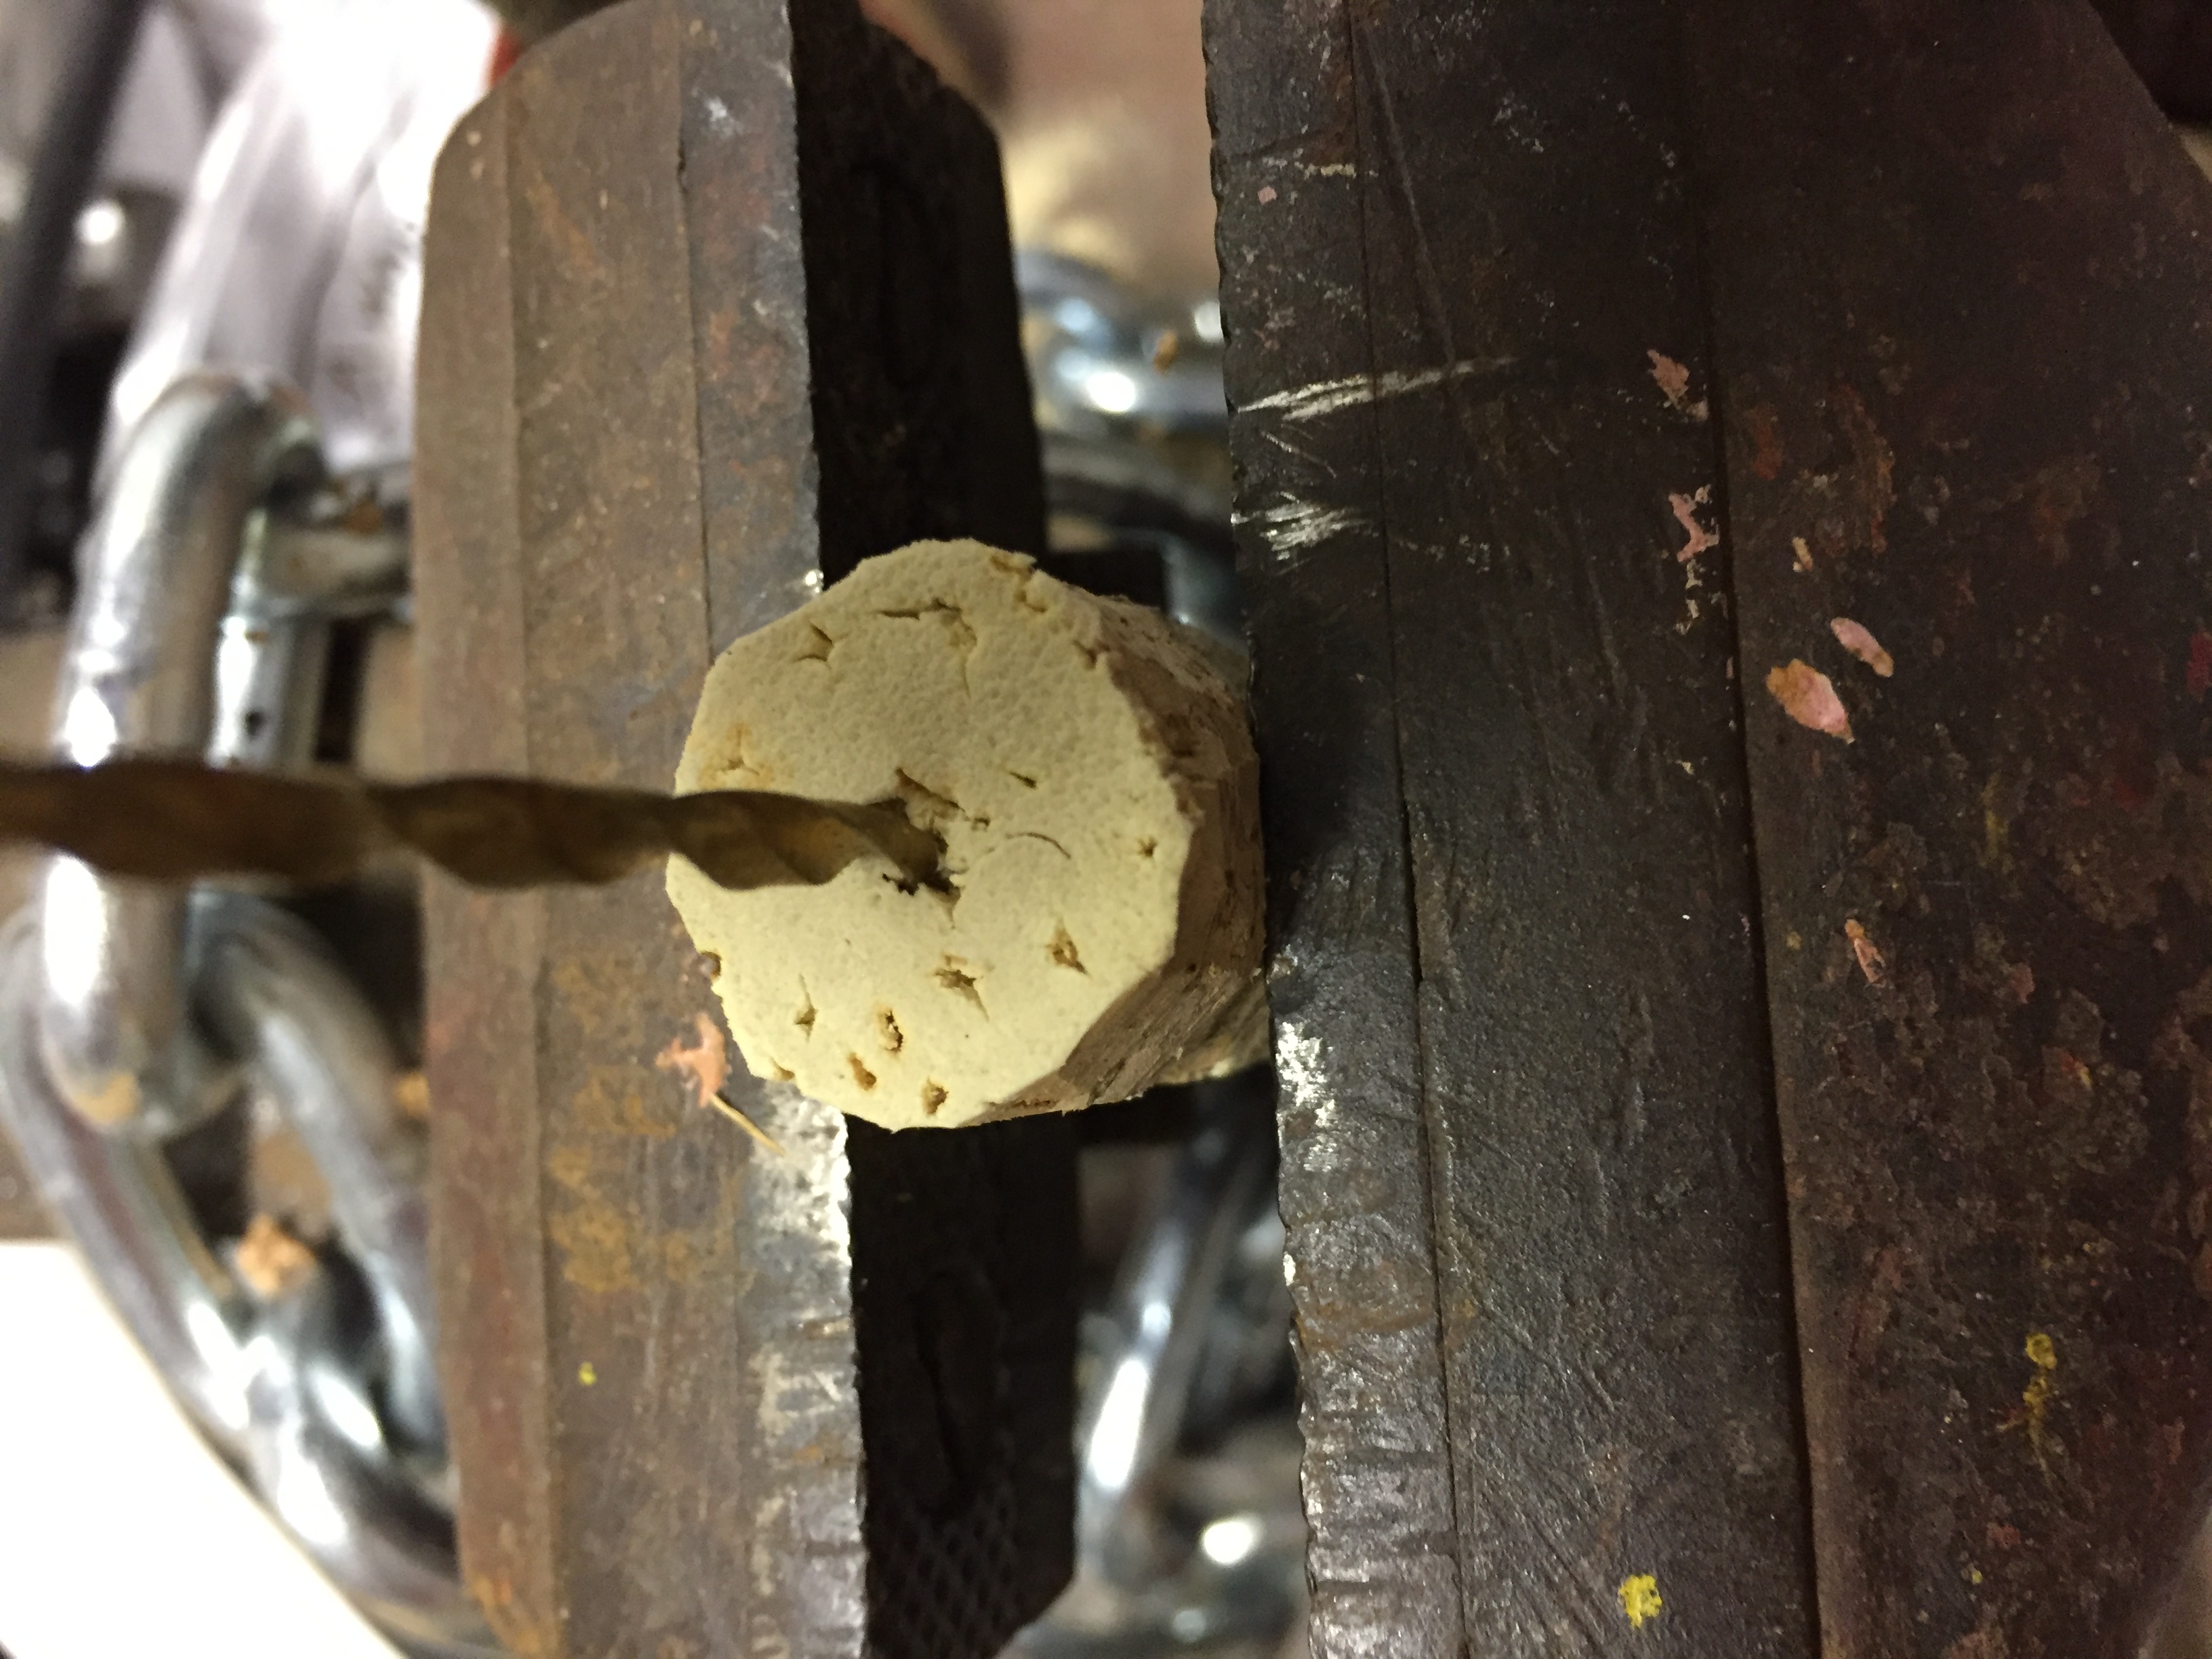
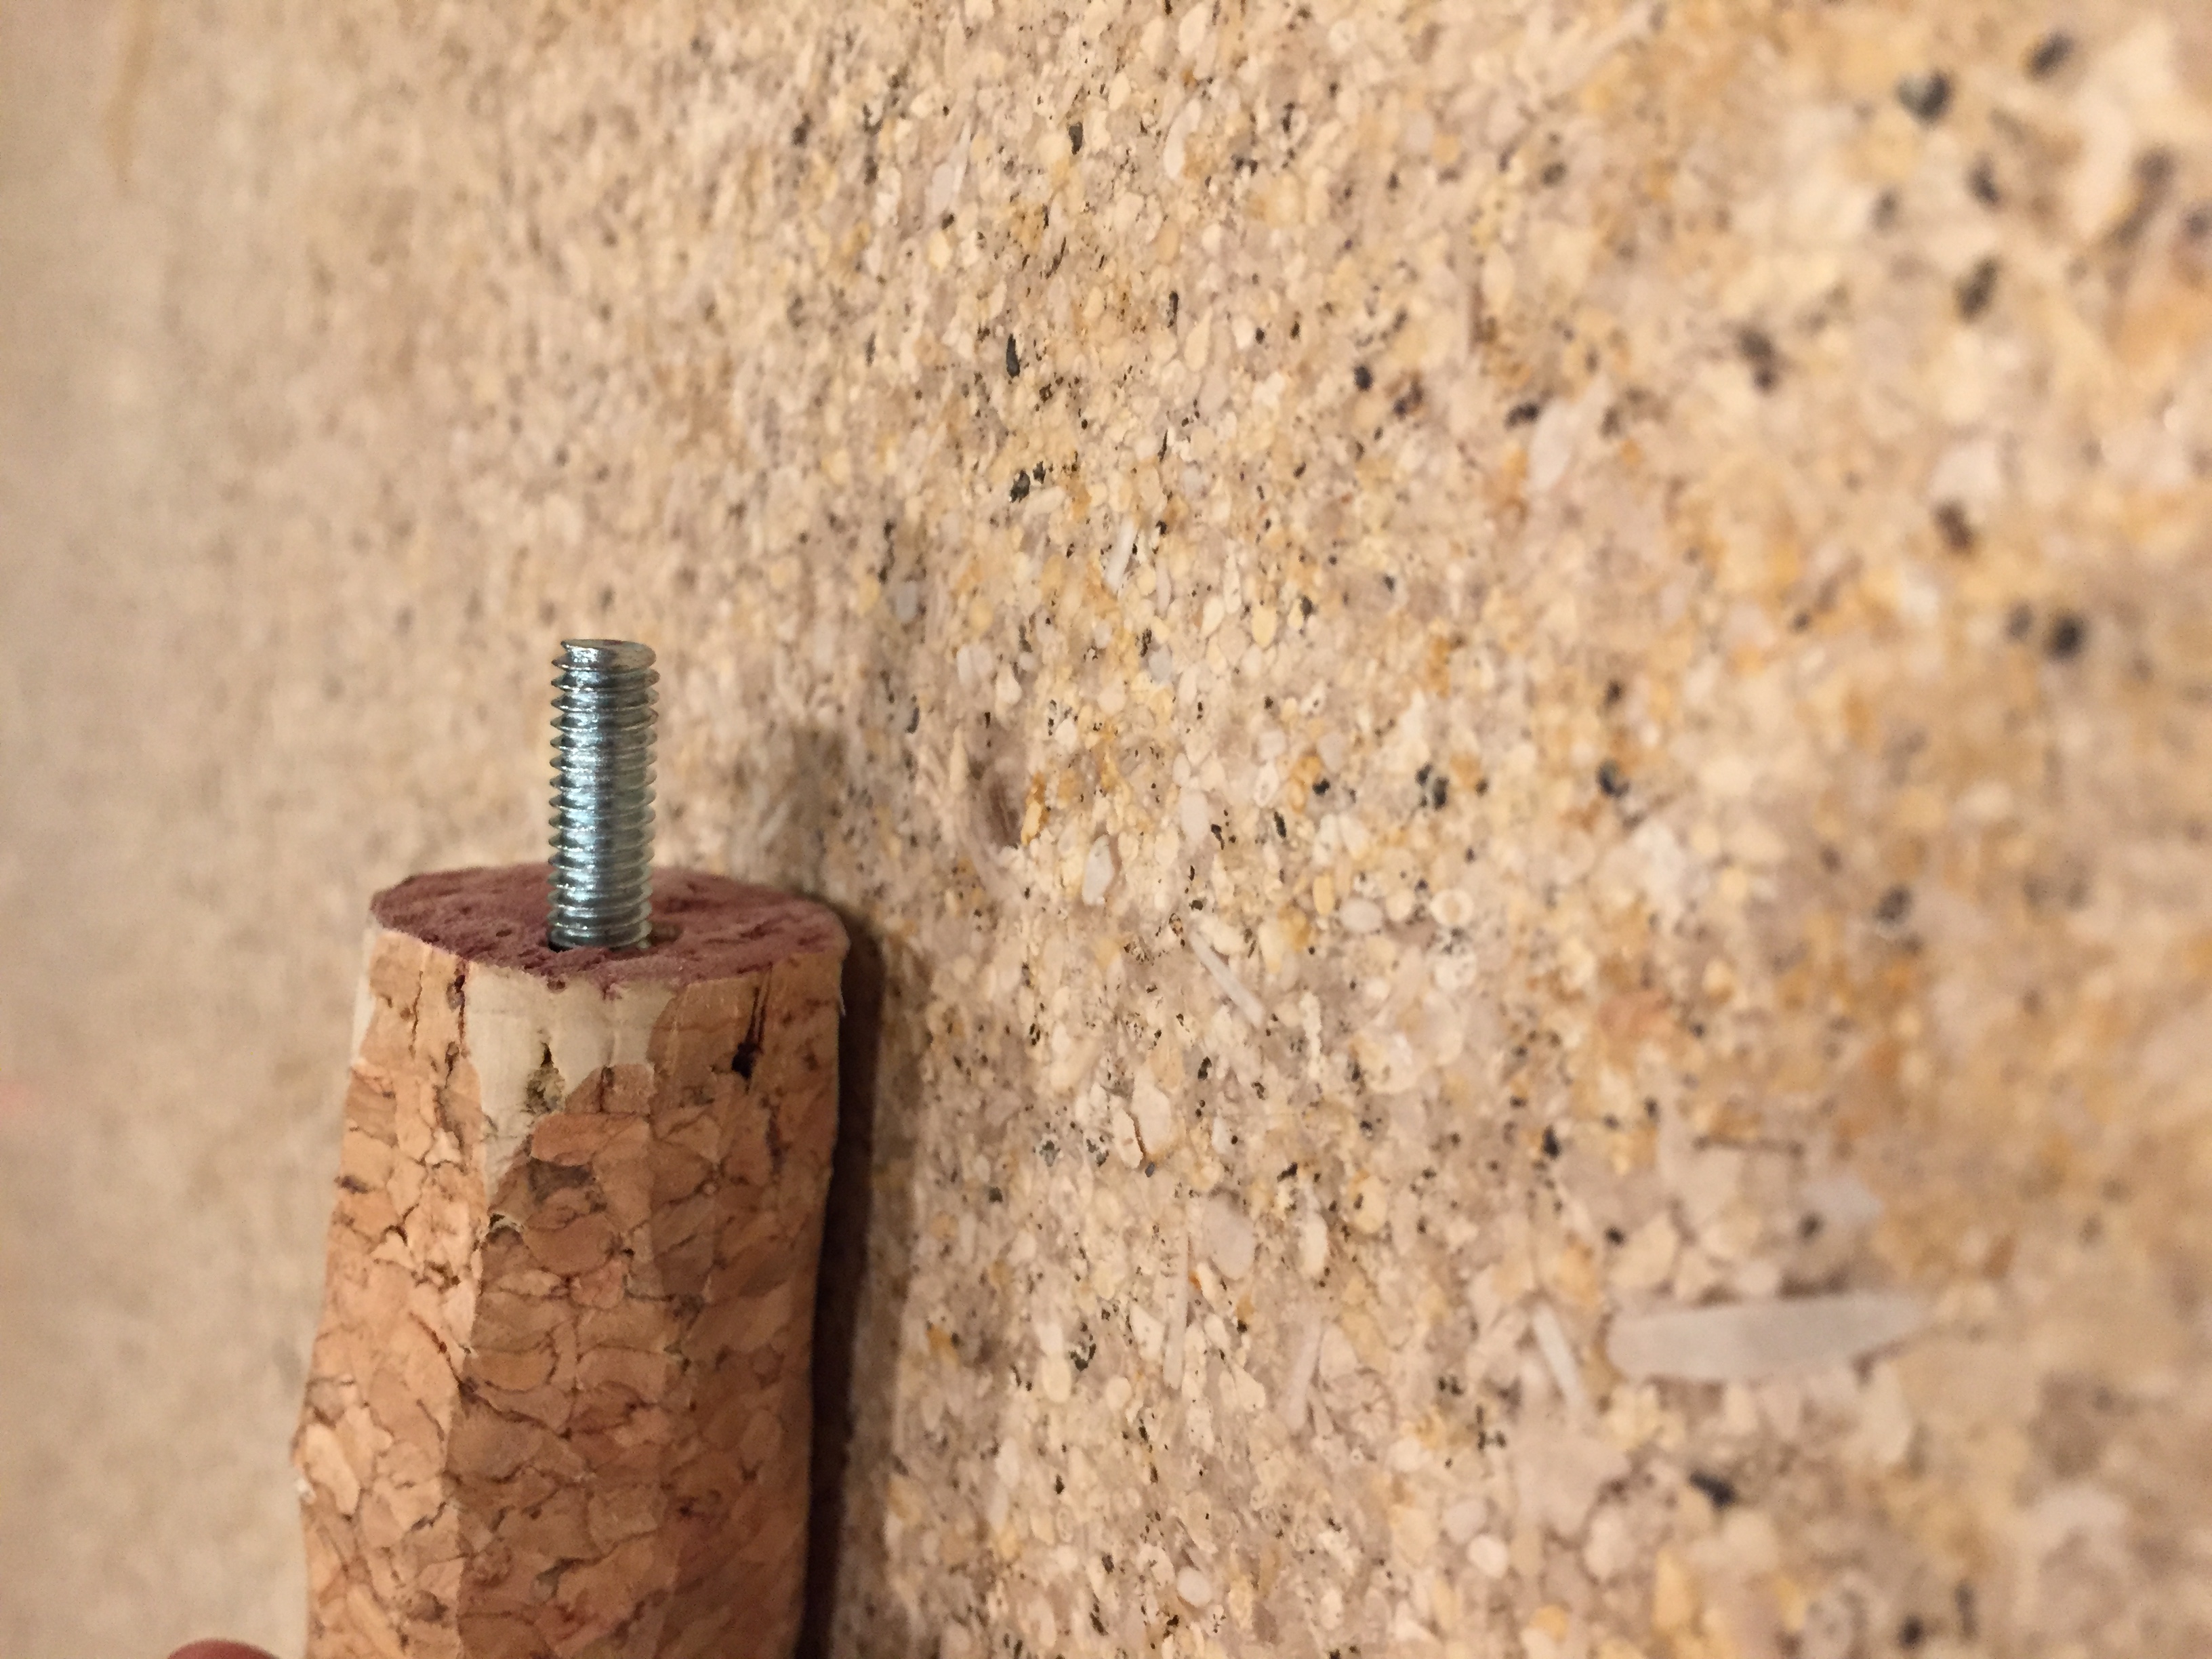
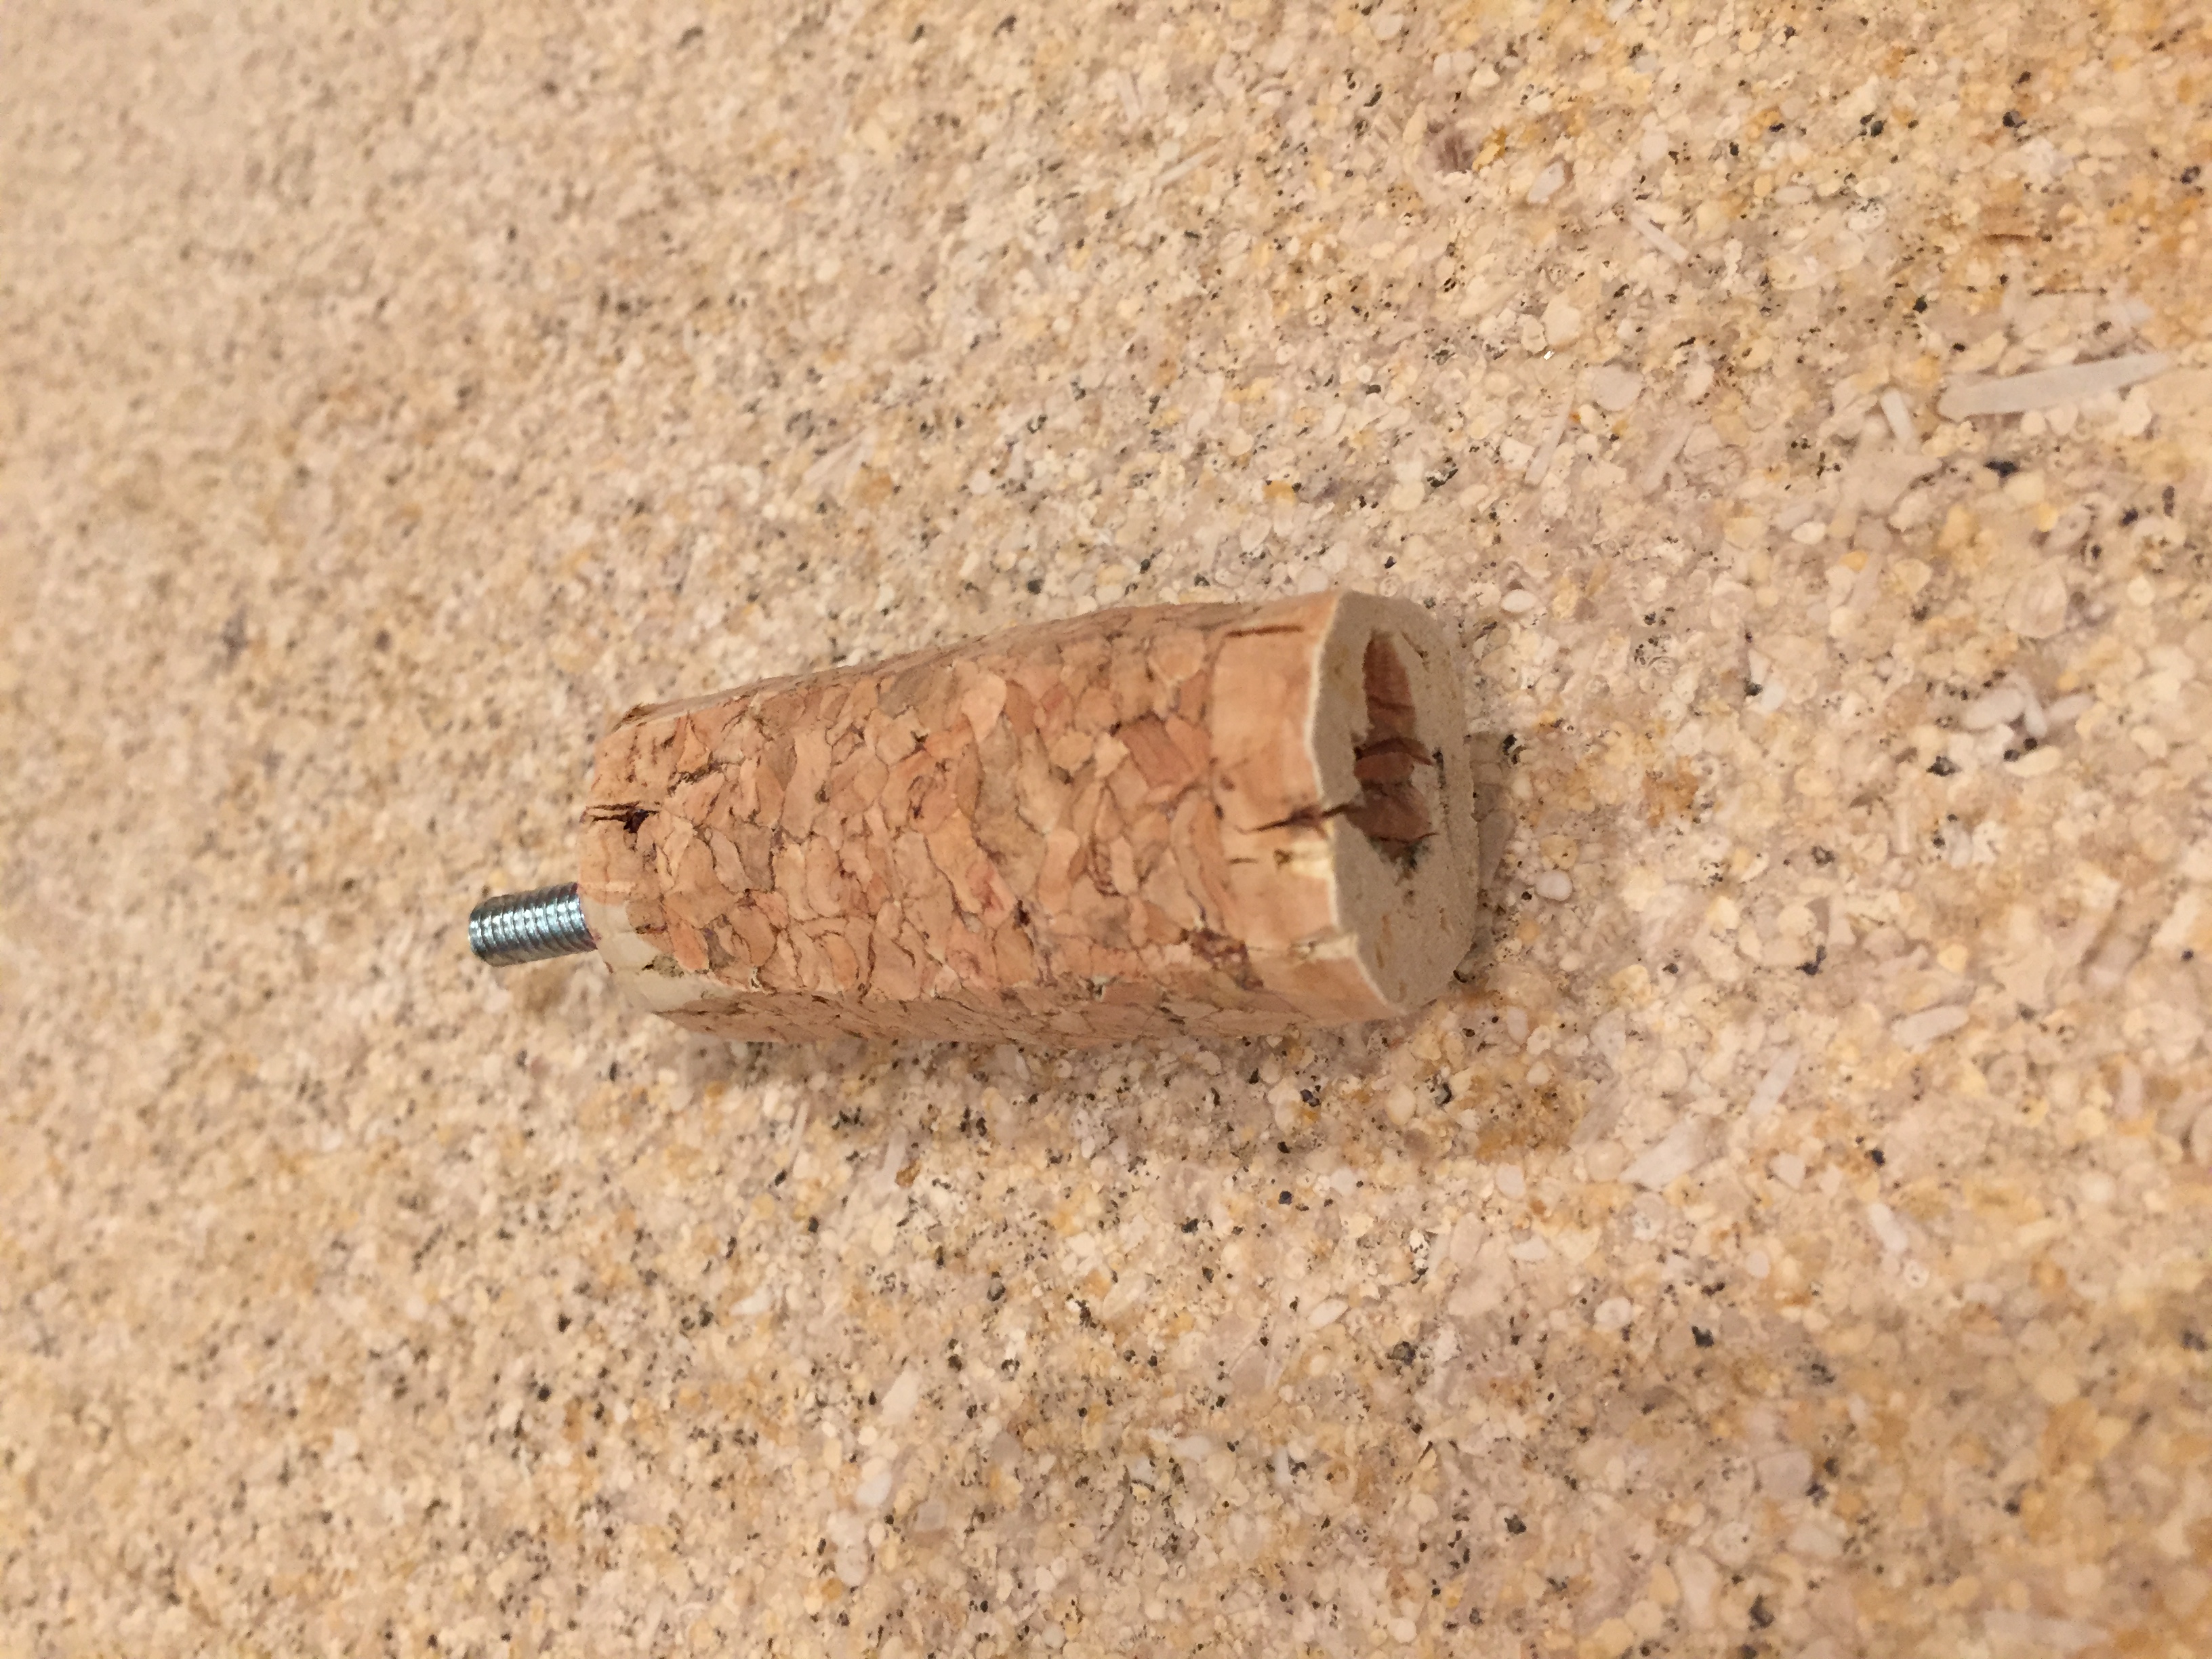
As you can see, mine didn’t go on perfectly straight, but when I attached it to the conduit for the final product, I just twisted it around until it had the appearance of being level.
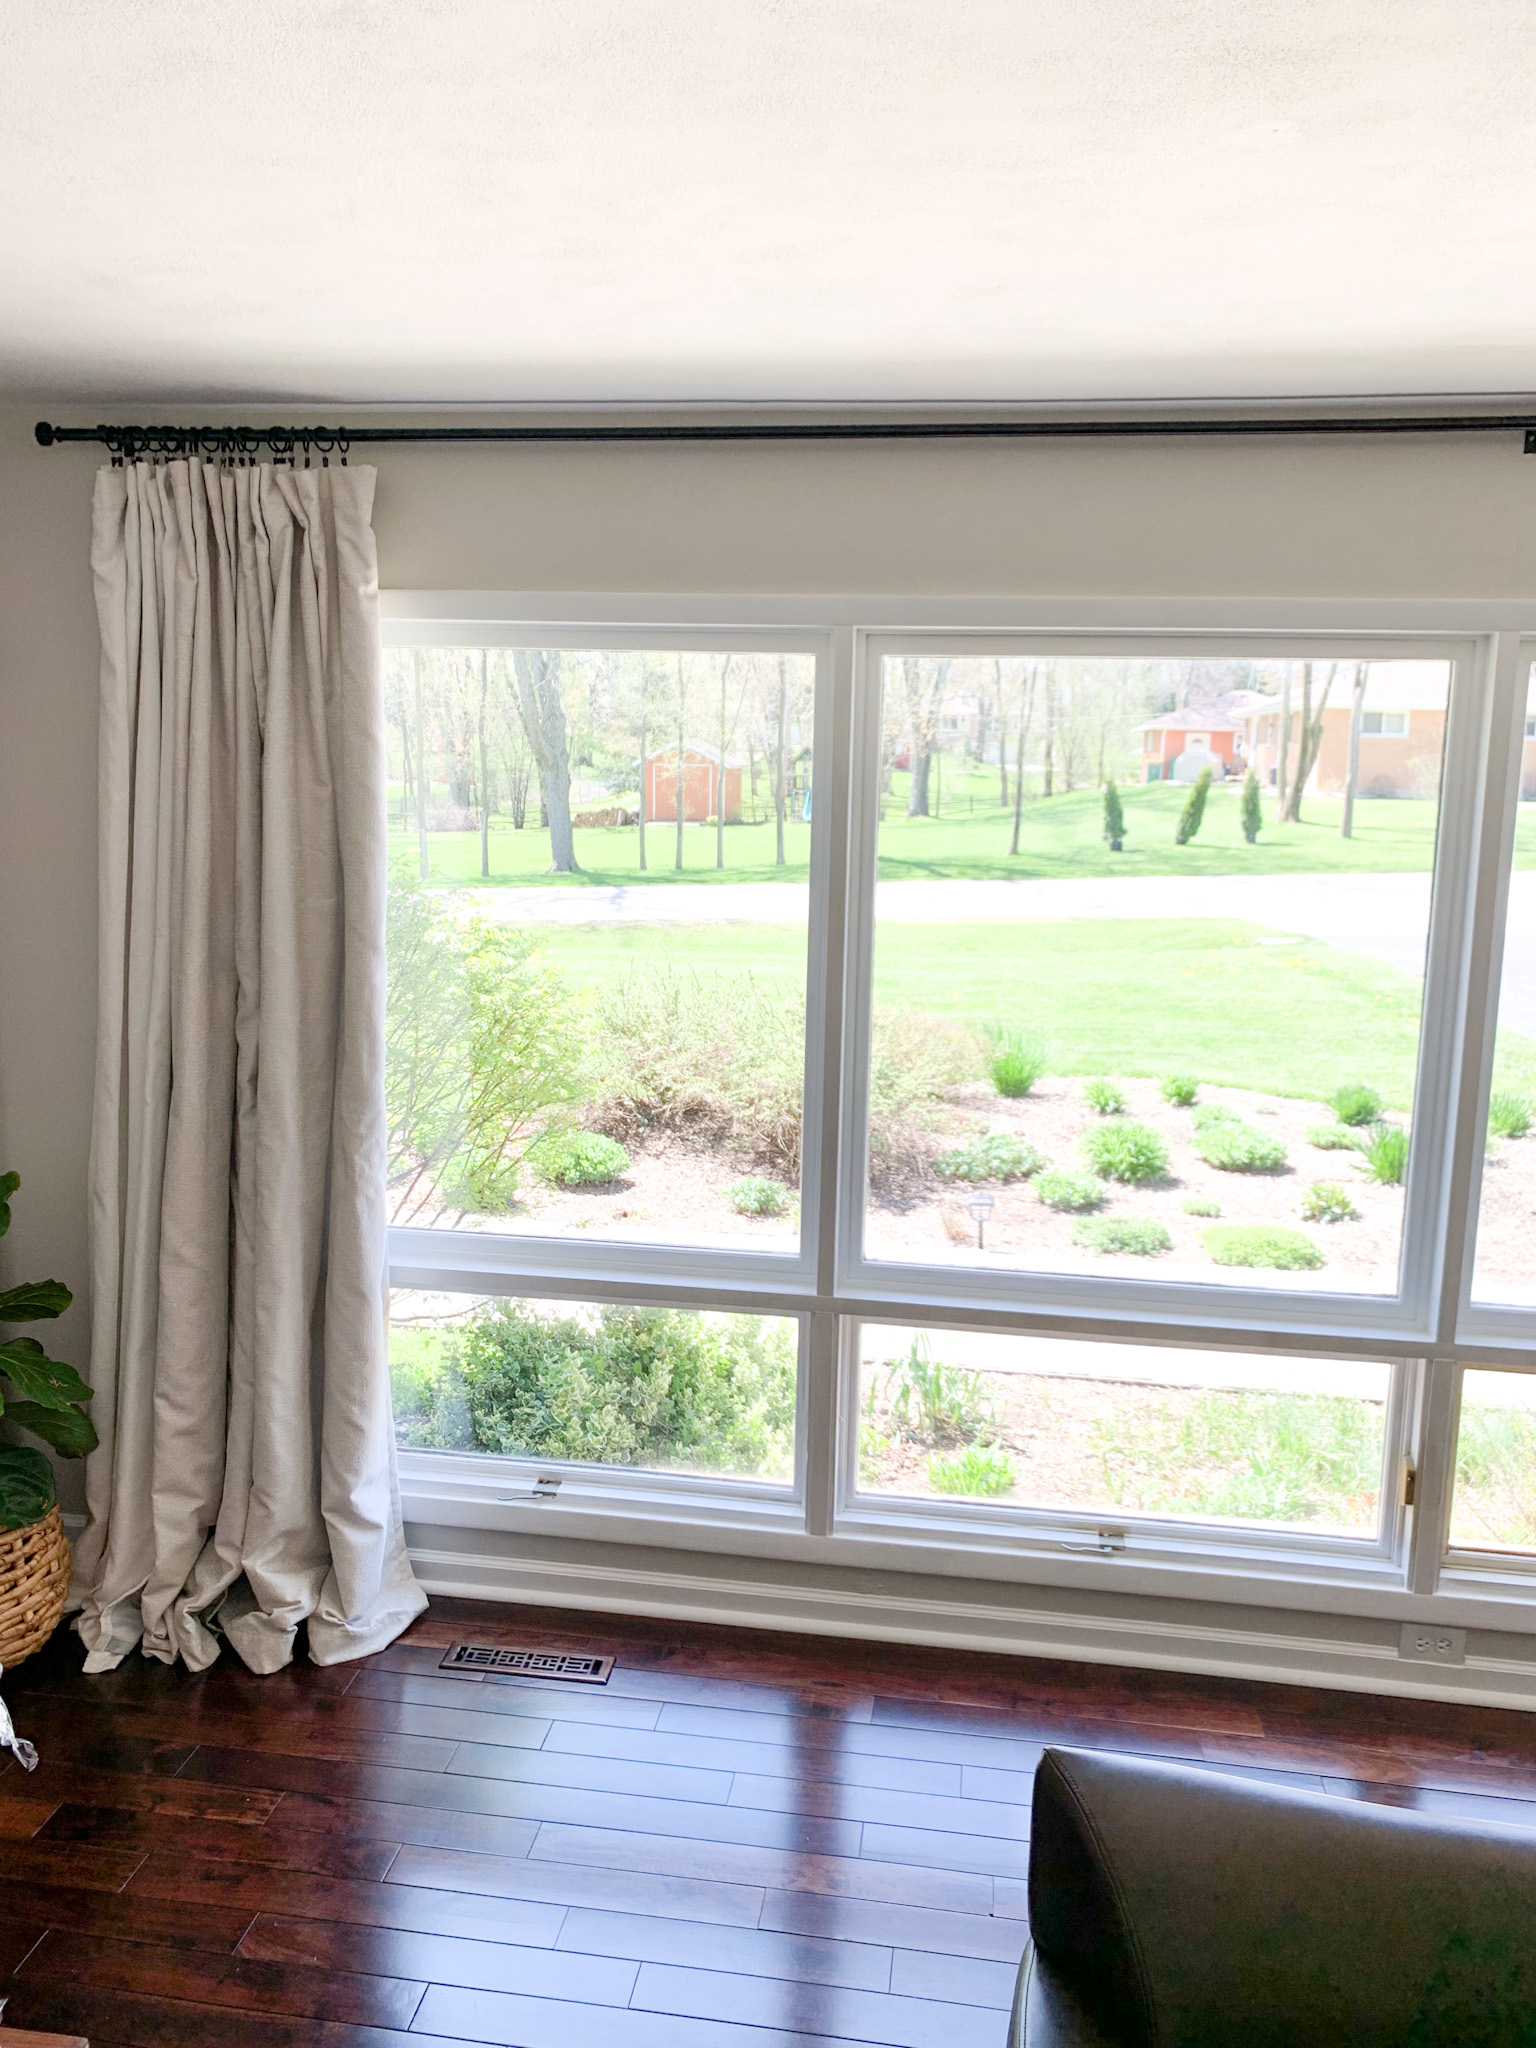
3.) BRACKETS / CLEAR COAT: Hang the brackets and apply your final coats of clear enamel. Let completely dry before you hang your curtains. Pop on those homemade finials and you’re done!
I made this curtain rod over a year & a half ago, and it still looks perfect! I wasn’t sure what to expect with spray painting metal and sliding curtain rings over it on a daily basis, but I’m really happy with how well it has worked AND held up.
I would totally do this project again, and it turns out I will in a few weeks when I start putting together the nursery for our soon-to-be baby girl! Spoiler alert: this time I’ll be using a copper pipe! Stay tuned!
Check out other posts by Ash here.

Good day. It turns out that you can make a extra long rod yourself at home. Thank you for the idea)))
Hi!! Where are your curtains from?? I love them!
Hi Jessica! I apologize for the delay – we didn’t get a notification that you asked a question! 🤦🏼♀️So sorry! This was my project so I’ll answer you – I got the curtains from Marshall’s. I believe they’re Rachel Zoe. I have 3 panels on each side since it’s such a large window; 1 of the panels (on each of the exteriors) is slightly different since I added that later (being from Marshall’s, you can’t always find the same thing even a week afterward, but I actually like the look!).
What was the diameter and length of the dowel?
Hi Vivian! We apologize for the delay as we didn’t get notifications on these most recent questions! So sorry! This is my project, so I’ll answer you – a 1” conduit pipe is actually a fraction over 1” on the exterior, so the interior diameter is actually just under 1”. I used a scrap wood dowel so I can’t tell you the exact diameter I had, but you could probably get a 1” wooden dowel and sand it down a little until it fits snuggly inside the pipe, along with a strong adhesive. I hope that helps!
As for the length it was about 1 foot long 🙂
Thanks. I’ve searched for a rod that’s 250 inches long. Too expensive. I’ll try this.
I’ve been looking for this! Thank you!
Hello. Love your post. Our Family Room is 20 Feet long and we want our curtains to open all the way out so that we can have flood of light coming in. We are 95% south facing and no trees…so lots of sun when its bright.
We plan to have curtain rod hooks/hangers at the ends. with a 20 ft span, would a hook in the middle (at the 10 feet mark) be sufficient ? Based on your experience, does the rod across the 10 ft not sag ?
Hi! The conduit is so strong that sagging shouldn’t be a problem (my cousin, who wrote this post and did the diy, has had it in place for a few years and no problems 🙂 Good luck!
Thanks for the idea, this is great!
Where did you find brackets that would hold a one inch rod?

12 Comments