Previous post
too many ideas. too little time. (and far too much chai.)


If you’ve followed my blogging journey at all, you’ve probably figured out by now that I’d rather make something myself, then fork out loads of moolah to buy it. So when it came to figuring out a baby mobile for baby #3’s nursery, of course I opted to create my own using supplies I (for the most part) already had on hand. After all, I made both of my other daughters’ mobiles (you can see them here), so I figured I needed to follow suit.
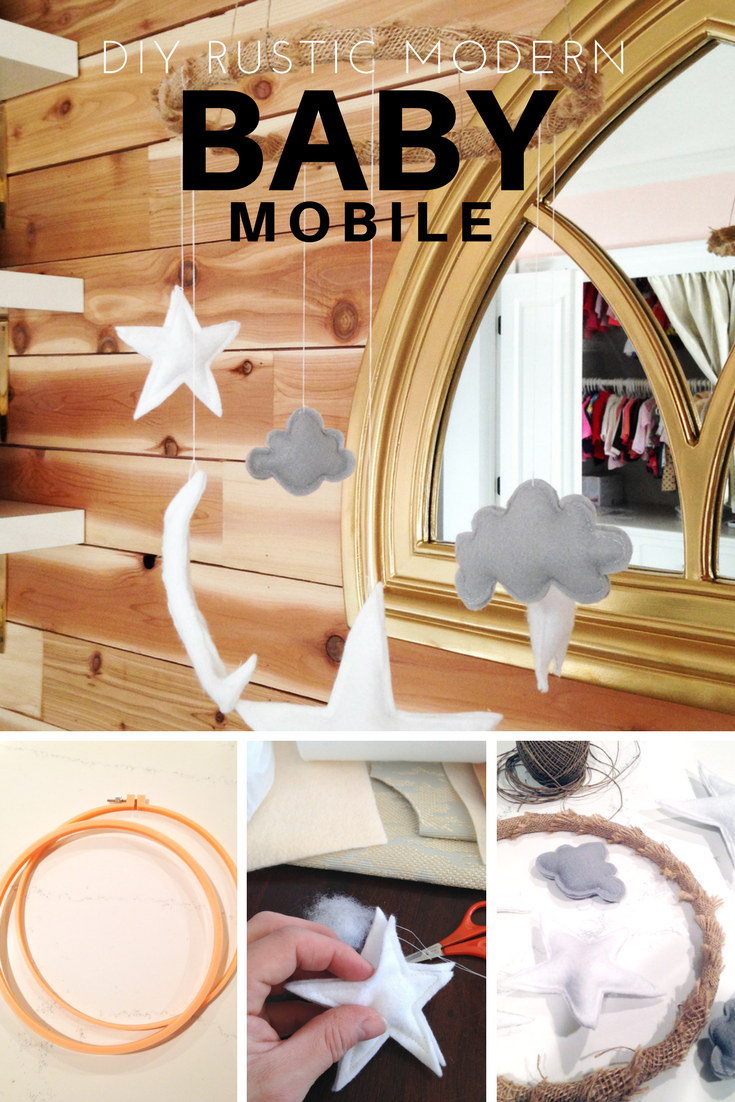
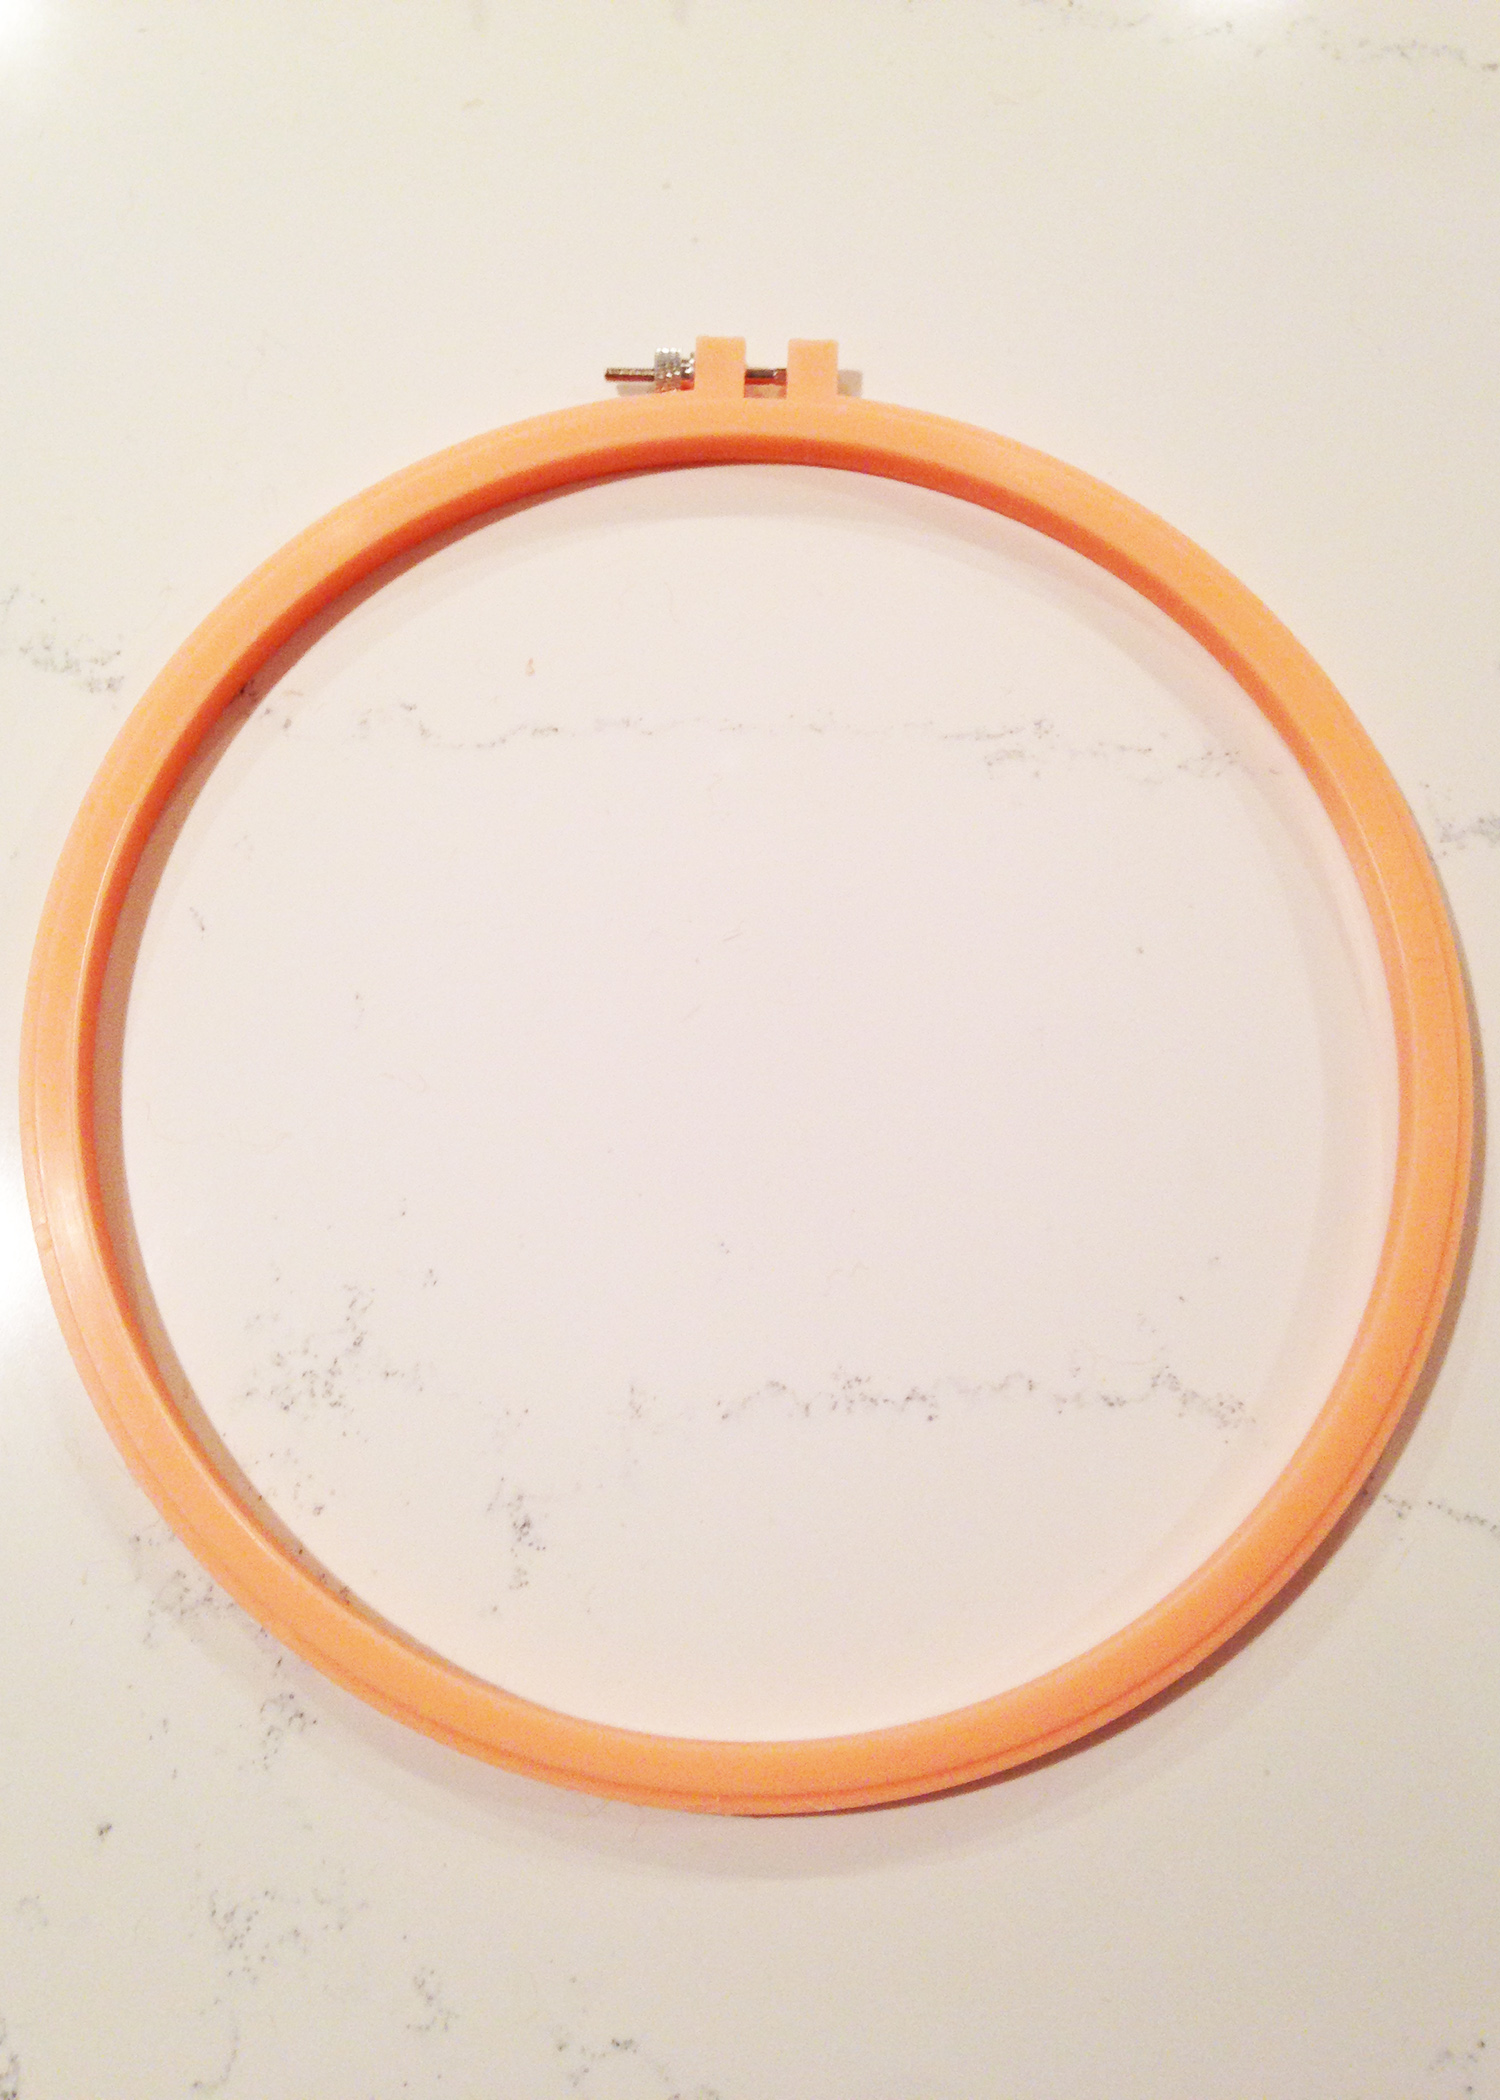
Here’s a pic of my supplies. I decided on an embroidery/sewing hoop as the foundation. If you don’t know what I’m talking about, I urge you to go buy yourself a few because they are SUPER useful for DIY projects. Think seasonal wreaths, dream catcher decor, etc. There are 2 hoops in each (one with hardware, and one without), so I simply set the one with hardware aside, and used the one without hardware as my base.
If interested, you can find a great 5-pack deal here: Plastic Circle Sewing Hoops
Or here’s a bulk buy of smaller 4-inch ones that I nearly bought myself, but then opted for one larger one: 4-Inch Embroidery Hoops
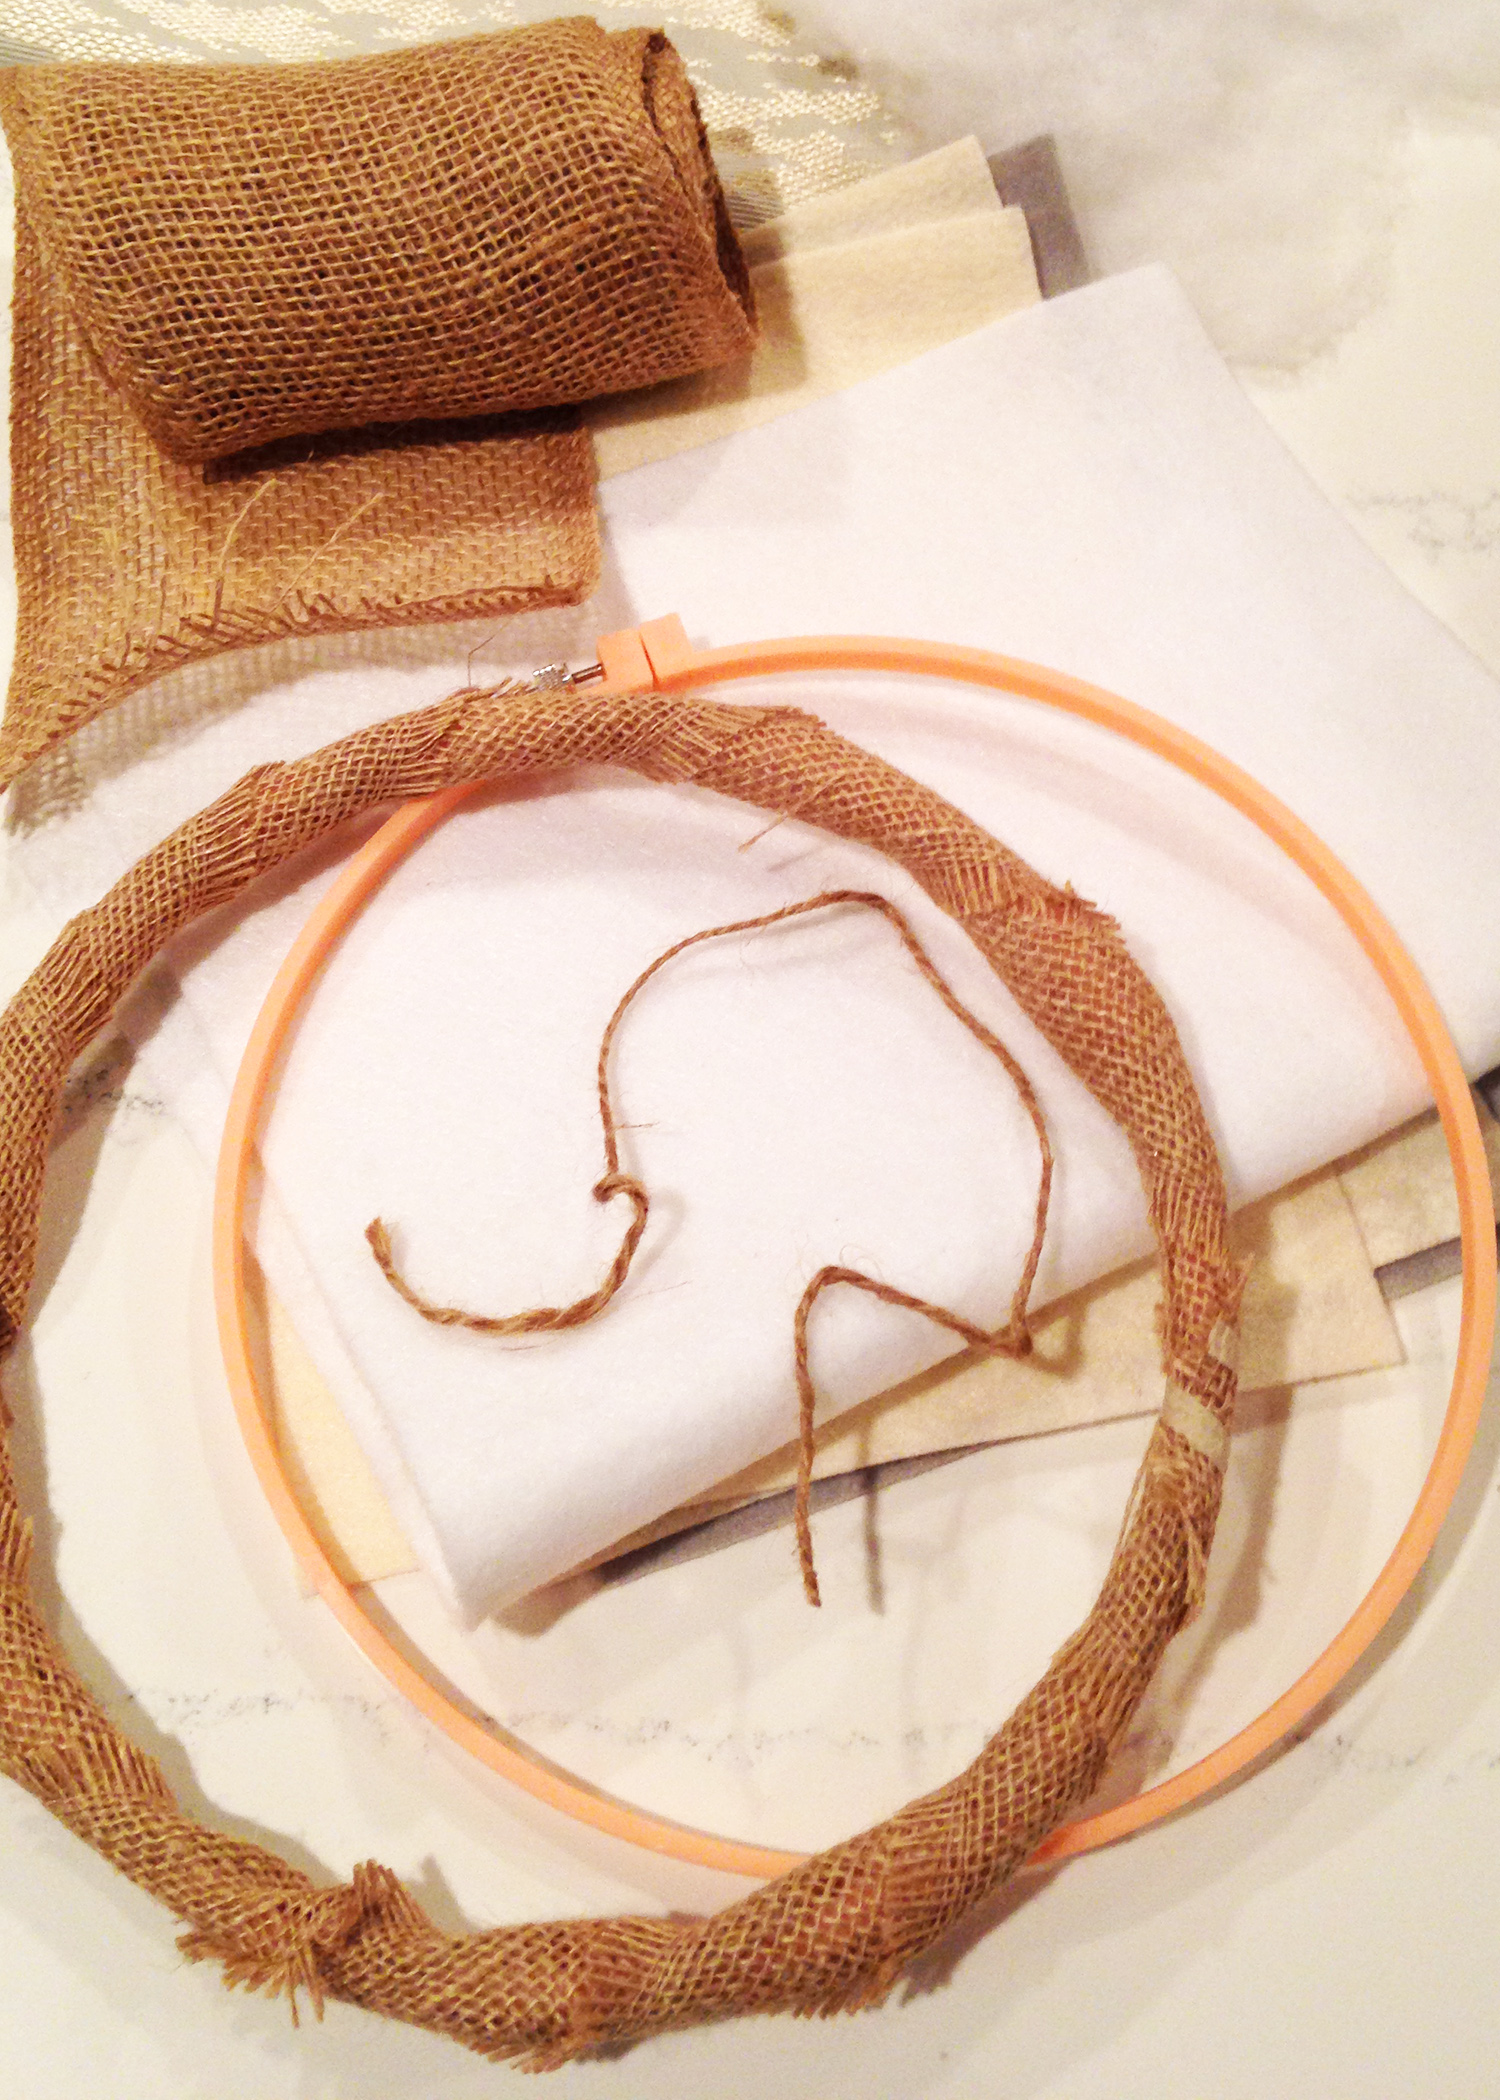

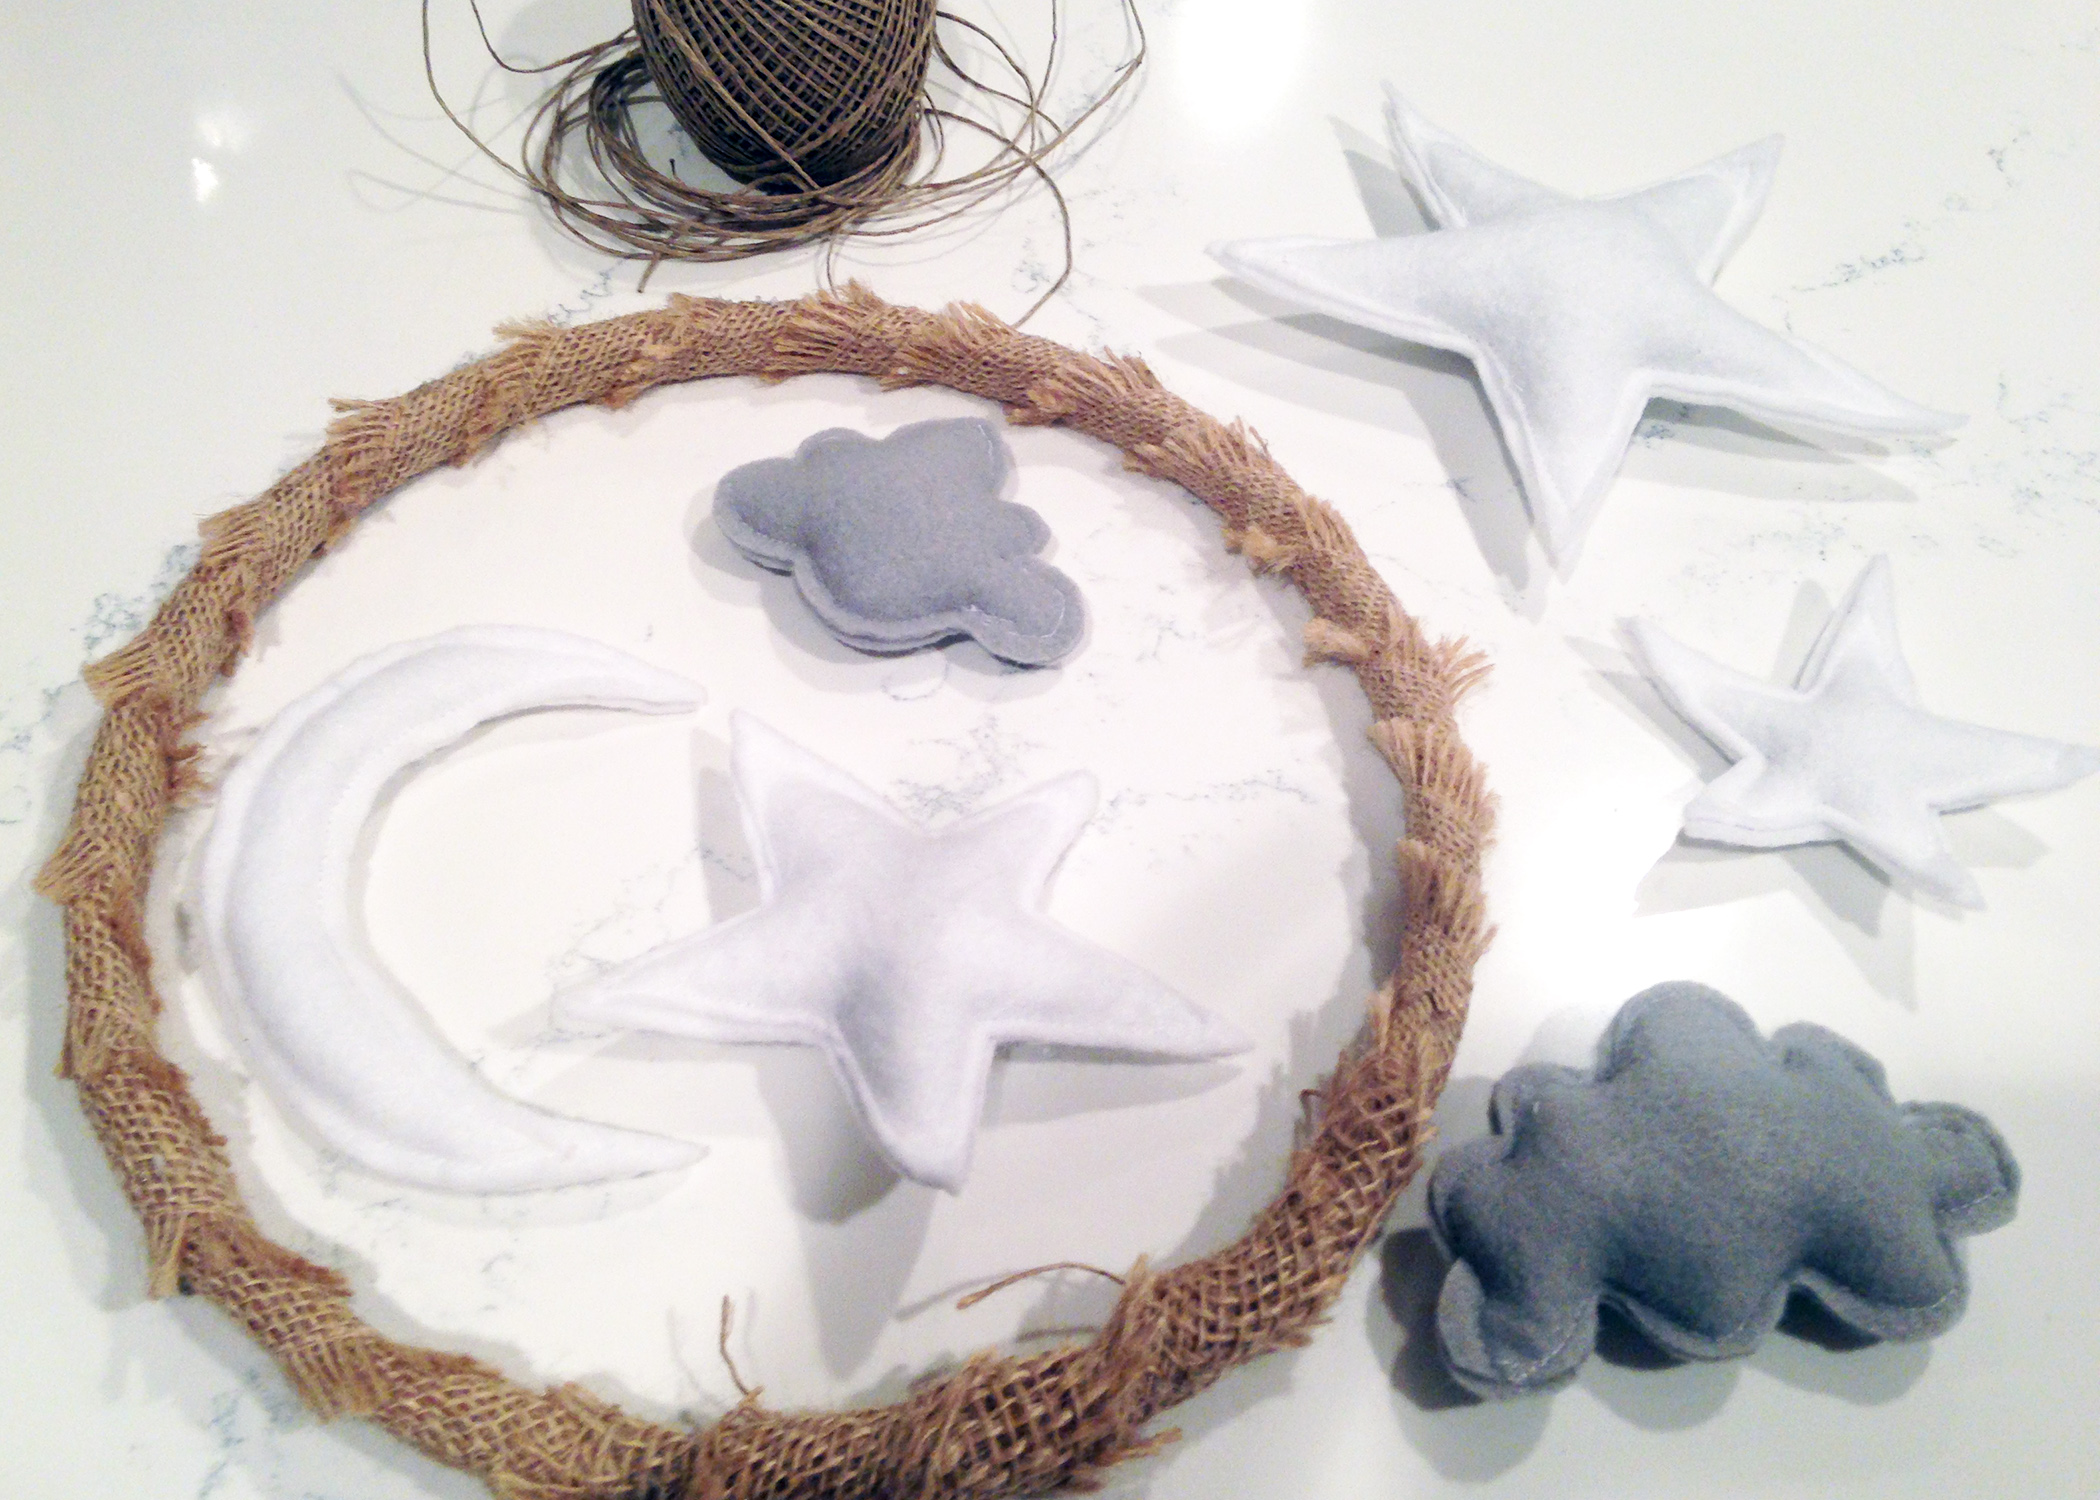
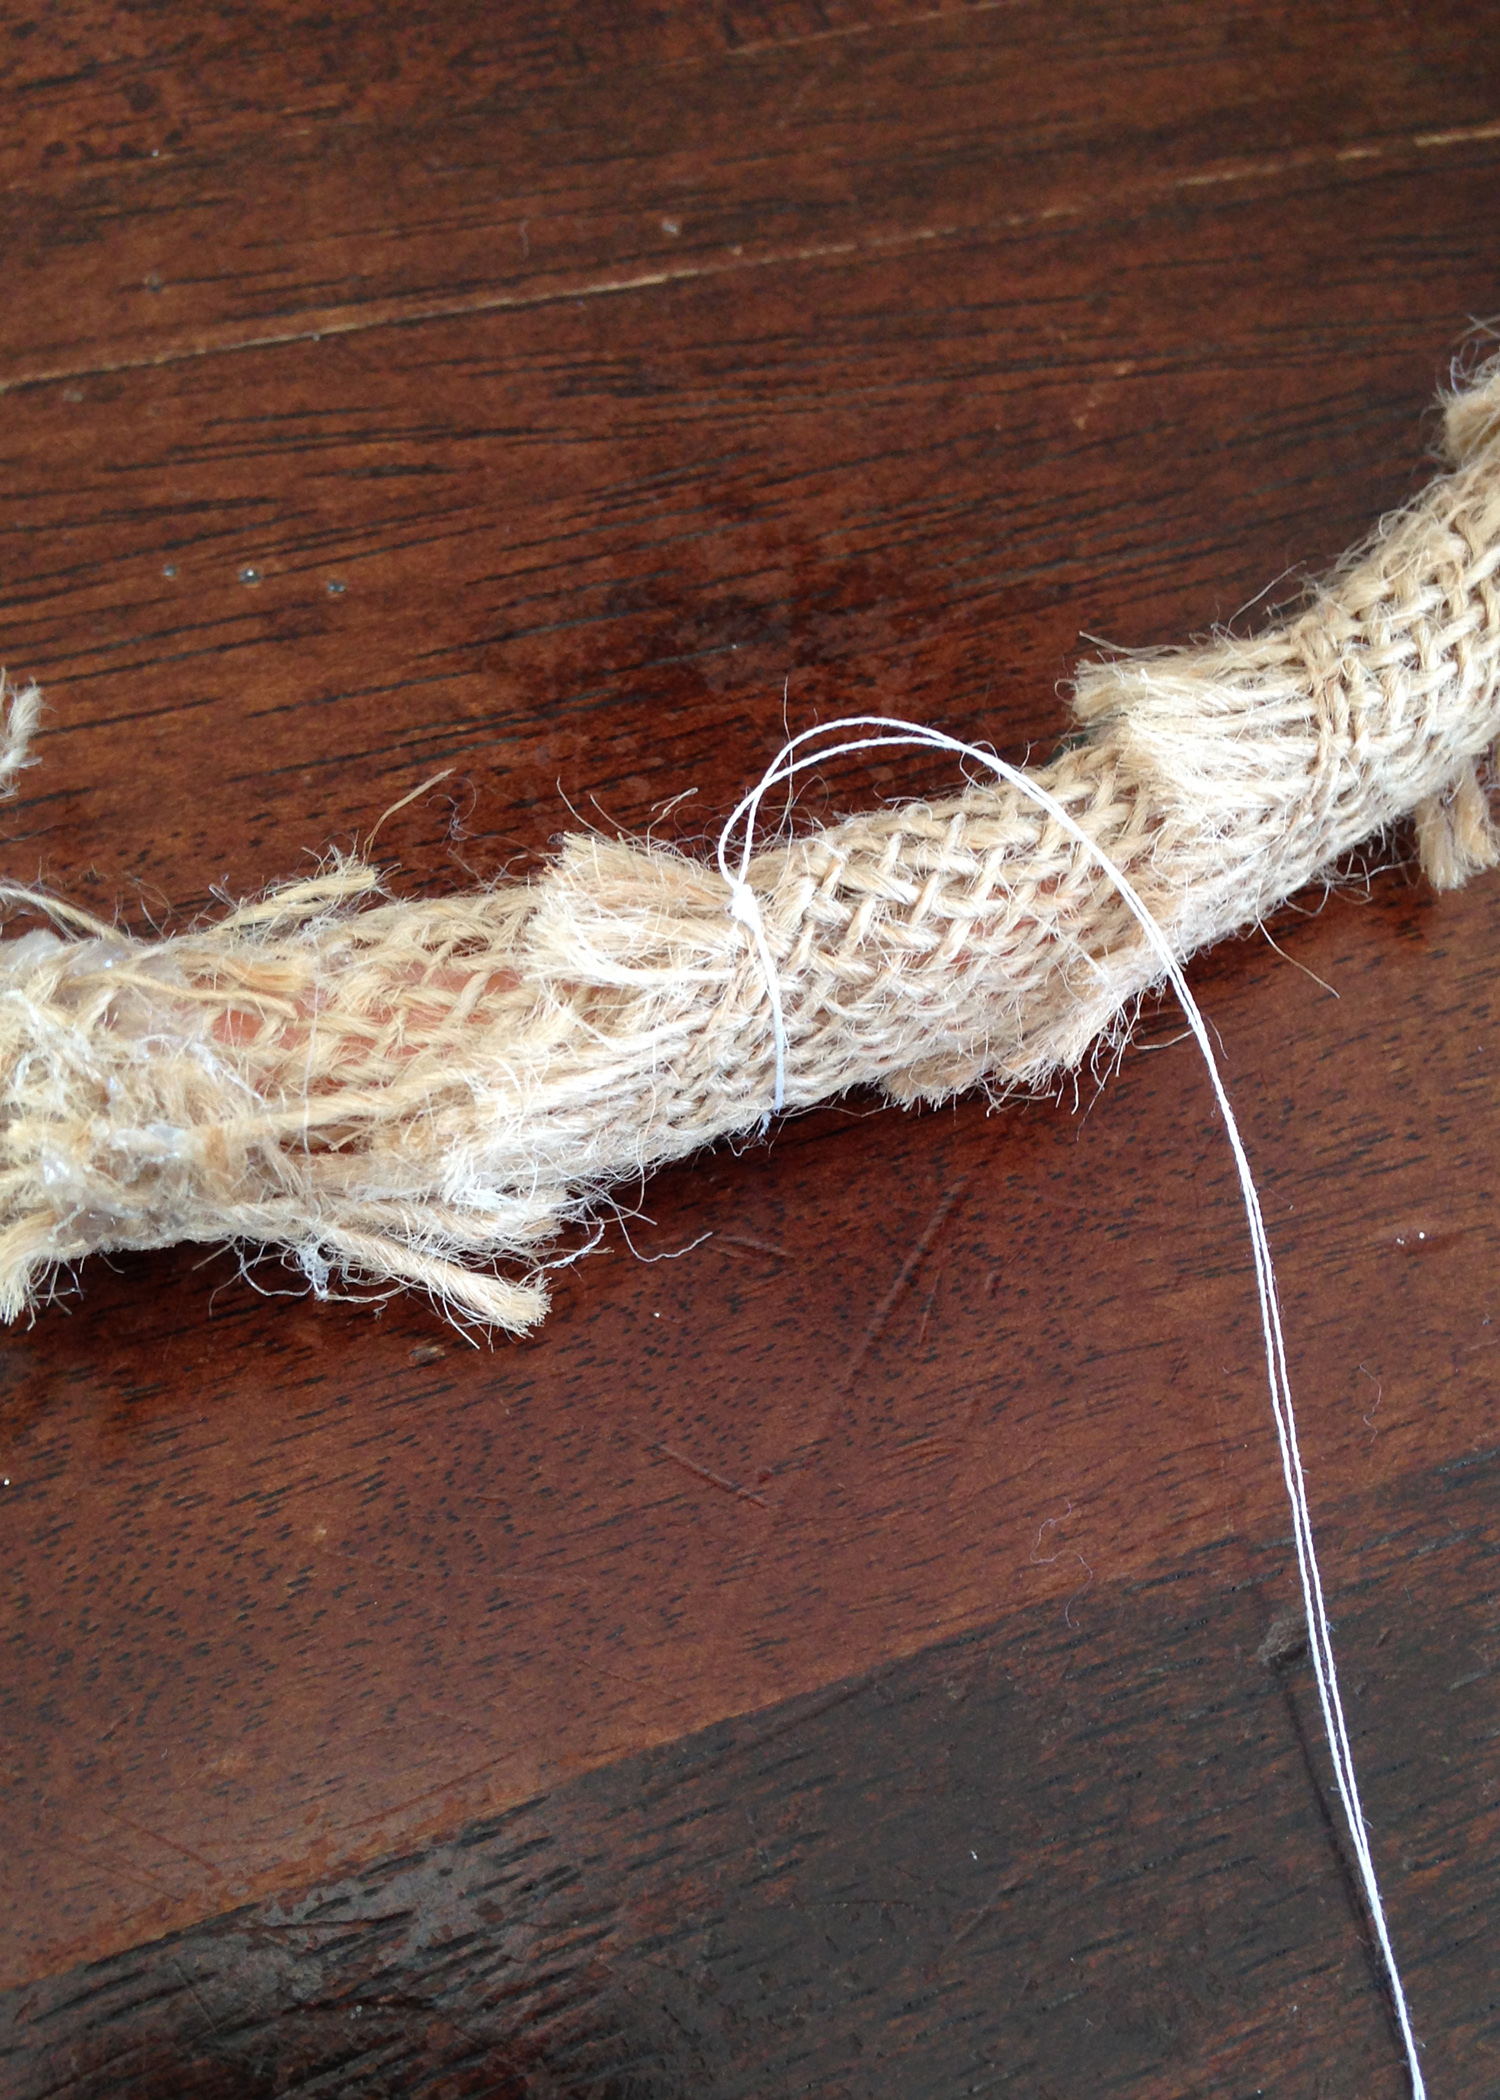
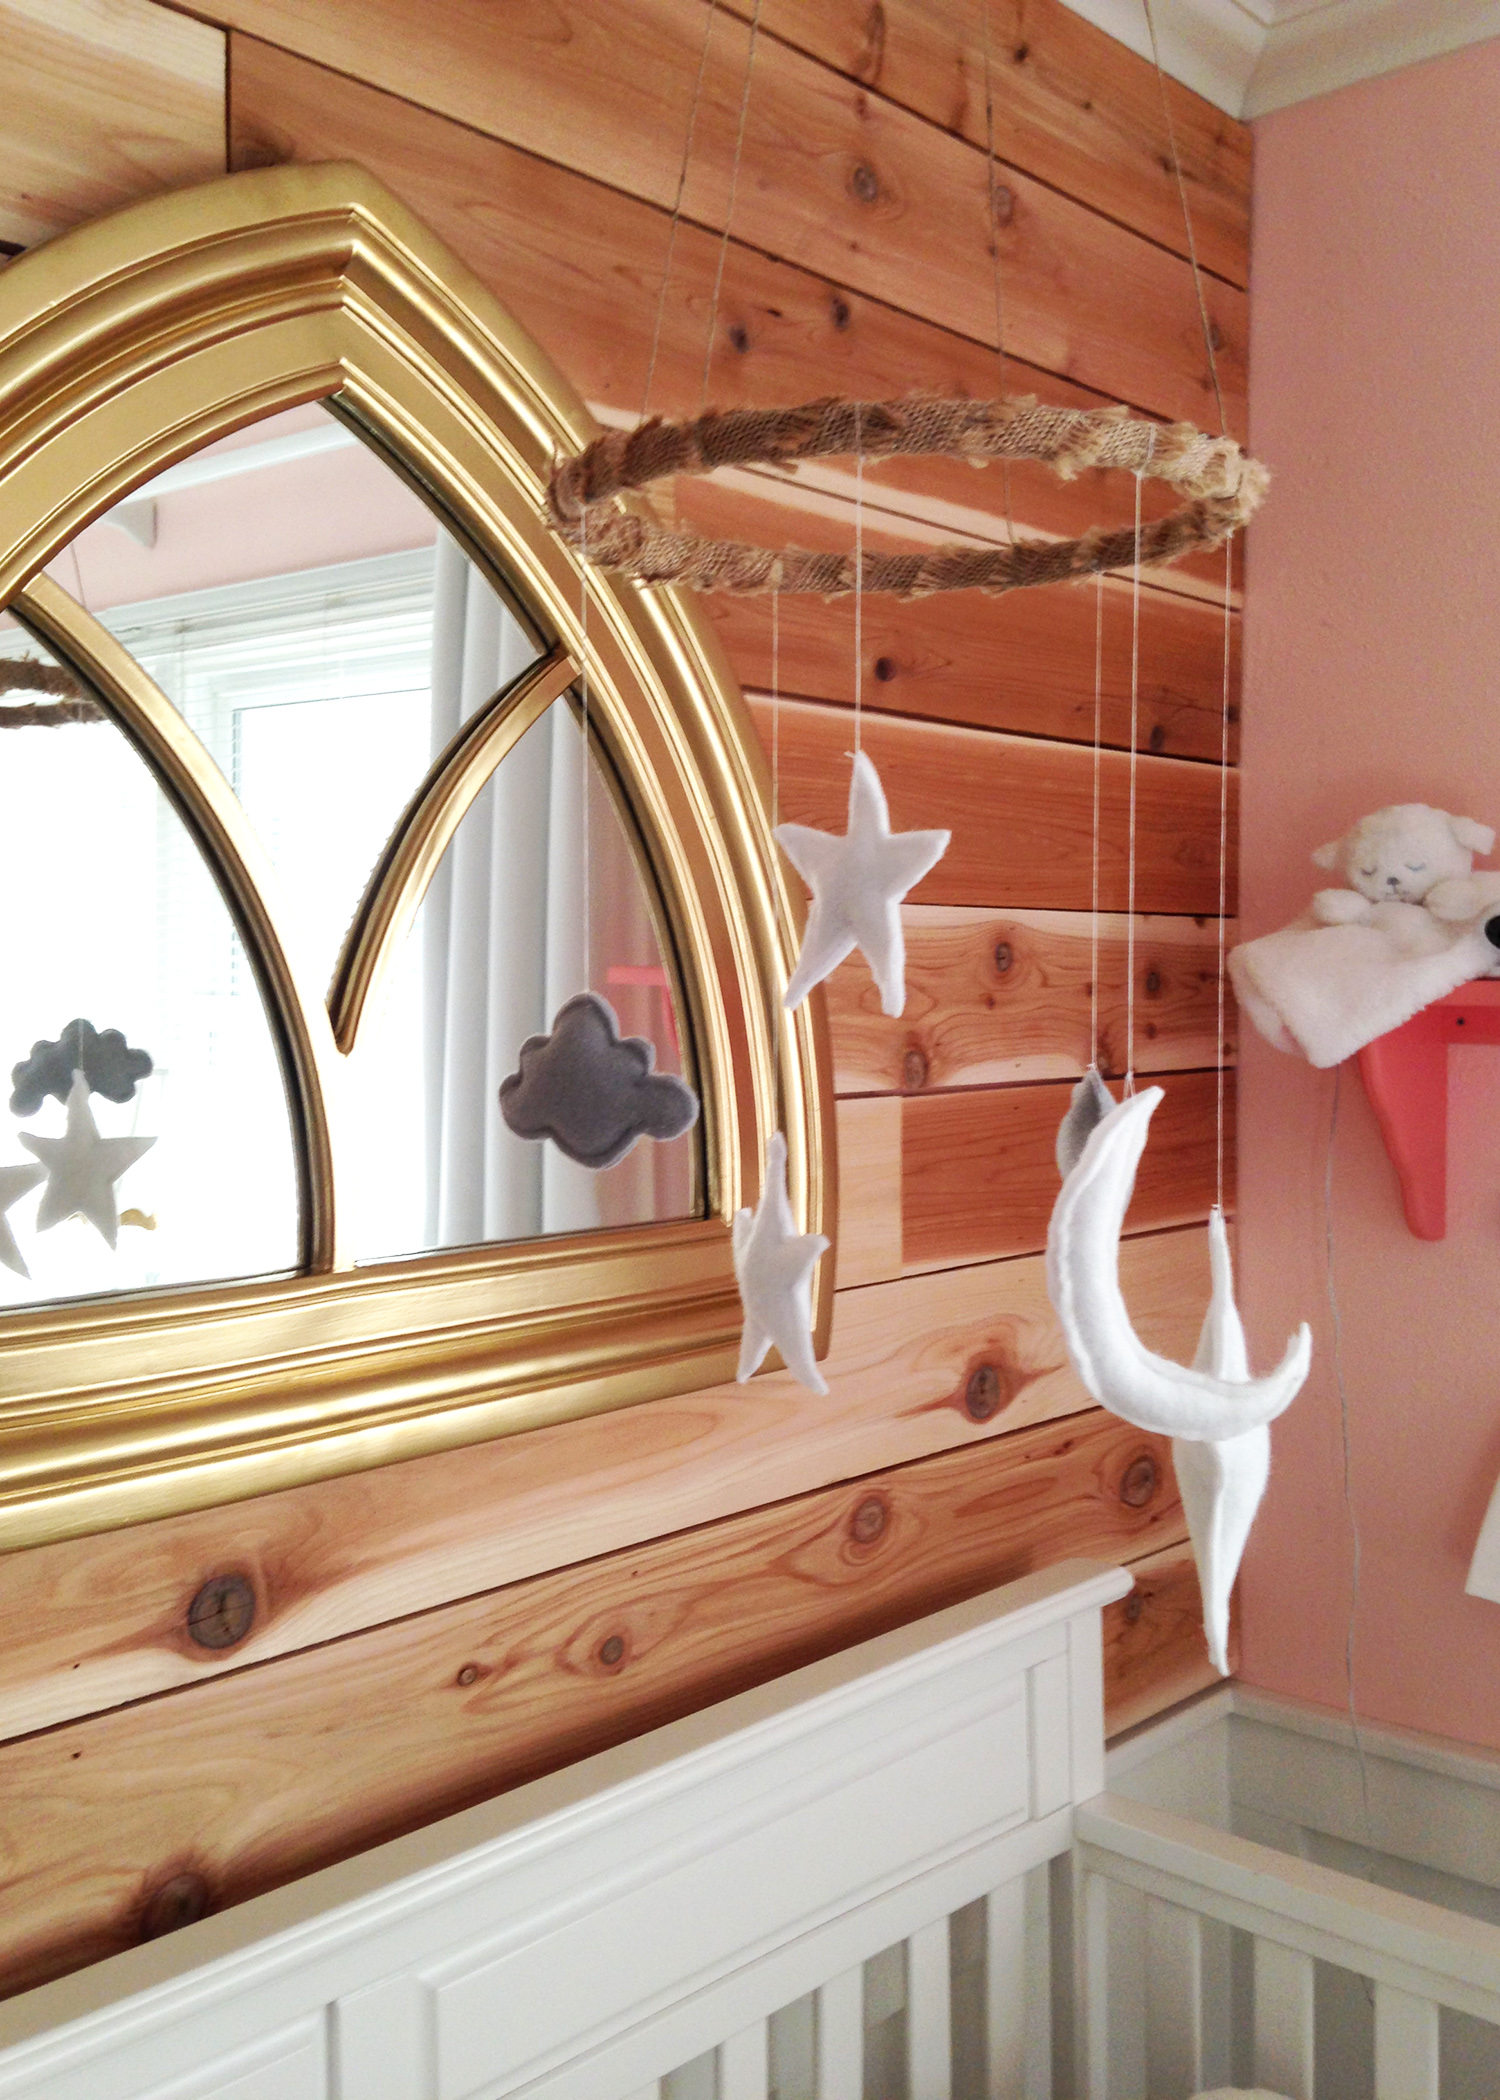
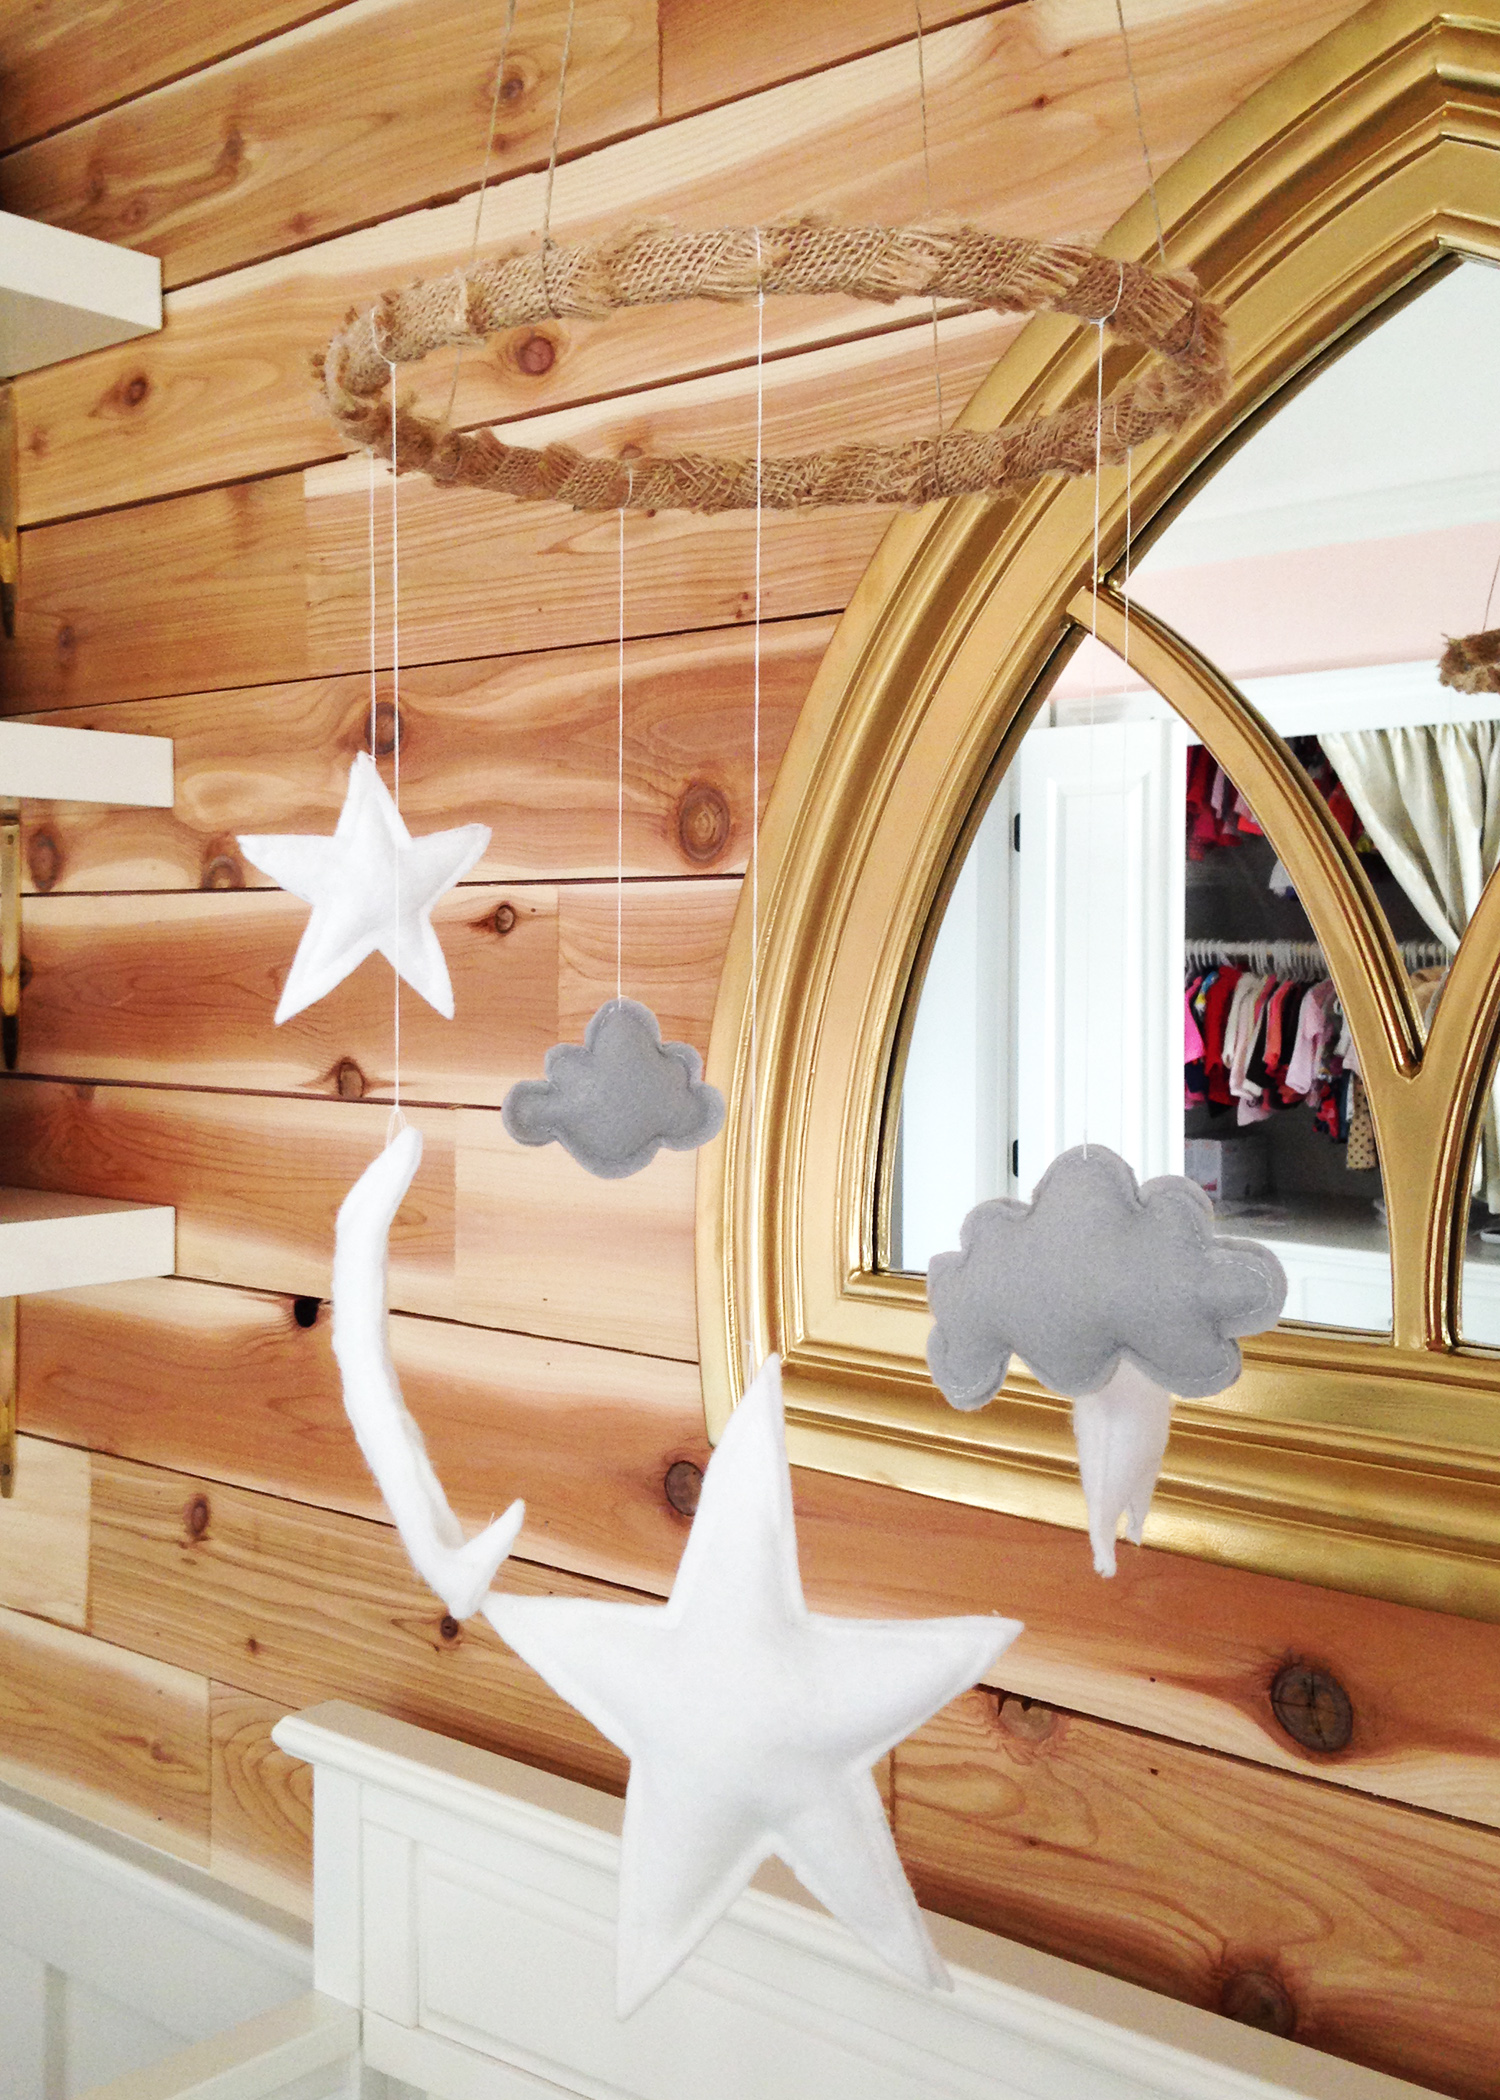
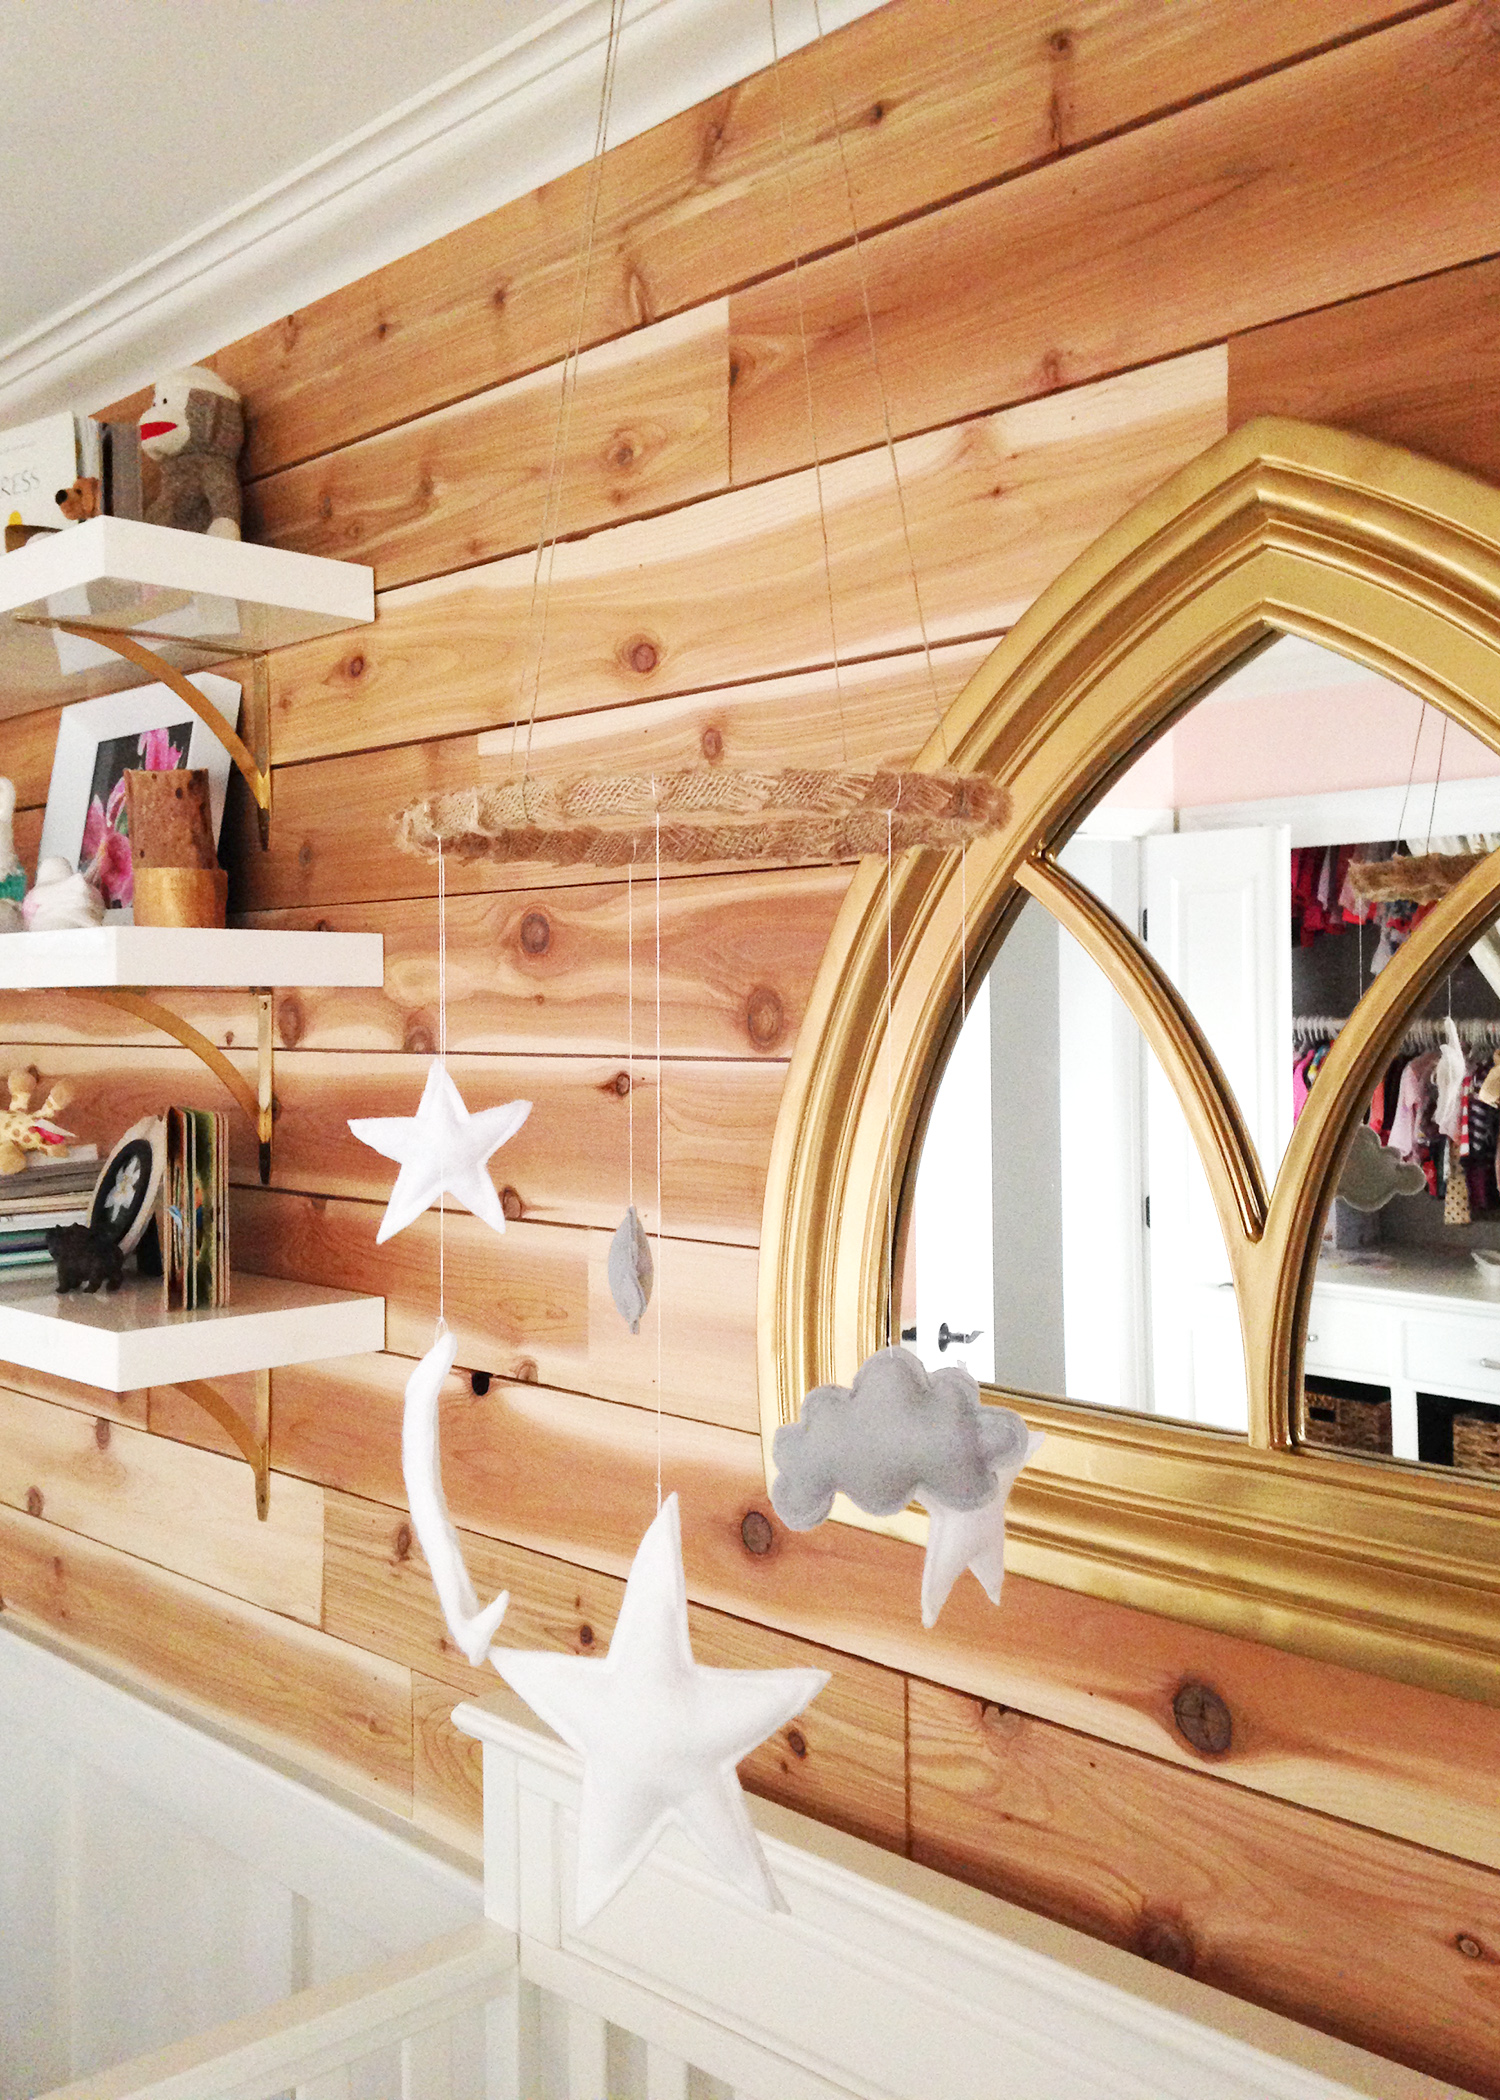
Since the theme of baby’s nursery is modern rustic, to start, I wrapped my hoop in some leftover burlap. Every half inch or so, I added a dab of hot glue to secure it.
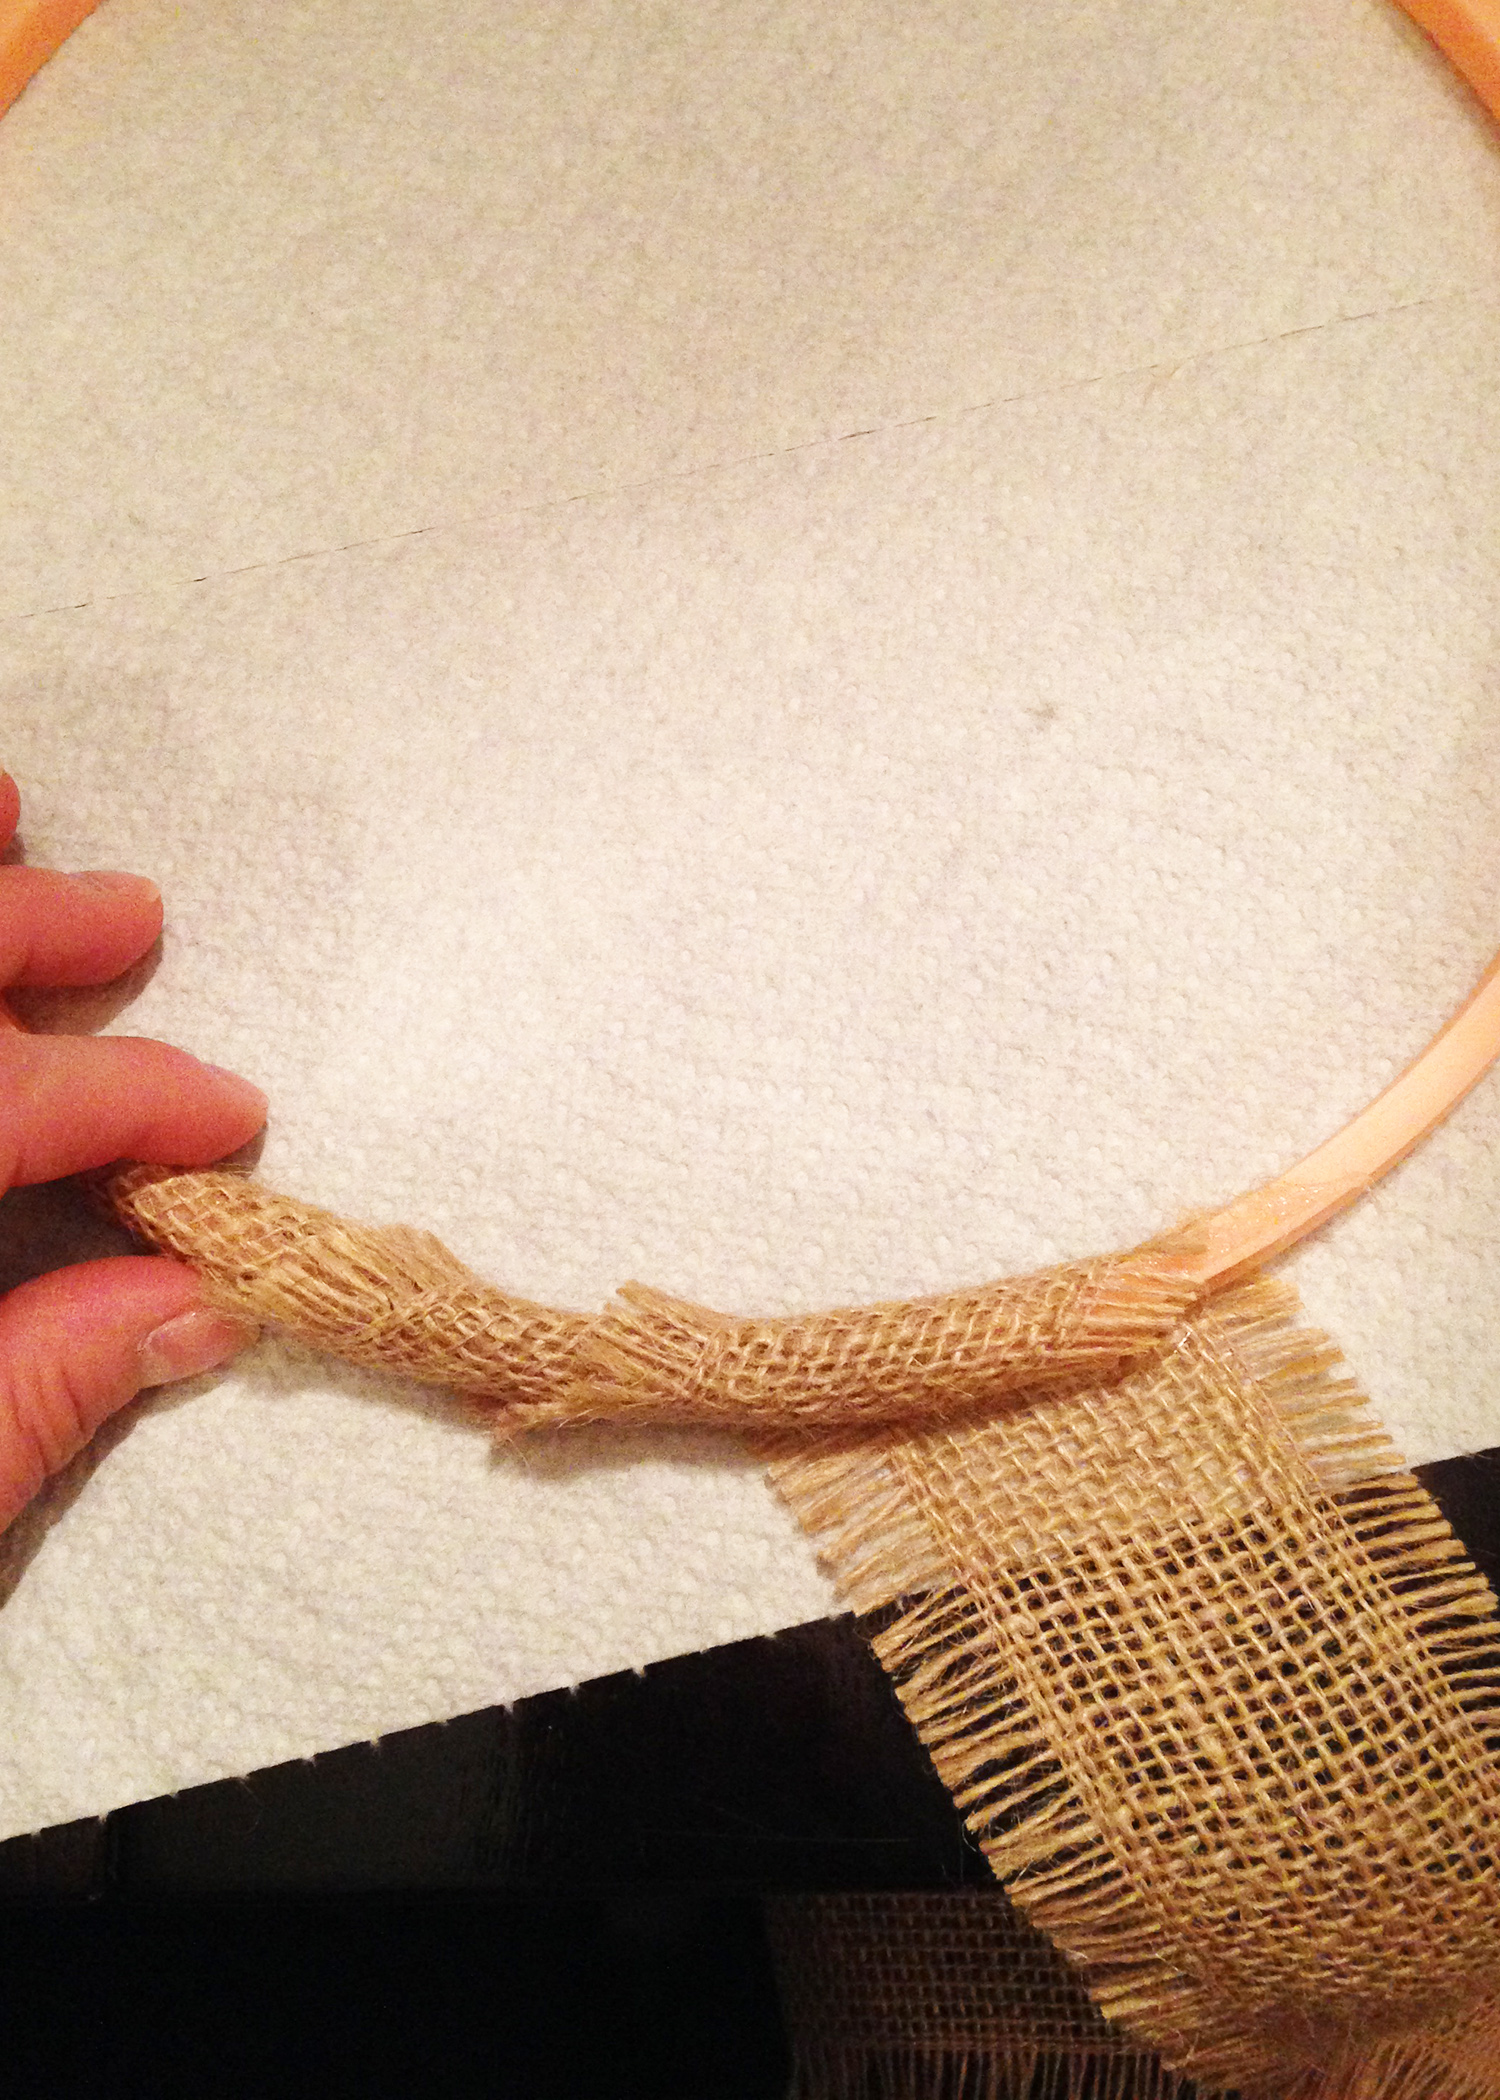

Now, if you’ve ever bought burlap (either in large fabric measurements or on a ribbon roll), you know it’s not always the cheapest at craft stores. So to help you out, I found 2 great deals. You could either go with a wider 12-inch length (you might need to cut it in half to wrap your sewing hoop for this project), or something smaller. In this case, a 5.5-inch length:
5.5″ Burlap Ribbon Roll
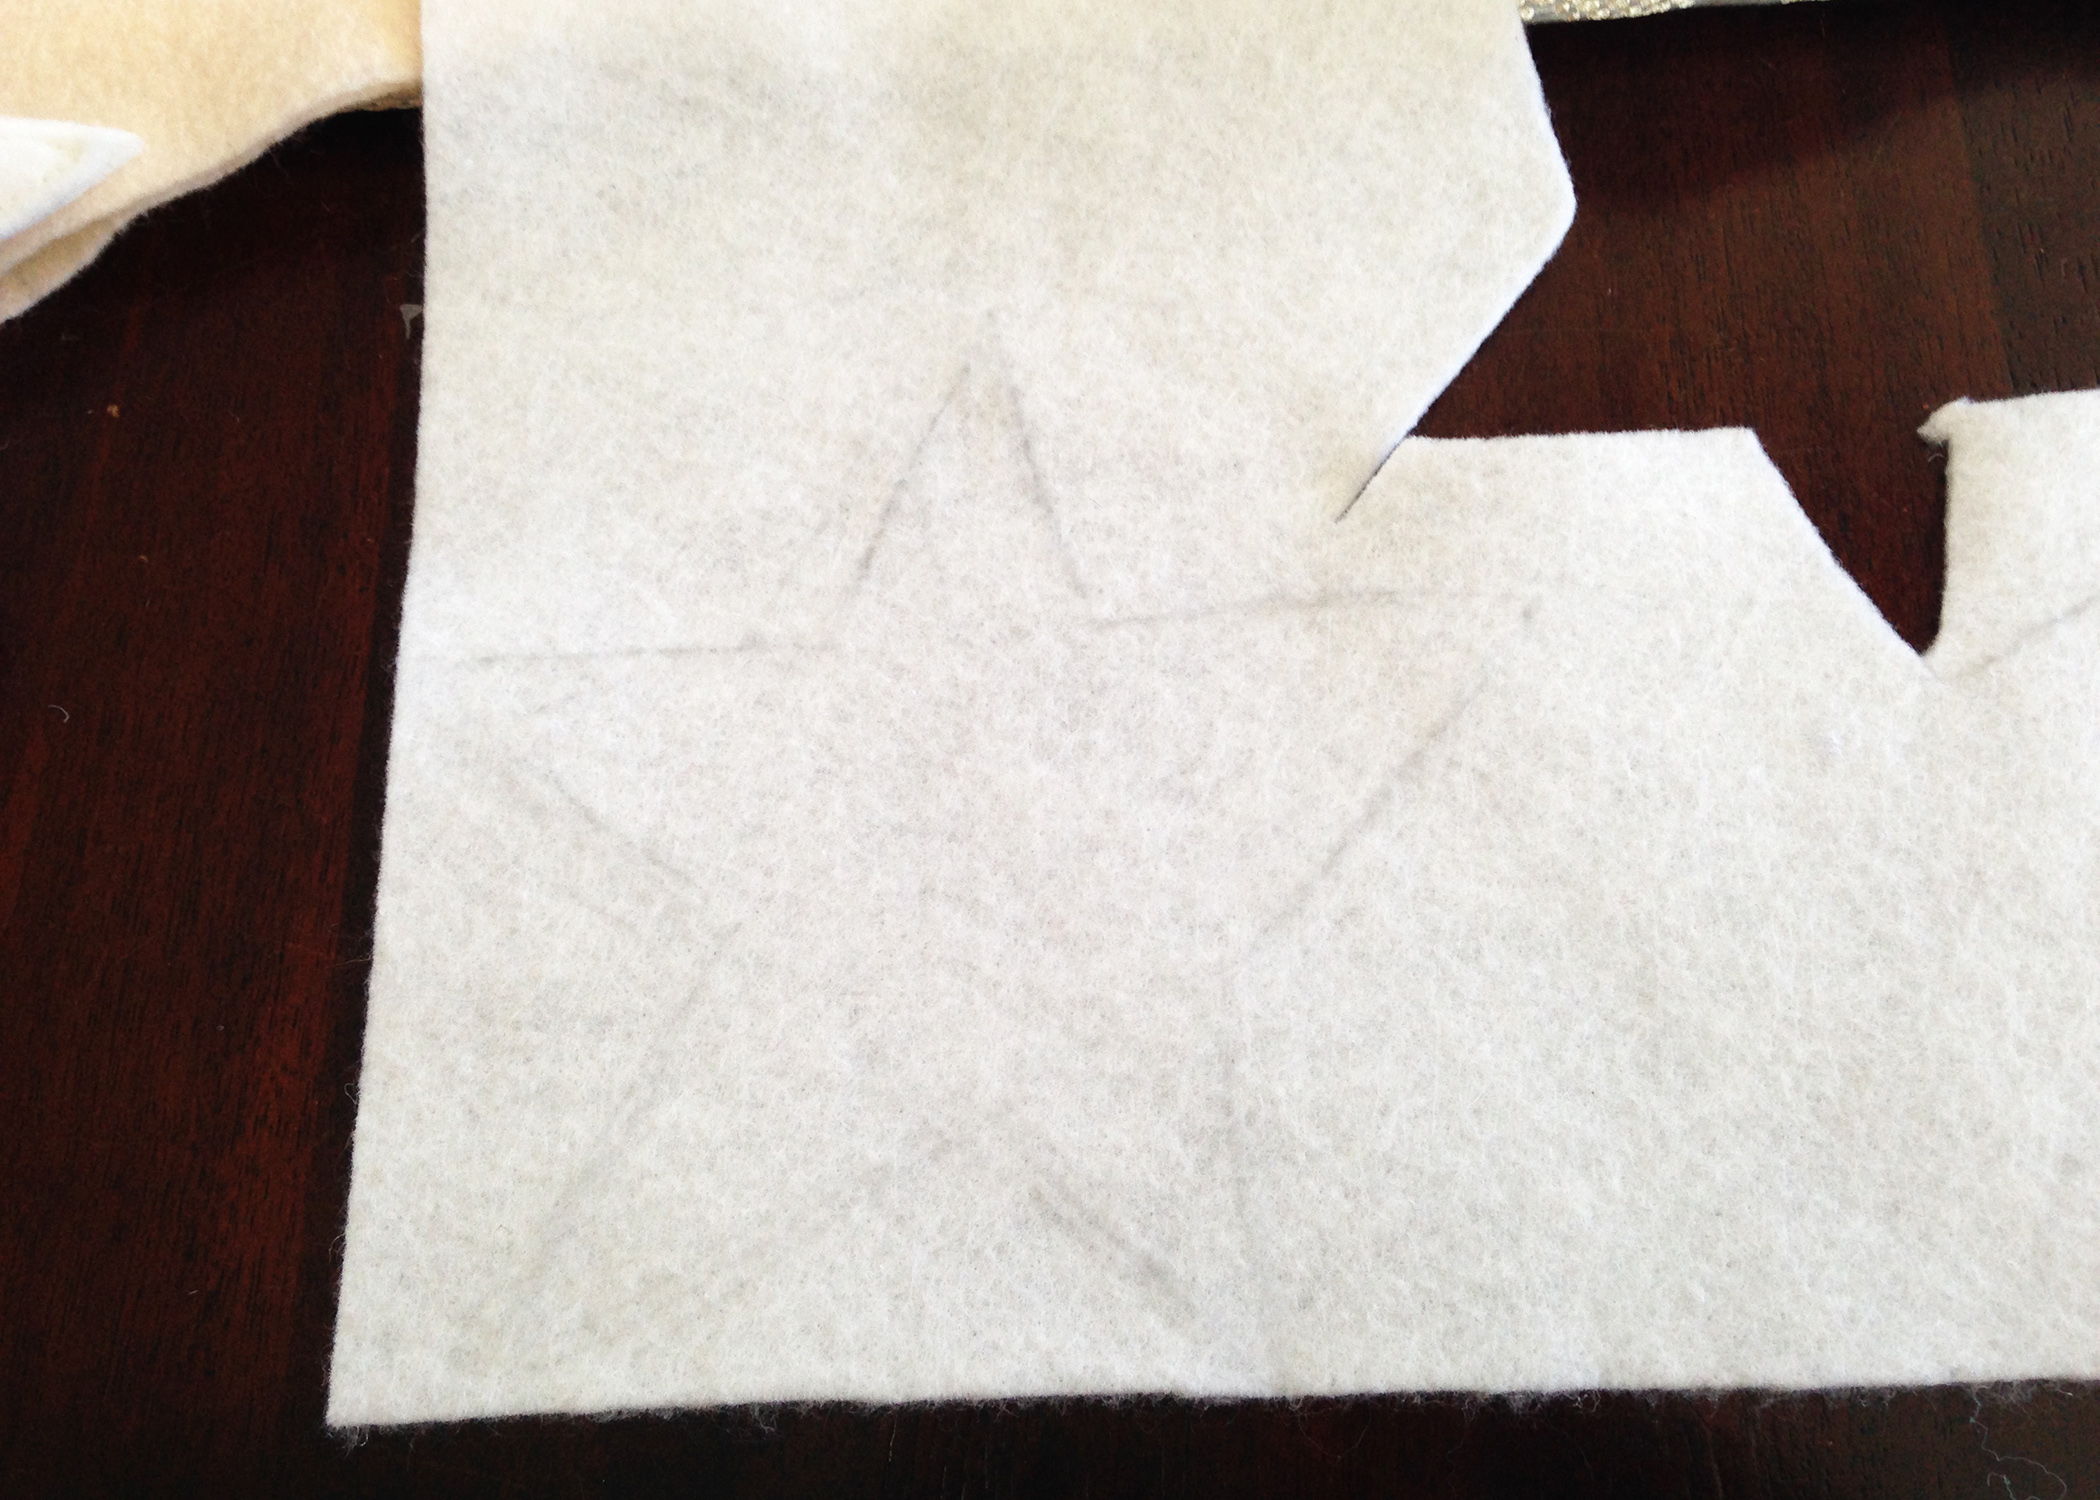
Next, it was time to cut and sew the main pieces of the mobile. I used a neutral palette of grey and white felt, but you could also easily add a pop or two of color. As for my “theme,” I went with simple stars and clouds, and one larger moon. I also didn’t overthink this part. I used the “eyeball it” process (aka the best process) to draw out my shapes because I felt the imperfect-nature of them would be more pleasing to the eye. I think I was right!
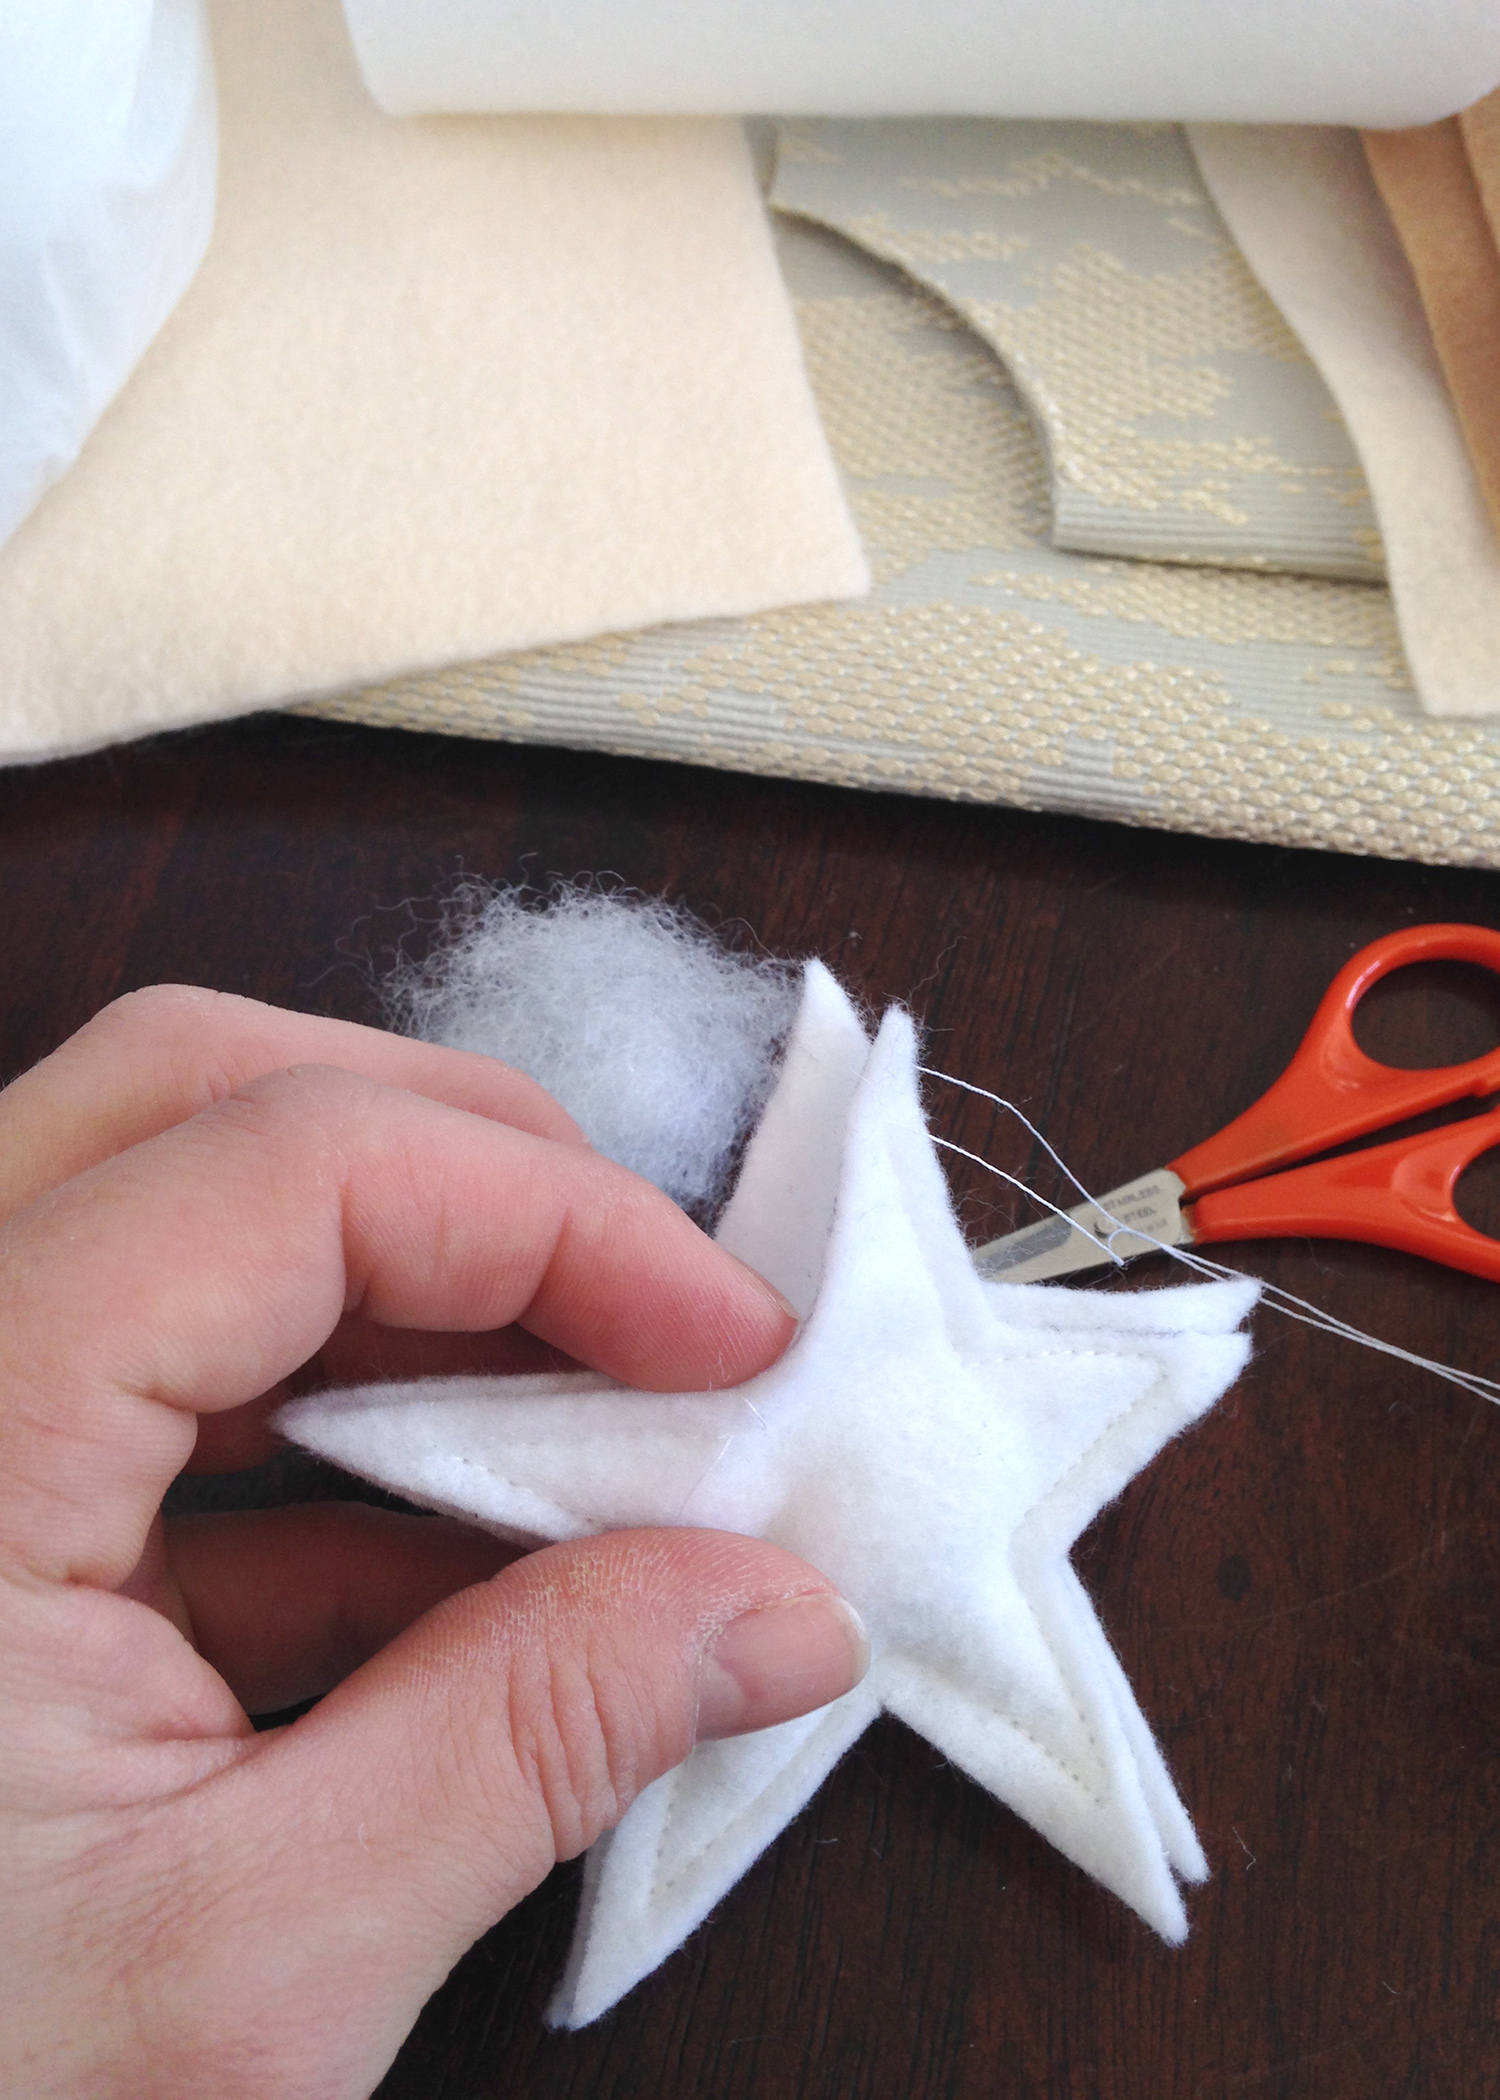
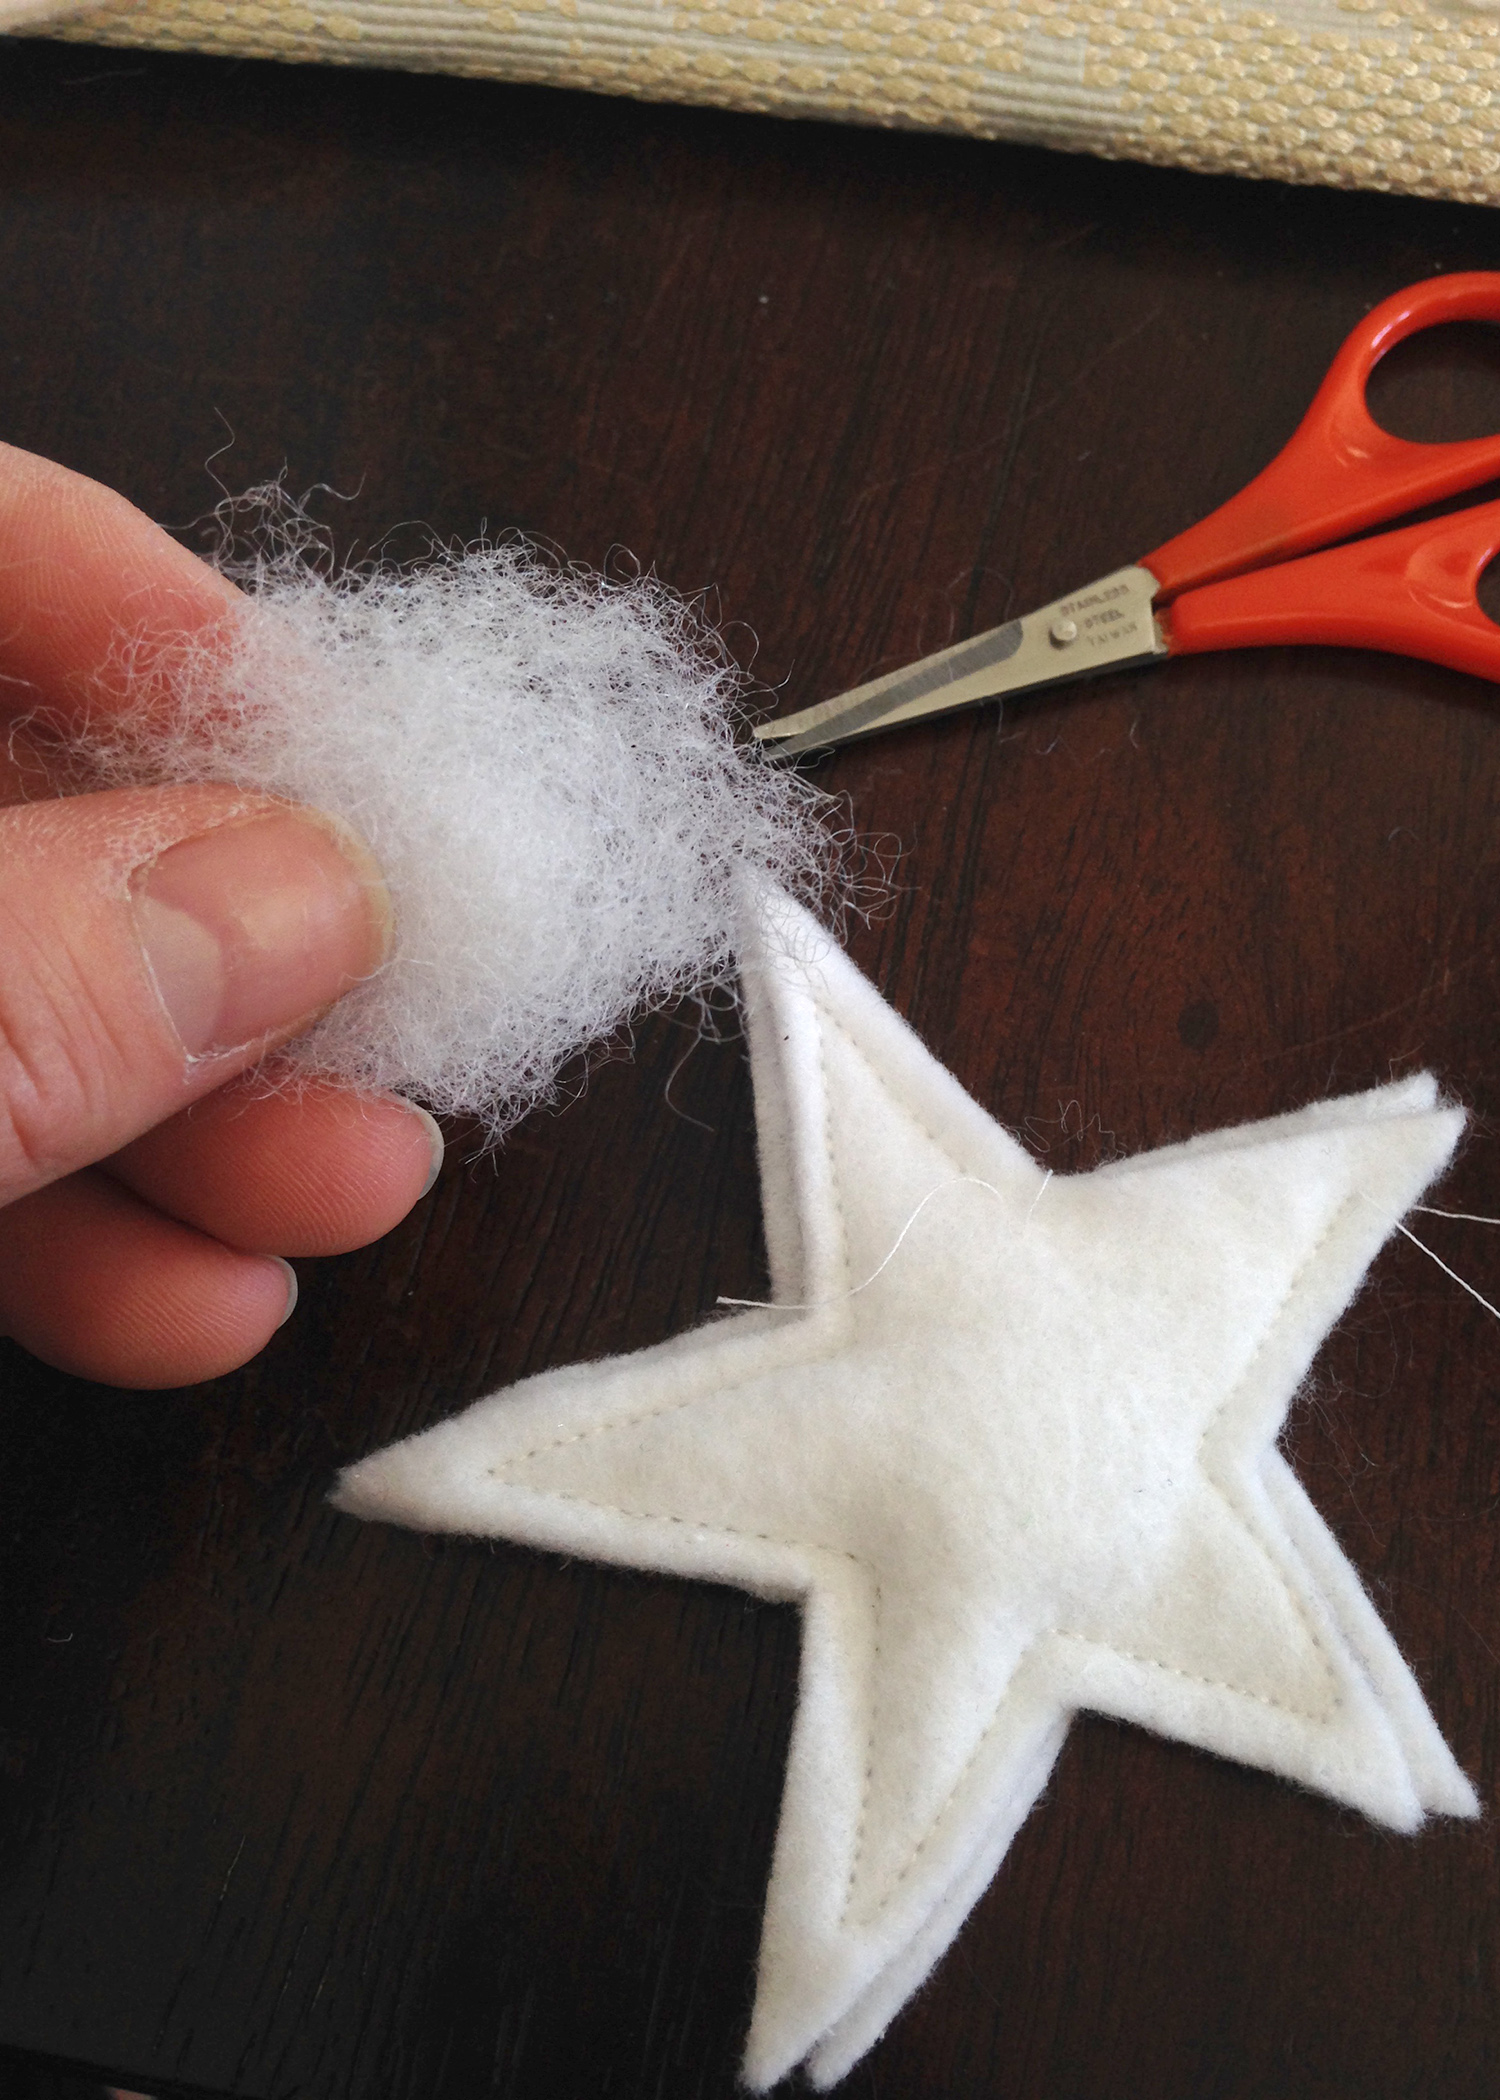
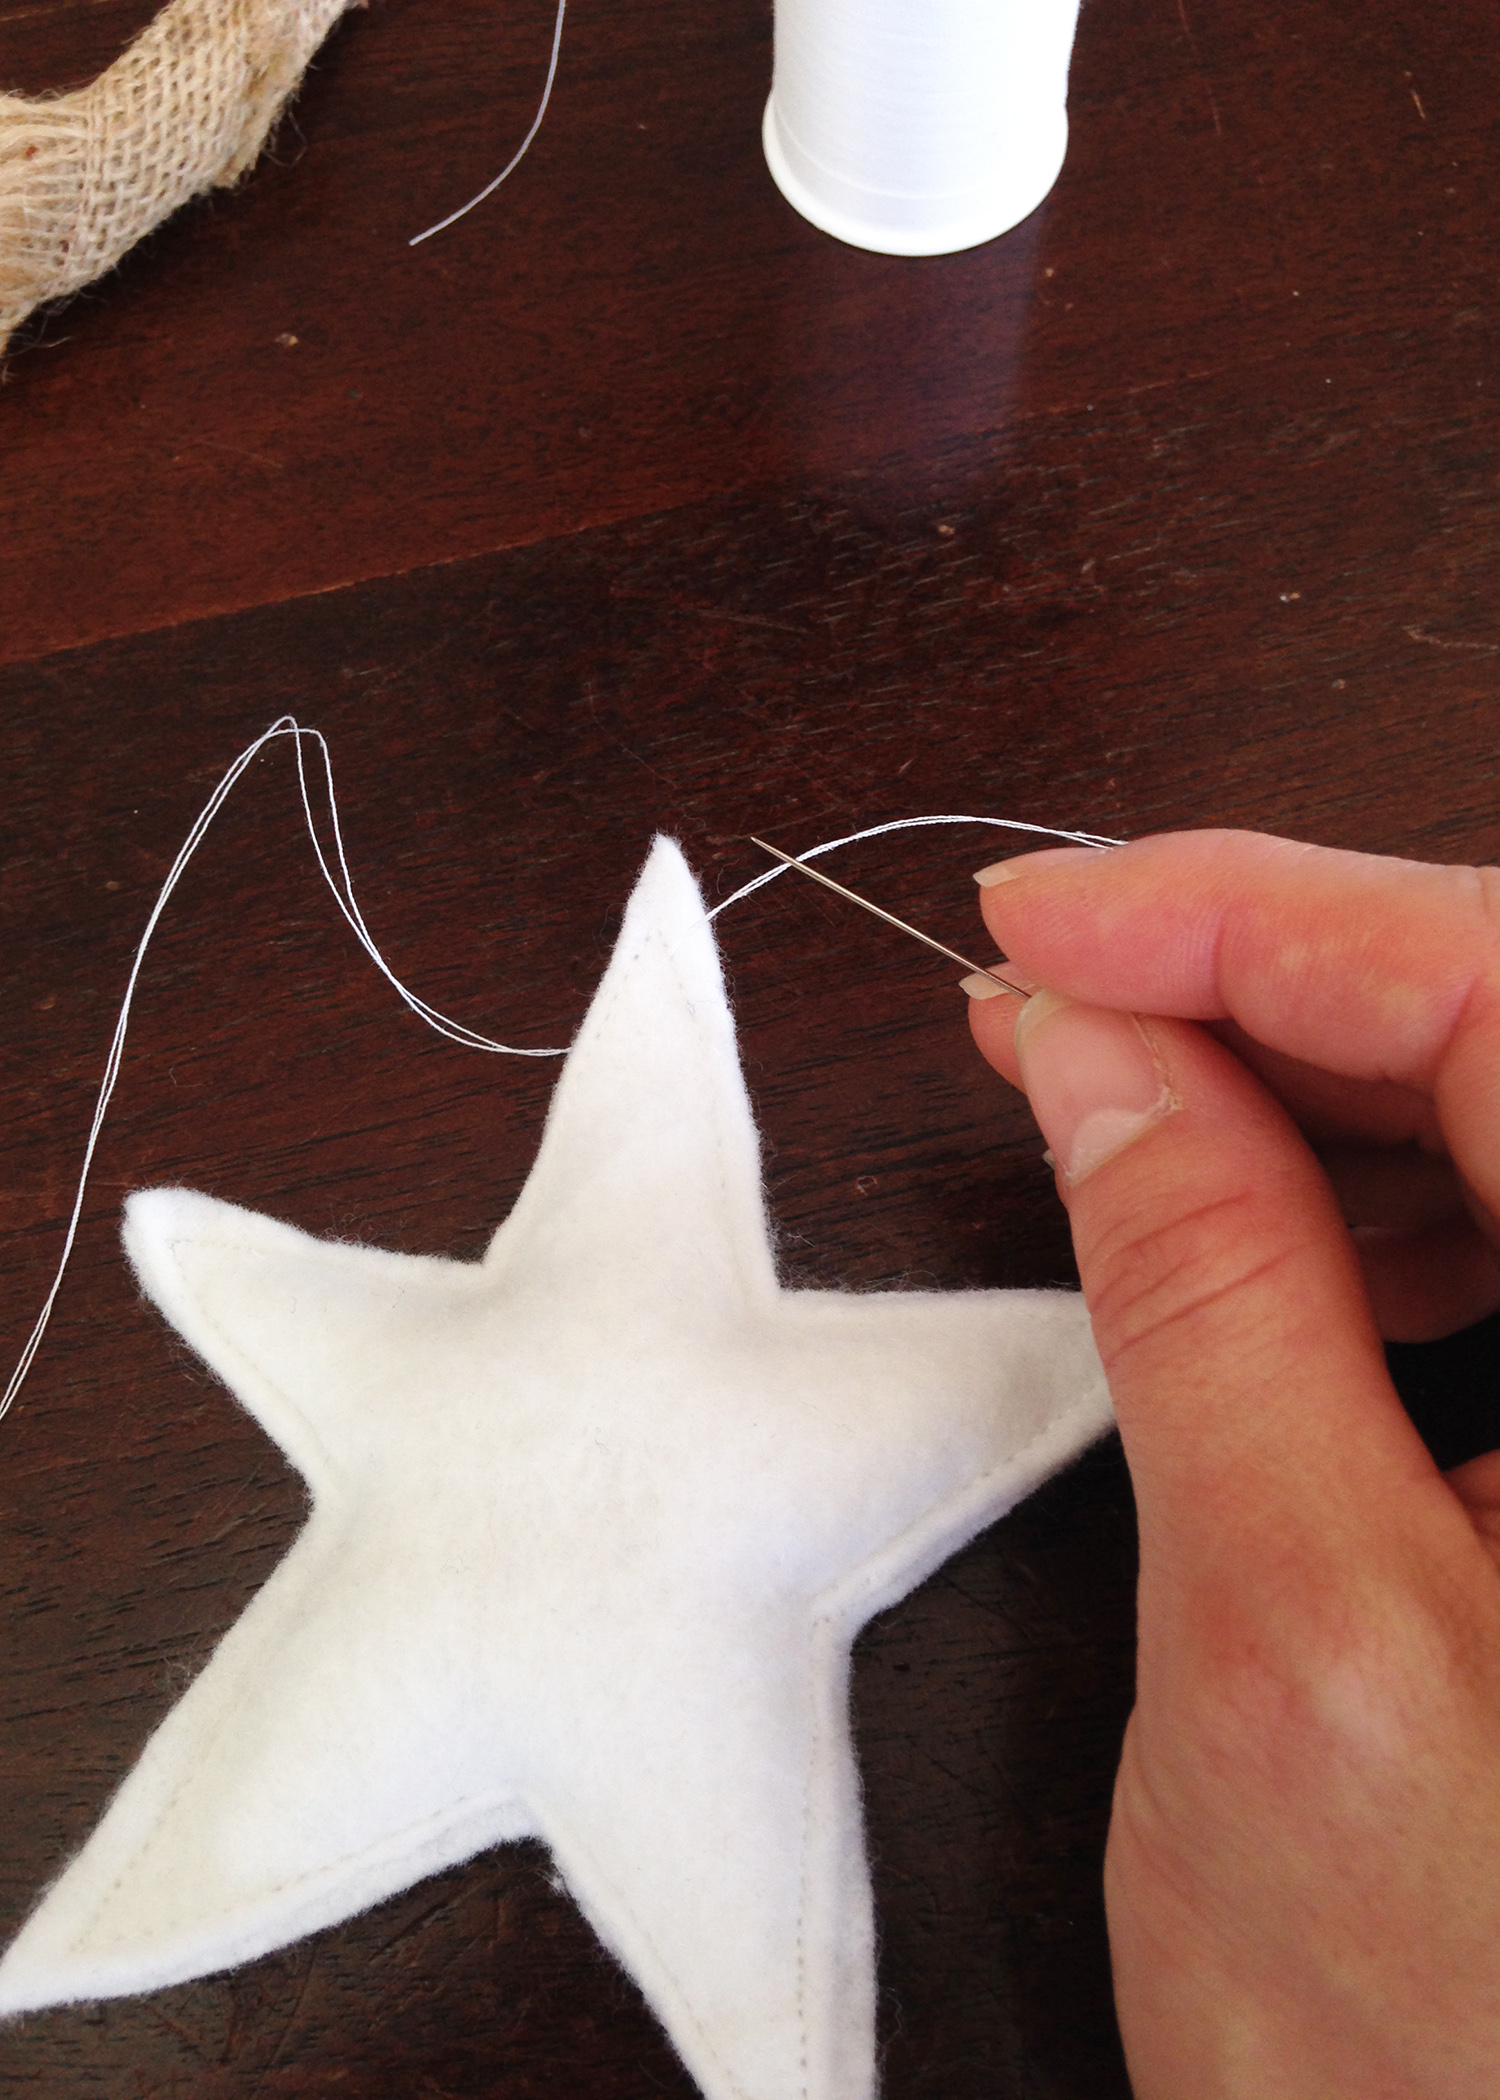
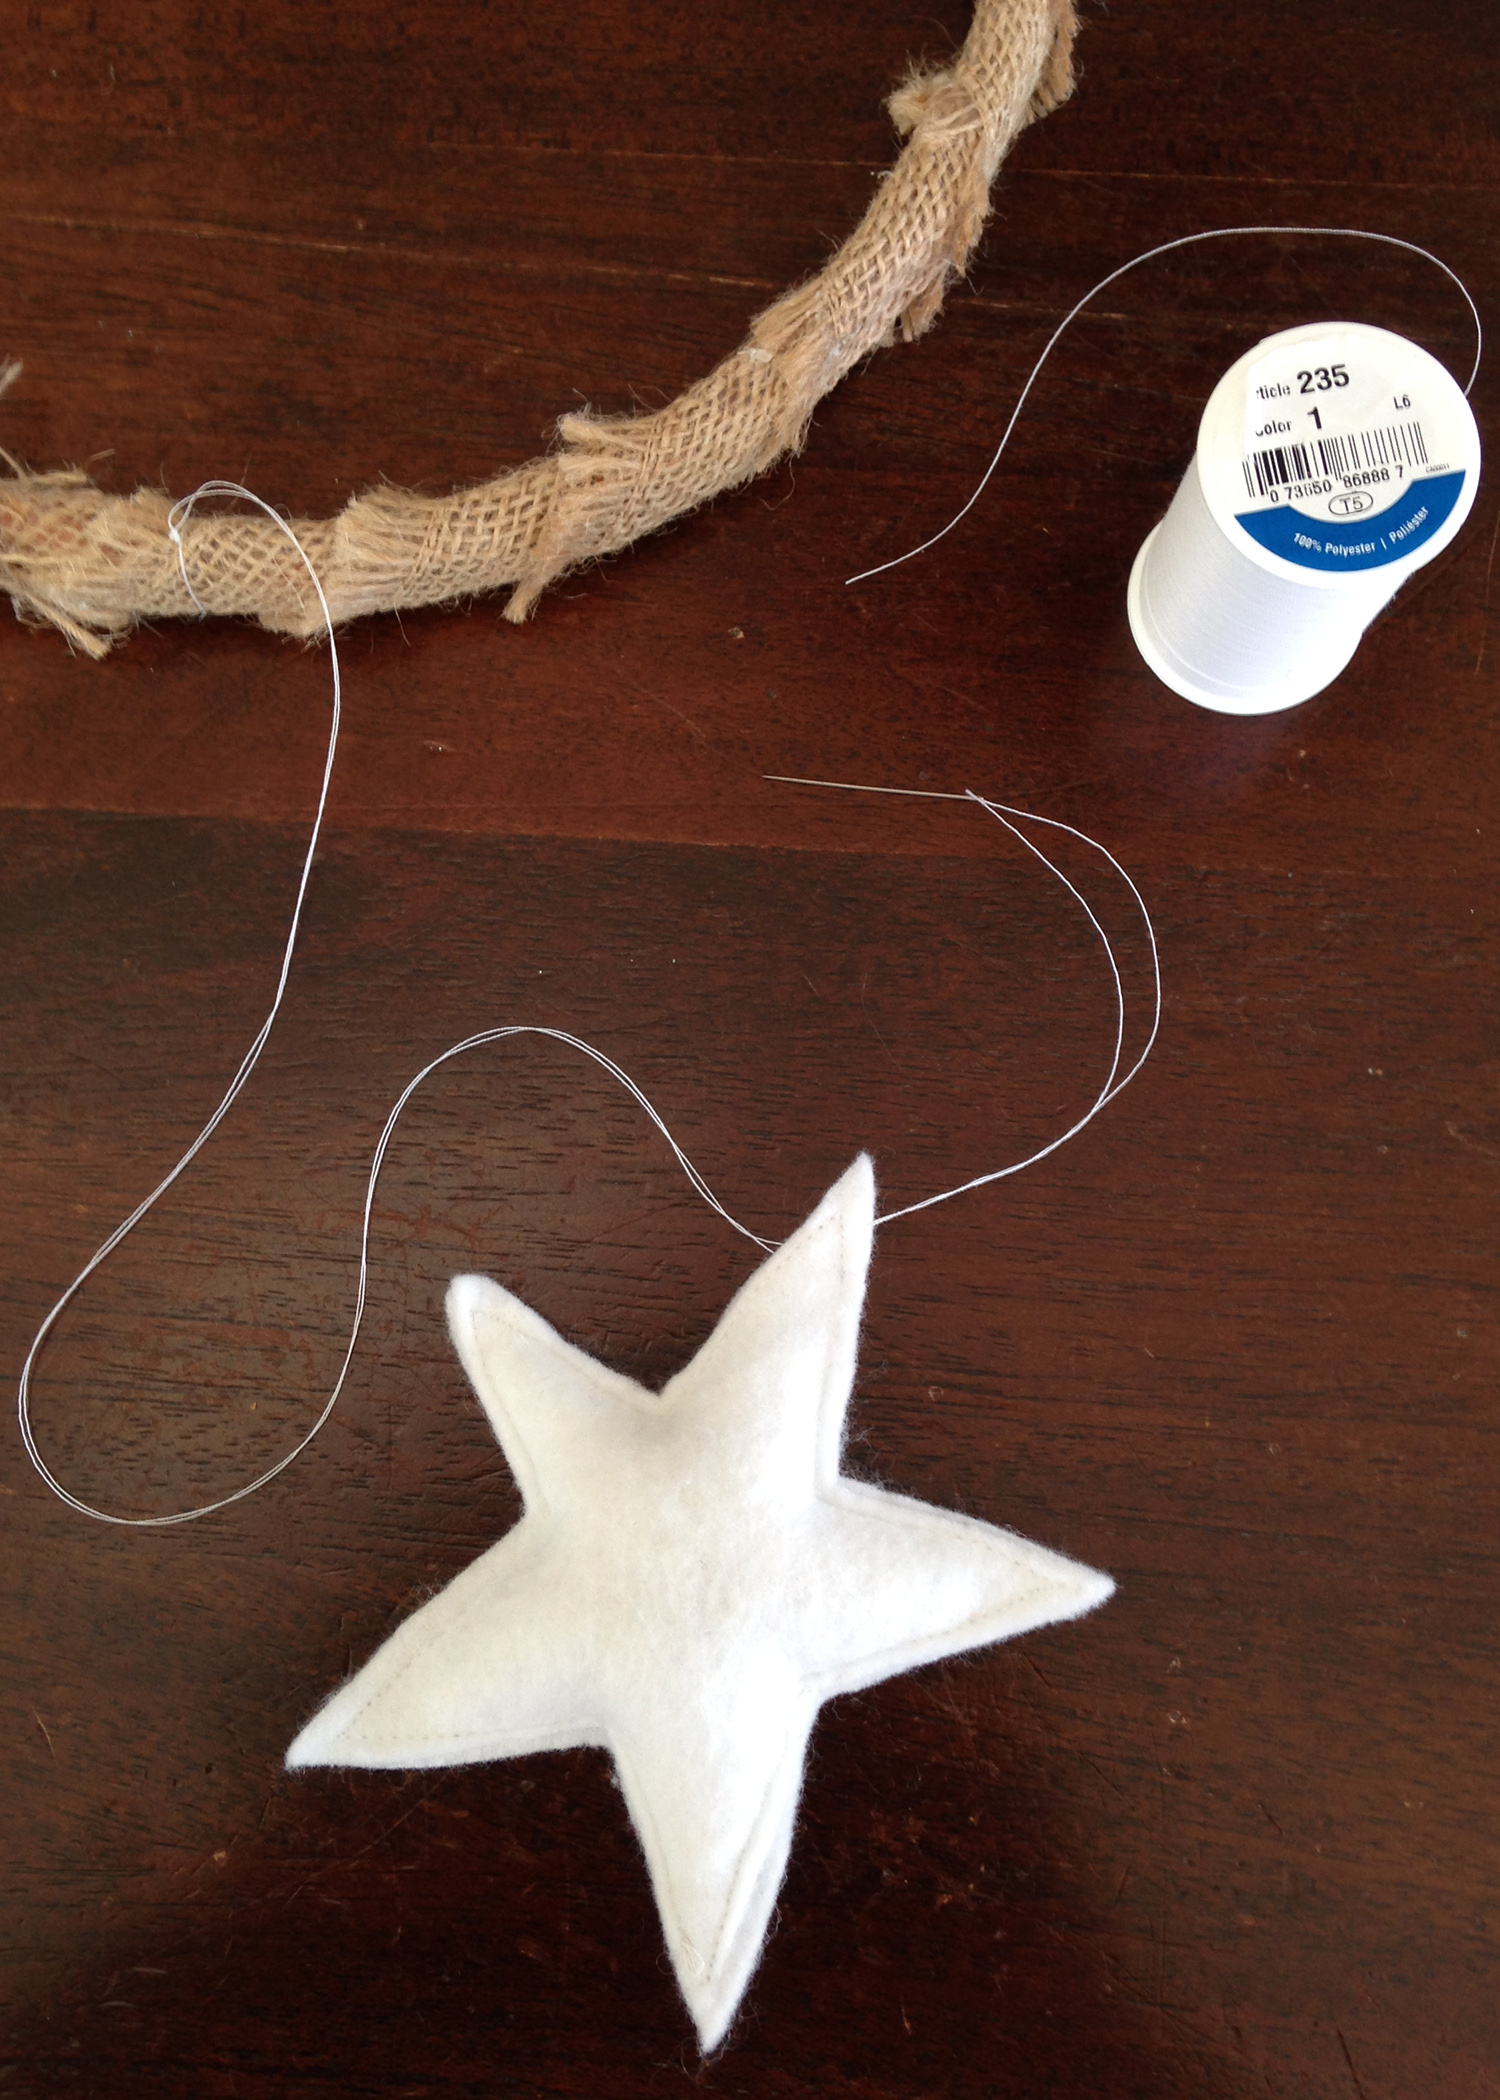
After you cut 2 of each shape, it’s time to sew and stuff. Forewarning: The larger you make these, the easier they are to sew. Just make sure you only sew a bit before you start stuffing. I used some fill I had laying around from my last pouf project. You could also use rice, scraps of old t-shirts or any number of things.

To attach my shapes to the hoop, I went old school and got out a simple needle and white thread and hand-sewed them on. Super simple.
Now all that’s left is measuring how far down you want it to hang from the ceiling, adding a hook and admiring your work!!! I hope you love this look as much as I do : )


Leave a Reply