
Previous post
Next post
too many ideas. too little time. (and far too much chai.)

More like cheap-as-he#$-budget. If you haven’t figured it out yet, in my mind, the cheaper the project, the more likely it is for me to make it. Otherwise, I tend to take a page from my economist husband’s playbook, and weigh the value of a few things:
MY TIME vs $$ TO BUY IT INSTEAD
In other words, if it’s not cheap to make, it’s not worth my time and energy. Of course, sentimentality is always a contributing factor, too. I LOVE making things for my kids that I think they will appreciate later in life. Now, I’m not sure a baby mobile fits that category. Luckily, it didn’t matter, because making my own definitely fit the “cheap” category. That’s why I decided to make my own mobile for my first baby. I liked the outcome so much, I even gave it a revamp for my second one.
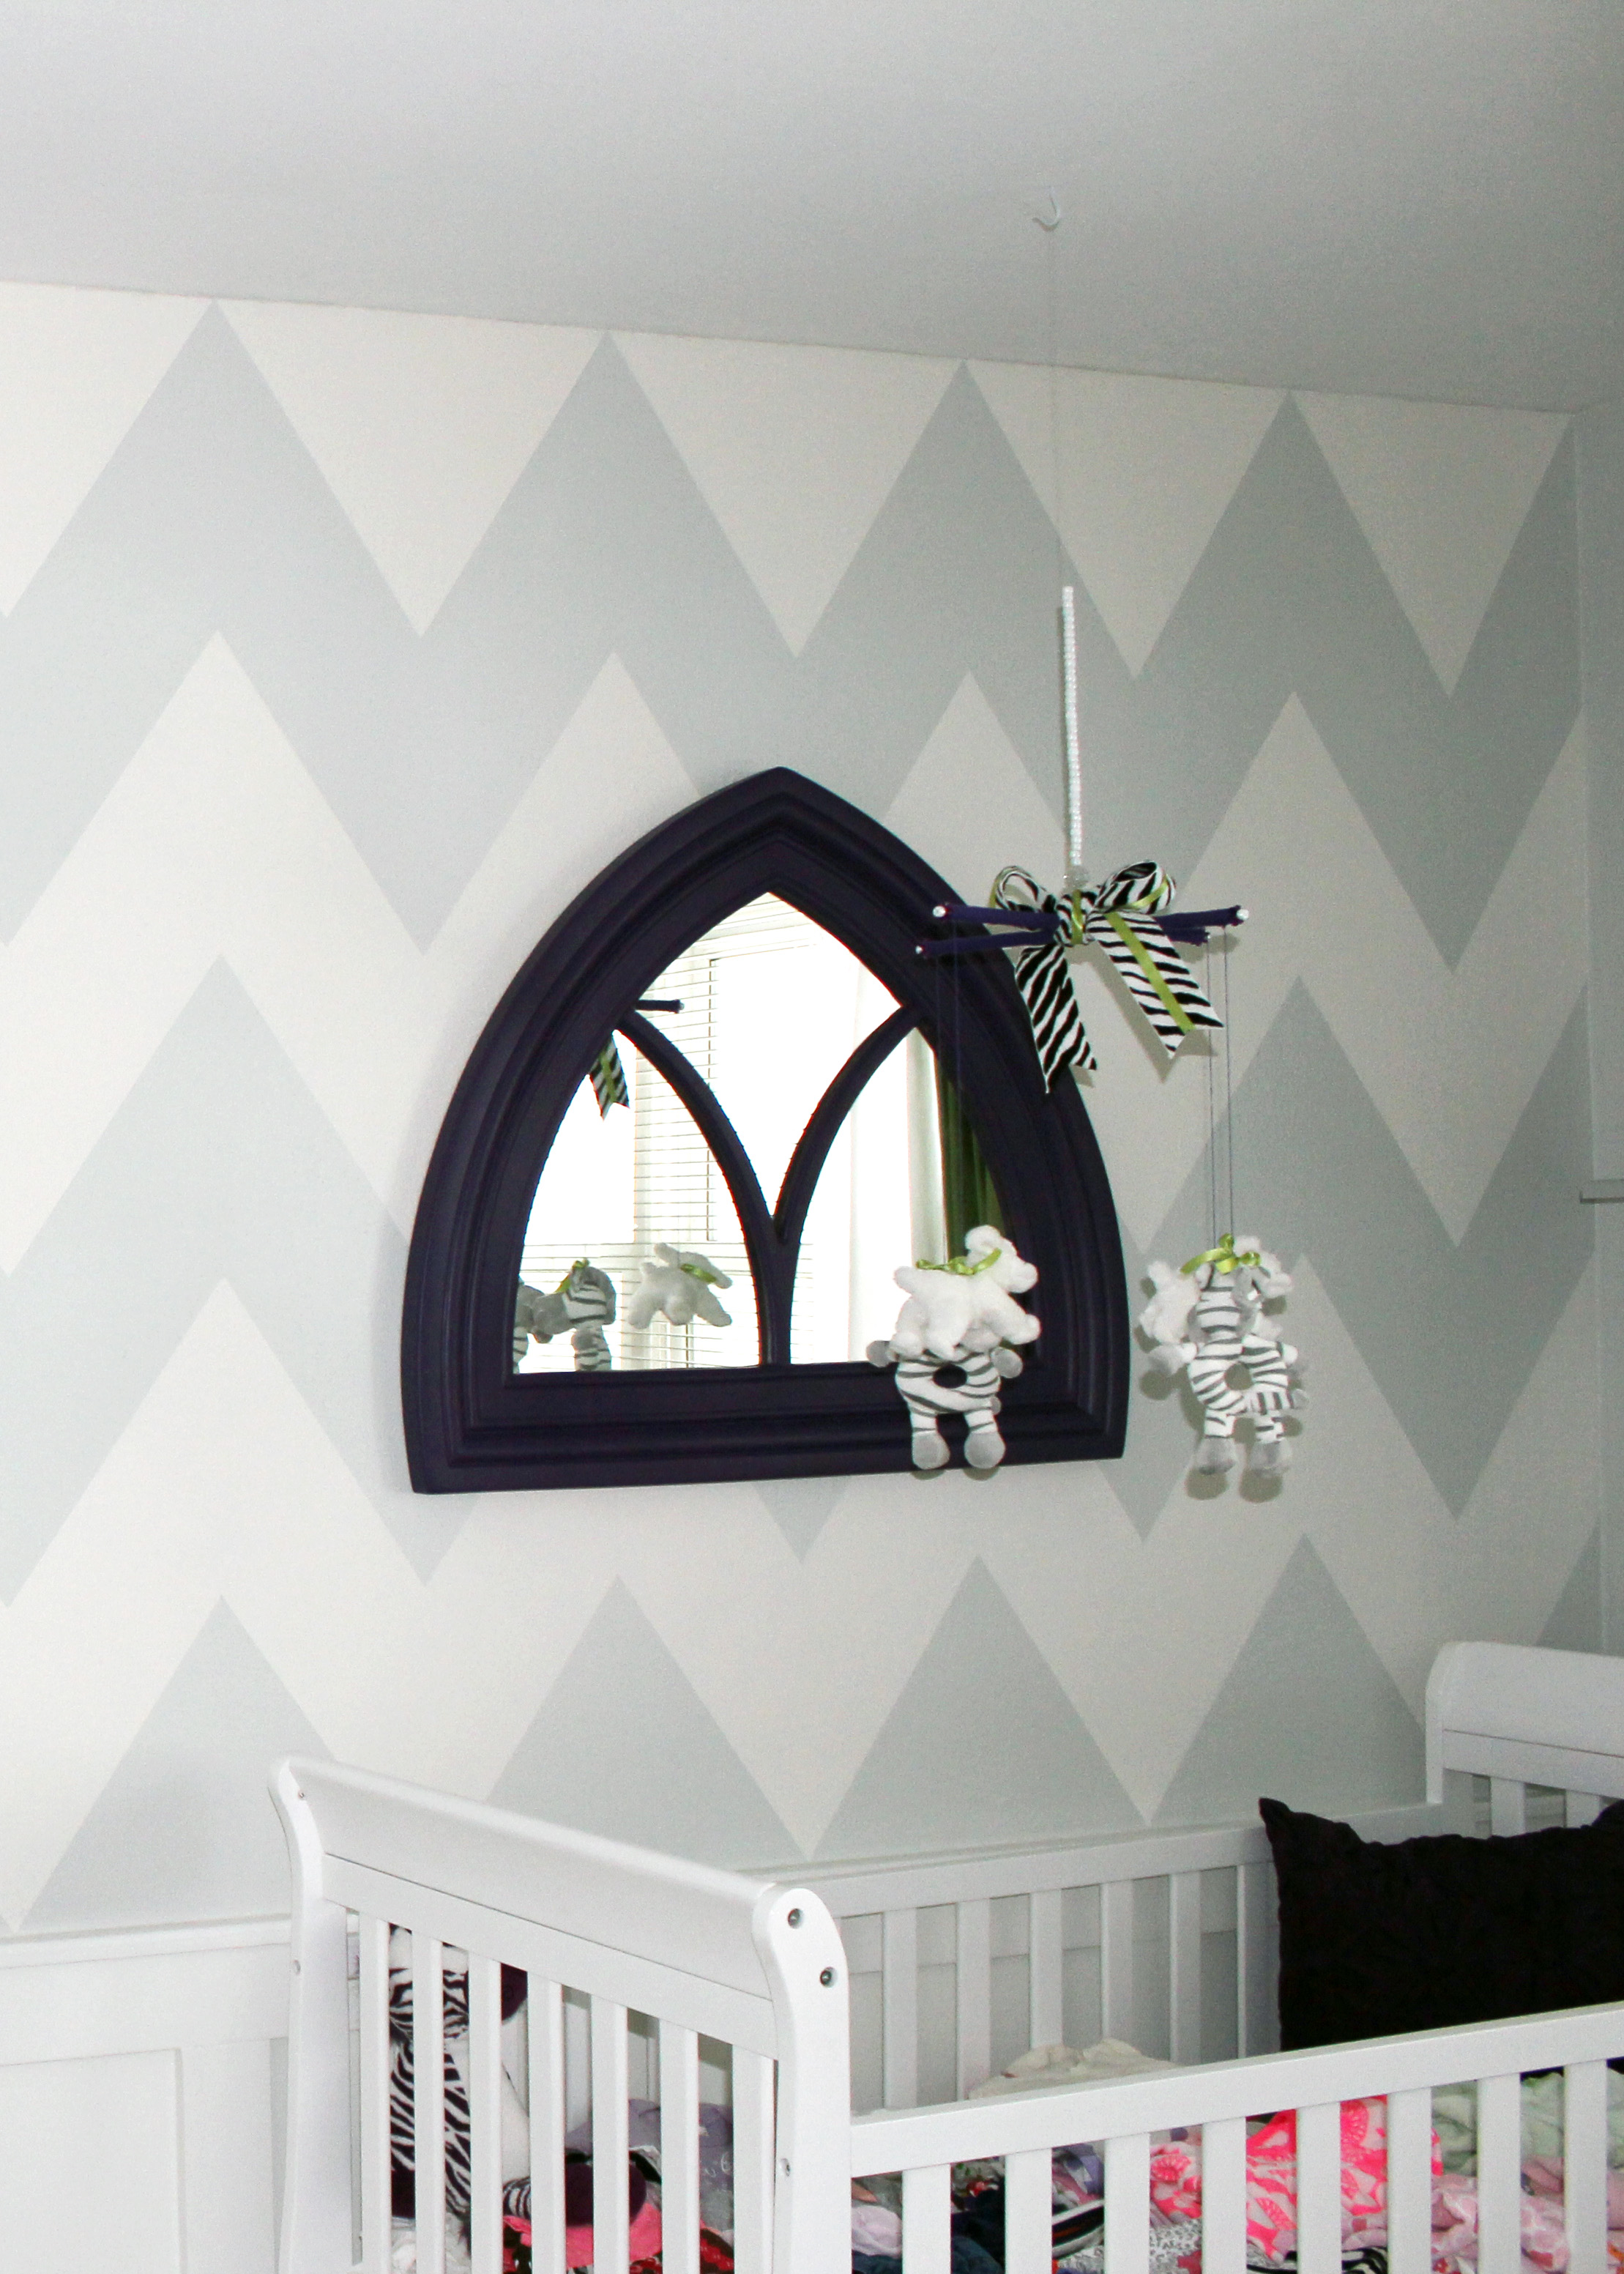
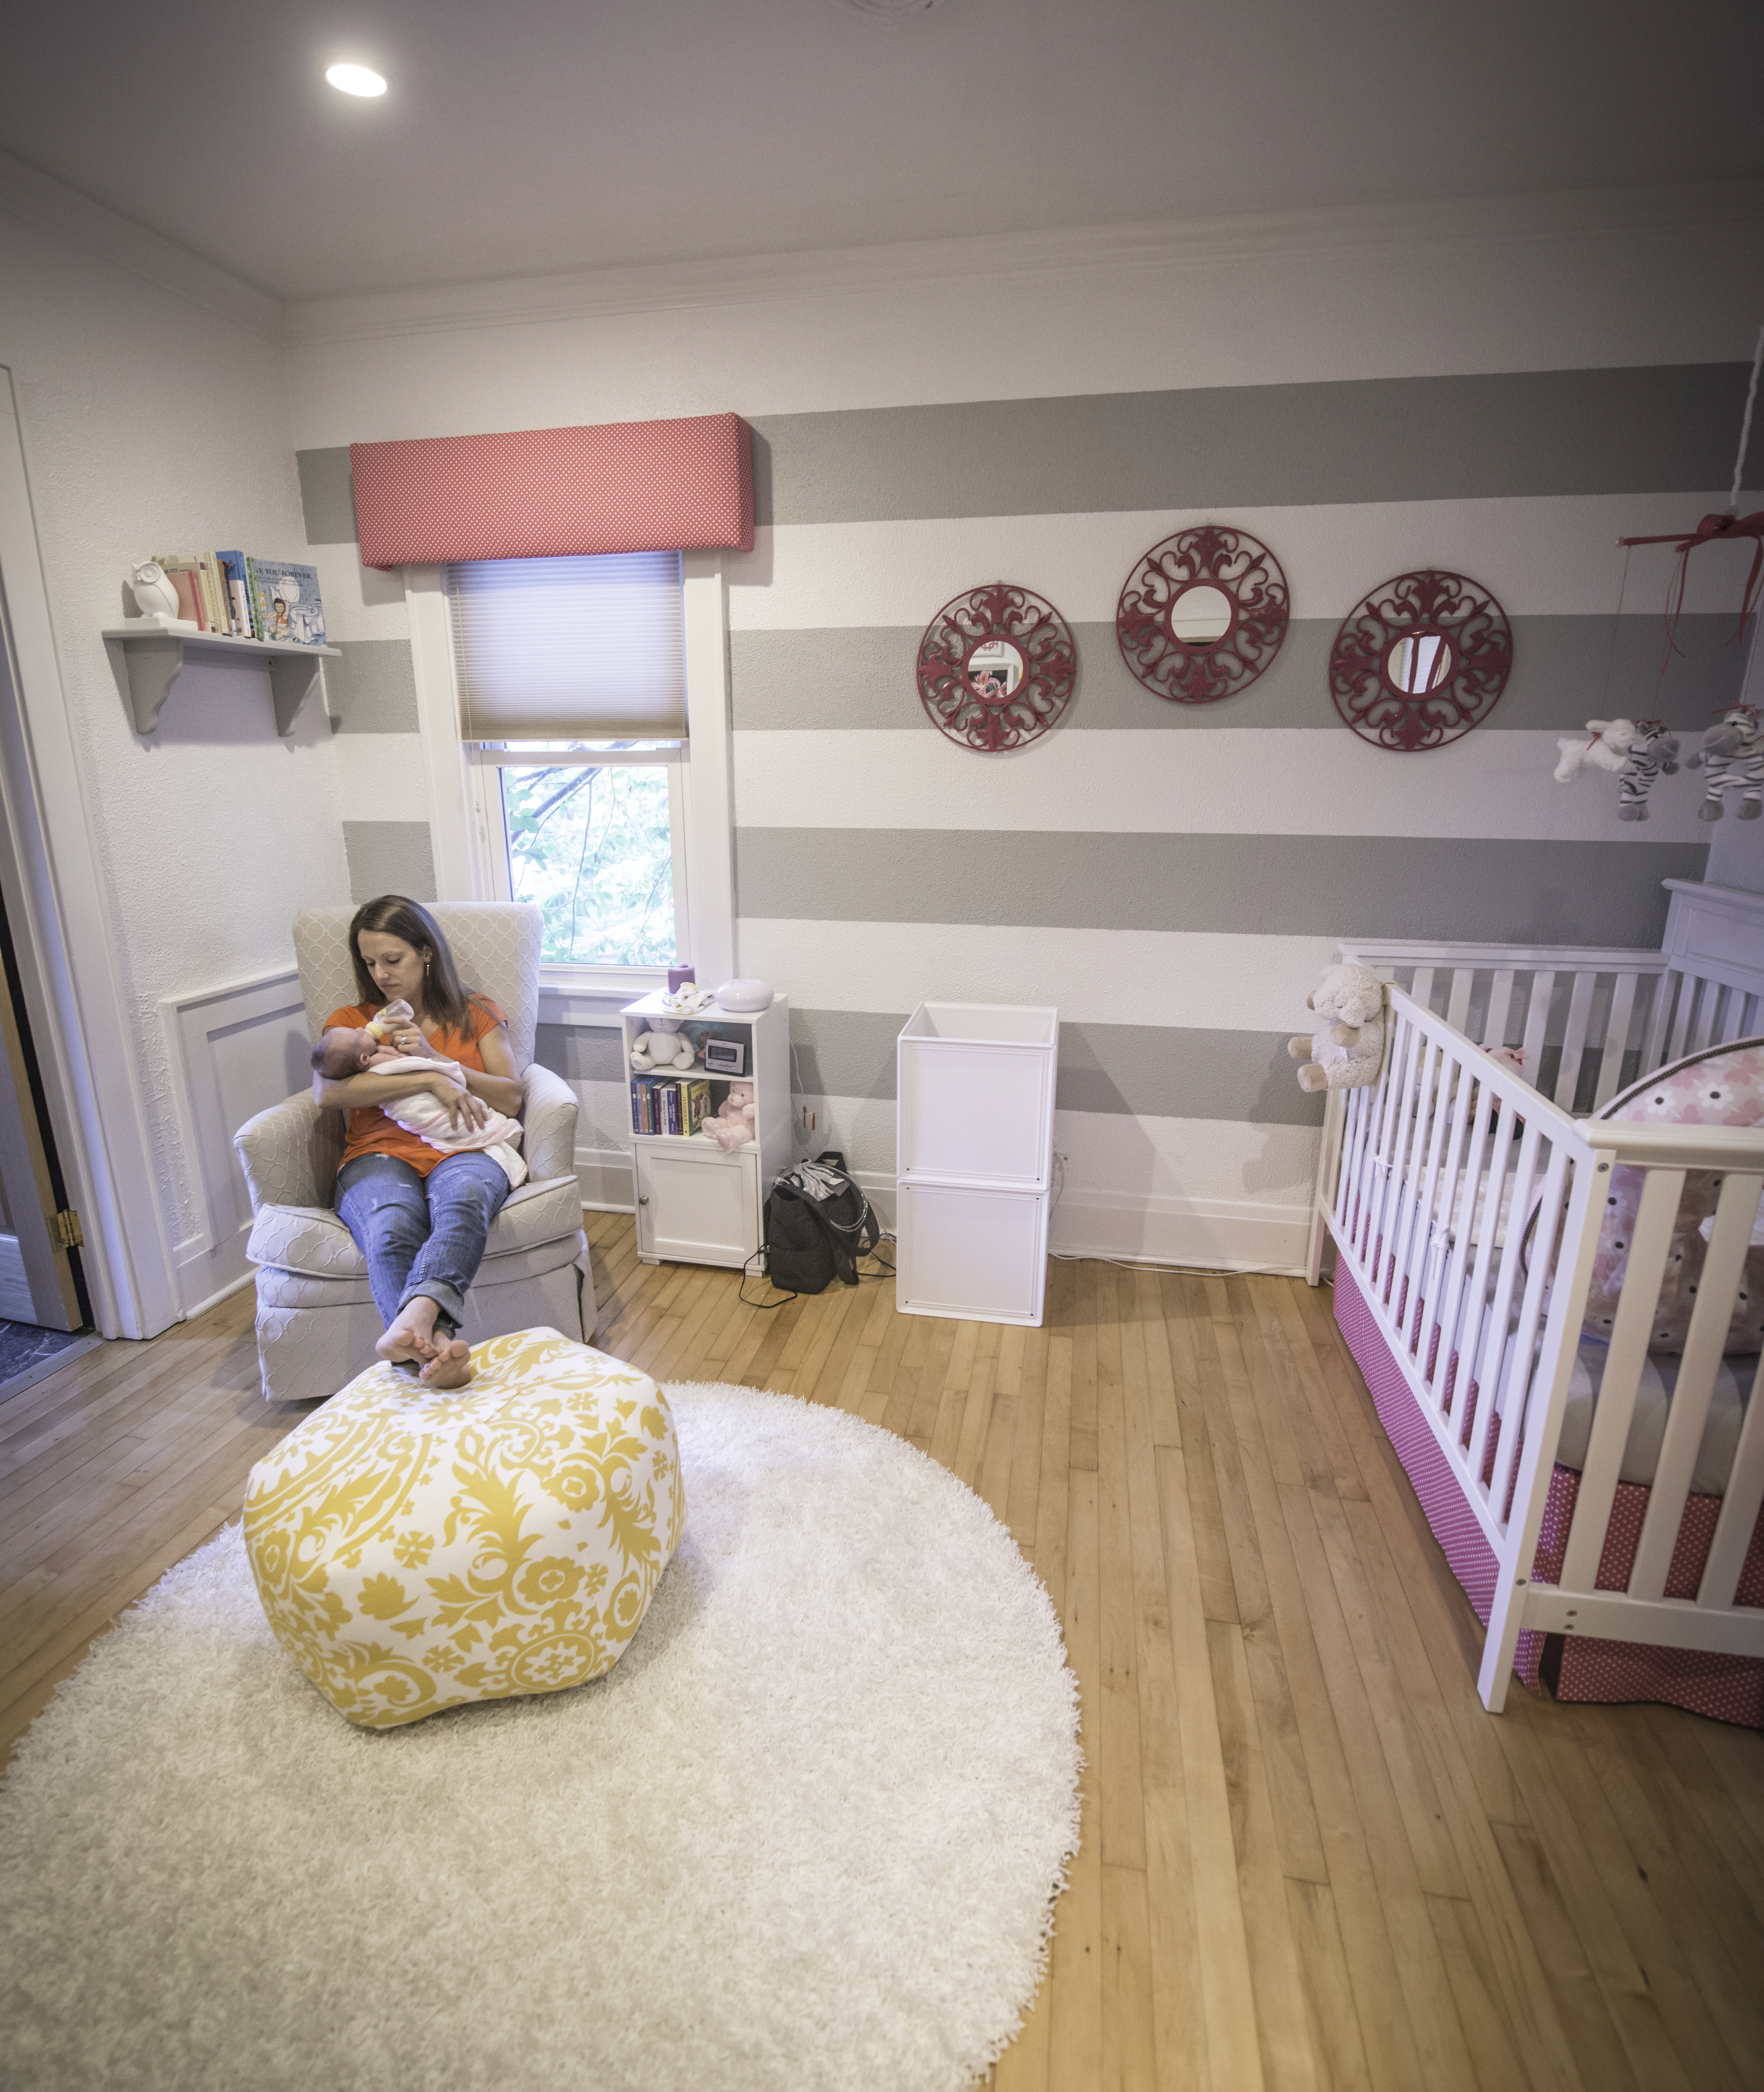
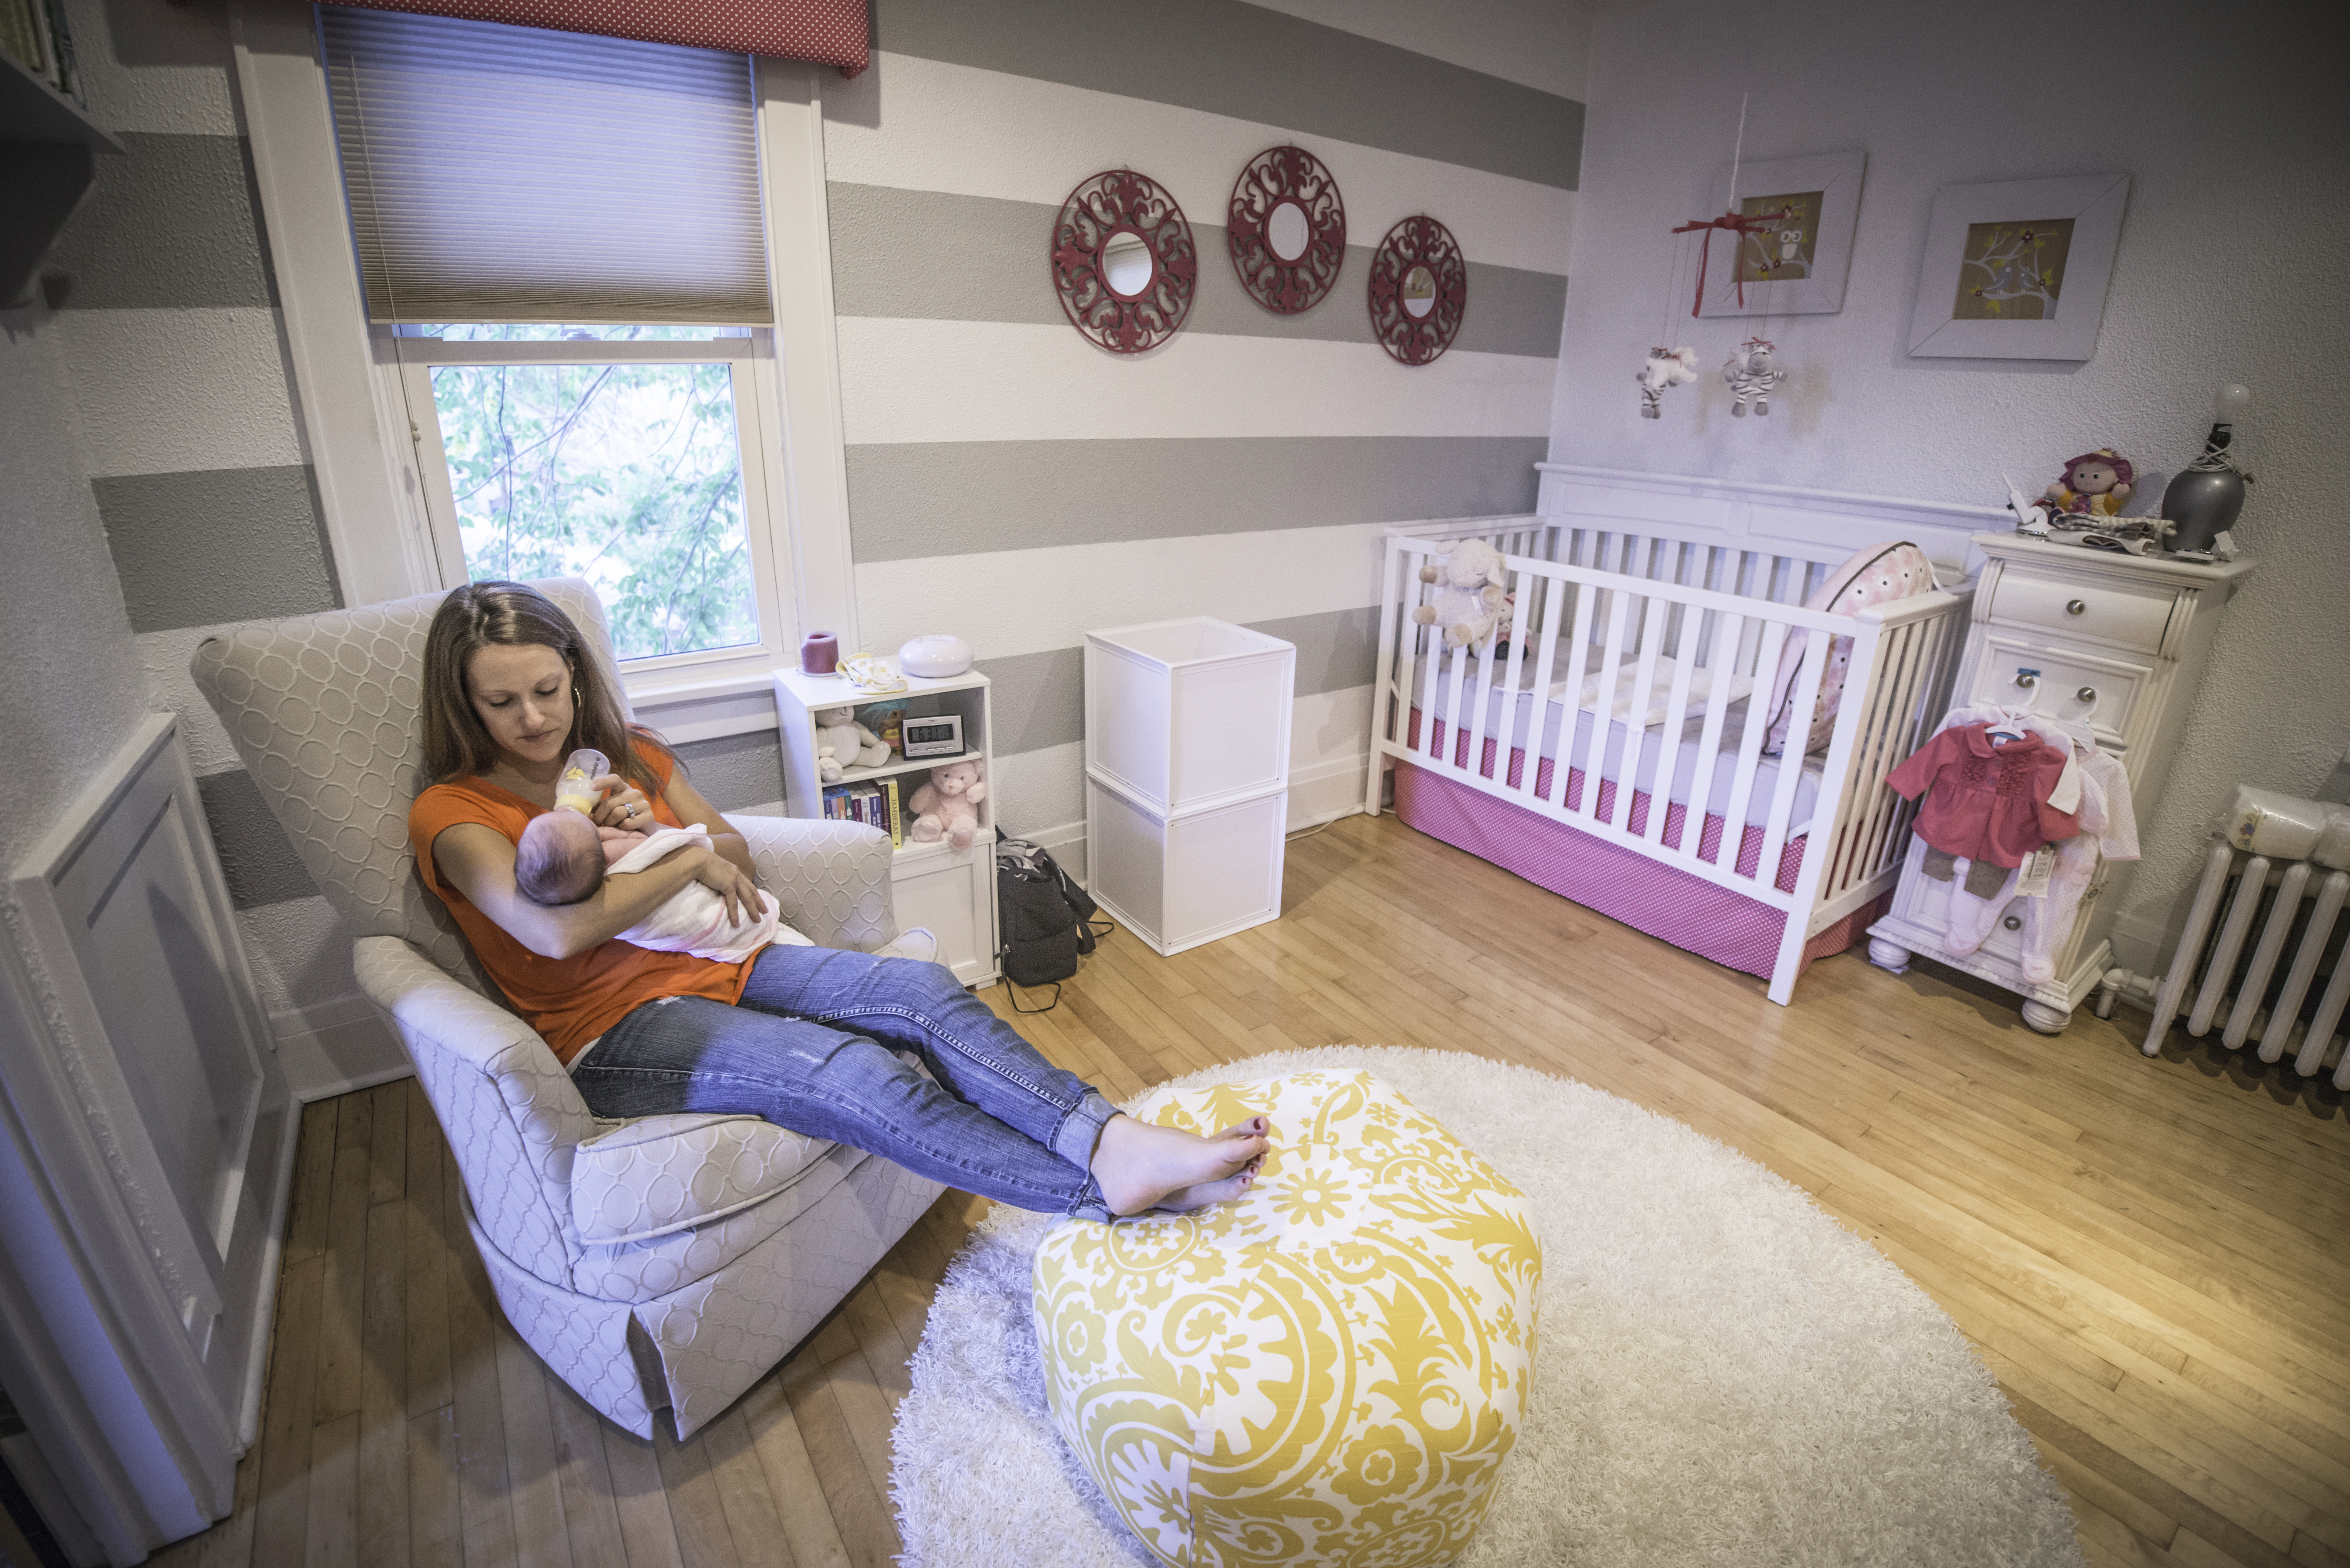
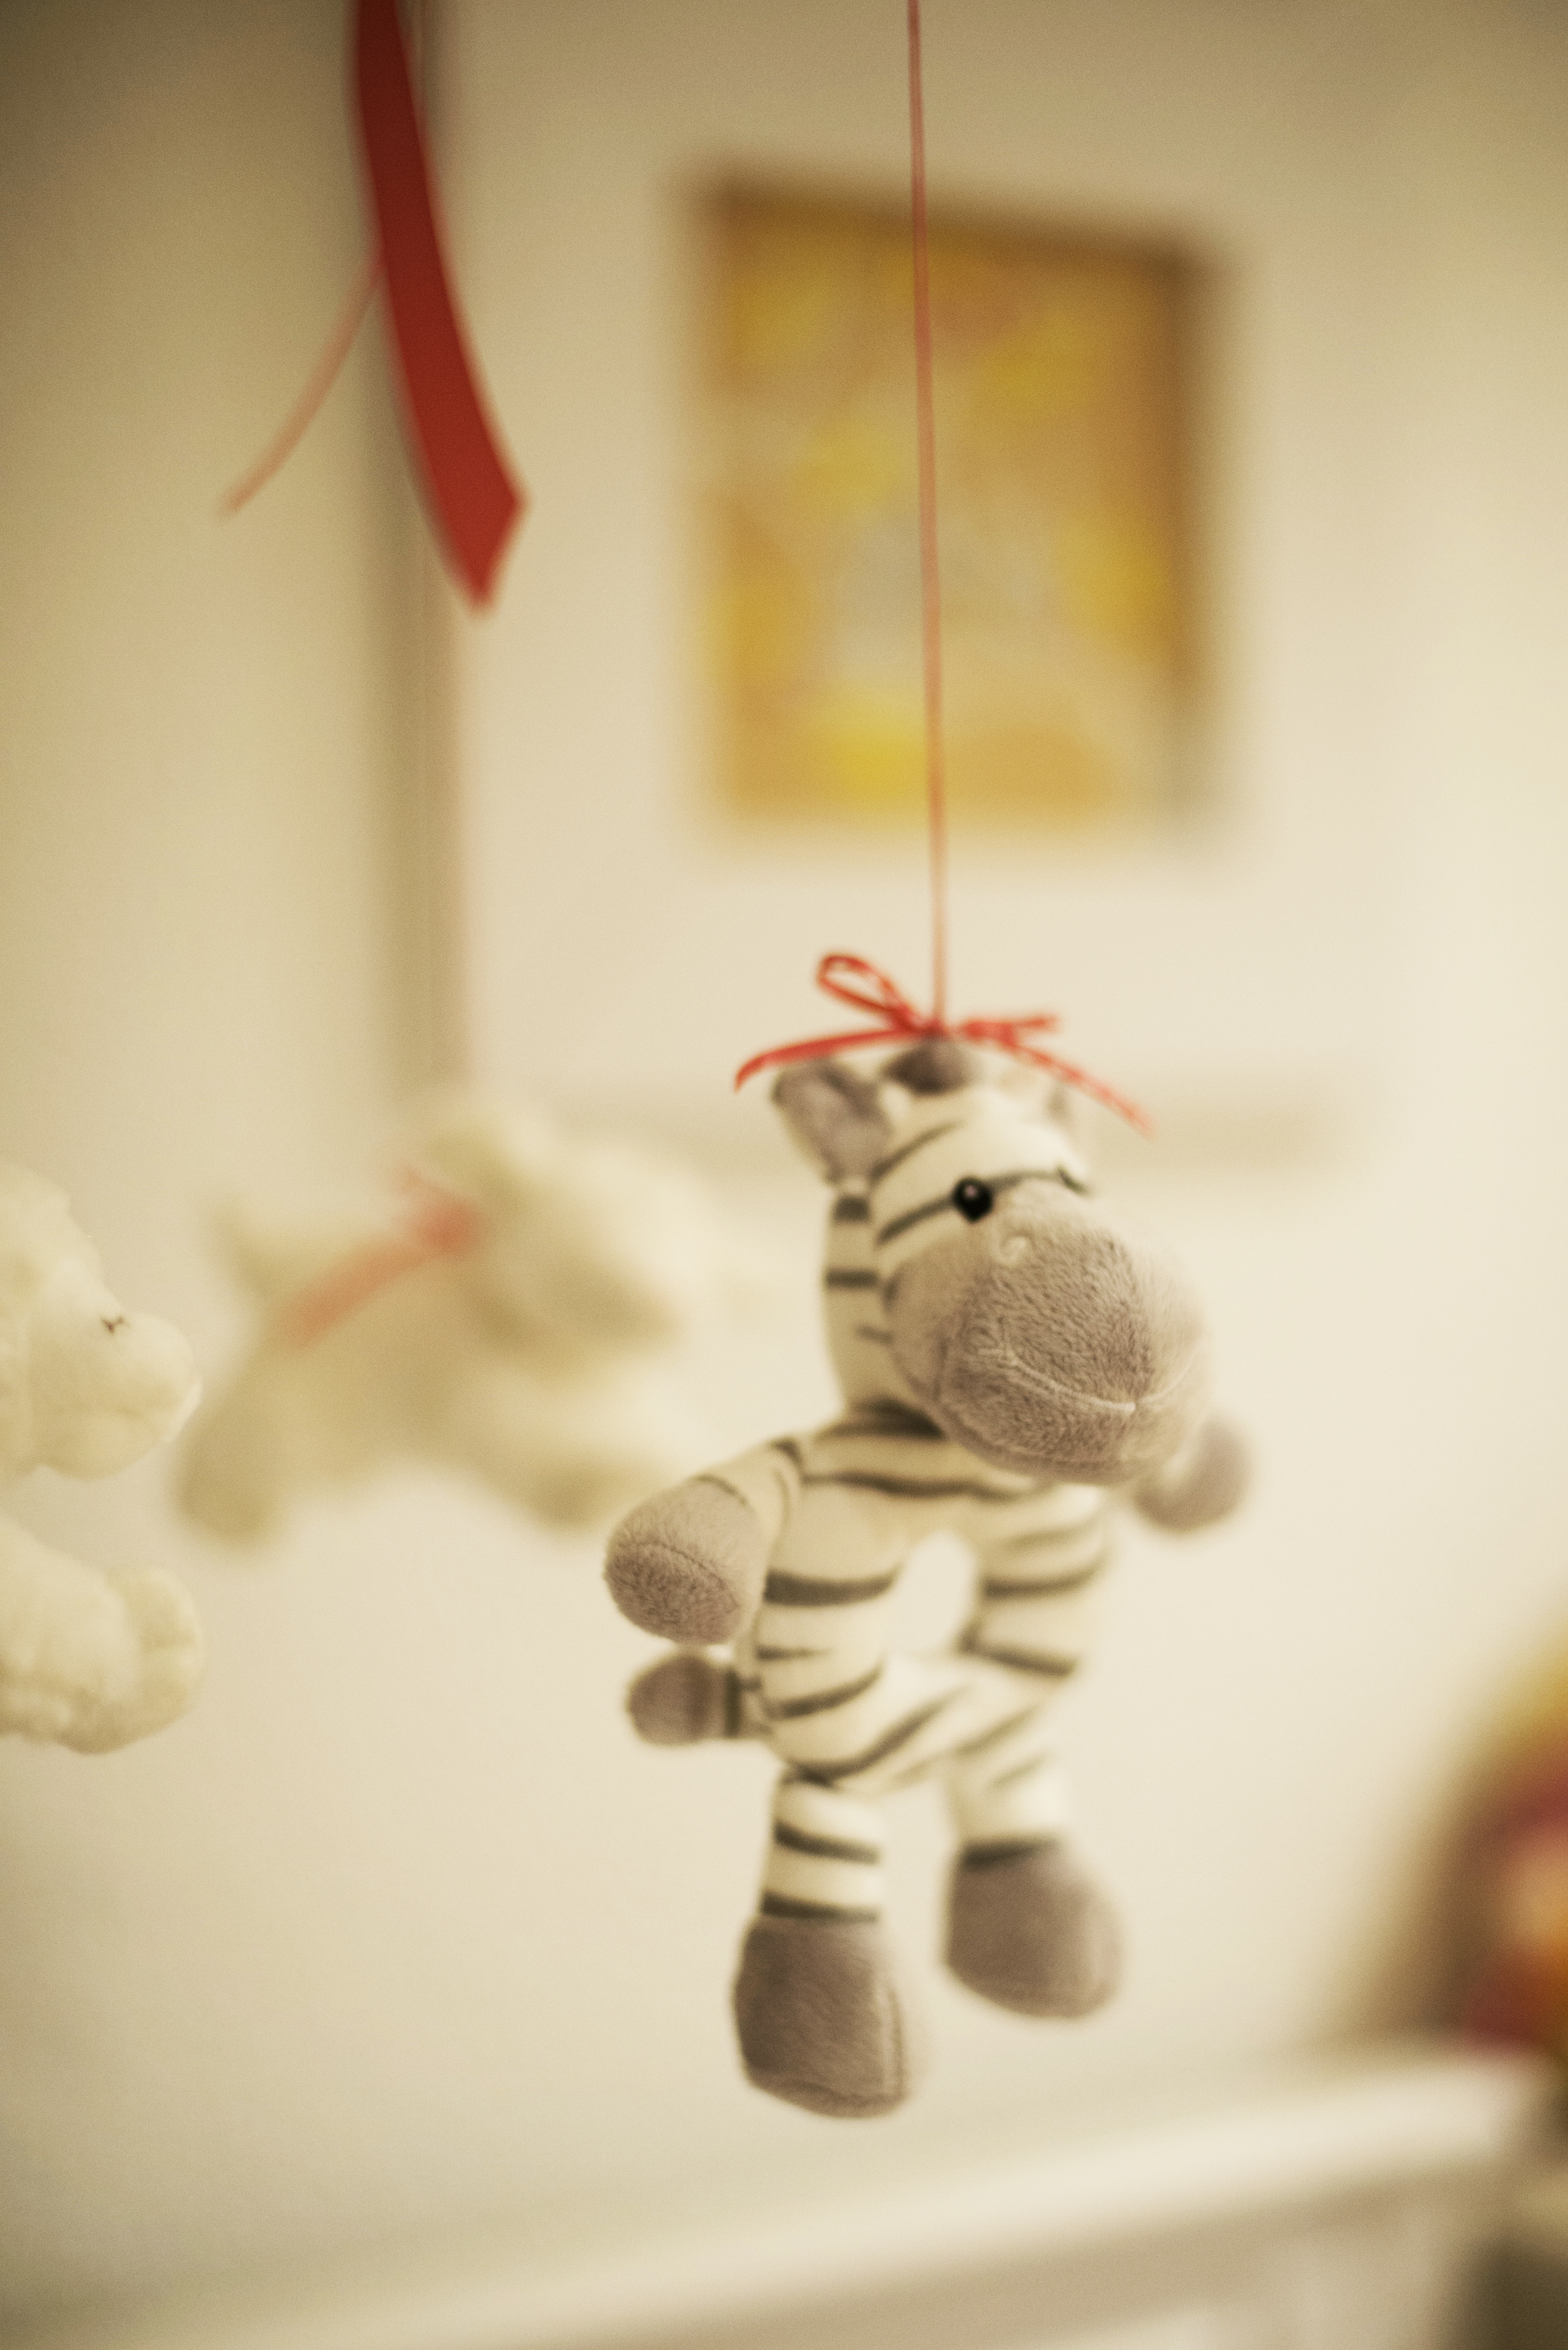
Here’s what it looked like in nursery #1 (far right of picture) – pink, white and grey:
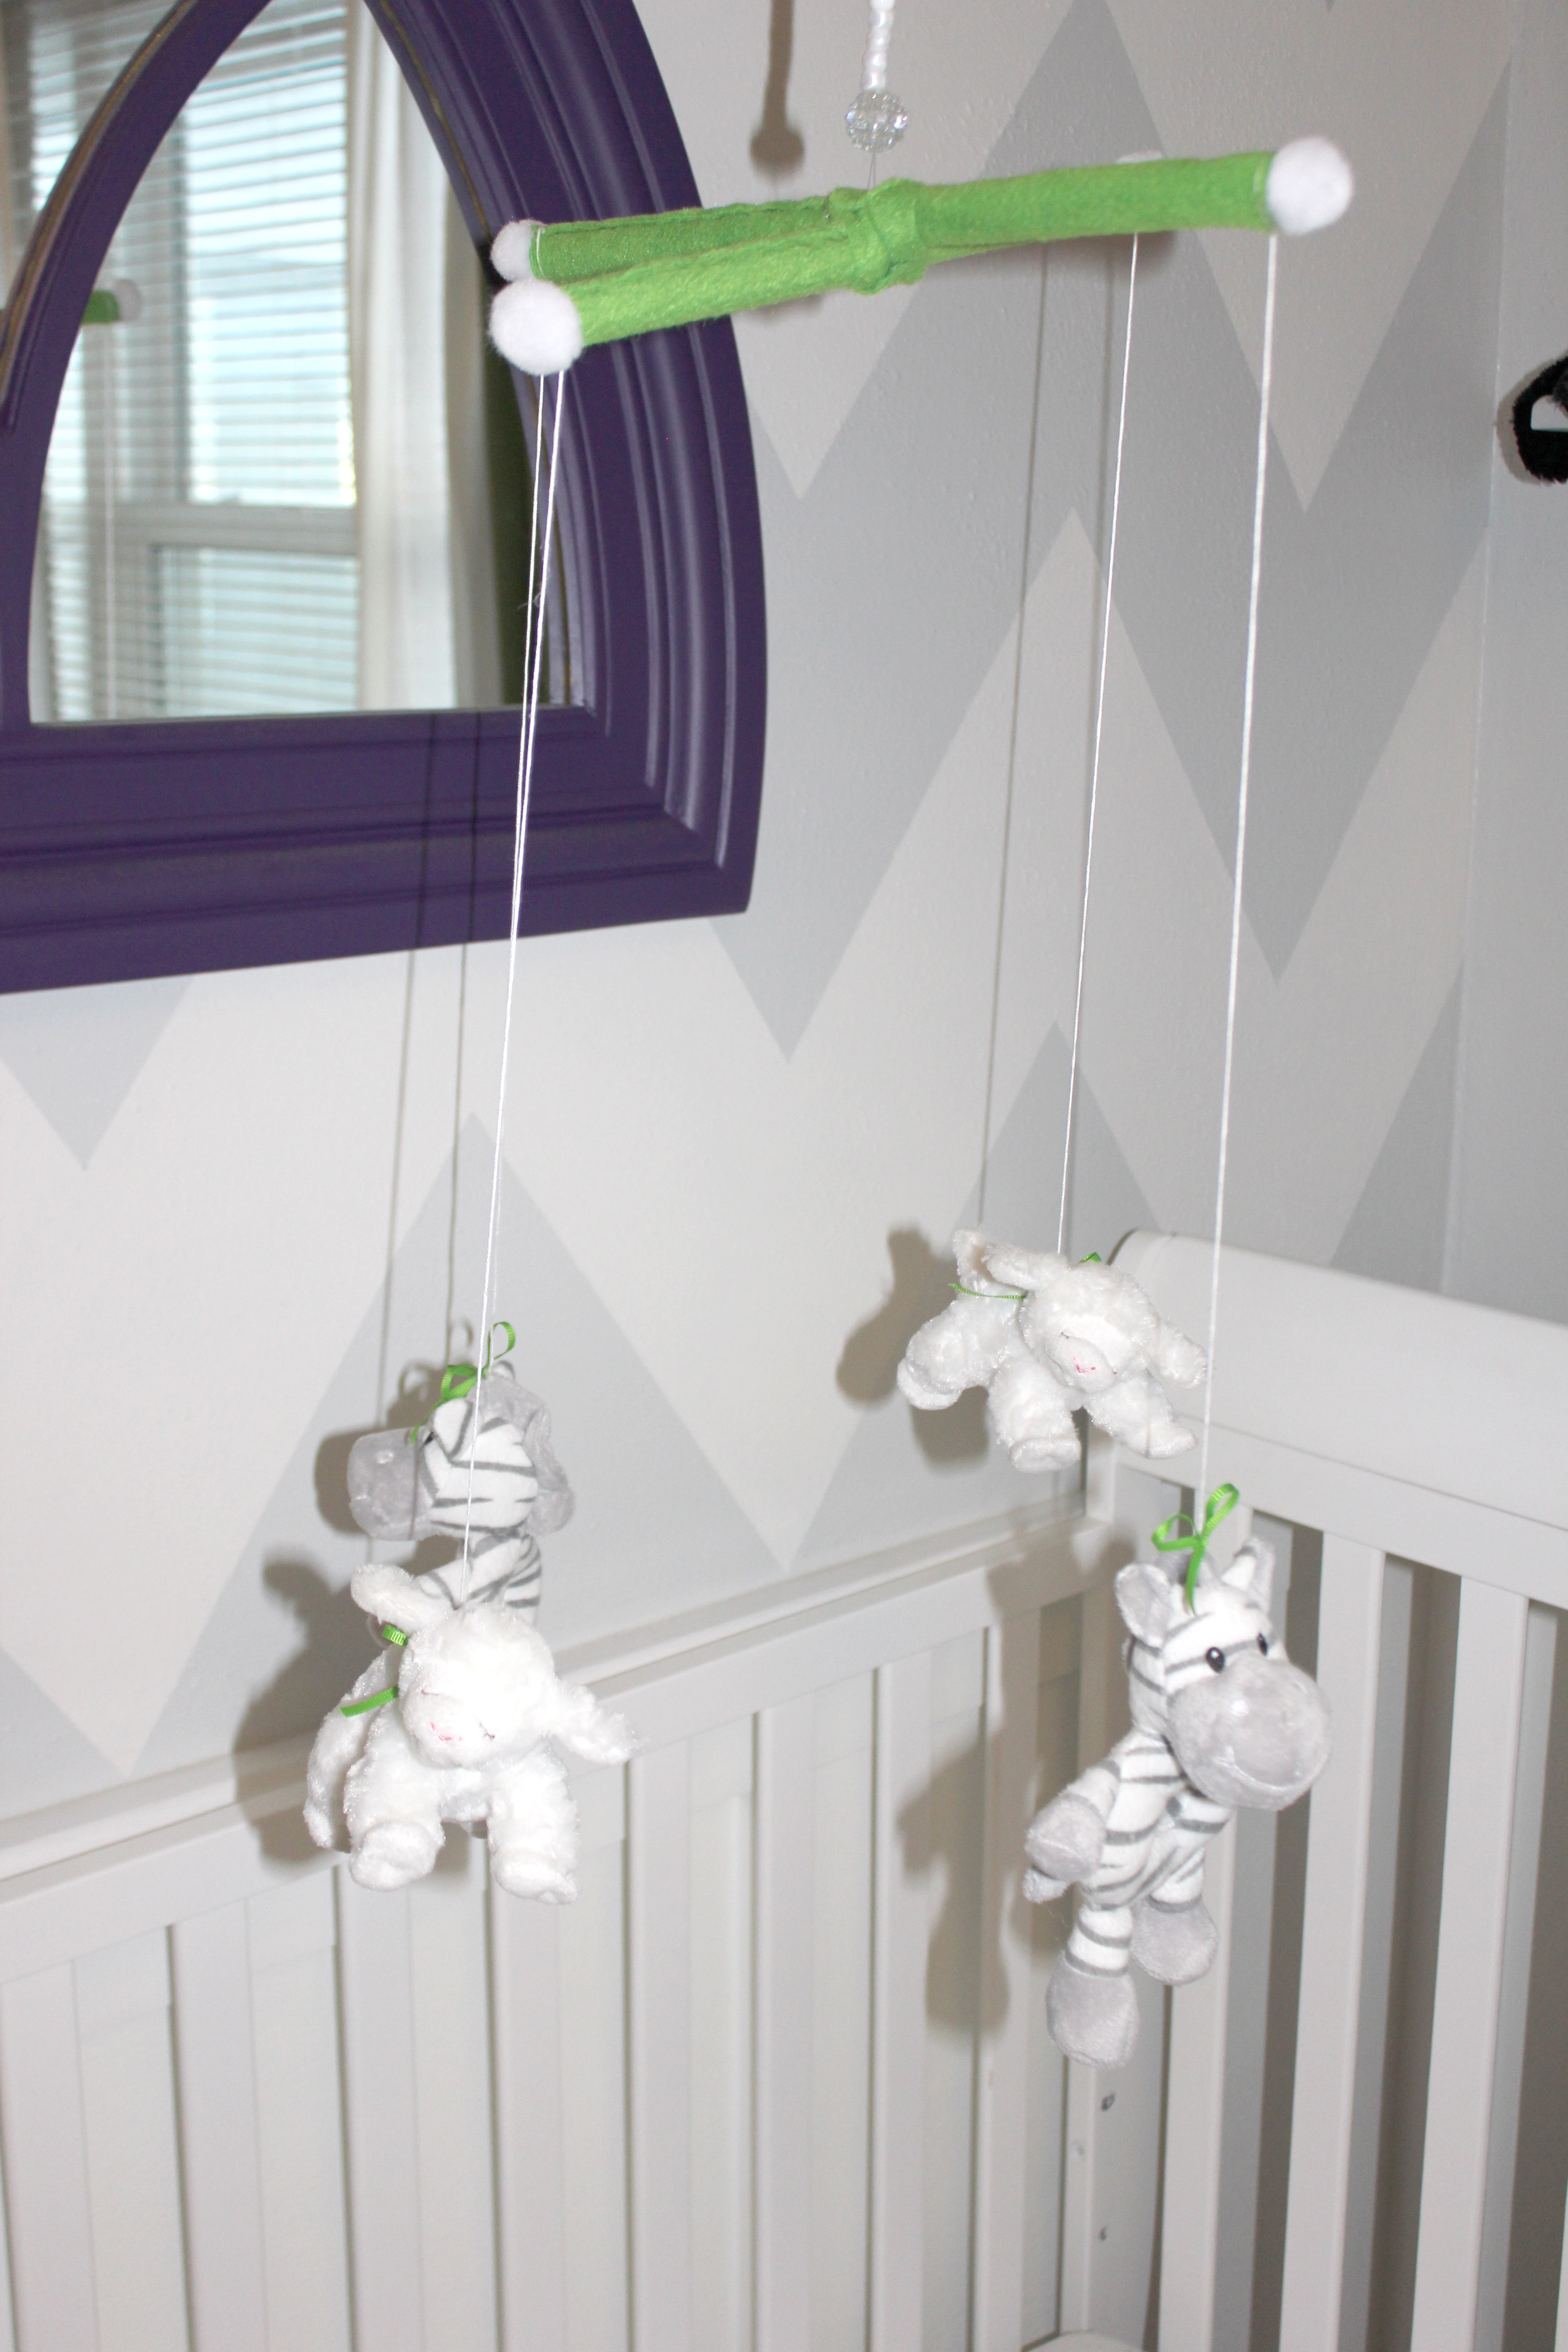
And here’s what it looked like in nursery #2 – green, purple, black & white:
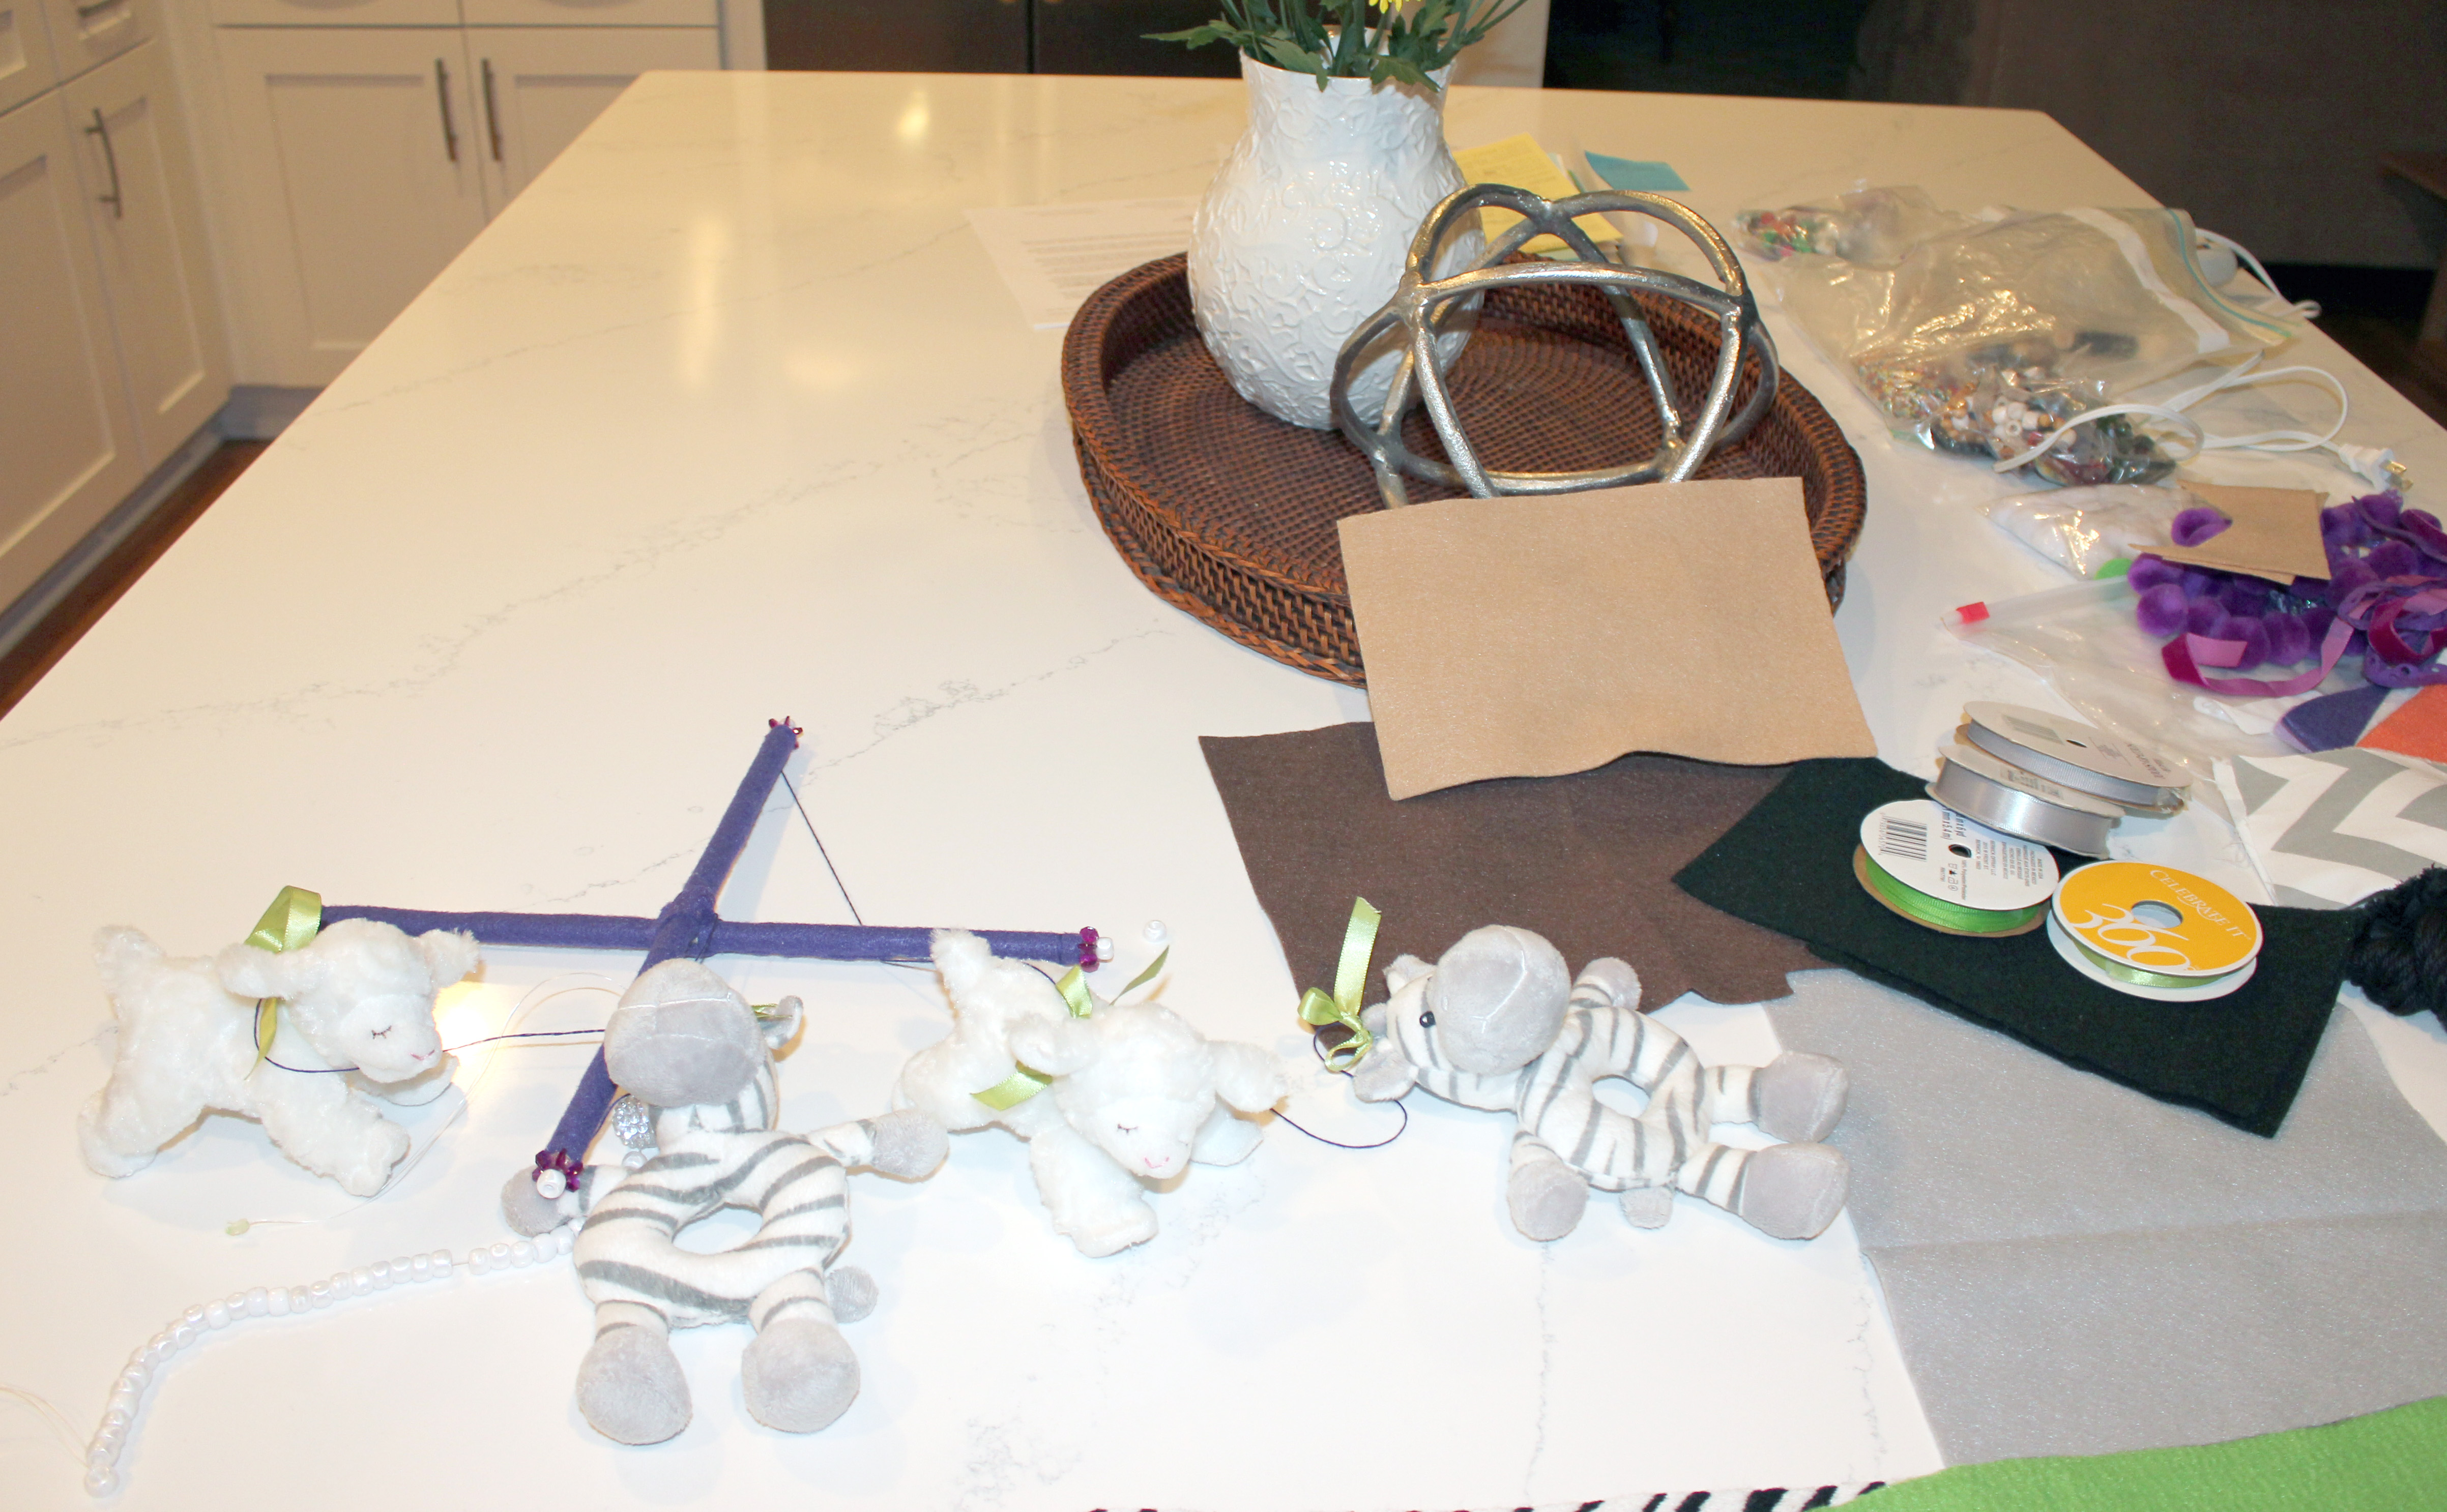
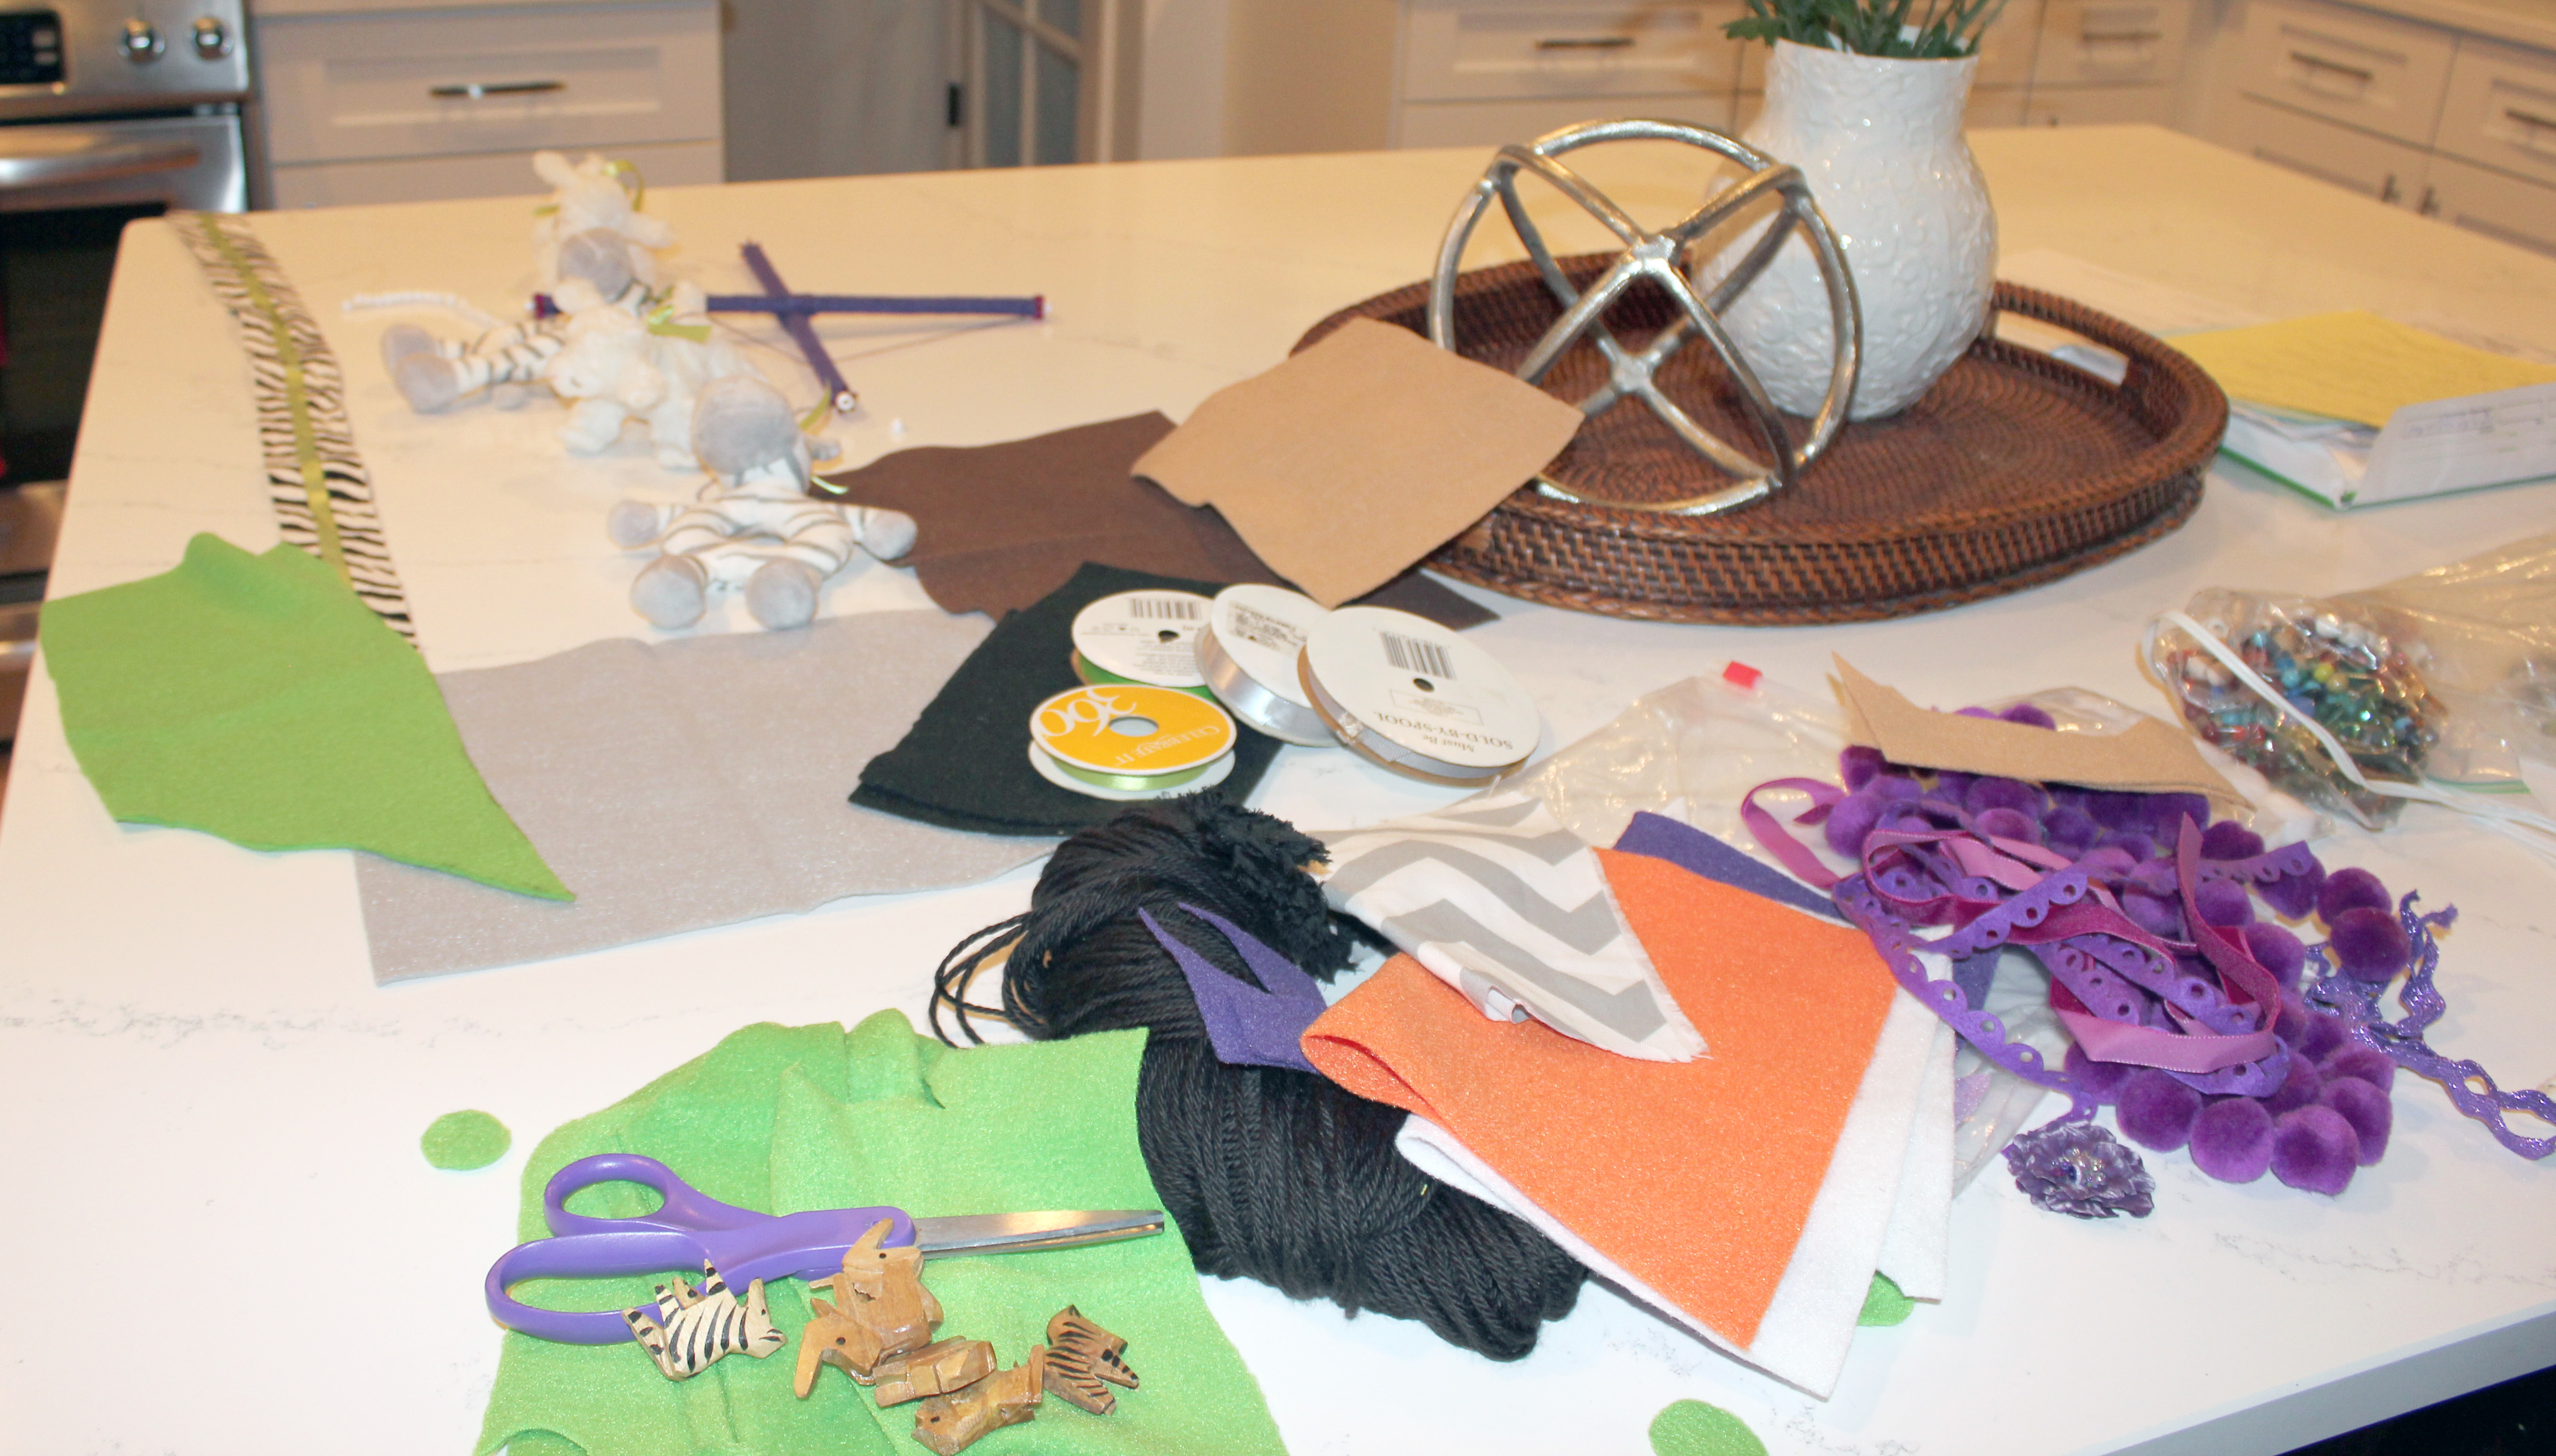
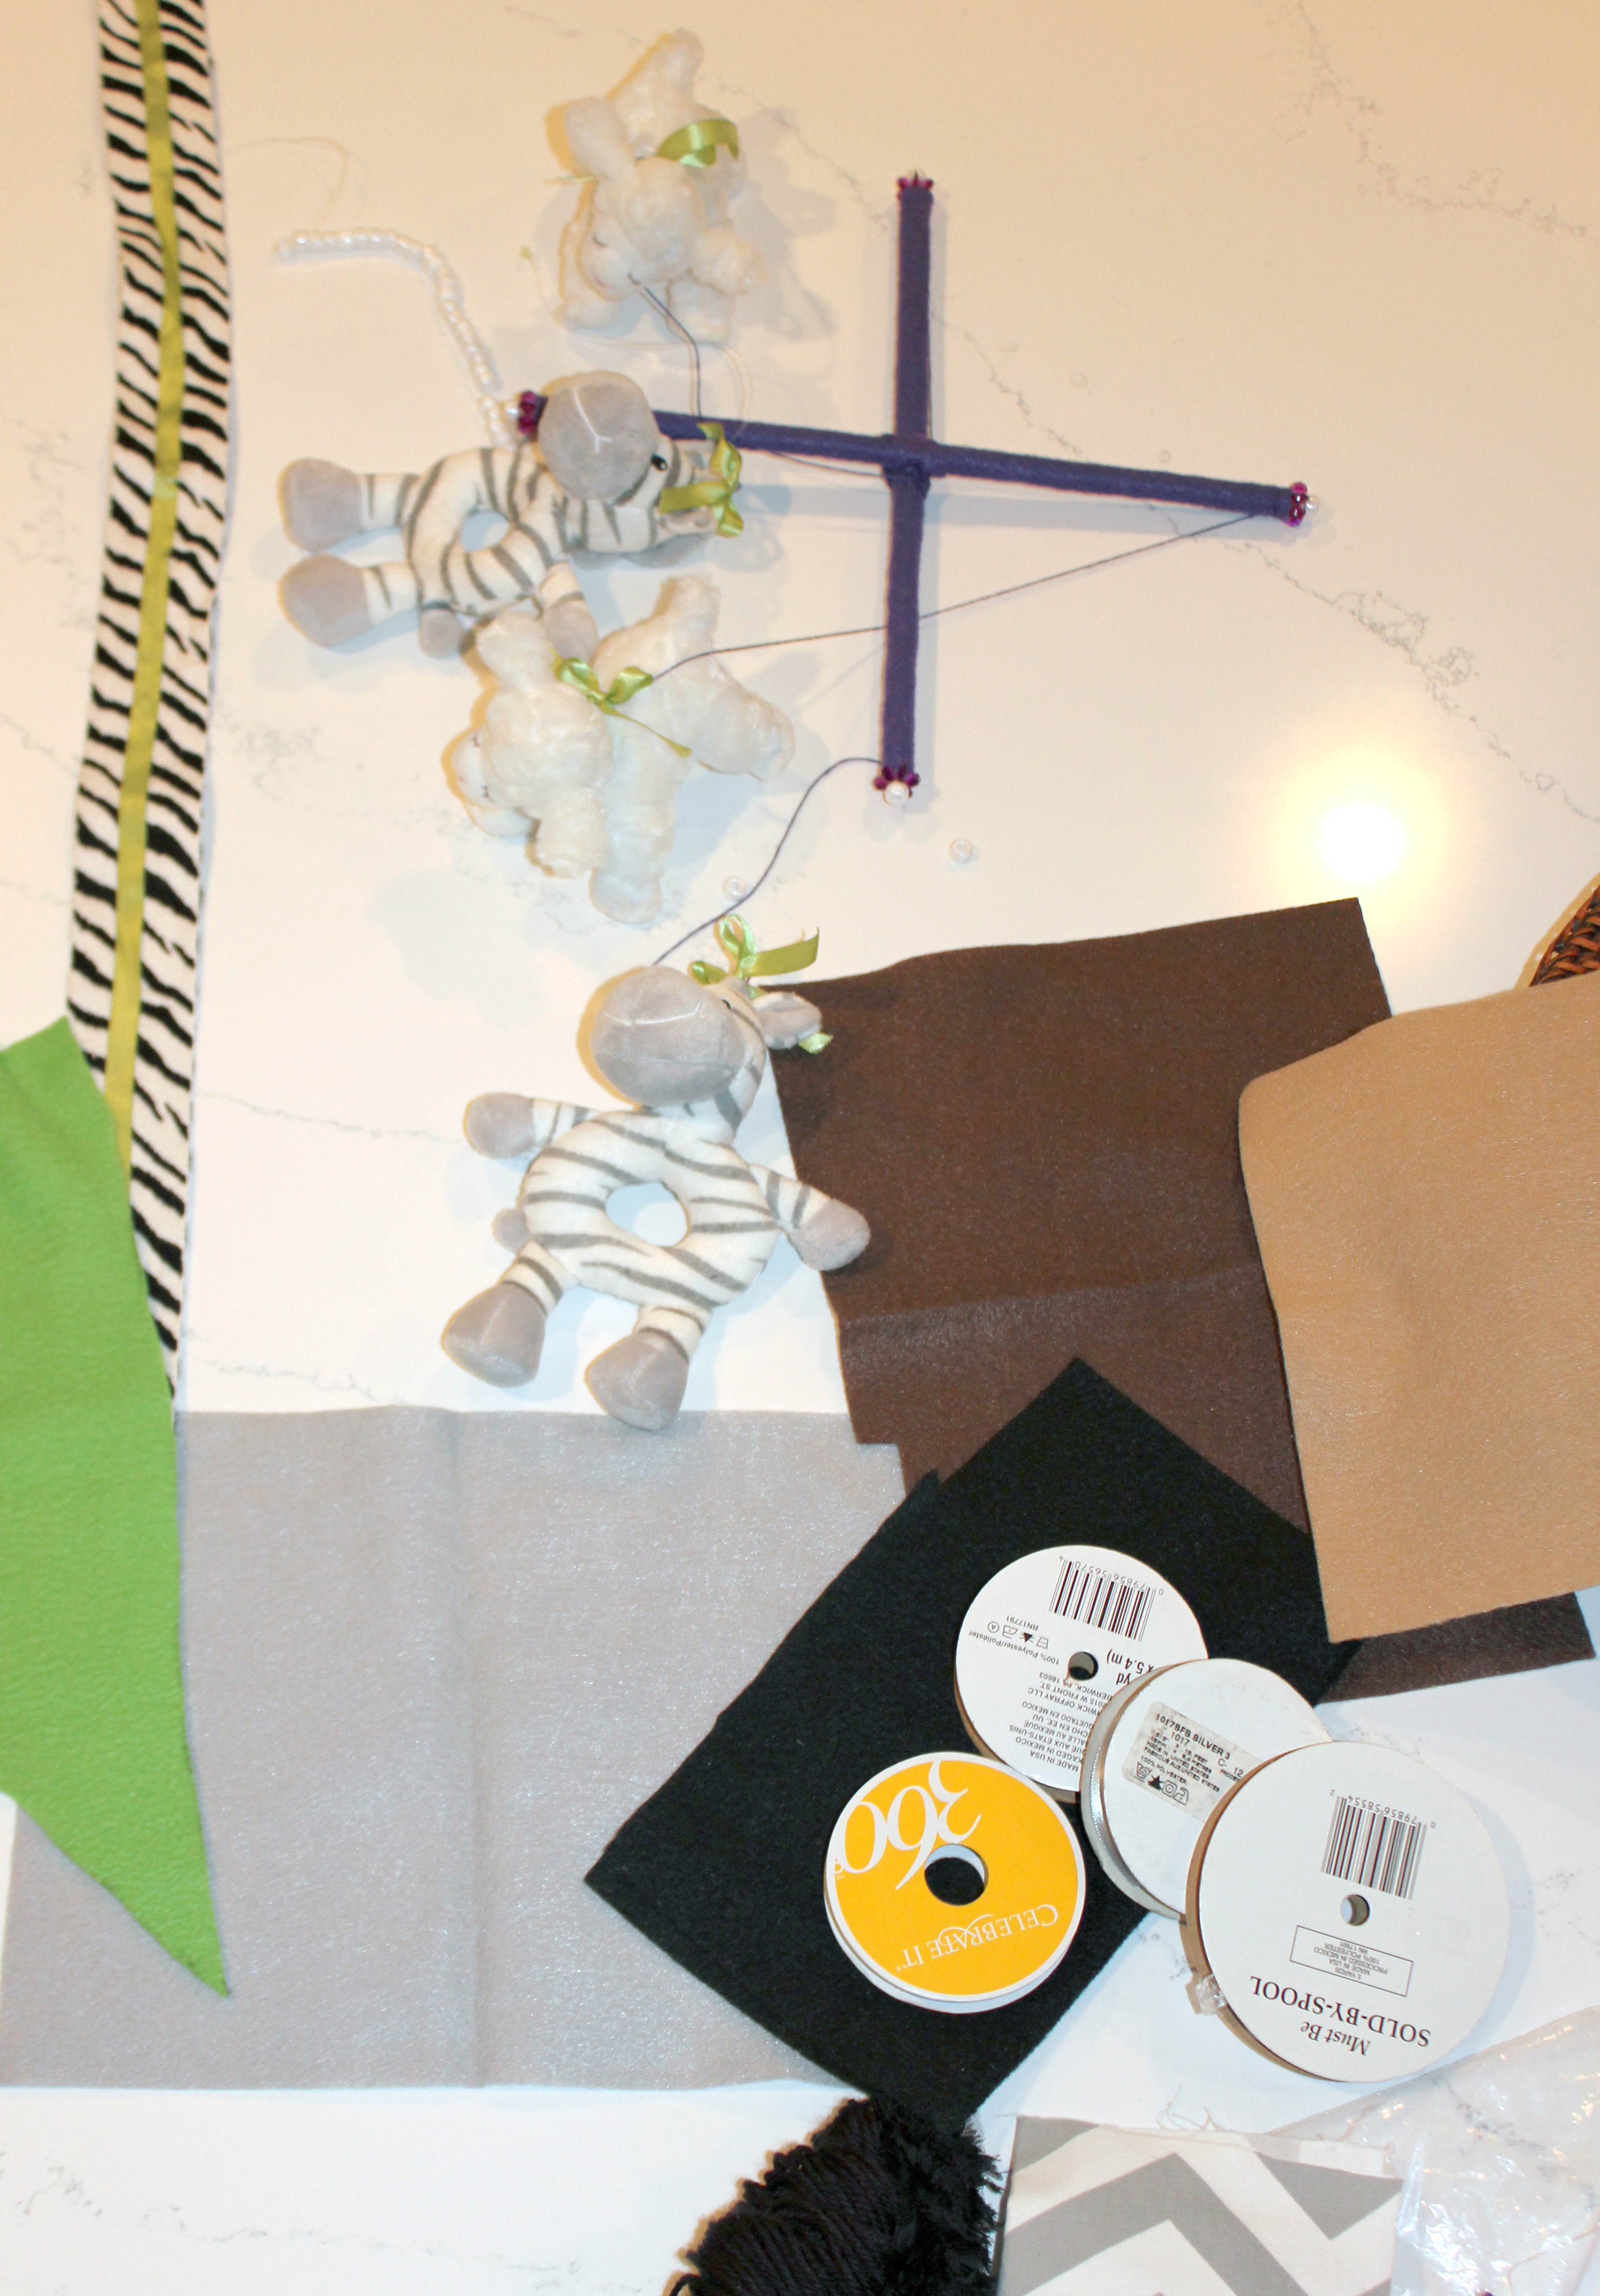
Now comes the “how I did it” part. It was simple: Determine a style, decide on colors and find solid, cheap products to execute. Materials used:
Starting with two dowel rods, I hot glued them together, and then reinforced that with tying string multiple times around the middle. Then I cut felt down to an appropriate size to cover each dowel, hot gluing it to secure it. Can you tell hot glue is my friend? That was my base, and the point when I didn’t really know what was the next best step.
Enter creative juices 🙂
If you’re attempting a mobile on your own from home, the possibilities are really endless. I used two dowel rods, but you could use even more to make it more of a standout piece. The items you choose to adorn your mobile with are also endless. I happen to have a collection of beads and ribbon and string, so those pieces were the easy choice. You can look at each of my two mobiles to see where I used beads and where I used ribbon. But to secure my feature pieces – the 4 stuffed animals – I opted to hand sew them to my string hanging down. I wanted NO chance for baby to be able to destroy it if by chance said baby got a hold of it.
Really, that’s about it. Look at what you have. Determine a look. And just go for it. To me, it was a whole lot of money saved, and a super cute final product that I’m proud to have my girls STILL talk about to this day.
“Mommy, do you remember my baby mobile that used to hang above my bed?”
“Yes, baby, I do.”
“I loved that mobile.”
“Thanks honey, me too.”

Leave a Reply