Previous post
too many ideas. too little time. (and far too much chai.)

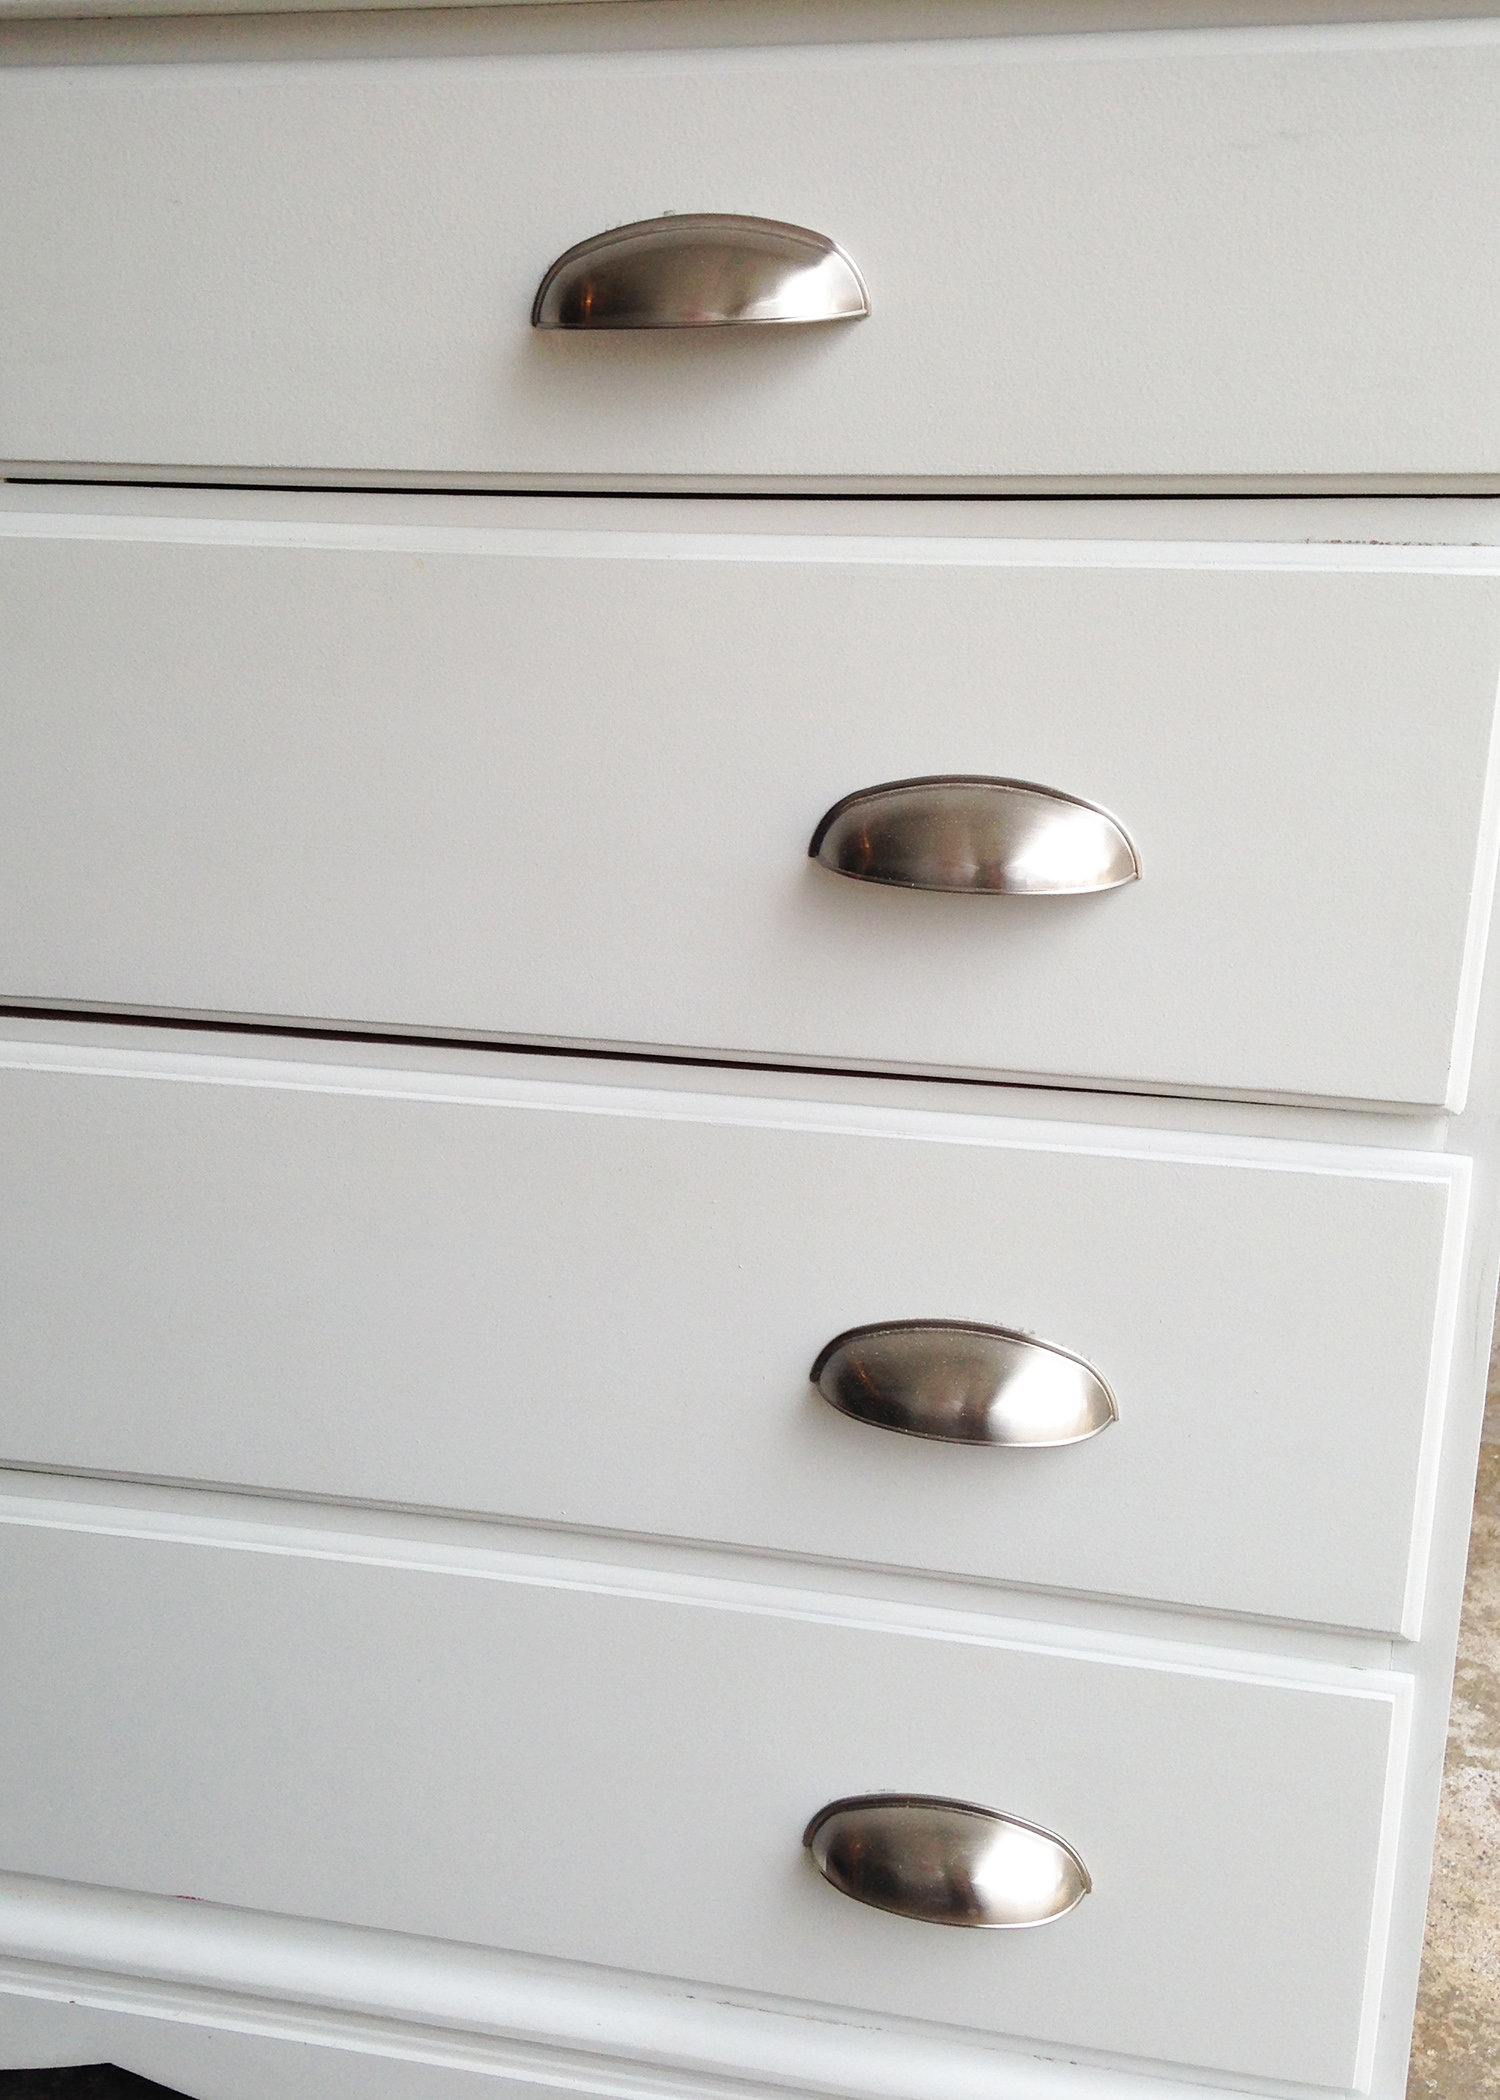
Changing up the hardware on a piece of furniture can drastically (for better or worse) change the look of an entire piece. It’s amazing. Such tiny details, with such a huge impact. An easy way to start the transformation is with one of my favorite things: SPRAY PAINT. But before you go gettin’ all spray crazy, take a minute and review this post. I promise you, it’s worth it.
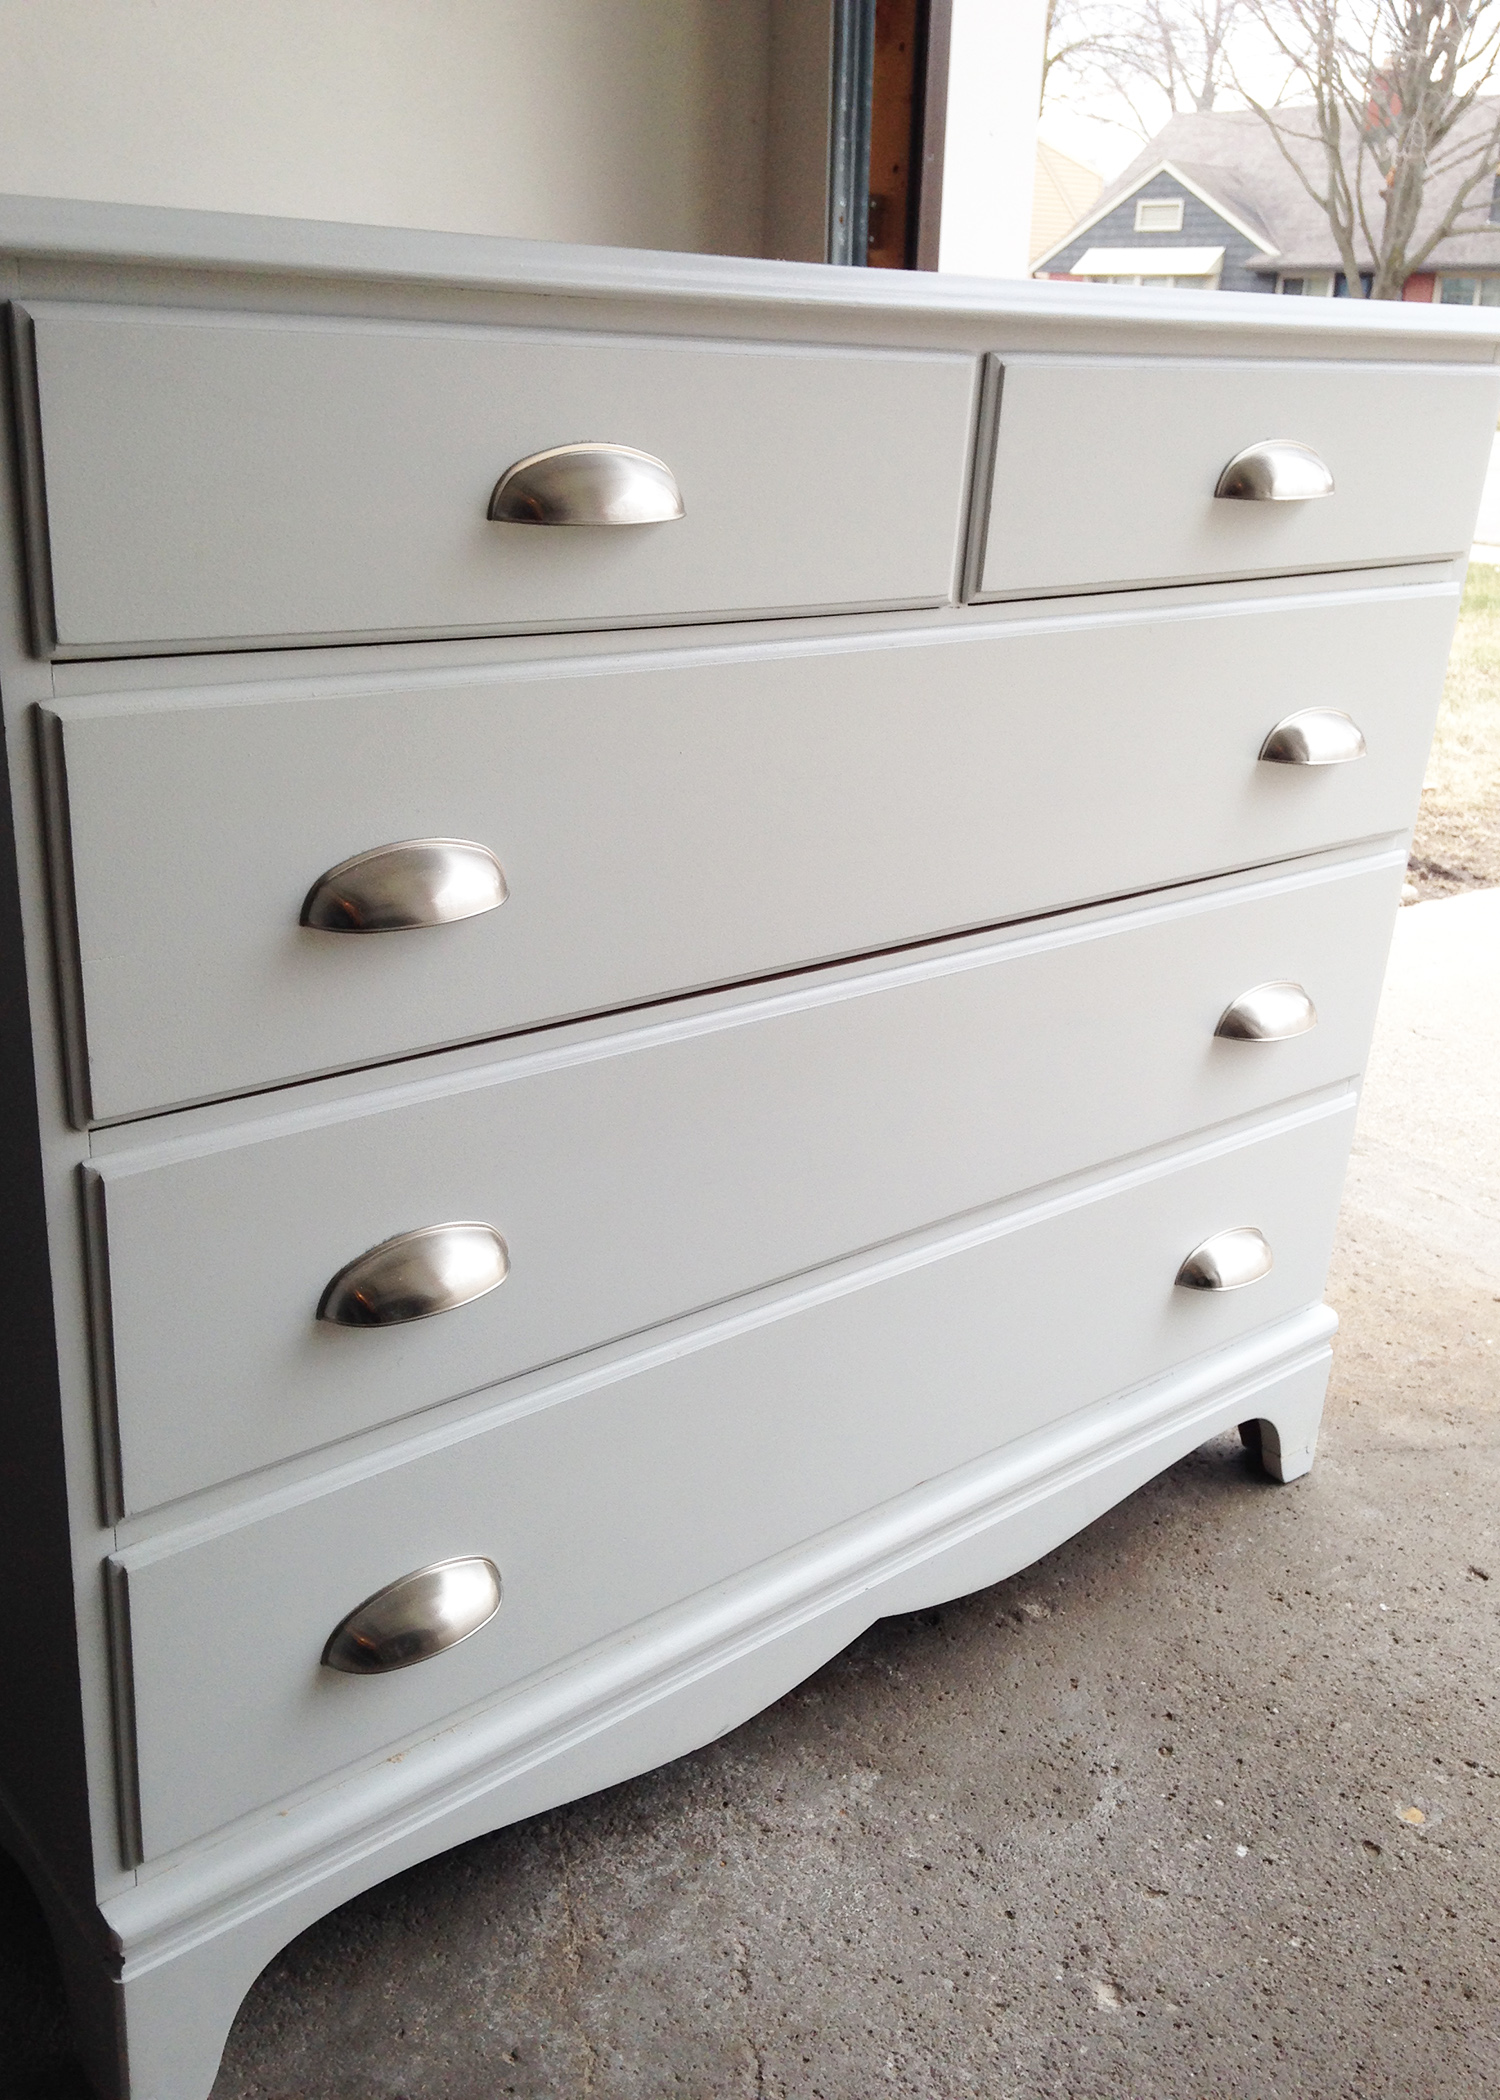
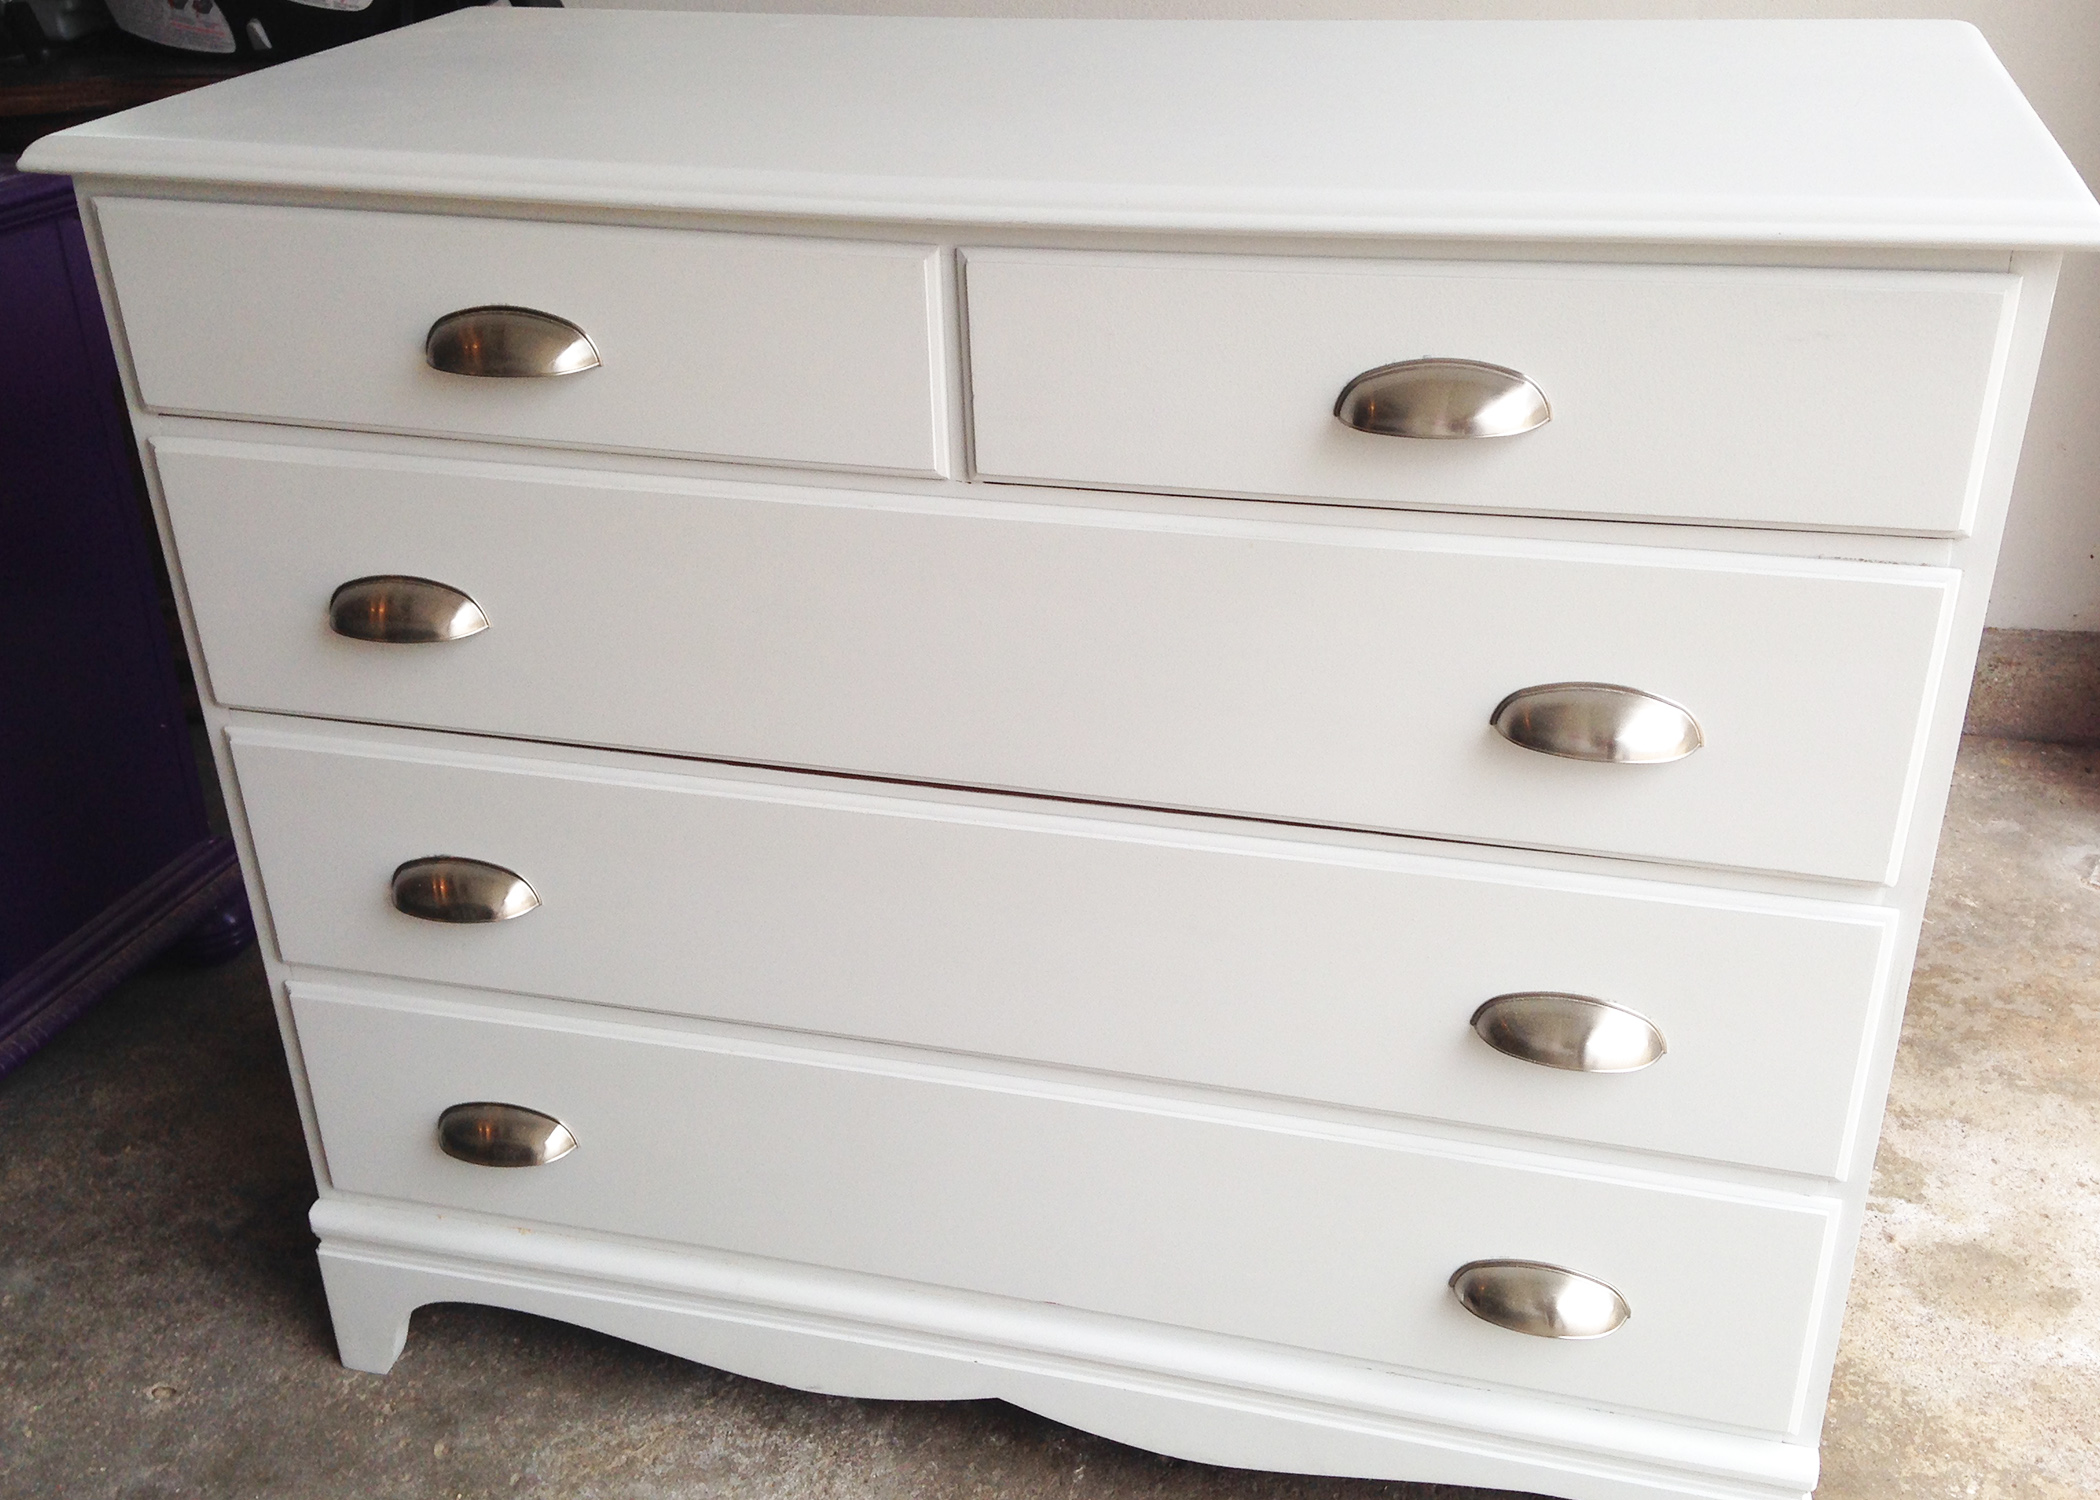
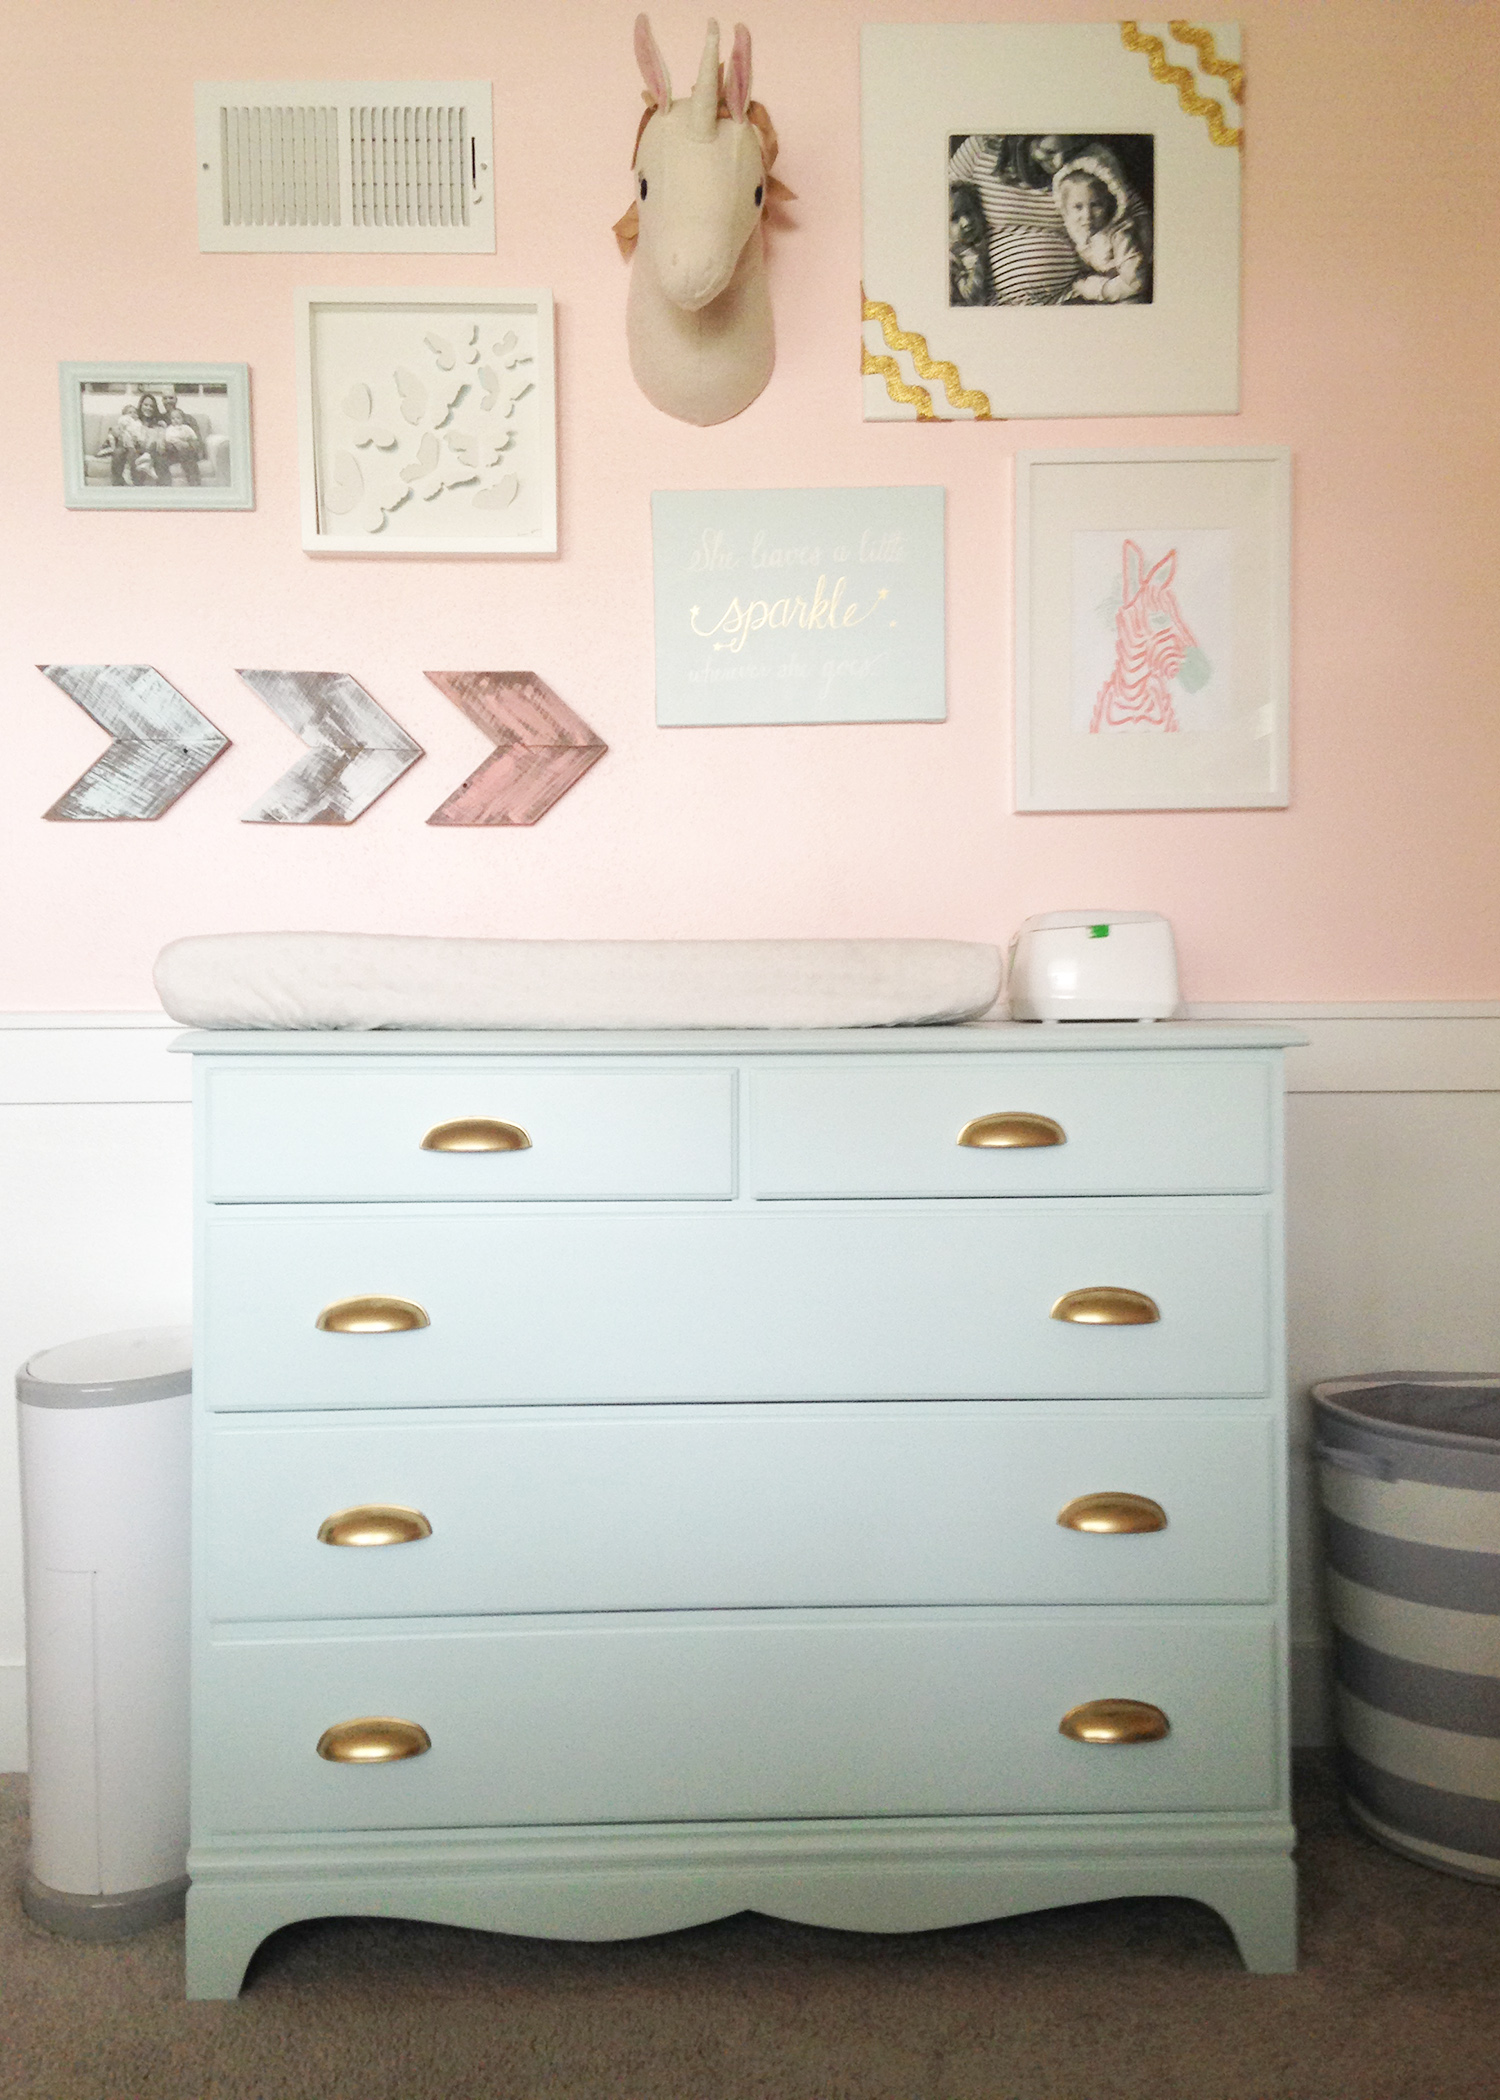
This is the dresser I decided to transform for my daughter’s nursery. I also changed up the color of the paint, but in my opinion, the real show stopper was the hardware transformation.

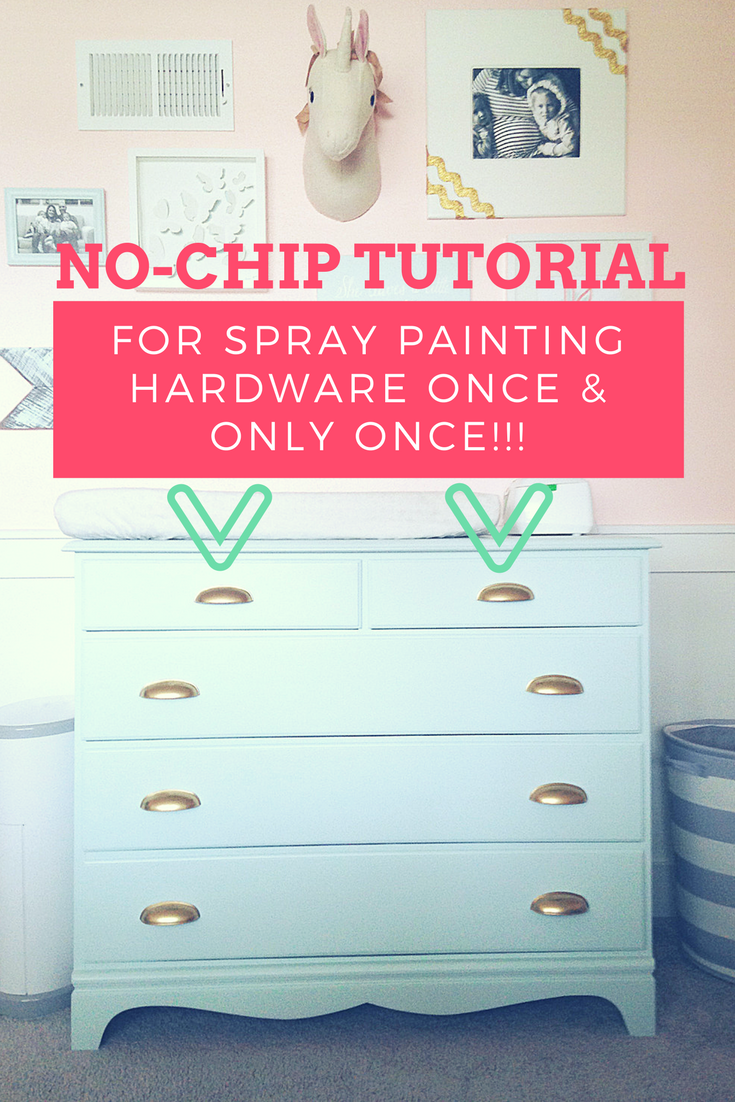
You don’t want to go doing ALL kinds of work, only to have your hardware chip and fade. So I figured out a process that works!
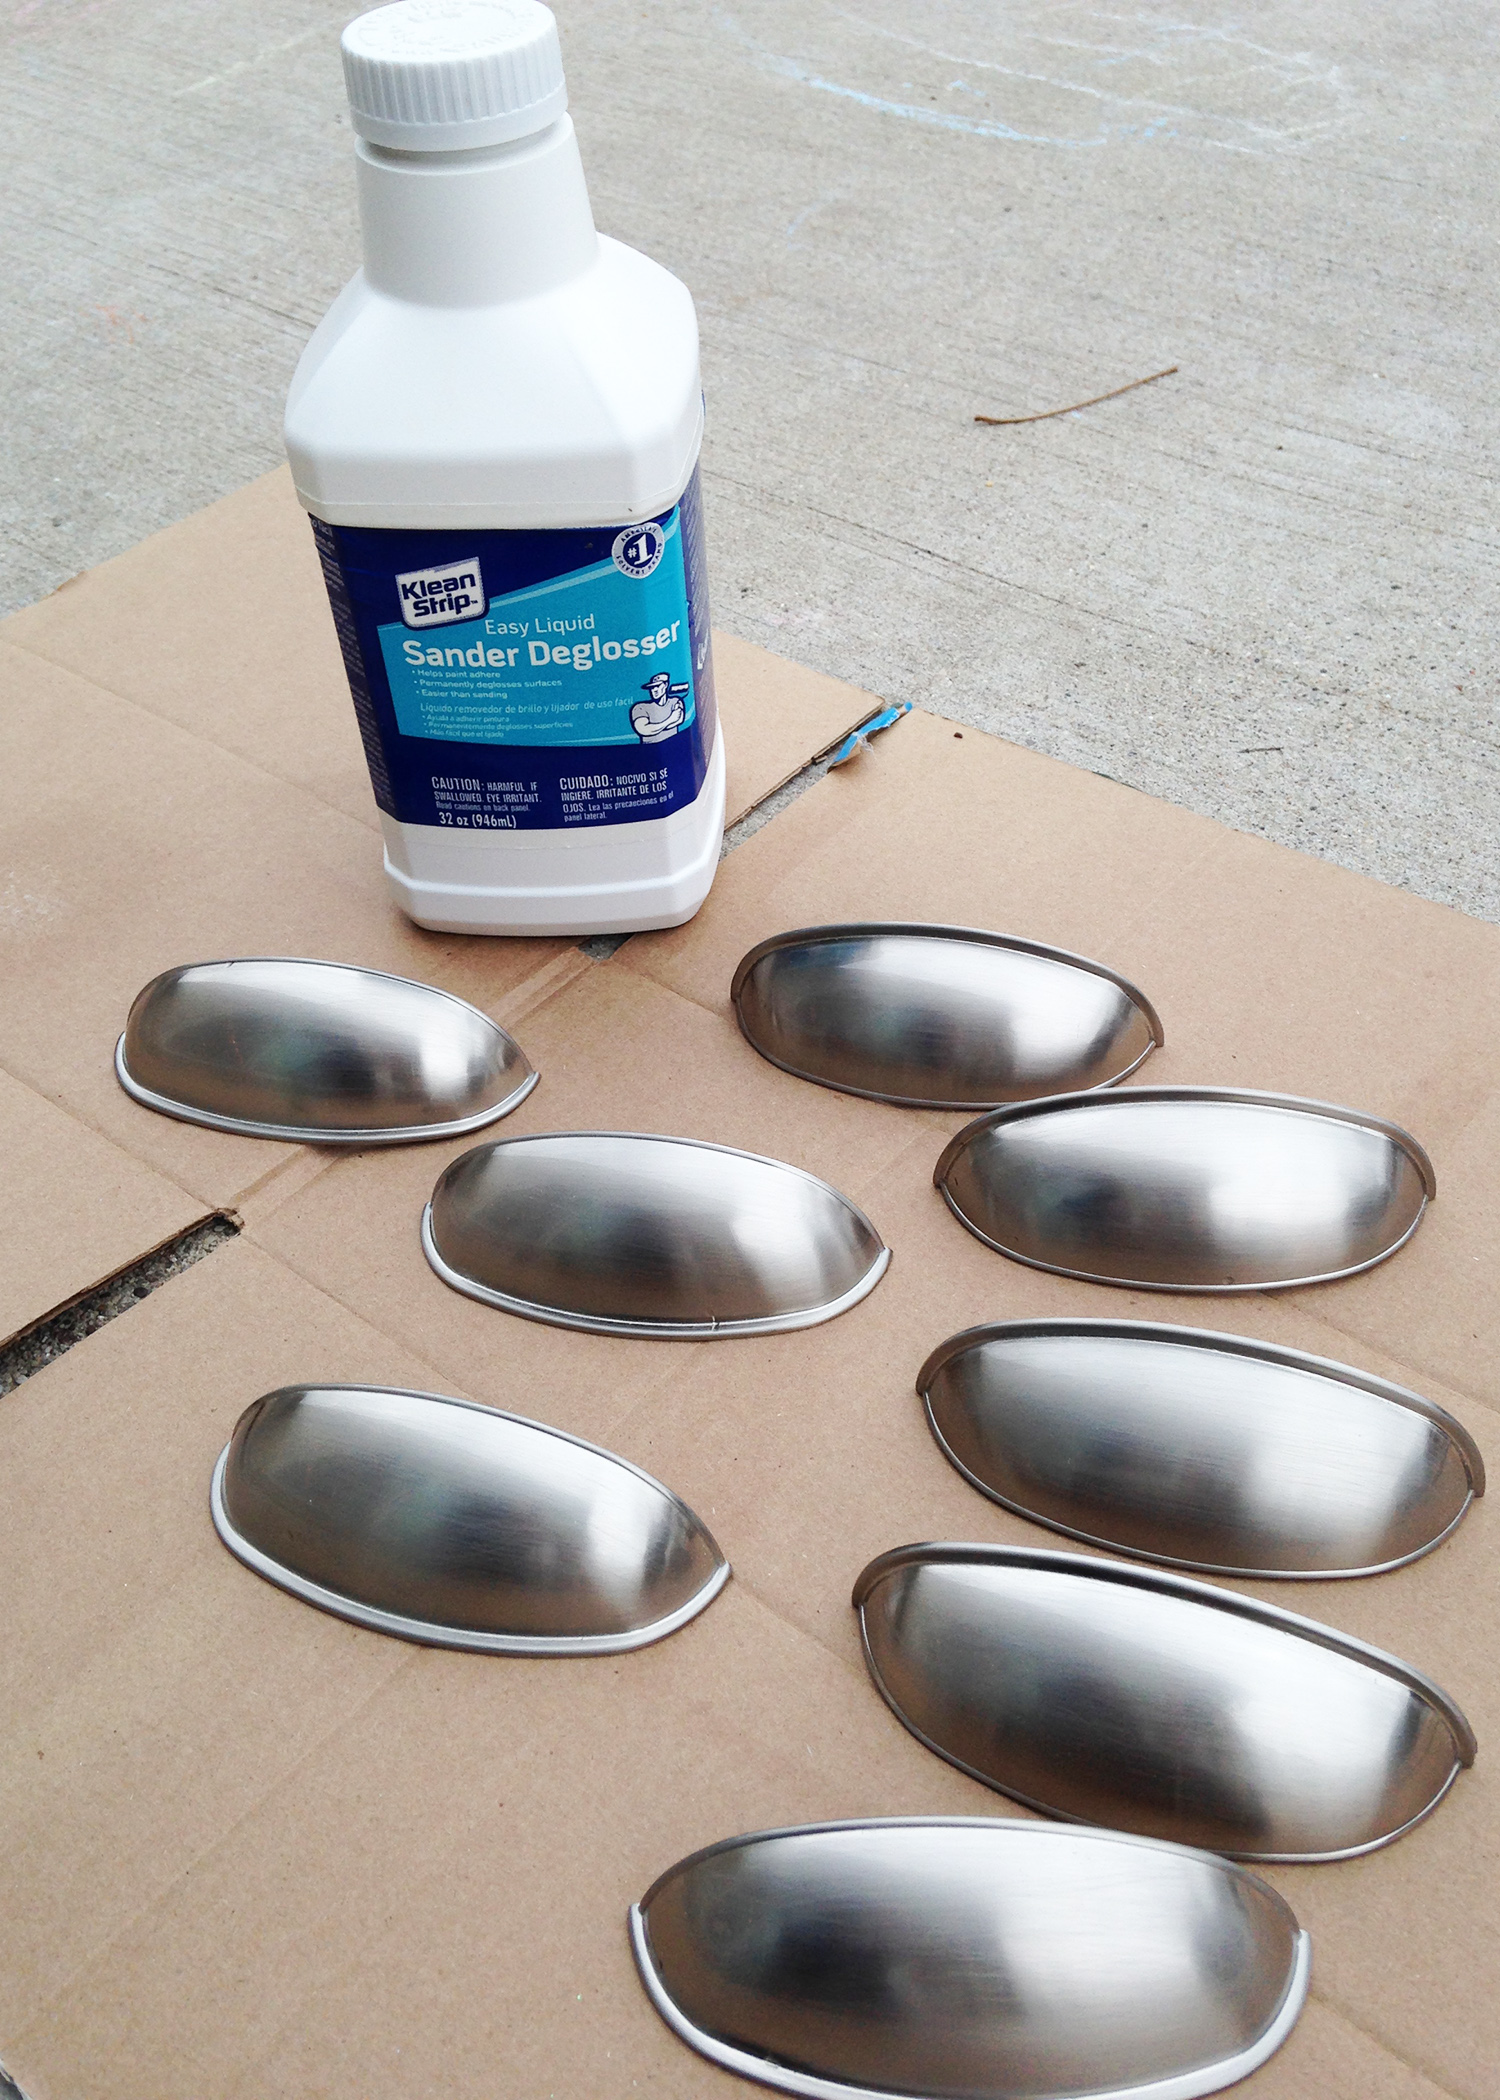
I first tried lightly sanding the handles with a steel wool pad, but I found it to be too harsh, leaving little marks all over. Instead, I turned to my not-so-secret-weapon:
Liquid Sander Deglosser
If you’ve never used a product like this, get ready to be AMAZED because this stuff is great for difficult-to-sand pieces (and lazy diy’ers like me), and it worked perfectly on this project. I also read countless tutorials from seasoned pros, and the deglosser was a fan favorite.
Months later, the hardware is still holding up, and with two toddlers (and a newborn) constantly all over the dresser, that’s a feat – because let’s face it, with kids, furniture takes a beating.
Start by gently cleaning any dirt and grime from the hardware (soap and water works just fine). Then, start the process of the deglosser, which is pretty simple. Basically, you just rub it on, wait the appropriate time for it to work its magic (see back of bottle), then repeat if necessary. No sanding. No mess. Just a perfectly prepped surface.
Next, it’s time to prime. My go-to is this: Rust Oleum Primer
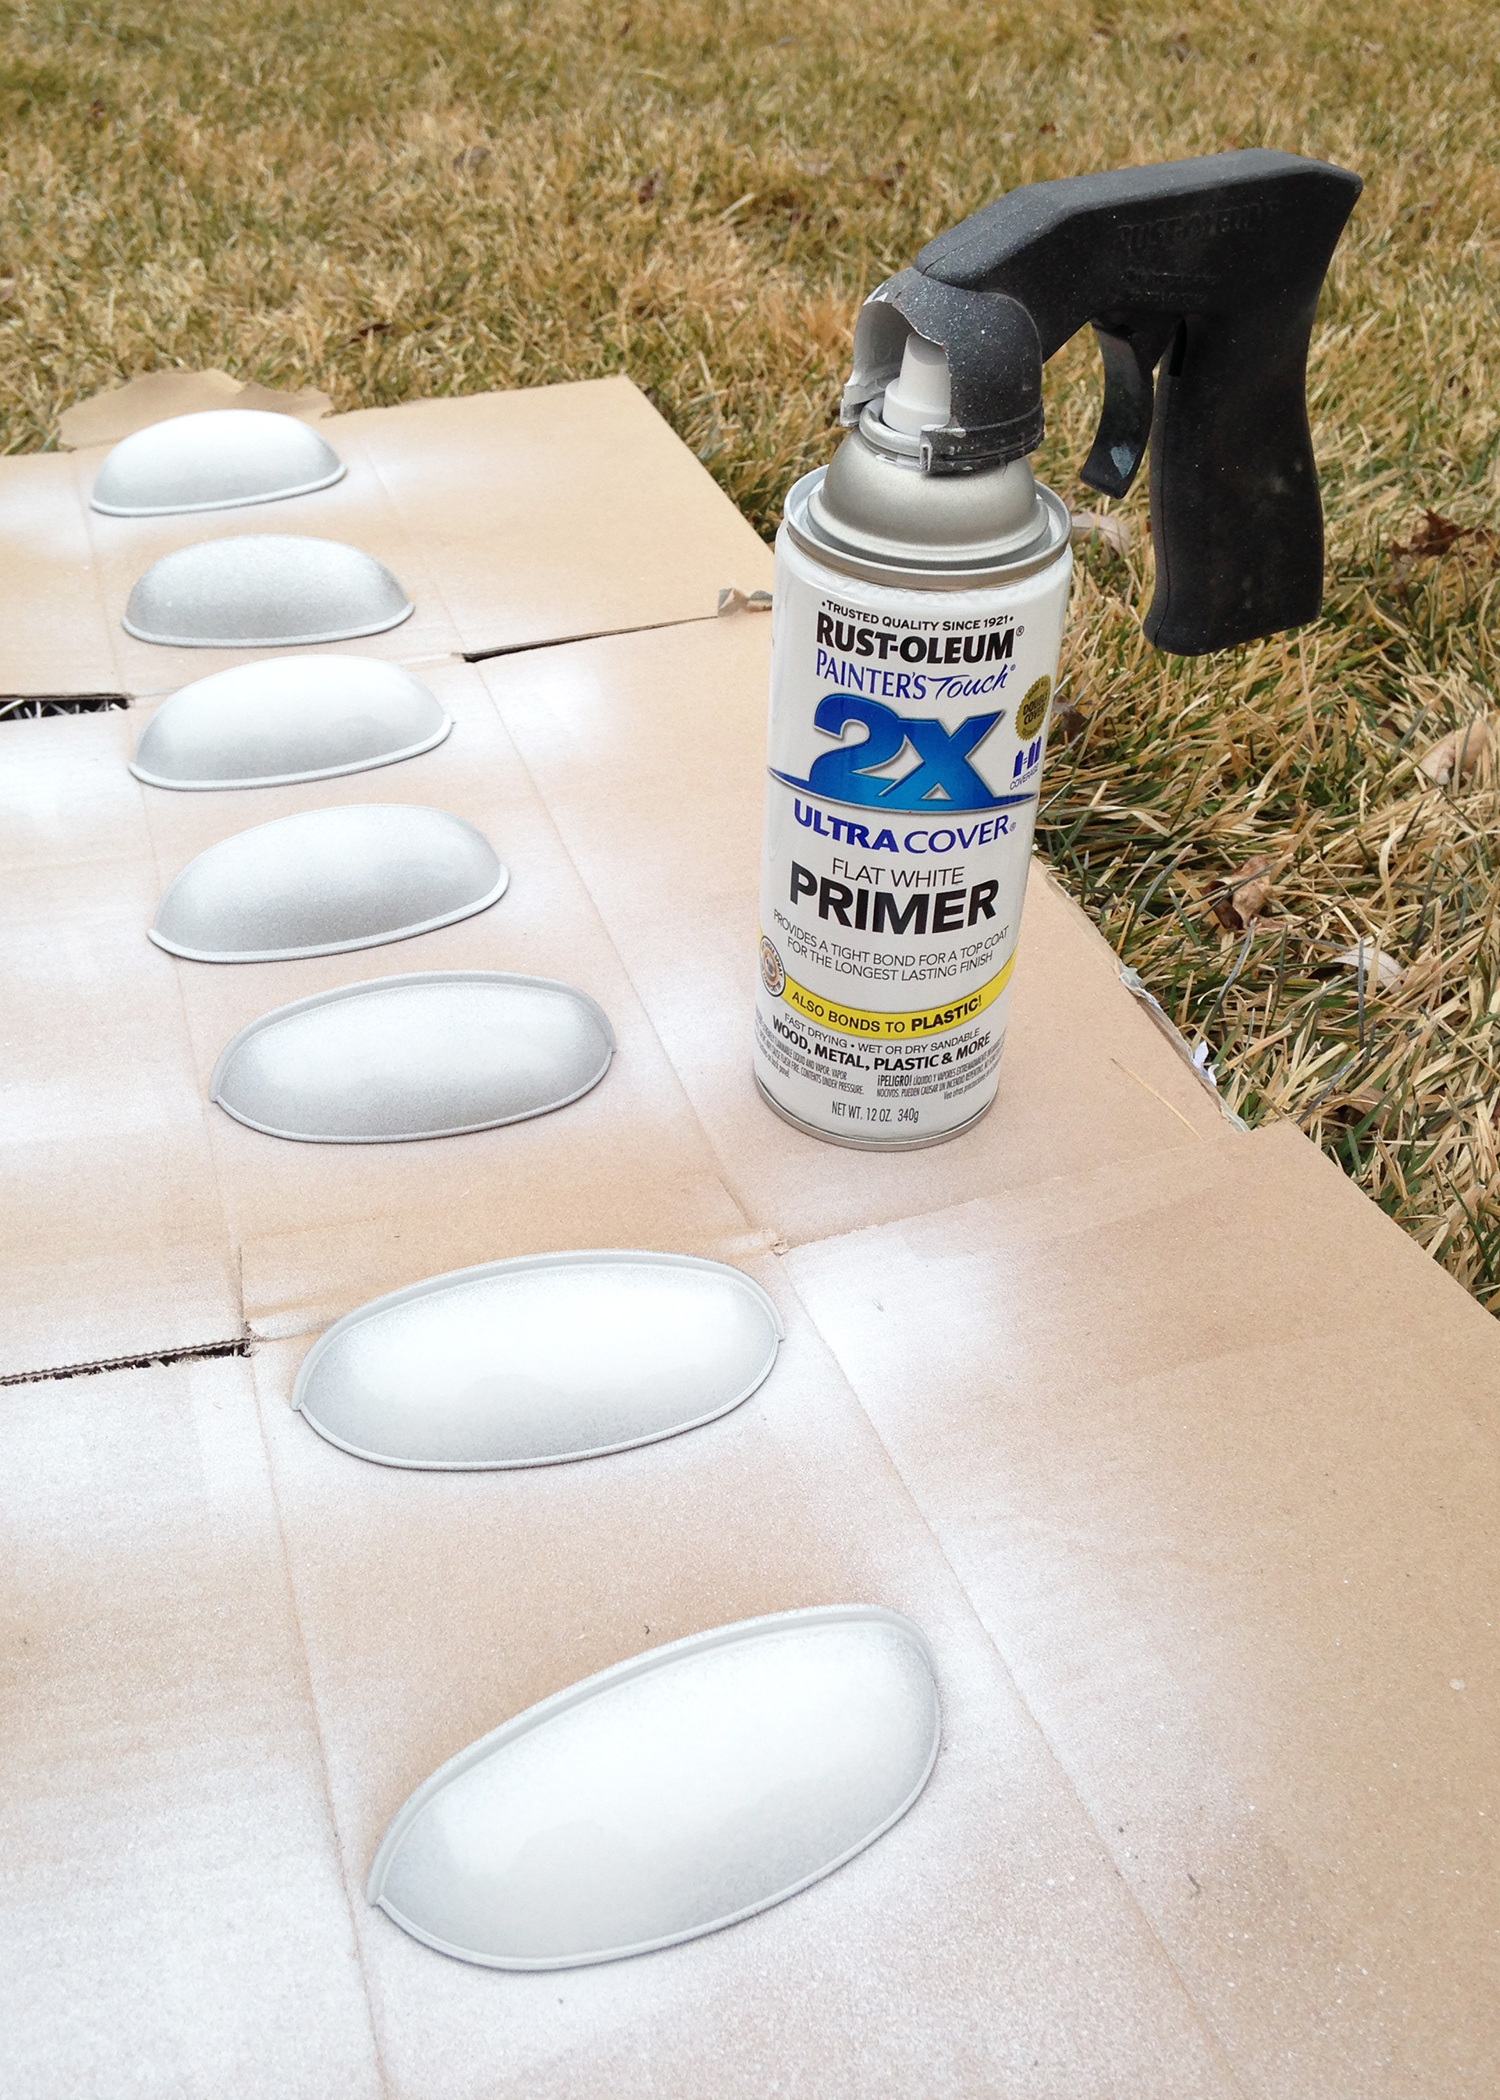
This particular primer covers well, and has never failed me, so I stick with it. I applied a few light coats, allowing proper dry time between them (which is not very long). And then it’s time to paint. I chose a metallic gold, but there are so many options.
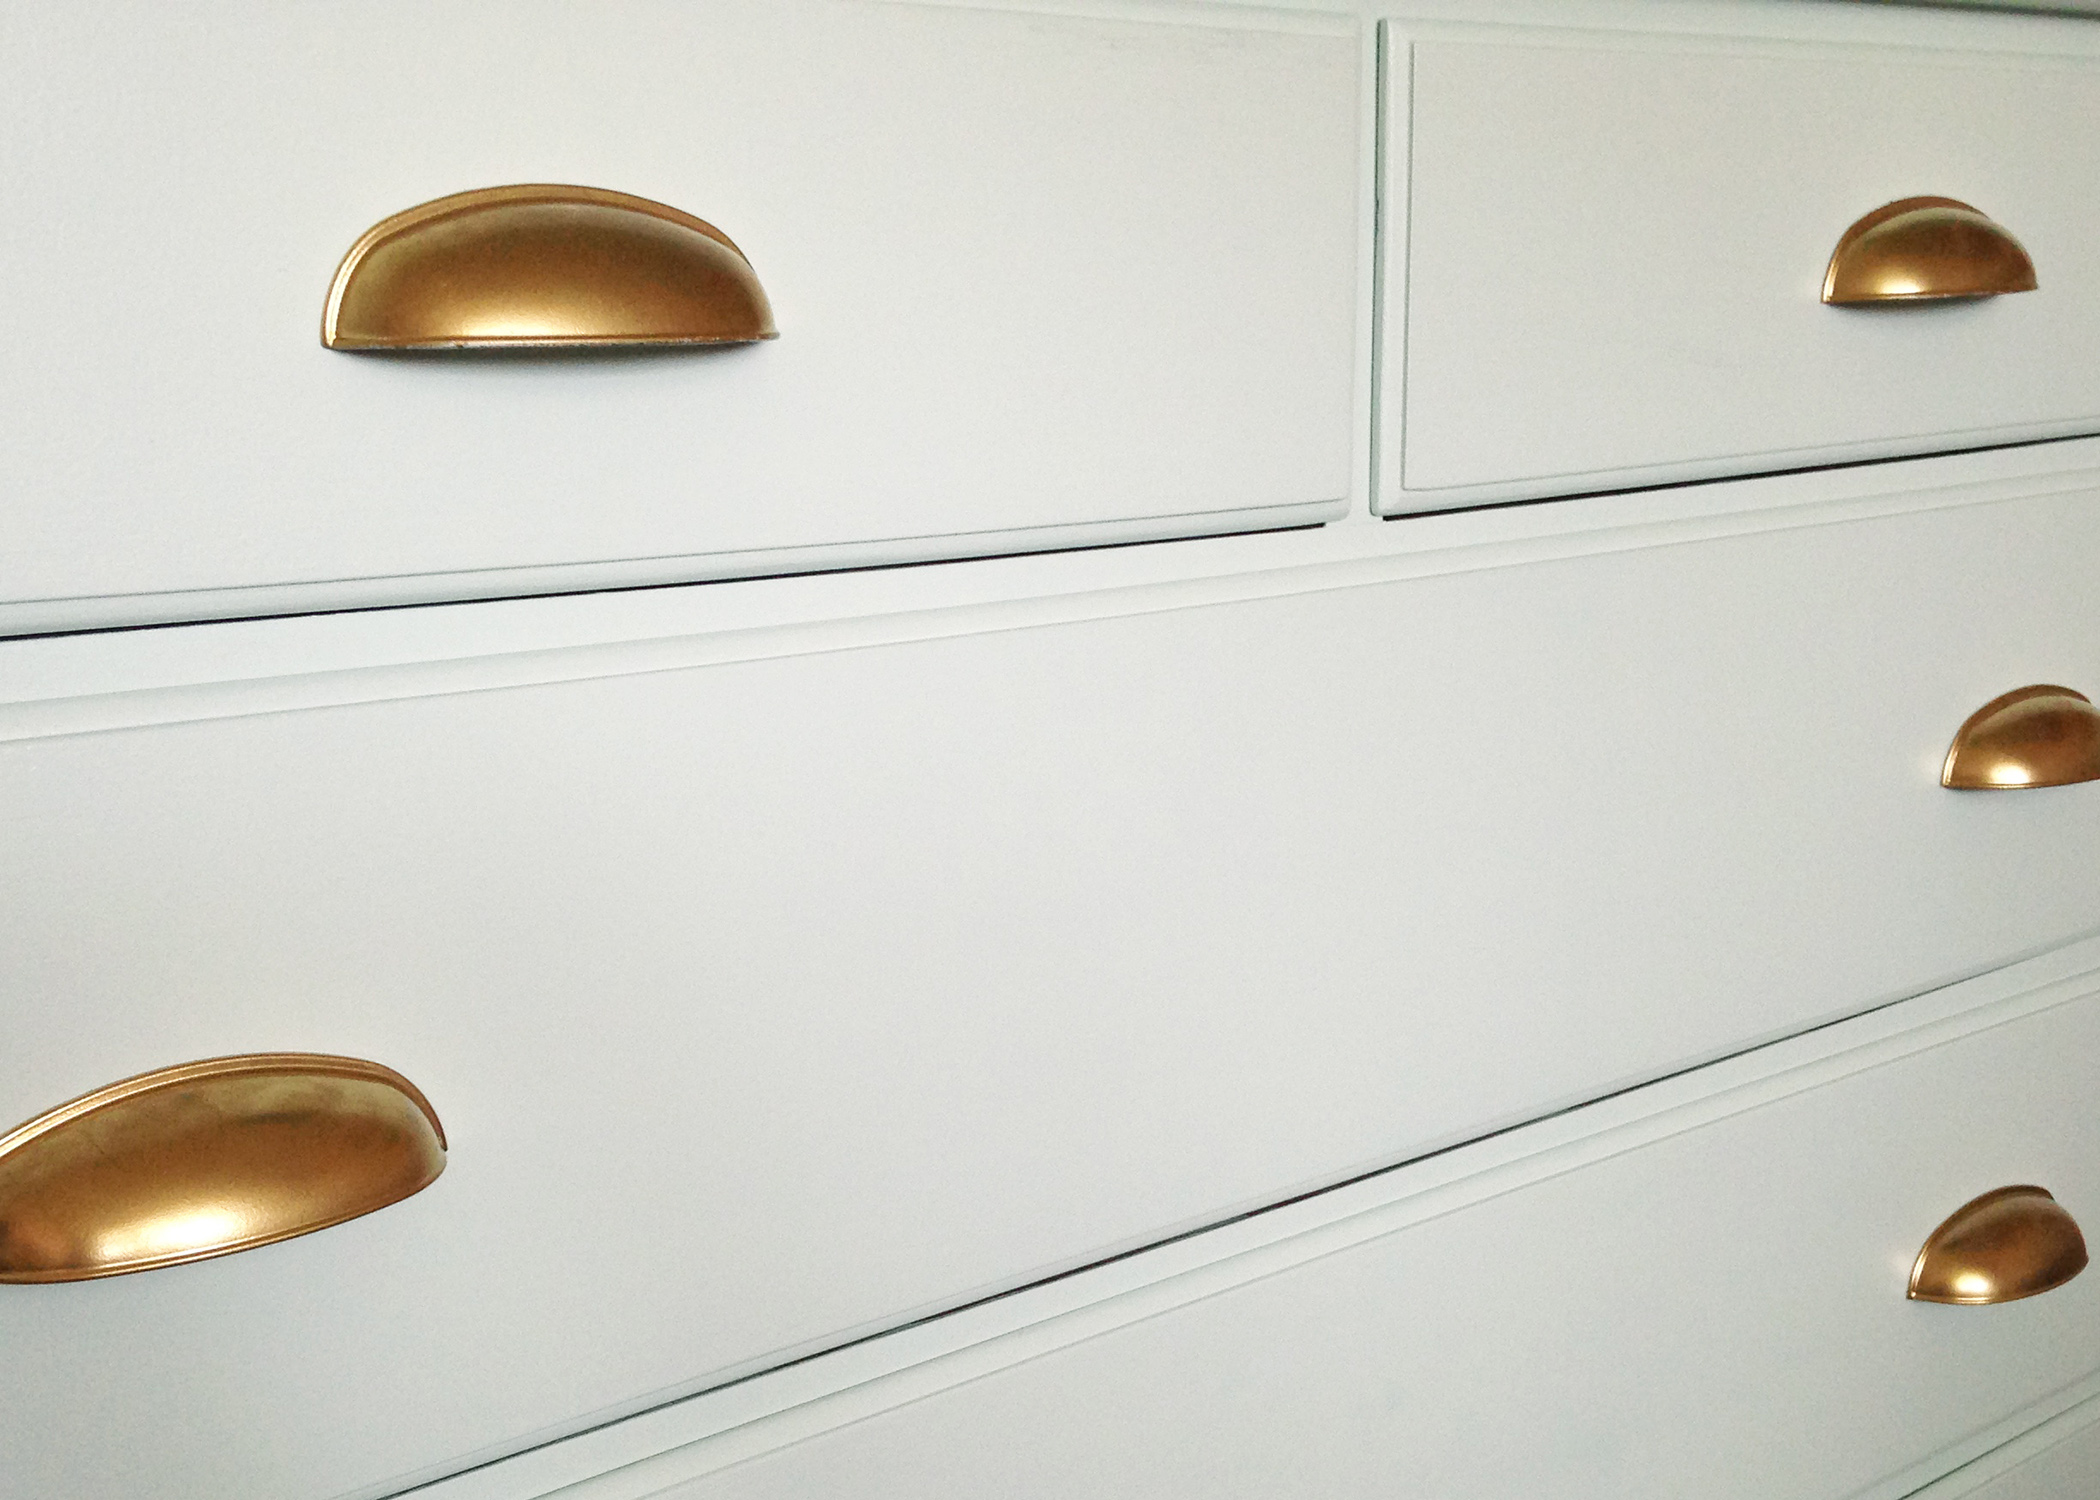
Again, 2-3 light coats is all you need, and voila: Hardware that drastically transforms a piece of furniture, and bonus… it won’t fade or chip!!!
*As an extra precaution, you could always apply a top coat. I didn’t find it necessary here, but it would add even more durability.


Leave a Reply