Previous post
too many ideas. too little time. (and far too much chai.)

When my Grandma passed away a few years ago, our family was devastated. To say that she was the matriarch of the fam, would be an understatement. She was everything, and our world was turned upside down.
Now, granted, pieces of furniture and decor are material objects. They cannot bring a person back, or fill an unfathomably large void, but that doesn’t mean they don’t hold meaning, along with a plethora of precious memories.
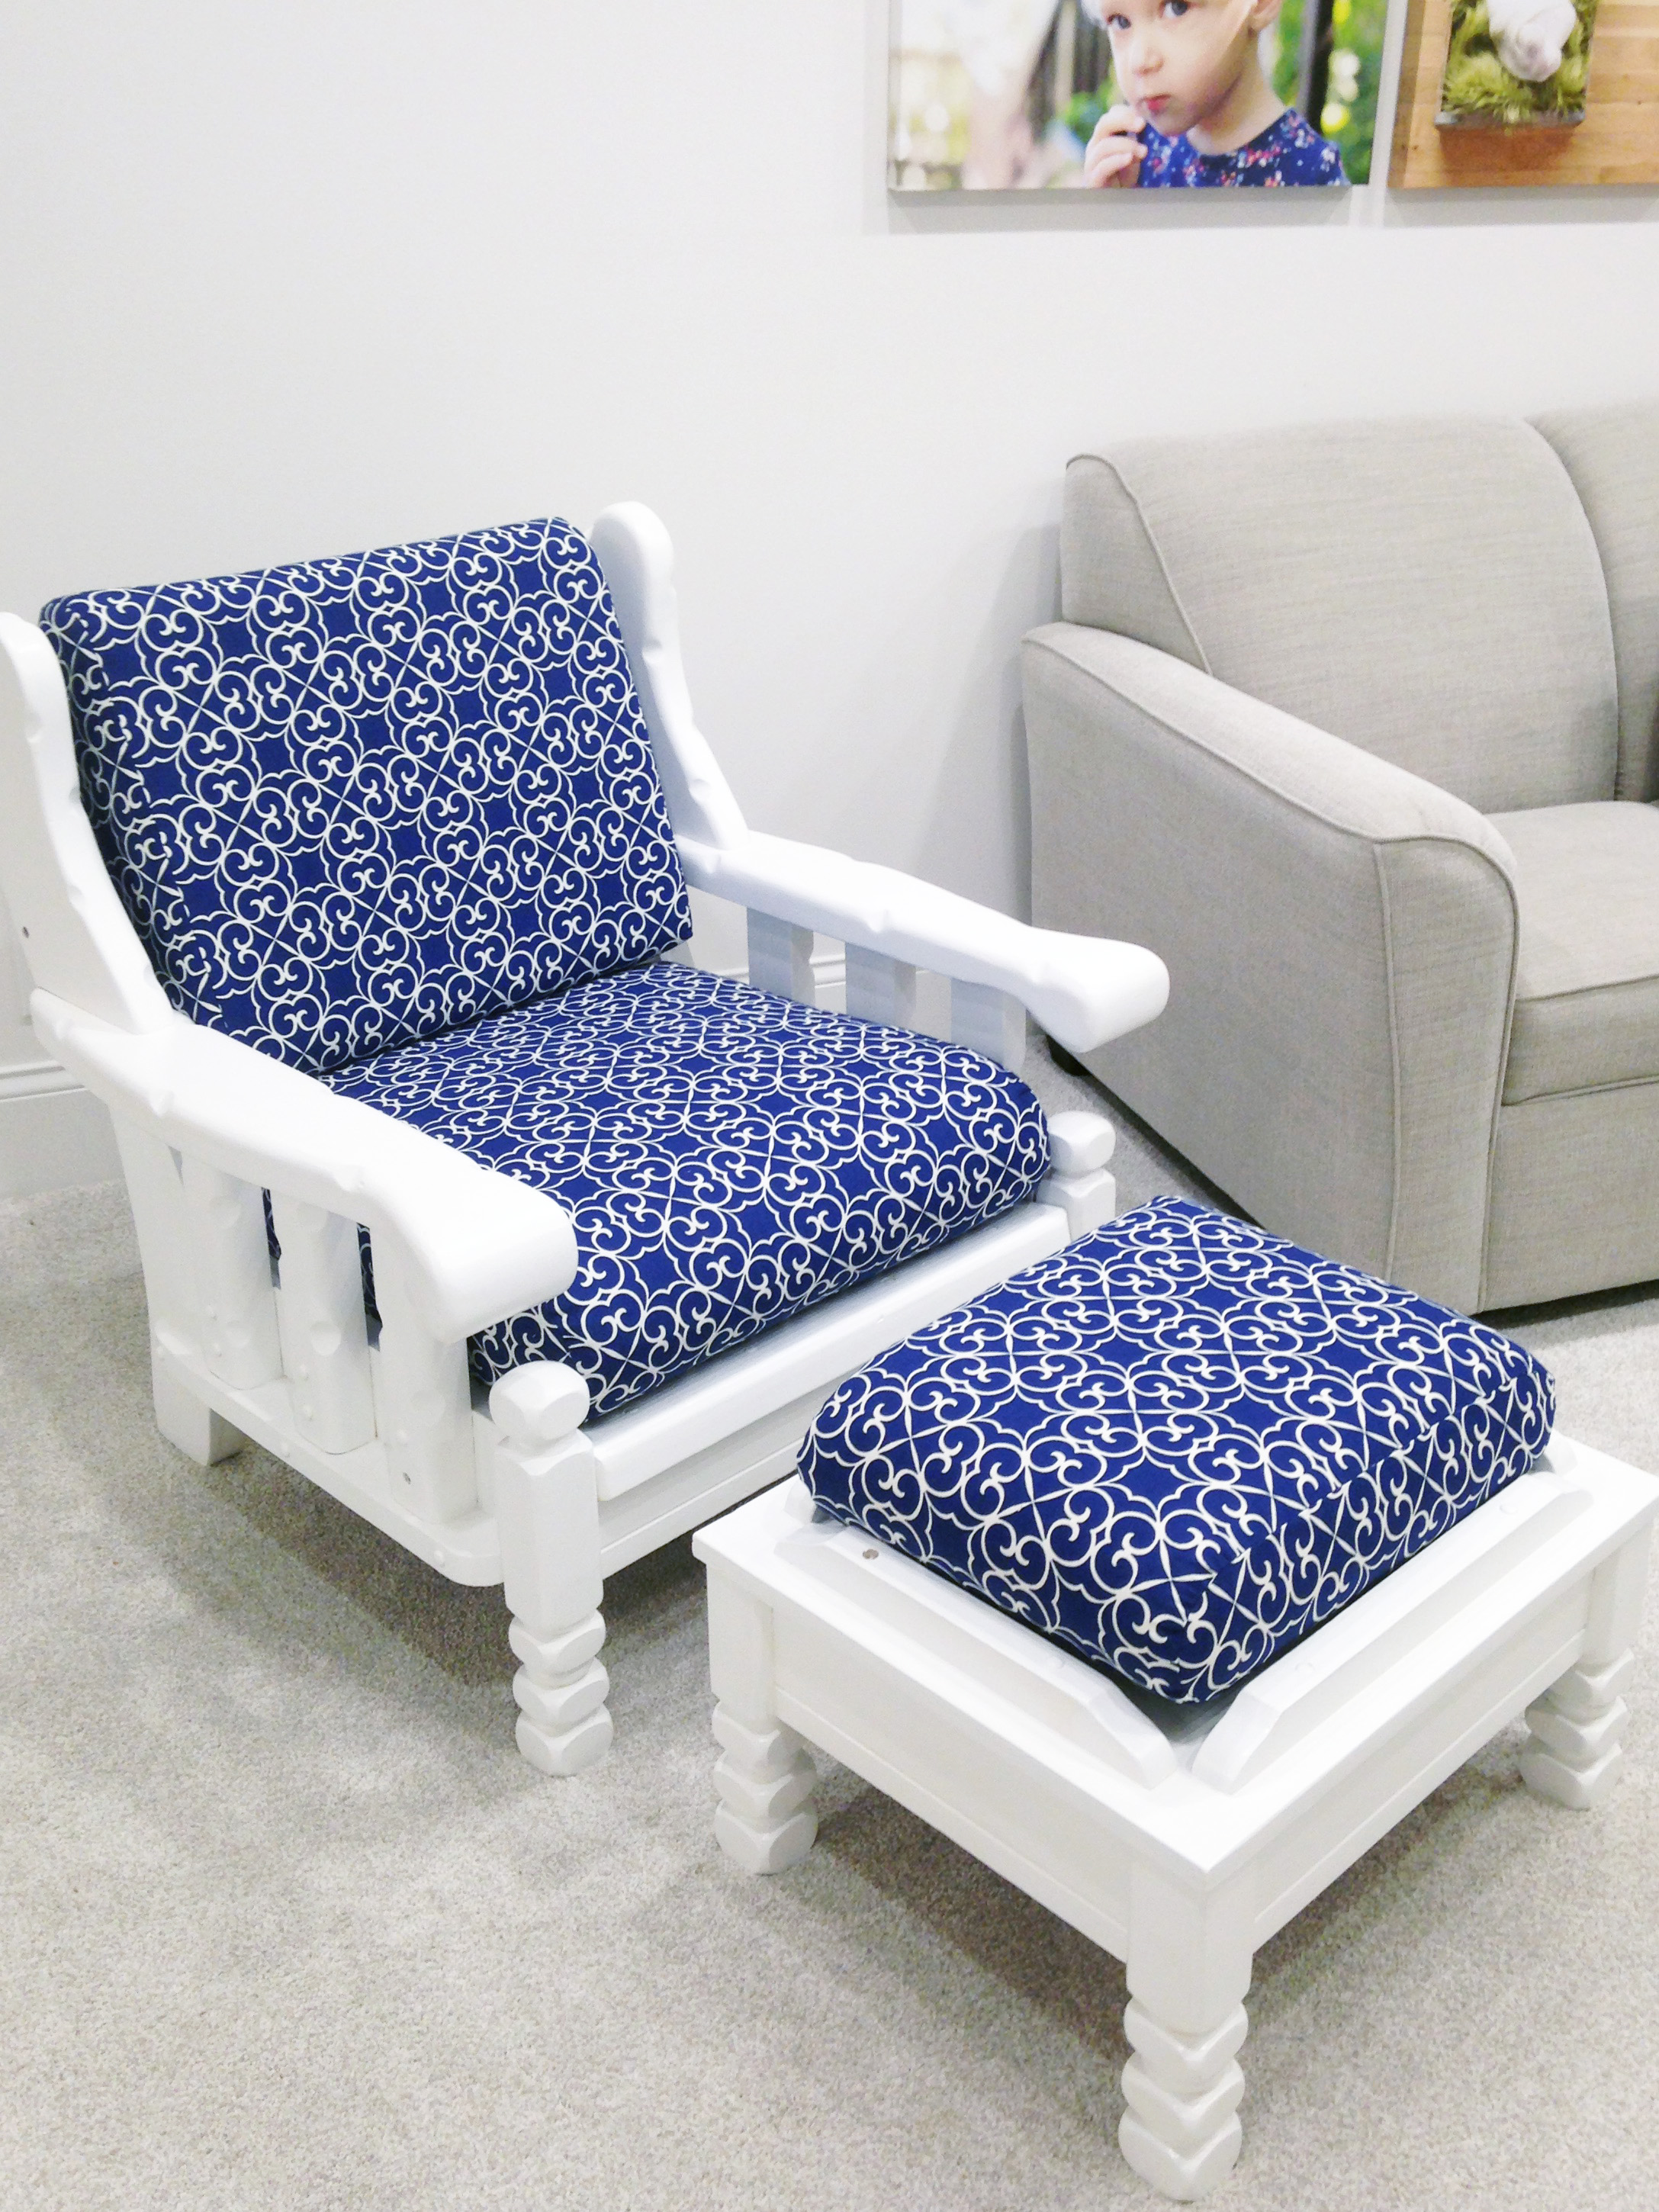
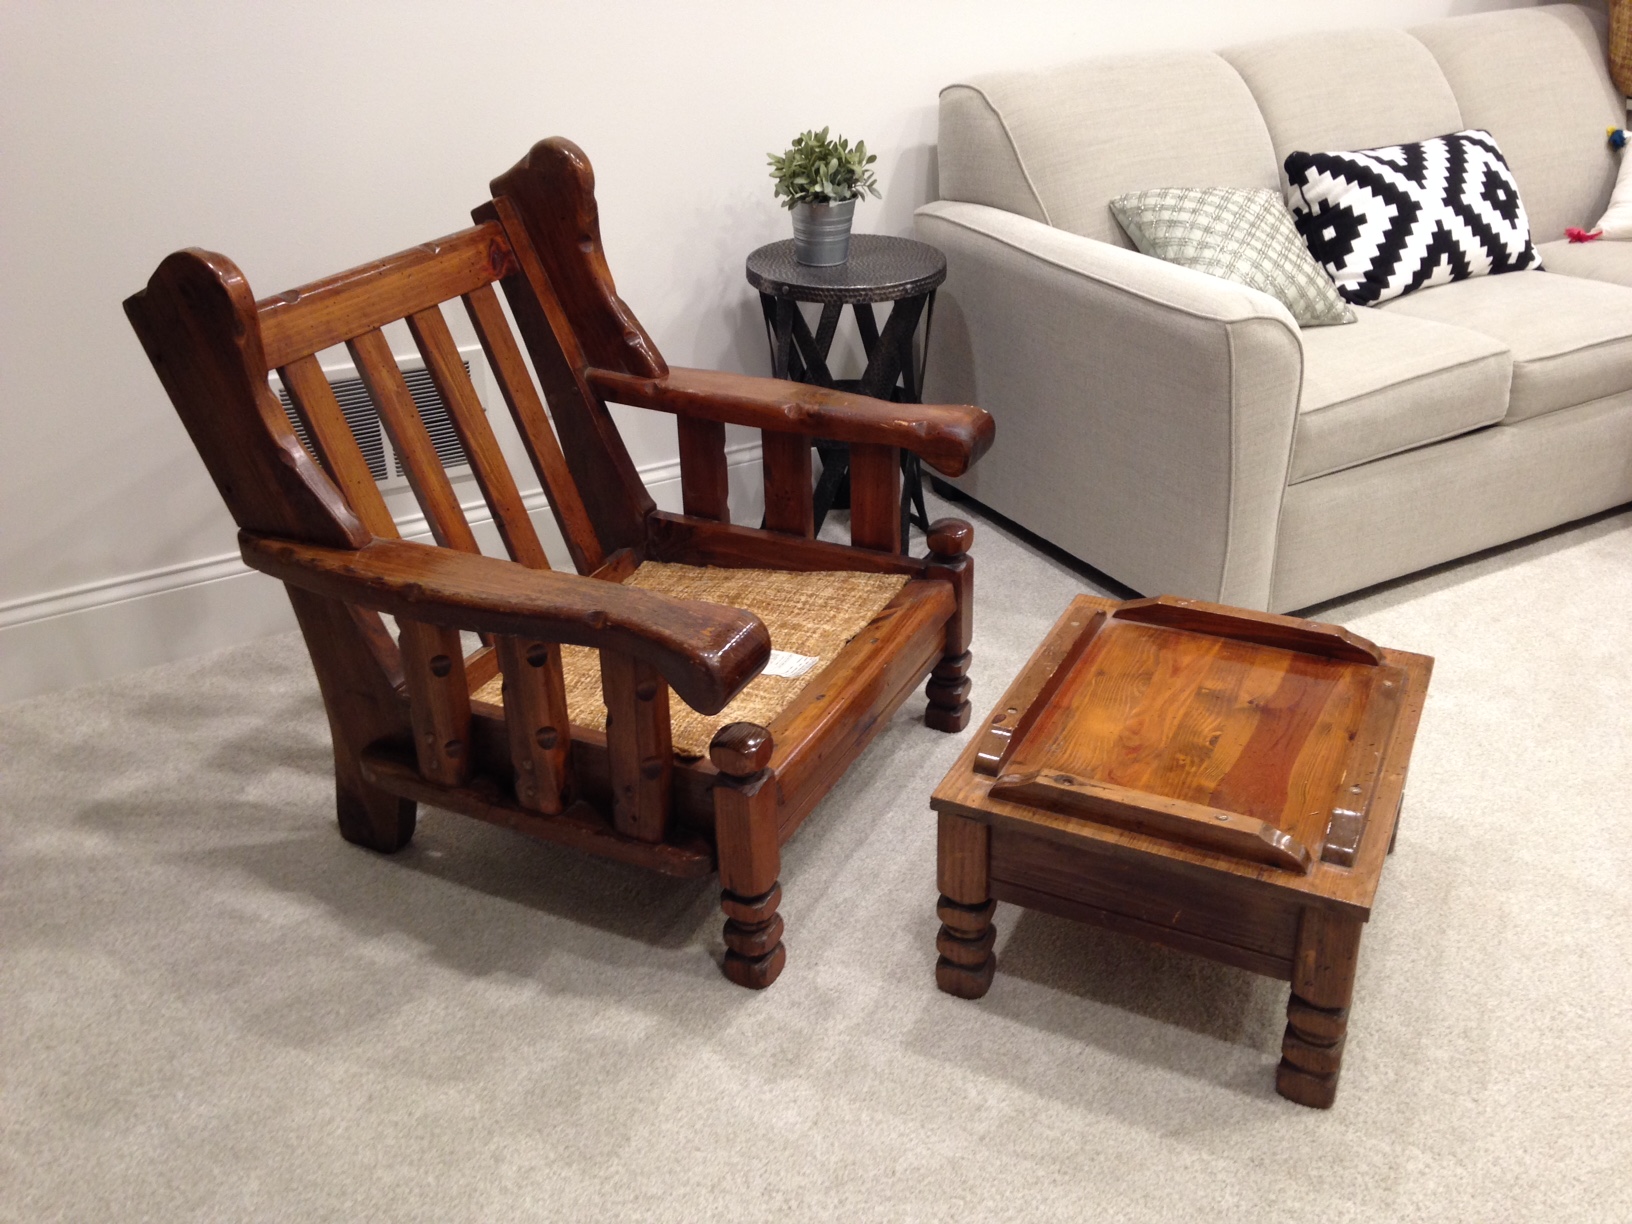
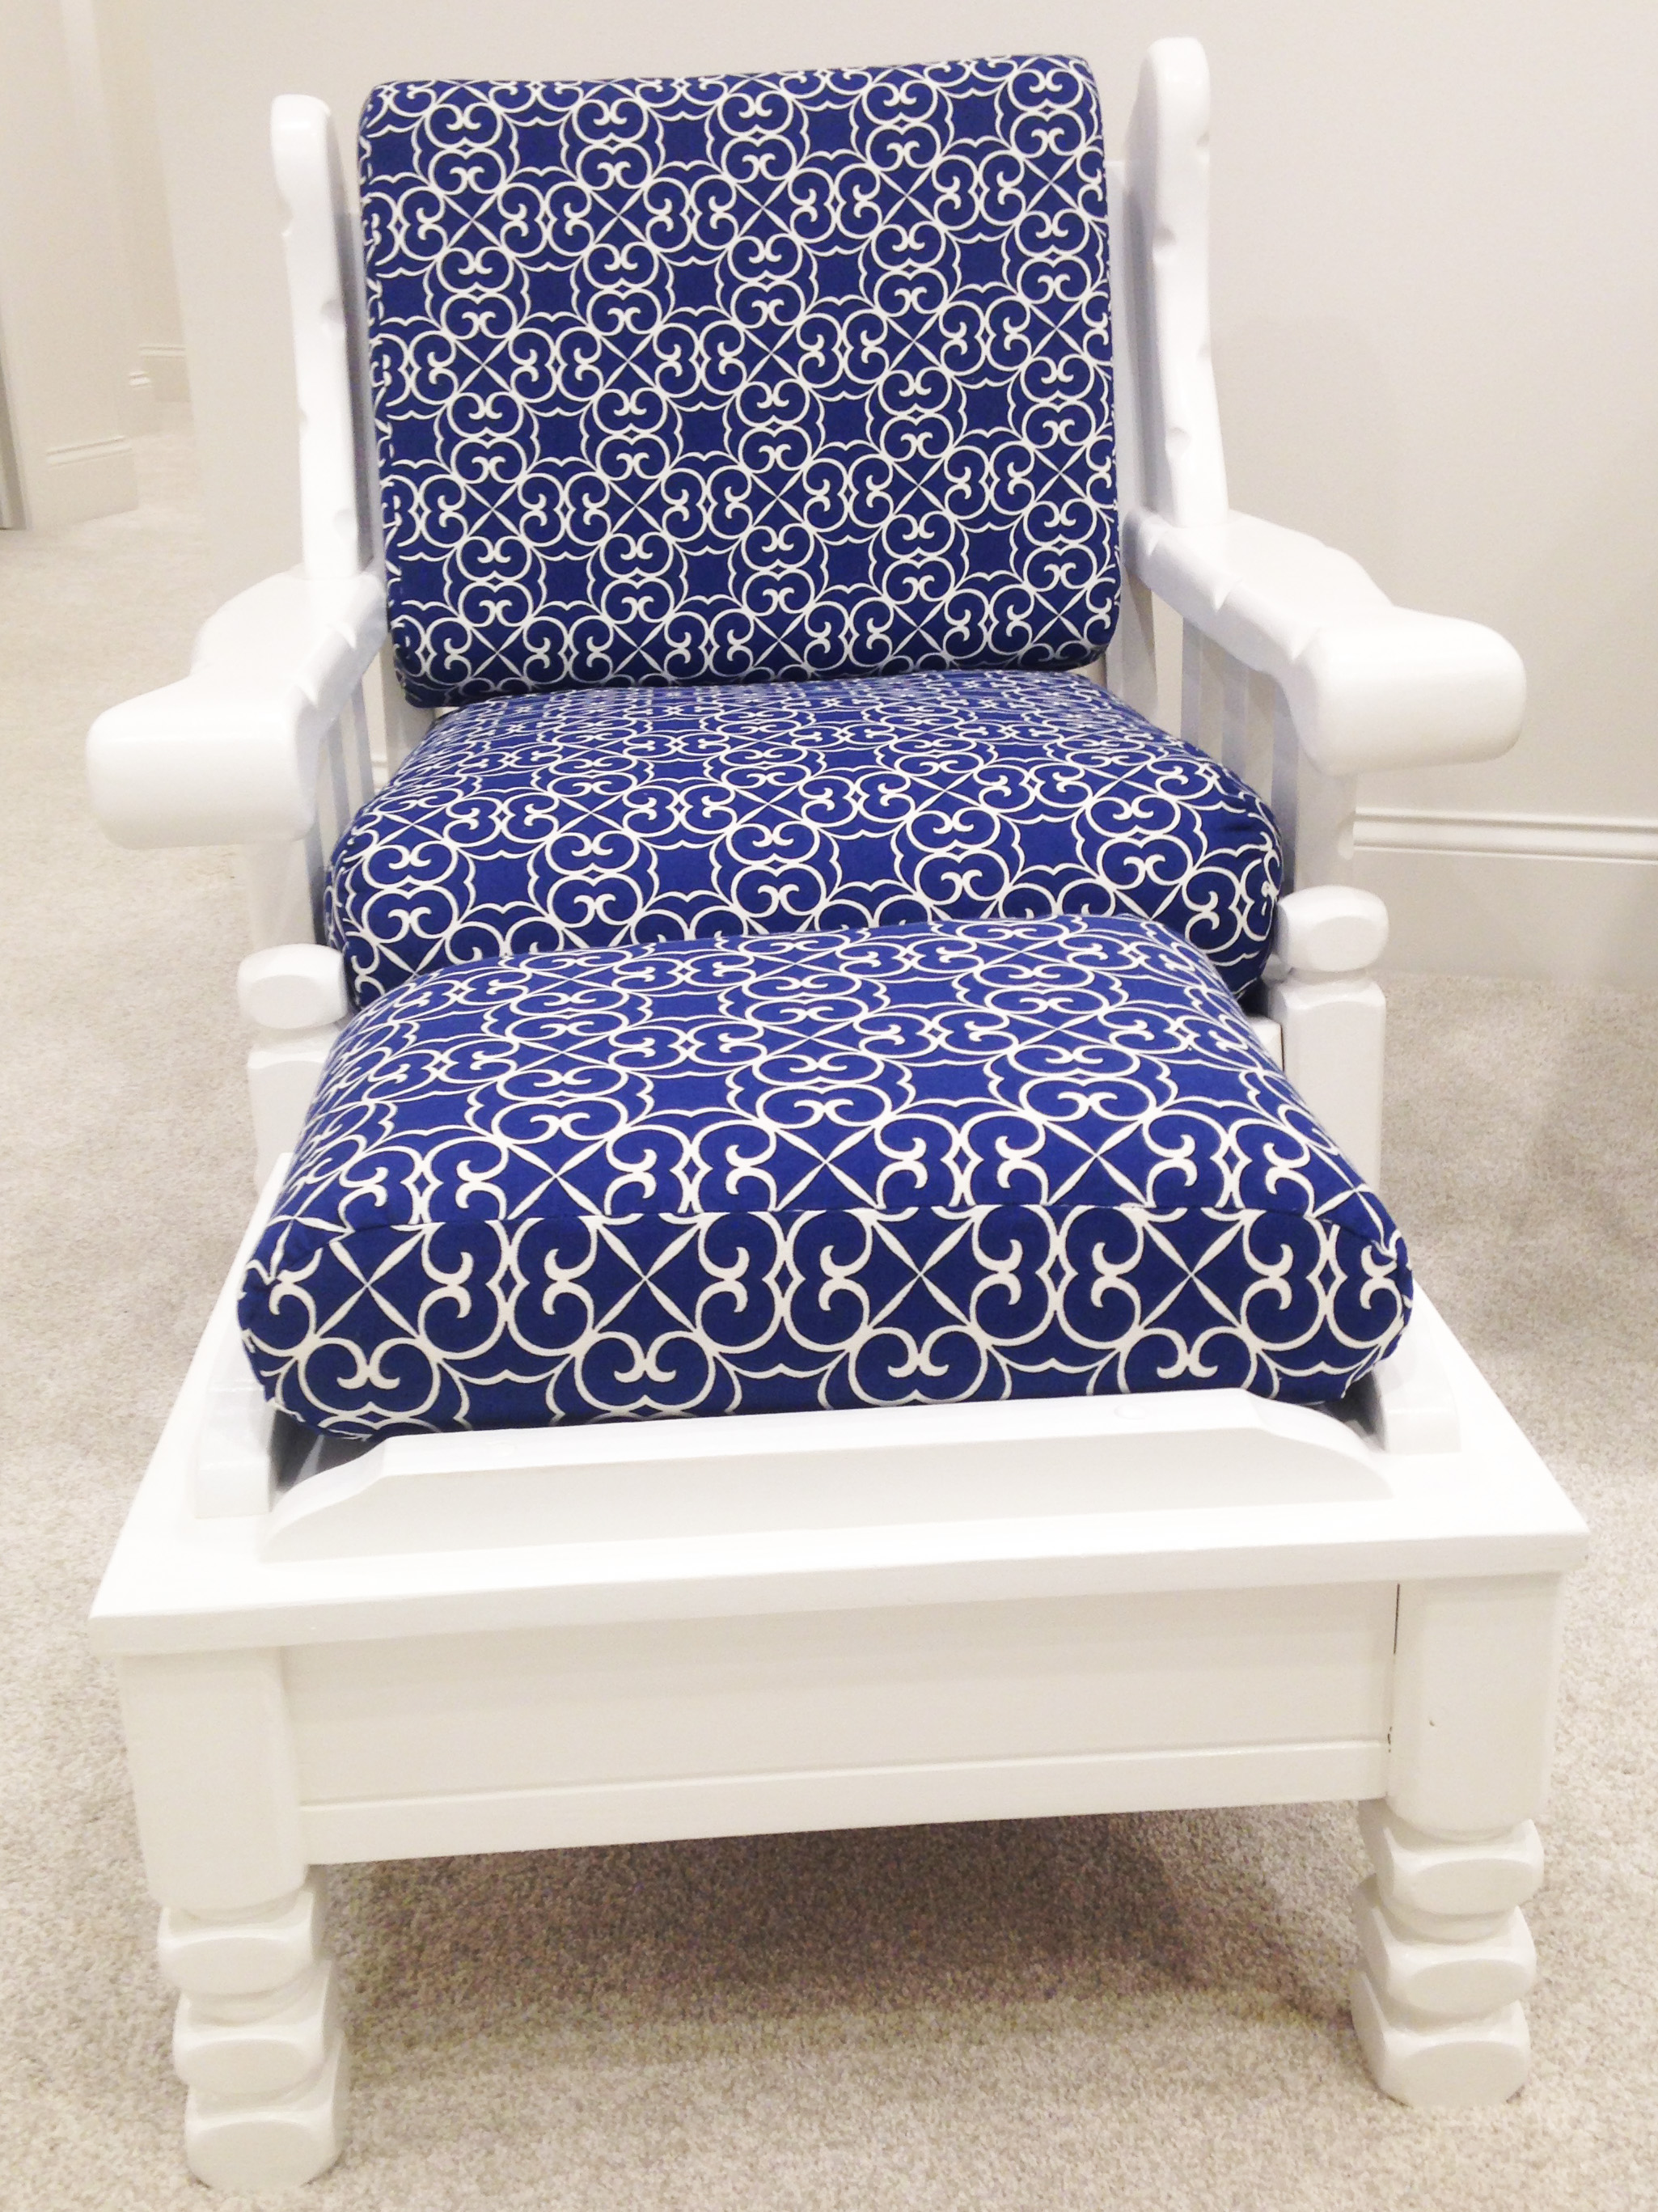
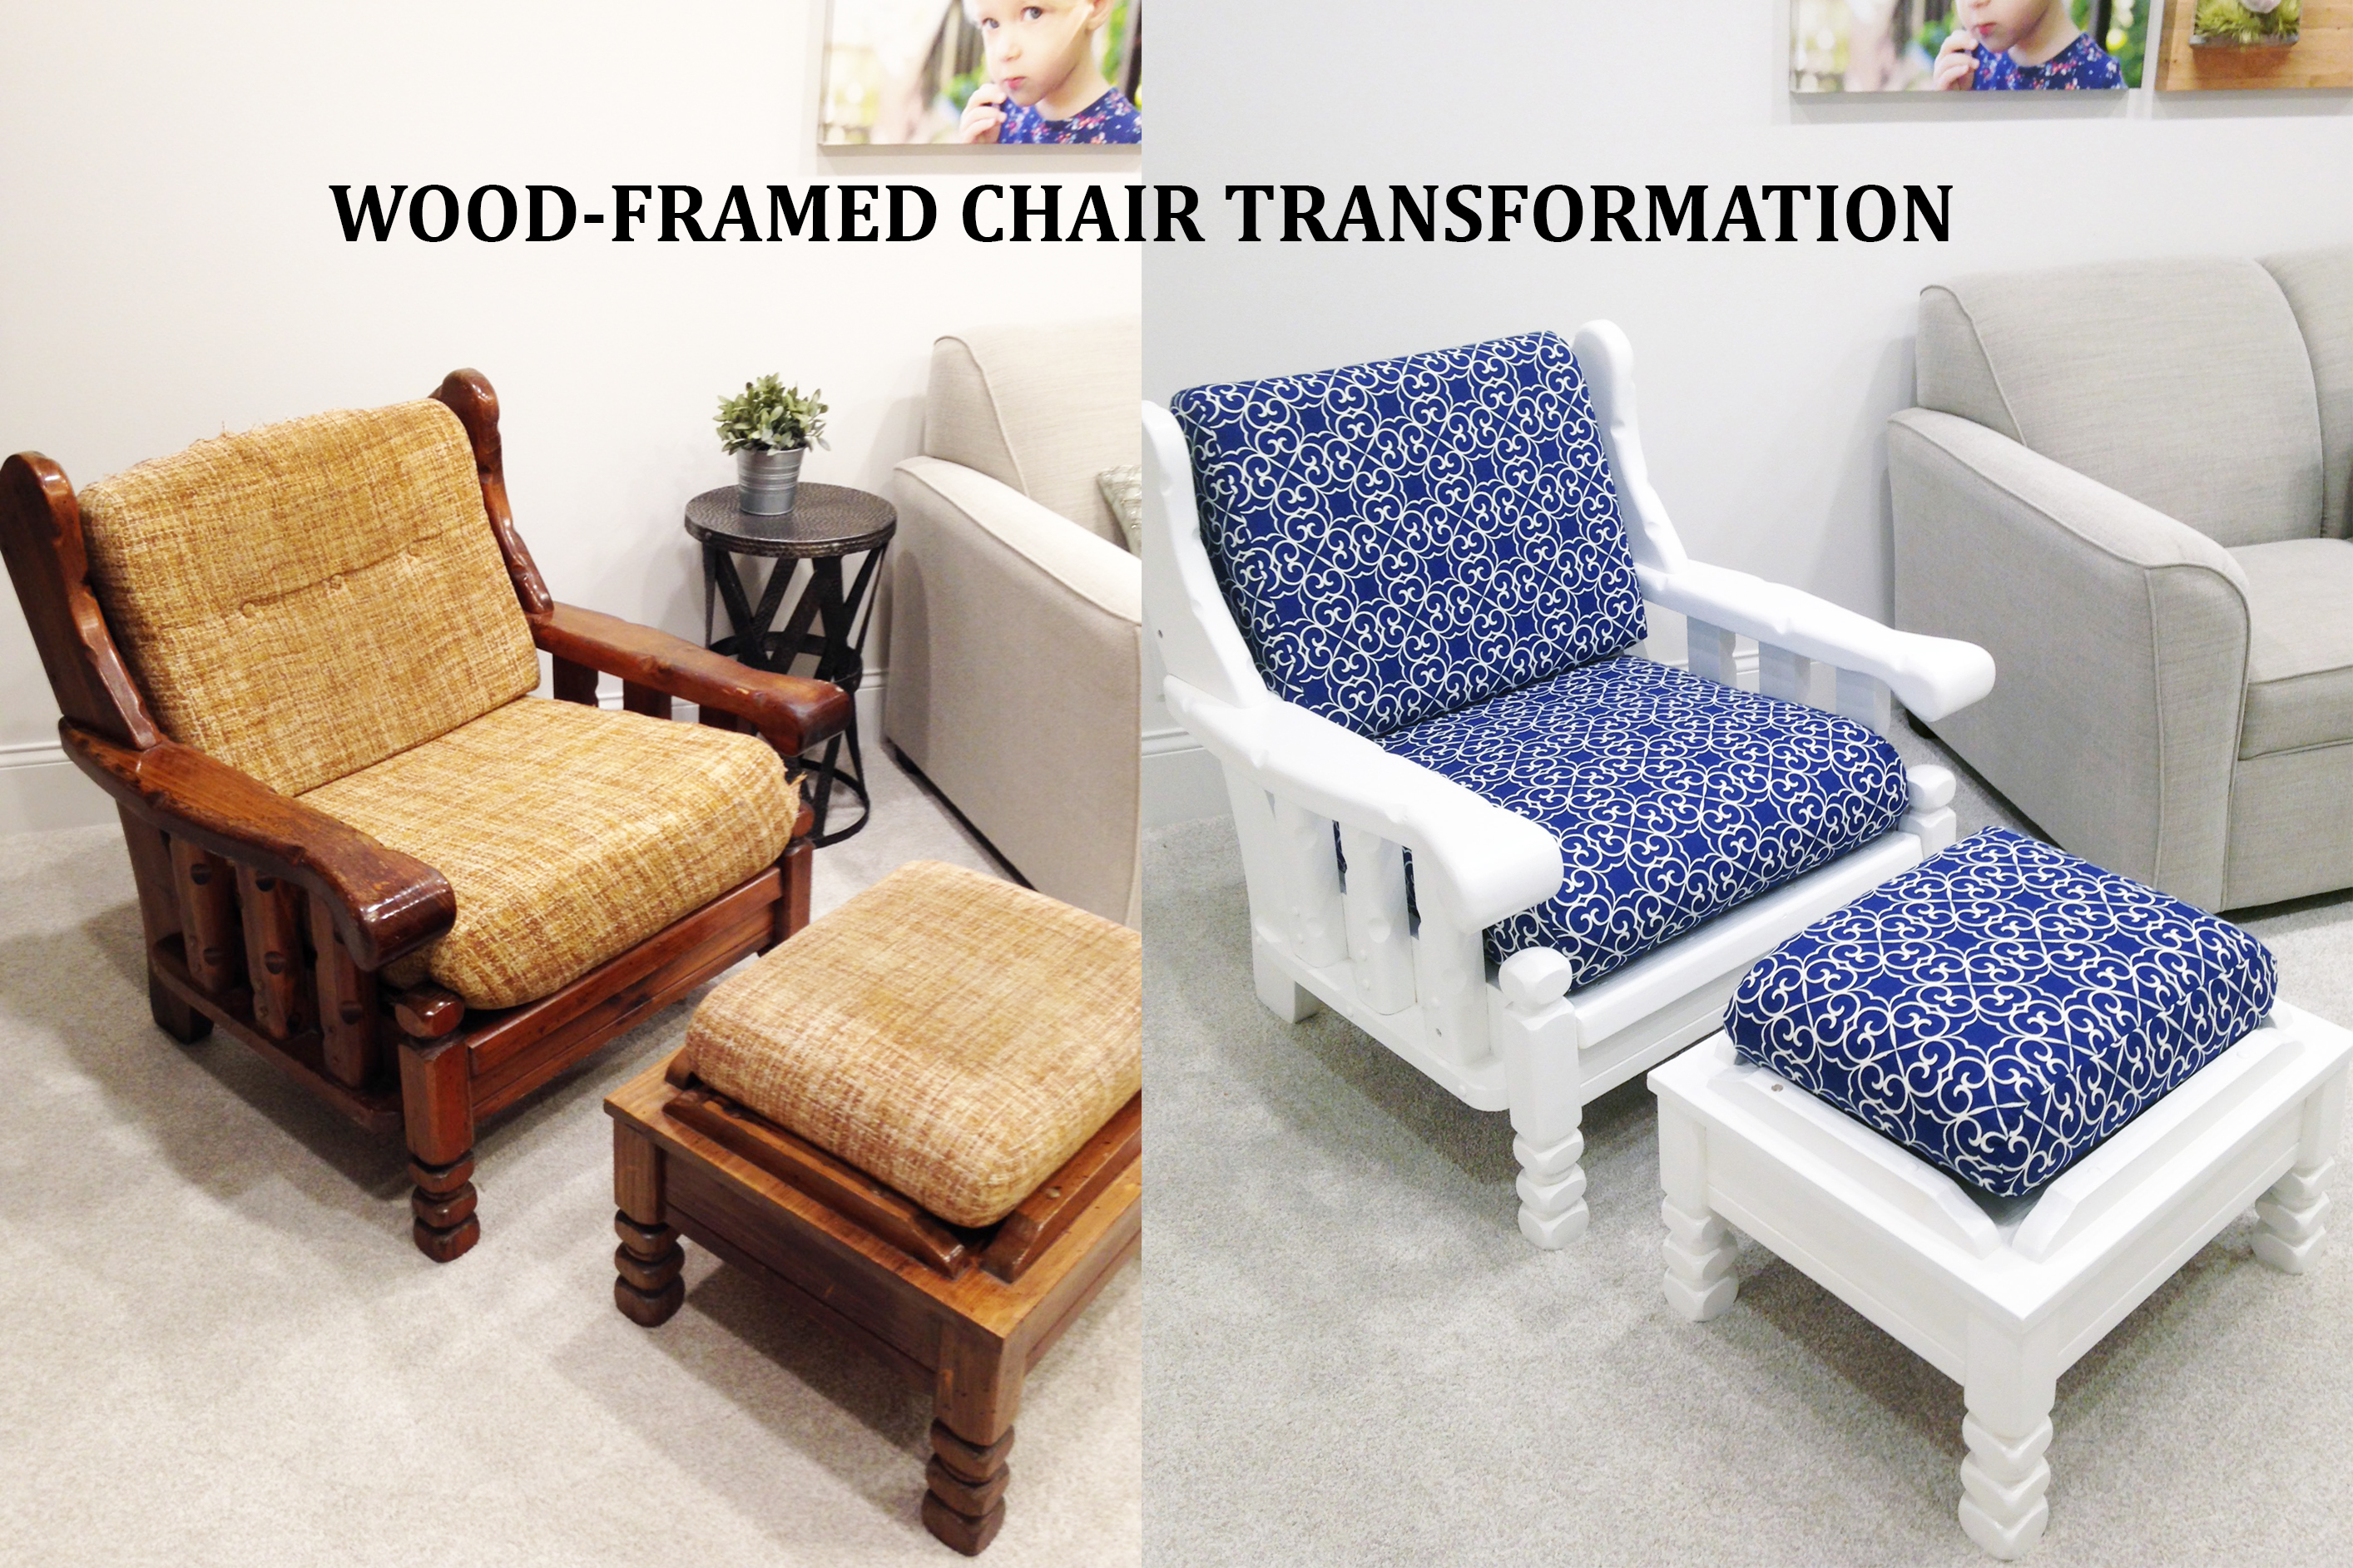
This chair, my Grandma Jeannette’s chair, was one such piece for me.
My Grandma actually had a pair of these gigantic wood-framed chairs. They were in her living room for as long as I can remember. So when my mom and her siblings were preparing to give some of her furniture and precious items away, I called dibs on one of the chairs.
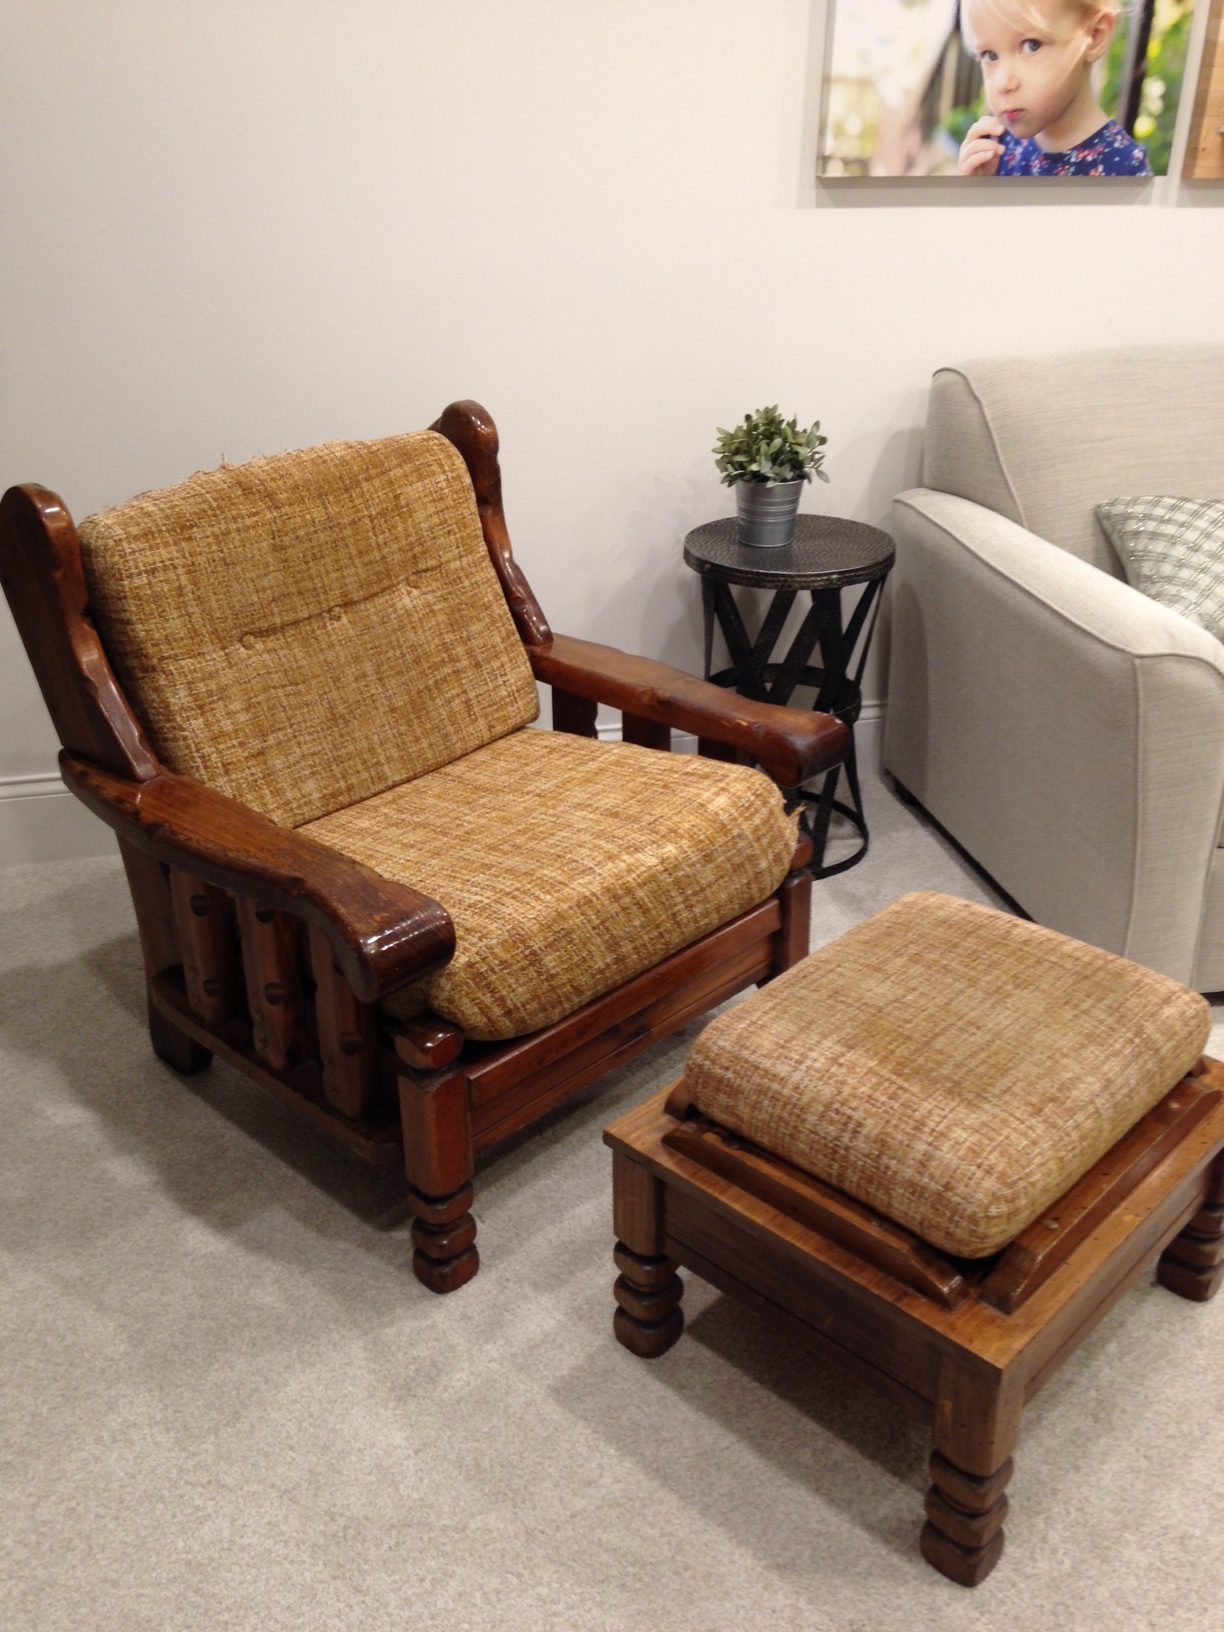
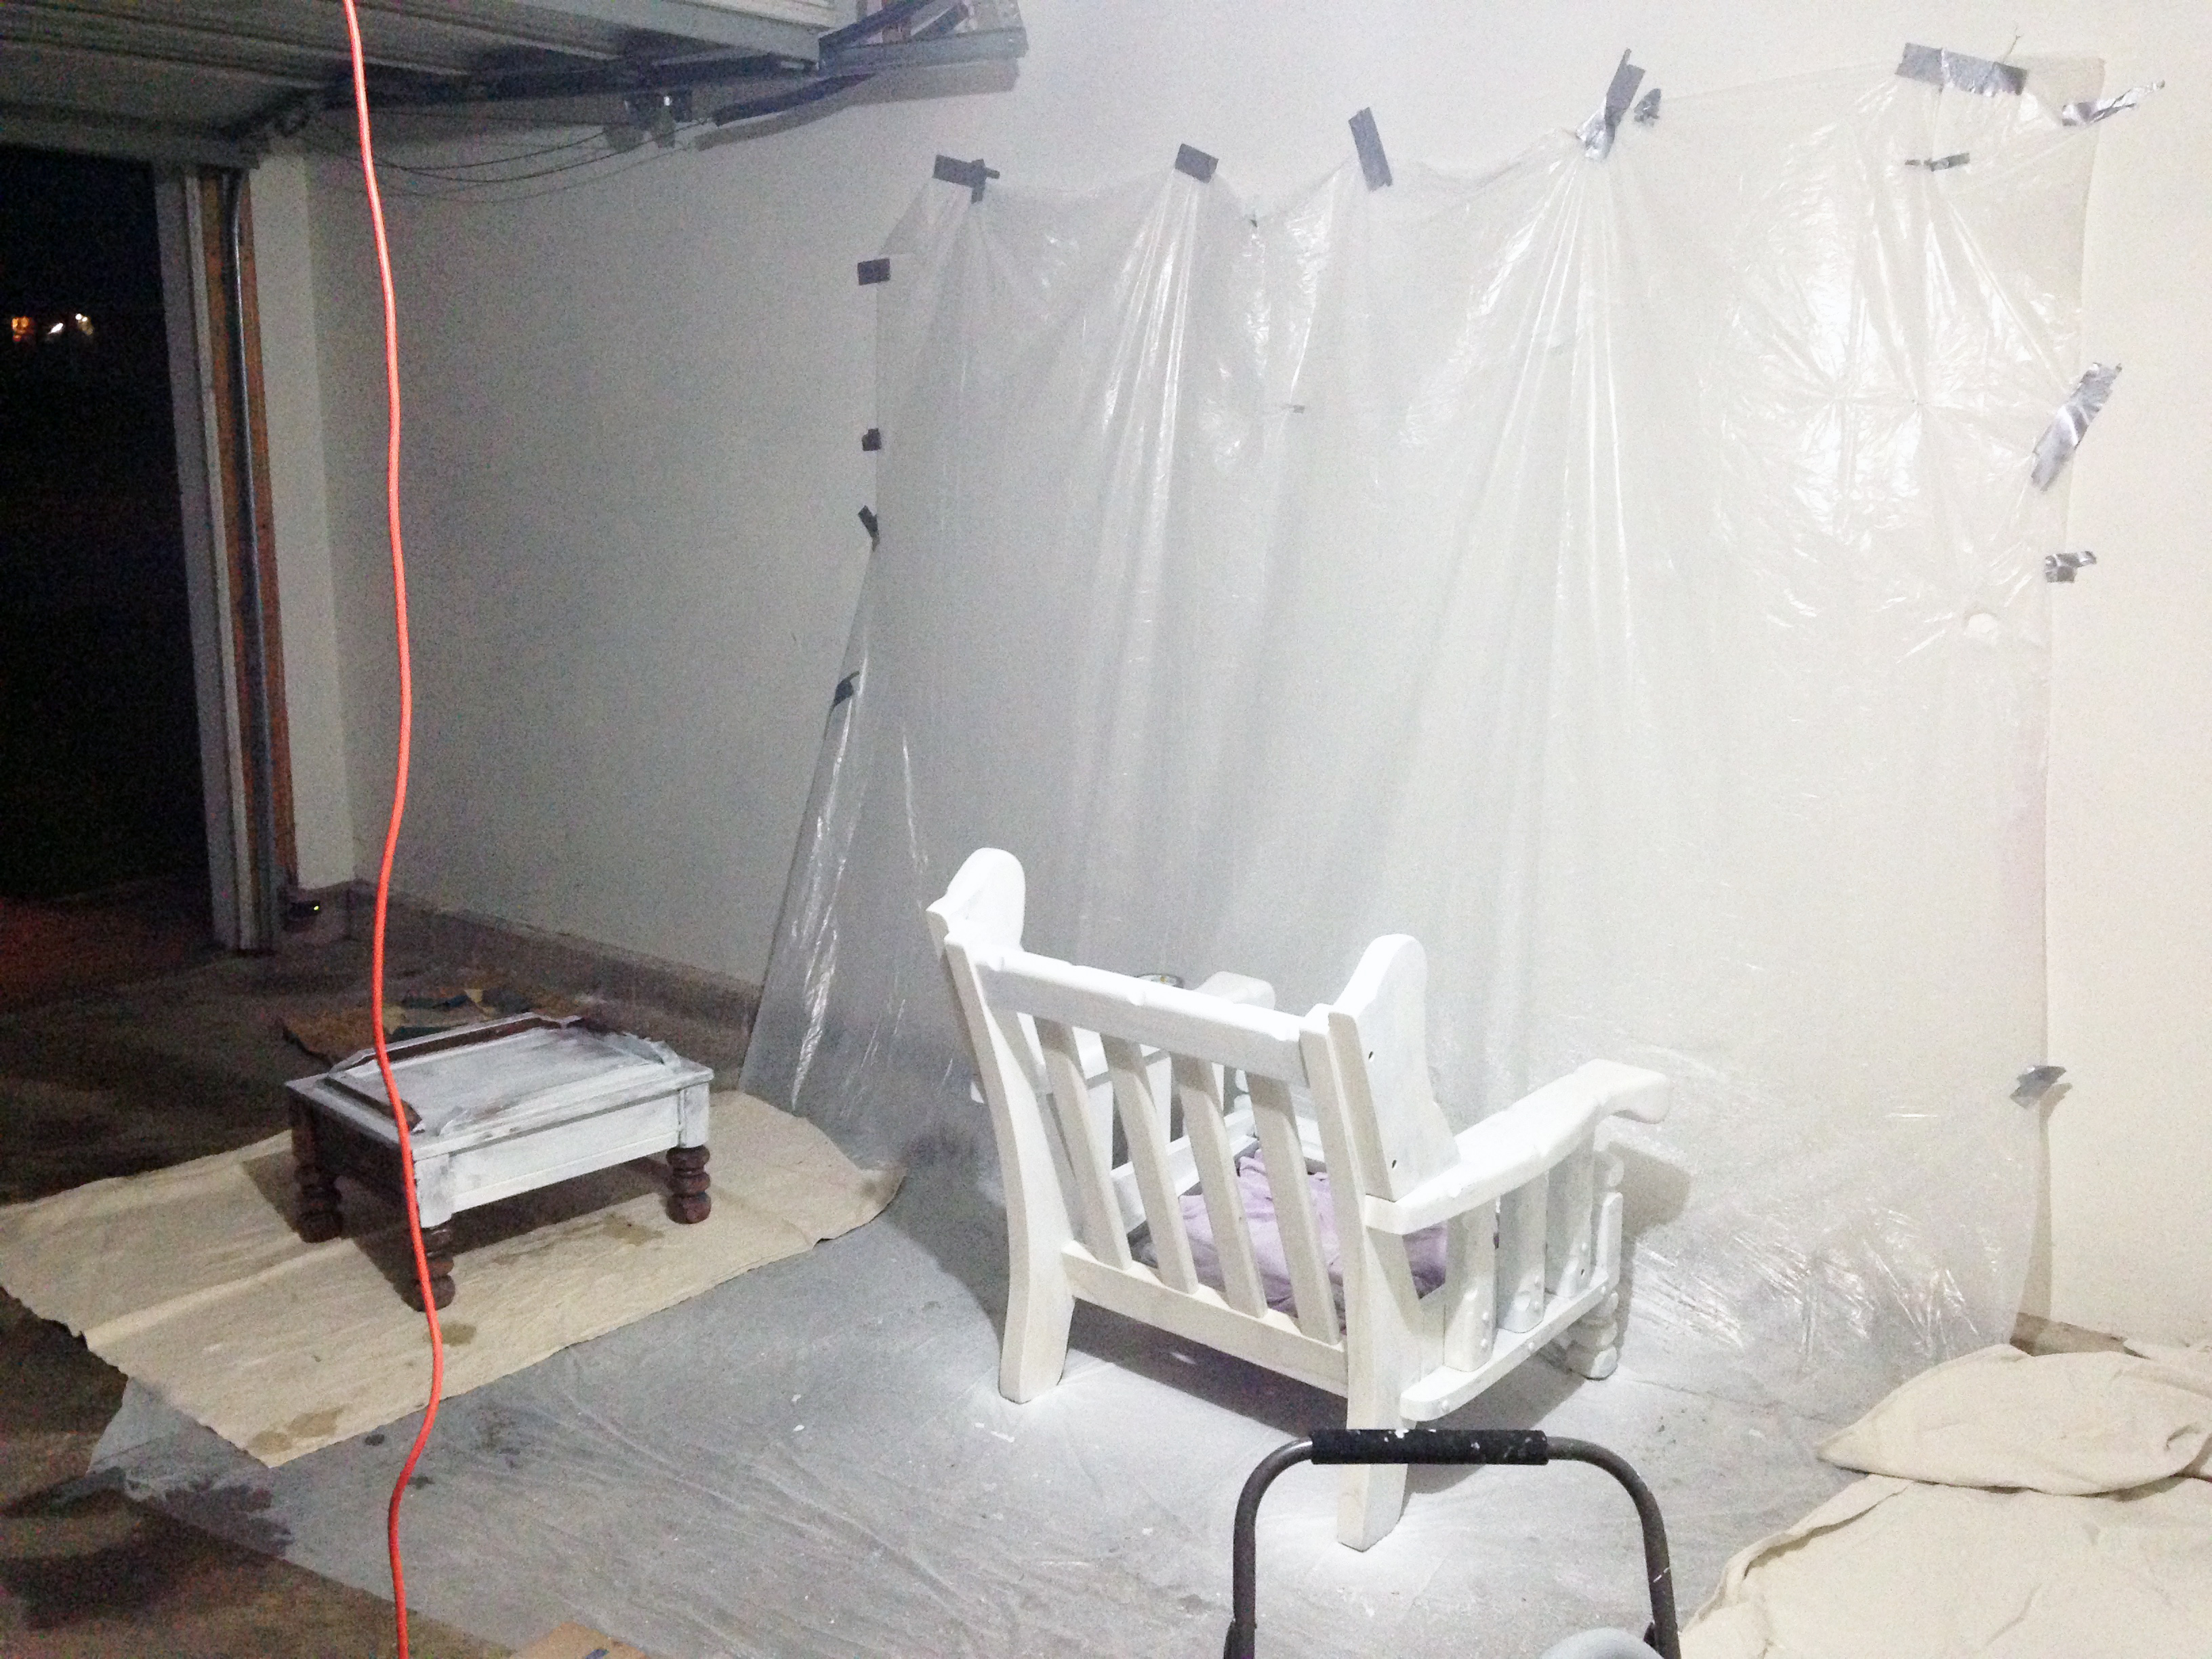
It was in bad shape. The material on the cushions was literally disintegrating. But when I looked beyond the surface, the frame itself was in near-perfect condition. So I decided to revive it. Here’s another look at her, before her facelift:

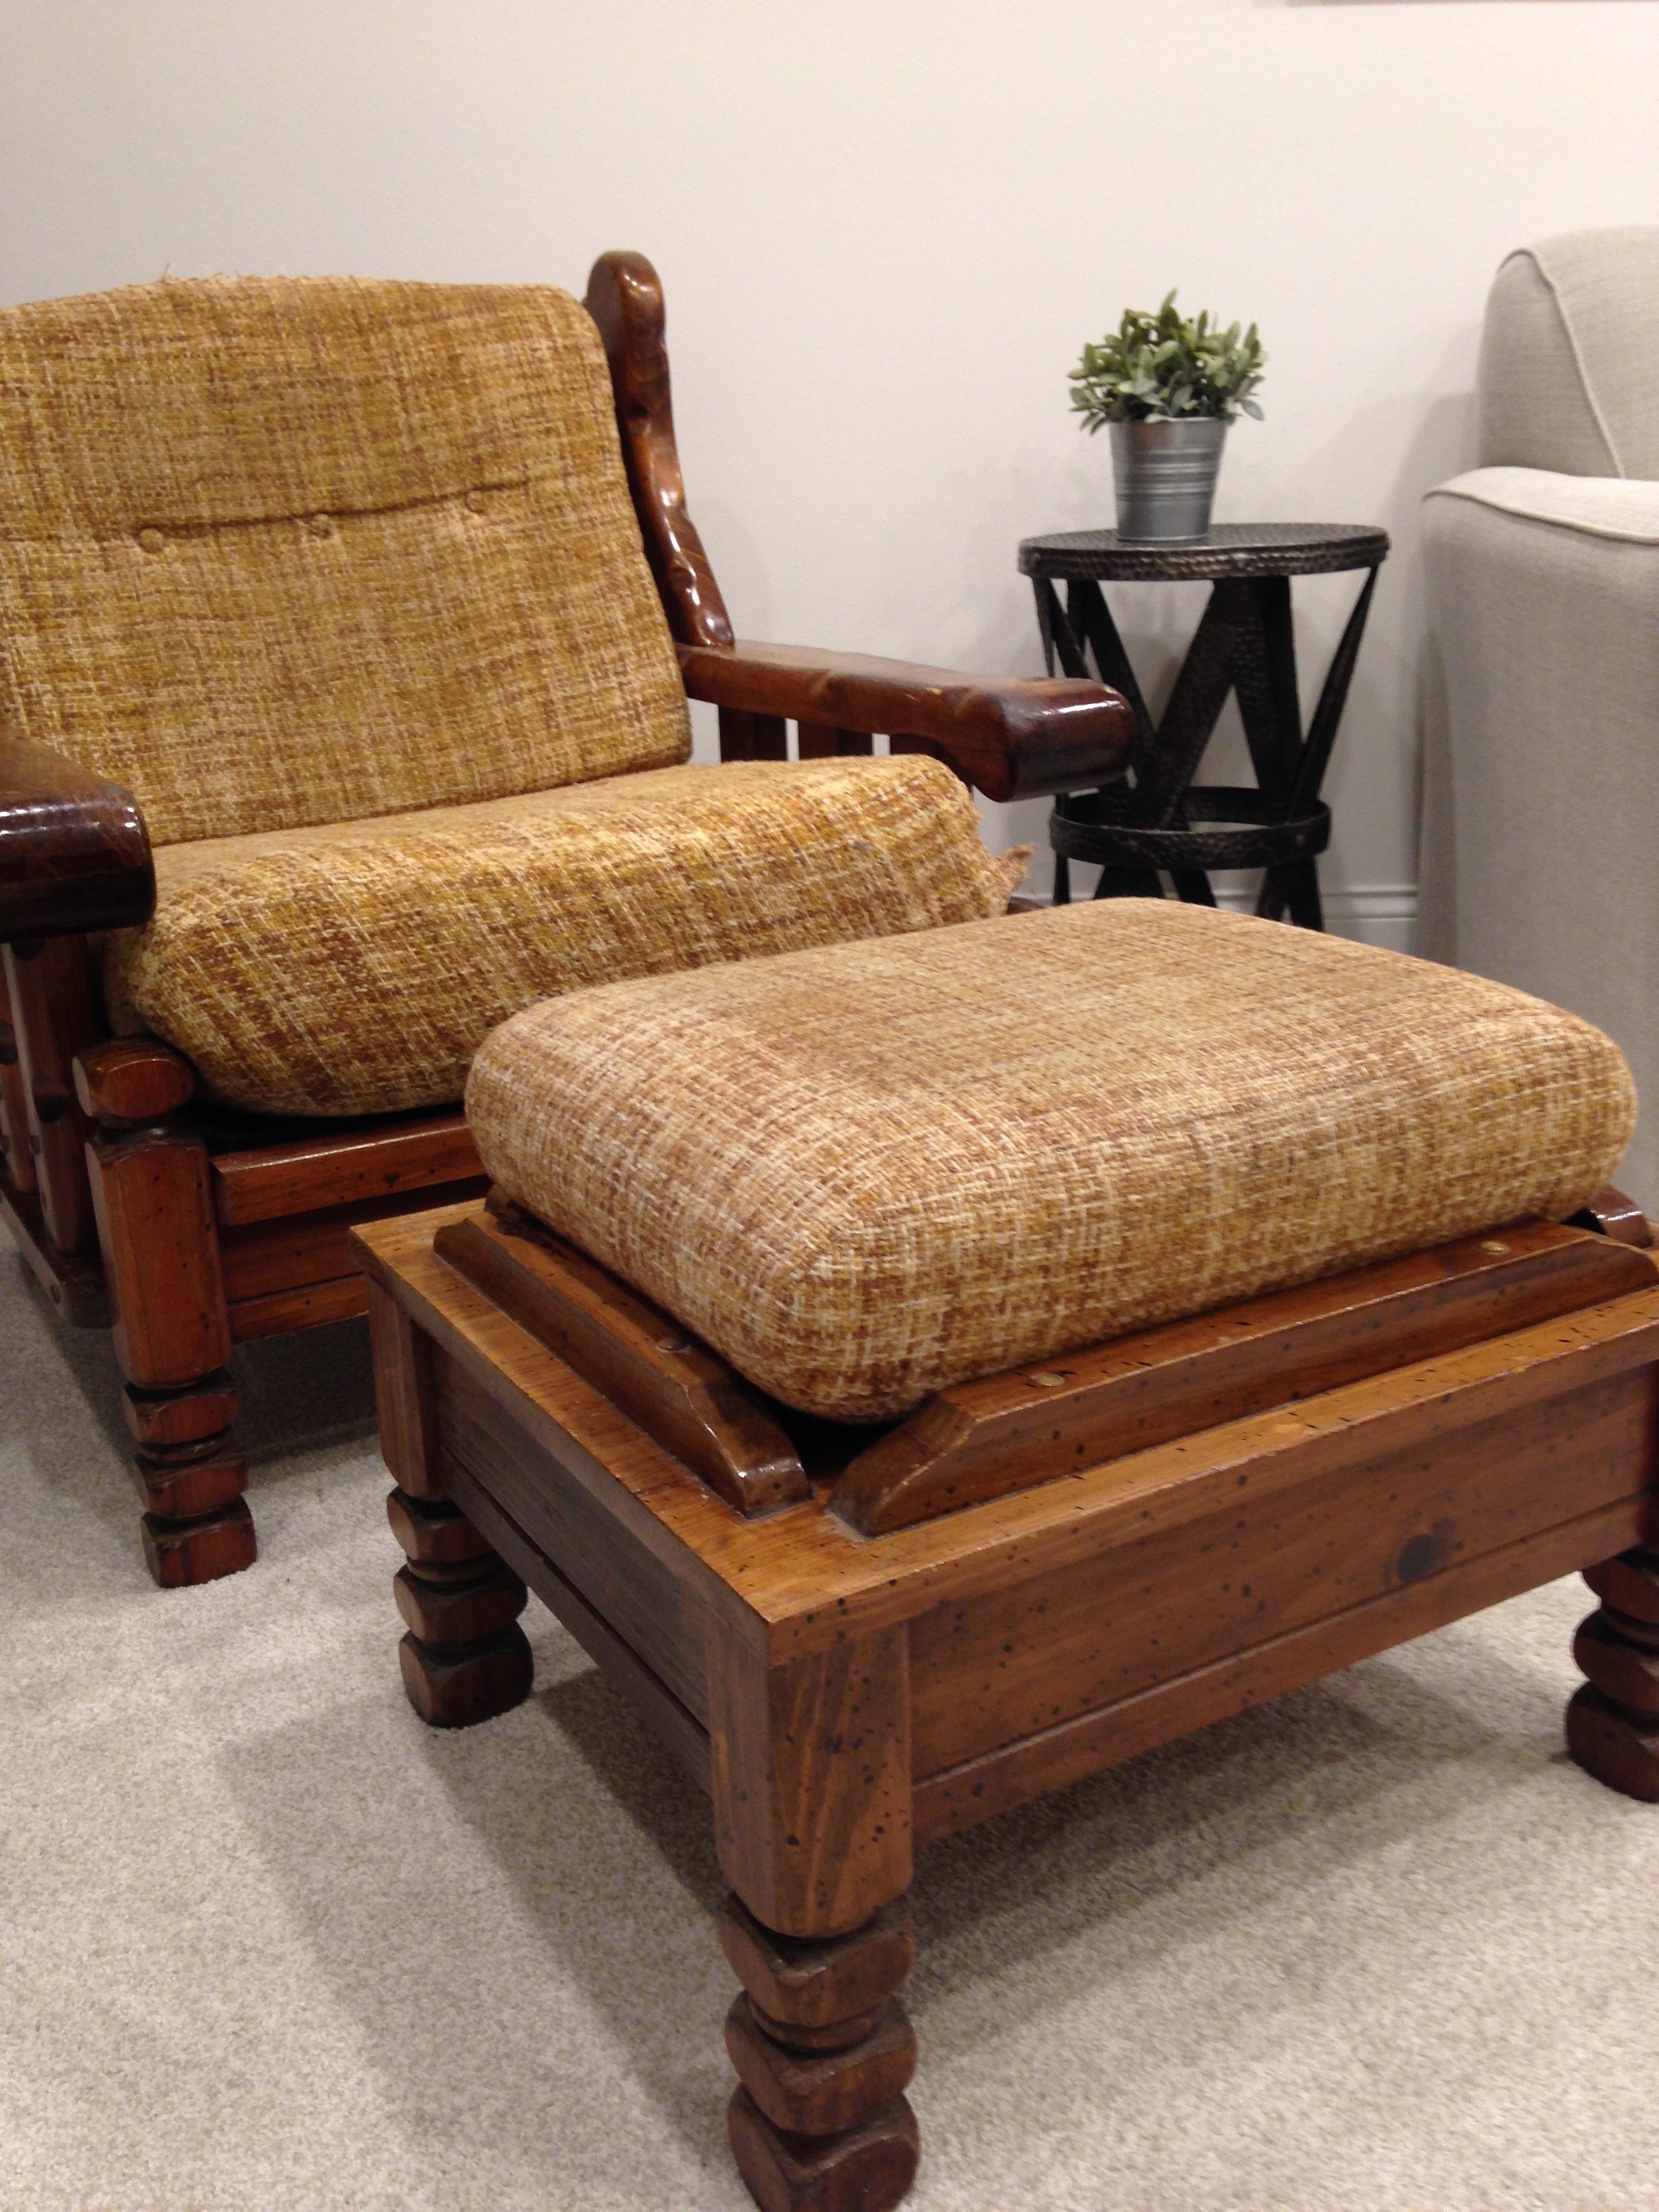
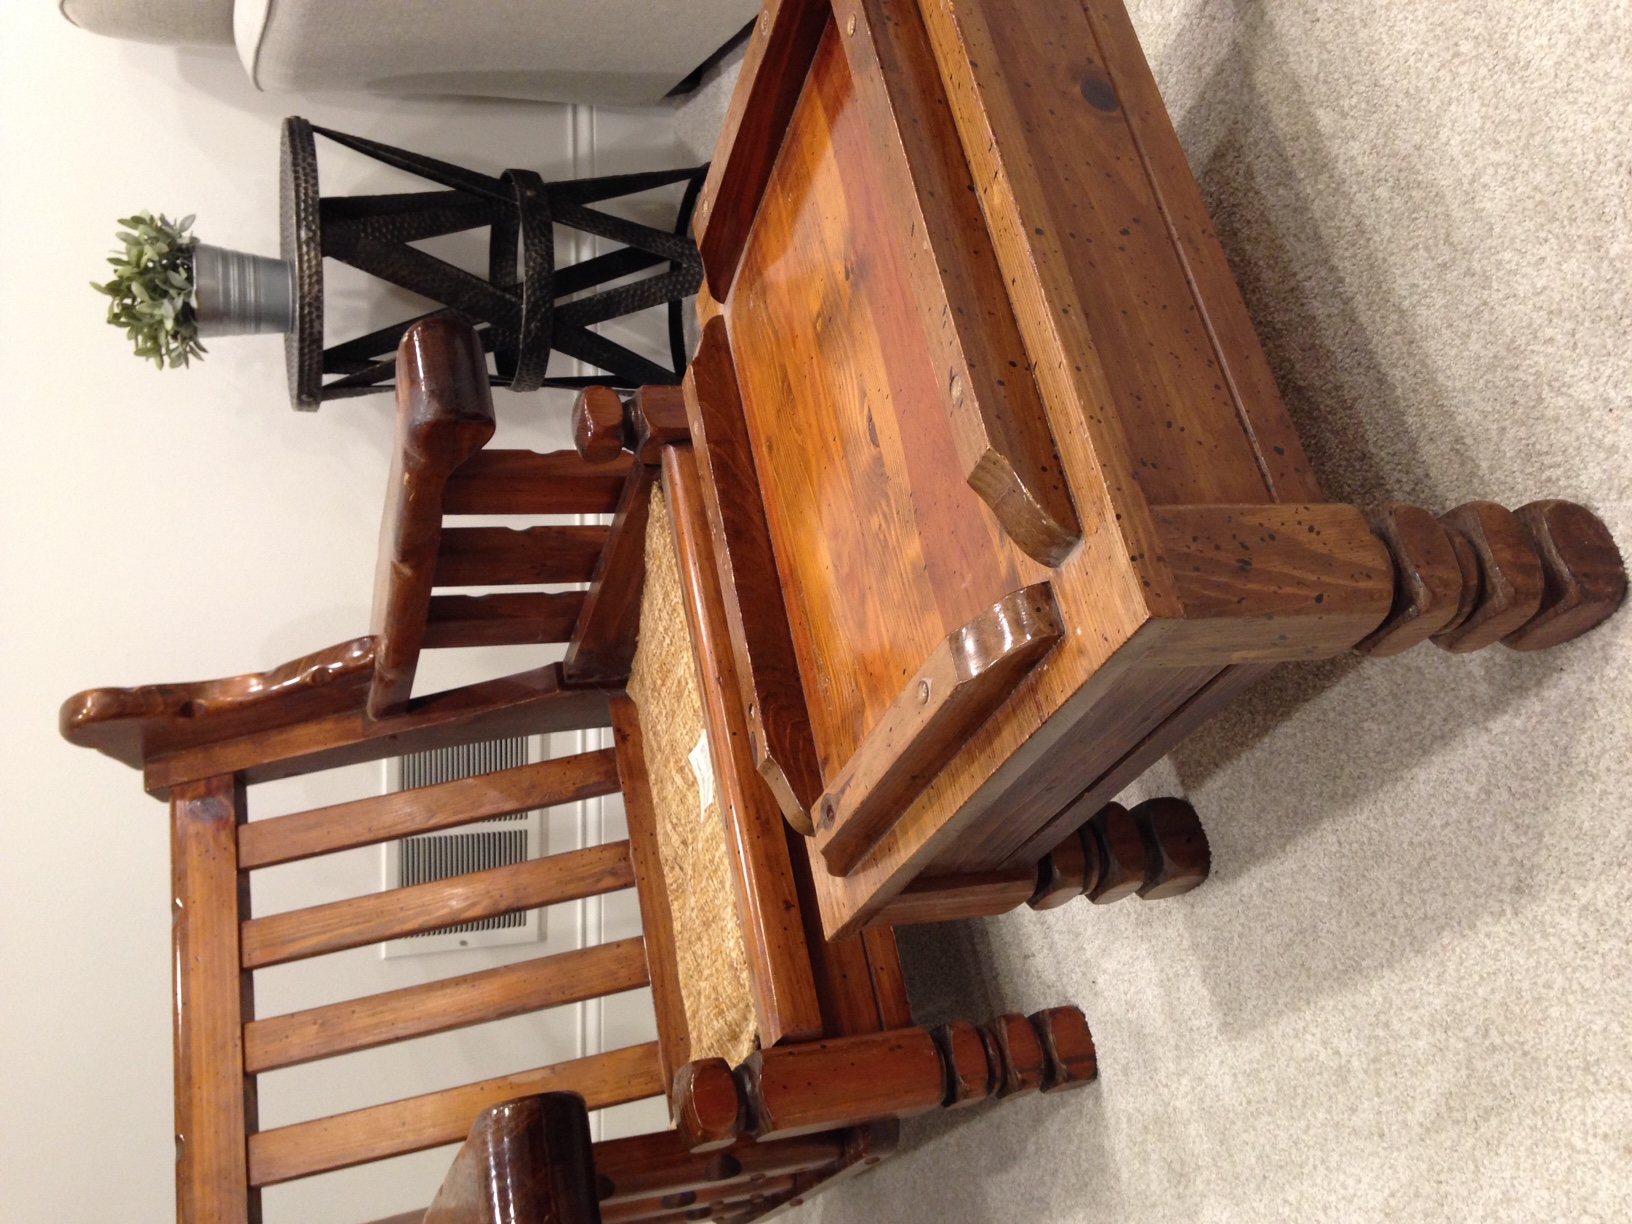
And here she is with the cushions off, so you can get a better idea of the condition of the frame. Condition = muy bueno.

The actual process of breathing new life into this pretty lady was pretty painless. The most difficult part was covering the dark original stain. It took quite a few coats of paint, but I think it was well worth it. Here’s a breakdown of how it all went down:
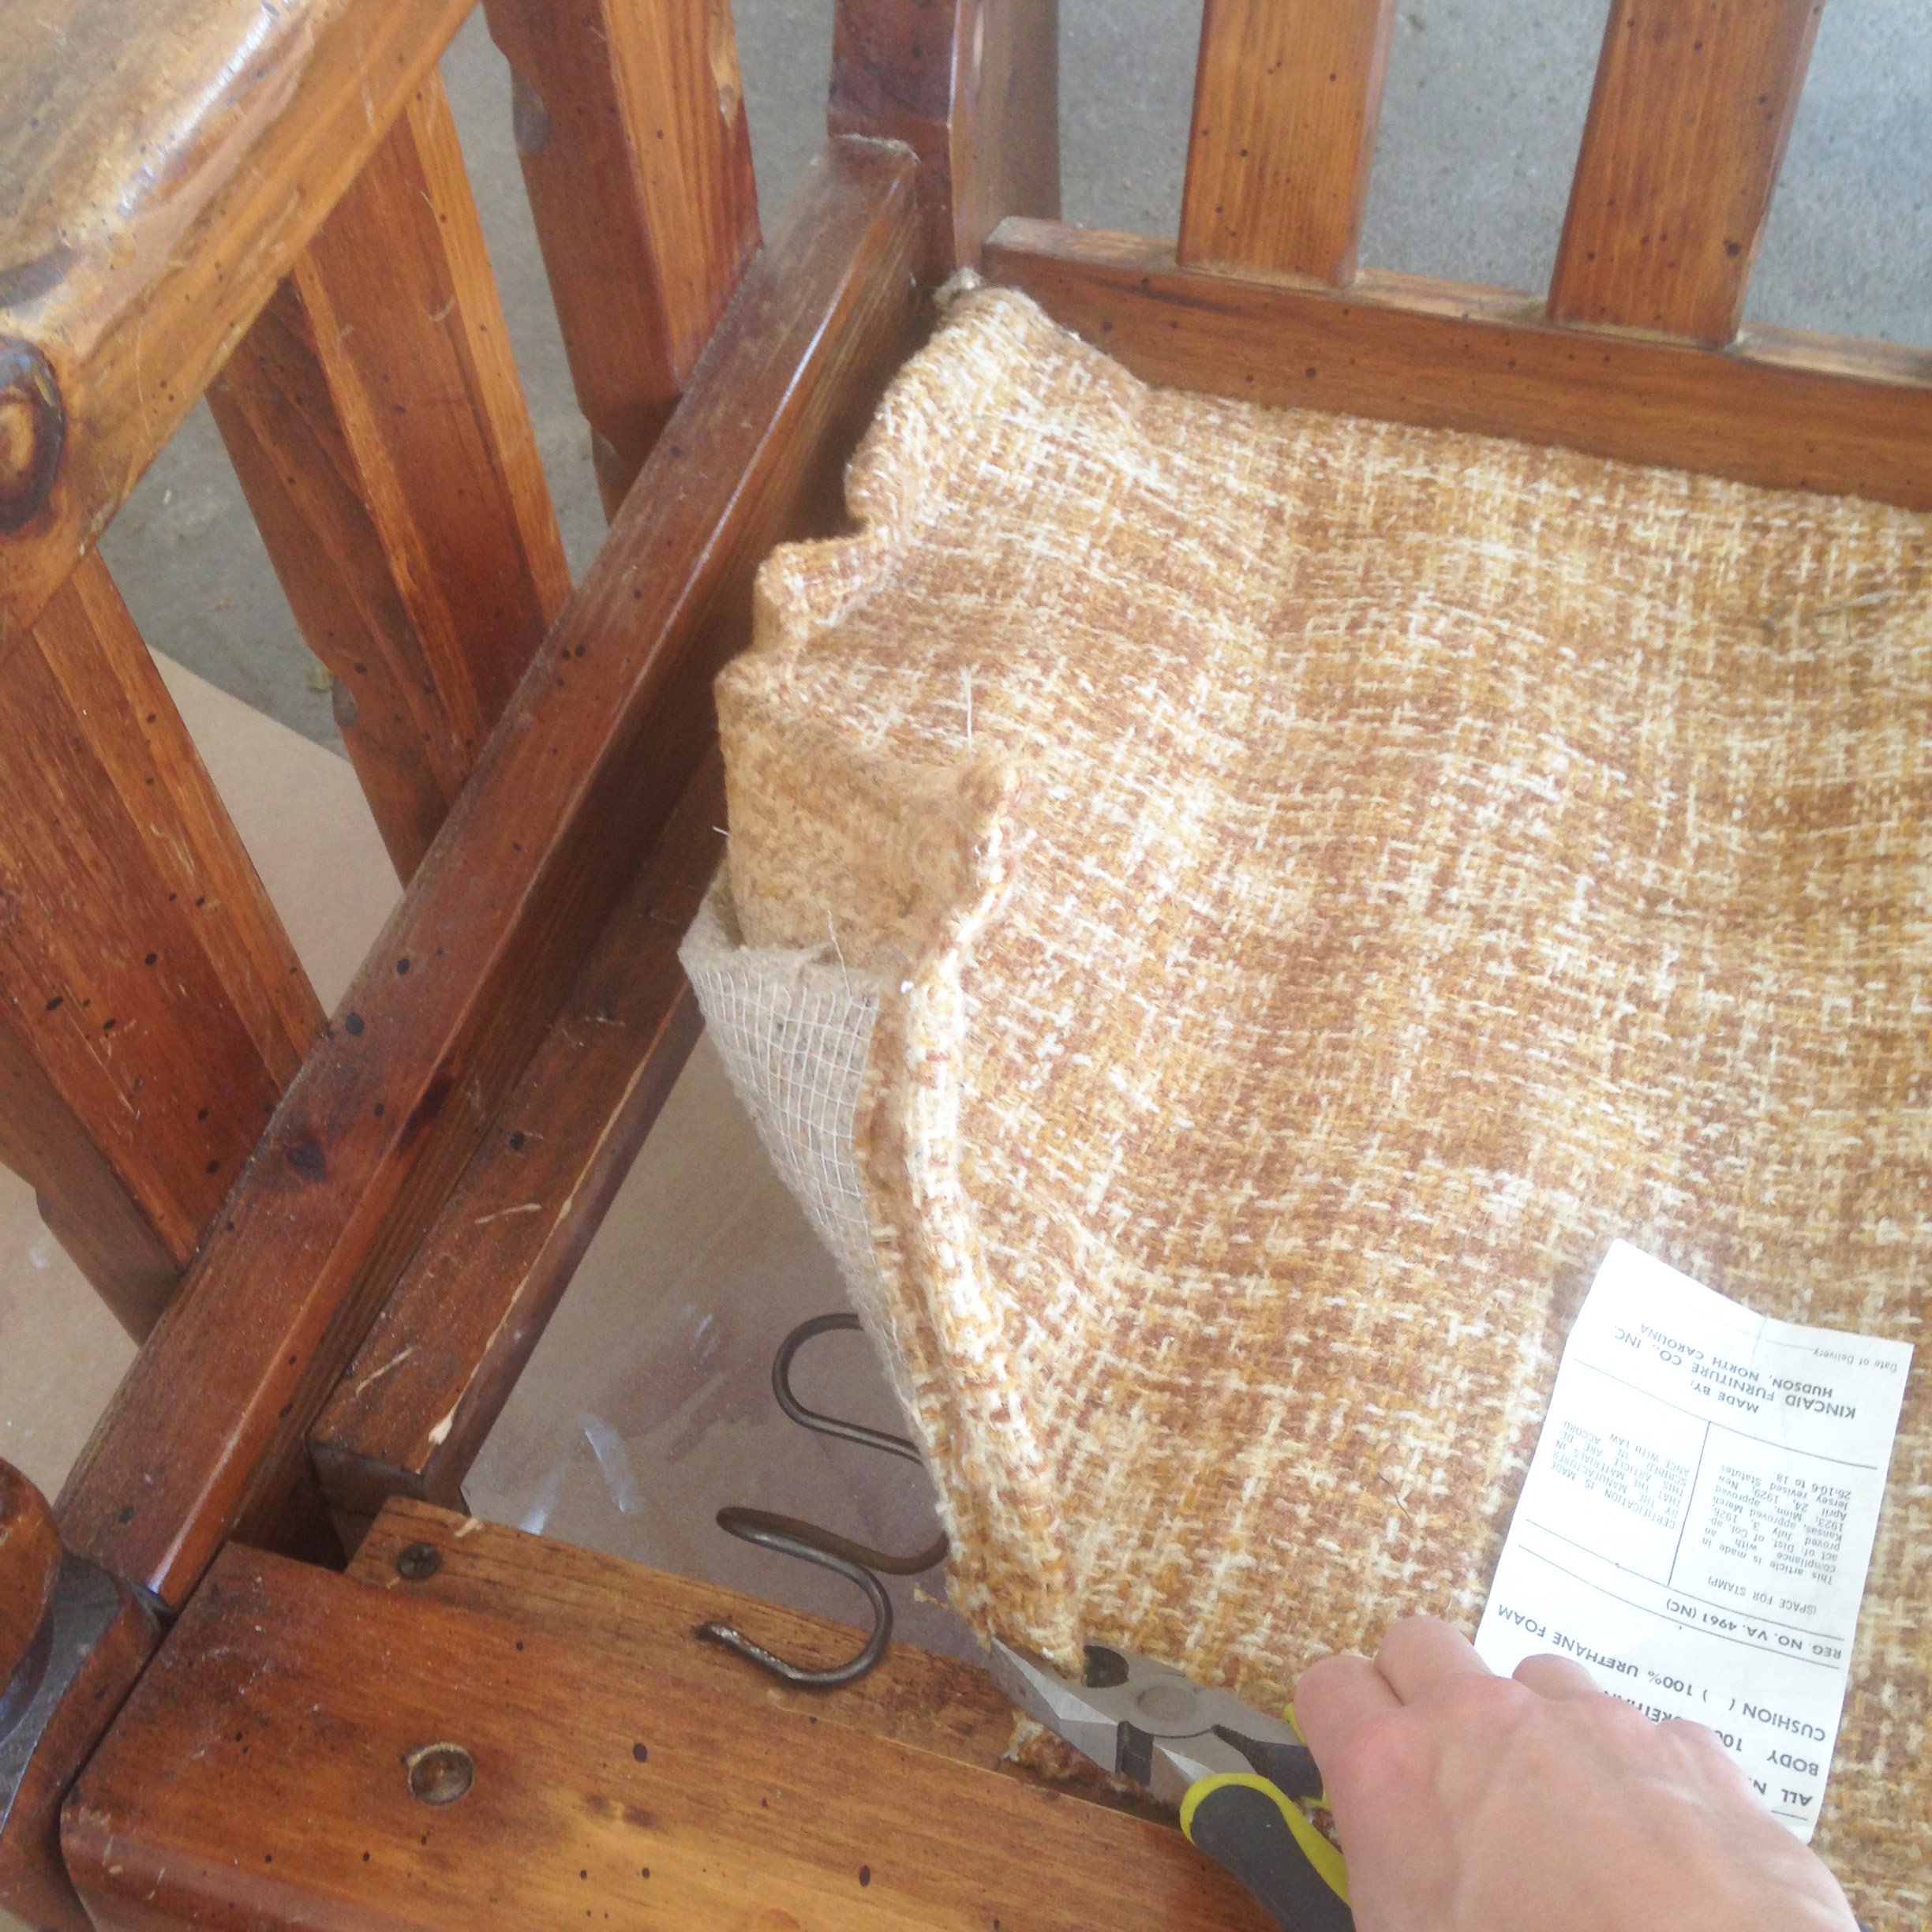
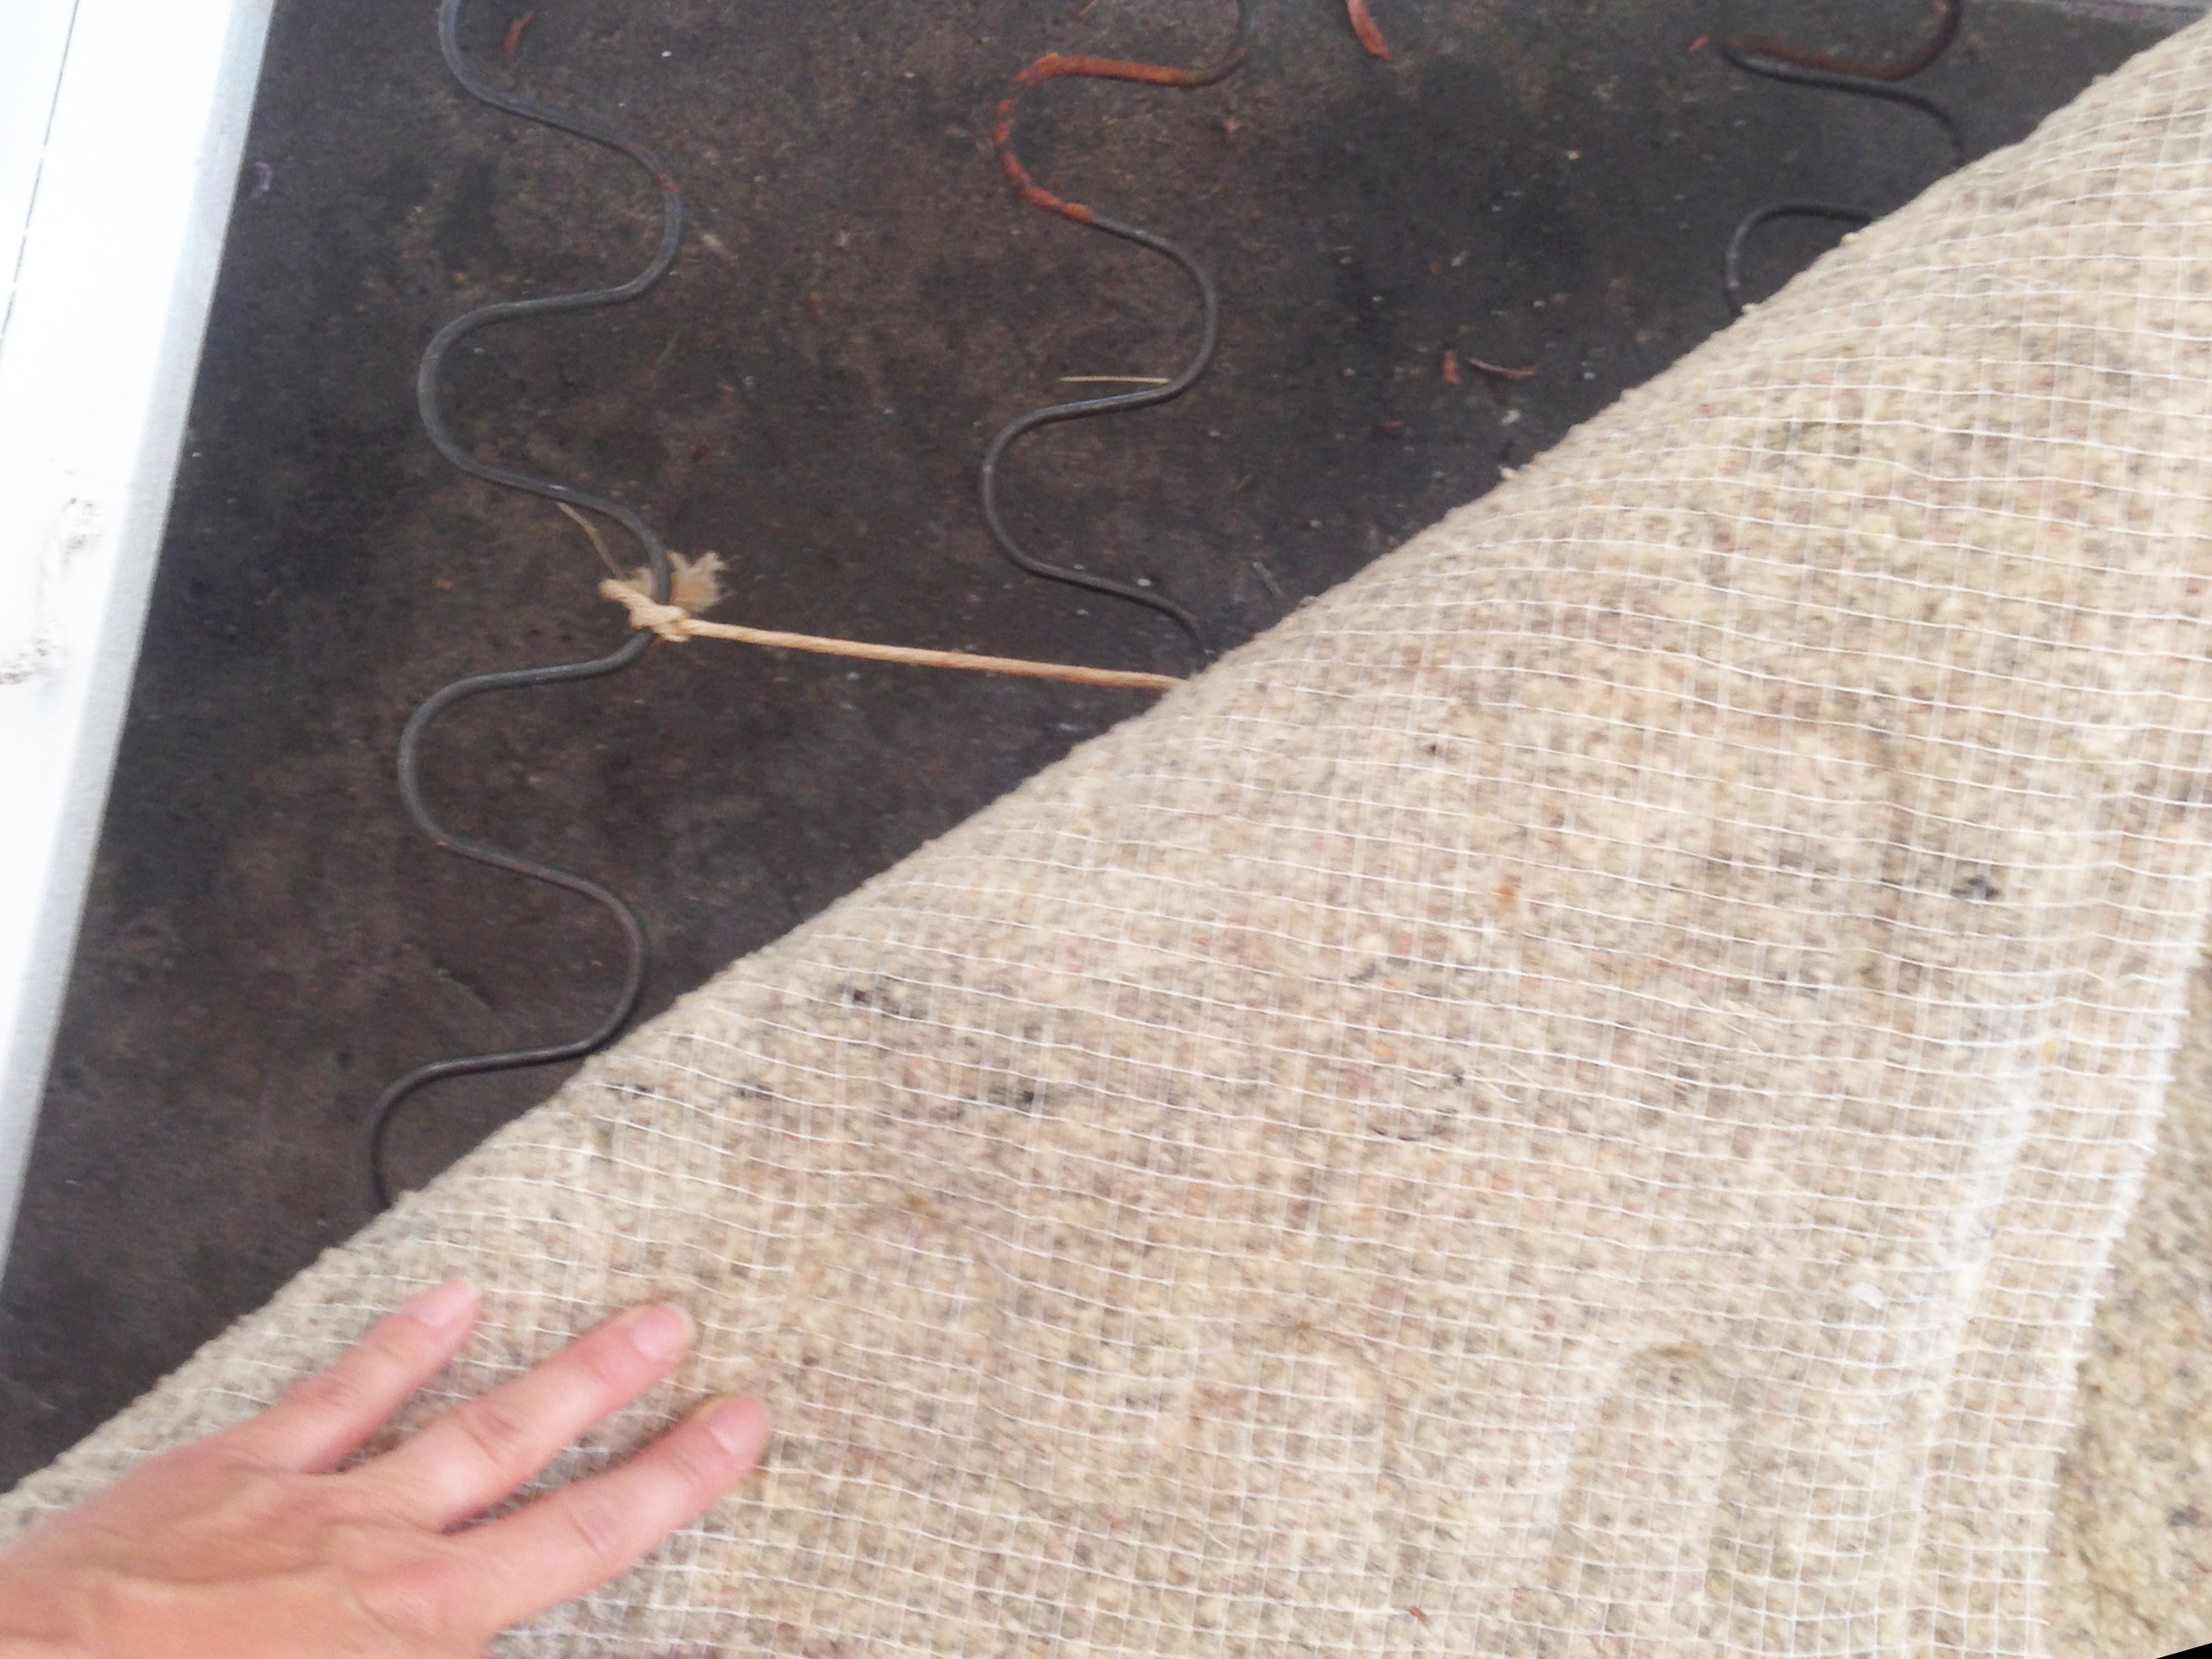
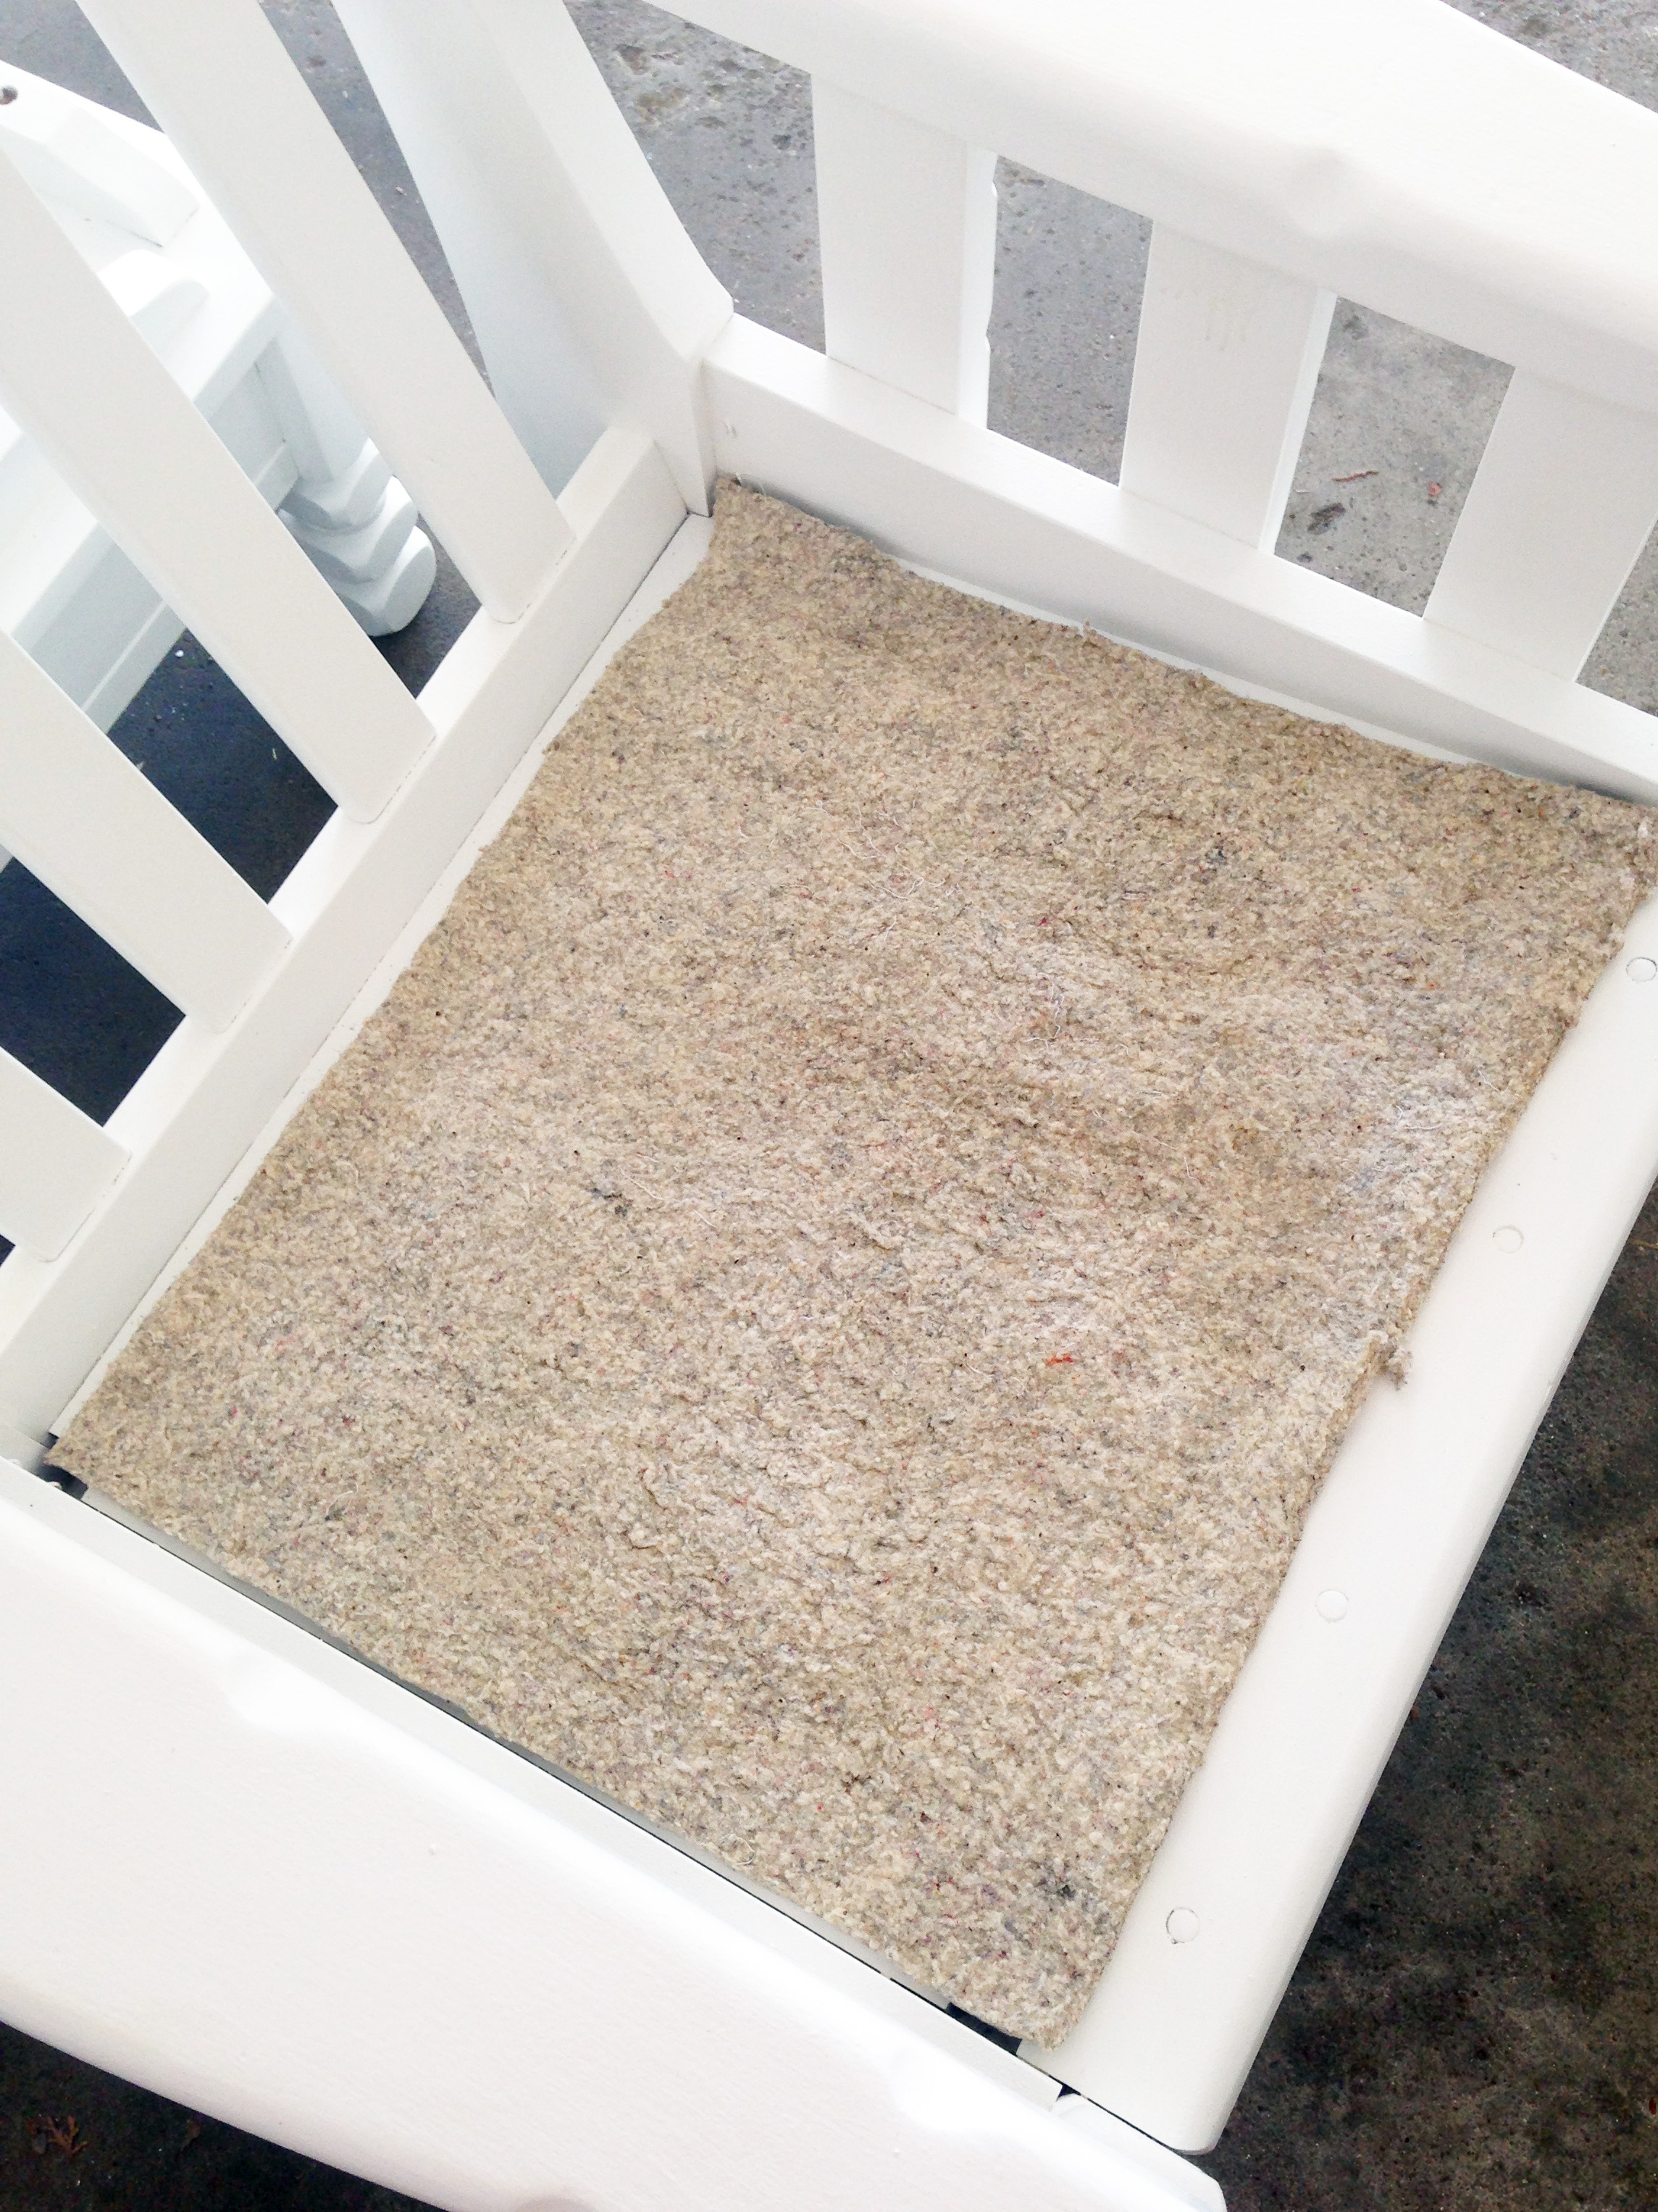
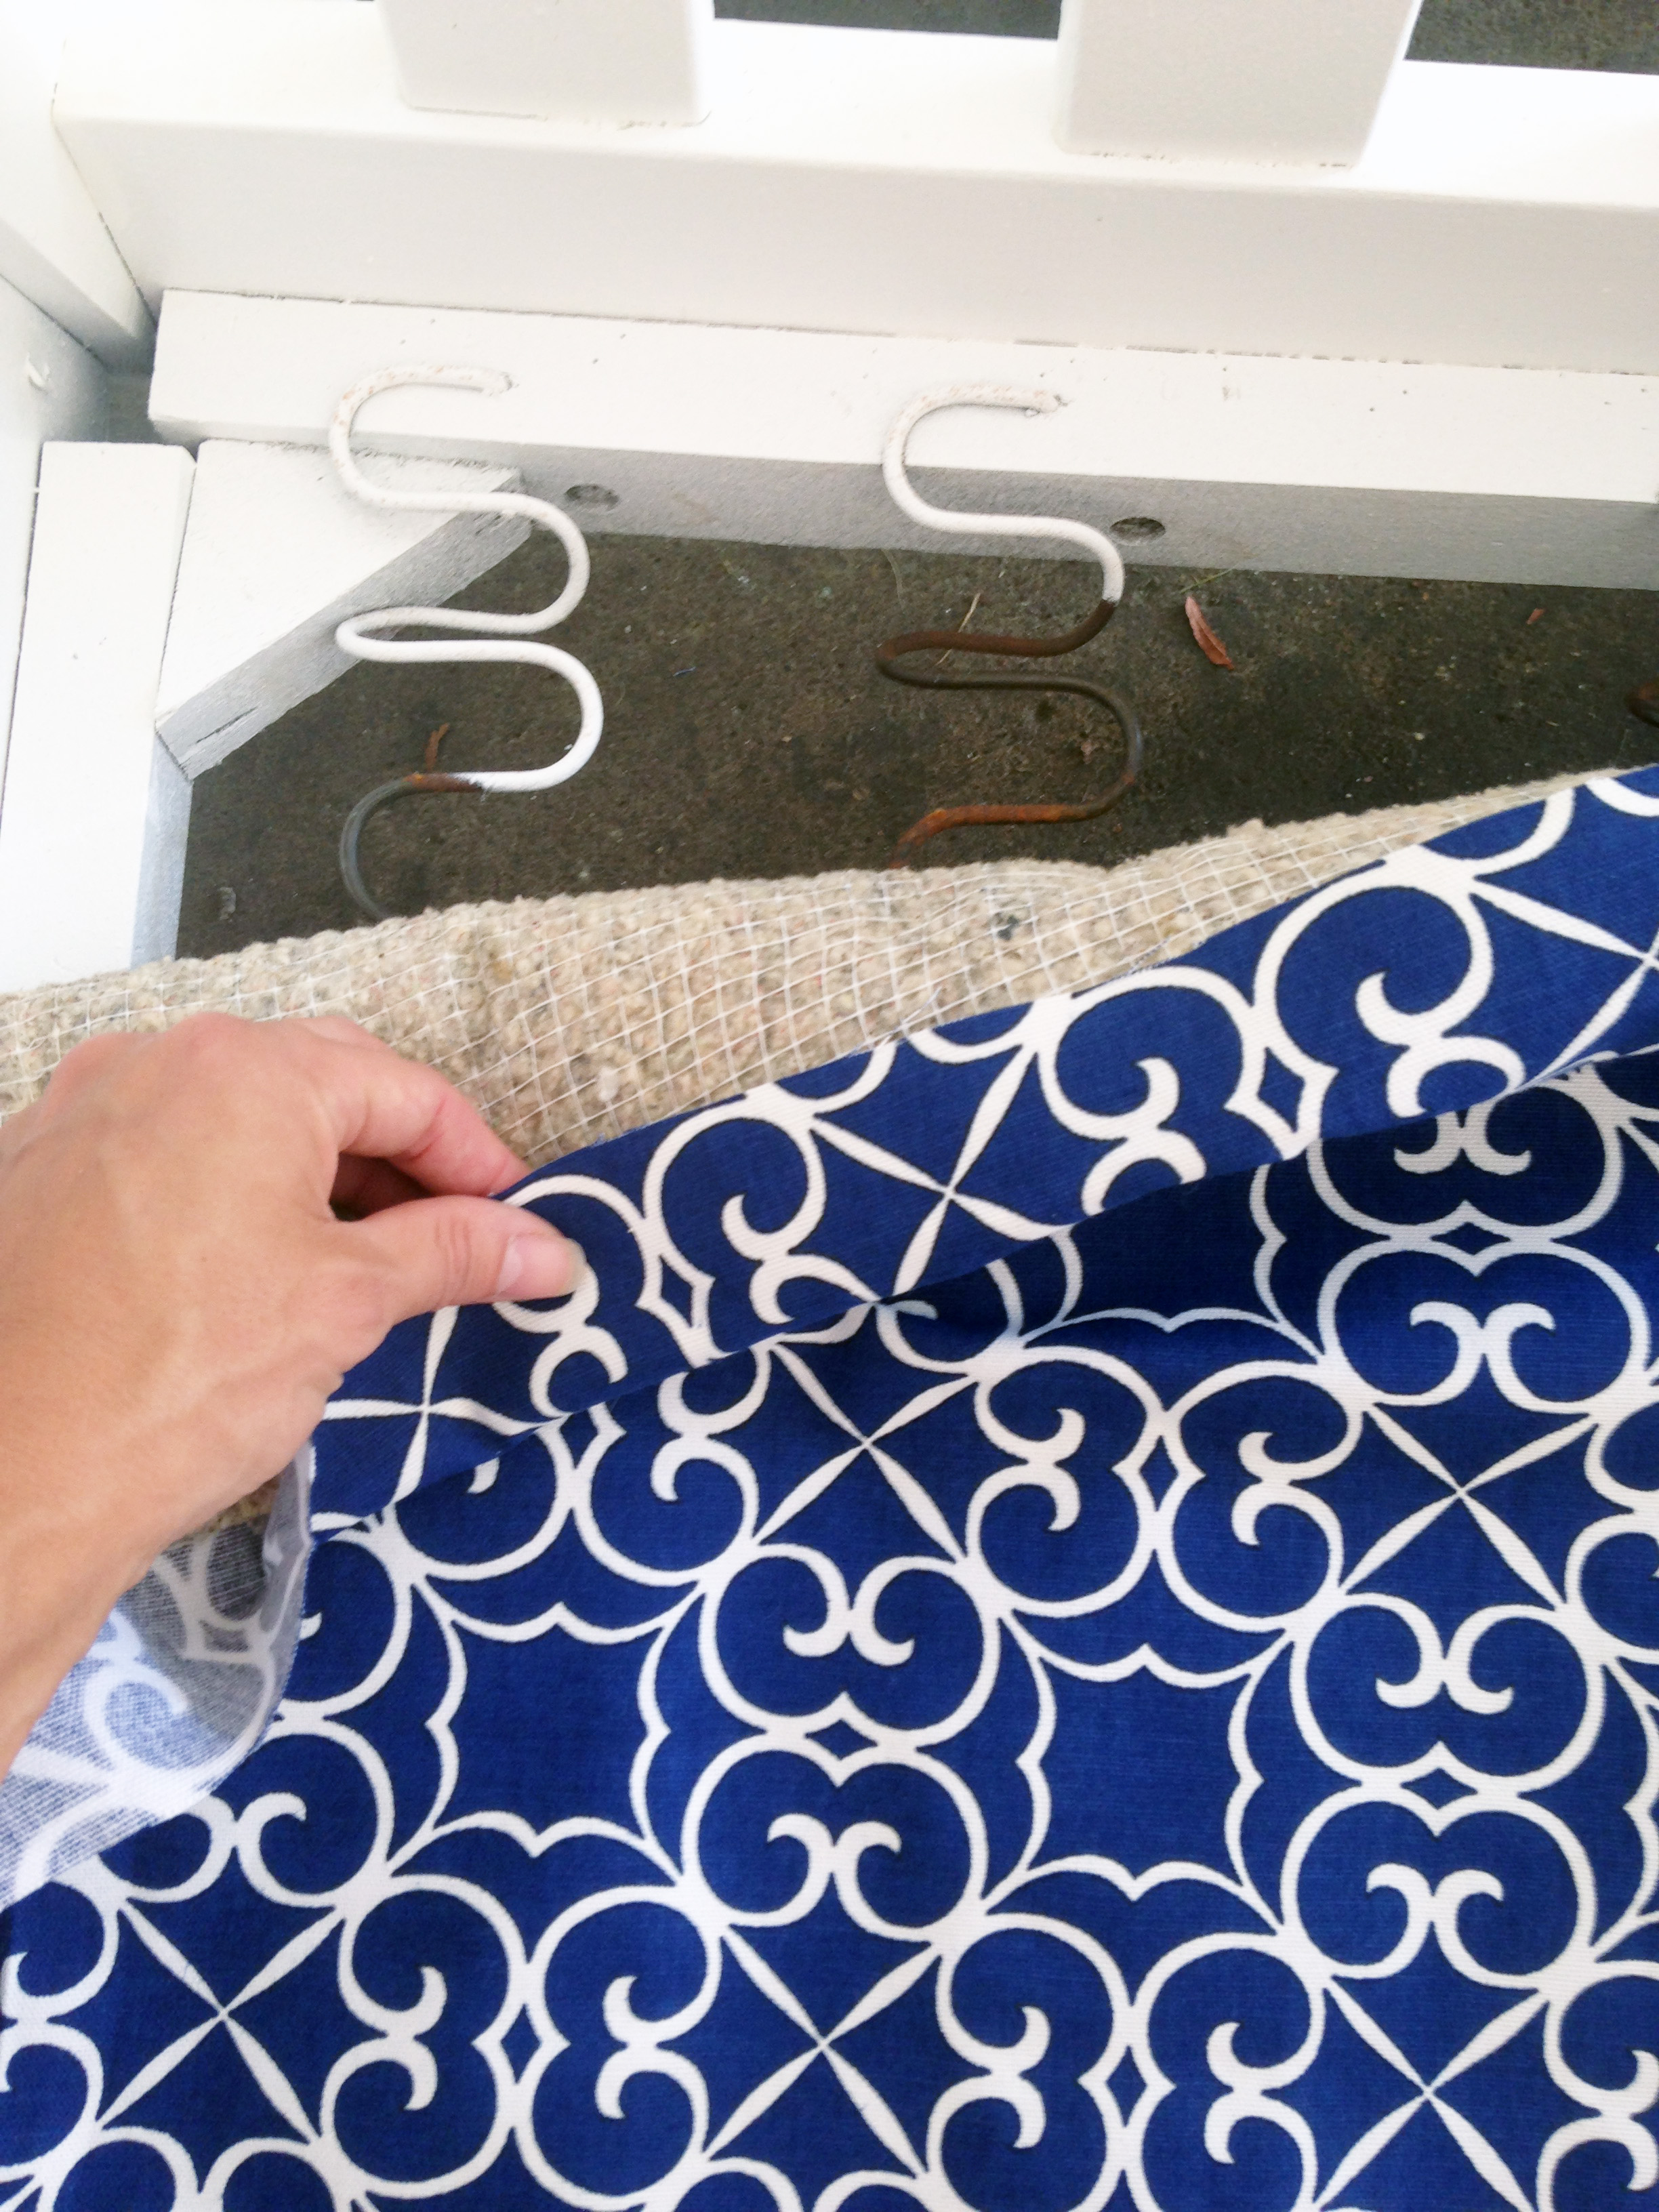
There wasn’t much to do here. The piece of fabric and horse hair liner (if you don’t know what horse hair is, after tackling a reupholstery job, you will) that you see below was the only piece nailed or stapled to the frame, so the deconstruction was a cinch. A basic set of pliers is all it took. And the bonus was, the horse hair was still in great shape, so I was able to reuse it for the finished product.
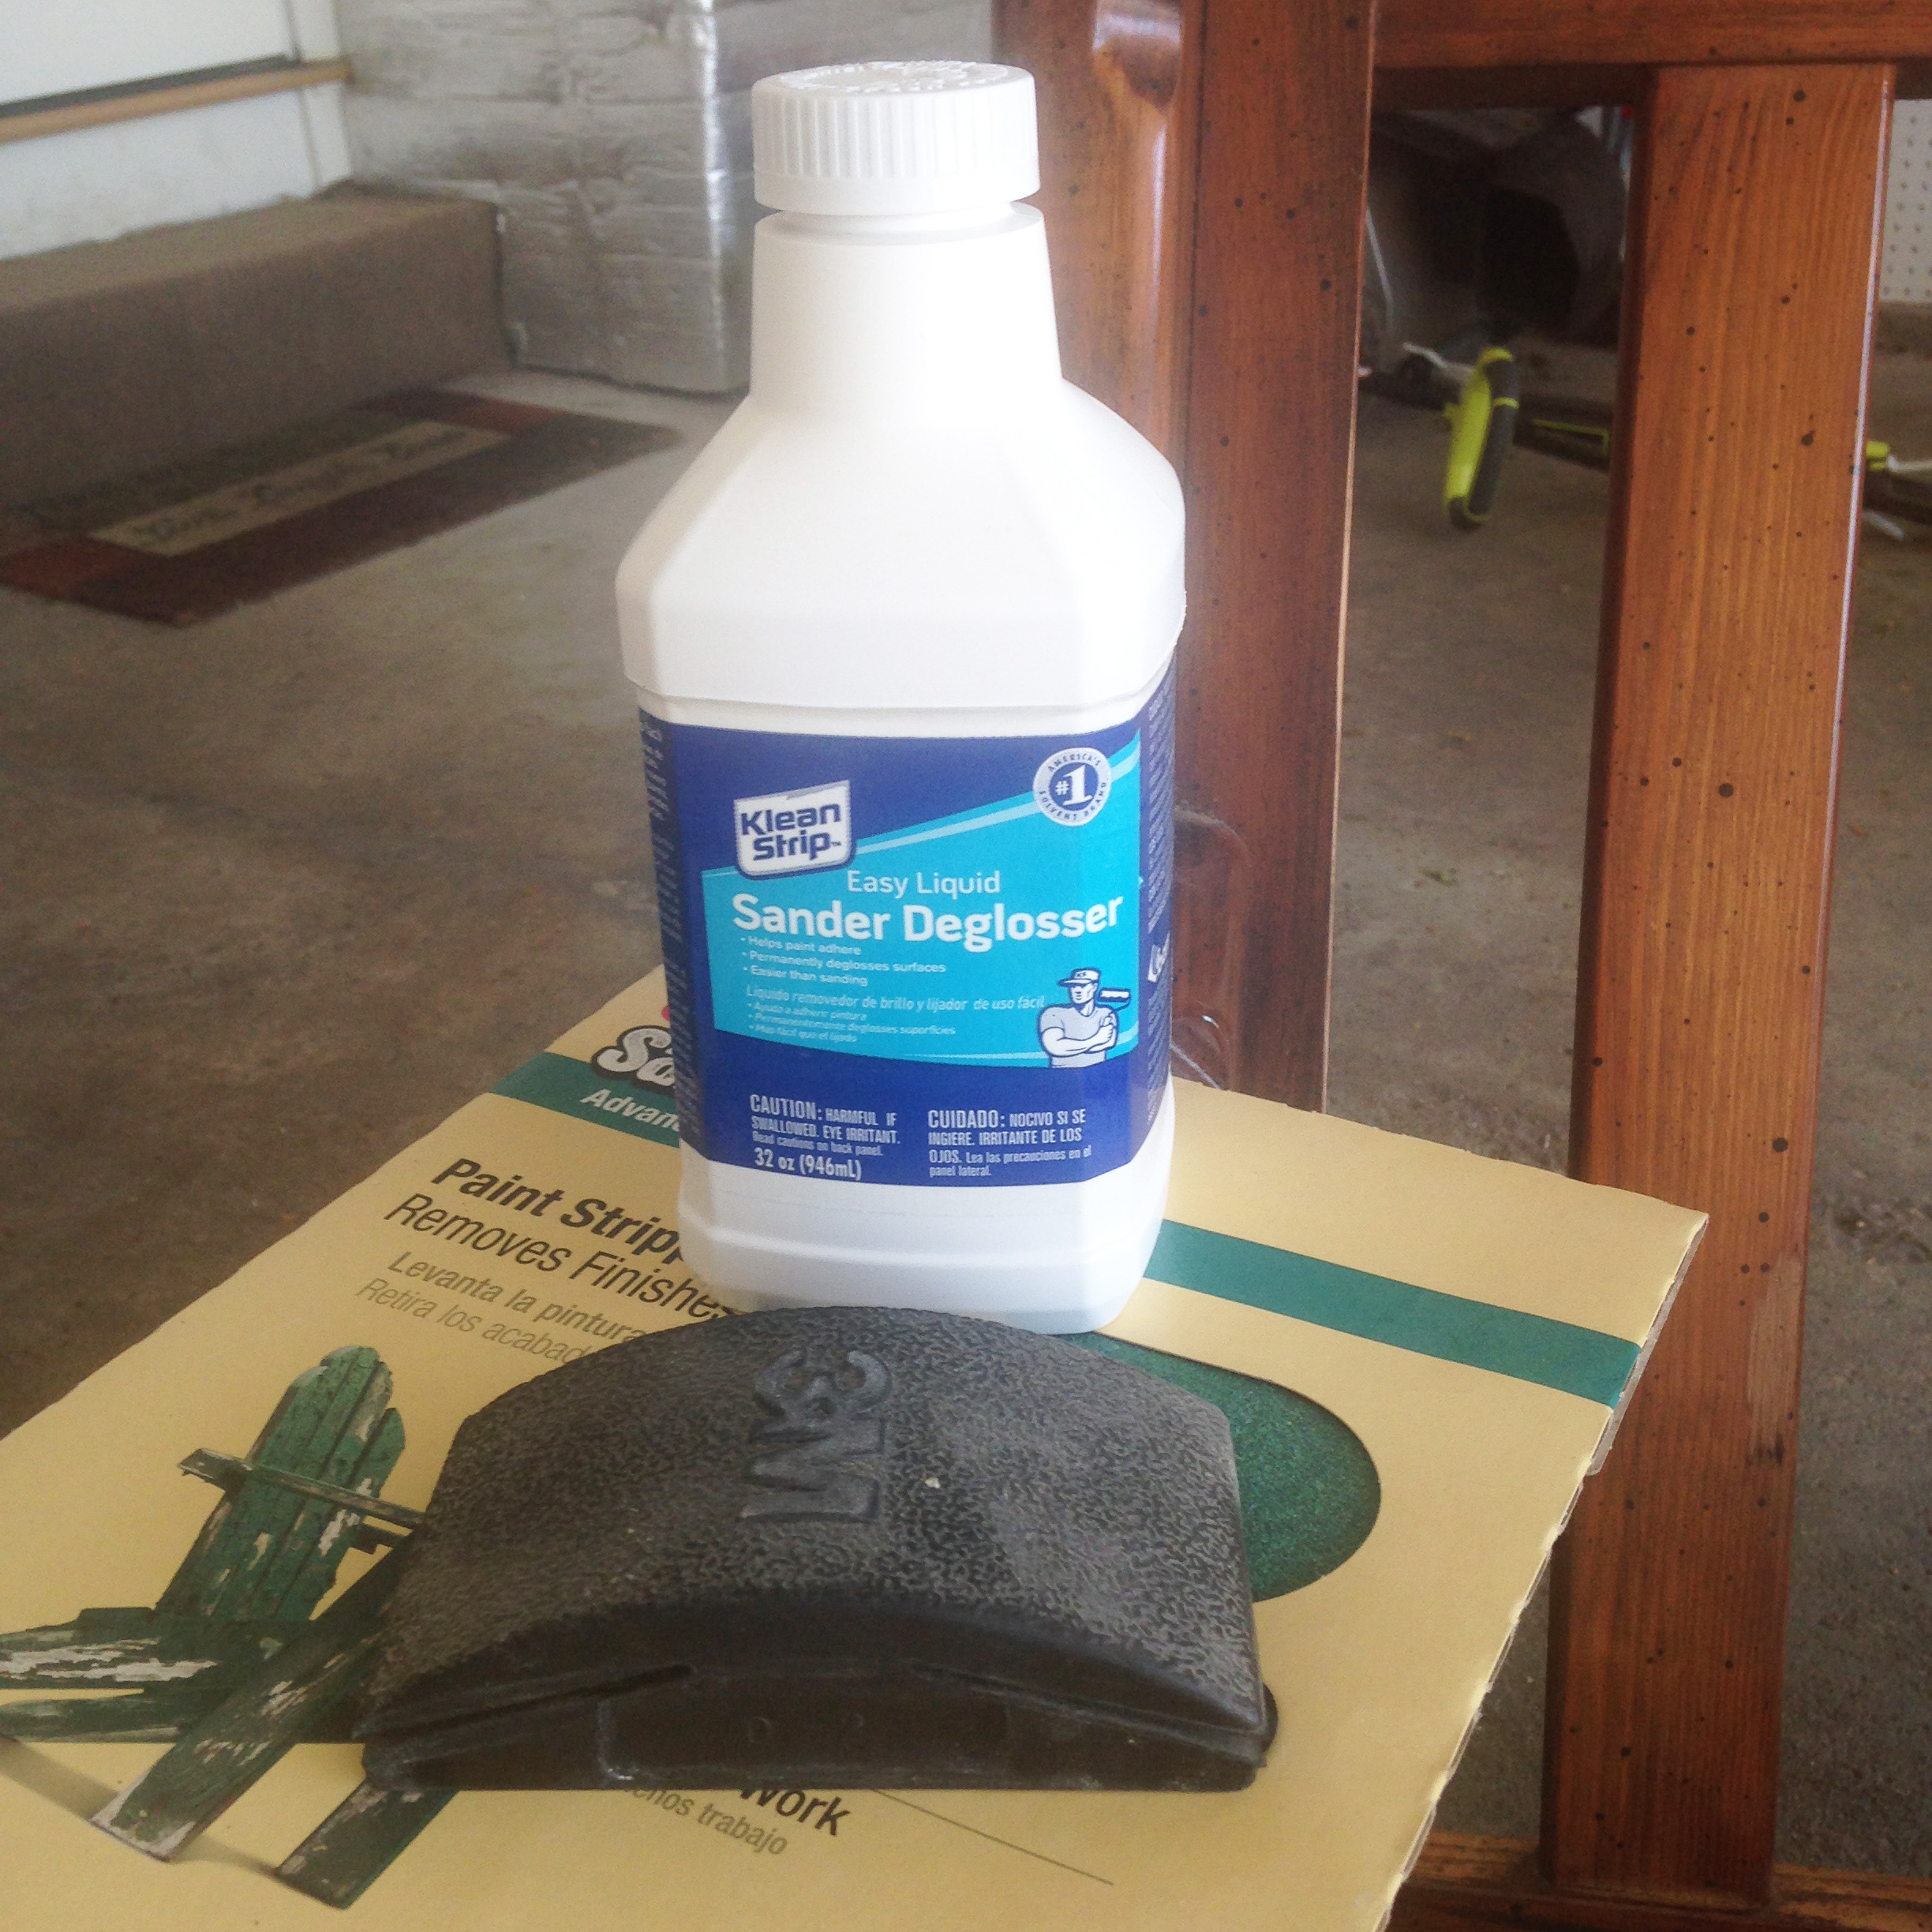
There are lots of curves to this chair, so the idea of sanding the entire thing was, let’s just say, NOT APPEALING. That’s why I opted for a liquid sander/deglosser (see pic below). If you’ve never tried a product like this, I beg of you, change your ways. You will not be sorry. You simply apply the liquid, and leave it for a short while to do its thing on the finish. (Read the label for proper application, buffing and timing.) The amazing thing is, liquid deglossers are easy to use and they rough up just enough of the finish to be able to prime and paint. I did quite a few applications because the varnish on this chair was super thick. On some particularly thick areas, I also did some light sanding by hand, but not much.

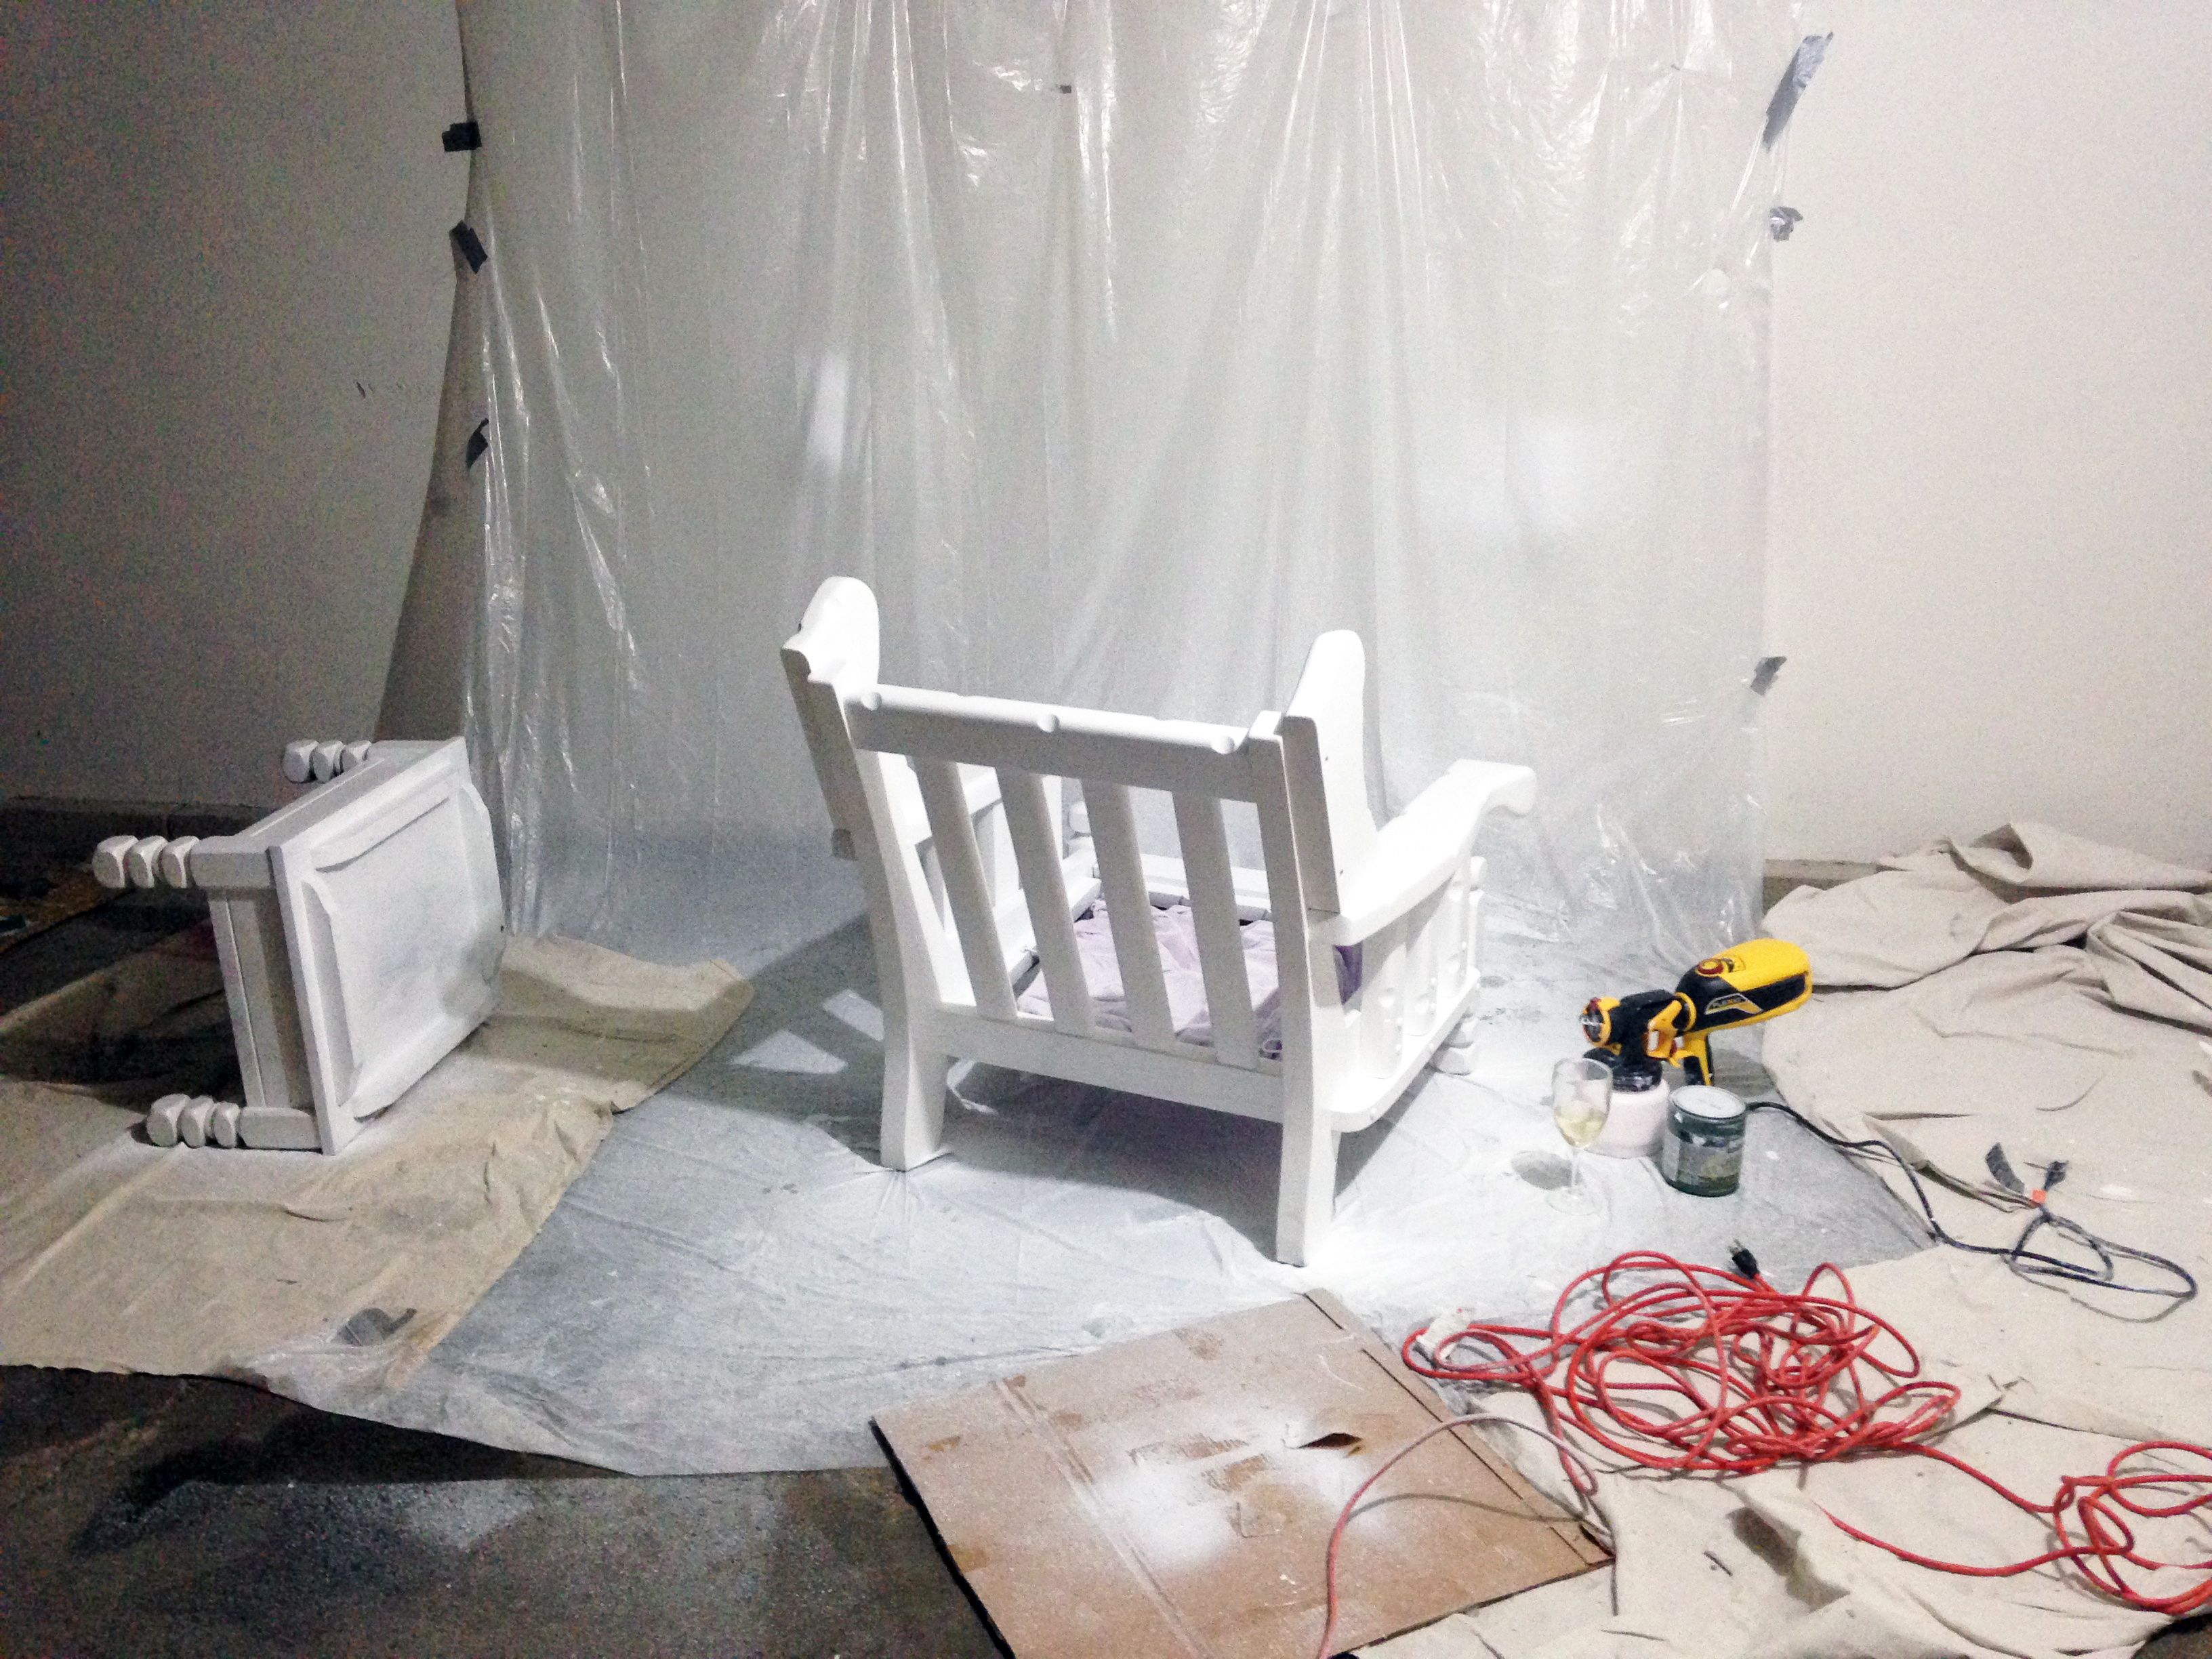
The most time-consuming part of this step is the prep work – aka, taping walls and tarping floors. NOTE: I used a paint sprayer for this project, like most of my paint projects, and I’m not even kidding when I say it’s one of the best purchases I’ve ever made. Makes quick work of any paint project. I did apply multiple coats, so it ended up taking a few nights due to dry time, but the actual “painting” part was super quick.

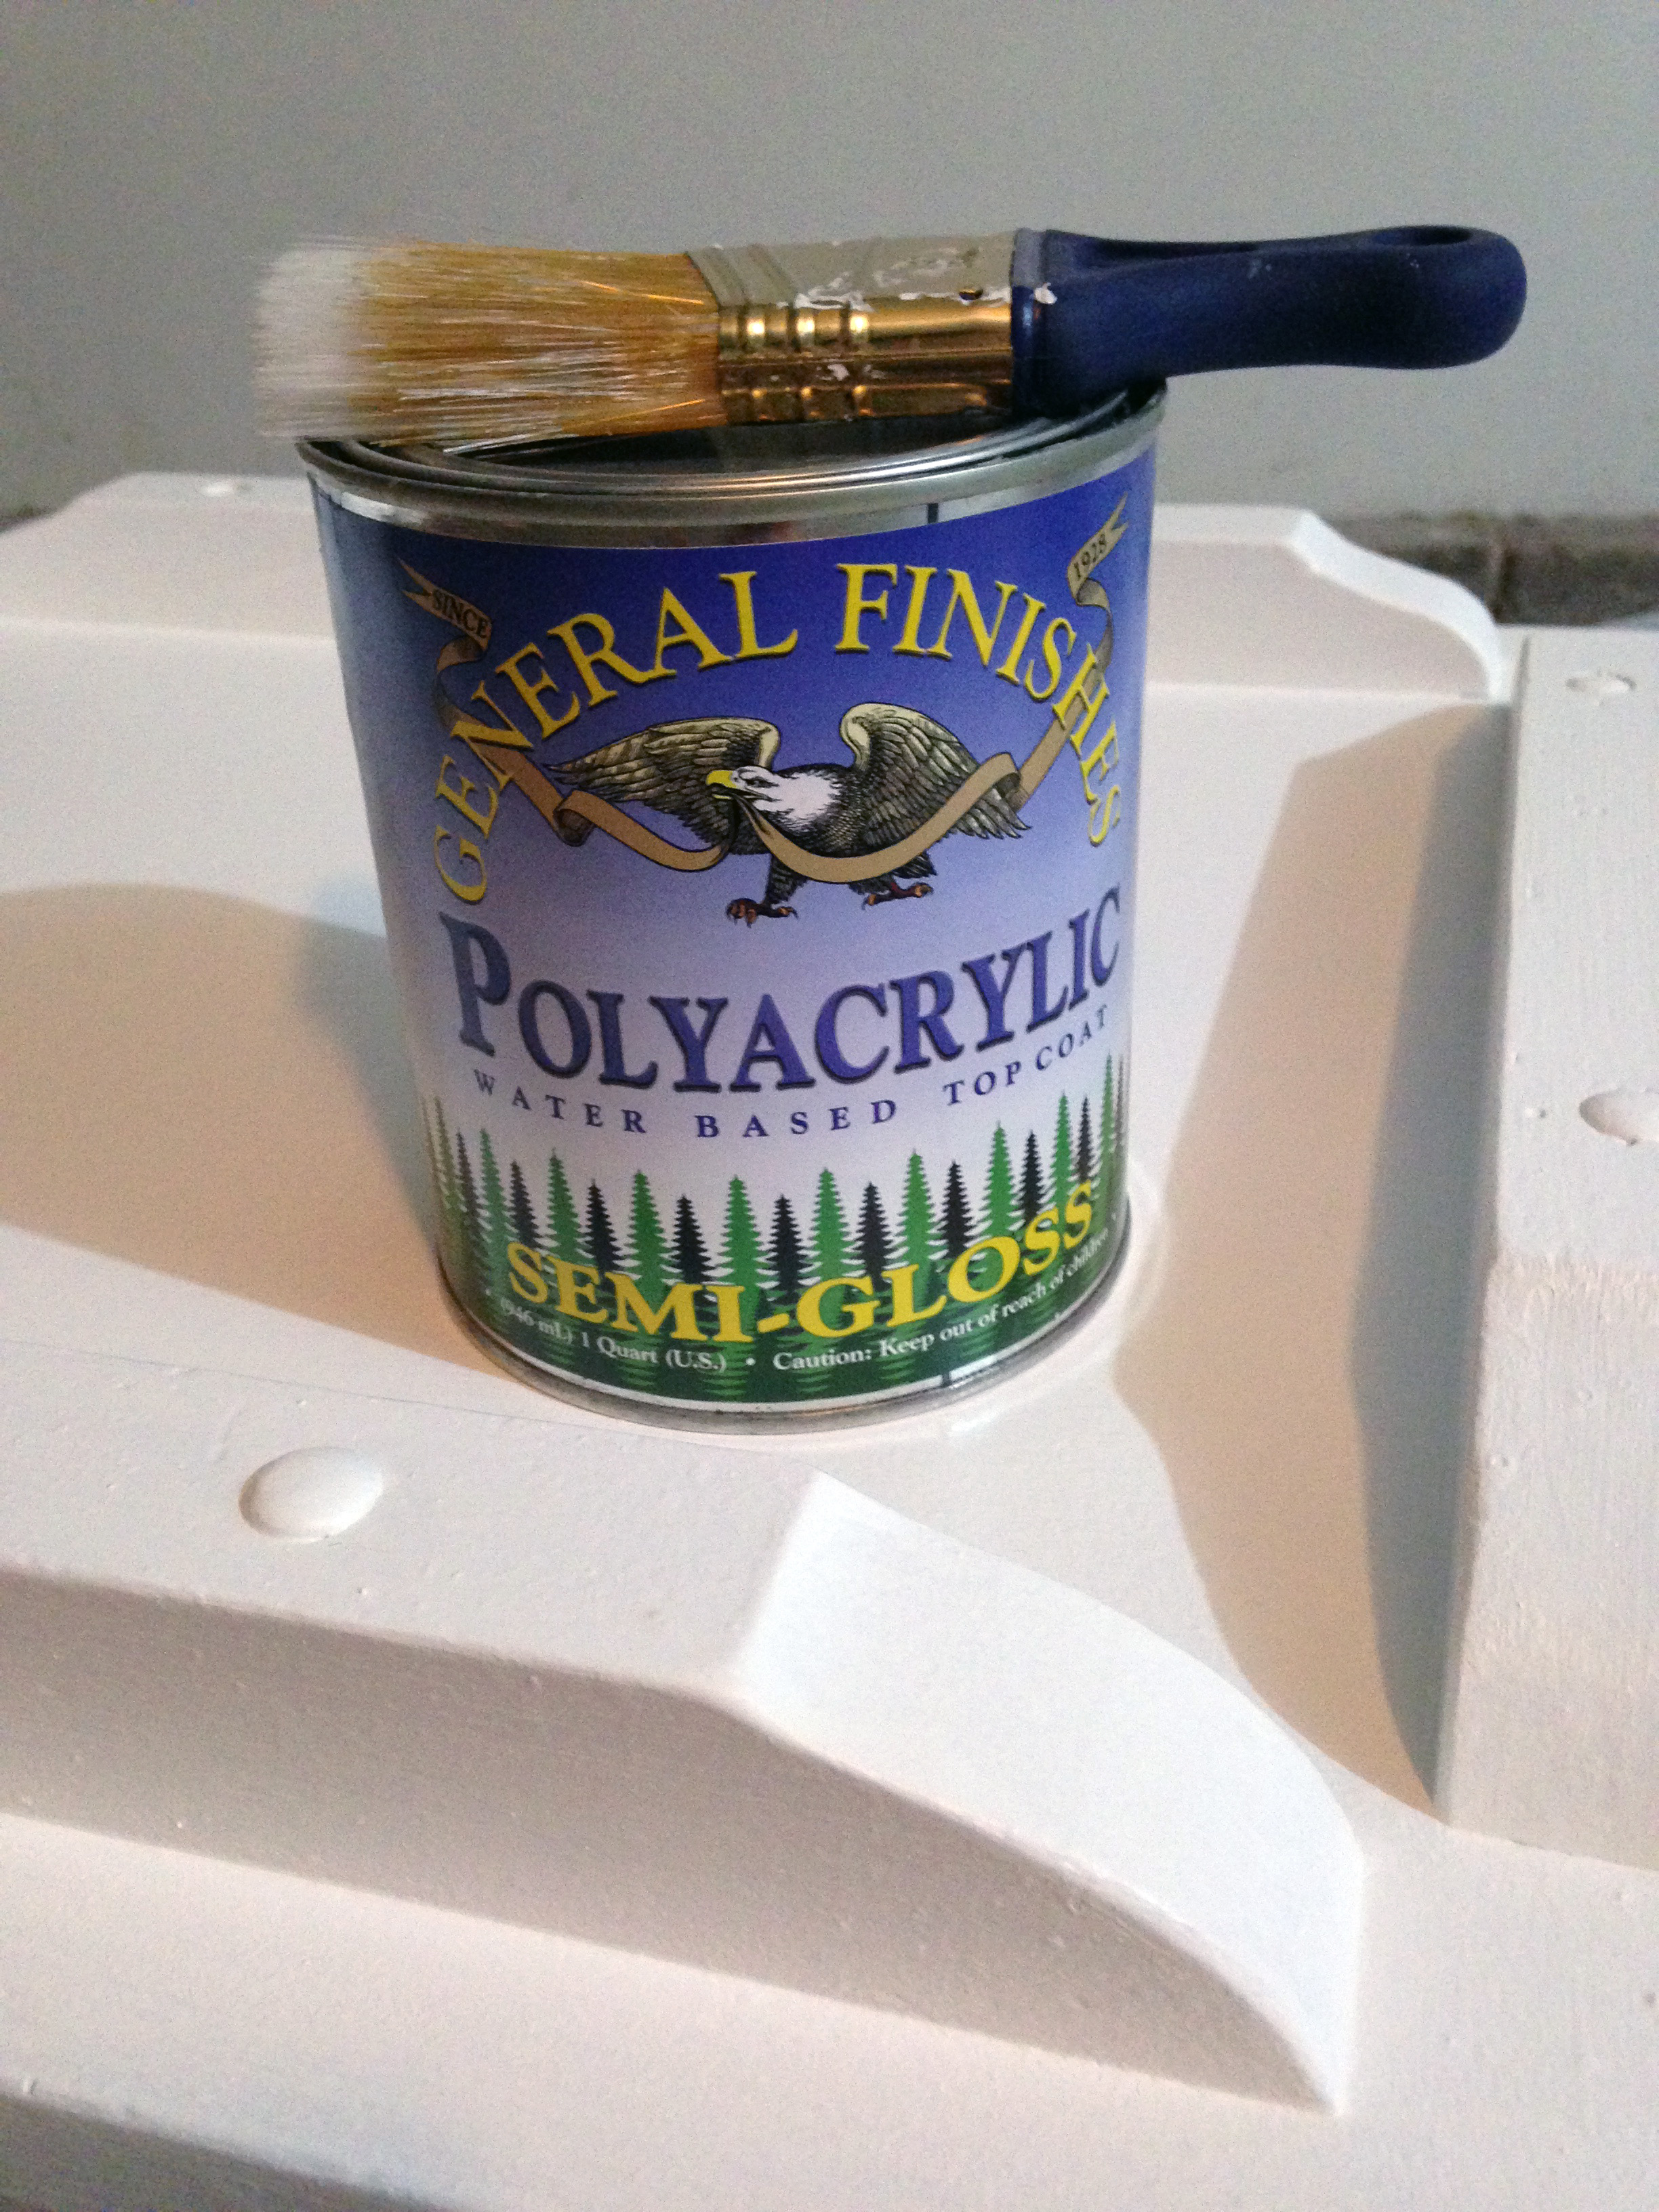
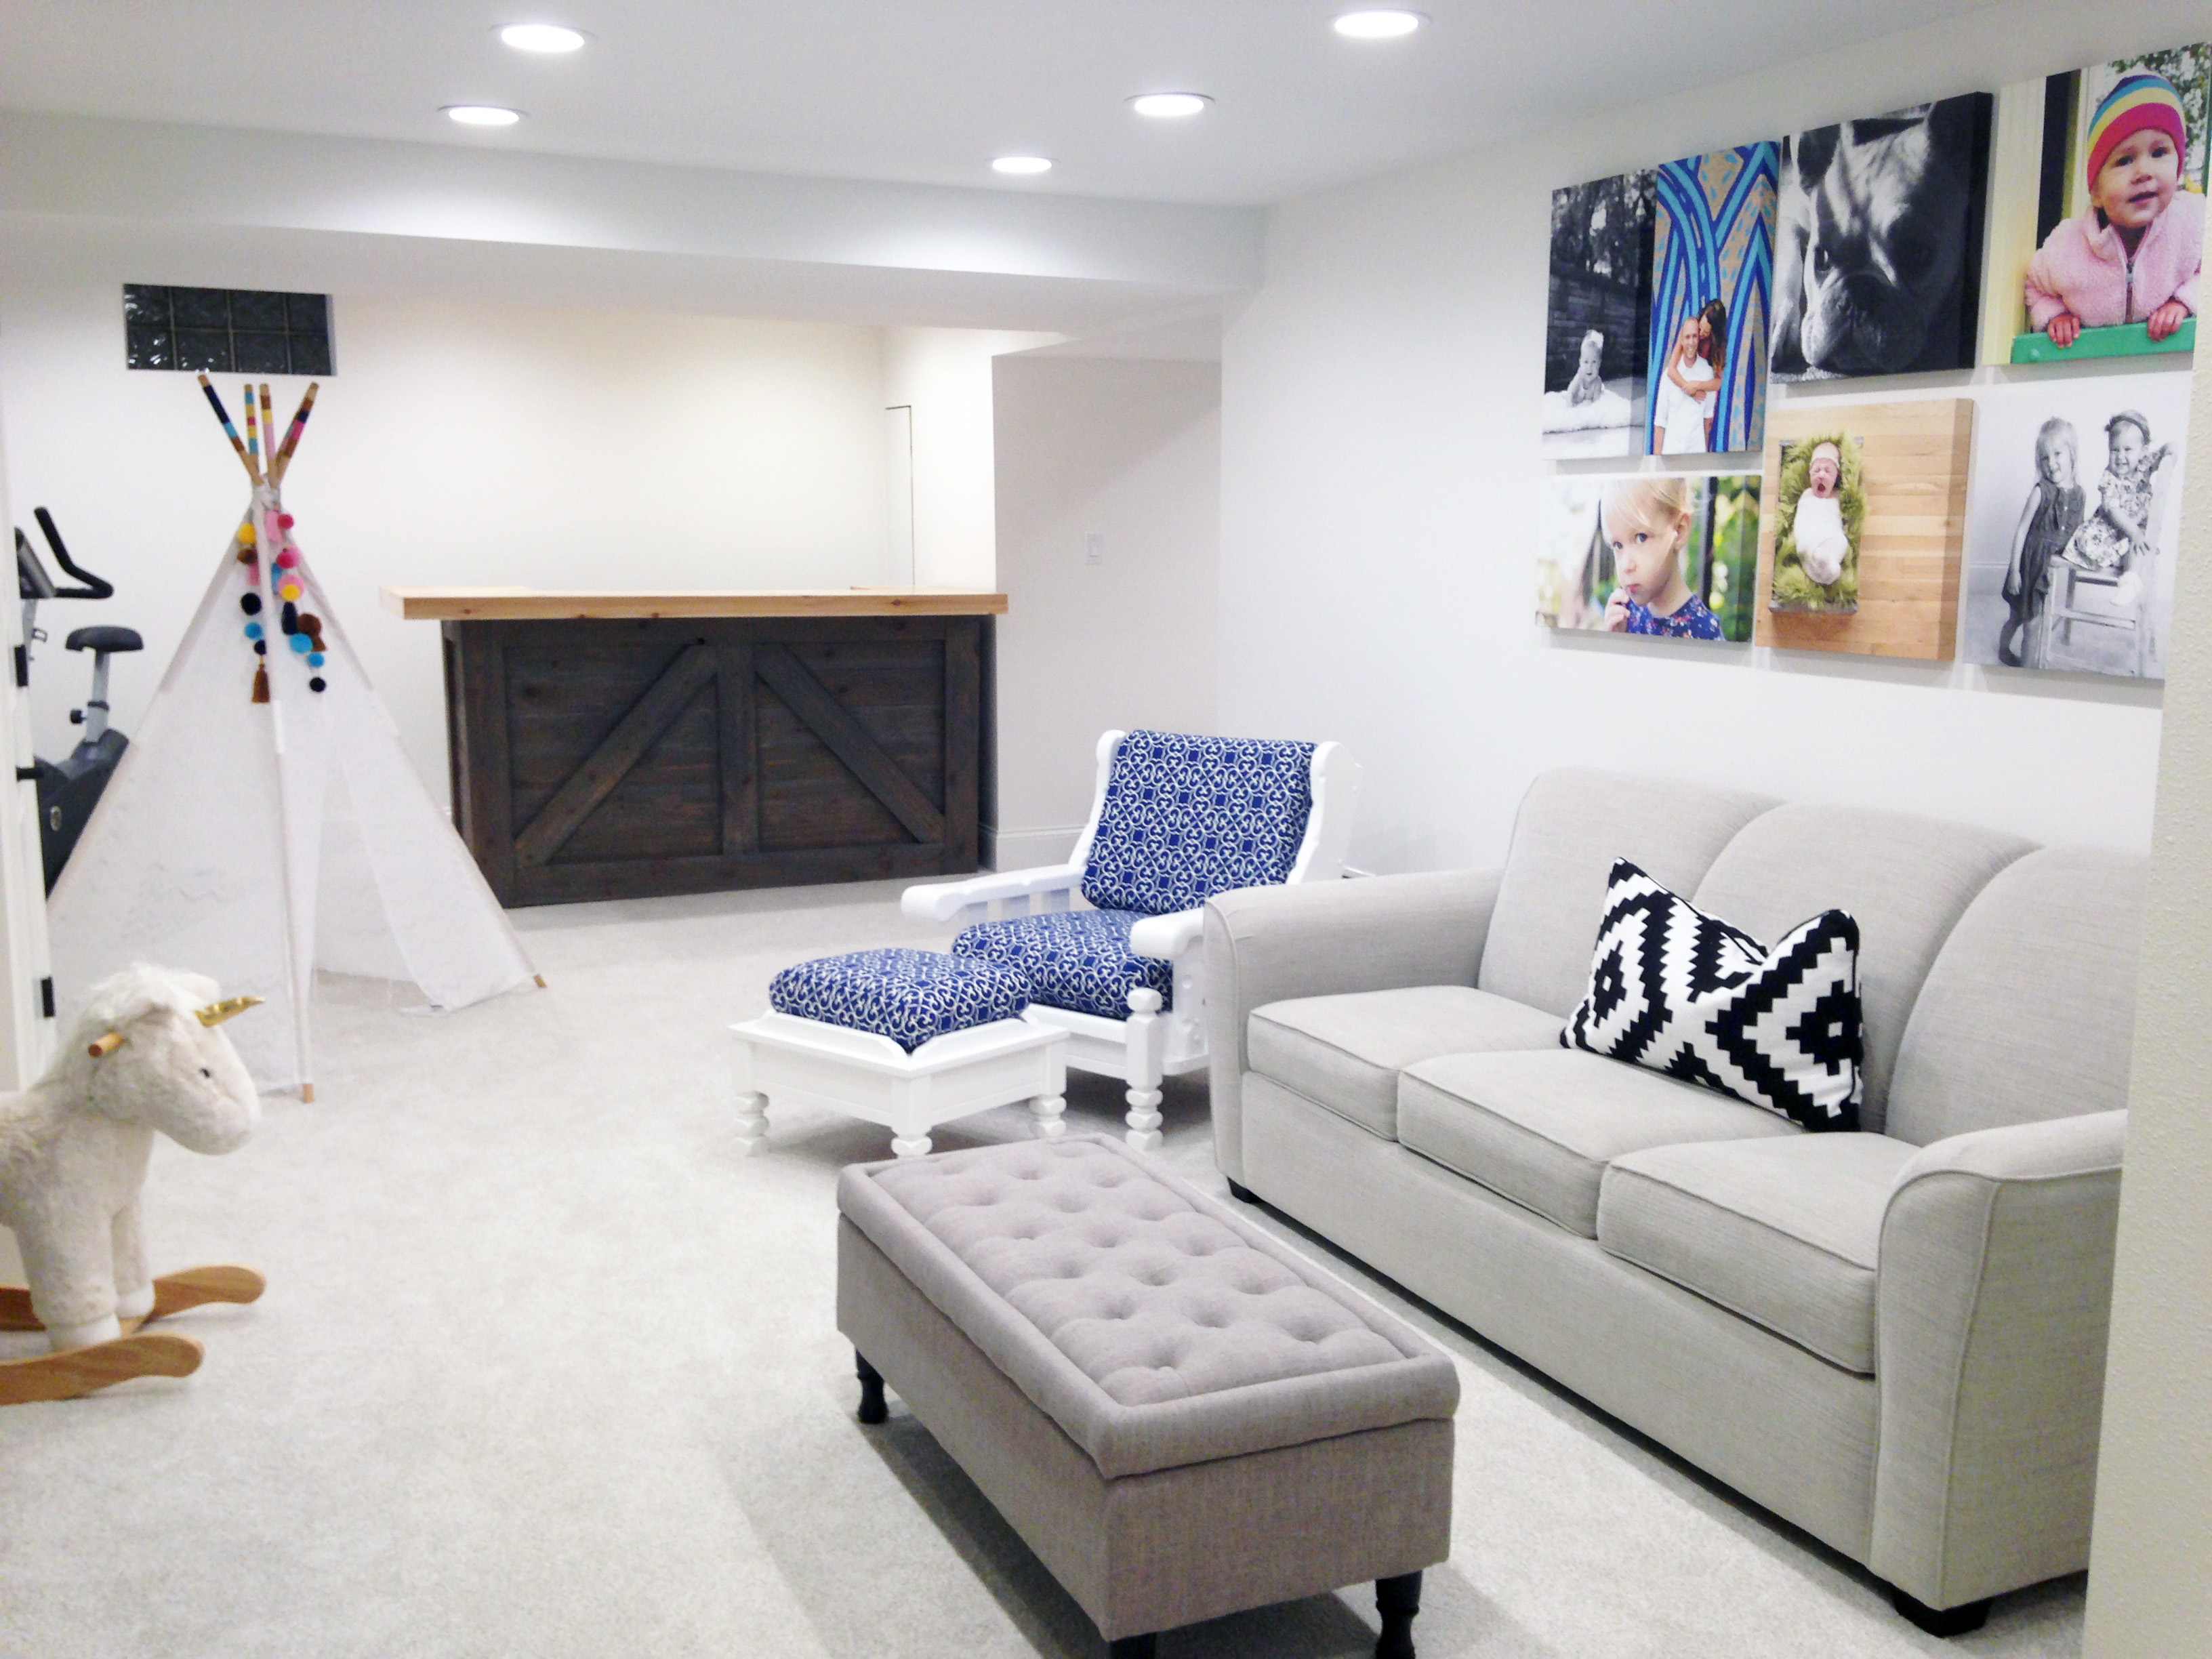
I knew this chair was destined for our basement rec room, so that means my kids would undoubtedly wreak havoc on its finish. That’s why I decided to apply a few coats of water-based poly to protect it. I applied it in even strokes with a paint brush, and if you’ve never worked with poly products before, a word of caution: They tend to leave a yellow-ish finish if applied too thickly & carelessly. So make sure you pay special attention to the application.
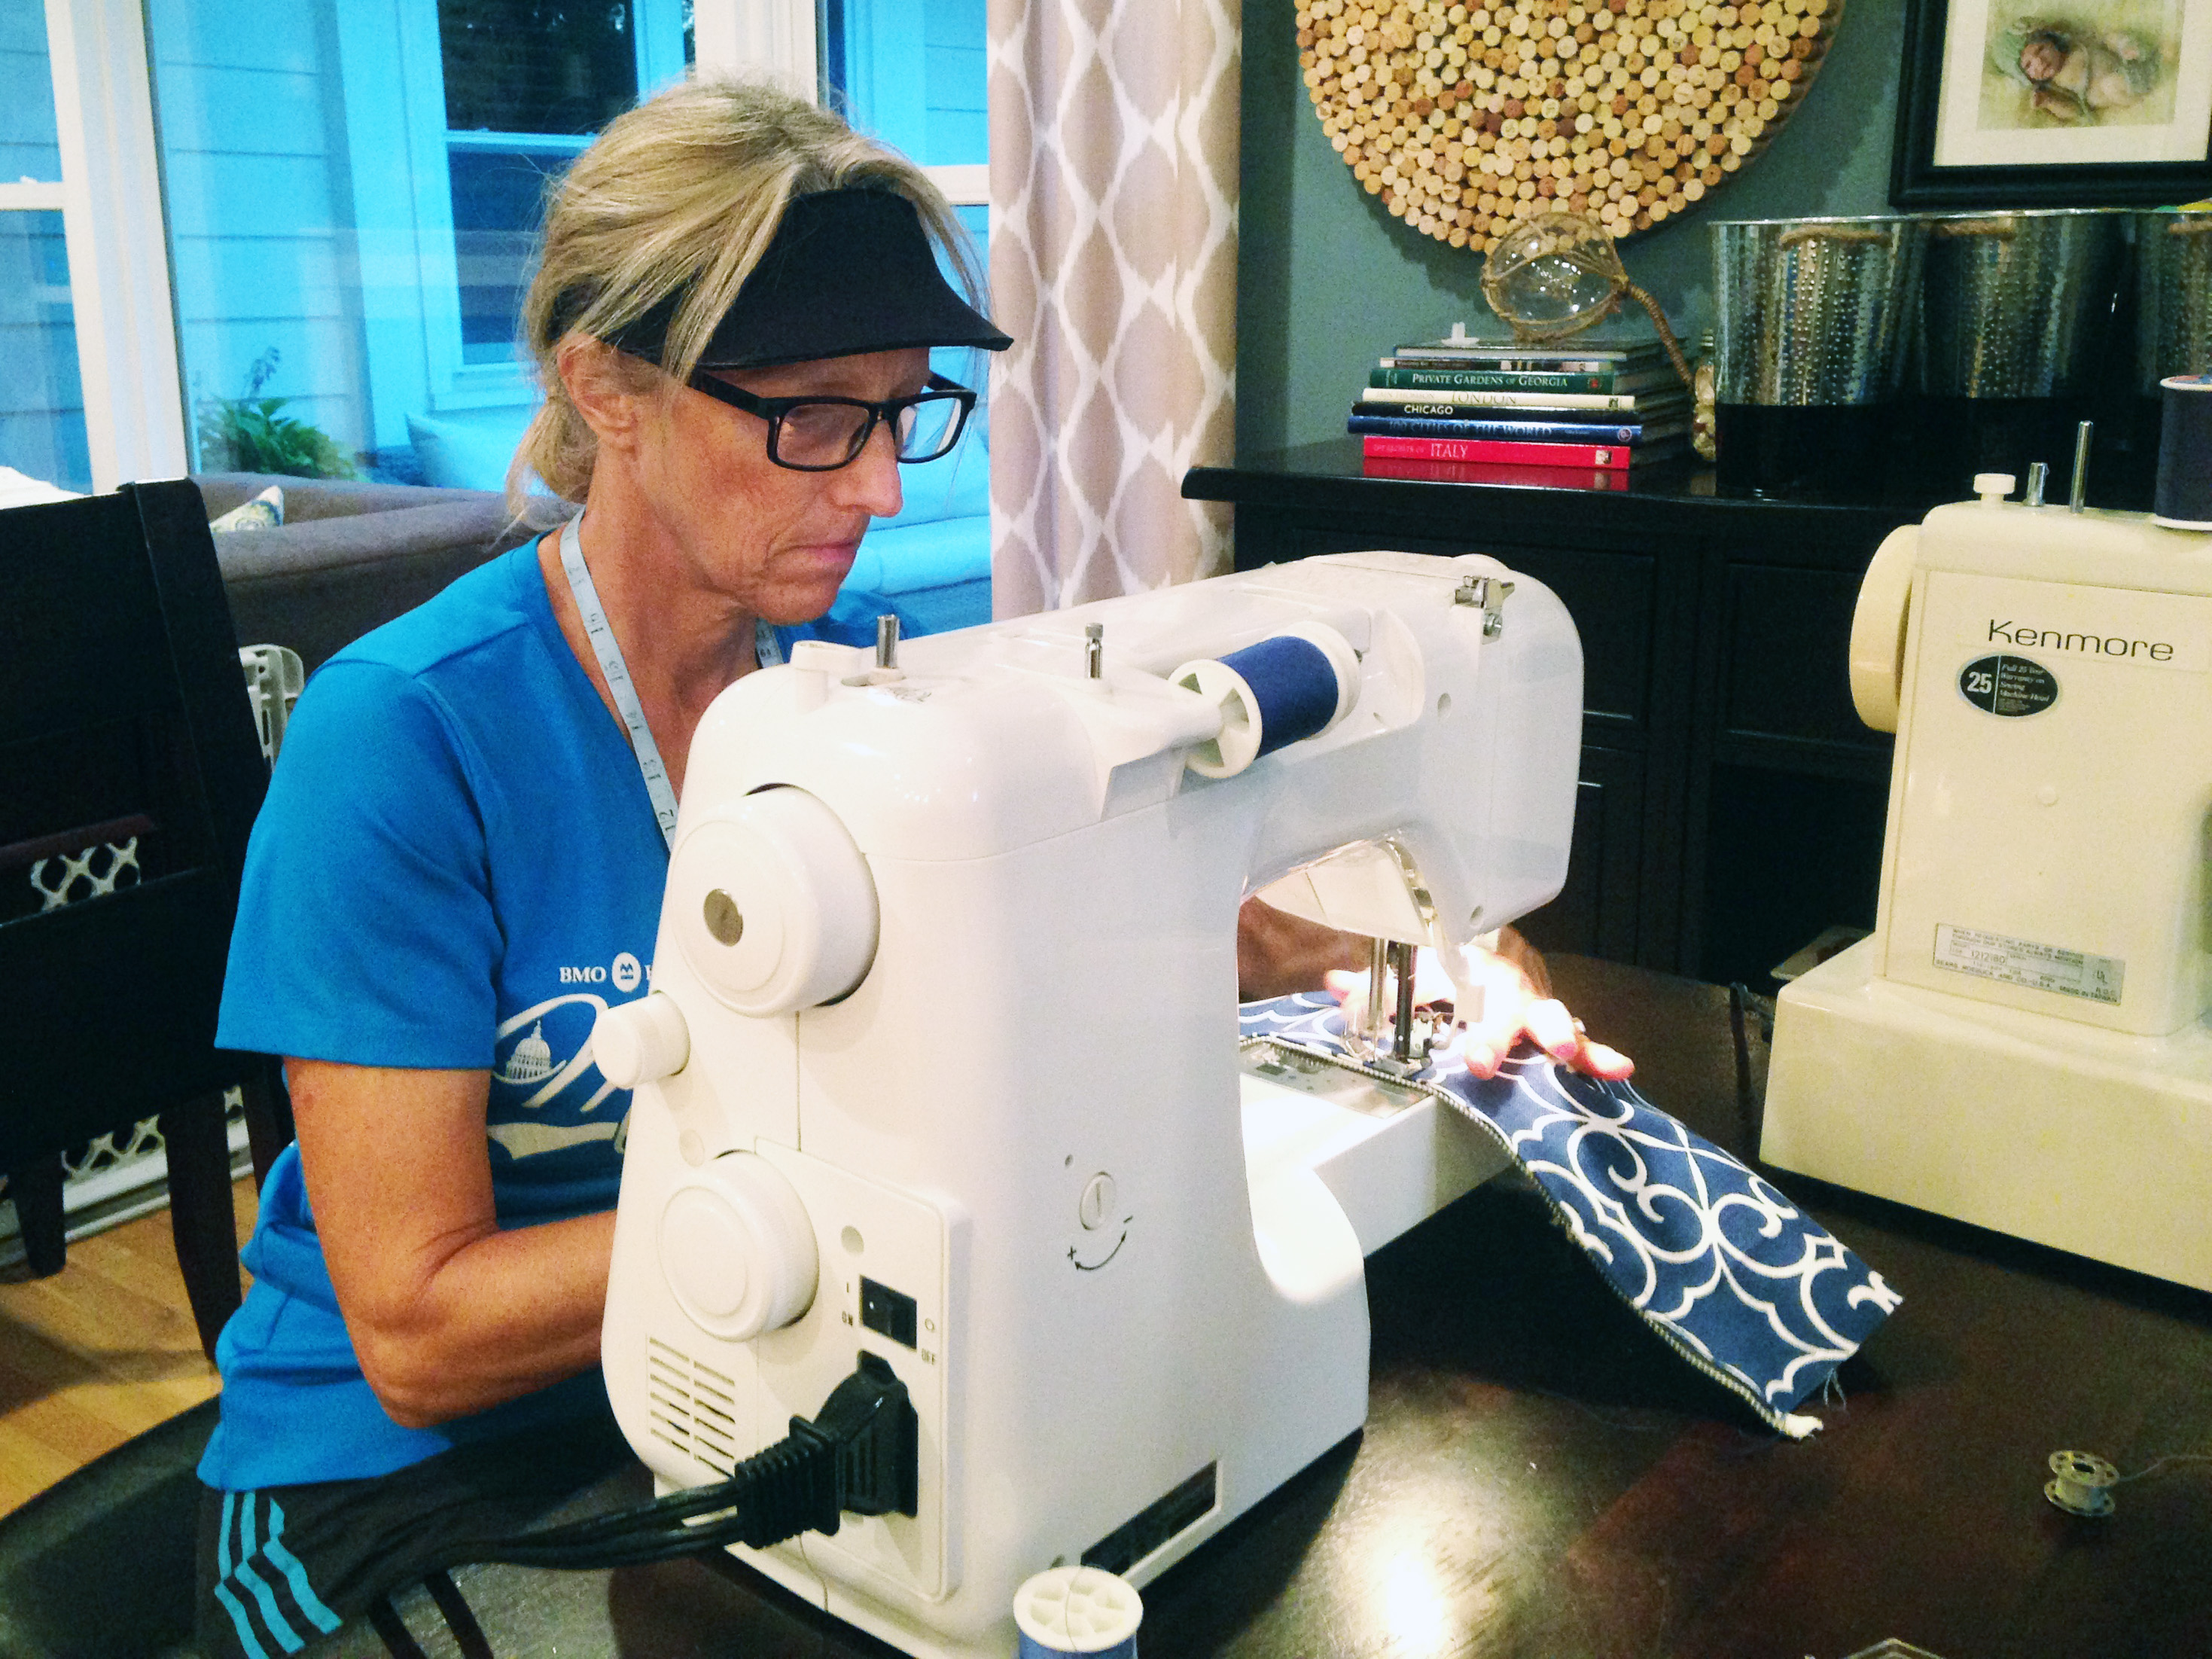
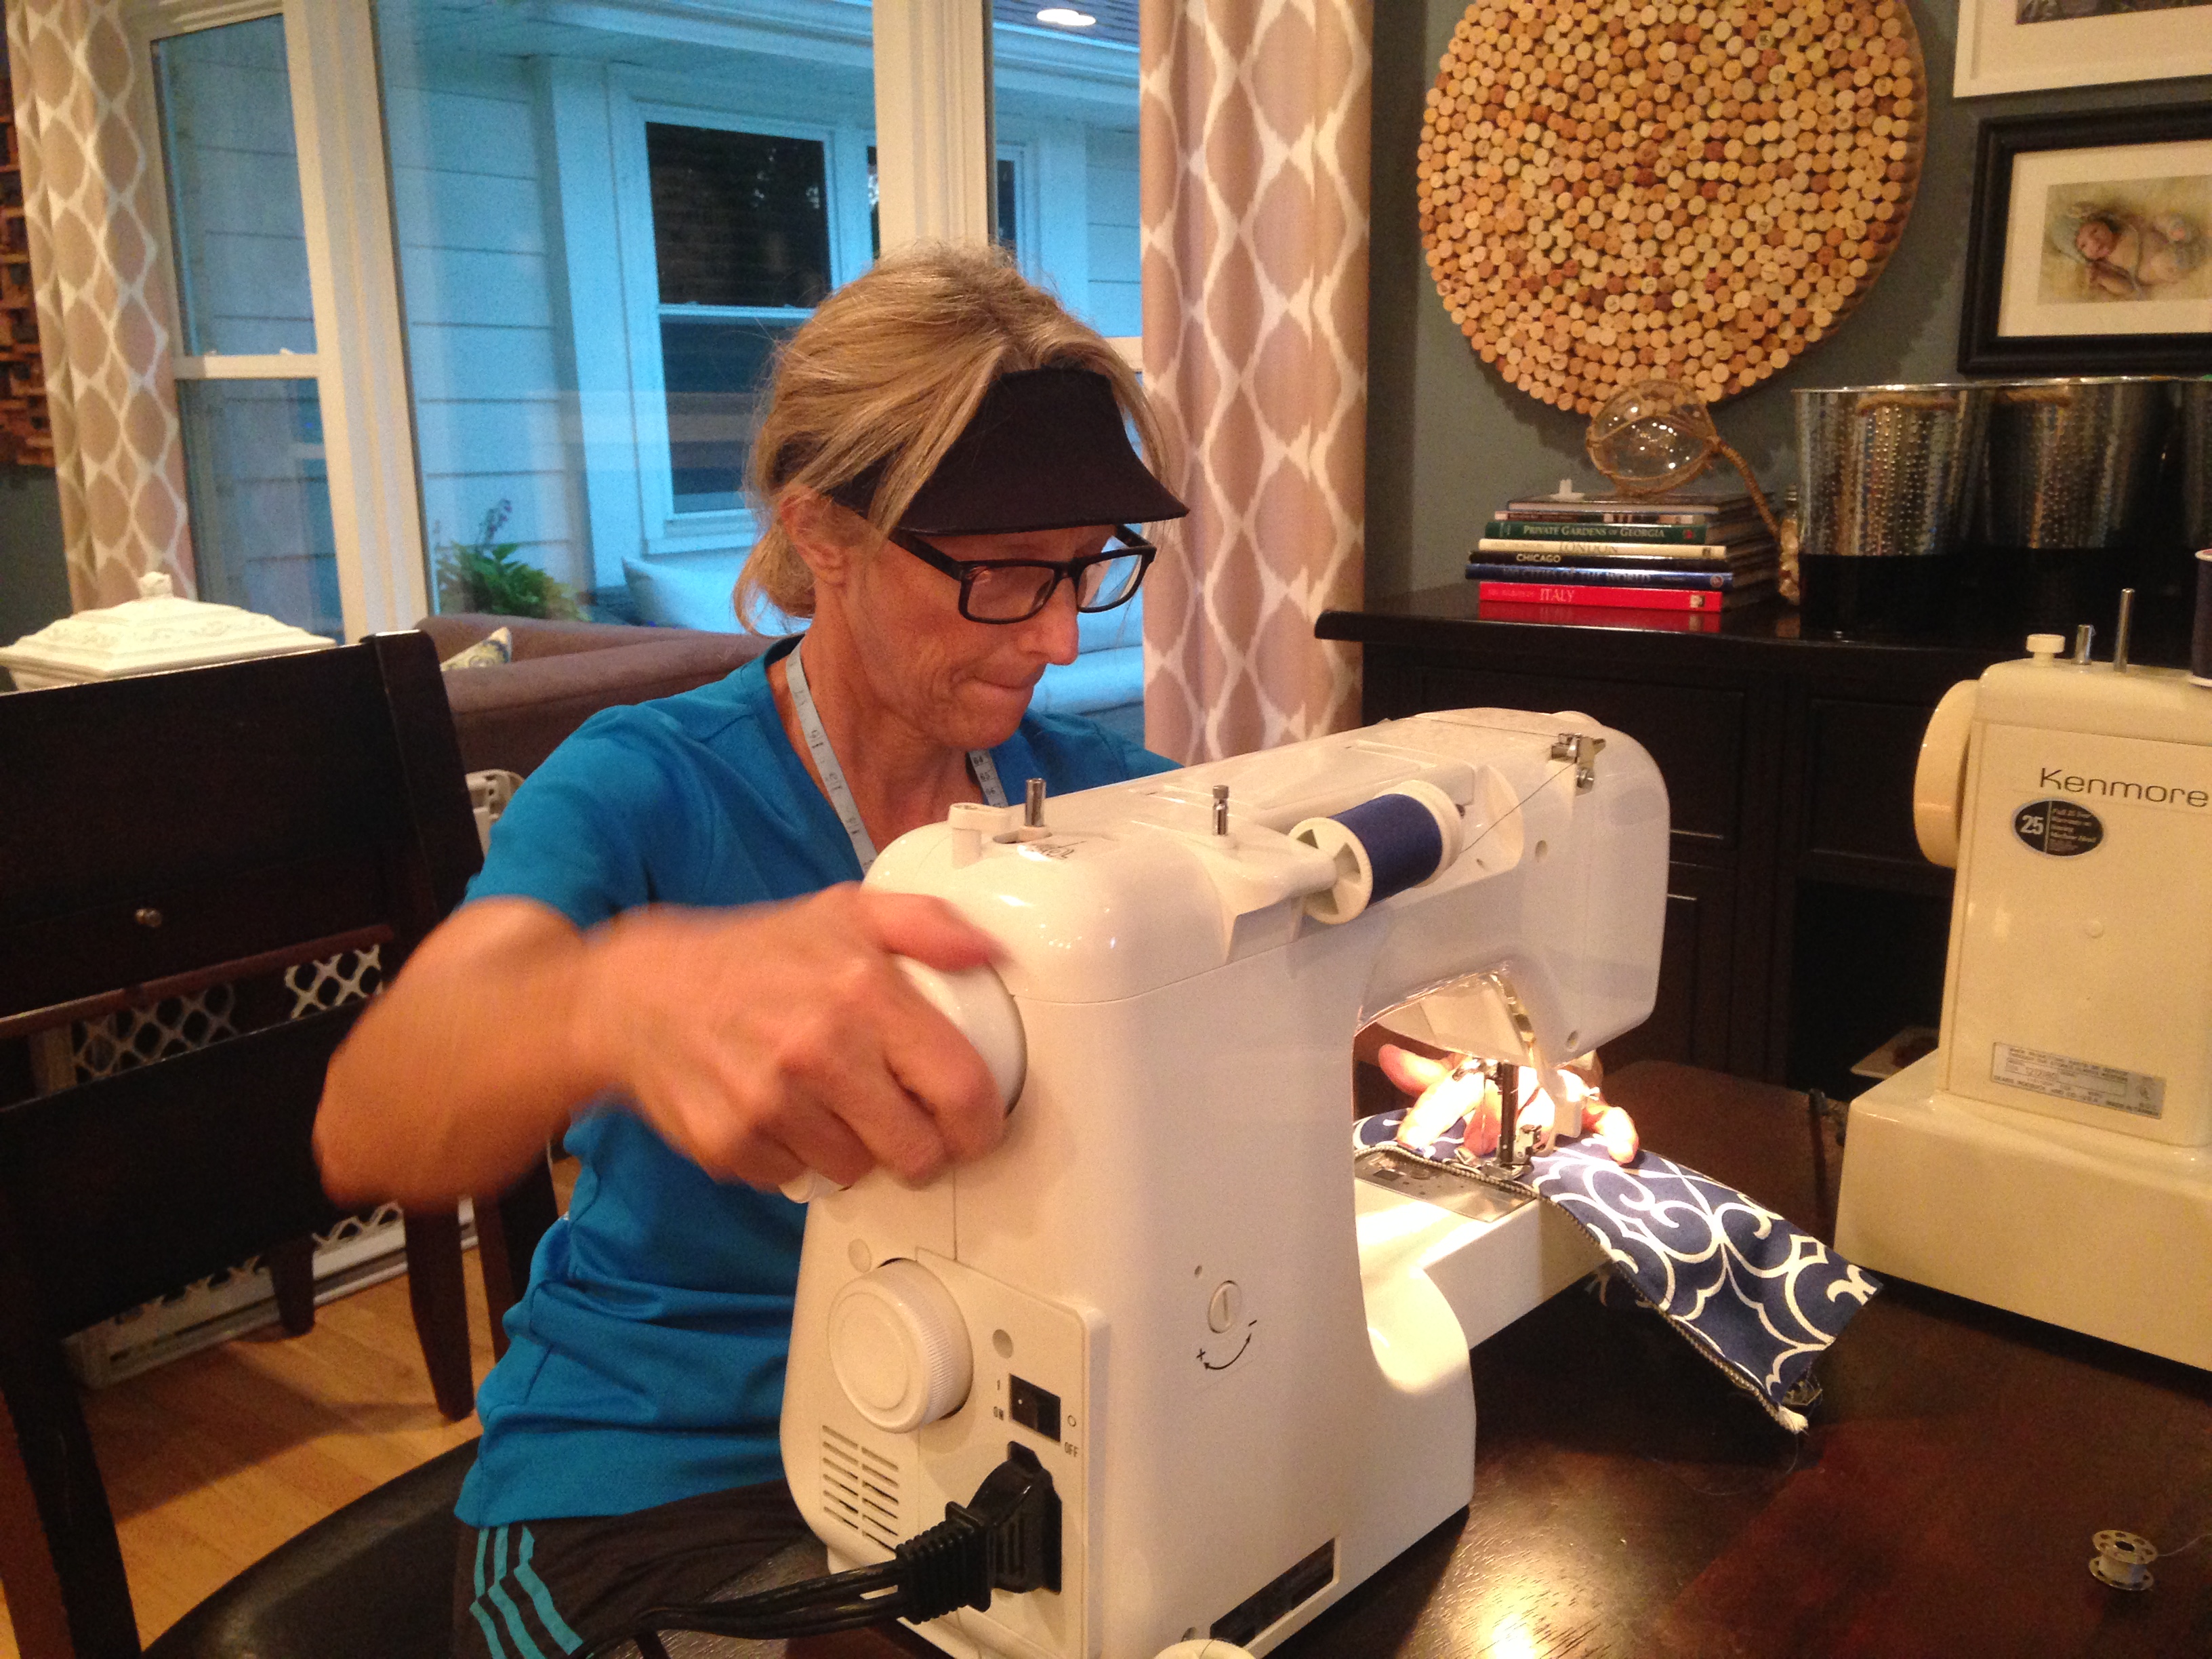
Now for the difficult part: Sewing new covers for the cushions. Thankfully, my mom is a master sewer, so having her assistance (slash, leadership) was invaluable. Here she is in major concentration mode!
Before you even think about whipping out your sewing machine, you need to create your fabric templates first. You can do this in 2 ways:
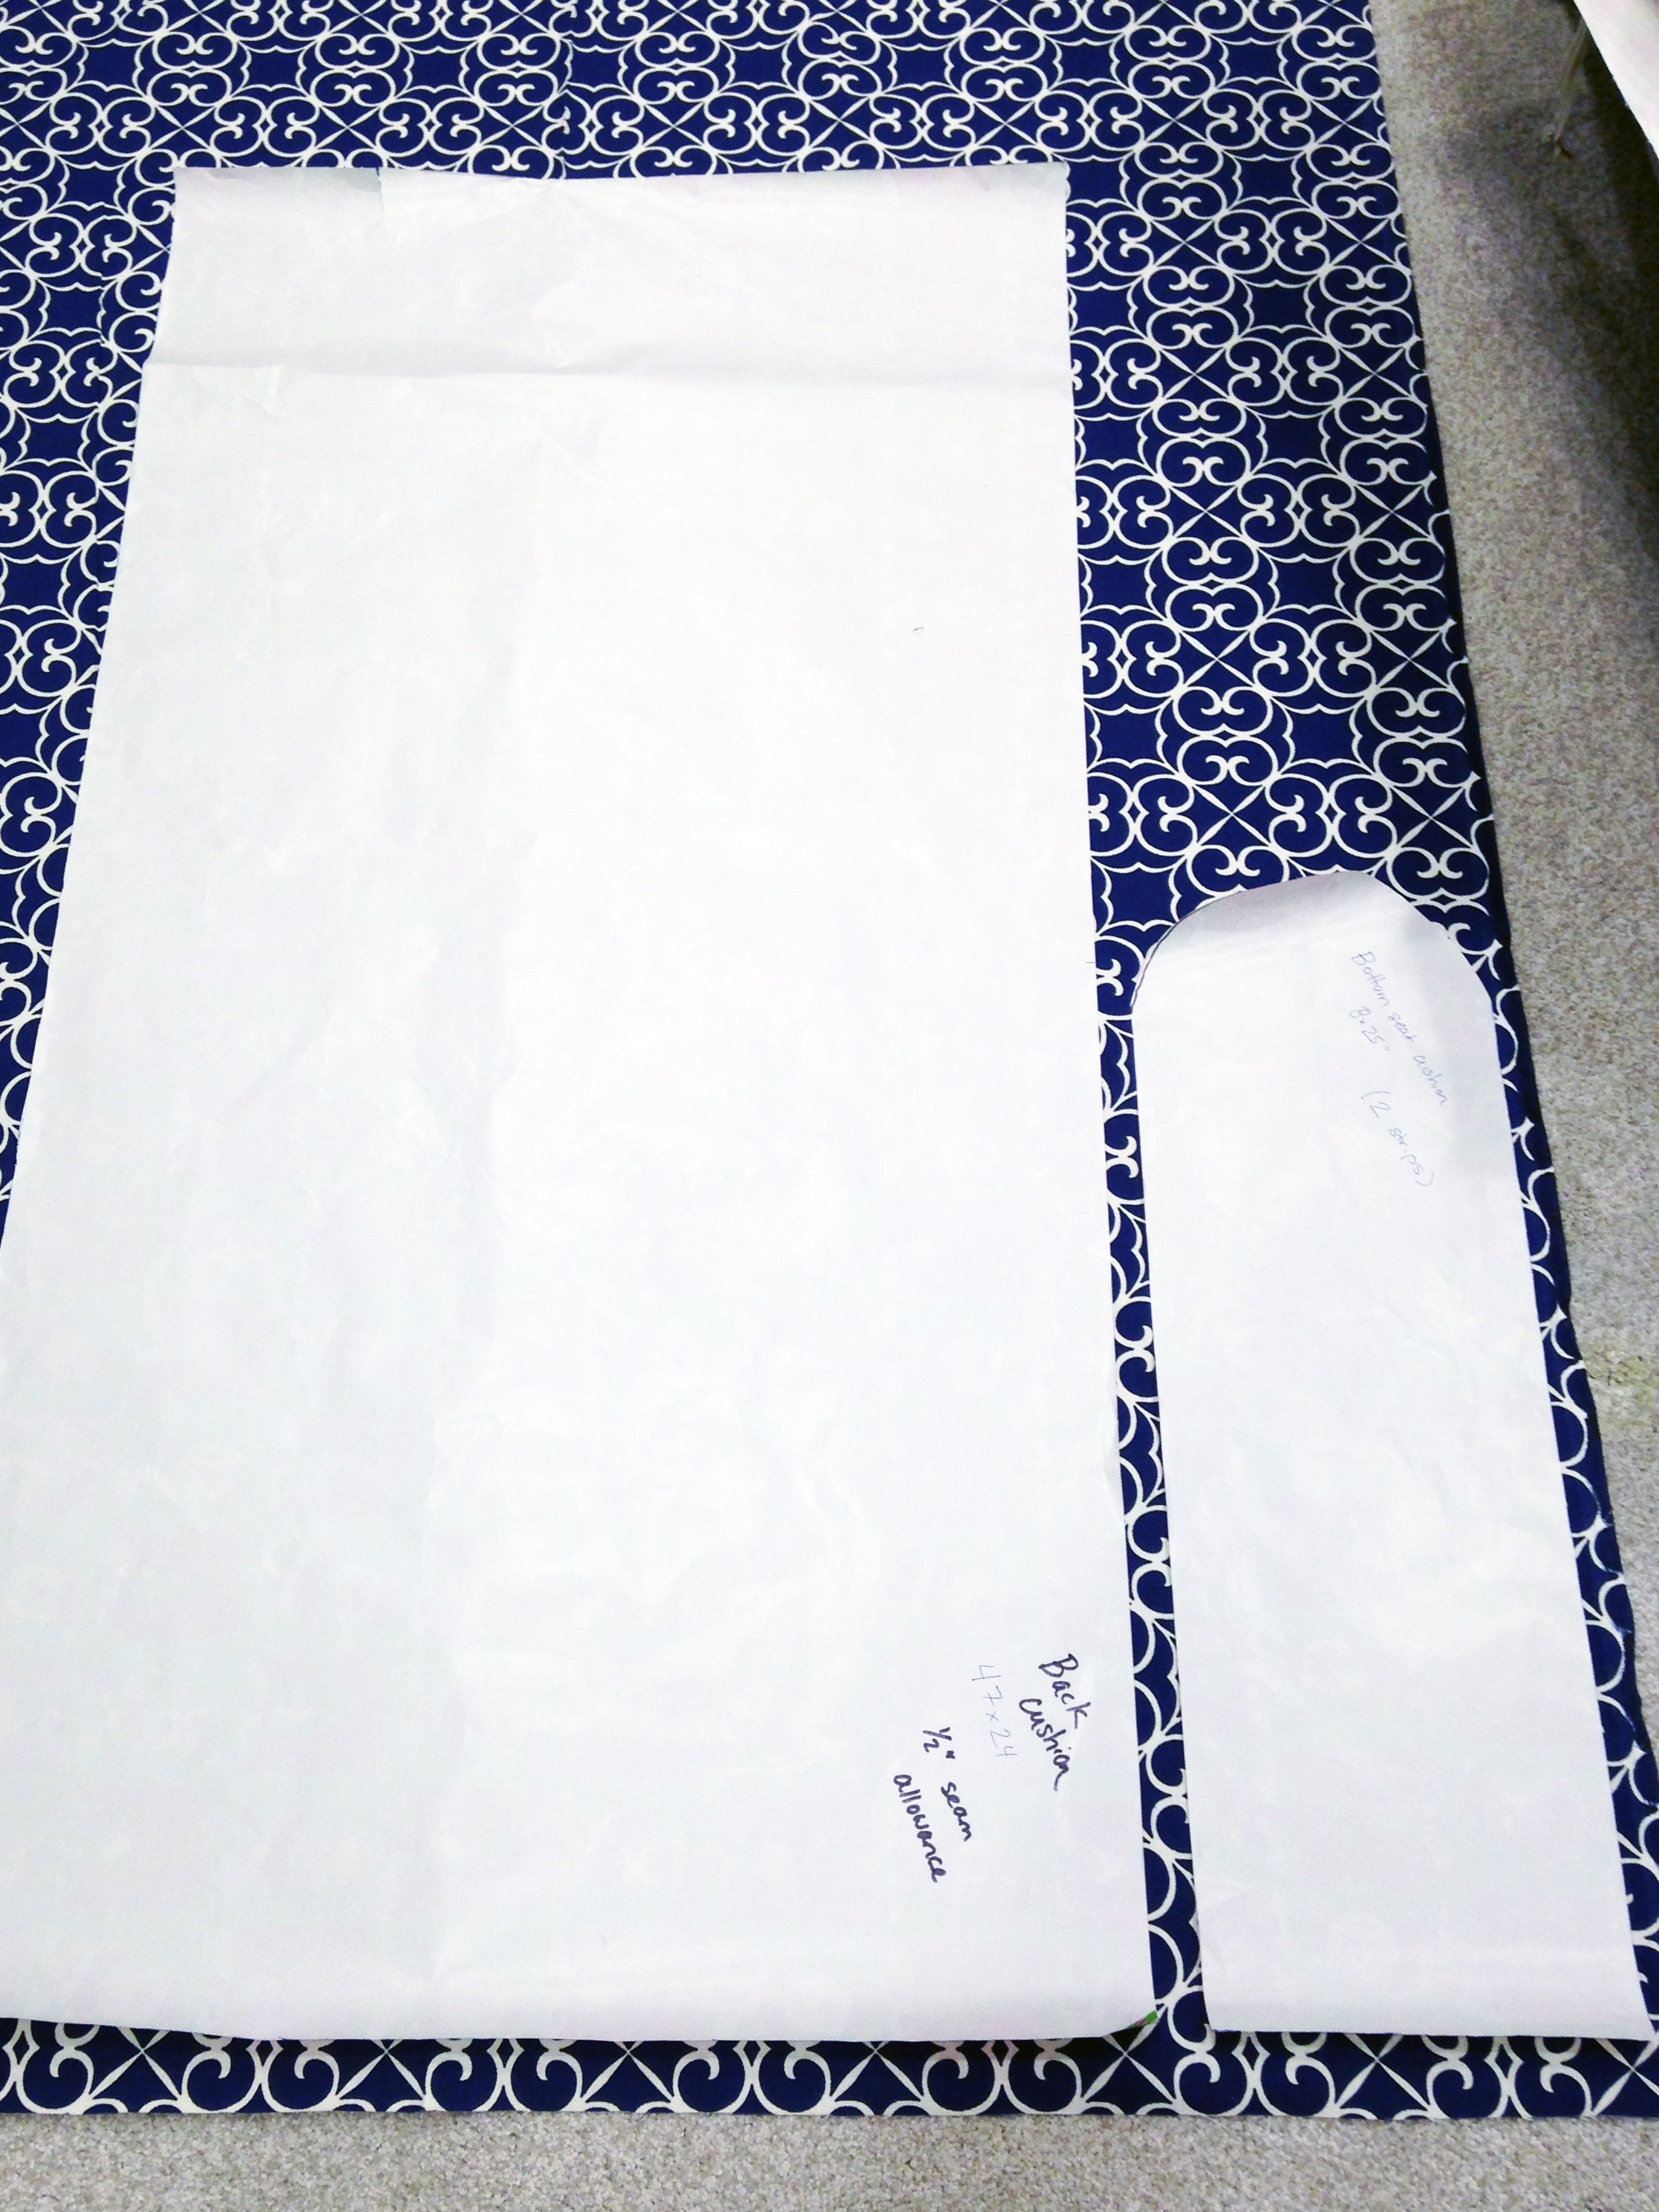
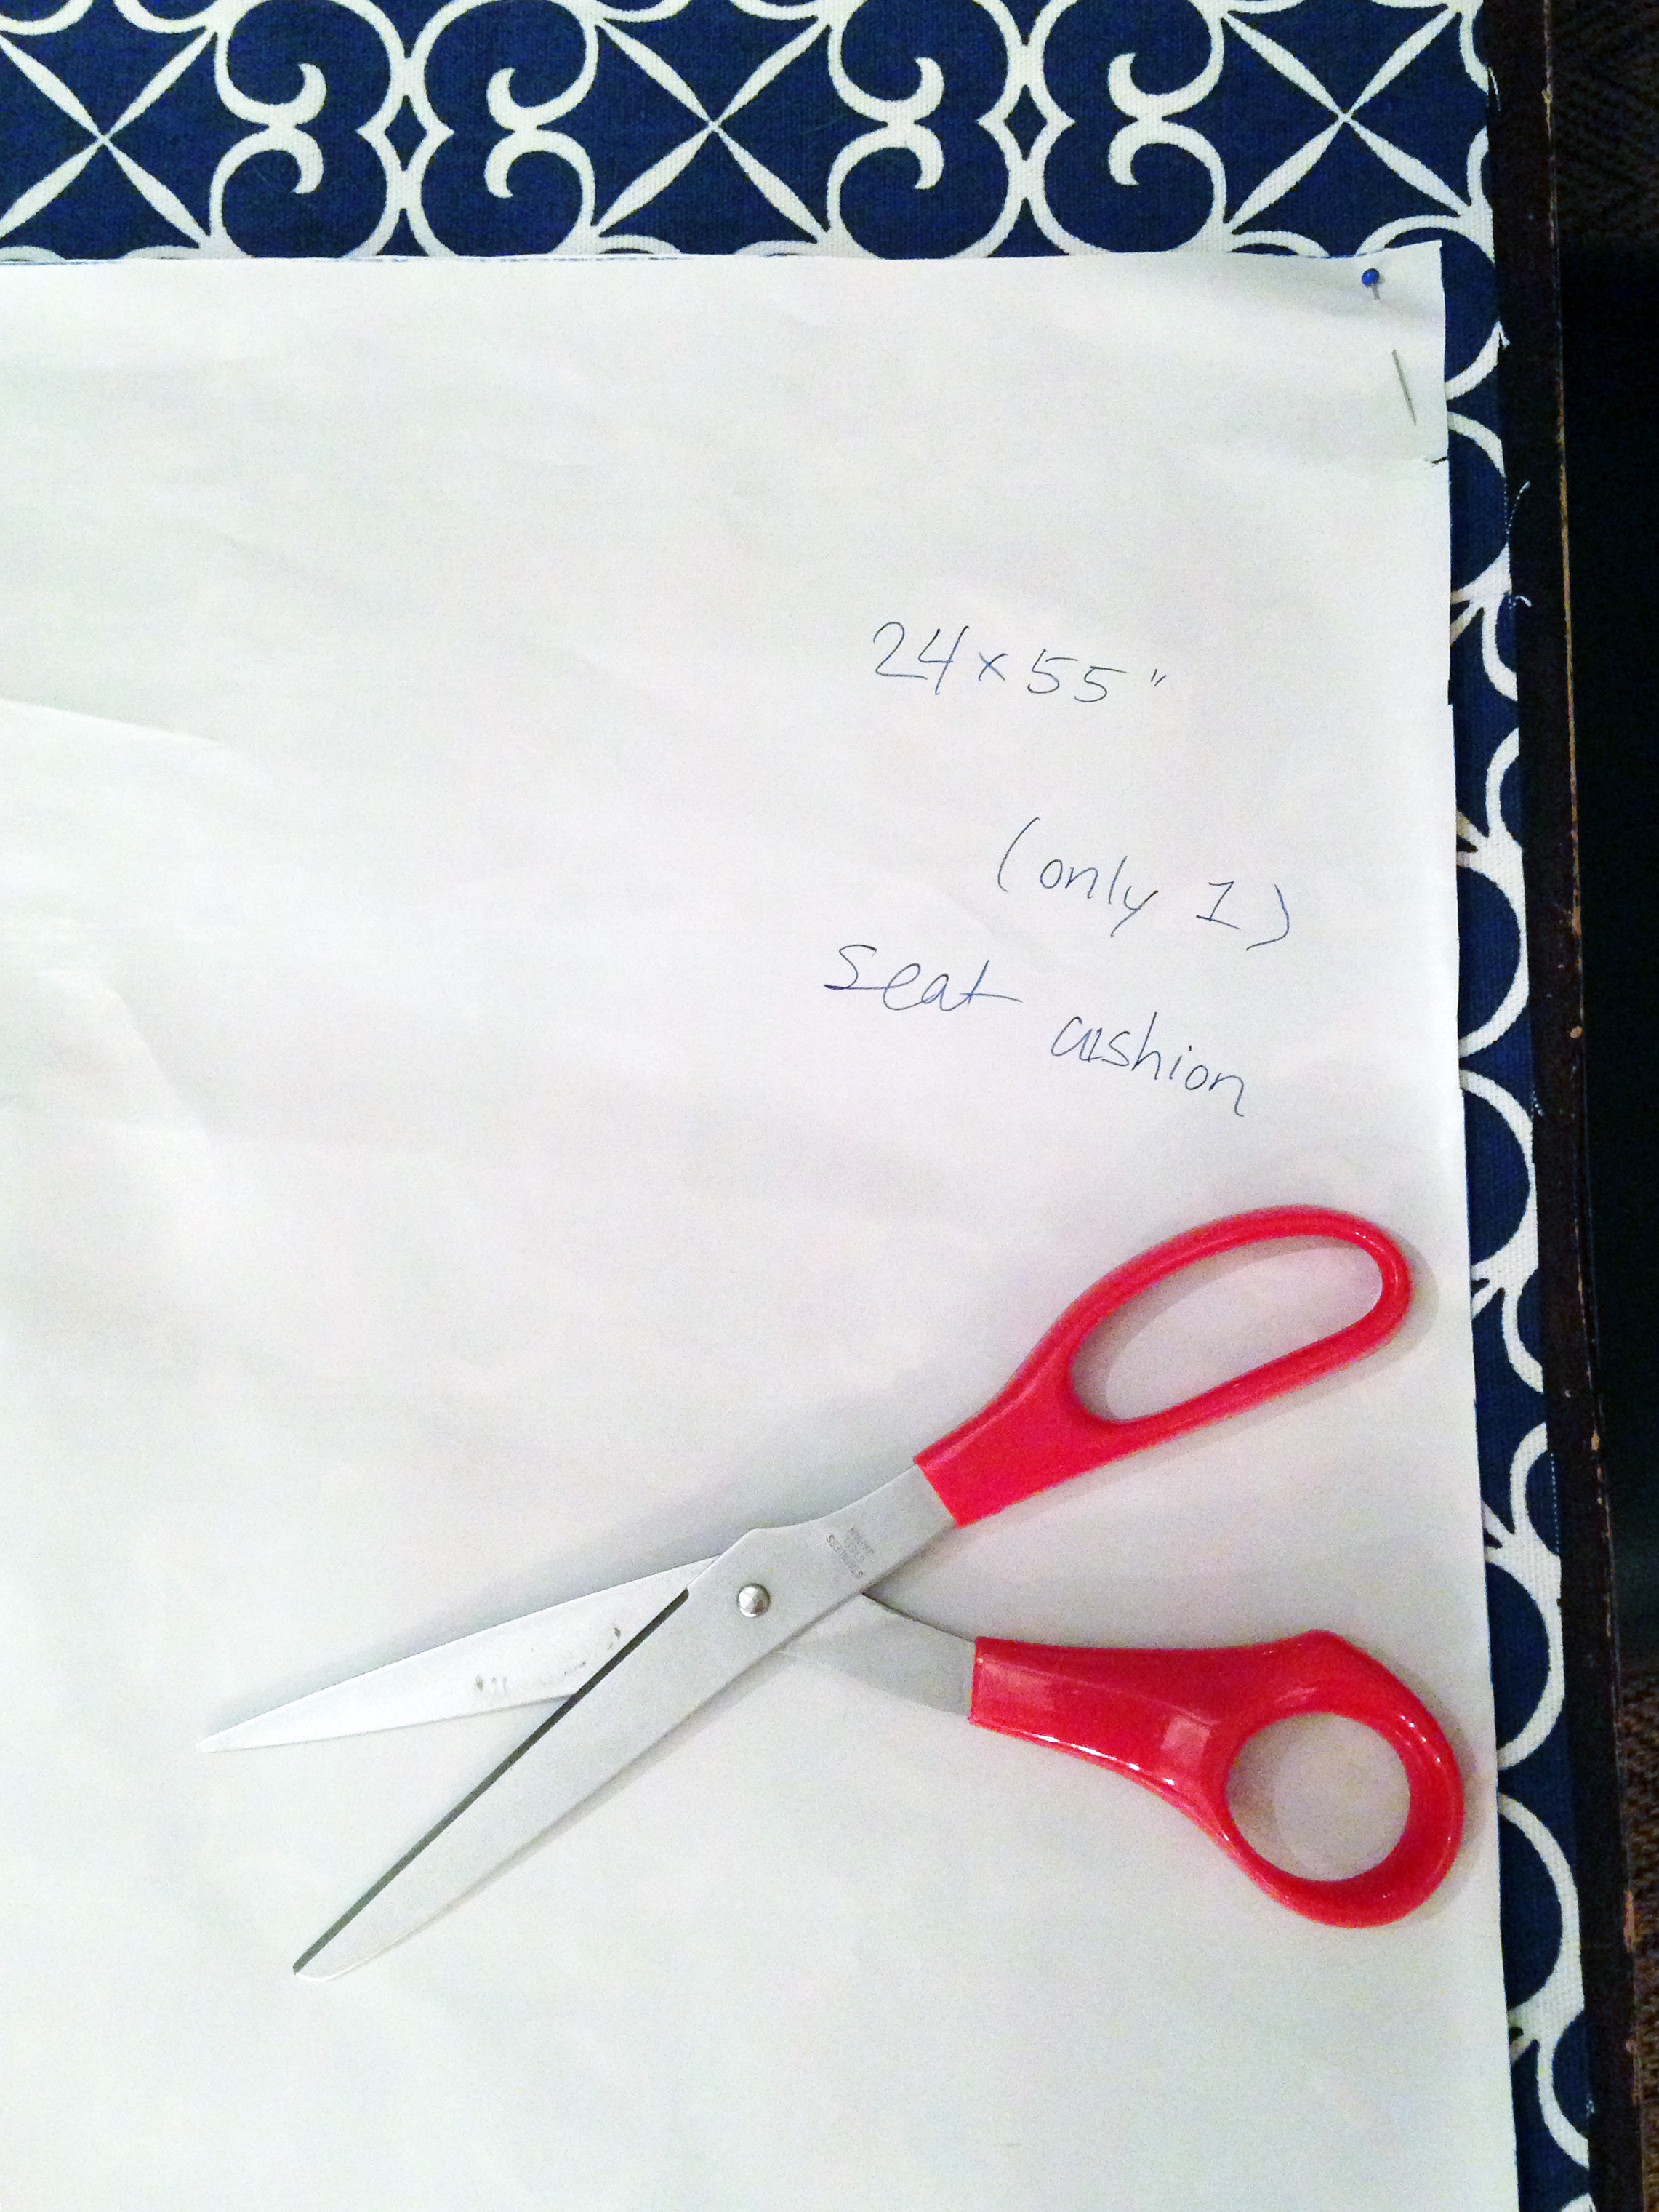
The reason I went with #2 is because the original fabric was in such poor shape. So instead of dragging disintegrating fabric around my house, my mom and I meticulously measured each piece of old fabric seam to seam, and then created paper templates from those. We made sure to label each piece (so we’d know which piece was for which cushion), and we also laid them out on our new fabric in the most efficient way, which was lengthwise. Here’s what they looked like once finished.
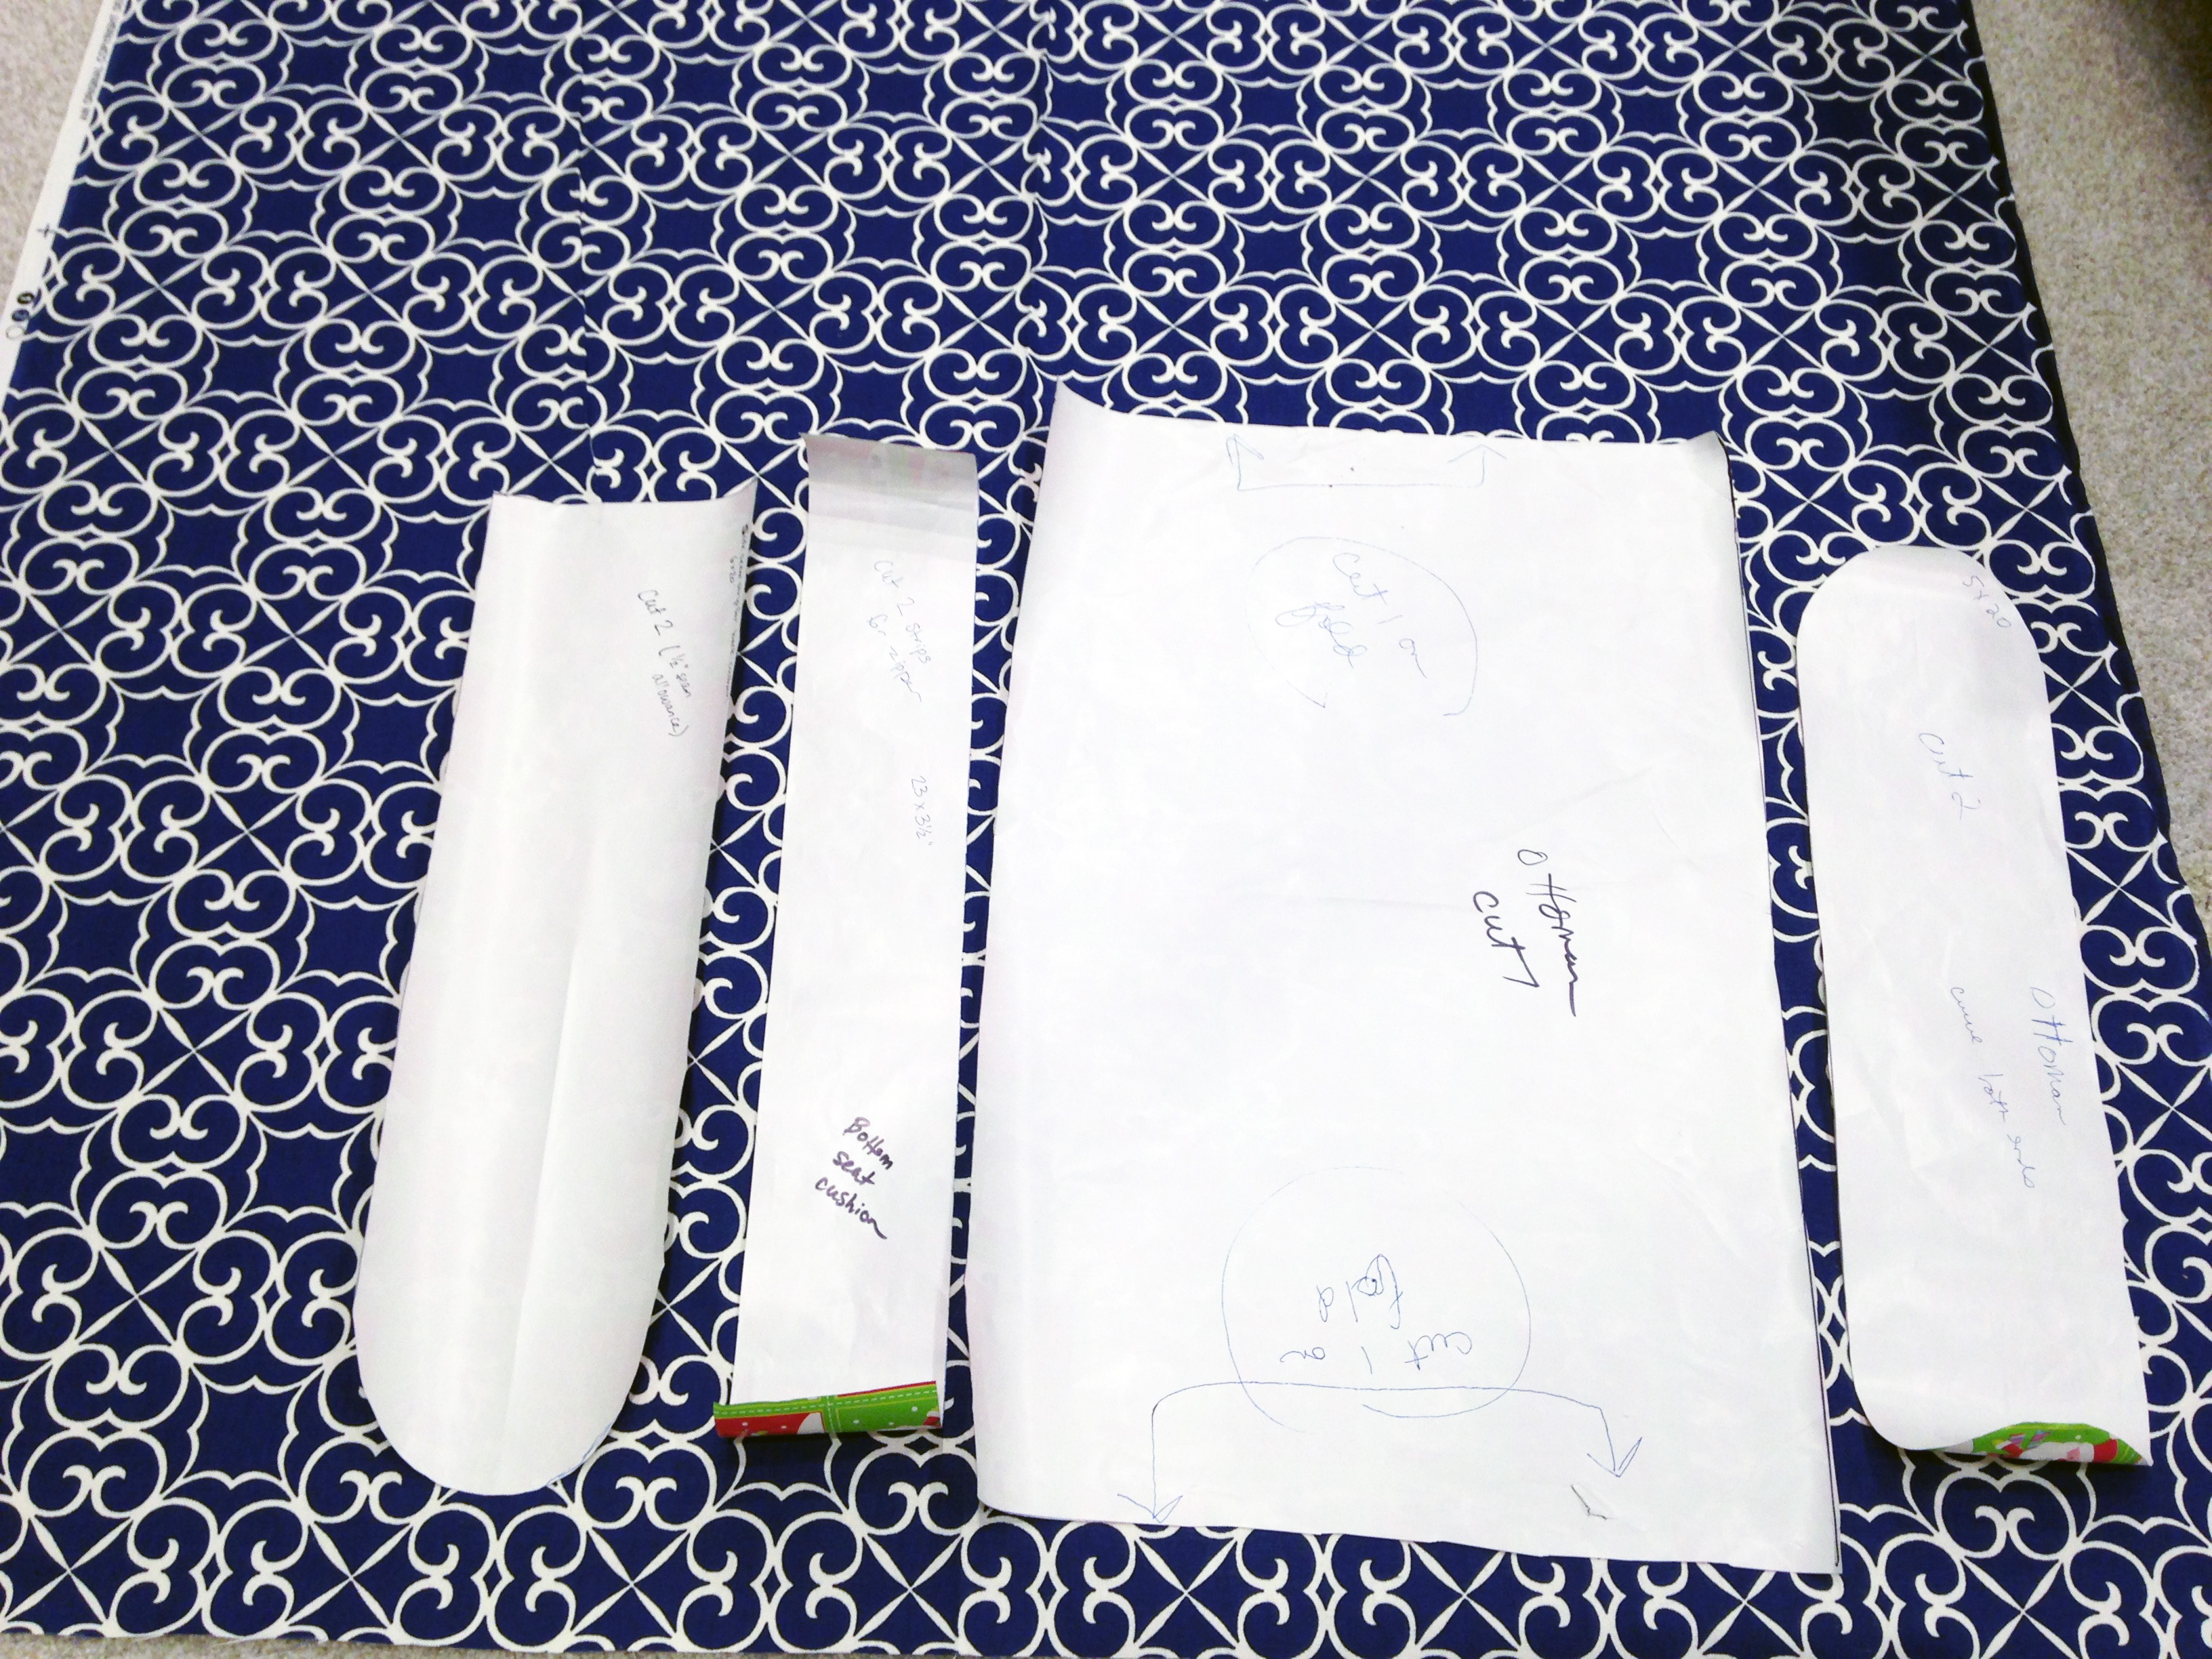
Notice the labels and measurements (and in some cases, notes about seam allowance, etc.) on each piece. I also made sure to turn one of my paper templates around so you can see the super expensive paper (NOT) I use when doing projects like this. Yep, that’s old wrapping paper. Does the trick!
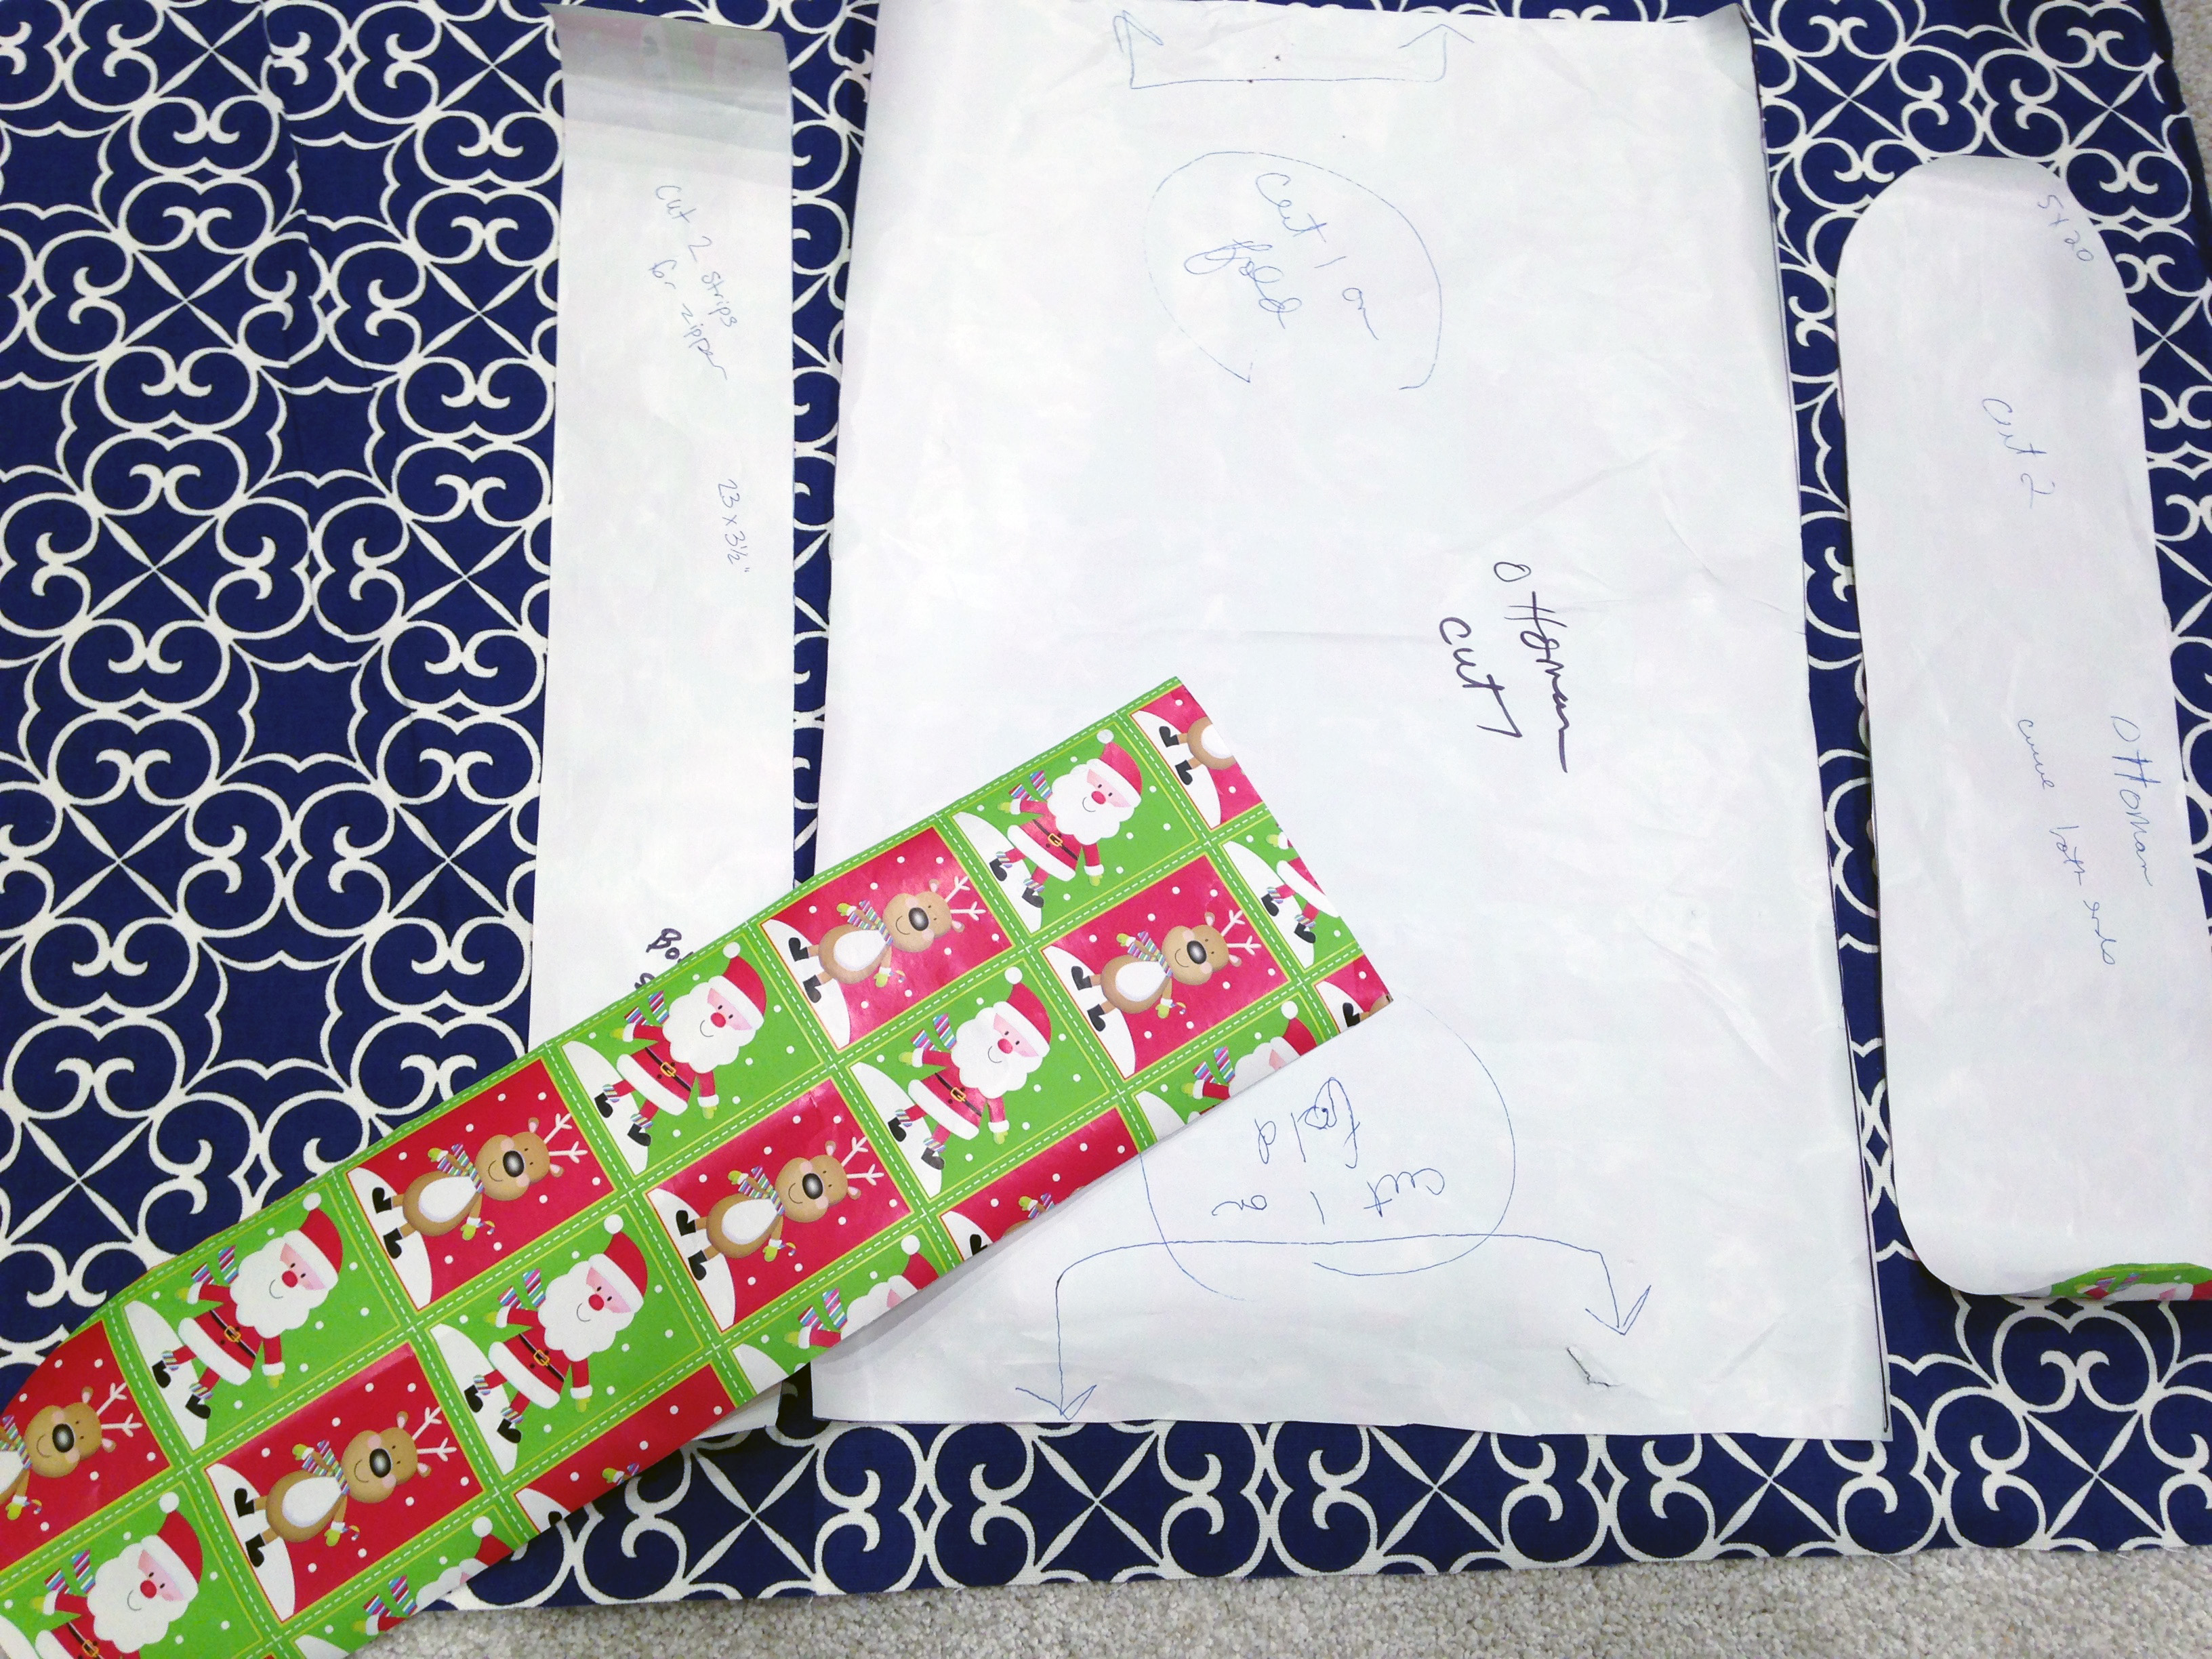
Once my templates were aligned on the fabric, I simply pinned them down, and cut along the lines. Easy peasy.
There’s not much to this part as long as you planned properly up until this point. (And as long as you know how to sew!) Luckily, with my mom’s assistance, all of our measurements were accurate, so the actual sewing part was pretty smooth.
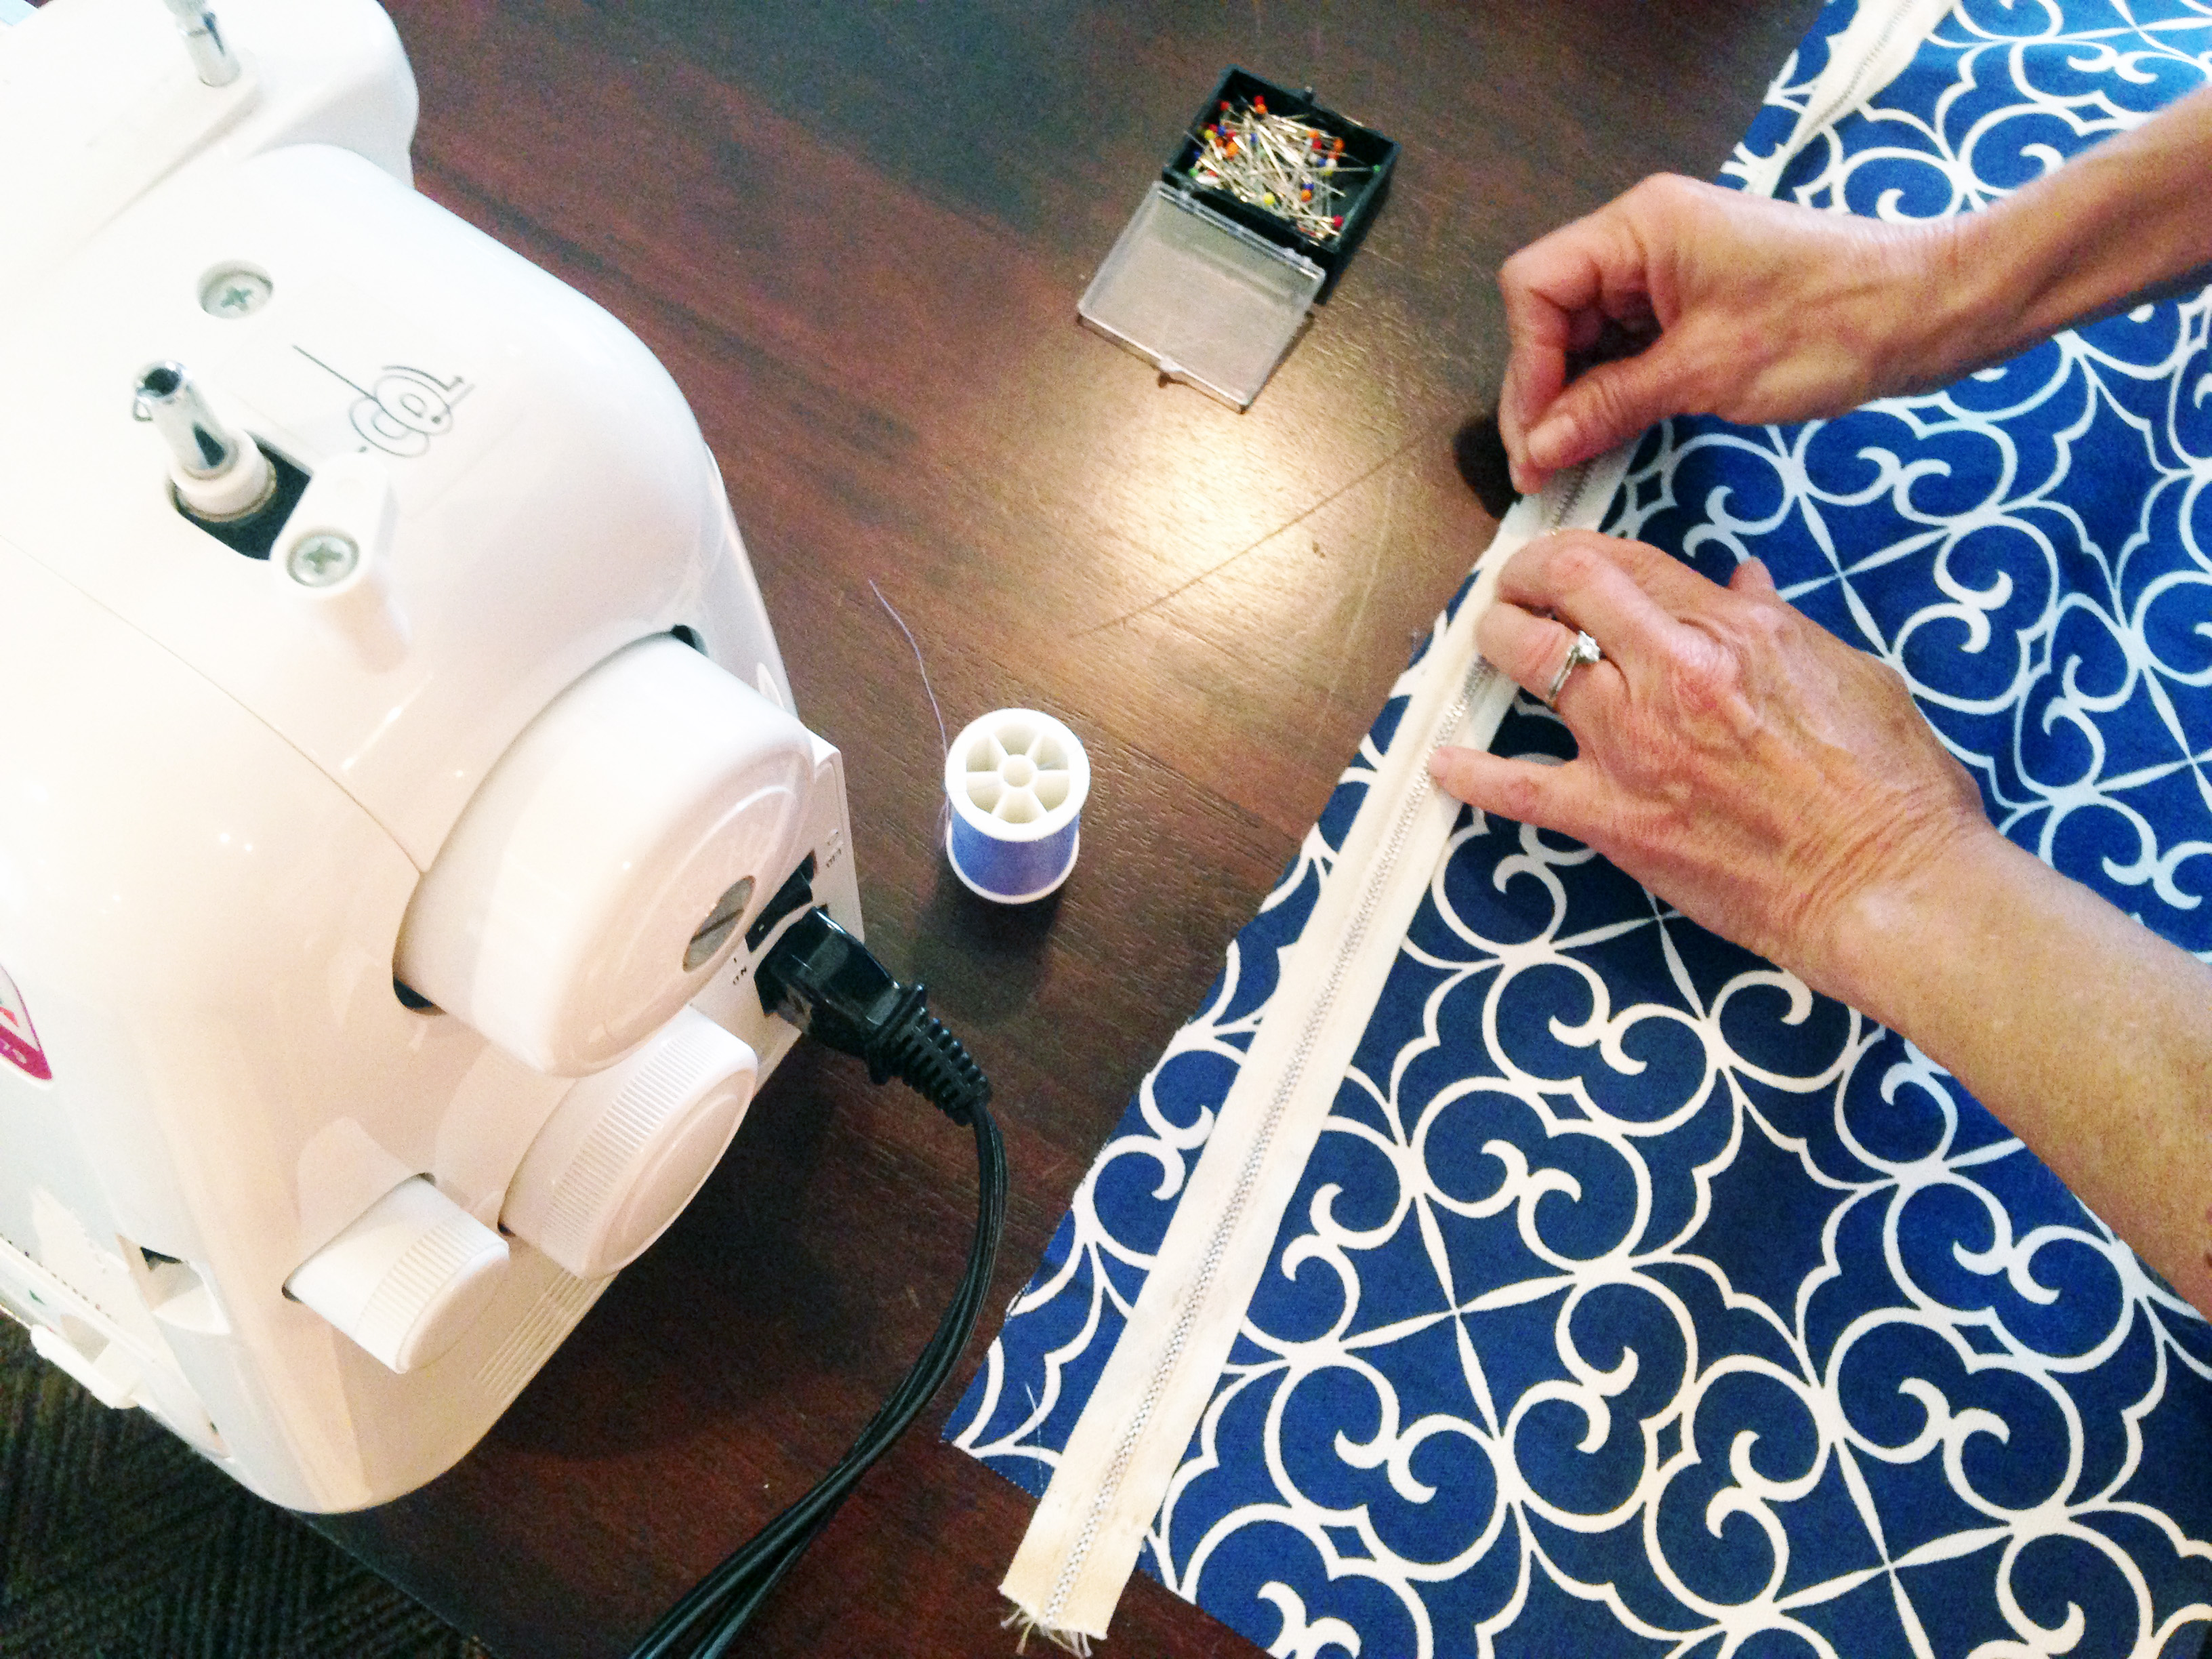
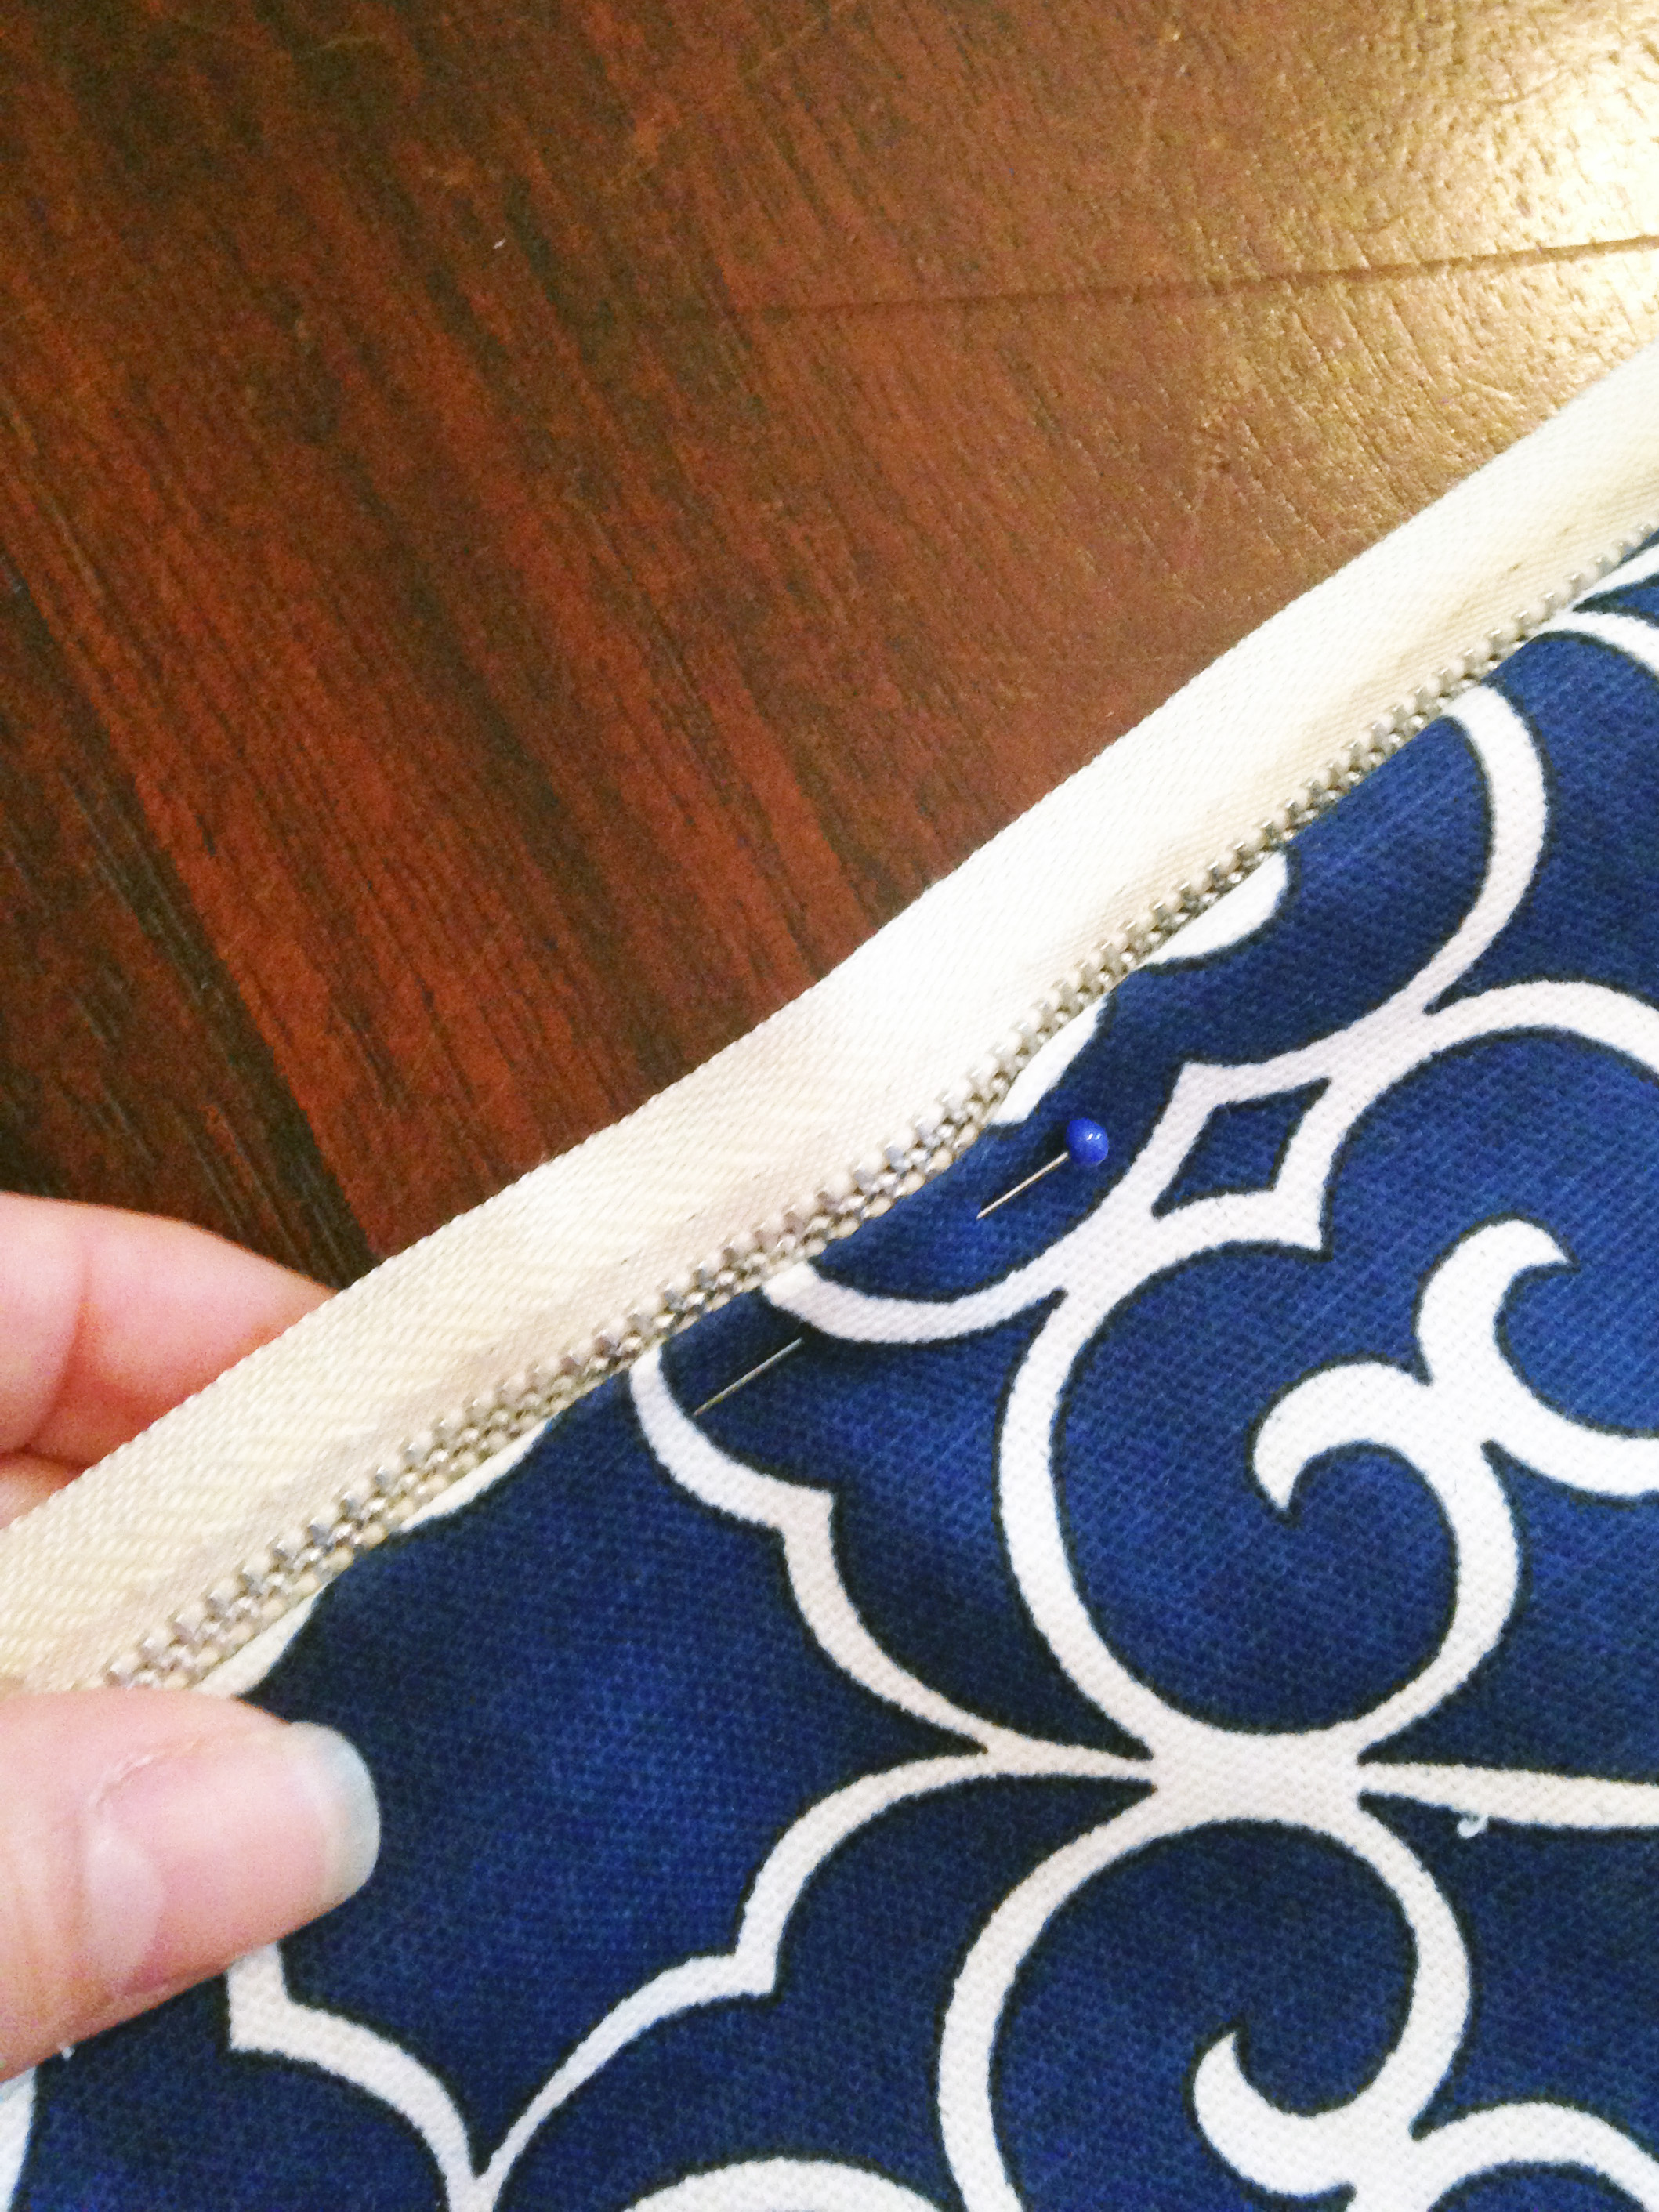
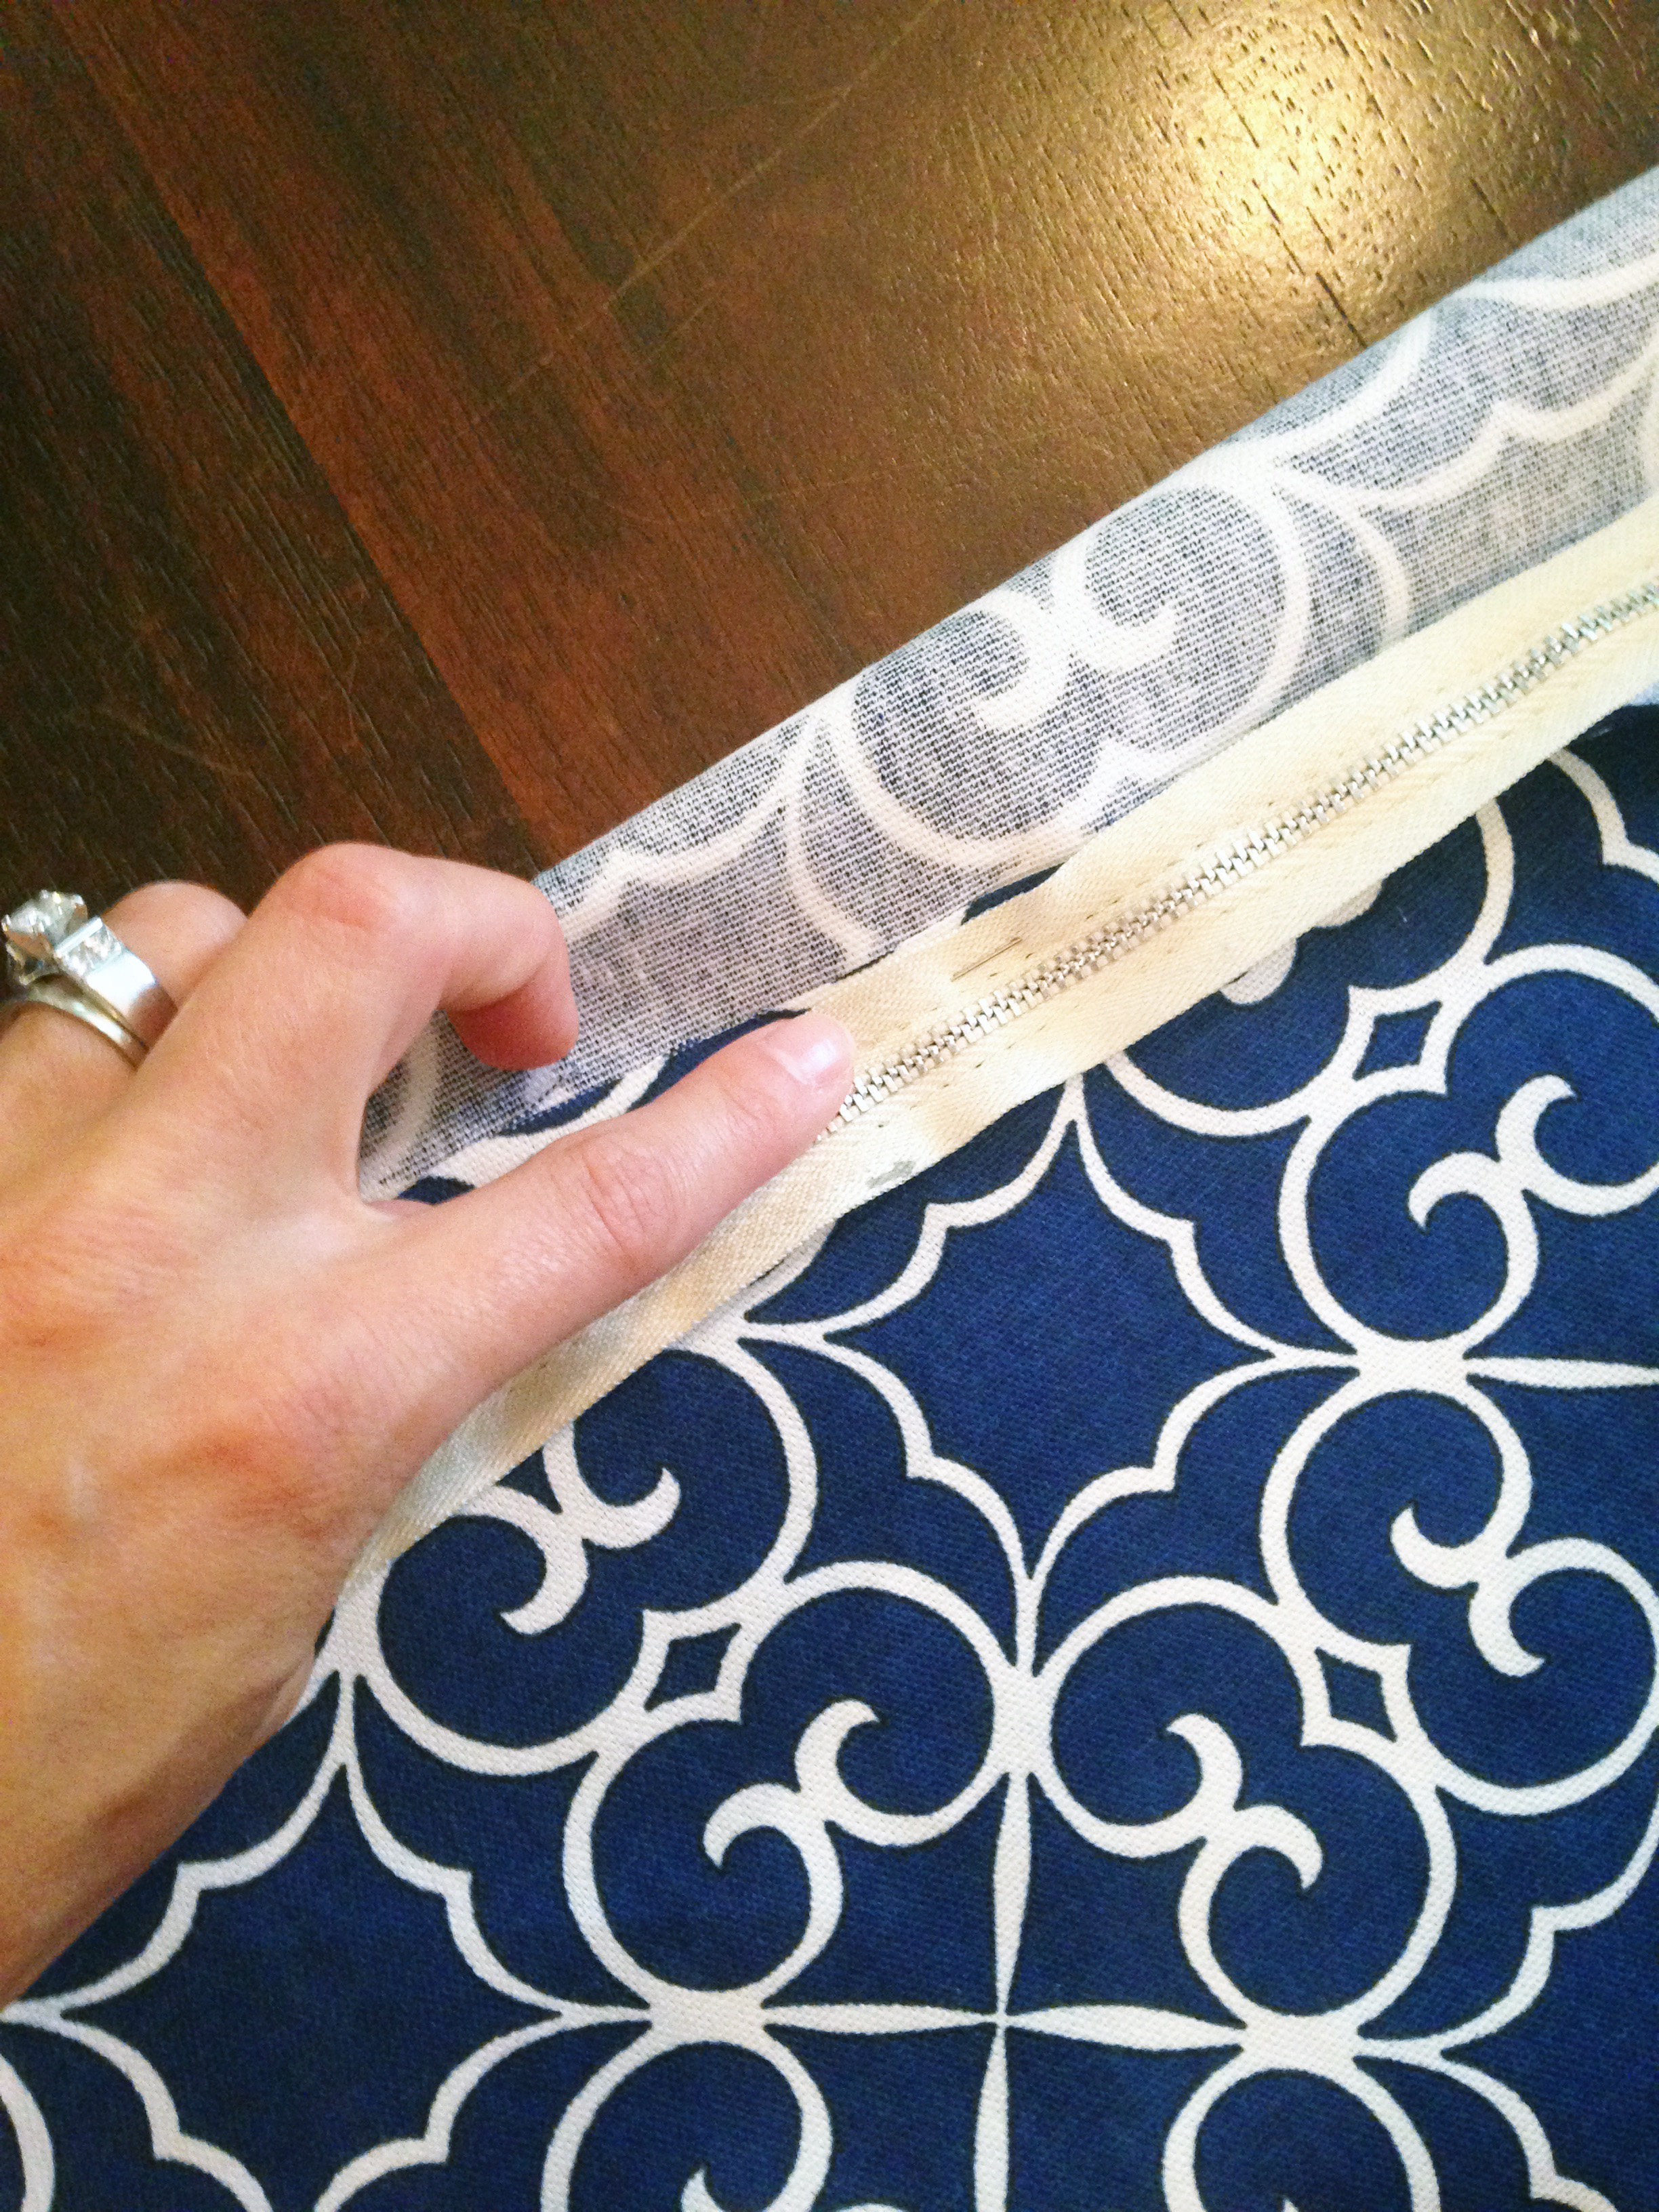
The most difficult cushion was the ottoman one because it included a zipper, but again, with my mom’s help, we made quick work of it. Lots of planning, pinning and slooooooowwwwww sewing.


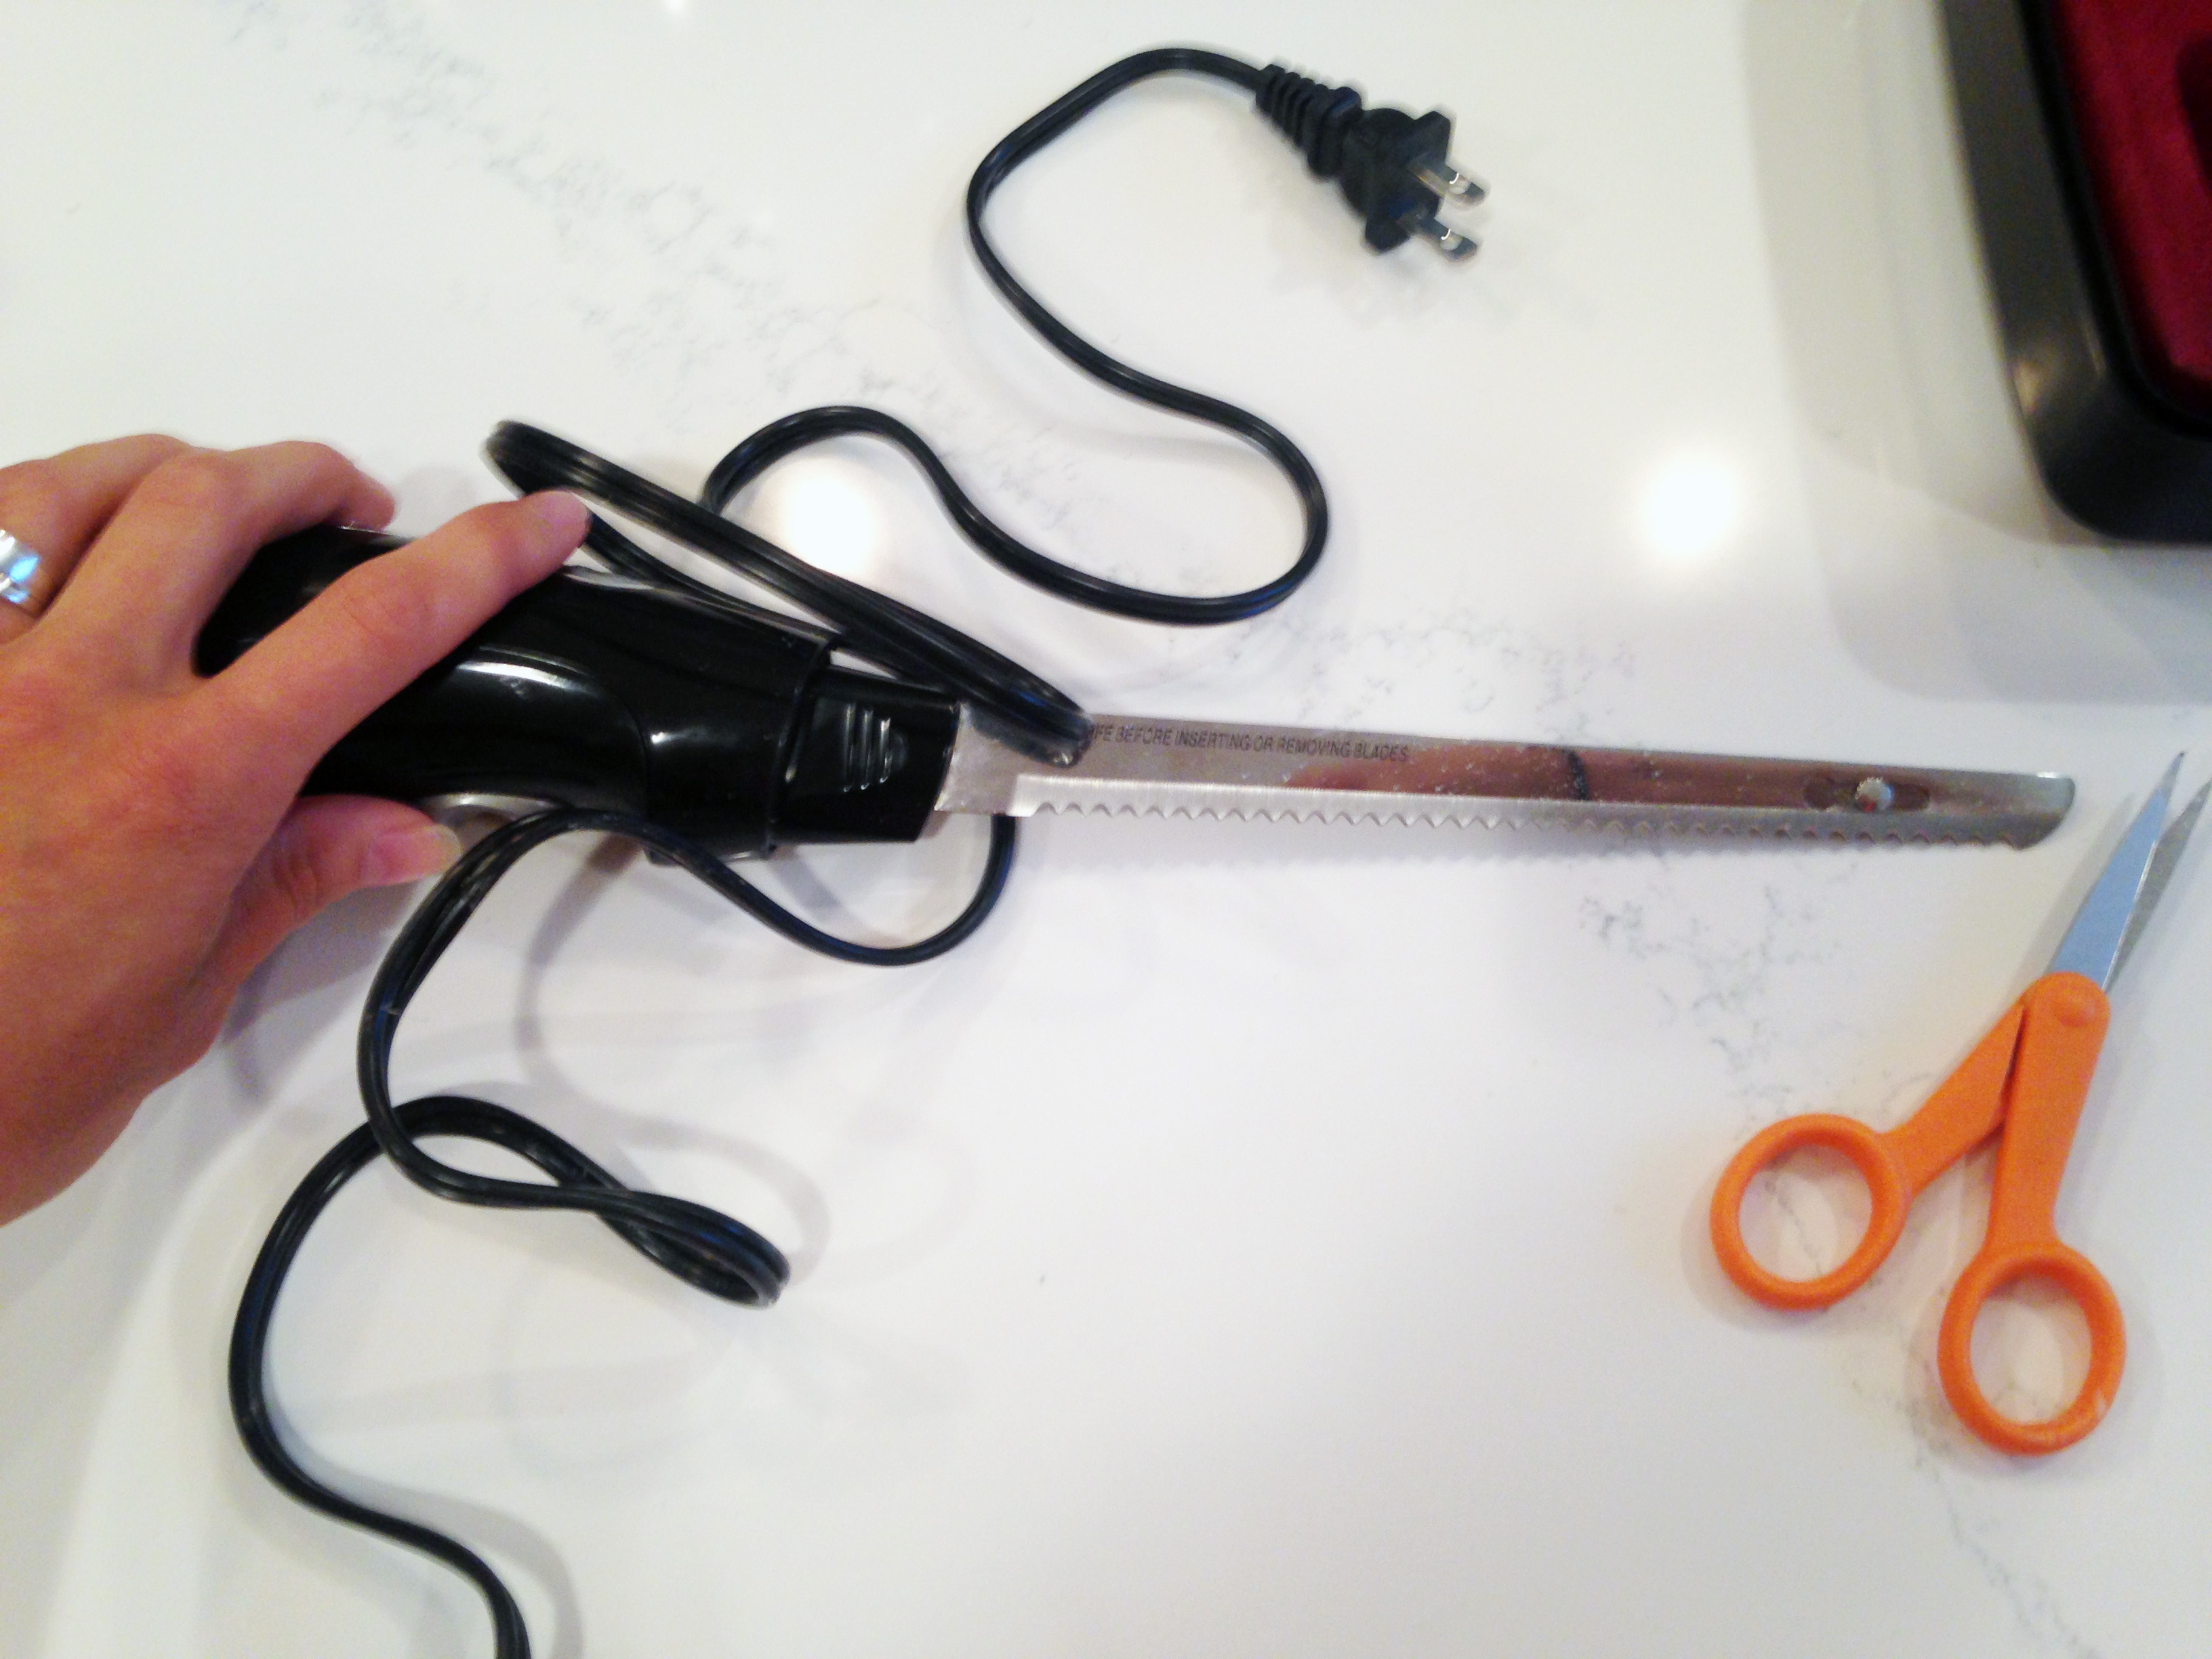
Shockingly, two of the three cushions of this chair were still in decent shape. Meaning, they were still soft and cushy. So instead of wasting money on buying three new cushions, I reused two of the old pieces of foam, and only splurged on one new piece. Joann’s happened to be having a 50% off sale, so that’s where I bought it – a 5″ thick piece of foam. The only thing I had to do was trim it down a bit using a standard turkey carver. Trust me, it works! Just remember, start slow with trimming. You can always trim more, but if you trim too much, you’re… gonna have to buy a new piece and try again : ) You can see the original piece of foam (the yellow/orange one) next to my new foam (the green one) below. I started by shaving teeny bits off the edges, and just kept trimming little pieces at a time until I had the right size.

Like I said in a previous step, I was able to reuse the original horse hair liner, so all I had to do here was measure and cut out a piece of fabric, and staple the liner and fabric over the springs.
As far as reupholstery jobs go, this chair was a cinch. Just three cushions to deal with, and a wood frame. I don’t know what you think, but I think my Grandma Jeannette would love the finished product. I know I do!


2 Comments