Previous post
Next post
too many ideas. too little time. (and far too much chai.)

In DIY, you win some, and you lose some. And I definitely lost this one. Isn’t that part of the fun of DIY? (I’m not crying, you’re crying.)
I’m not gonna lie – this one was frustrating. The good news is there’s always a lesson, especially when we fail.
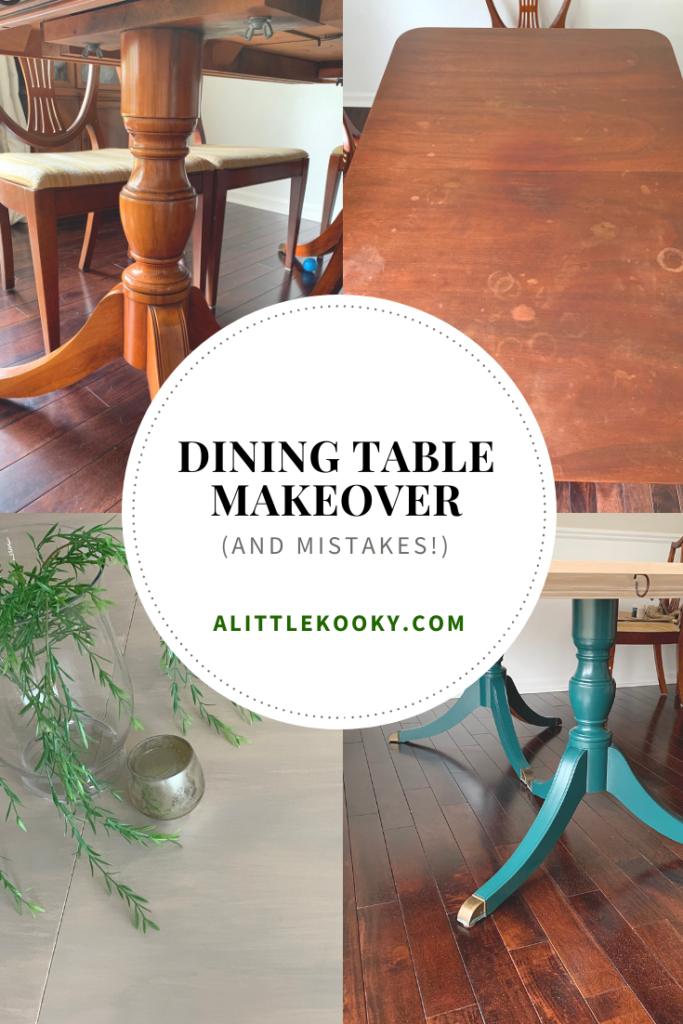
Here’s what my table looked like to start. A hand-me-down 90’s beauty – one part of an entire set. It was in, by far, the worst condition, so I thought it would be the easiest one to test out some techniques.
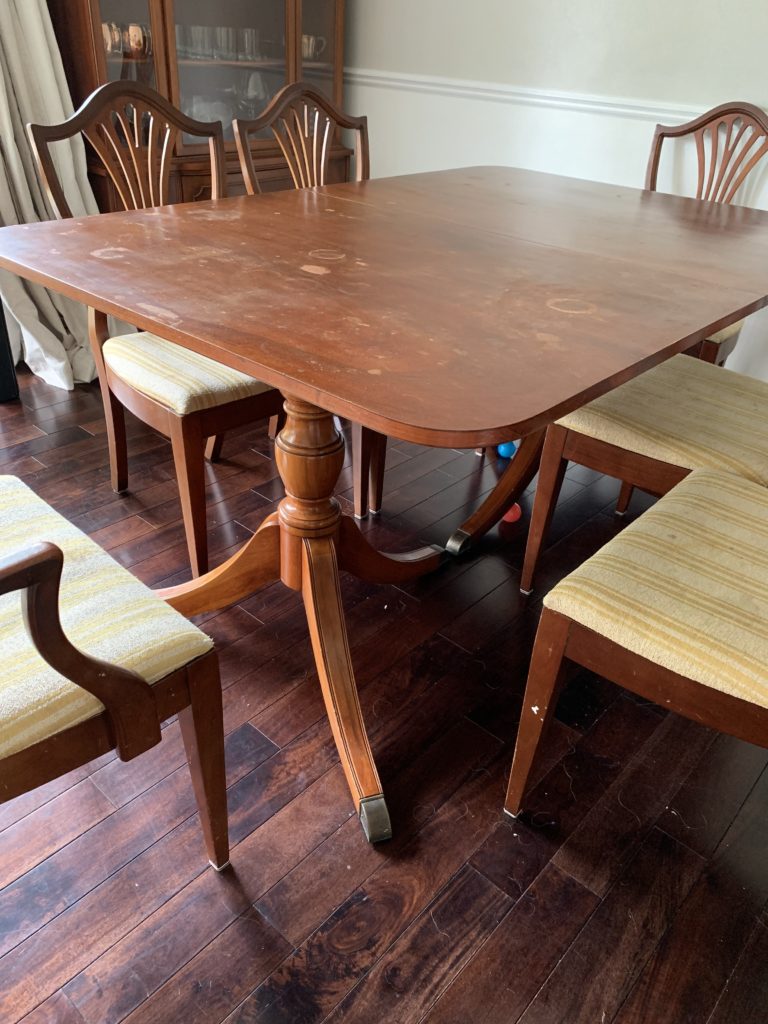
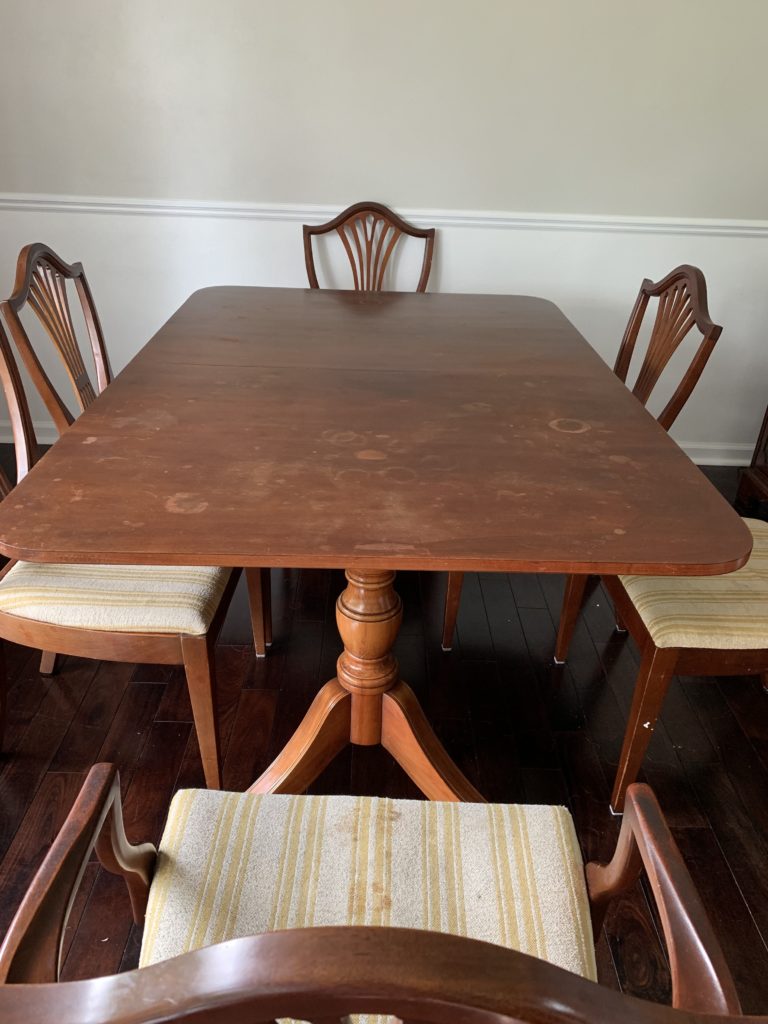

It had great bones, and tons of potential, even with its shiny, cherry wood veneer. I’ve dreamt about (and researched) the base color, and tabletop itself, for months to find the perfect colors. Unfortunately, the veneer is very hard to deal with, especially if your vision includes a raw-wood-look, which mine did.
I also thought I could use up some paint samples I’ve accumulated from previous projects to achieve the raw-wood feel. That way, I’d use what I already have, and just make it work. (Famous last words.)
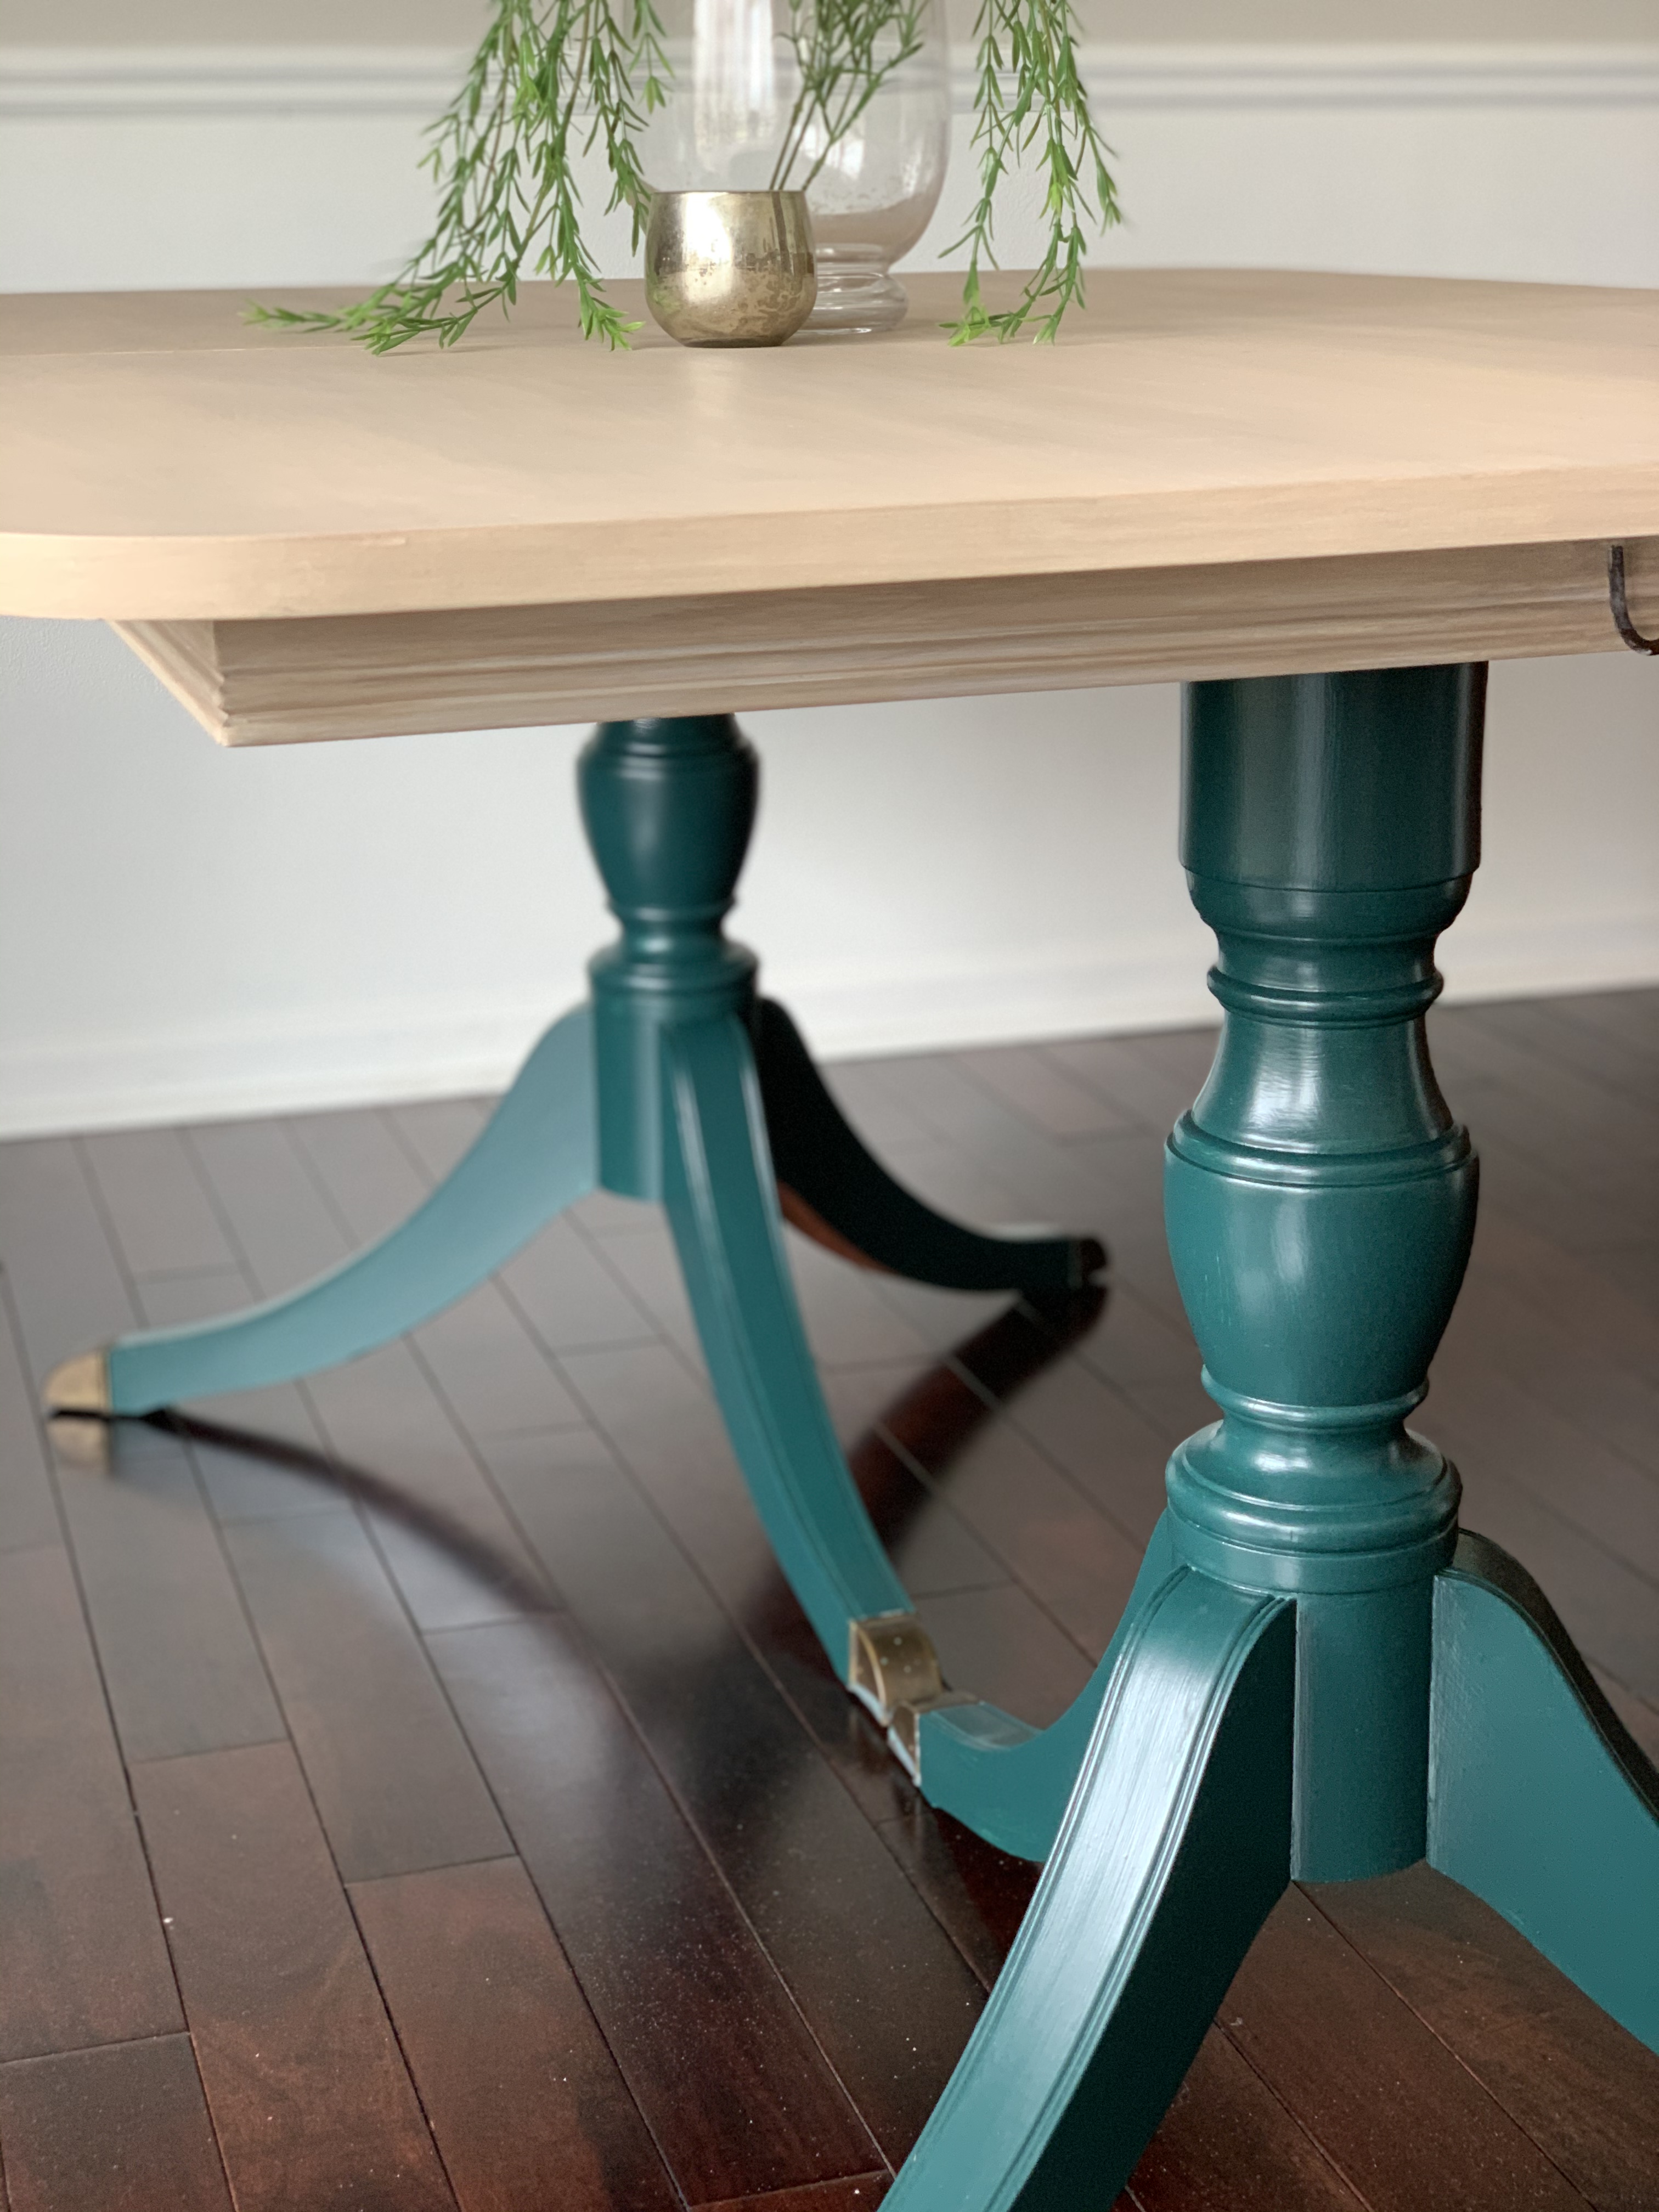
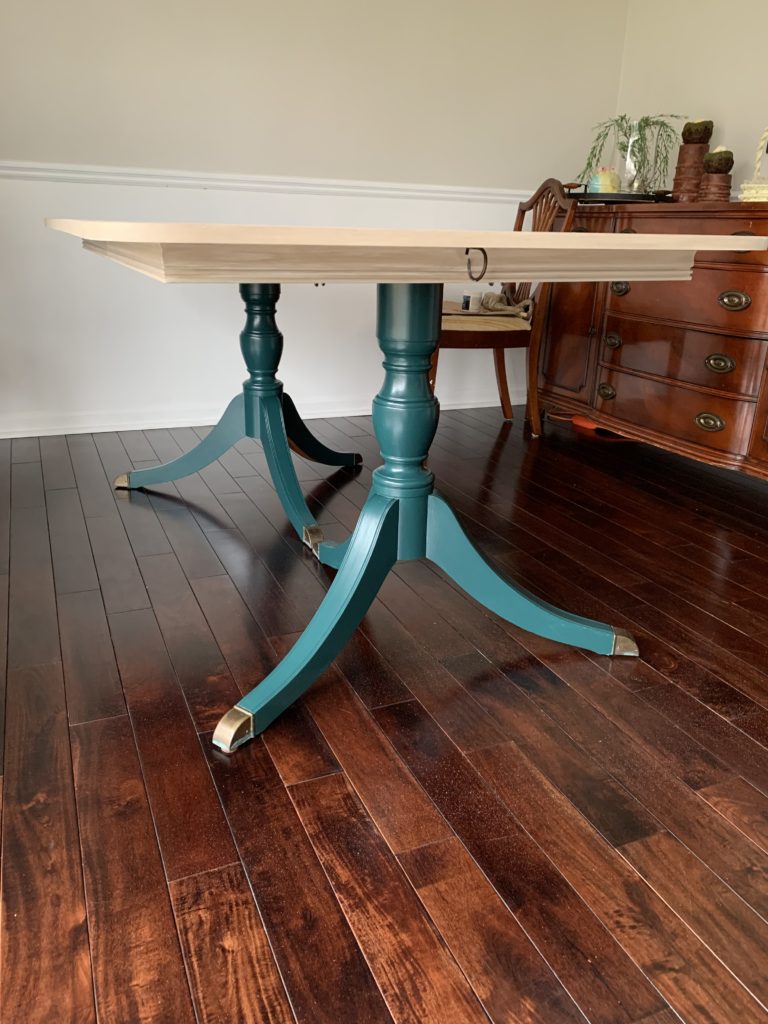
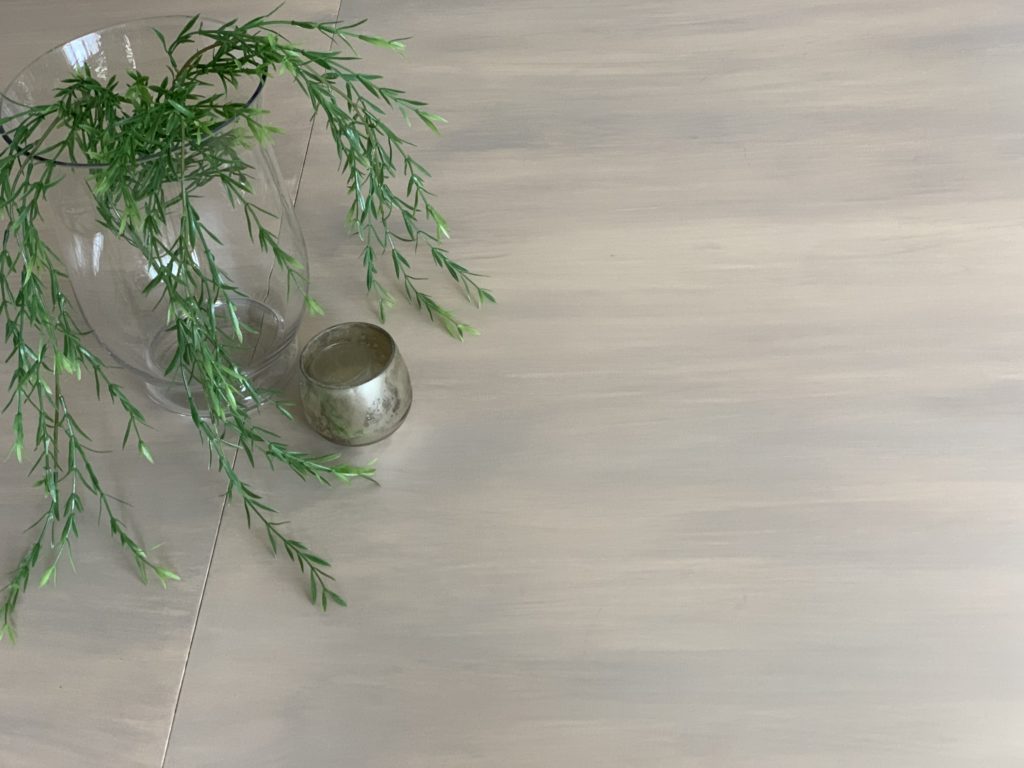
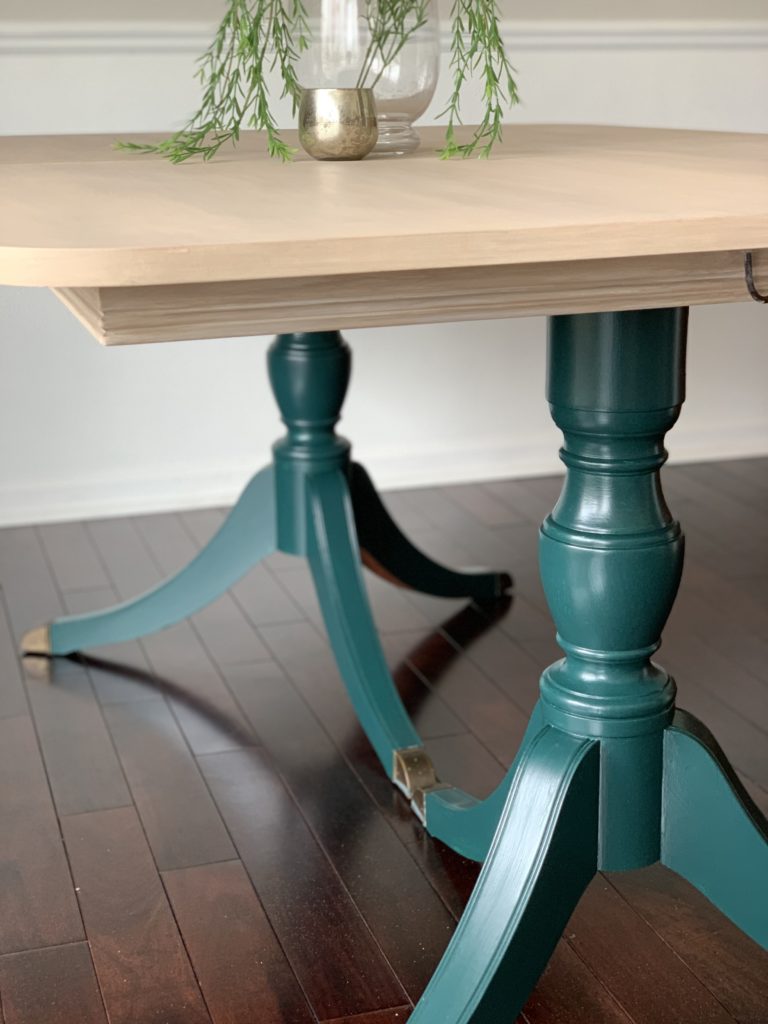
In my mind, the base was meant to be a deep, rich emerald green, and the tabletop just had to be a raw look. Unfortunately, in the end I realized the problem was the table itself – for me, it won’t ever achieve the sophisticated design I imagined. But I have to admit, it’s still cute:
Separately, I actually do like the colors I used, just not on this piece of – still feels too dated. Maybe some people will like it, and that’s 50% the point of this post… to share my steps. The other 50% is about learning from my mistakes.
In a well-ventilated area, strip any finishes with Citristrip. It’s best to apply liberally with a cheap, throw-away brush, like a chip brush (do not use a foam brush, it will get eaten away).
On large areas, I tended to just pour the stripper on and spread it around. Once you get all your areas covered, leave it for at least 2 hours (up to 24) to work its magic. If you plan to leave it for longer, or have pets/little ones running around that could touch it, it’s best to cover it with plastic.
When you’re ready to strip (your stripper should still be wet, not sticky) use a plastic putty knife and scrape into a bag. I also like to have paper towels on hand to wipe off the knife. You can also use steel wool dipped in Citristrip to help buff away any tough or intricate areas. Repeat if necessary. Wipe down with paint thinner or denatured alcohol when done.
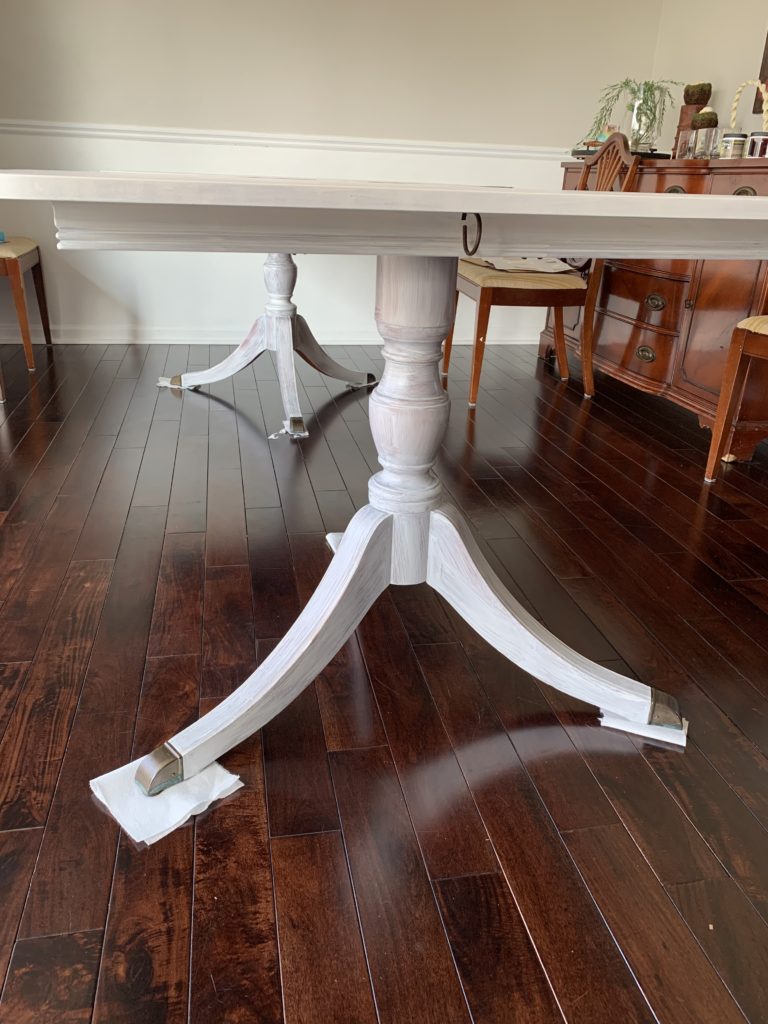
Use a roller to prime your table top and brush to get the base or more intricate areas. Let dry according to directions. Then, lightly sand and wipe with a damp rag to get a smooth finish. Let dry before applying next coat.
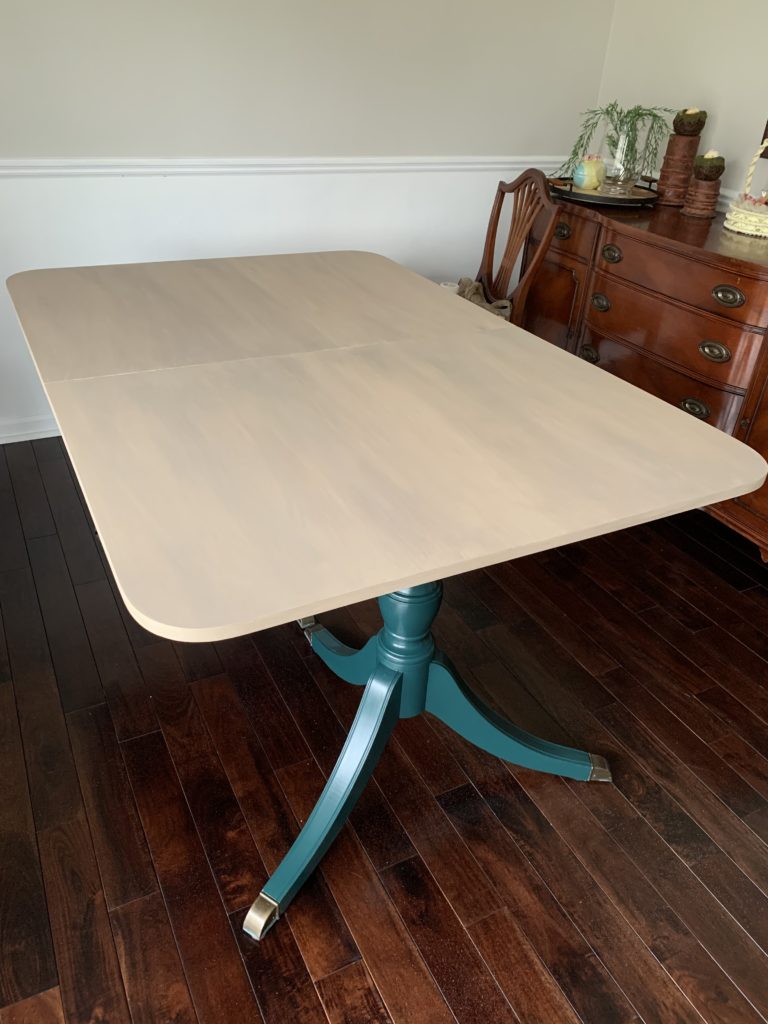
If you like the look of my table top, here’s a breakdown of colors:
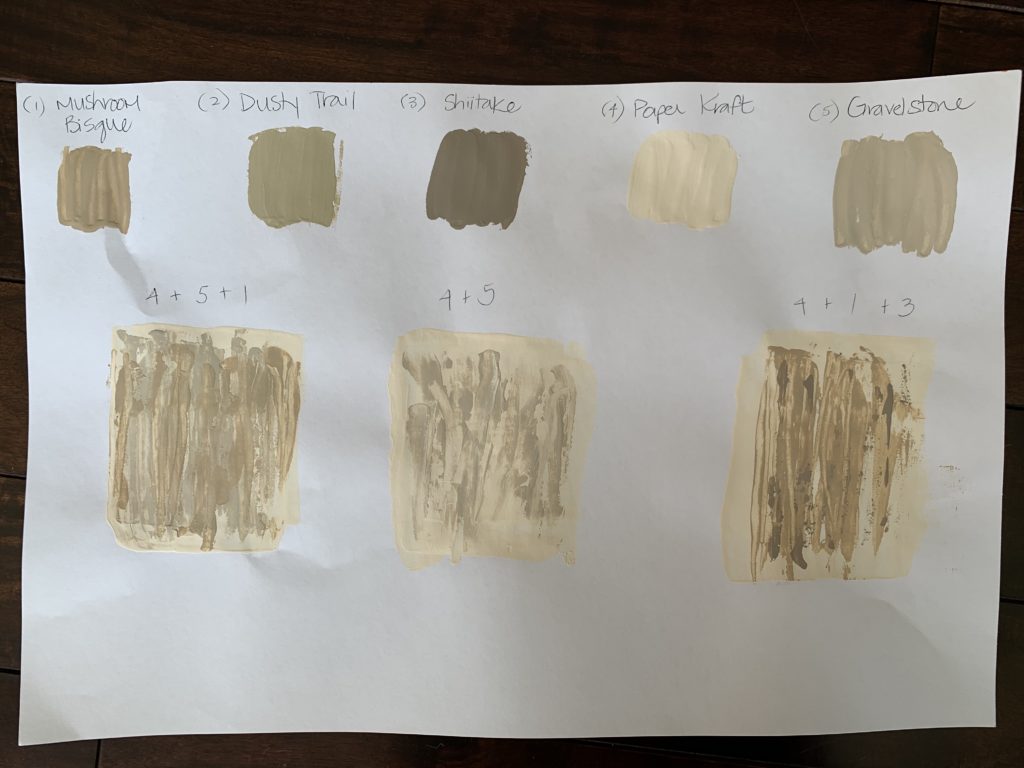
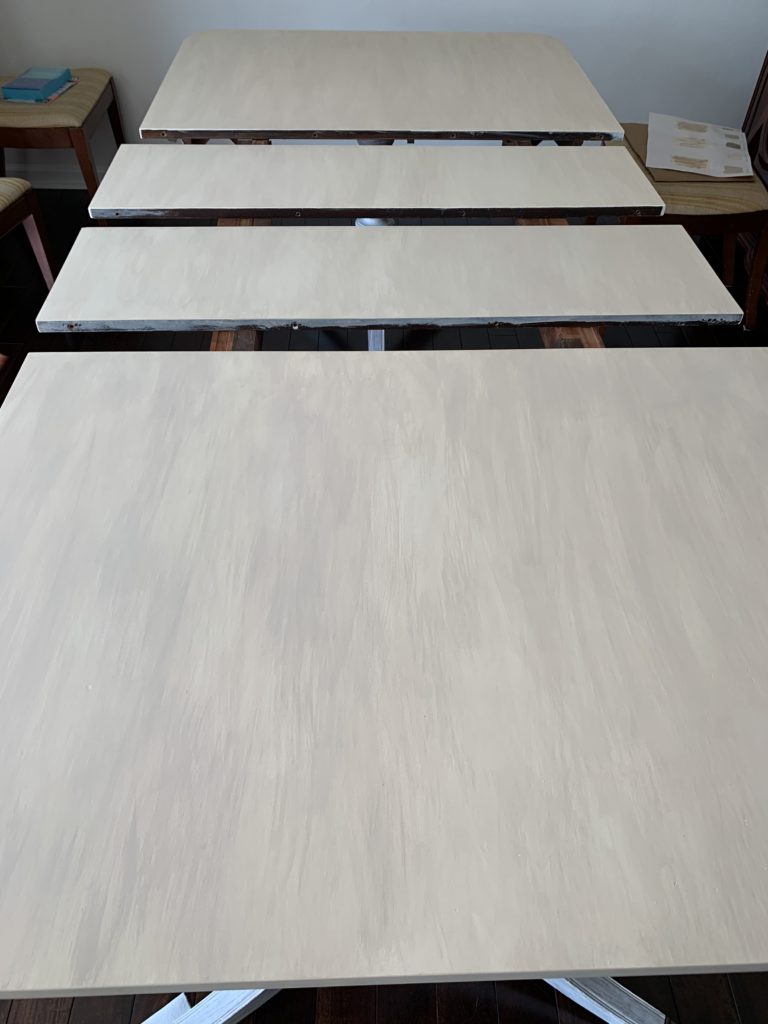
Start from the top down – aka, paint the tabletop before the base. Roll your base color at full strength, and let dry.
Next, water down your second color (Gravelstone) in a disposable cup about 1:1; you want it to be very drippy so you get more of a color wash. Mix well! A little bit goes a long way. You can always make more if needed, but you don’t want to waste.
Now you can use a combination of a paint brush and rag to get a wash effect. Apply with a brush and lightly wipe with a rag to get a color and texture you like. In some areas I liked to see the brush strokes. In others, I wanted a darker blur. Figure out what you prefer as you go, but work quickly because watered down paint dries fairly fast. Let dry.
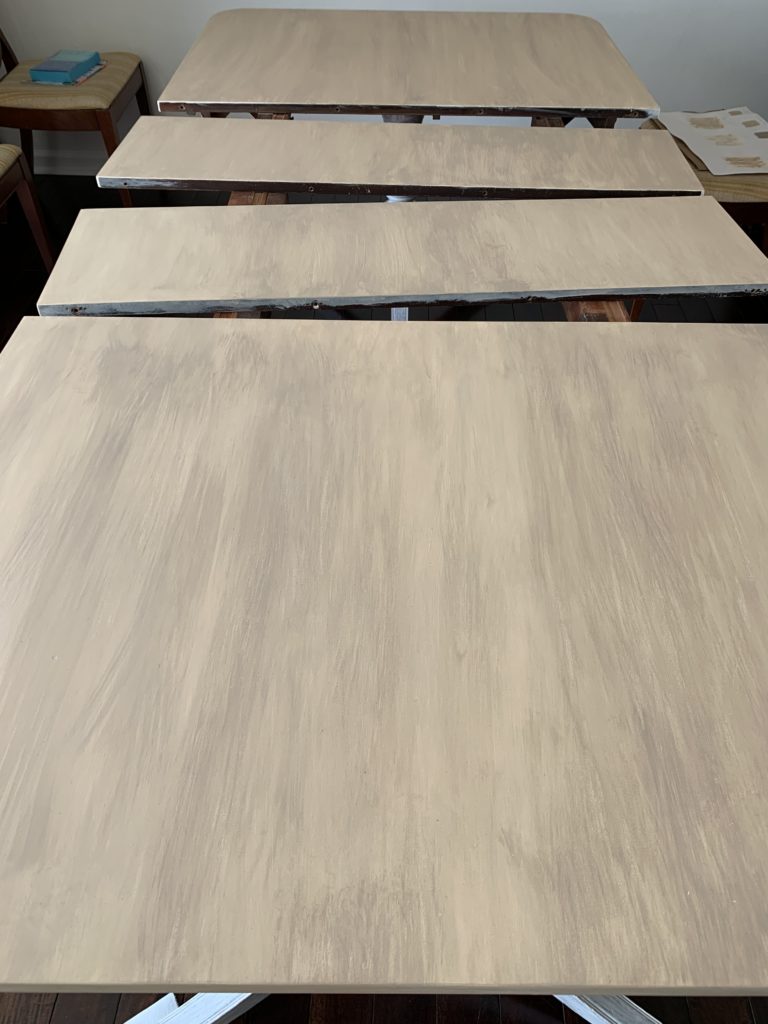
Last layer of paint is done the same as the 2nd layer – water it down about 1:1 in a disposable cup and apply with a paint brush and rag. These layers are for dimension, so do this as many times as you’d like. You can also add another color or two.
This is where I stopped on the tabletop because I wanted to see Night Watch on the pedestals before I went too far. My plan was to then do more layers and deeper colors on the top, but once I got Night Watch on, I called it quits. Just didn’t love it.
However, to sell this piece, it still needs 2-3 coats of sealant.
I explored so many different techniques for the top. I originally wanted to see the wood grain, but that can be difficult with thin veneer… which brings me to my first mistake:
#1: Let Citristrip do its job. I was impatient and switched to paint too quickly. I should have done more rounds of Citristrip, and maybe that would’ve done the trick.
#2: Pay attention to what you’re buying. Even if someone is helping you at the store, do your research. My mistake: I bought deck stain instead of typical stain, and it’s much more temperamental. Insert slaps to forehead.
#3: It’s OK to finish a project and decide it’s not right for you. Maybe I’ll sell this table and someone else will absolutely love it. Either way, no matter how long you’ve been DIY’ing, you’ll continue to learn along the way. So no project is a waste of time. (Well, maybe just a little 🙂 )
I’m still excited to try my hand at refinishing another dining table. Why? Because I’m an addict. I already have the plan for it in my head, so stay tuned!
Hello, my name is Brenda, I think you did a really nice job. So funny I had just mentioned it to my daughter that my breakfast table needs a touch up.
Well anyways, cant wait to see the chairs. Good job!
And thanks for the how to steps!
Bold attempt at a DIY dining table makeover! The process and lessons shared provide valuable insights. Sometimes, the best learning experiences come from what doesn’t go as planned. Kudos for sharing the journey, making it relatable for others navigating similar projects.
Great tips on choosing bedroom furniture! The practical advice simplifies the decision-making process. From style considerations to size, the guide covers essentials for creating a stylish and comfortable bedroom. Very helpful insights!

4 Comments