
Previous post
Next post
too many ideas. too little time. (and far too much chai.)

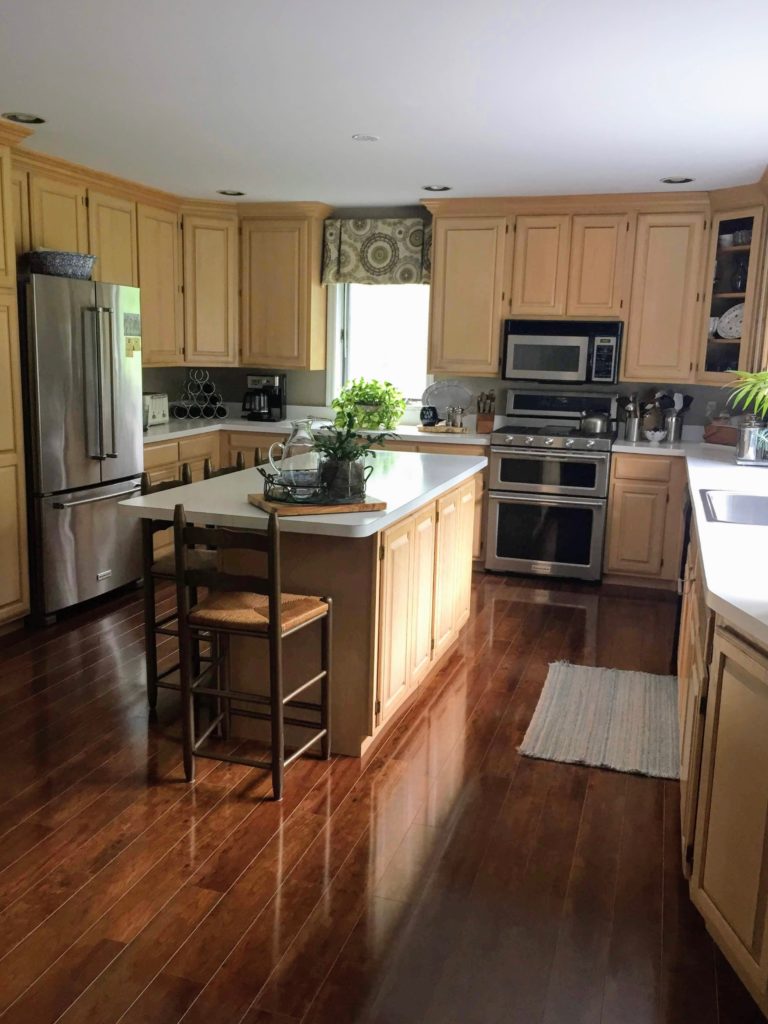
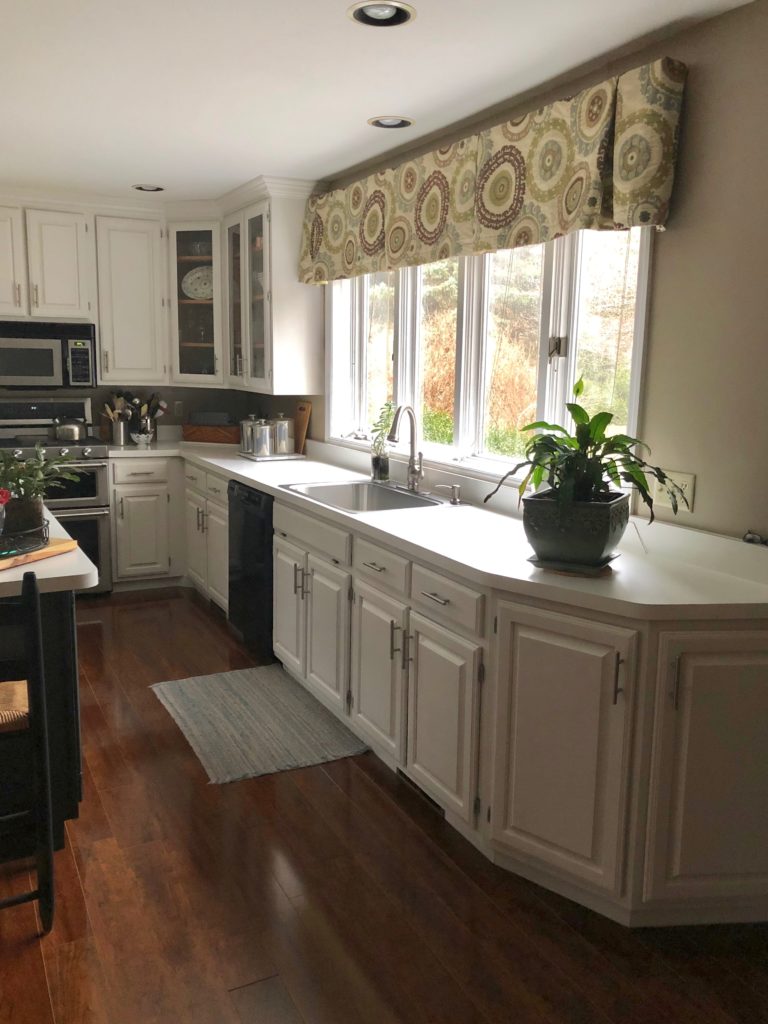
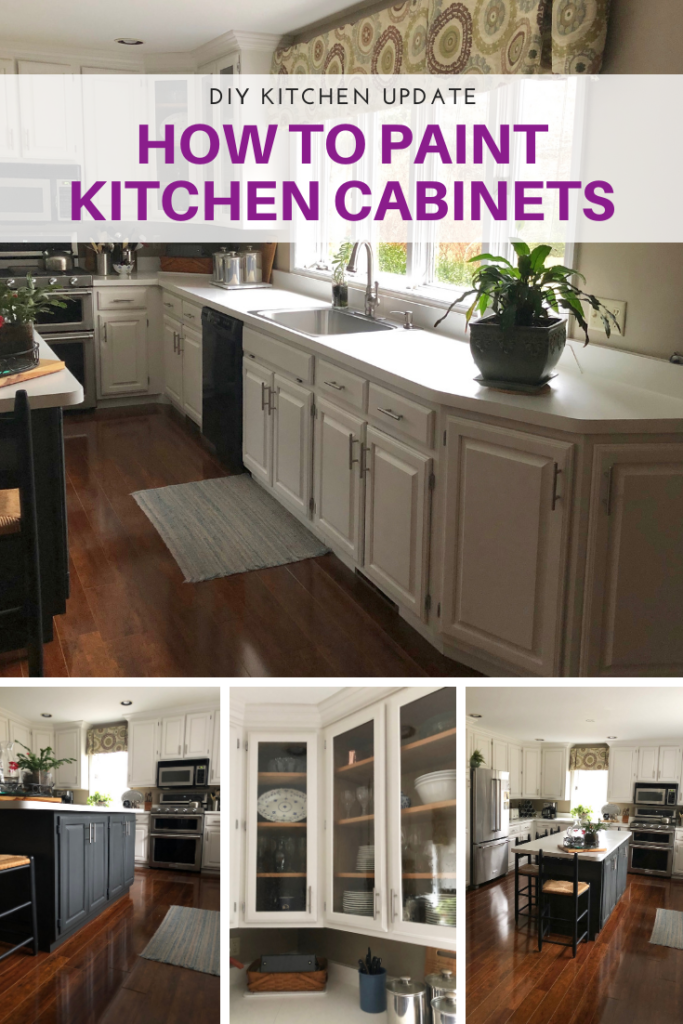
We built our house in 1988, but after 32 years, the style has held up remarkably well – probably because we never put in anything too trendy. What didn’t hold up as well is the condition of the house.
We’ve raised three active girls (and two cats) in our house, held countless pasta parties for every high school sports team imaginable, hosted family holidays, taught the kids to cook on “Kids Cook” nights and generally hung out as a family.
Our kitchen has been lived in . . . and I have loved it.
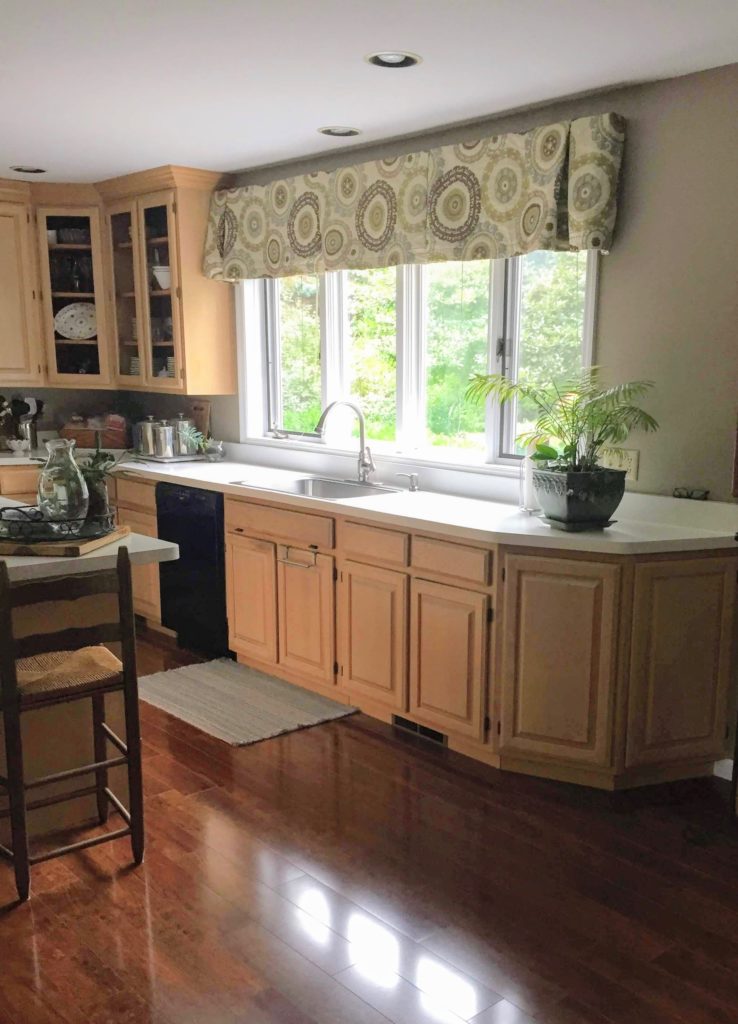
A few years ago, I noticed that our beautiful, ceiling-height, solid wood, Chablis-stained cabinets were getting shabby. We never had cabinet hardware, so we touched the wood every time we opened a cabinet. The ones below the sink were in especially rough shape from wet hands and dripping water. For years I knew something had to be done.
Paying someone to refinish the cabinets was expensive (I got estimates), and doing it myself felt daunting. Luckily, I was finally in a situation where I could carve out some time, and the trend toward painted cabinets was one I was loving.
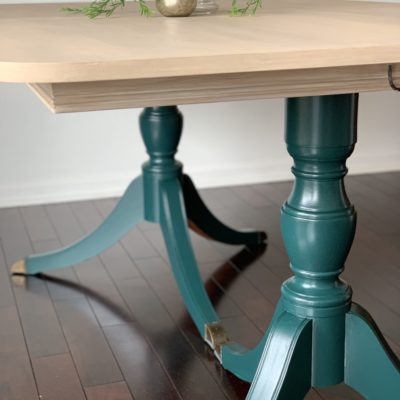
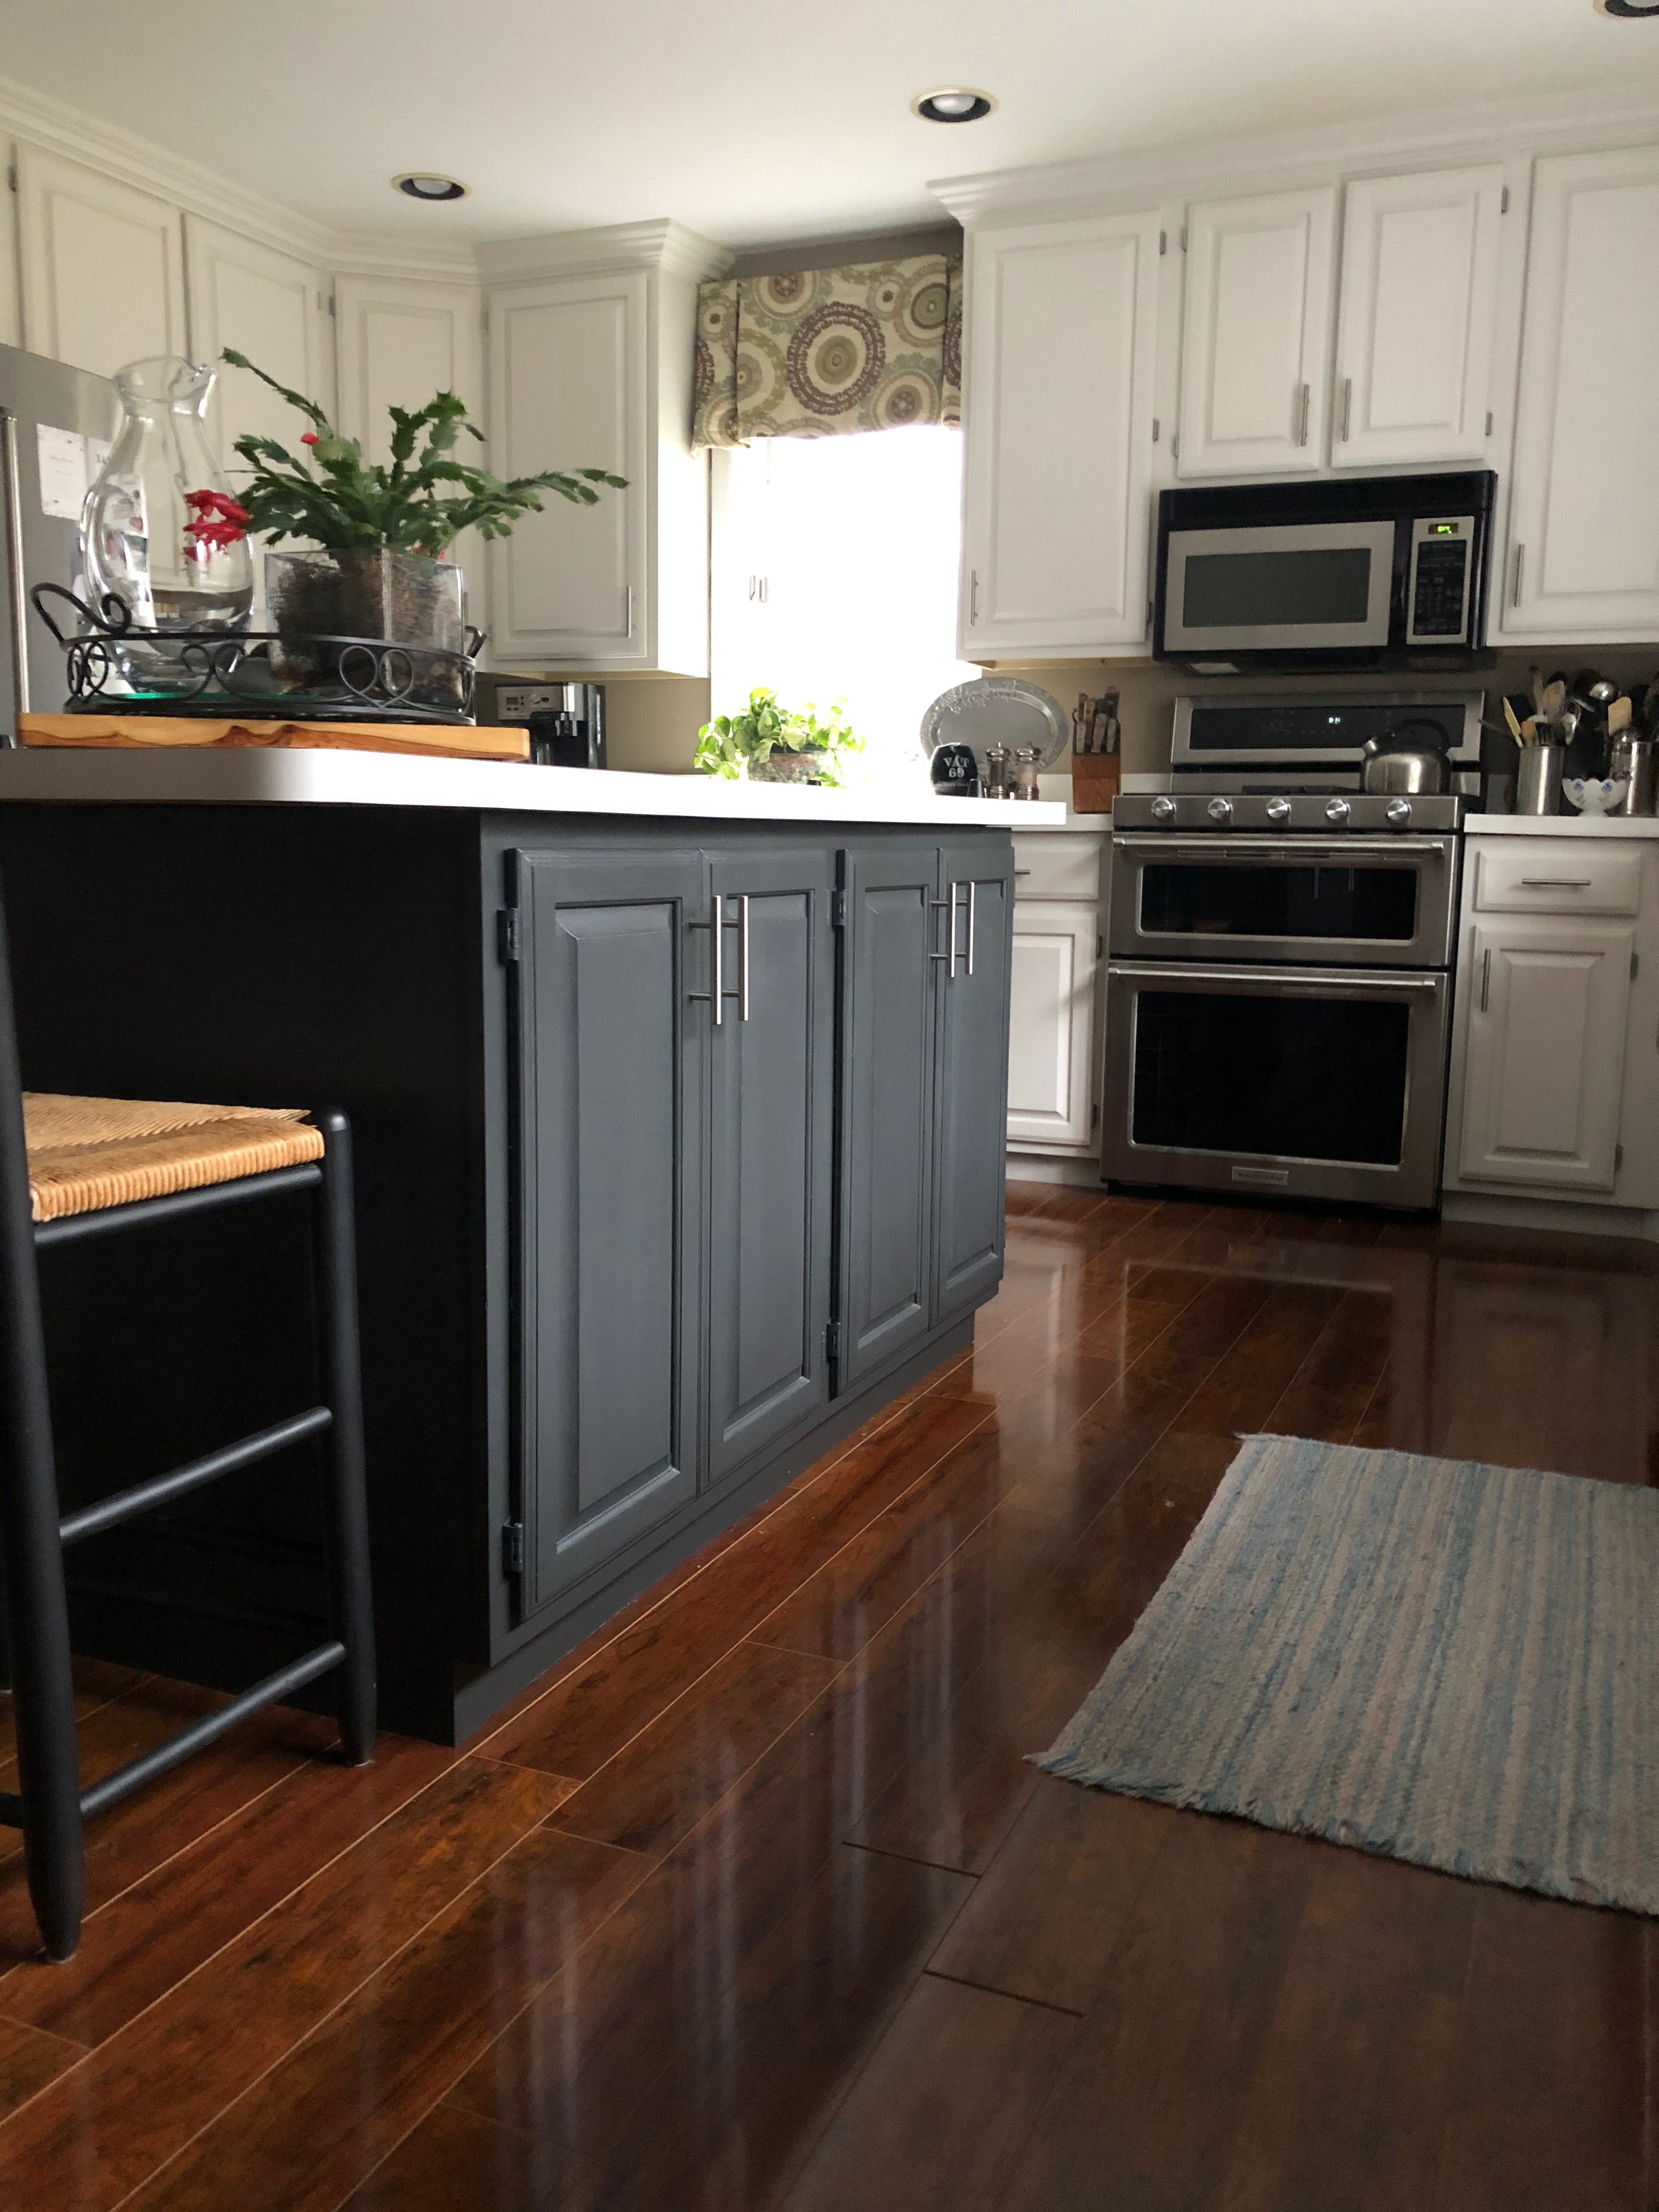
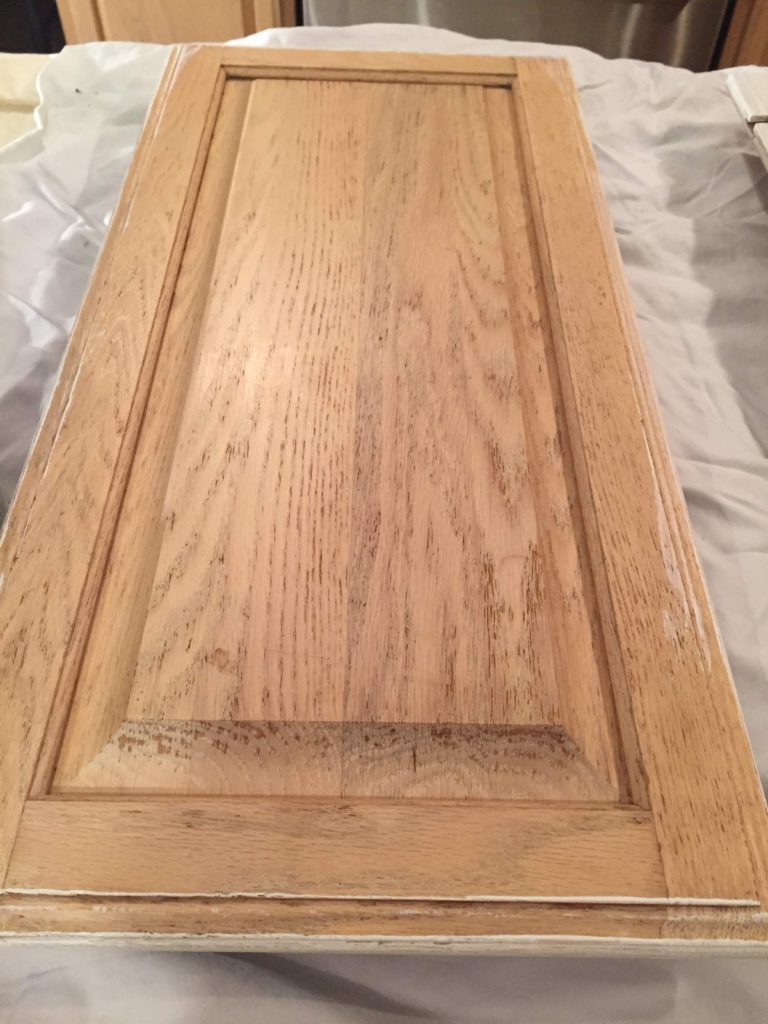
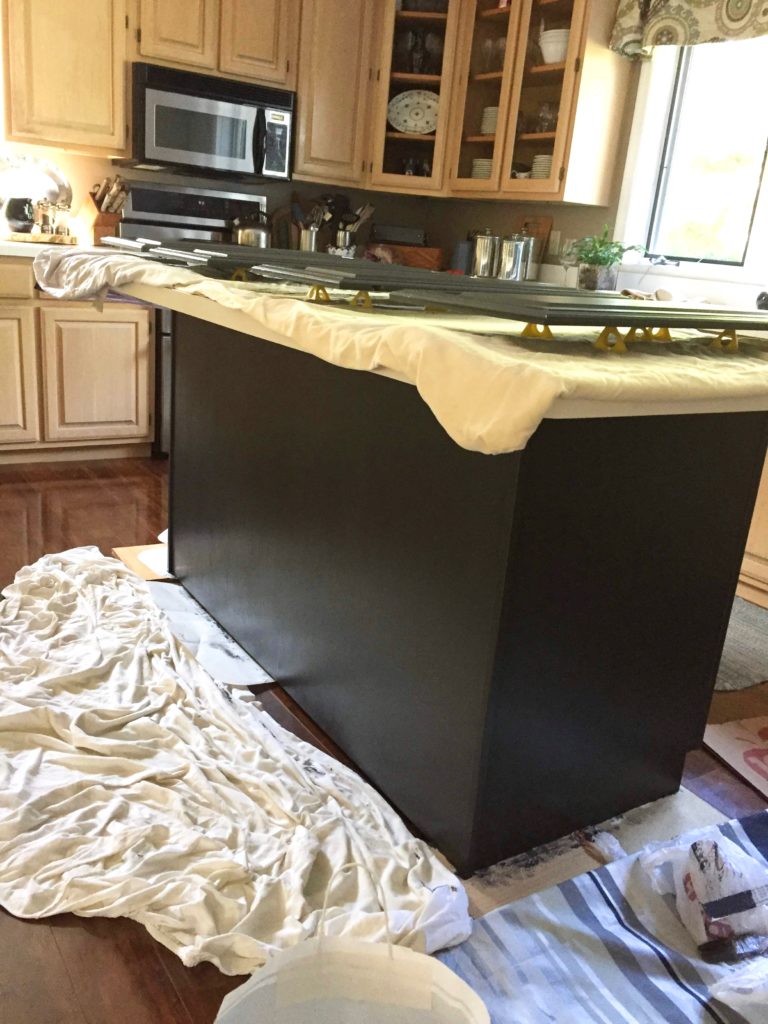
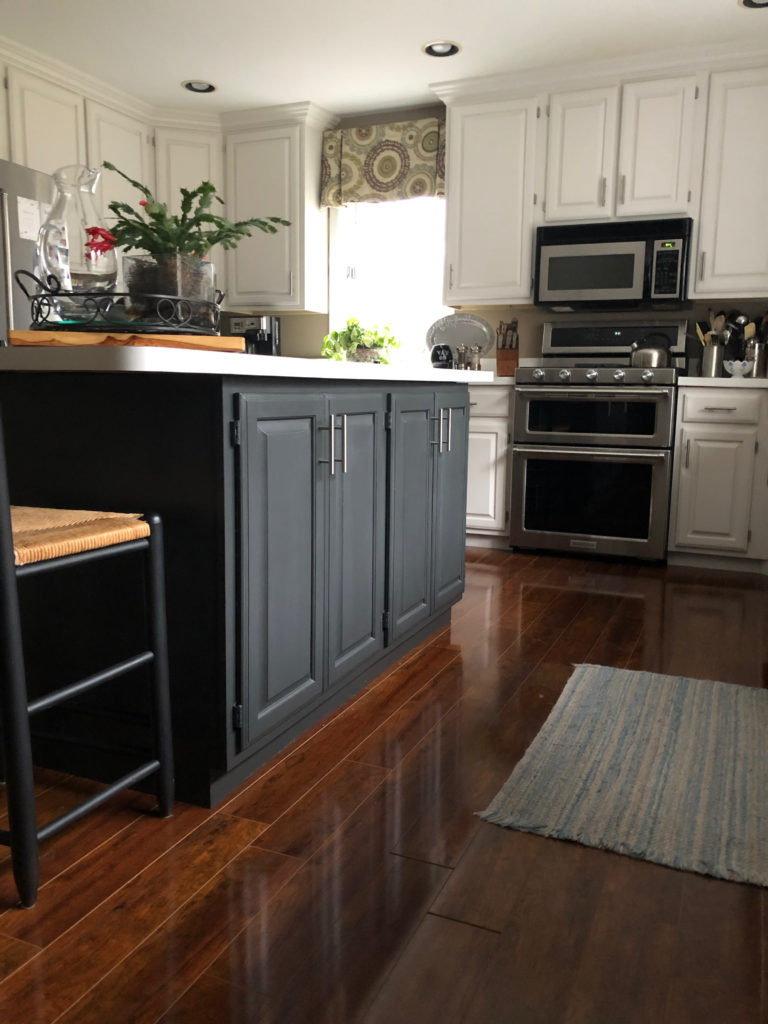
We chose classic (and timeless) white paint. We also have white countertops, so we opted for some contrast on the island with a soft black. Here’s a cabinet door cleaned and prepped for paint:
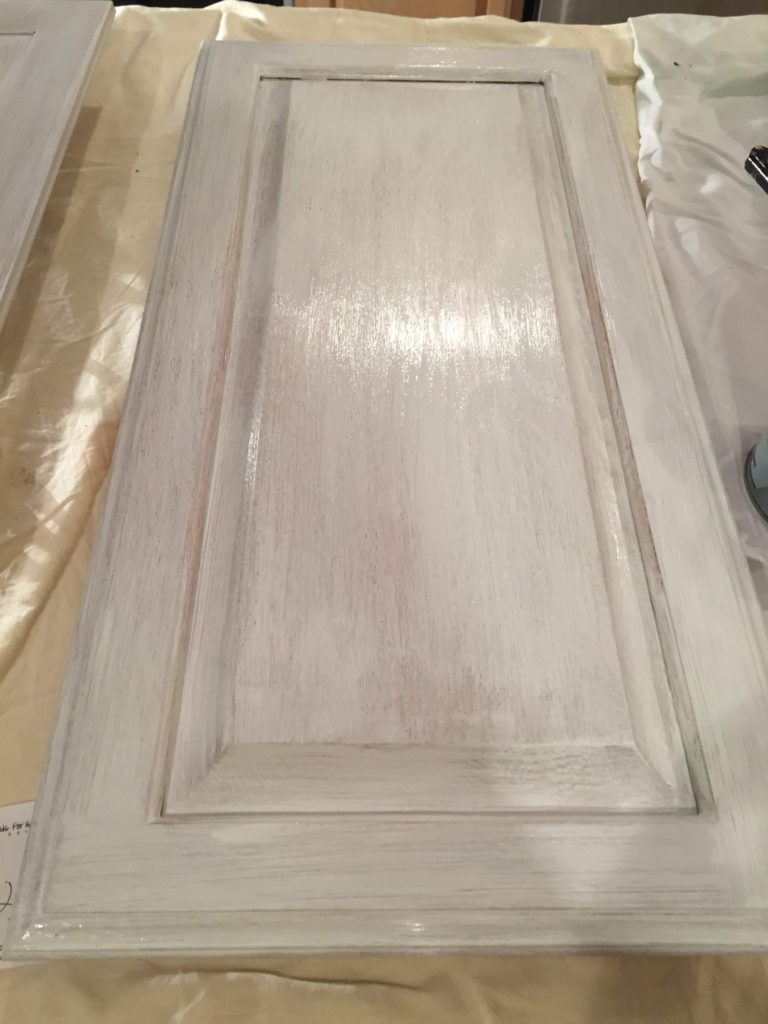
And here it is after a coat of primer:
I scored some leftover deglosser from my sister-in-law and used that with a plastic scrubbing pad to thoroughly clean each cabinet and casing. If there were nicks or dings in the wood, I also lightly sanded them with my electric mouse sander or plain sandpaper, depending on how deep the nick was.
The deglosser works great, but I can be indecisive . . . so on different cabinets I used TSP (trisodium phosphate) mixed with water instead of deglosser to clean the cabinets and then sand, if needed. The real issue is that you must ensure the cabinets are clean, grease-free and smooth. I gave the cabinets overnight to dry. I guess I won’t know which method worked best – deglosser or TSP – for a few years when I see how it holds up! For now, I can’t see a difference.
I used Sherwin Williams Extreme Bond Primer and a small brush. I would not recommend skipping primer. Painting cabinets takes much too long – you don’t want to end up with a final product that won’t hold up!
I also used little plastic teepees which hold the cabinets up off your work surface. They make painting the edges easier and I believe allow for better airflow for drying. Prime one side, give it a few hours to dry, turn over and prime the other side. After priming, the cabinets will look terrible . . . hang in there. Each coat of paint will look better and better.
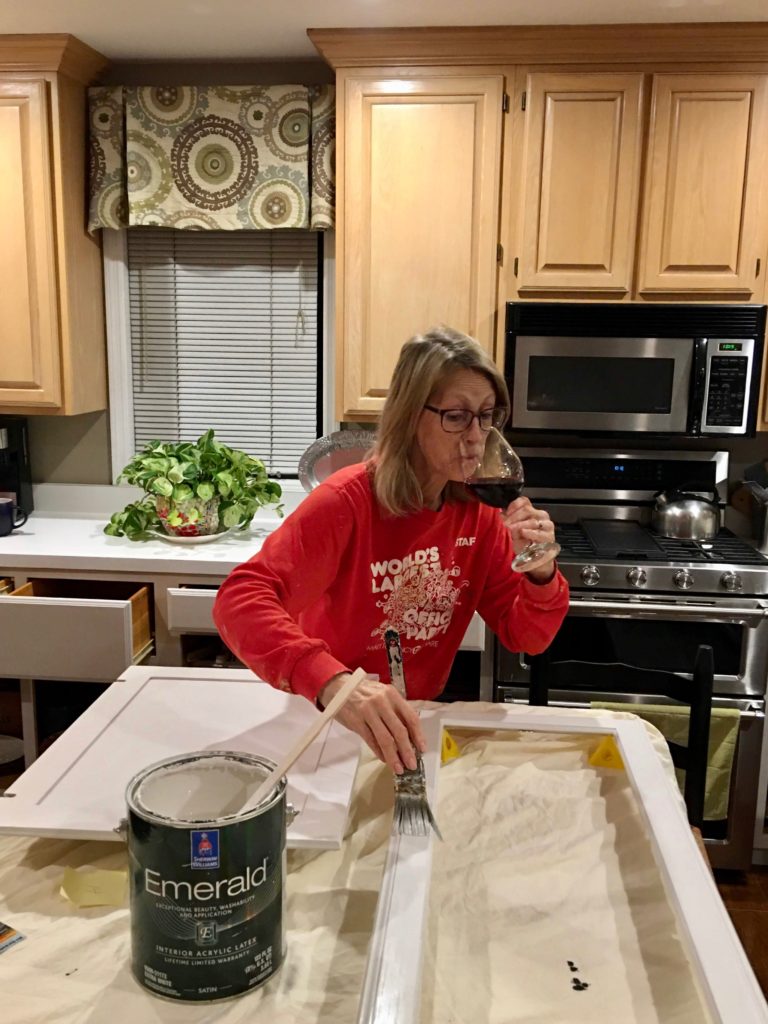
I painted with a brush. Some people recommend a small roller, foam brush or sprayer. My personal preference was a brush. Spraying might be awesome for speed and smooth finish but I simply don’t have the space to spray . . . and I painted in the late fall and winter in Wisconsin so going outside wasn’t an option!
I’ll be honest, I did NOT sand between coats as is often recommended. If you are going for a glossy, smooth look, I suggest sanding. For my 32-year-old cabinets, I was satisfied with the look without taking this extra step.
Each surface got three coats of paint. This is why painting cabinets takes so long! Primer times front and back of each cabinet, three coats of paint times front and back of each cabinet equals eight times you are touching each door, and four times you are touching each case! Allow sufficient dry time between coats (read your paint instructions but I generally gave four or more hours between coats).
I never had cabinet hardware before so I was excited for beautiful, simple pulls in a stainless finish. My hinges show and they were antique brass, so I painted the hinges with Rust-Oleum Universal Metallic spray paint in satin nickel. (I probably bought about three colors of silver to experiment until I found the one I loved.)
First, I soaked the hinges in an old crock pot on high with dish detergent for an hour or two and then scrubbed each one with a small toothbrush. Not everyone has an old crock pot for projects, but my daughter Ashley does so lucky me! I wiped the hinges dry, let them air dry for probably an hour or more and then painted them – at least three coats. I honestly would rather buy new hinges but I could not find the correct style and size, so we made it work.
Since I painted in stages, I also reassembled in stages, but it was always great to have an extra set of hands for putting the cabinet doors back on. Thankfully my husband Gary was happy to help (or if not happy, at least willing)!
We waited until the entire kitchen was done before we installed the stainless pulls. We created a template from old cardboard but you can also buy templates – even Ikea carries one. Since we were drilling into newly painted wood, we measured two – sometimes three – times to get it right . . . but somehow we still did it wrong – twice! That’s the beauty of painted cabinets; you can patch and repaint so it was only a minor setback.
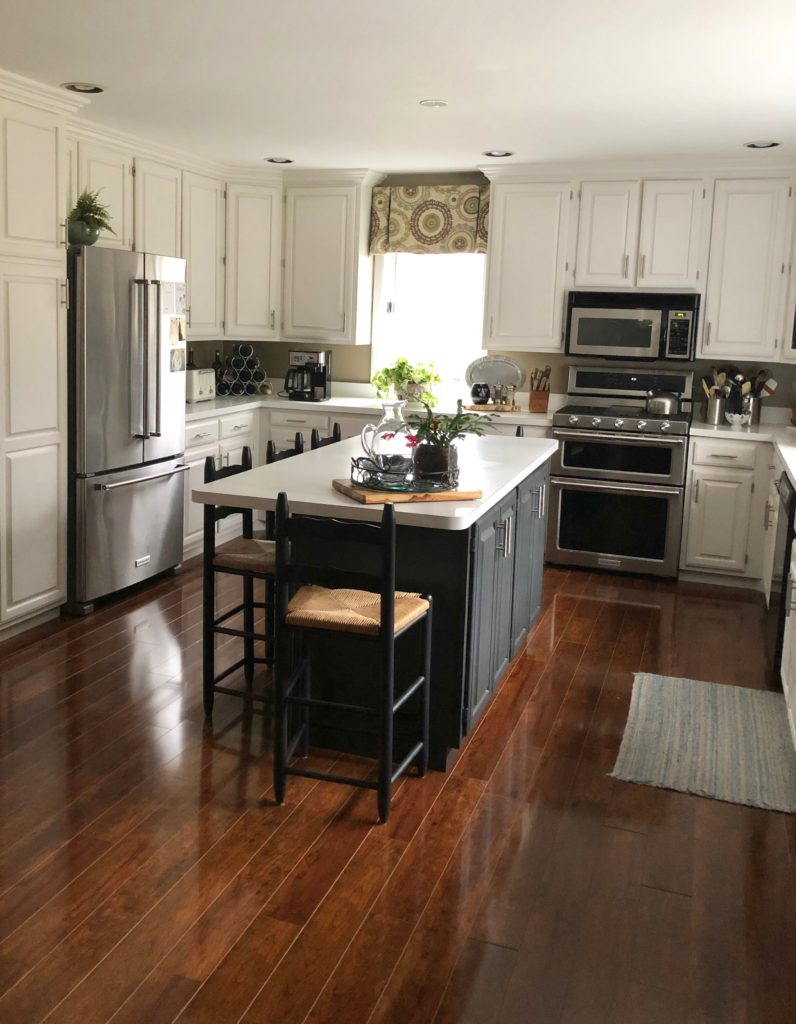
I loved my old kitchen. I only painted the cabinets because they were getting shabby and I was afraid the wood would literally rot away if we didn’t do something. But once everything was back in place, we could not stop admiring our work. It was so fresh and light!
Sometimes when you live with something too long, you get used to it; seeing the new kitchen with fresh eyes has been a pleasure.
Because I had a job during this project AND only a small work space (my dining room!) this project took me six weeks. I know that seems long, but my kitchen is large, and I had to take a one week break to go to Mexico for a wedding. (Go to Cabo or stay home and paint? I think I made the right decision!)
I would suggest being strategic with your time. I made a point to get up early every morning and get one coat of paint on before work. That way, when I got home at night, the cabinets were ready for the next coat. Dry time is the biggest time sucker so plan your time well.
The cabinets have been painted for more than four months now and they are holding up well. The nice thing about paint is that you can touch up dings . . . keep your paint and a brush handy for quick touch-ups.
And for my next project . . . finish the former kitchen desk to become a bar! We’ll paint it to match the island. Can’t wait!
Happy updating!
I love how your cabinets turned out. I am eventually going to repaint my kitchen cabinets. The previous owners( which I believe were beginning Flippers did a horrible job.) My question is was painting the shell (body of the cabinet) a daunting task since it couldn’t be removed?
I think they key is patience, and doing a little here and there, knowing that it will take a while 🙂 good luck!!!
Such a nice blog on diy kitchen update painting kitchen cabinets and I hope you keep update us with such great tips and information in future too. This is a great post; I will share as much as I can.
Thank you for sharing this information about diy kitchen update painting kitchen cabinets. It was useful and interesting. You indeed have written it in a layman way so that anyone can understand and work accordingly. You have done a great job… Great post!!
I love how your cabinets turned out! Painting cabinets is a big job, but the difference it can make in your kitchen is remarkable! I painted mine a dusty blue-green last year and I am loving how they turned out, although I wonder if I will be wishing I’d gone with white after a couple of years!
Nice post!

6 Comments