Previous post
Next post
too many ideas. too little time. (and far too much chai.)


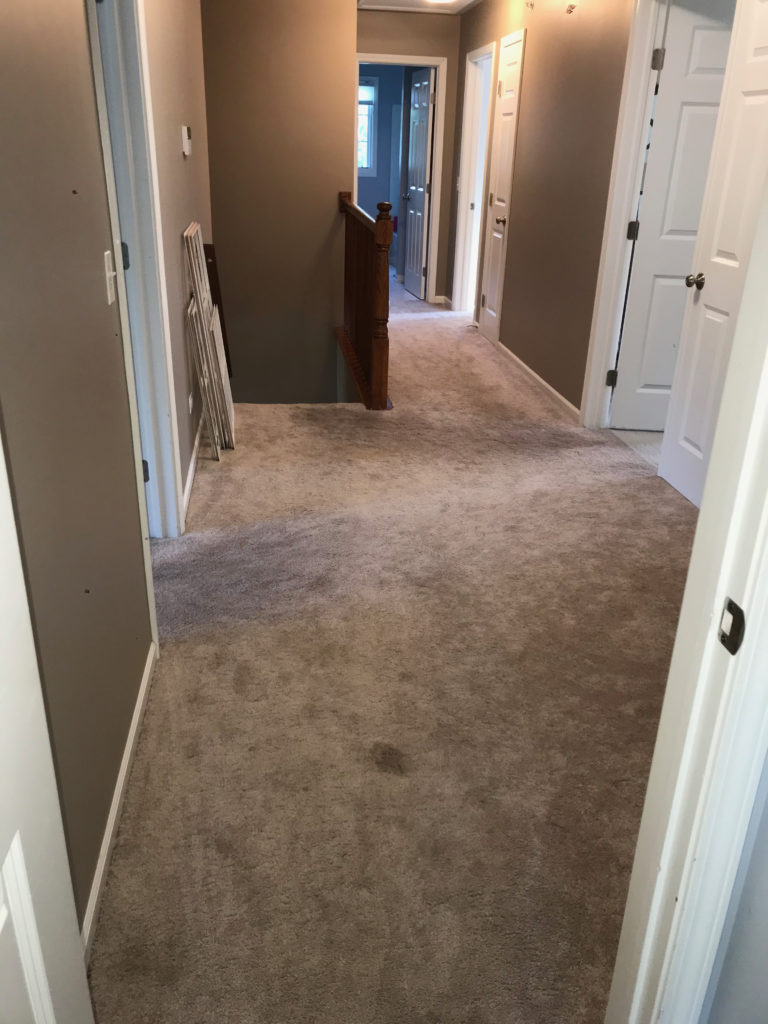
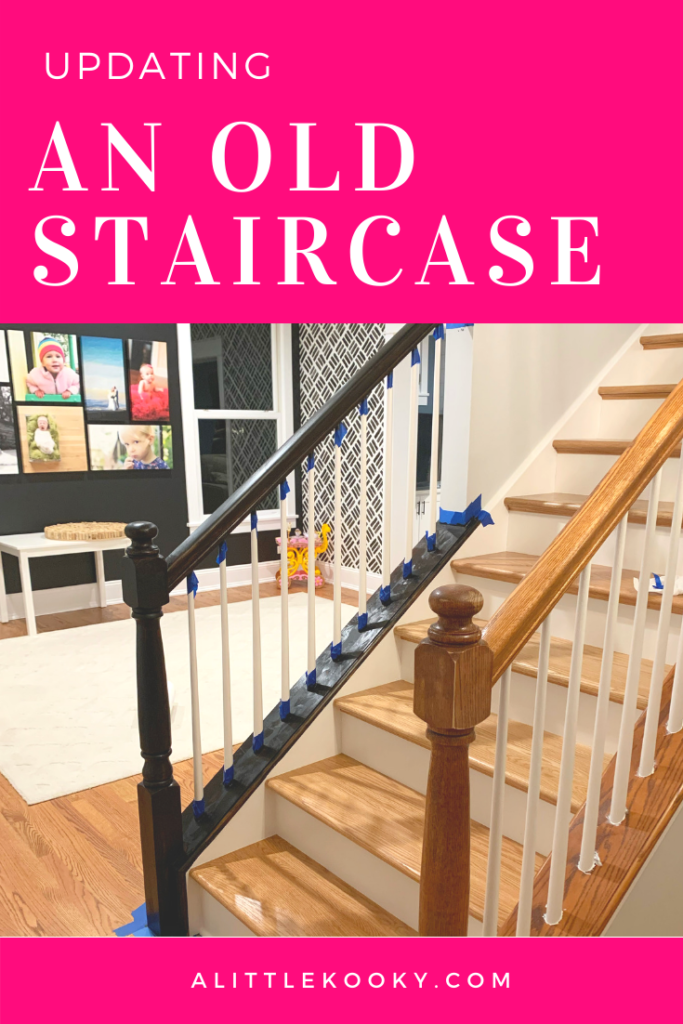
Our home was built in 2008, and if there’s one design choice that defines the original build, it’s oak. Oak trim e’rywhereeeeee. I love a good wood tone, but we had recently finished renovating our prior home (think: crisp, white trim), and we wanted this one to reflect that same modern style.
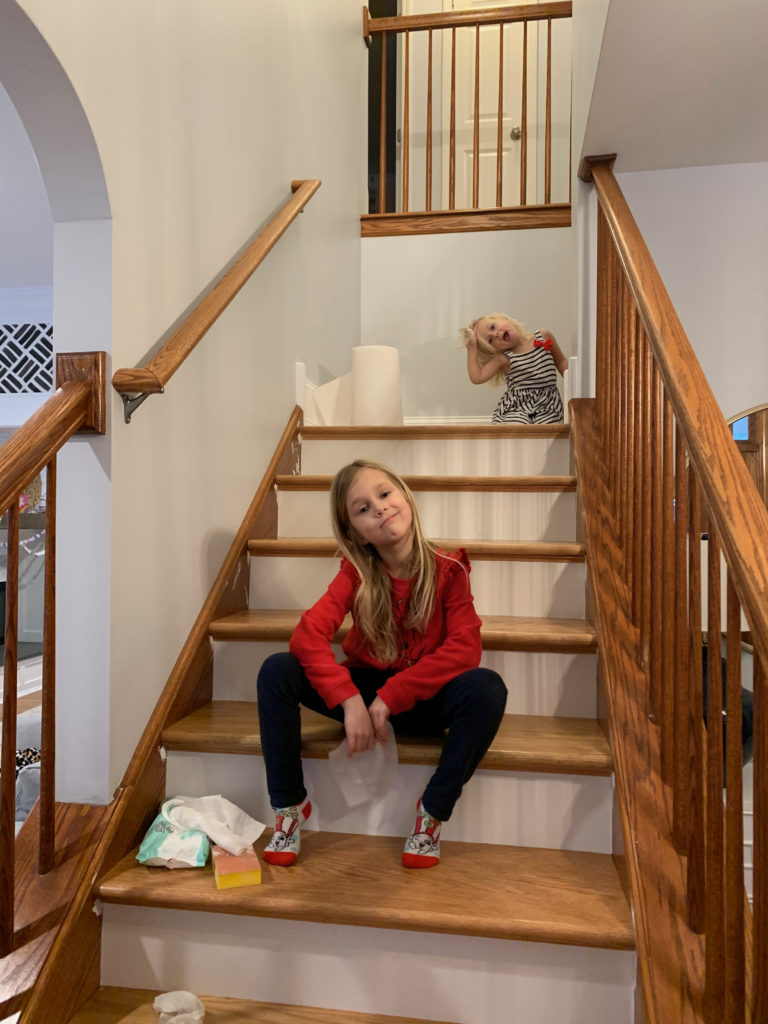
Here’s what it looked like when we moved in:

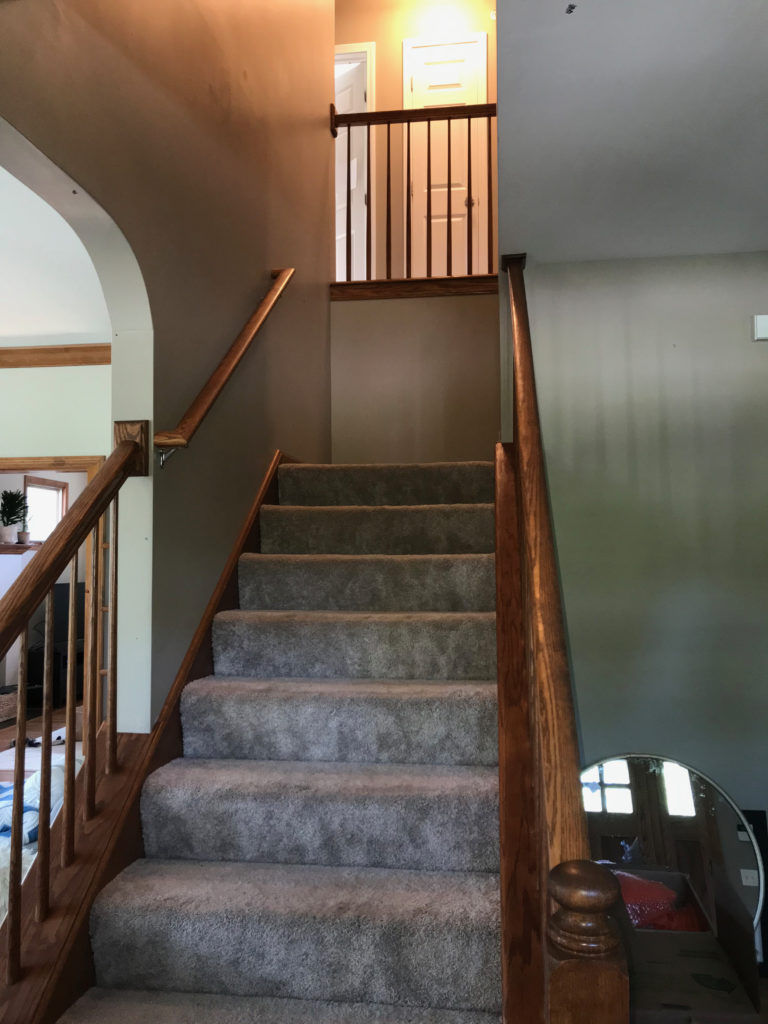
I struggled with the paint color decision, but in the end, settled on going bold with a black rail, white spindles and then black for the base trim along the stairs as well.
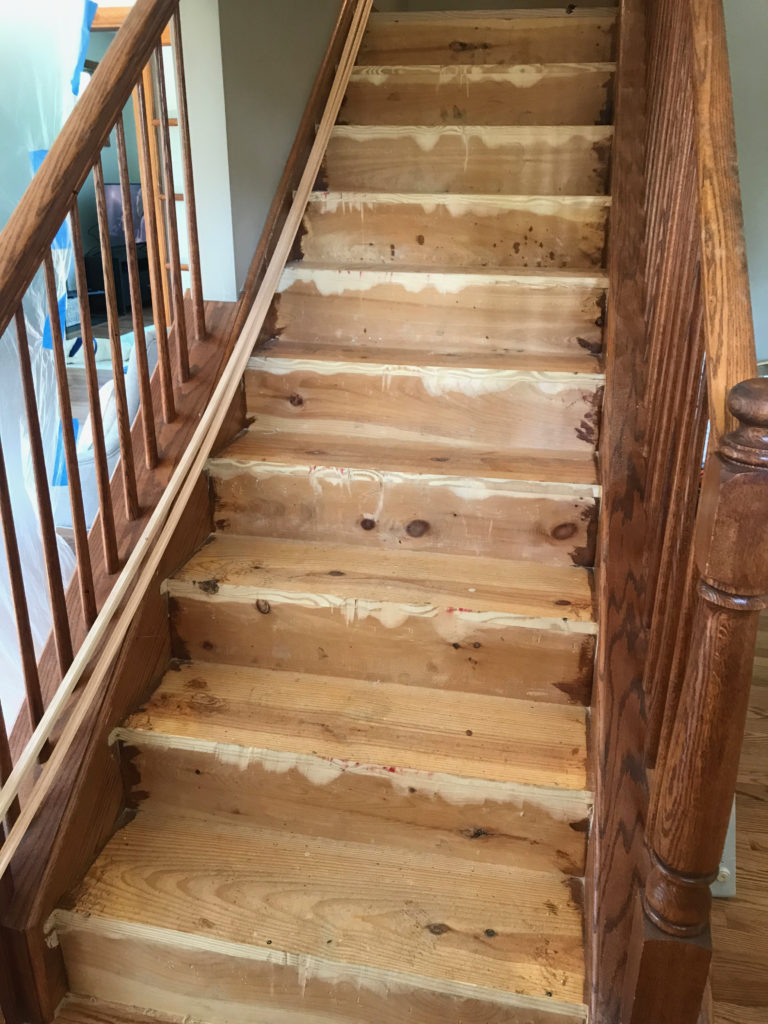
That’s a lot of steps in one, right?! I hate sanding, so I used a liquid sander deglosser first. Follow instructions on bottle, but you basically rub on, let sit, then buff off. Unfortunately, I didn’t feel like the deglosser alone took off enough of the stain, so I followed it up with my electric sander, especially for high-touch areas like the banisters. (I didn’t sand the spindles.)
Once done and you start wiping everything down, you’ll really start to notice any imperfections in the wood. Now’s the time to fill those areas using wood filler.
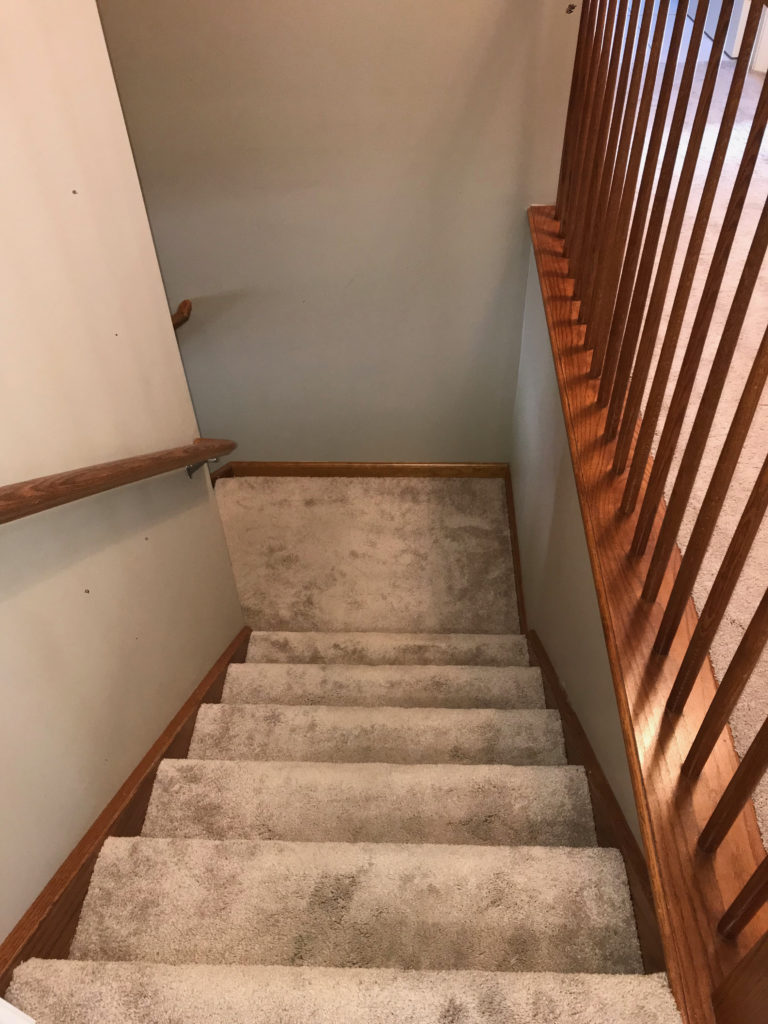
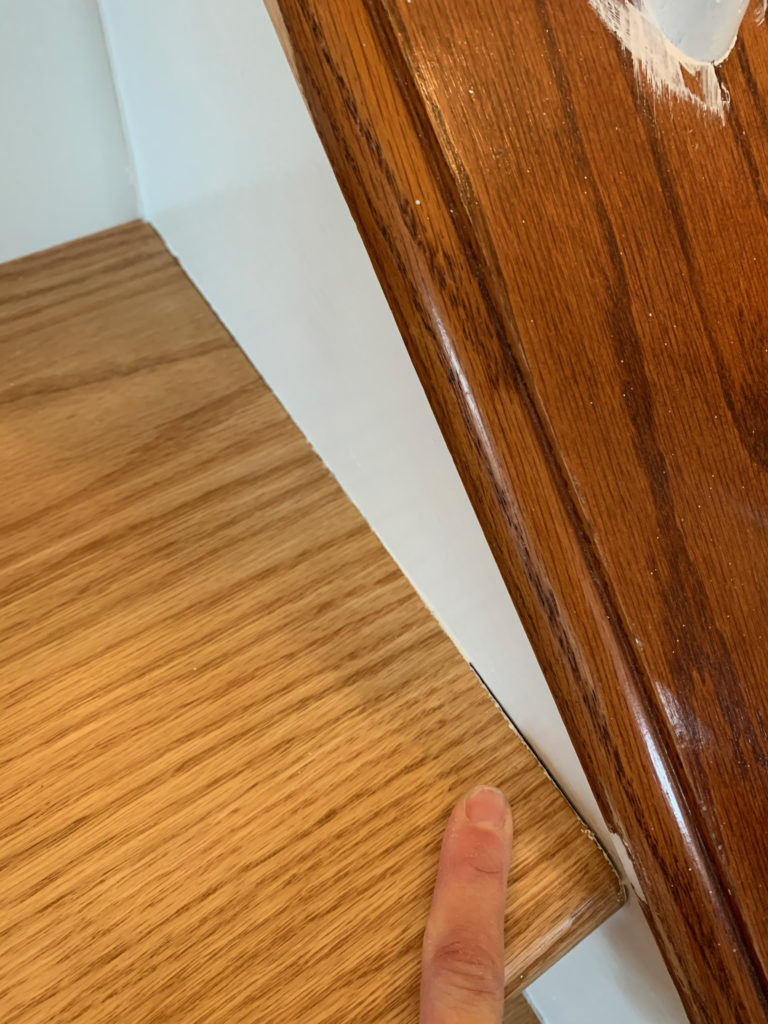
As you can see from the above pic, we had some minimal damage along the base trim from when we had the carpet ripped out and replaced with wood treads, so I had to do some filling and sanding in those areas. See below:

I also never noticed before but a lot of our trim along the risers and treads was not caulked, so I repaired a lot of those areas:

*TIP: Baby wipes are magical little cleaning cloths. I read somewhere (wish I could remember source) that they’re a DIY’rs must-have tool. And they’re RIGHT! I always had them on hand for this project.

Especially for the gel stain (you do not want that spilling on your floors), make sure you protect your floors. I used a combo of old towels/sheets and painter’s drop cloths.
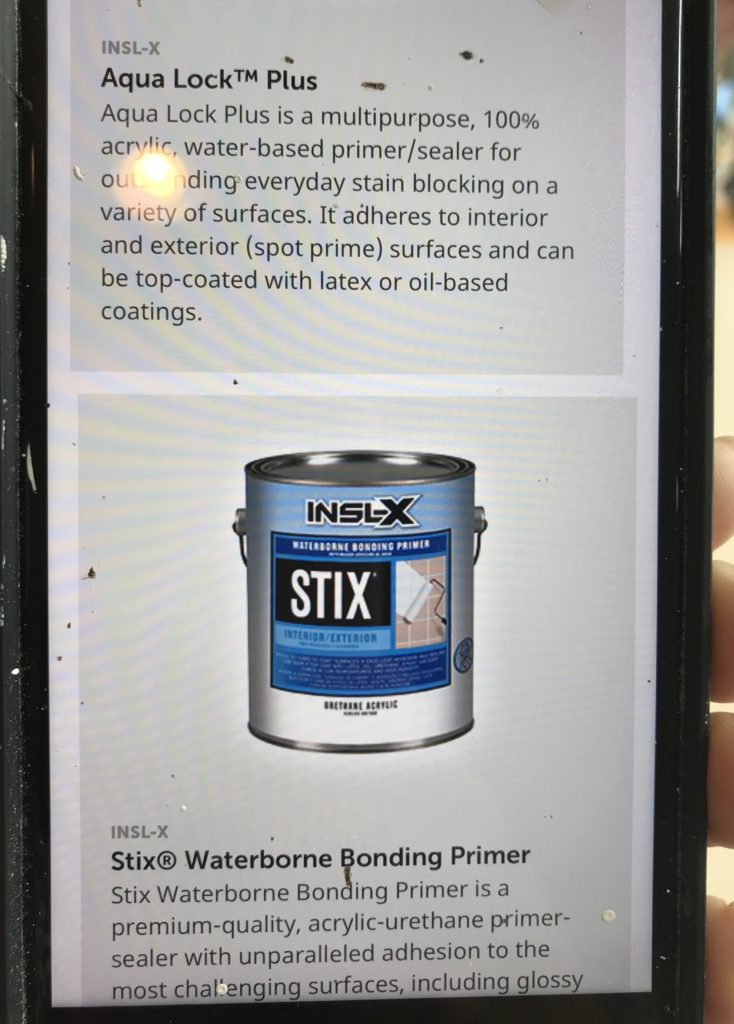
Use a good quality primer. I only did 1 coat, but you could always do more if you feel it necessary. This is the primer I swear by:

Once the primer dries, apply your paint. I did 3 coats, no exceptions. Now you’re starting to see why this job is so tedious!
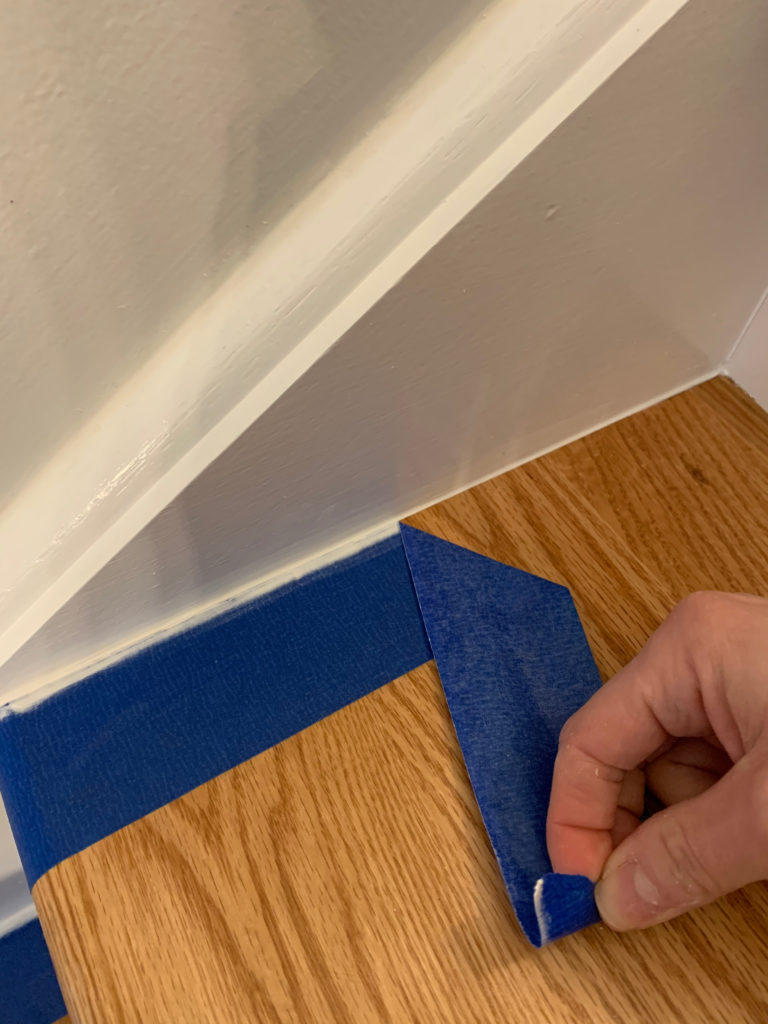
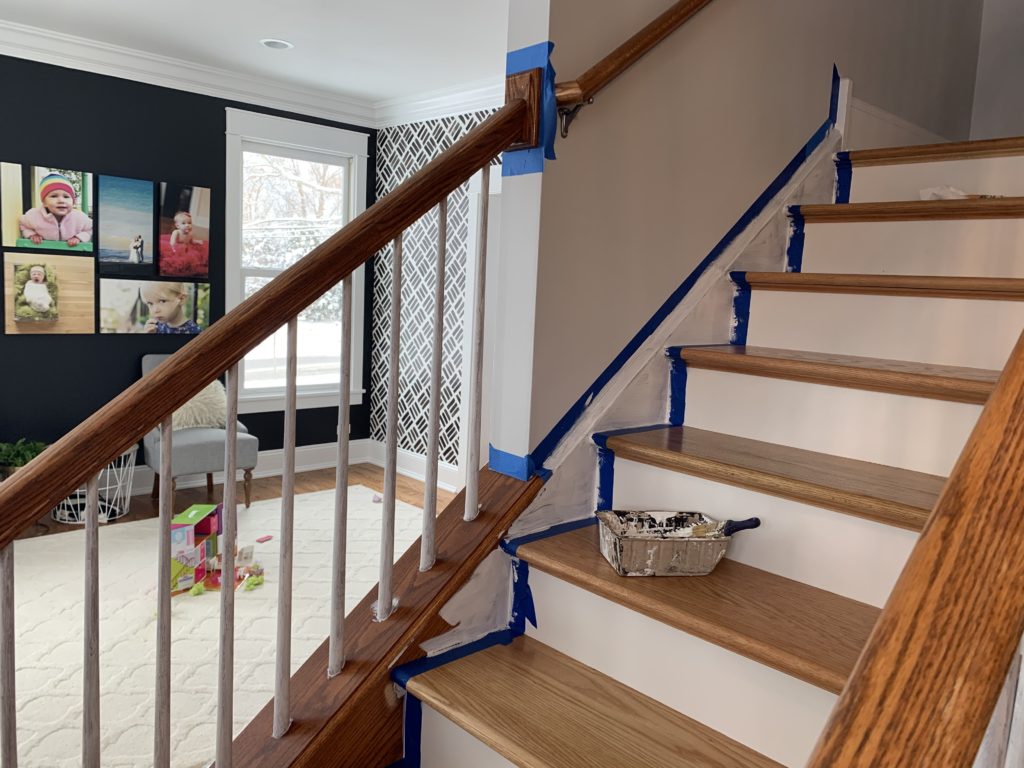
Make sure you allow proper dry time, and then some, before you move on because you’ll have to tape over what you just painted. Again, this part’s tedious.
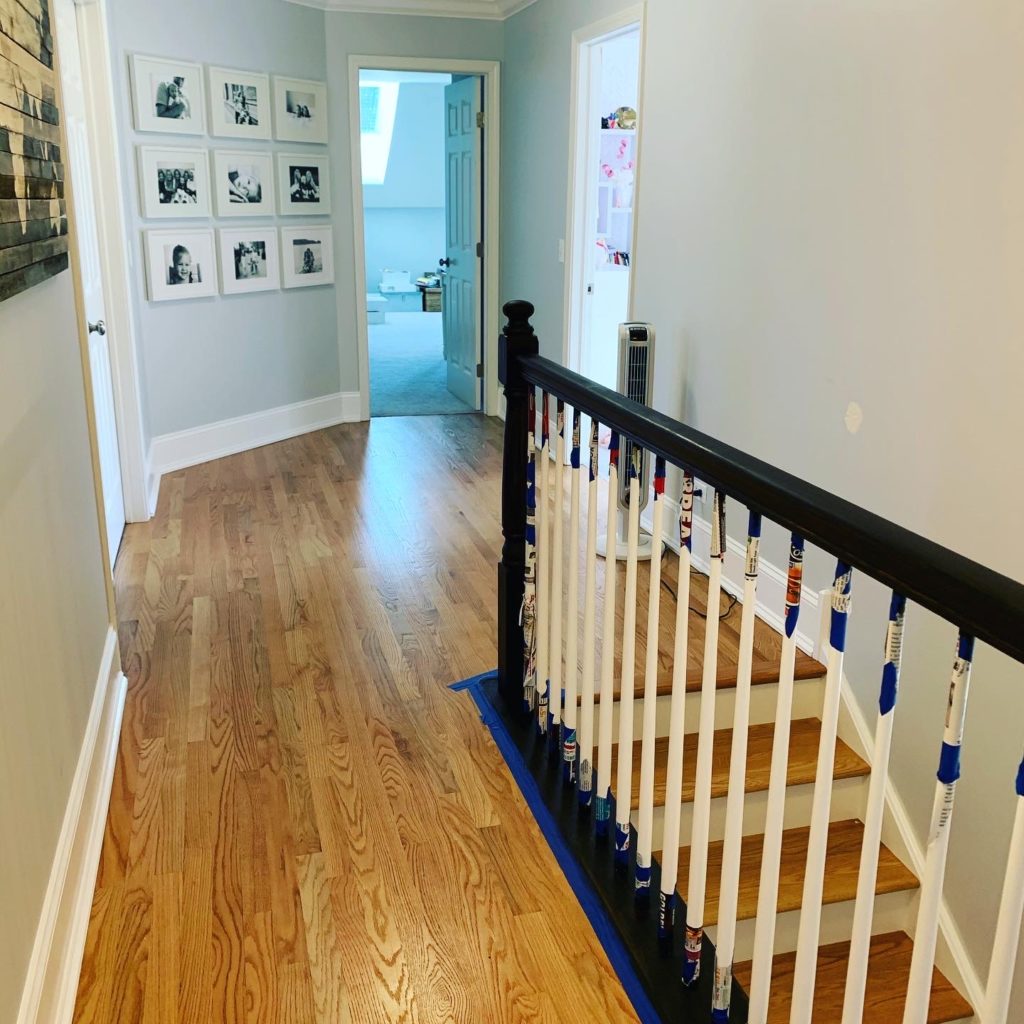
TIP: It’s not reflected in all my pics, but make sure you cover the spindles closest to your newel posts. You’ll thank me later!
I used a combo of painter’s tape and old newspapers/magazines to cover my spindles.


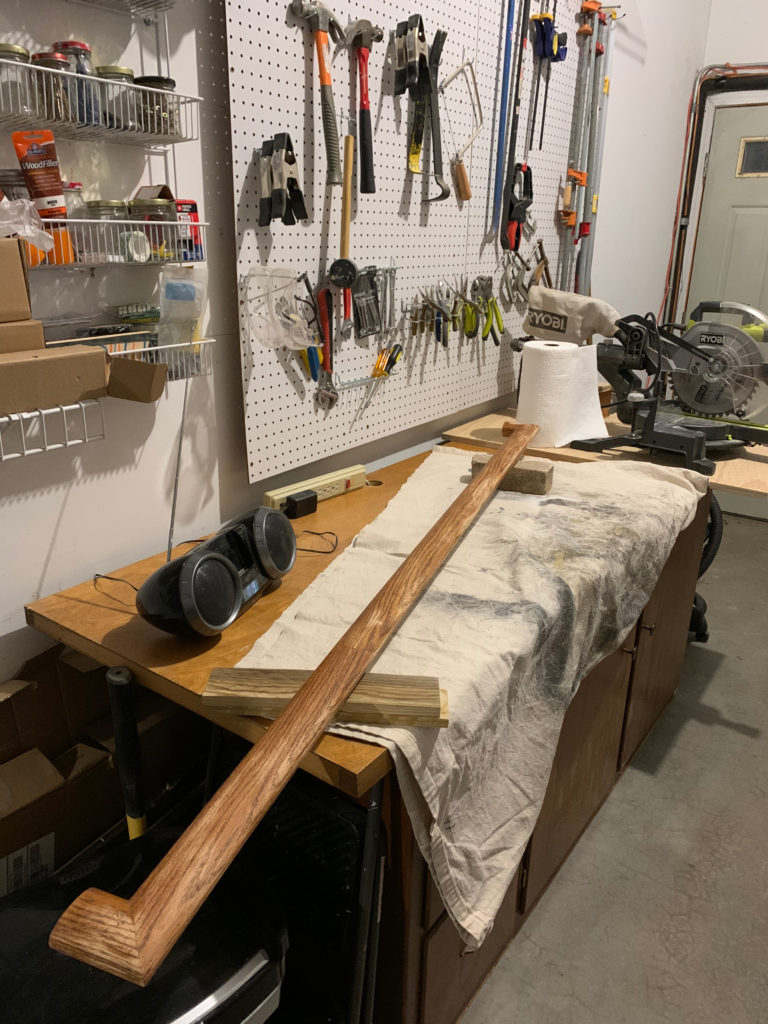
I removed one of my rails and gel stained it in my garage, but everything else had to be done in place. Be warned, gel stain is stinky, so make sure you open windows and wear a mask.
Also, gloves. Do not forget gloves. DO. NOT. You’ll never get it off your hands. It’s icky stuff.
Here’s where things get real.
This was my first experience with gel stain, and I’m not going to lie – I didn’t love it.
Each coat took 48+ hours to dry (in many cases 72) at my home in cold, damp Chicago weather. Multiply that by the 3 coats it takes for good coverage, and you have a few wks of just…. waiting.
Dry time drastically varies by climate though. Just keep this in mind when deciding between gel stain or paint.


To apply the stain, use either a standard staining cloth or other lint-free cloth – even a sock works. Like regular stain, you basically wipe on, let sit for a few mins (up to 15), then wipe off. HOWEVER… because I only lightly sanded my banisters, doing it this way barely covered the old stain. So… you can either make sure to sand your banisters a bit more to open the wood up, and be very liberal with the gel stain, or do what I did and IMPROVISE…
I found it made a gooey mess when I tried to wipe the stain, so instead, I discovered that a foam brush worked really well to simultaneously apply and wipe.
Essentially, I applied with a foam brush and just kept brushing (with the grain) until it was all rubbed in. Be liberal. You just have to make sure that you are rubbing it all in and not leaving any gooey glops – that’s the technical term – because you won’t be rubbing it off if you follow my way.
Do your 3-4 coats (yes, in one section I needed 4) and then allow ample time to dry. Again, fans help.
I’d recommend a water-based poly for this part since it has next to no smell (Read: safer for everyone). I only sealed my banisters and the base trim (part that the spindles touch) – 2 coats. In my opinion, those are the only high-touch/high-traffic areas, so I stuck with just those. Perfect world: I would’ve sealed everything, but you already know how impatient I was getting with the dry time of gel stain.
Through all the heartache, the end product was still well worth it!


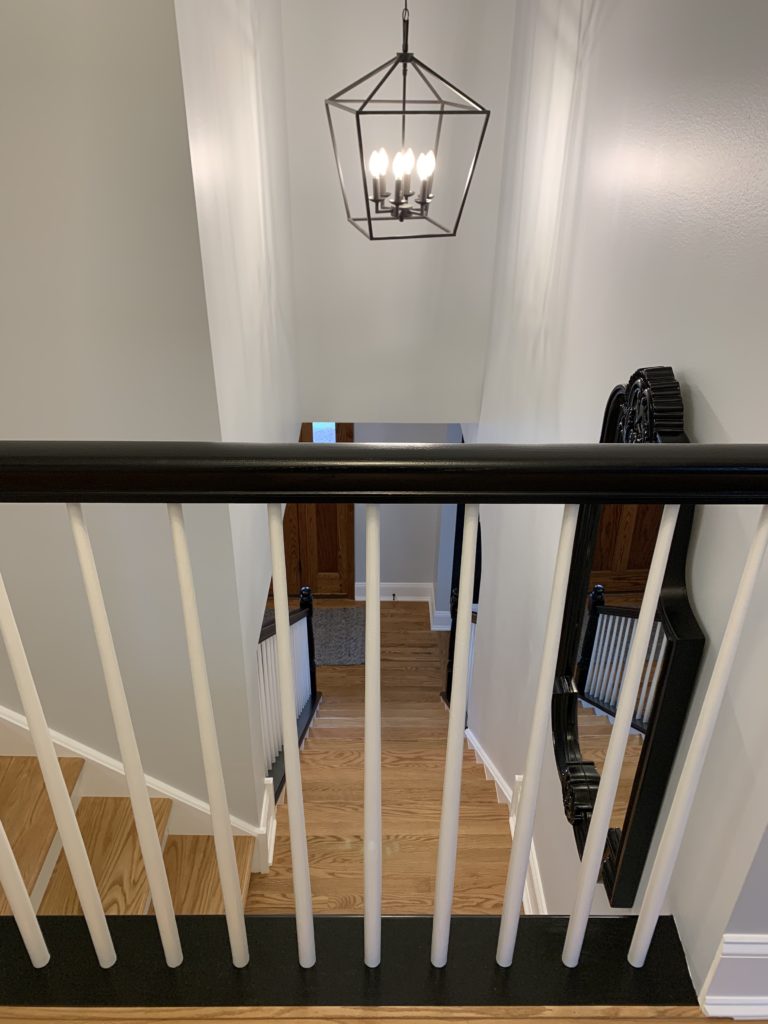
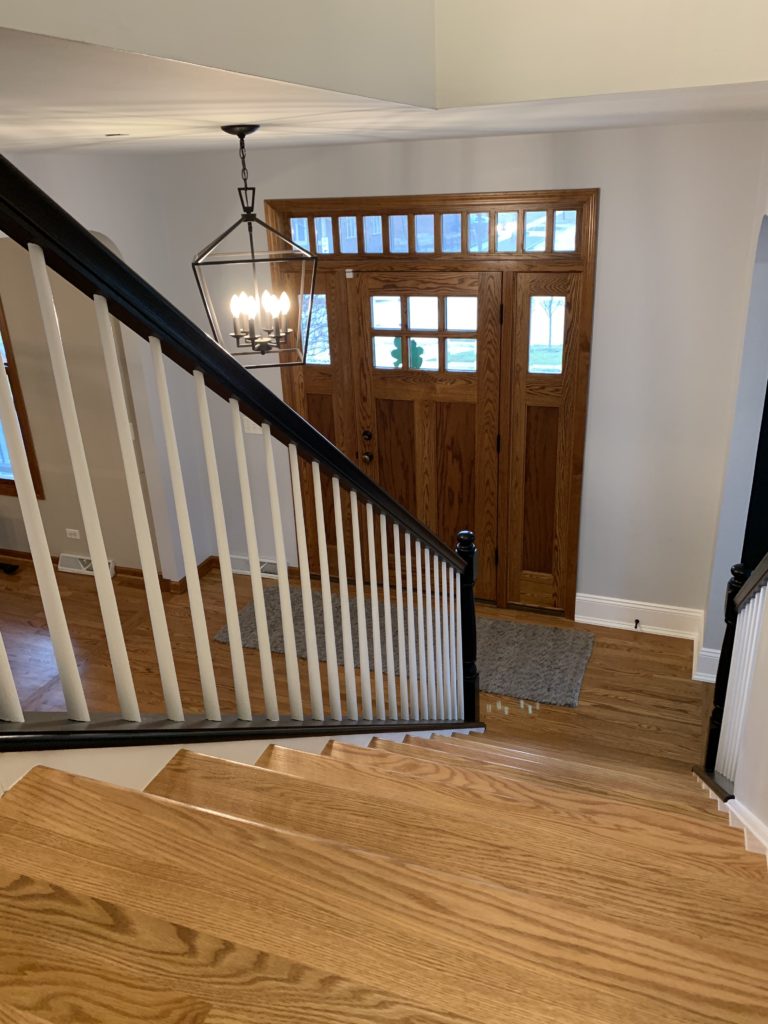
This is not an easy project, but it’s very doable with a little patience and a lot of prep work. If you’ve been thinking about your staircase for a while, I say go for it. I’m so glad I did.

Leave a Reply