too many ideas. too little time. (and far too much chai.)
too many ideas. too little time. (and far too much chai.)


This is one of my favorite projects EVER. Here was my inspo pic. I found it on pinterest and fell in love. It was from popsugar, but the original source is here. Truth be told, I never read the whole post – I was too entranced by this pic – so I made up my own rules.

My inspiration
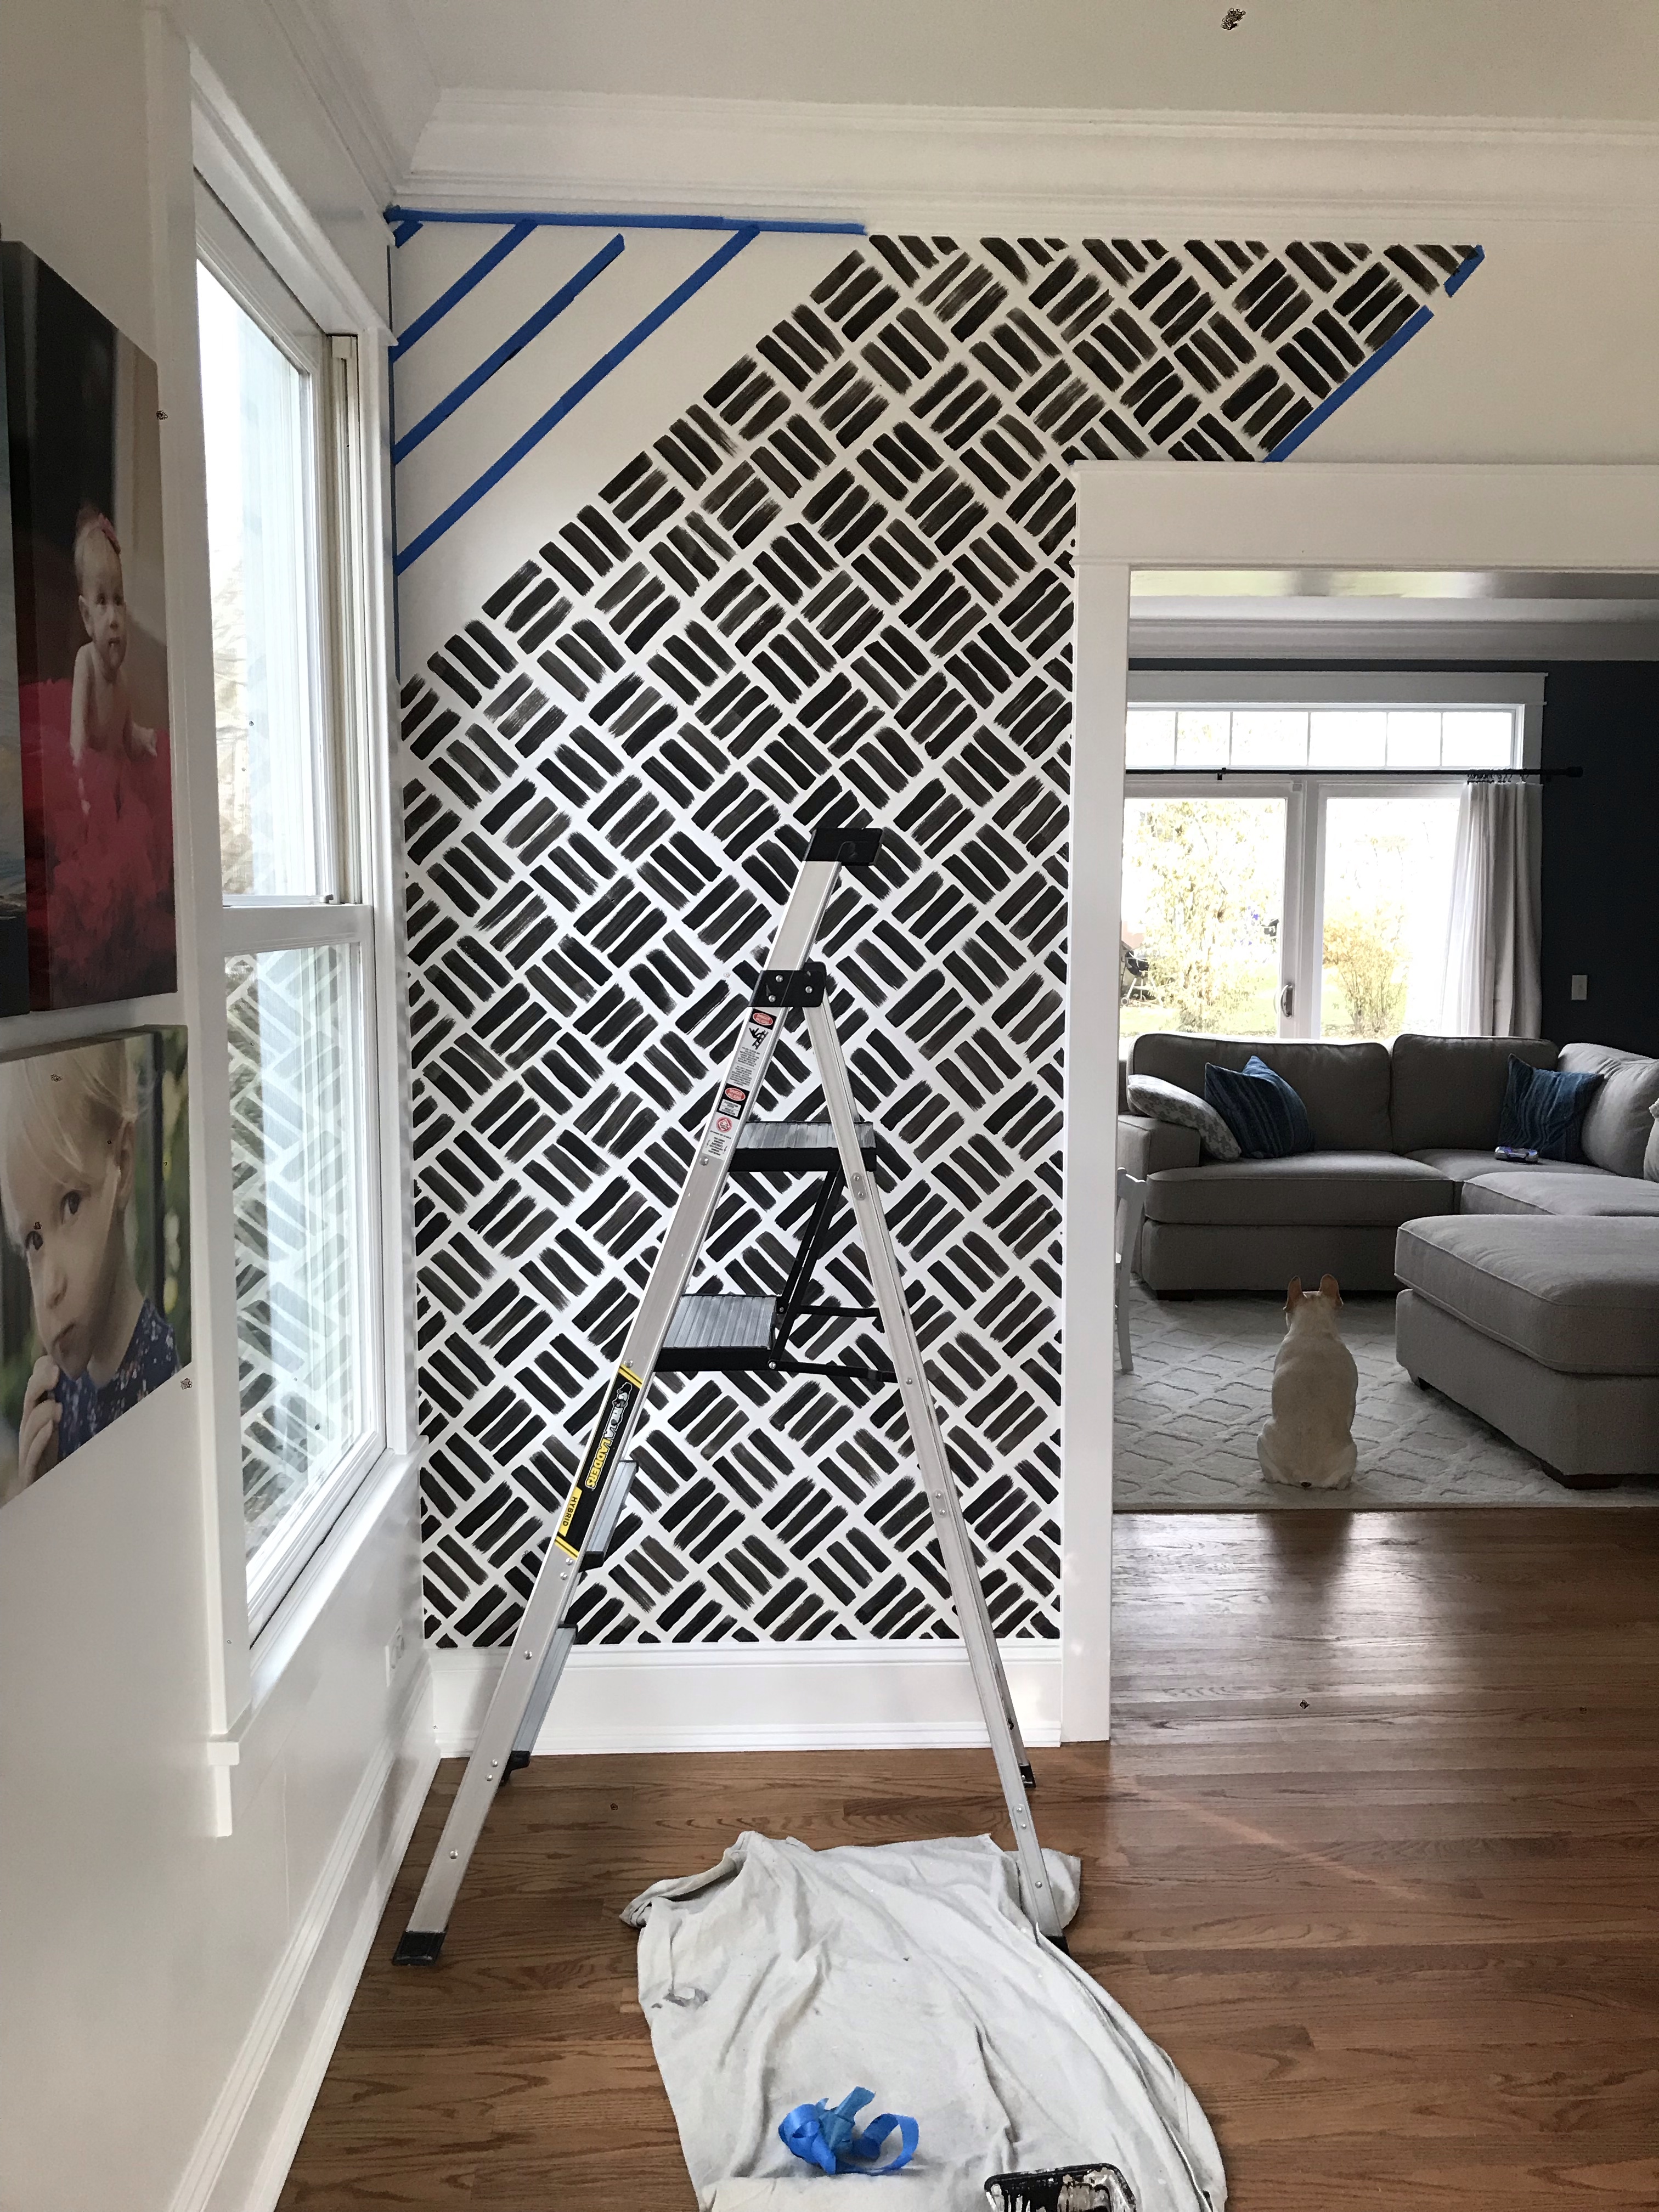
I freehanded my wall, but you could easily make yourself a stencil out of cardboard (or the like) if you don’t have a steady hand. I went for the quickest possible way, and freehand was it. I was smart enough to know, however, that my wall is so large that I’d need to tape myself some guidelines–and I’m glad I did because painting this was tough. Read: Hypnotic. It made my eyes blurry a few times 🙂
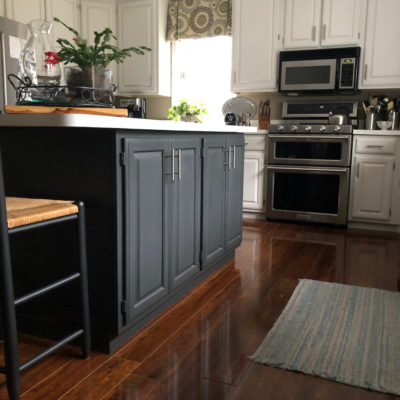
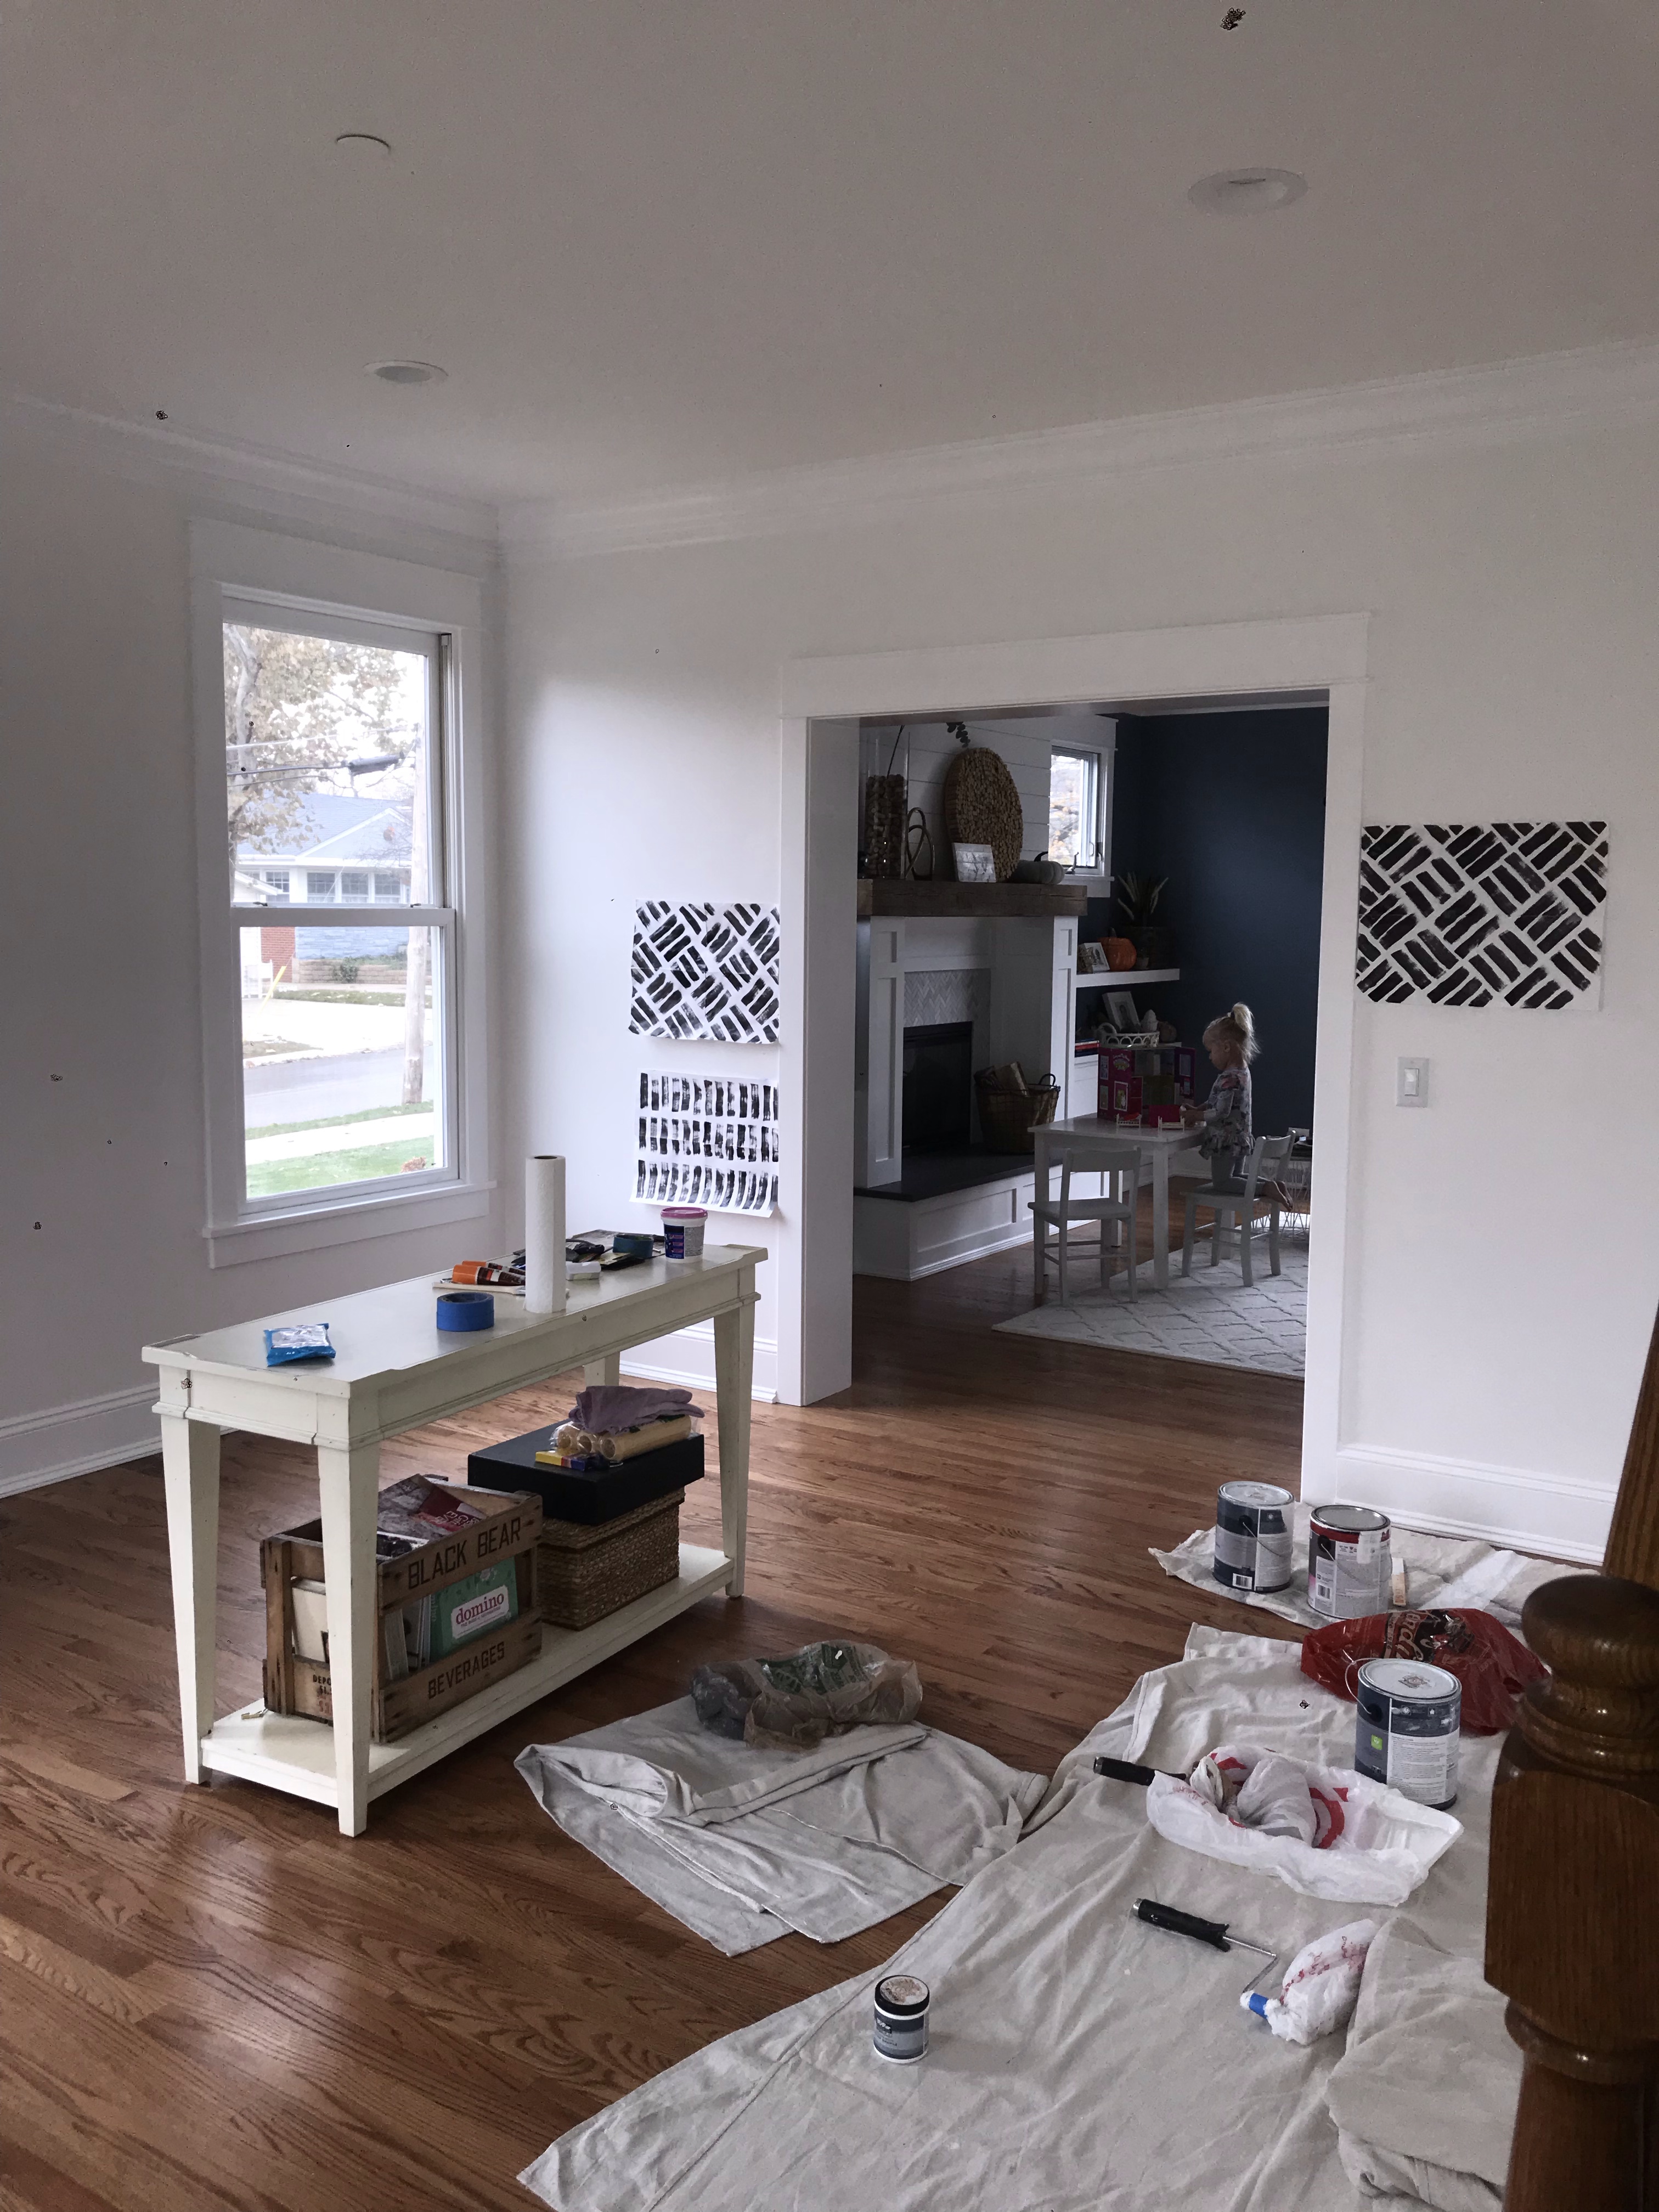
Here are some before pics. Unfortunately these are from the opposite wall in the room, but you get the idea of the old, brown trim and general boring-ness.
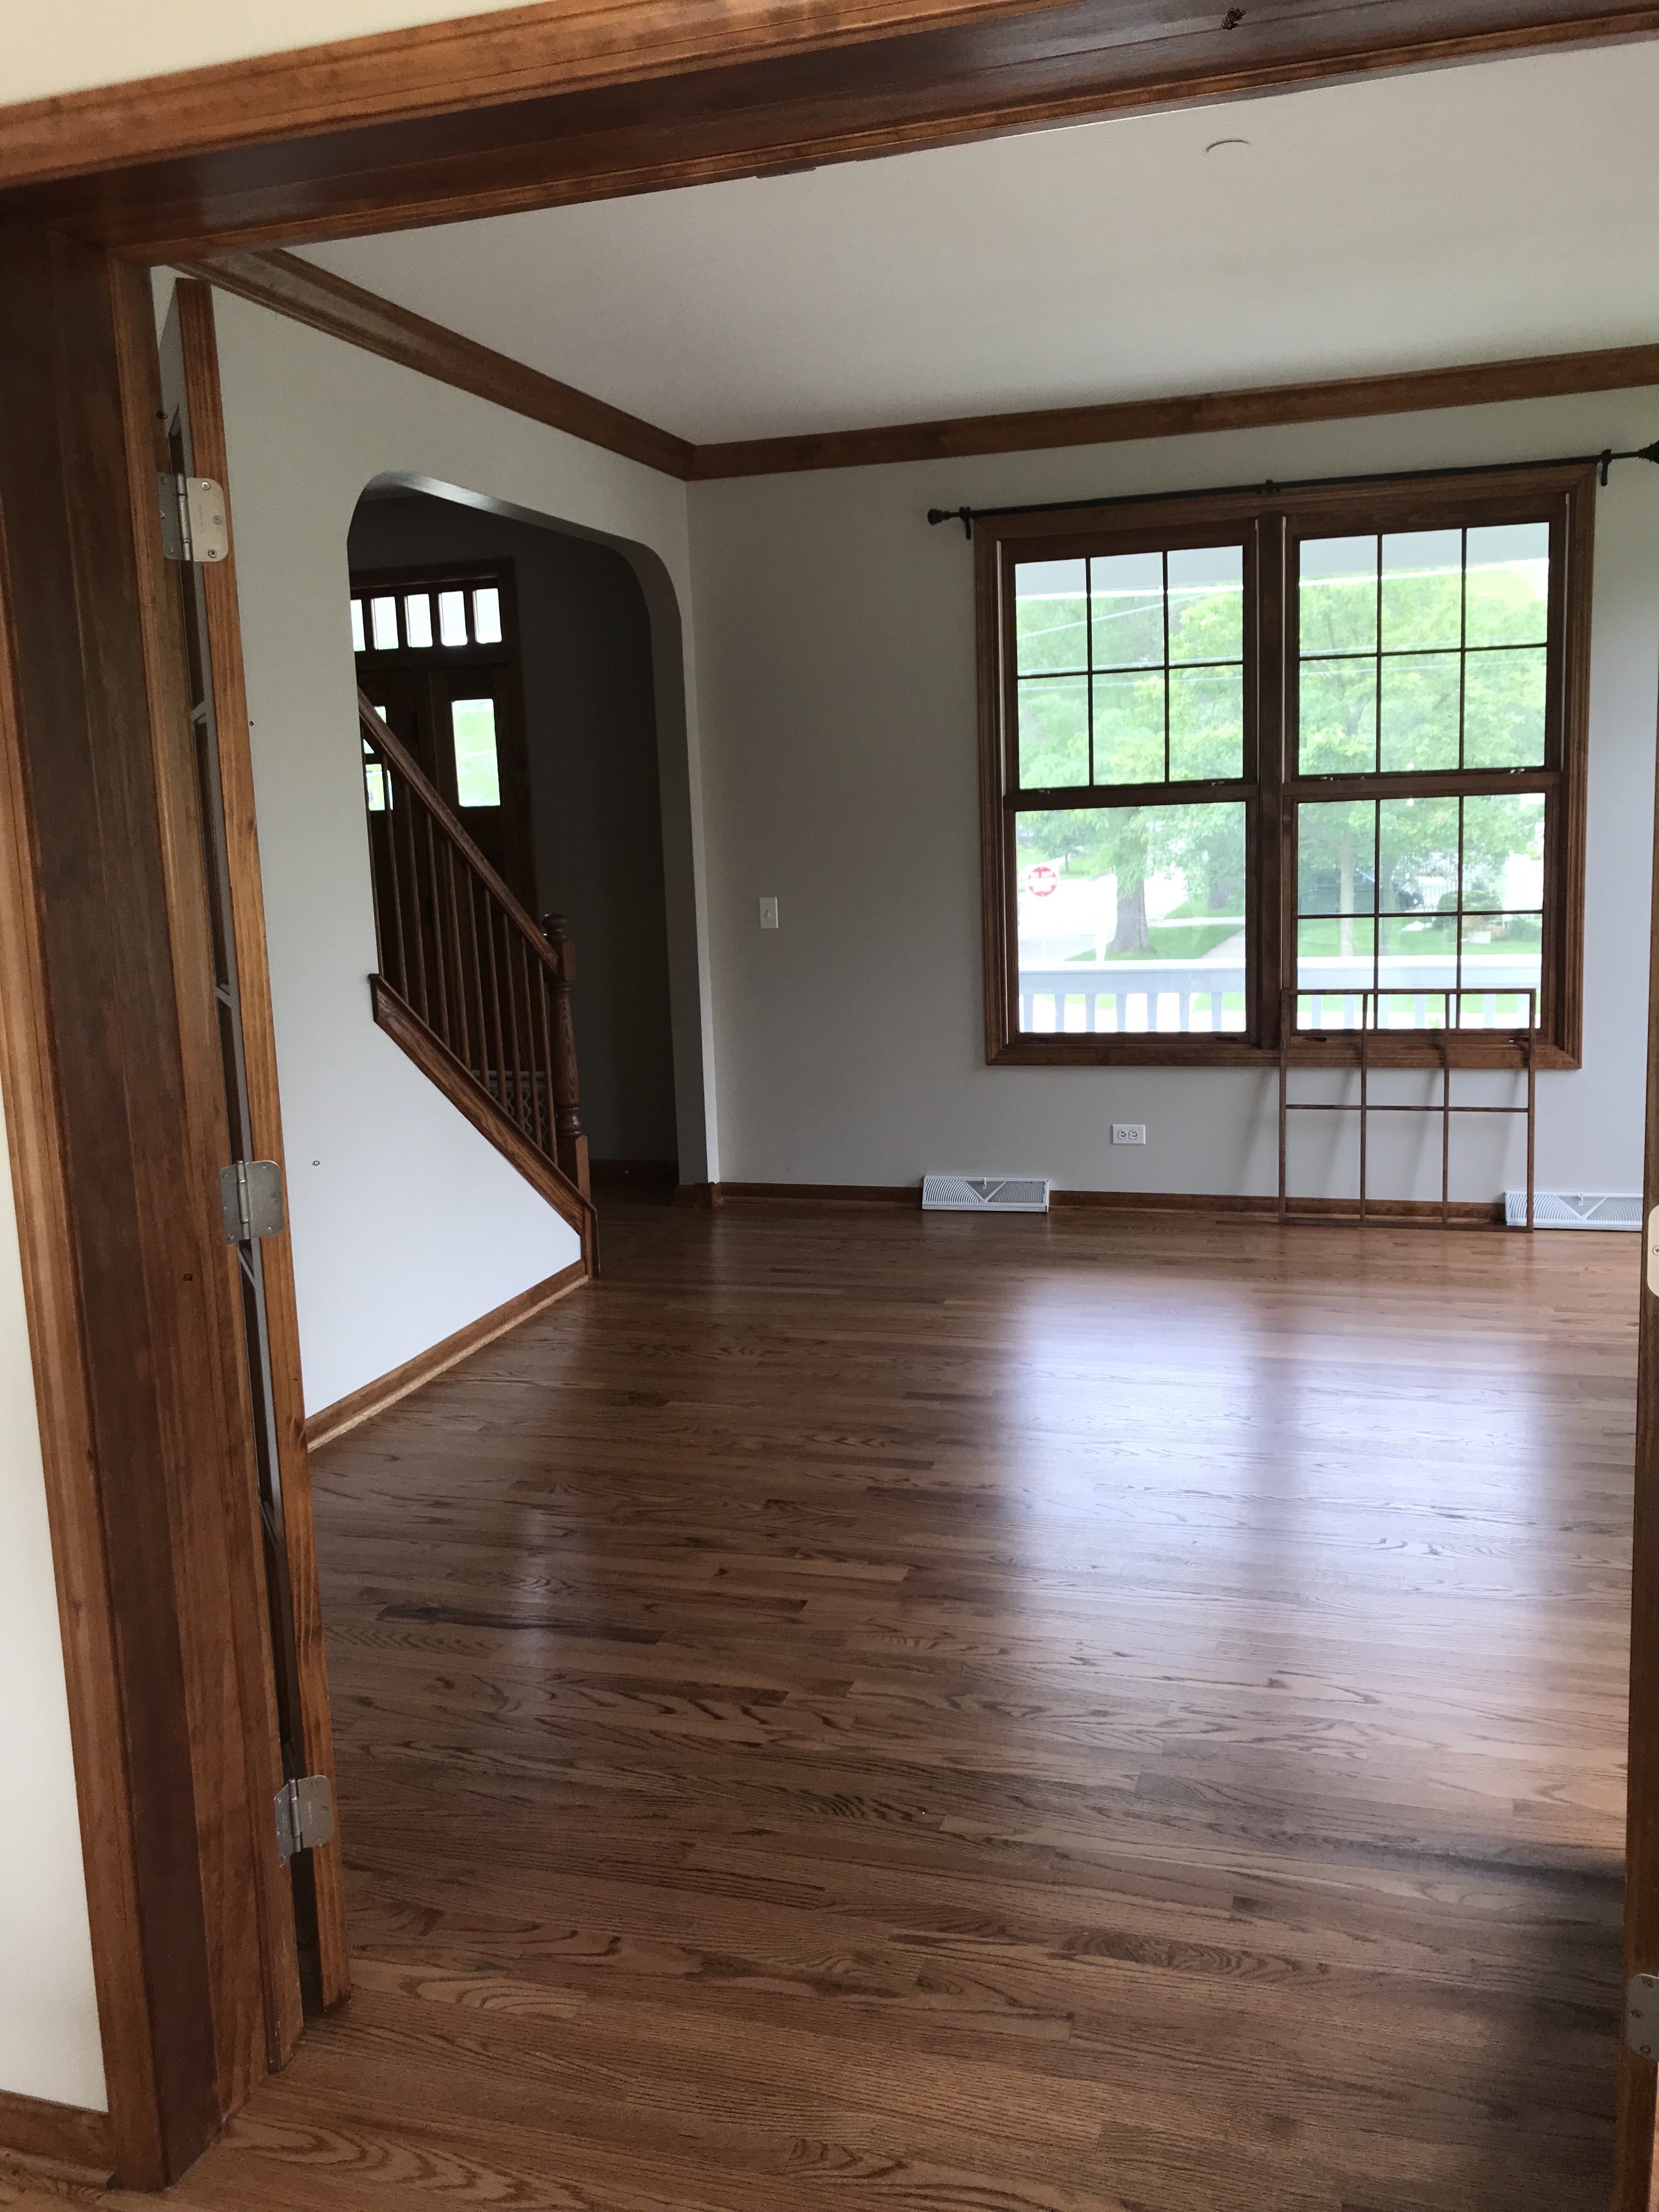
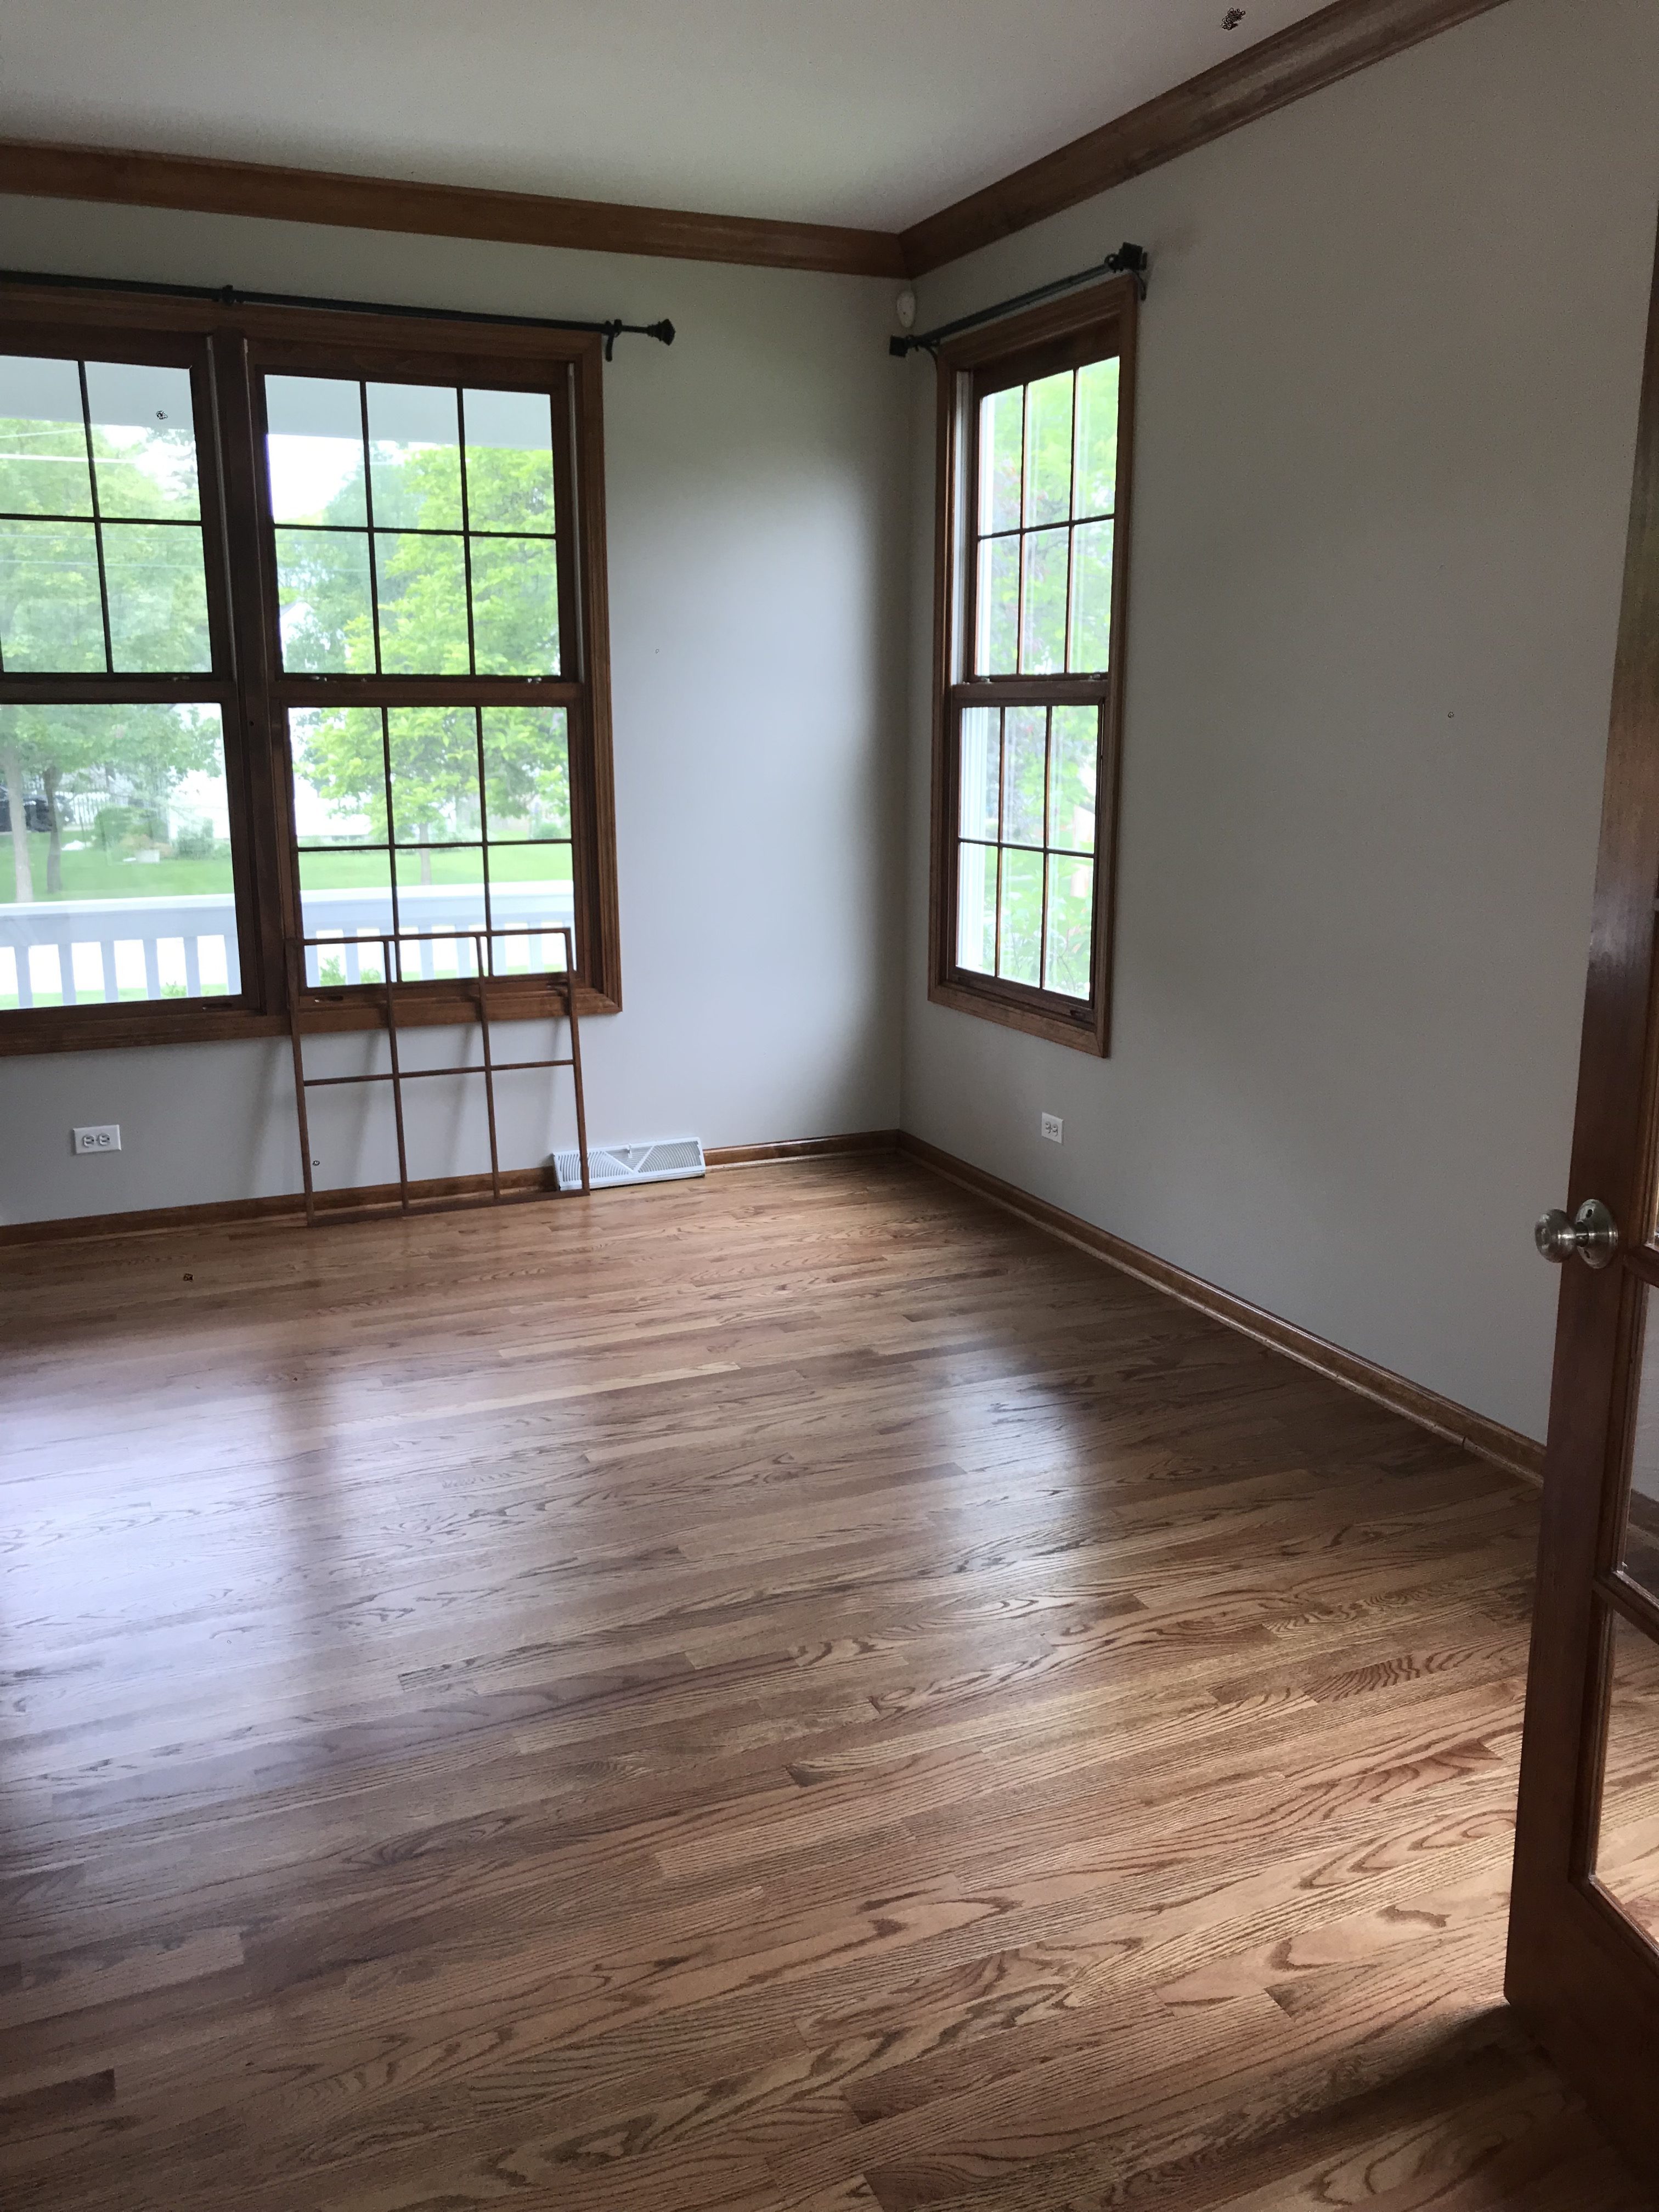
A lot of other details changed as well, like the color of the windows, the trim style around the windows and entry, the crown and base molding, etc, but that’s for another post. For now, the wallpaper…
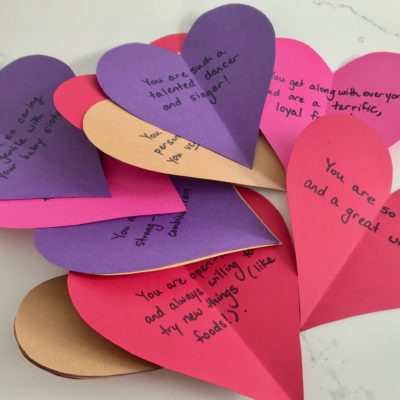
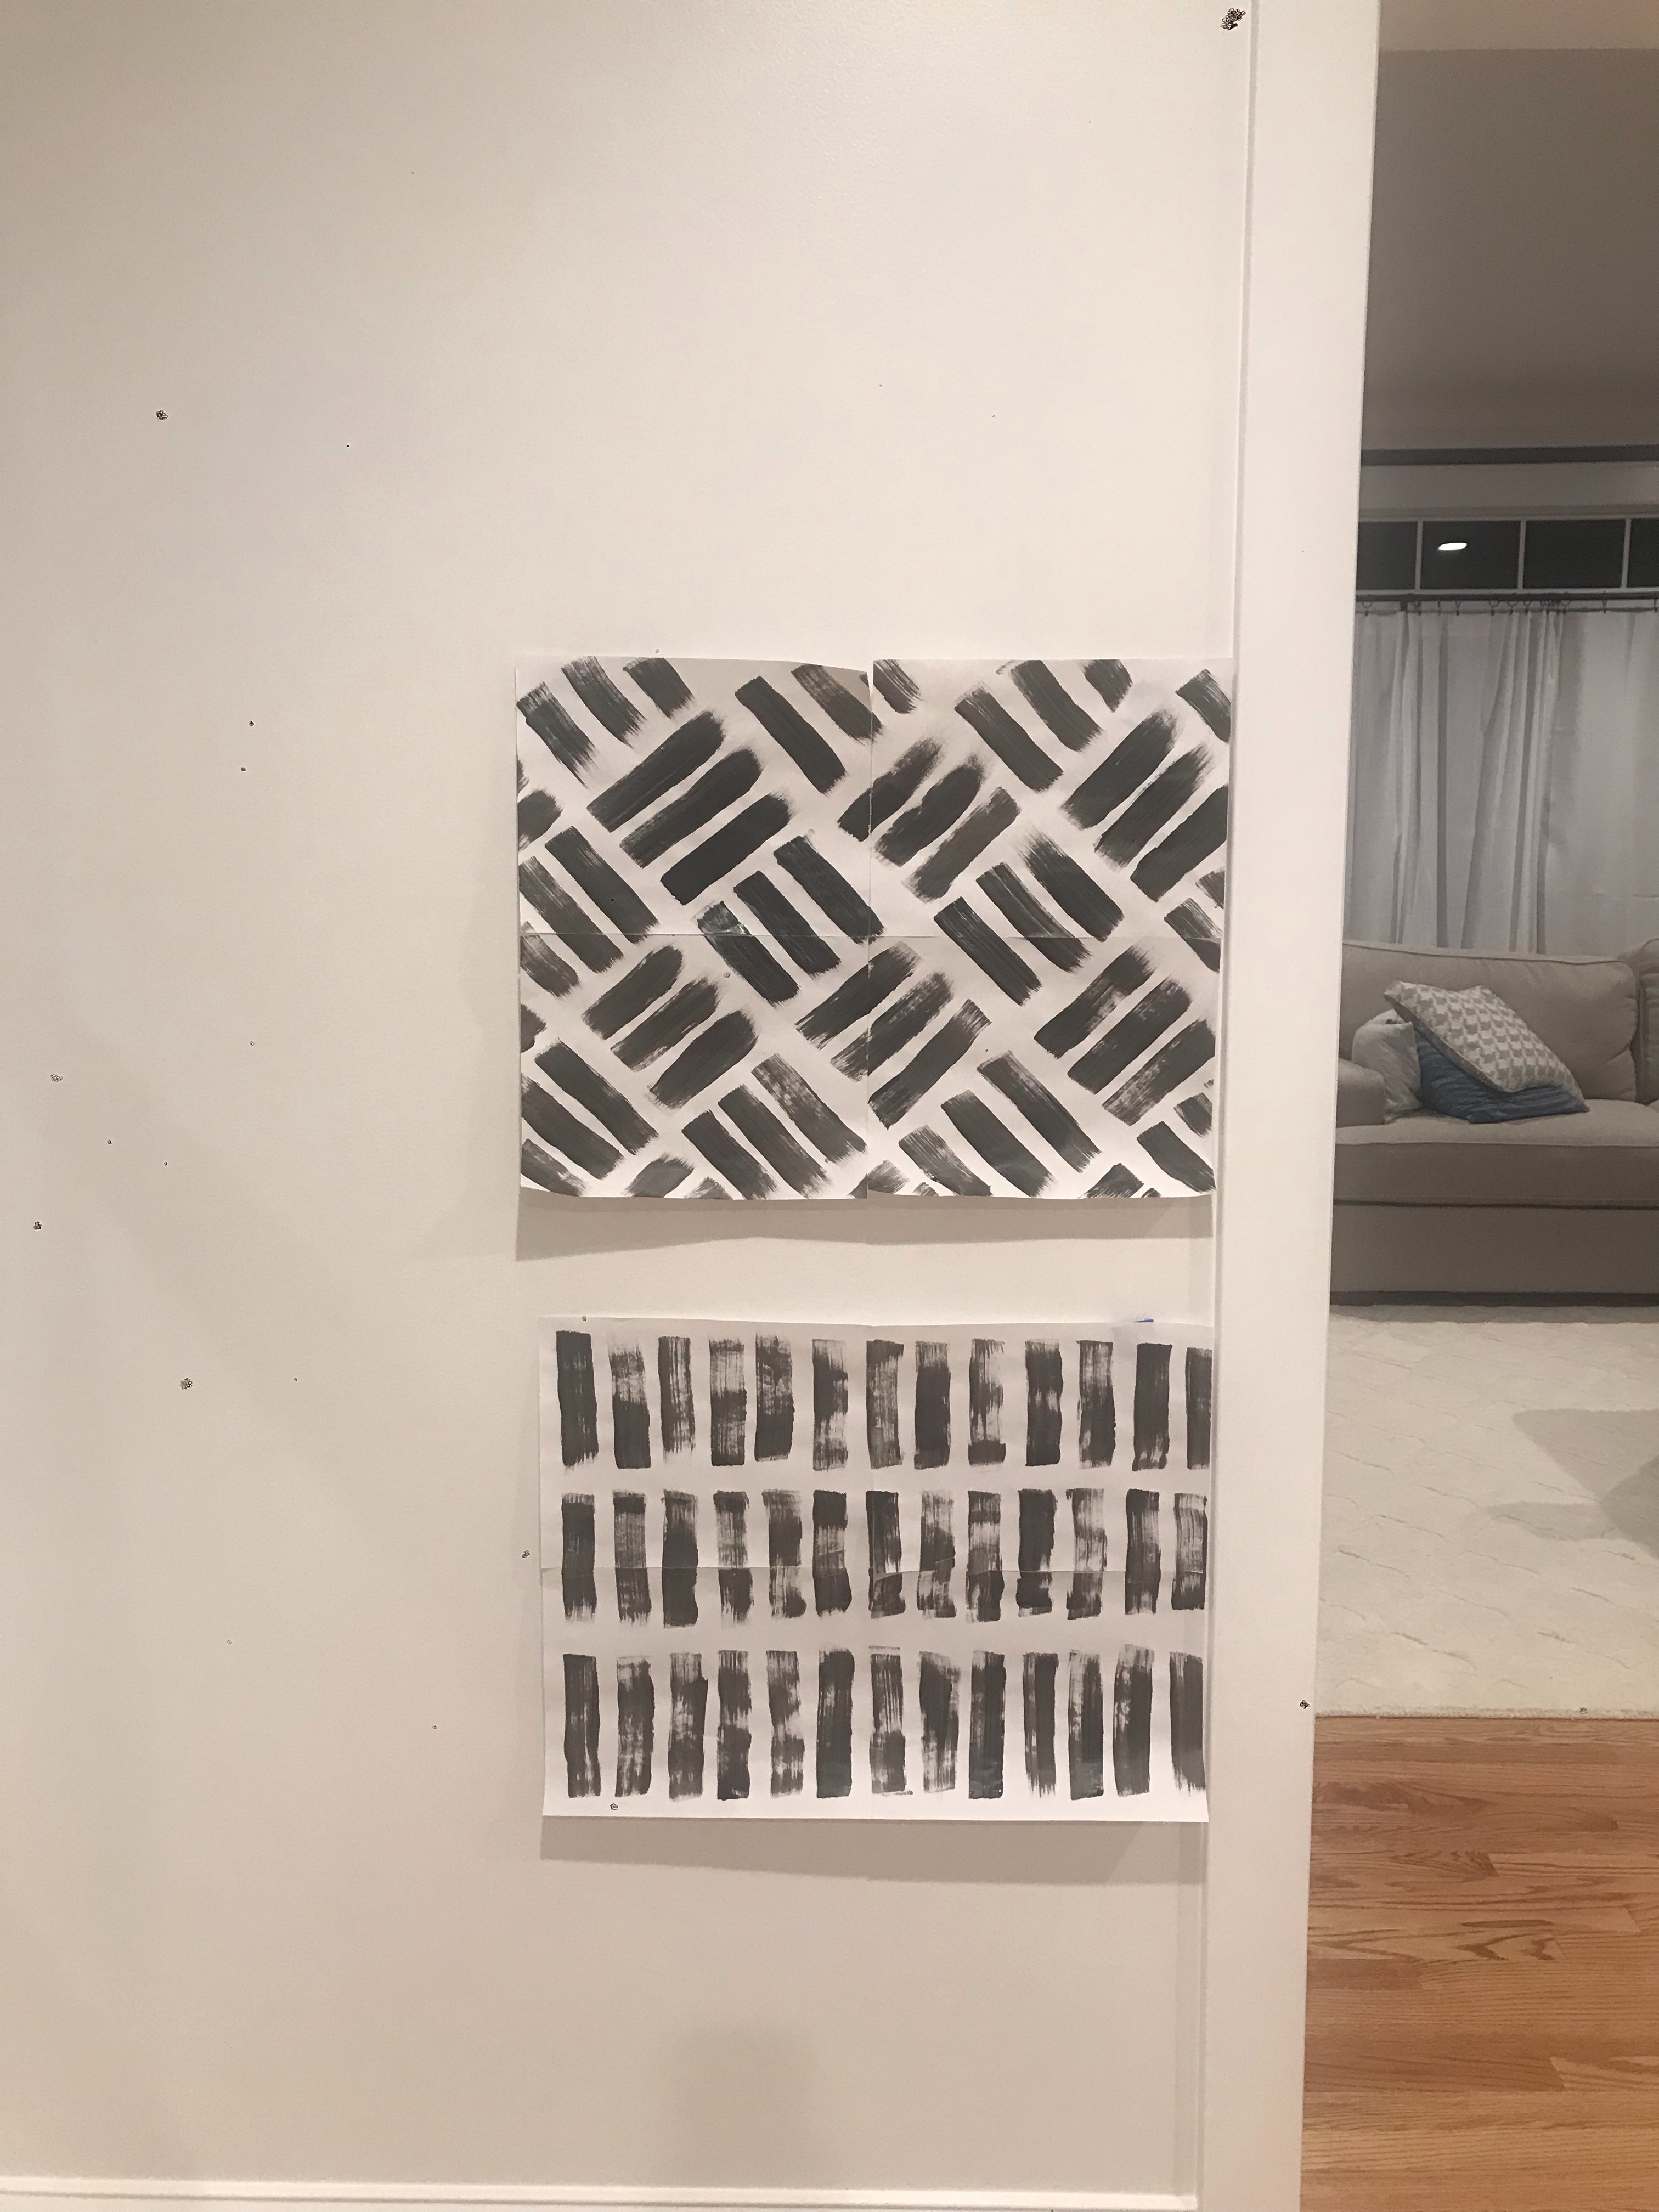
Though I knew I loved the pattern, I wanted to be sure, so I grabbed some scrap paper, painted the pattern and then transferred it to my wall. I tried one other (as you can see below) but this basketweave pattern had my WHOLE HEART!!!
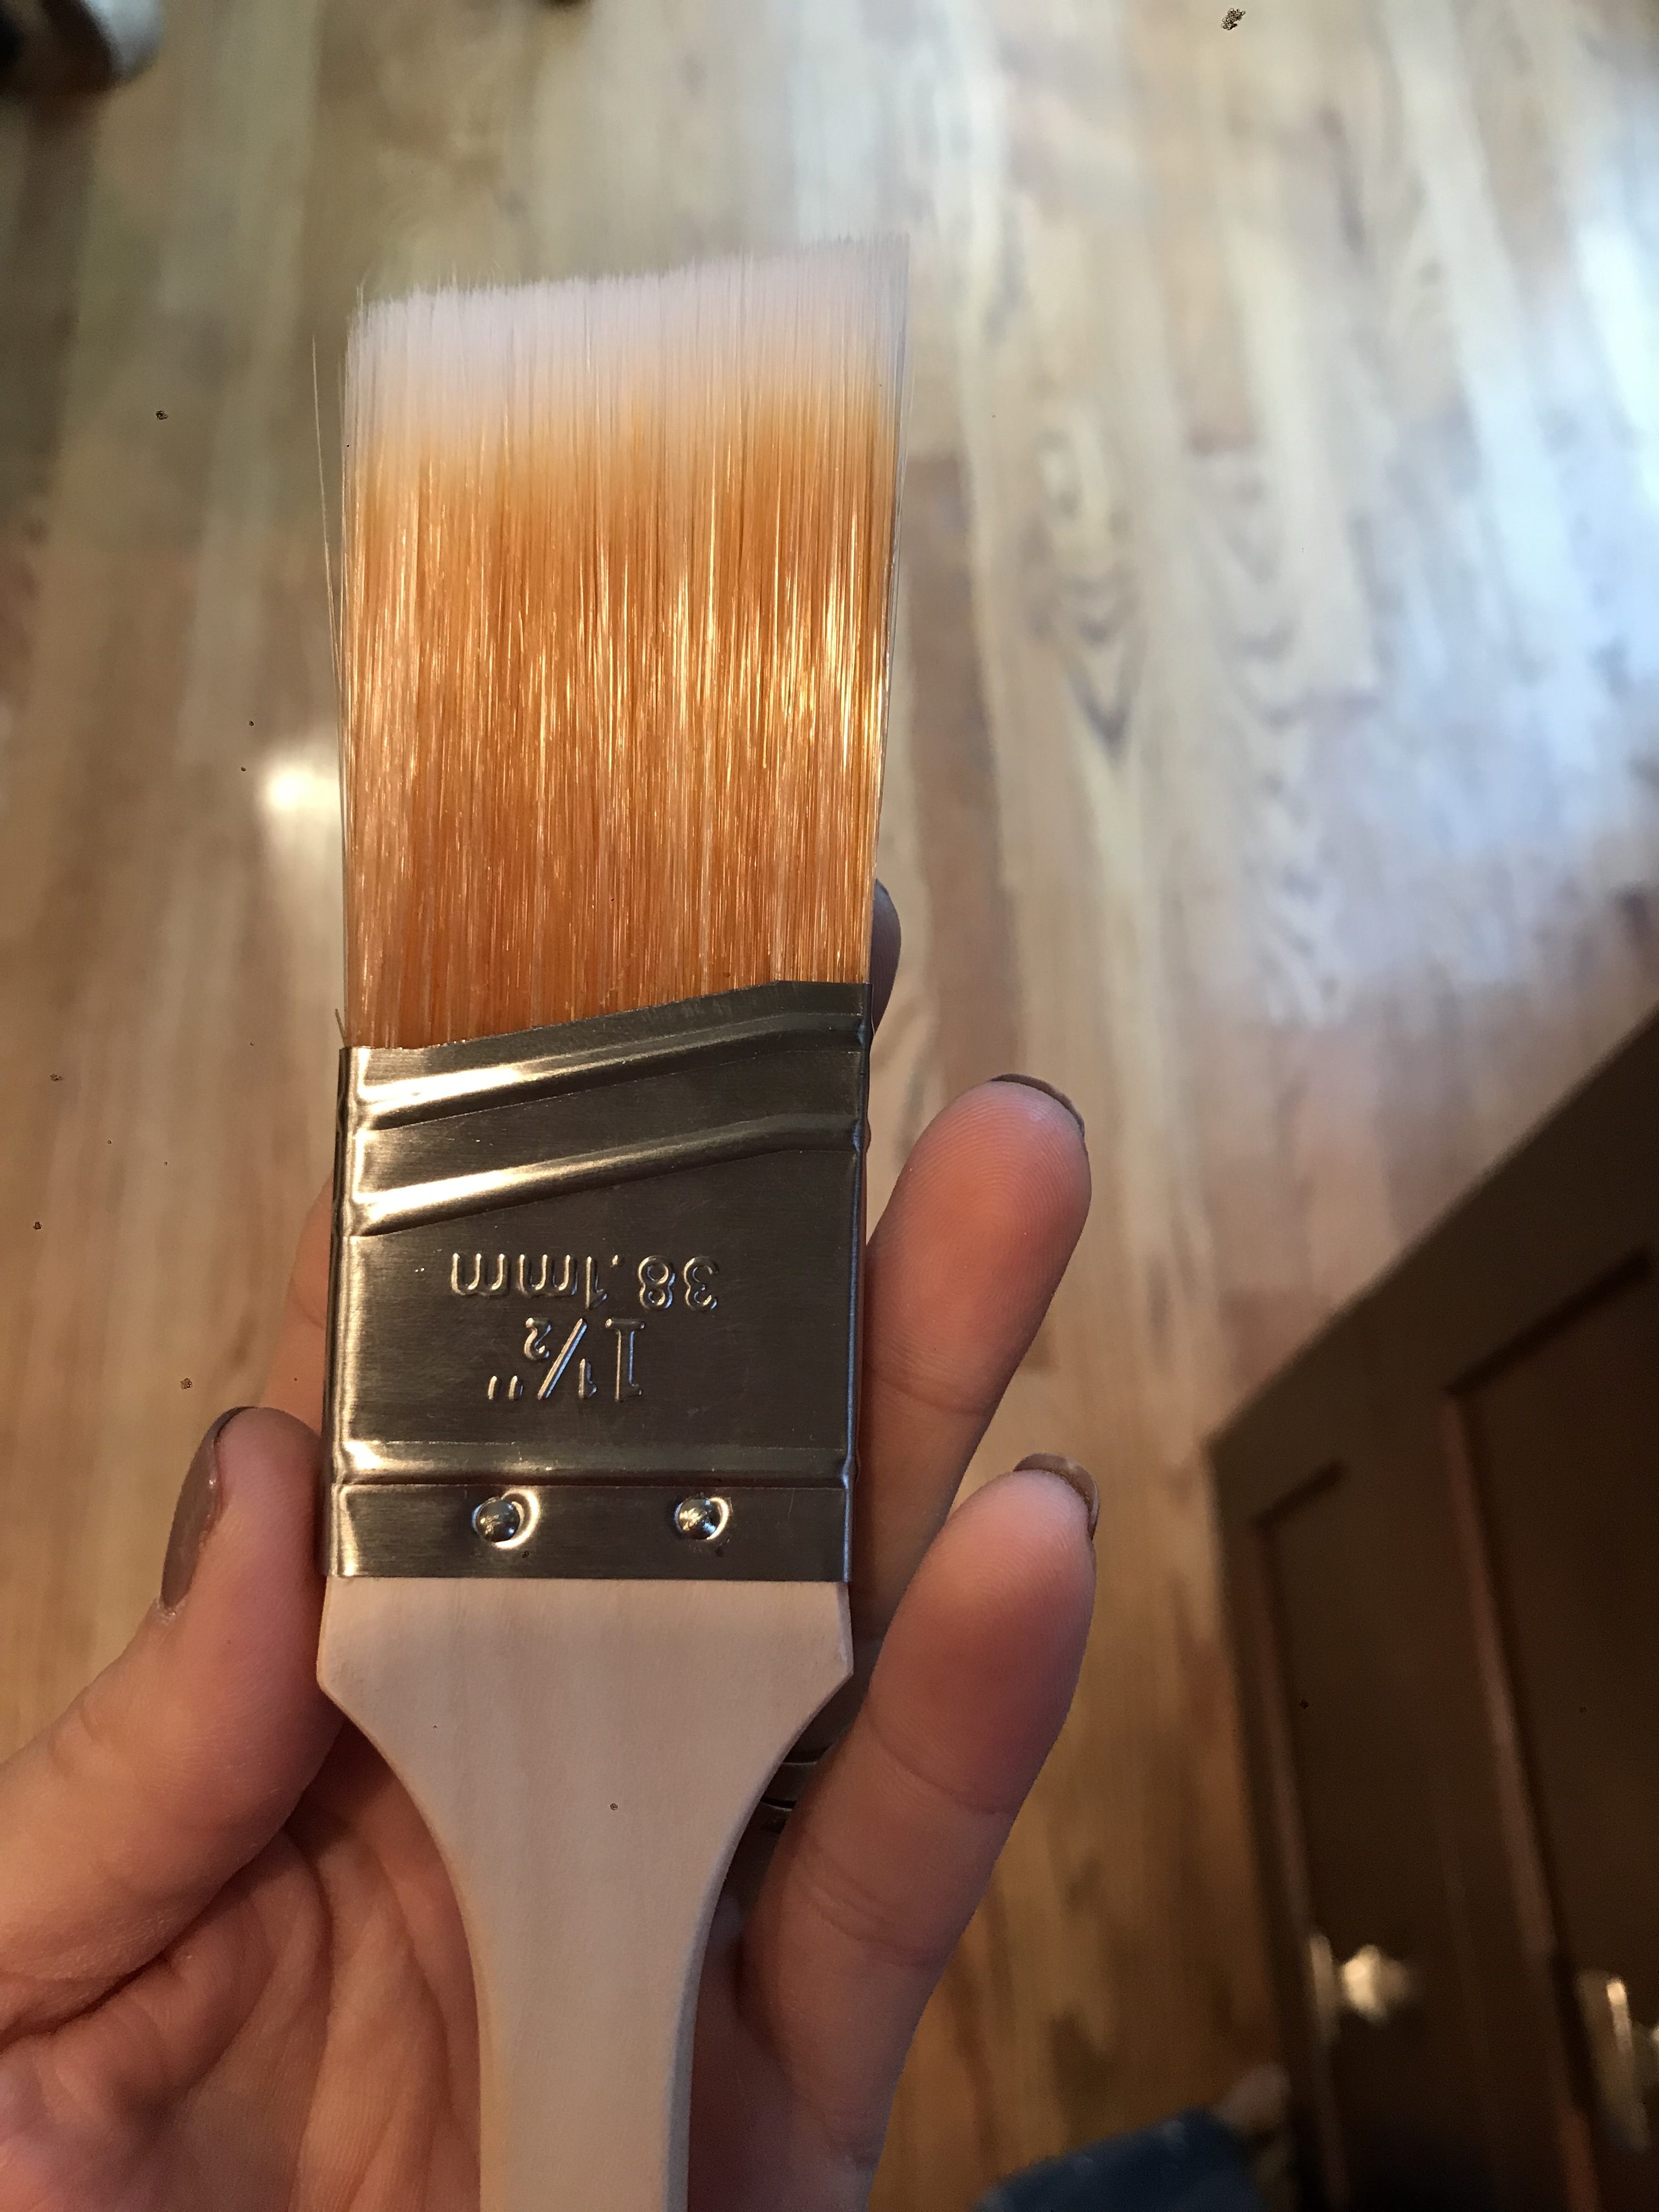
I also experimented with paint brushes until I got the width of line that I liked best. Here’s the brush I chose, but you can use whatever you prefer. I felt a 1 1/2 inch yielded a great result. I can’t find m brush currently, but these ones would be a great pick. Whatever you choose, test it out first.
I did shape this “semi-accurate-shape-thingamajig” (technical term, of course) as a check-in every so often. It definitely helped. But honestly, if you are freehanding, you just kind of have to trust yourself, and go for it.
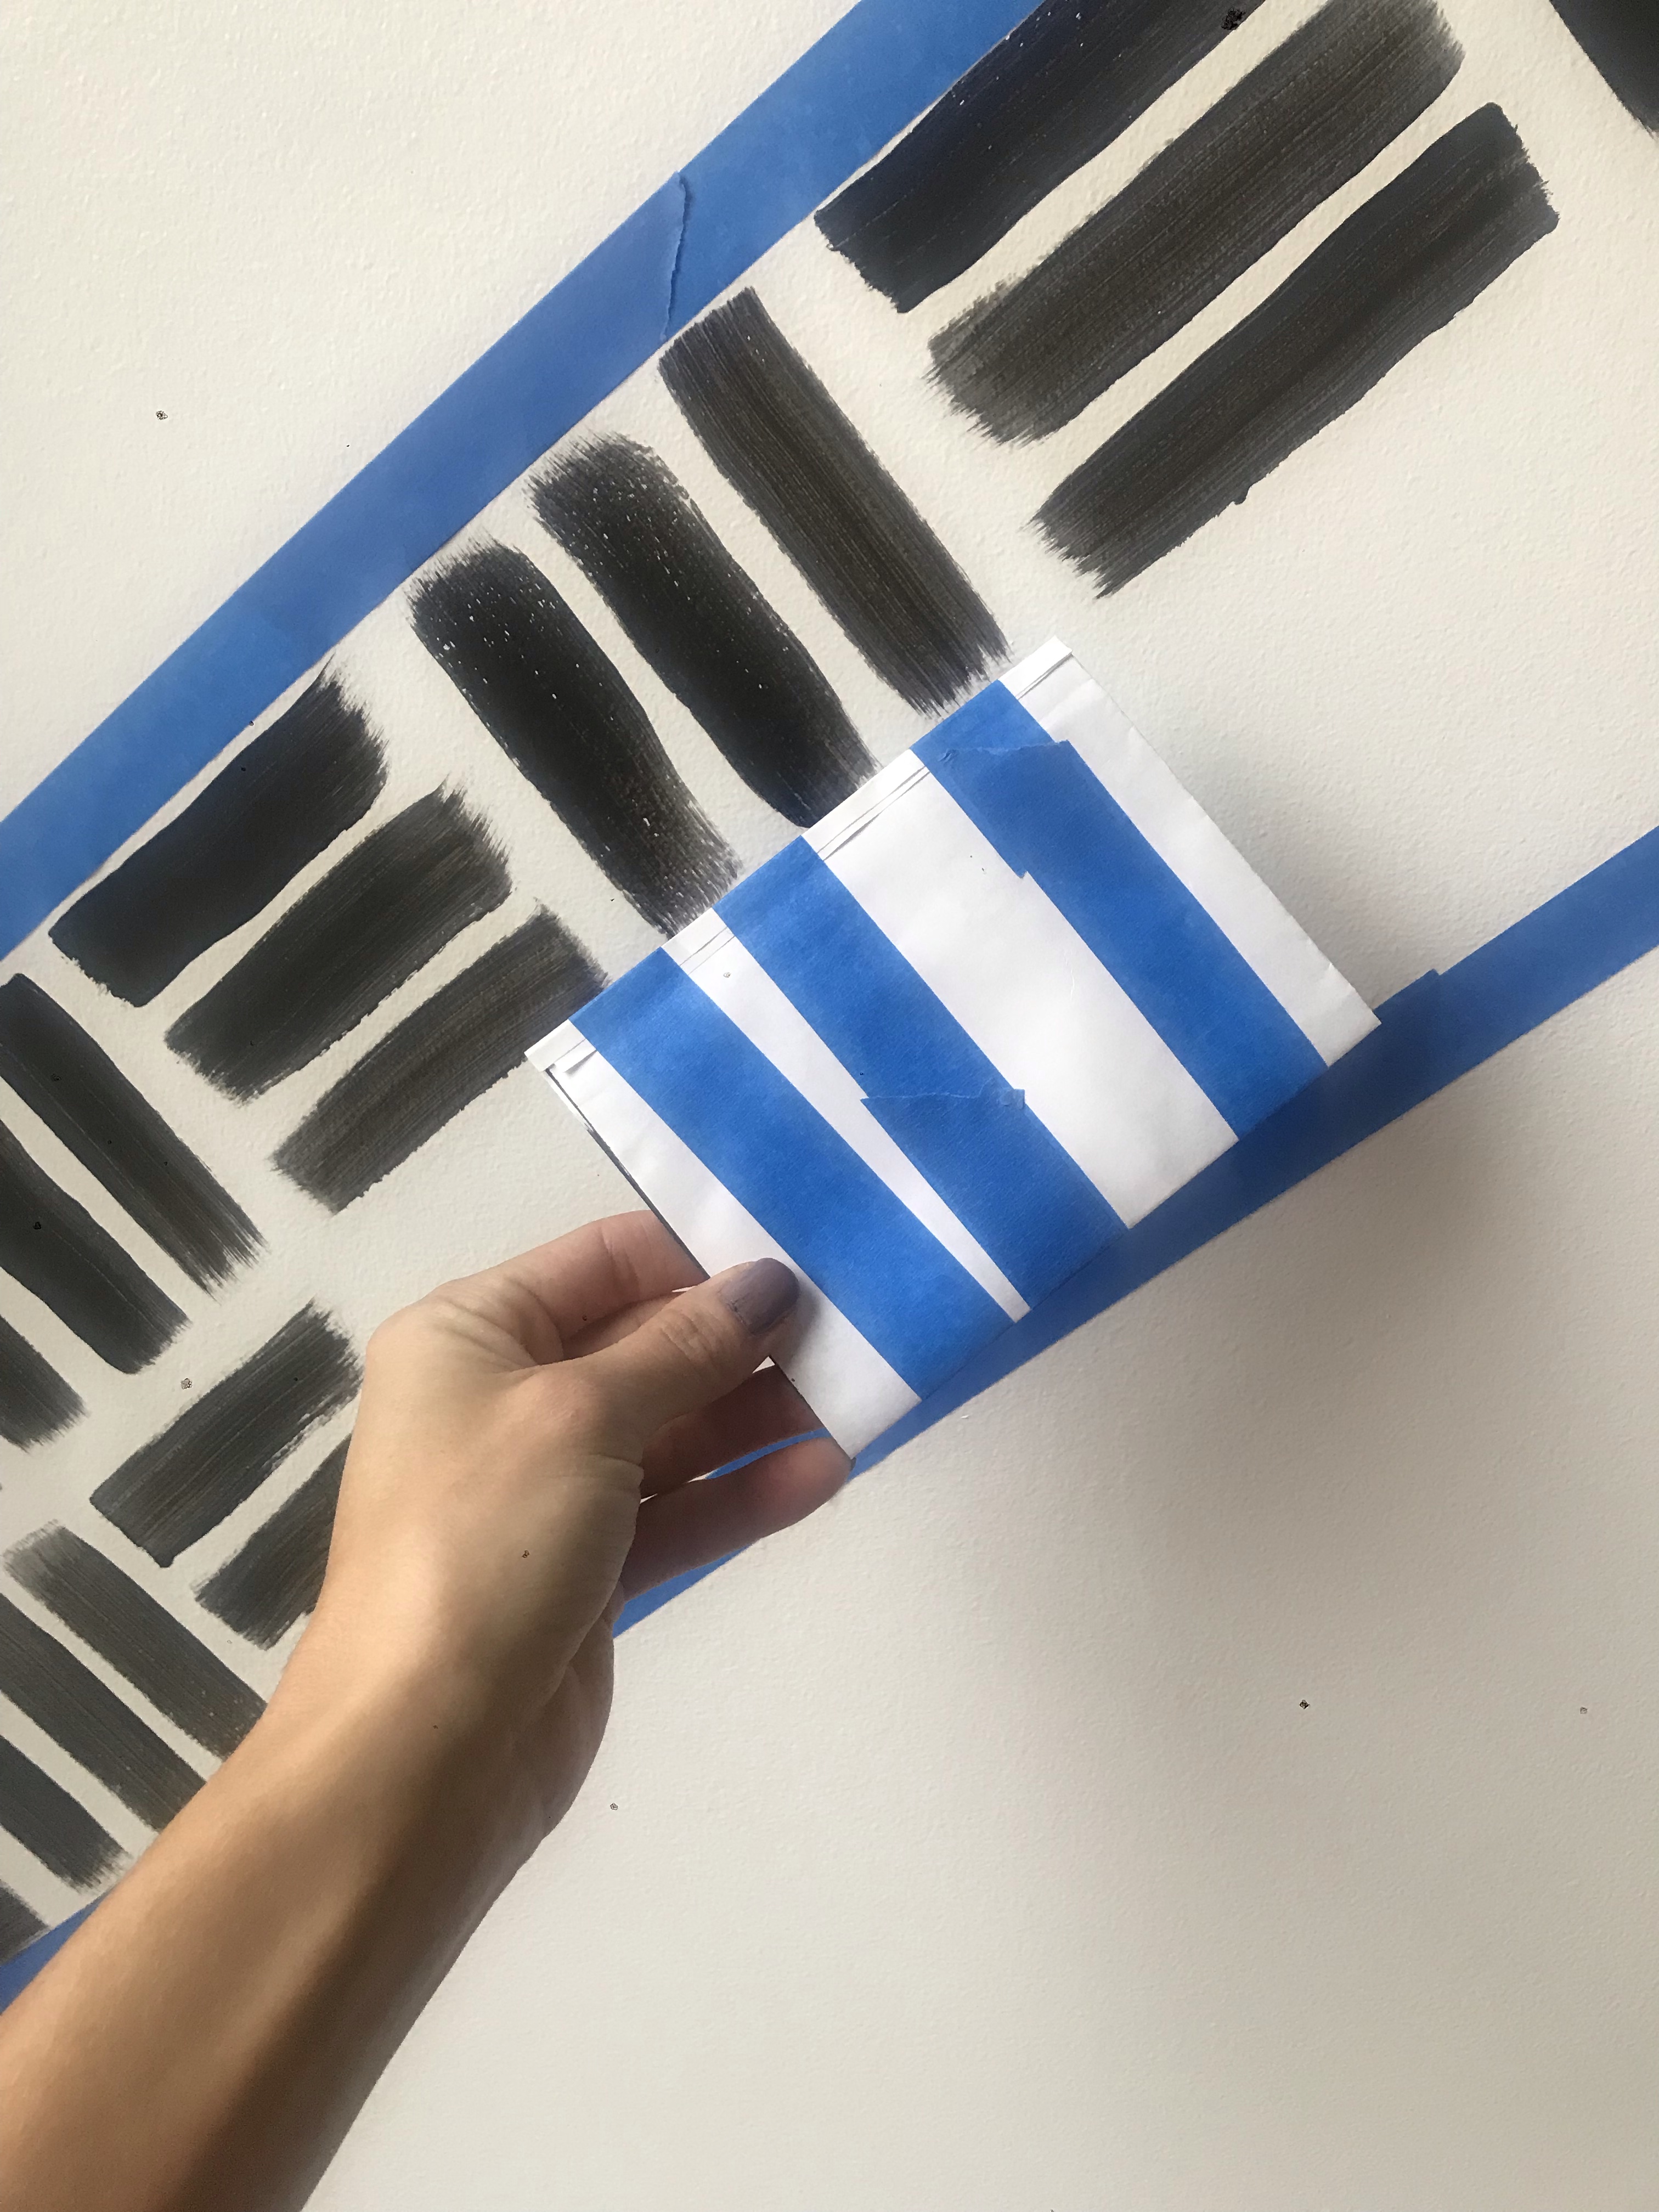
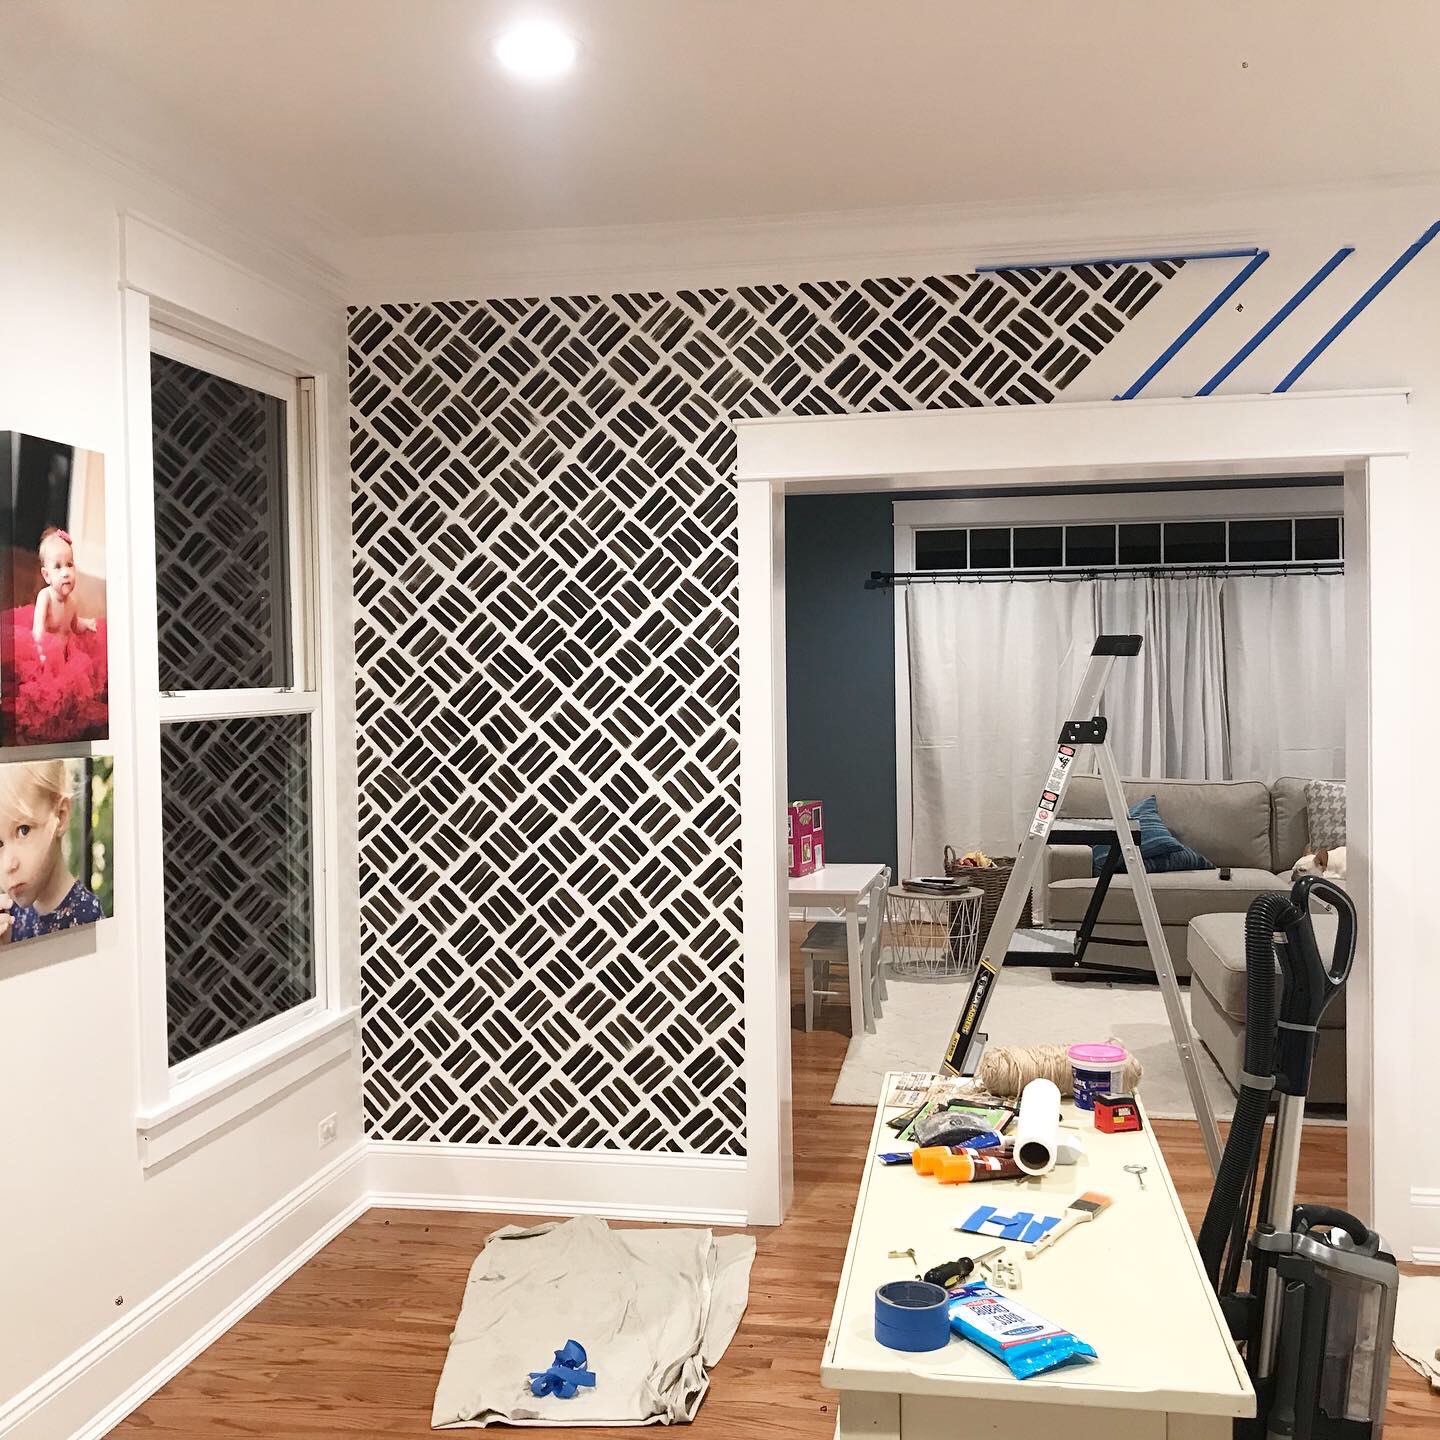
Here are some in-progress pics, and you can see the longer guidelines that are necessary, in my opinion, to ensure your lines don’t start getting all wonky and crooked and nutty. I also taped off any trim, including the crown and base to make sure my pattern spanned the whole wall. This makes a huge difference in looking like actual wallpaper.


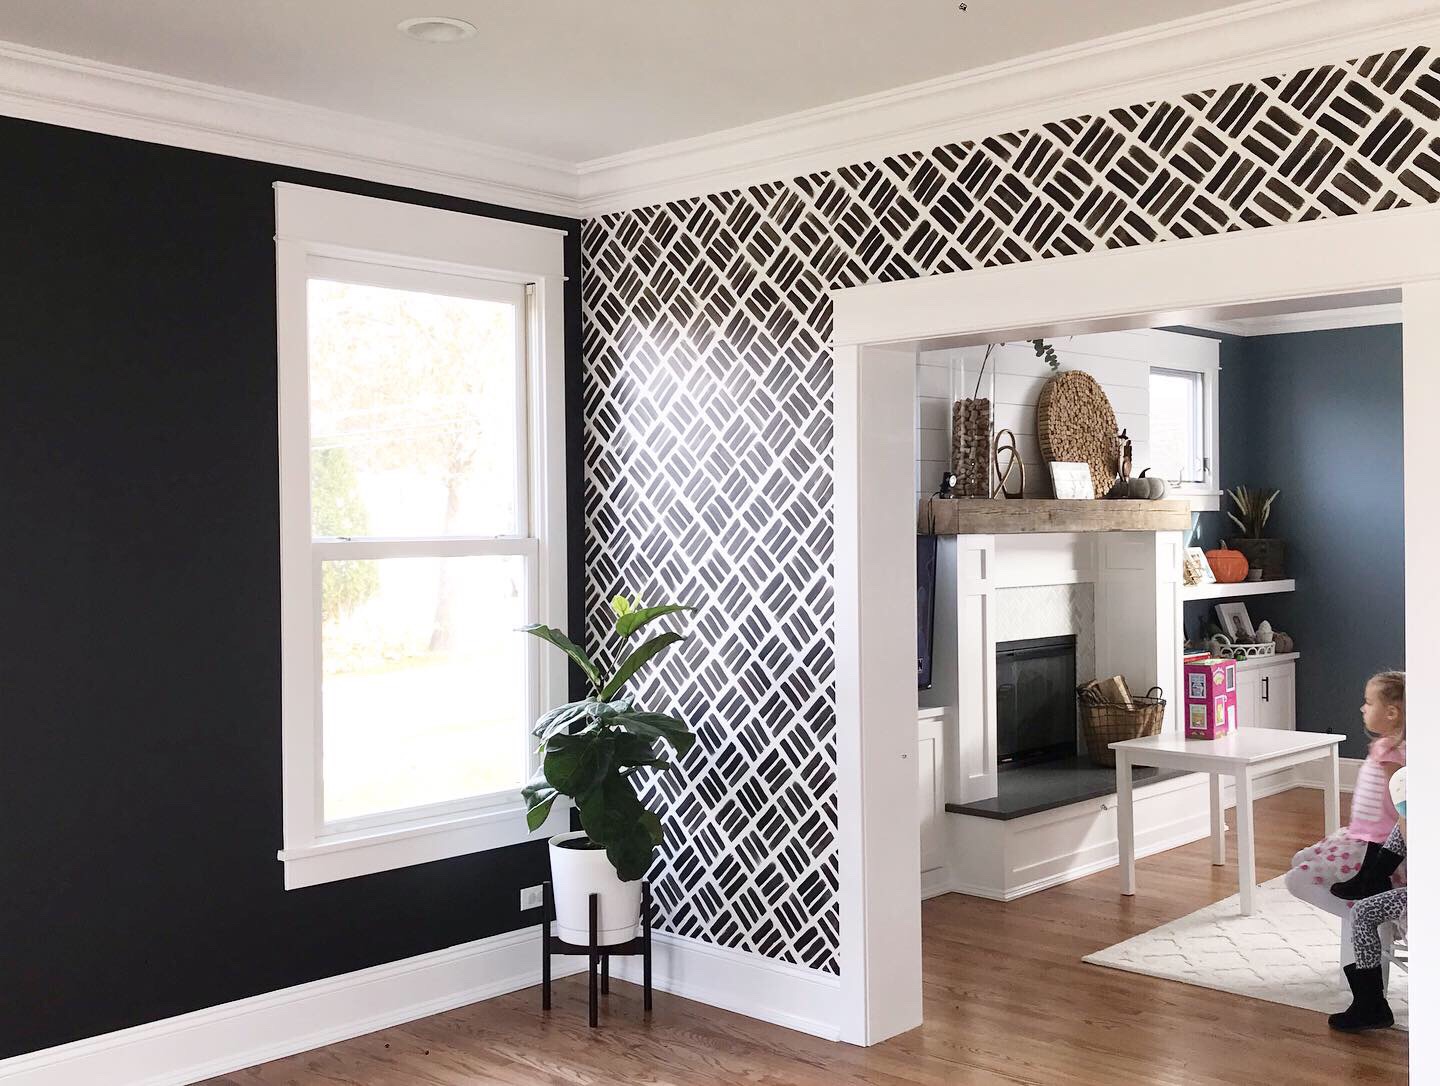
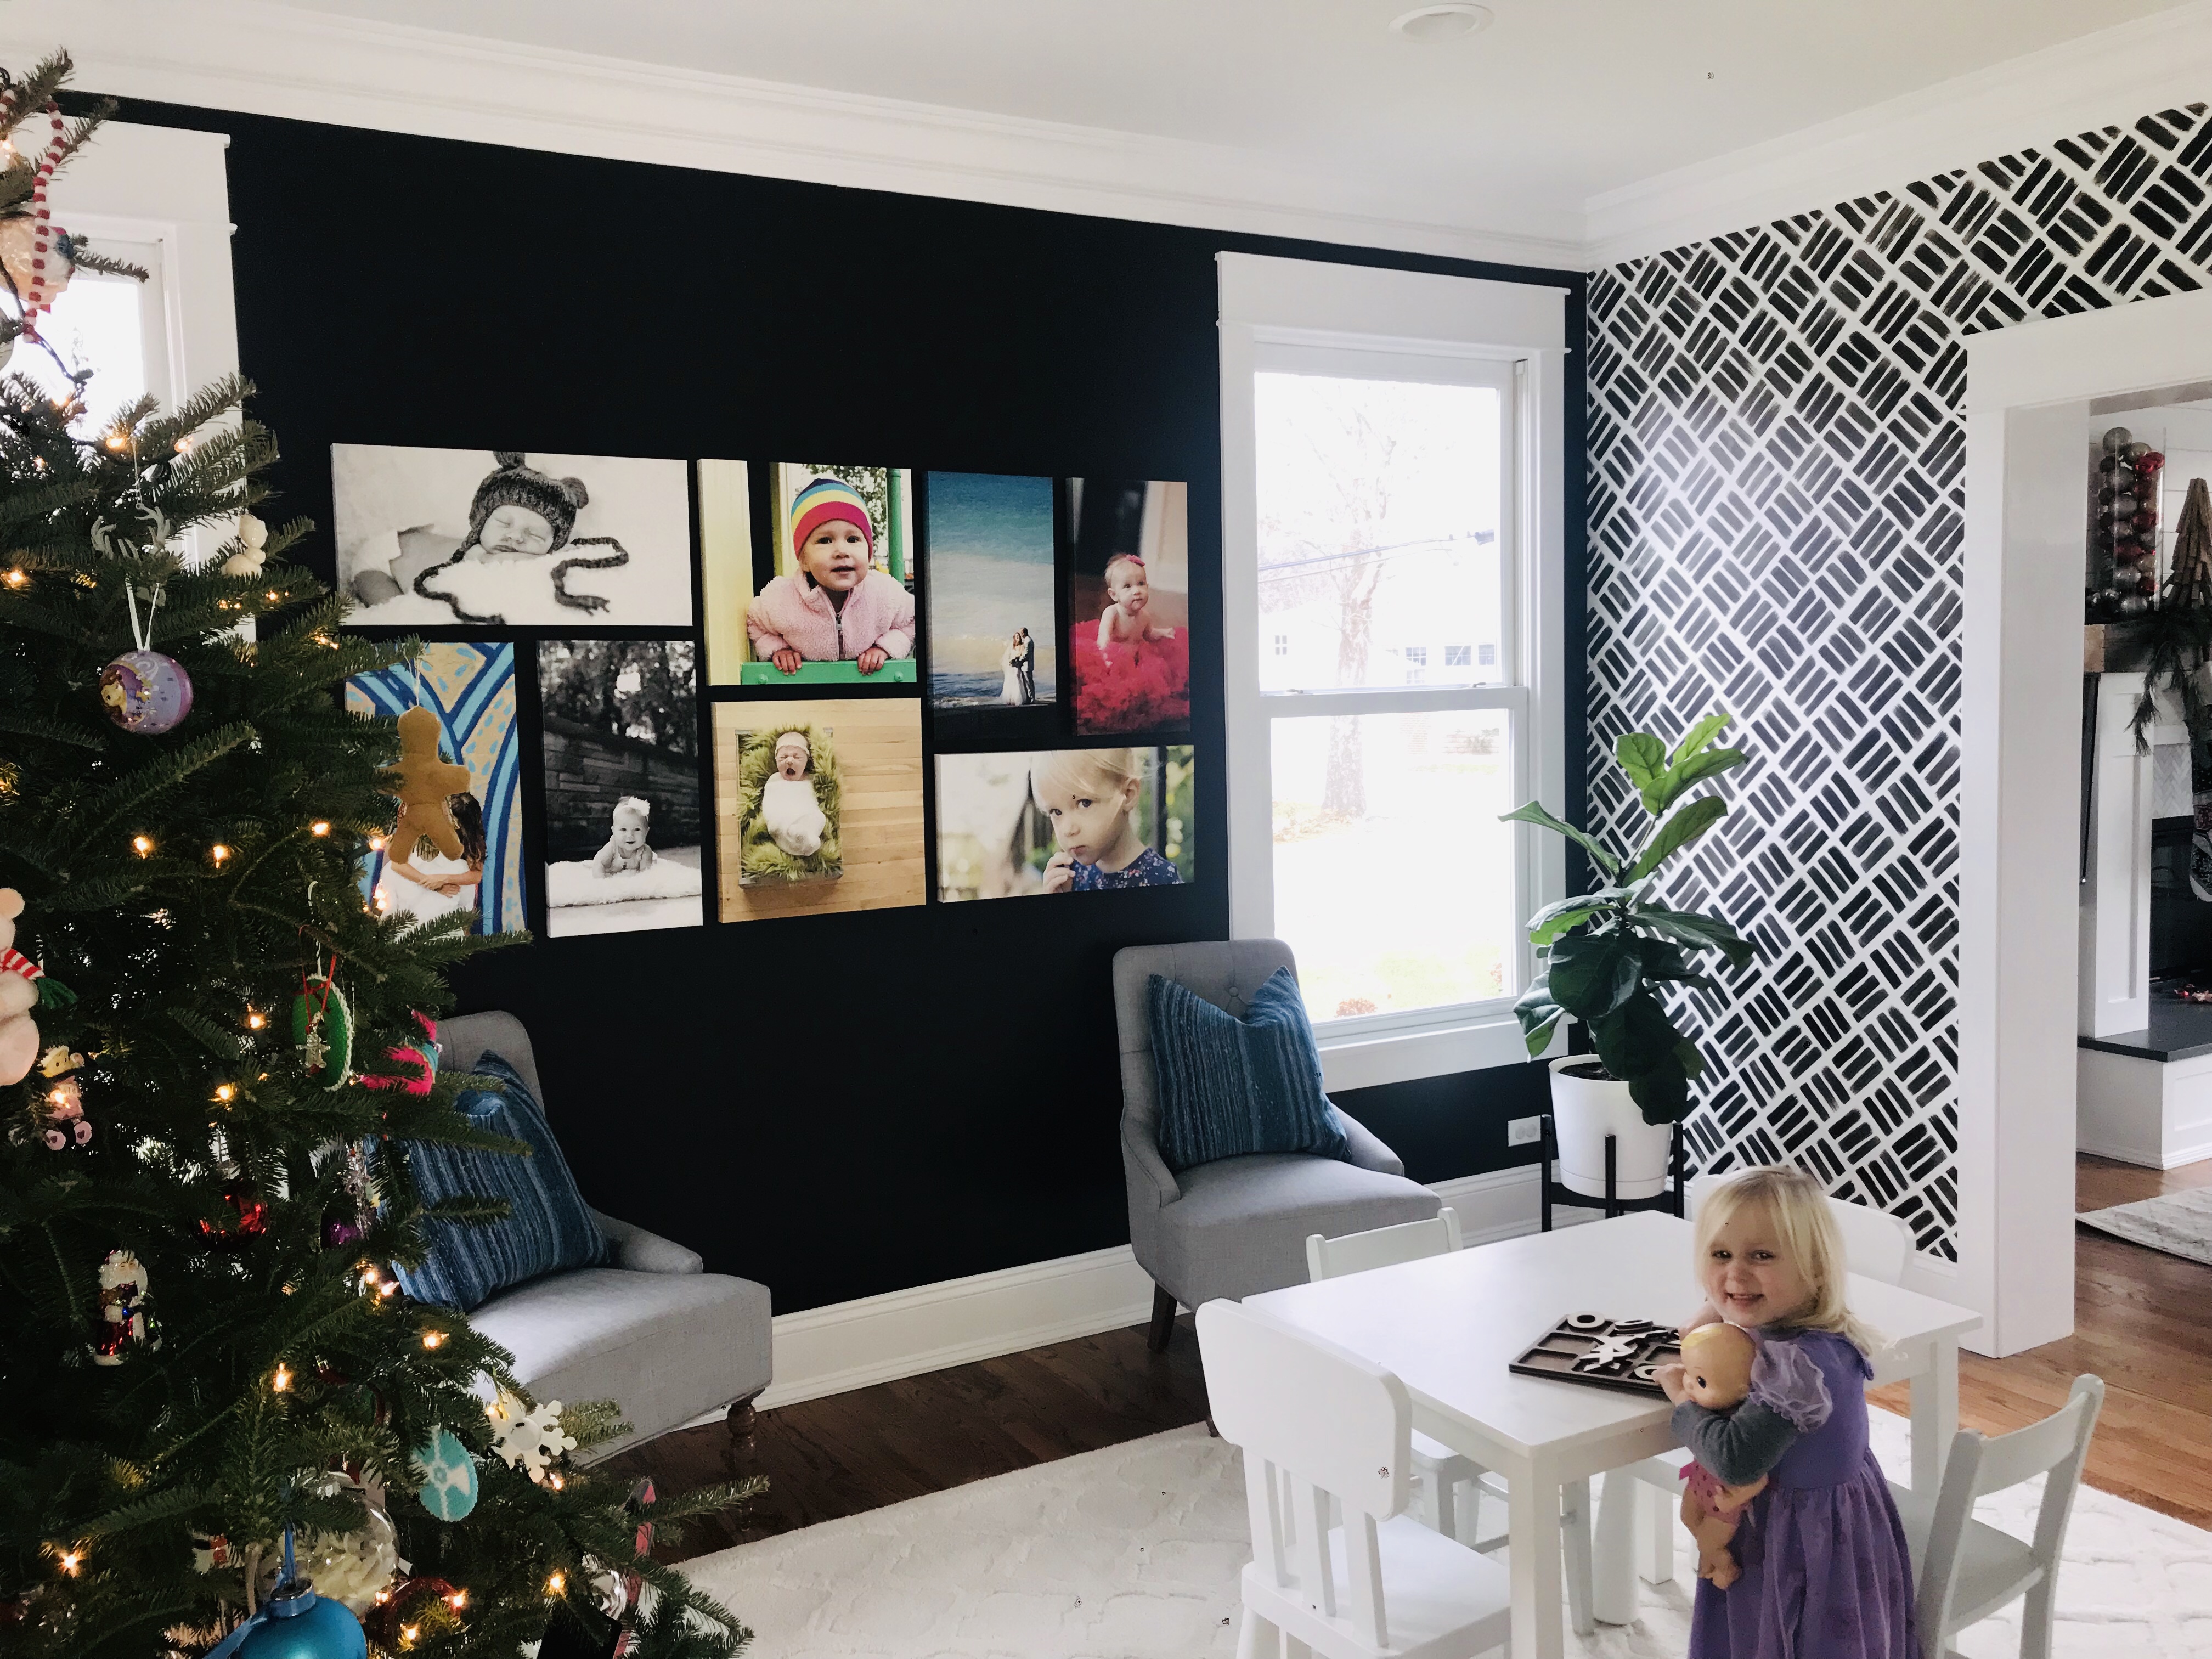
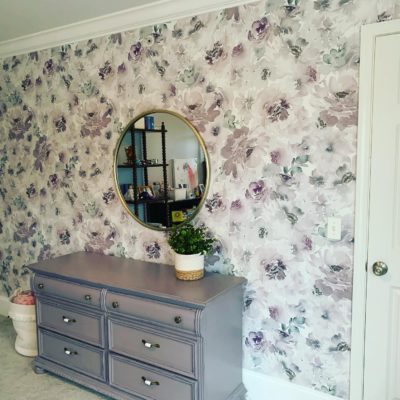
Overall, I finished this project in under a week. However, I usually only painted for about an hour at a time, so really, it’s not bad. Just takes some patience! Here’s a look at the final room. Enjoy, and happy painting!!!


I love this so much, I am going to try it in my entrance way!

2 Comments