Previous post
too many ideas. too little time. (and far too much chai.)

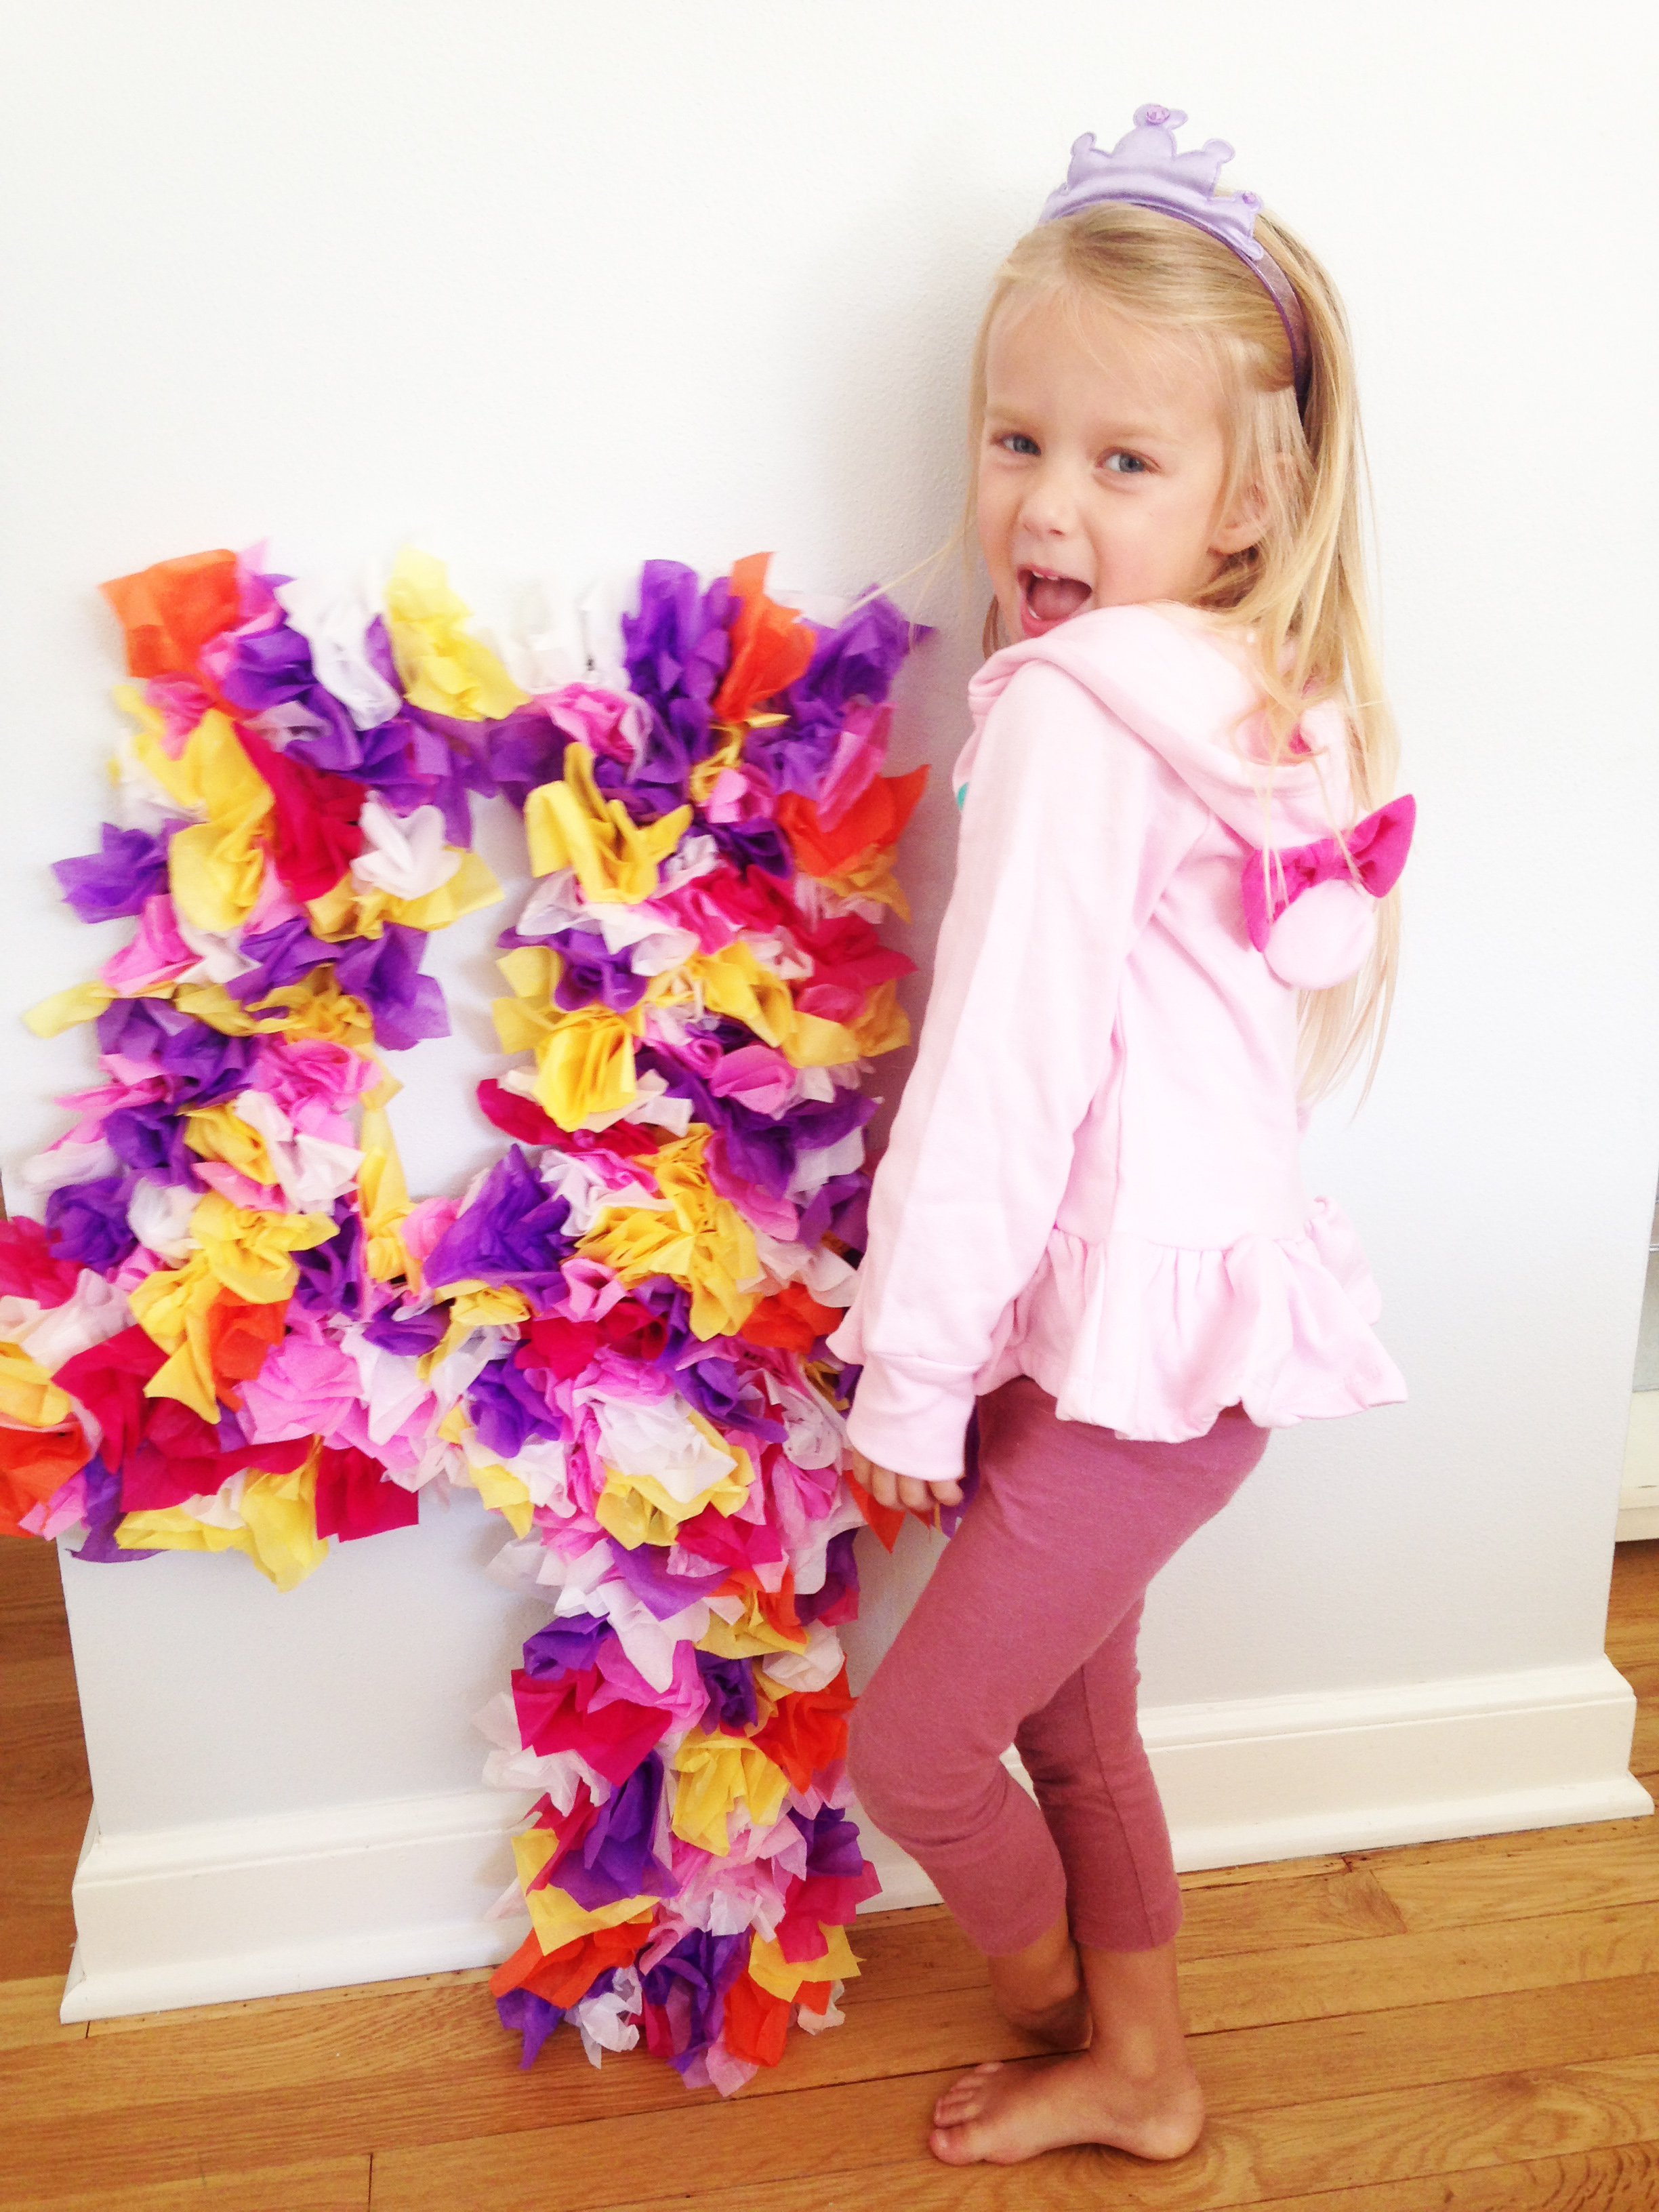
My oldest daughter, Elli, turned four this summer, and I wanted her birthday to be special. She had never had a real “kids” birthday party before, and this year, it’s all she could talk about. So I planned an epic party – actually, 2 parties – for the same weekend (one family party, one kid’s party). Yes, me = insane 🙂
Being that it was to be such a big weekend, I wanted to add some immediate pizazz to the decor. Making some sort of focal point for our front door was what I had in mind.
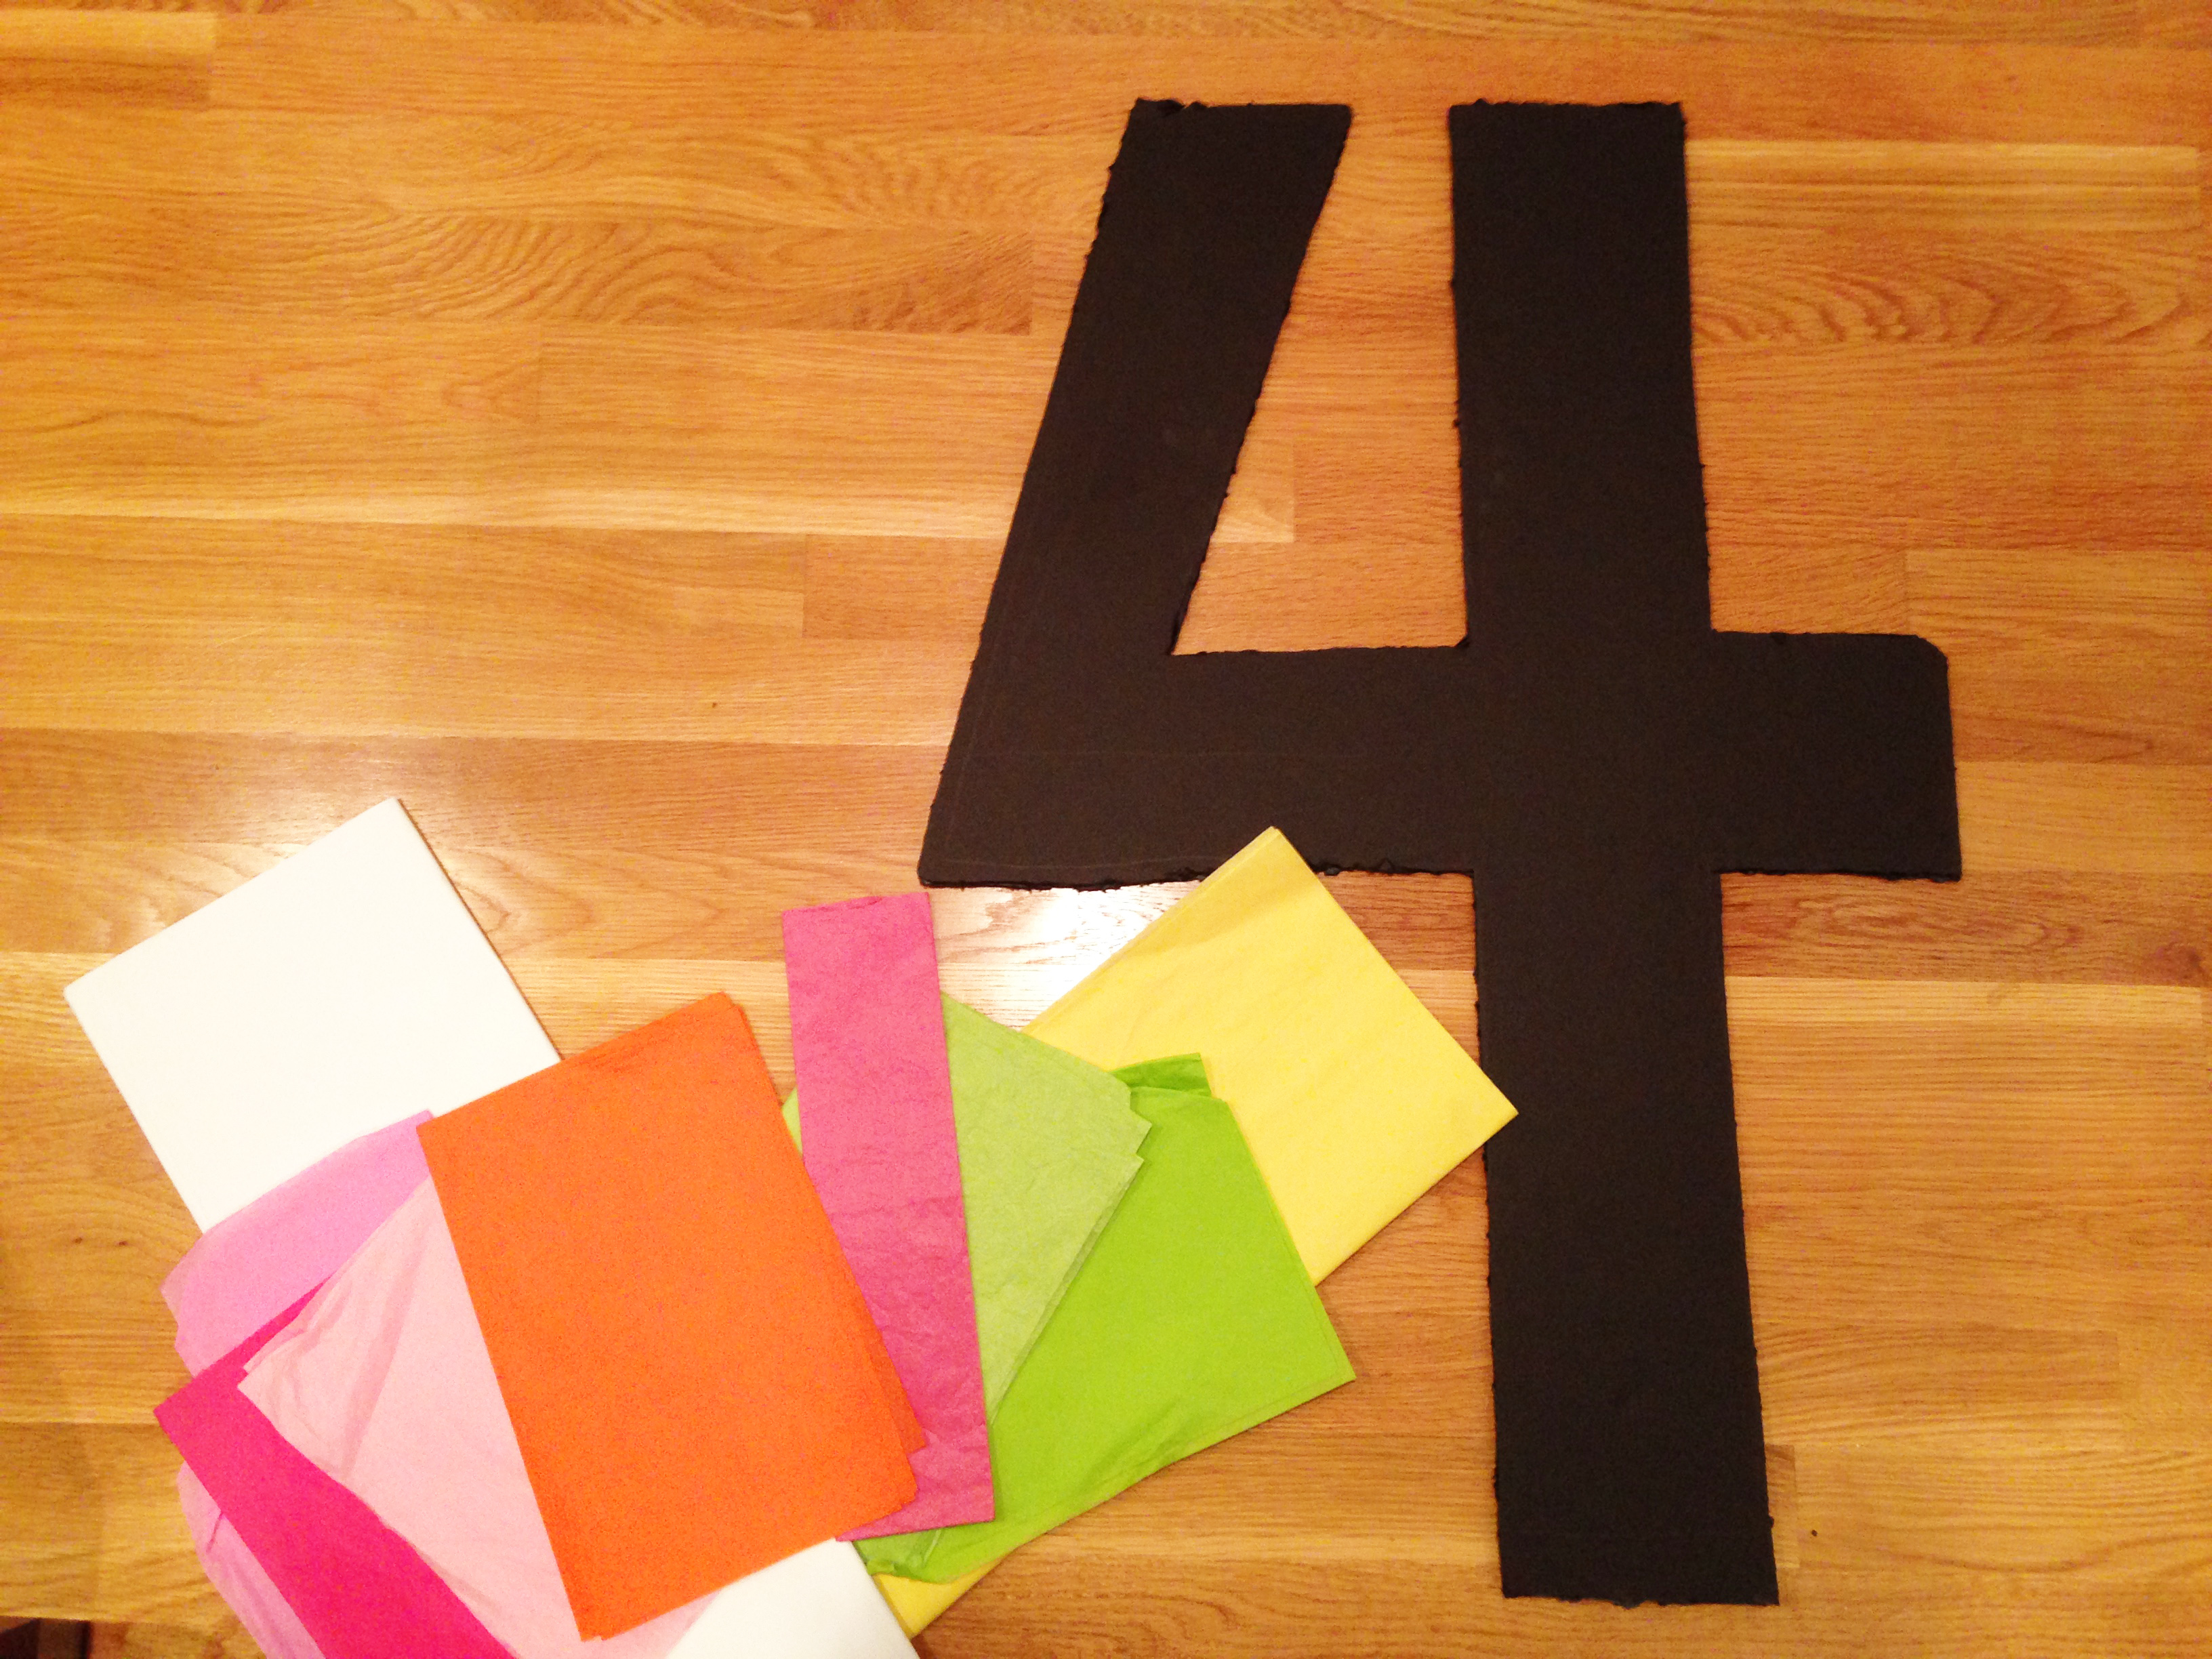
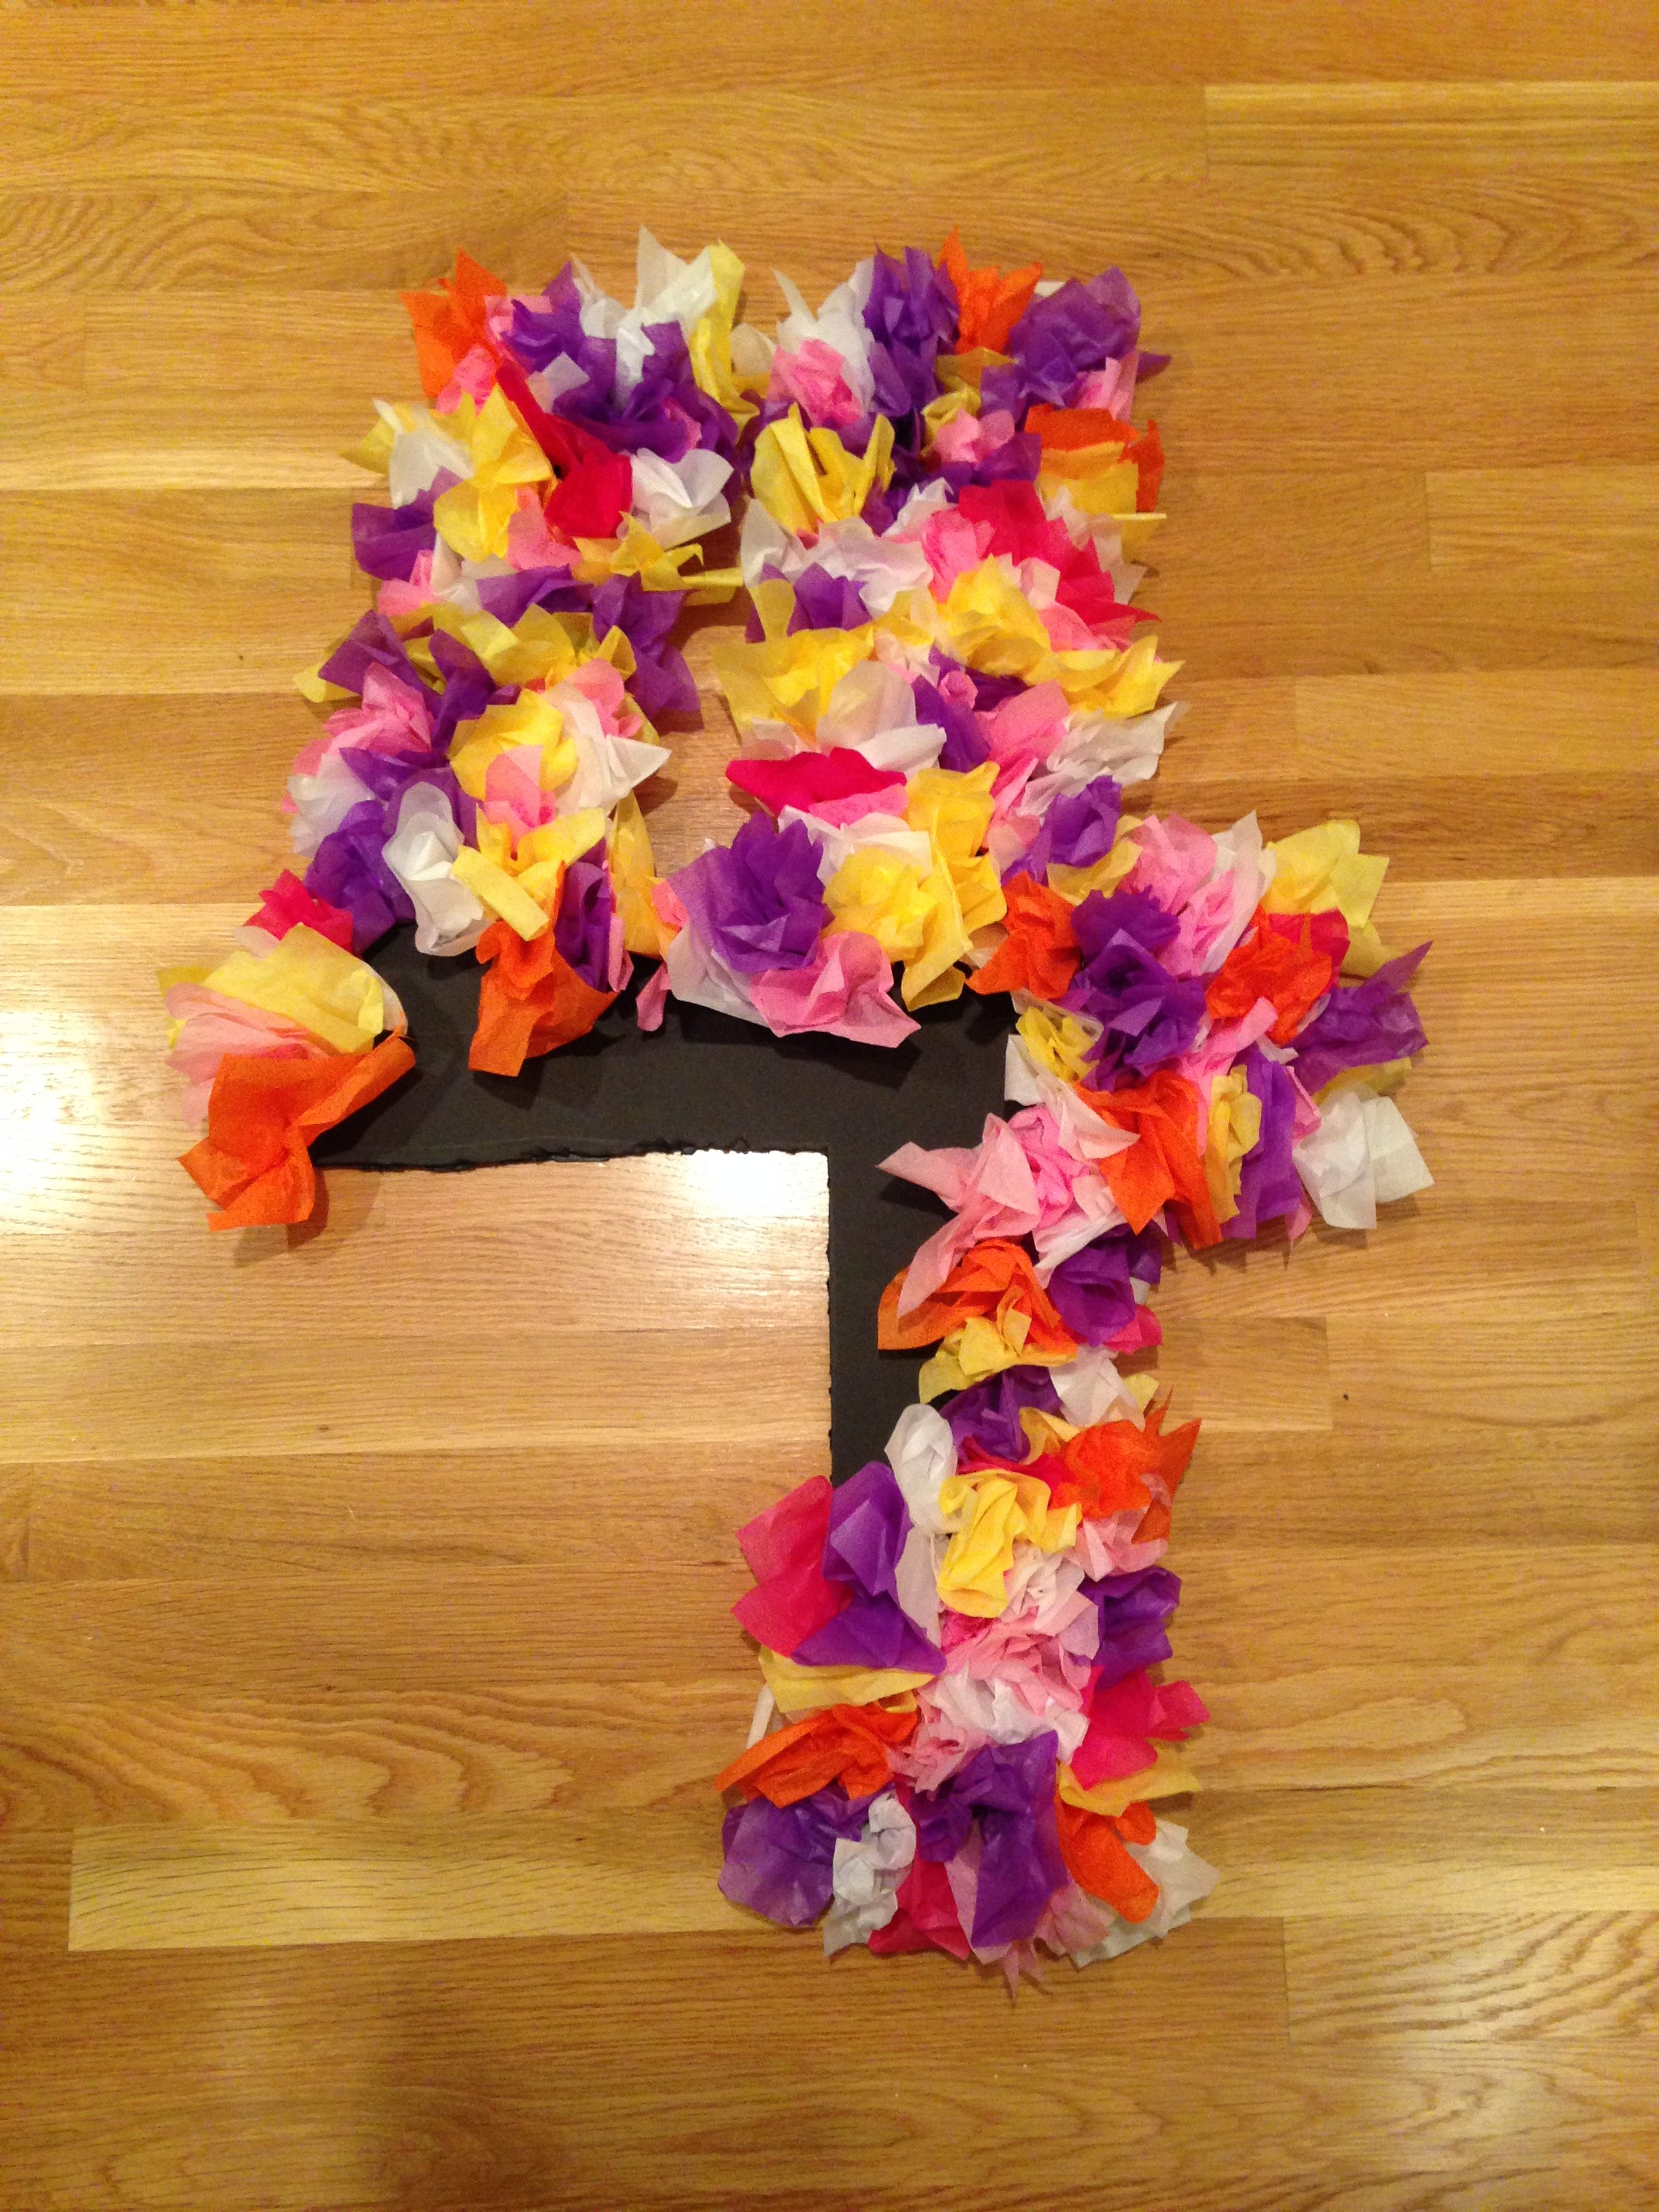
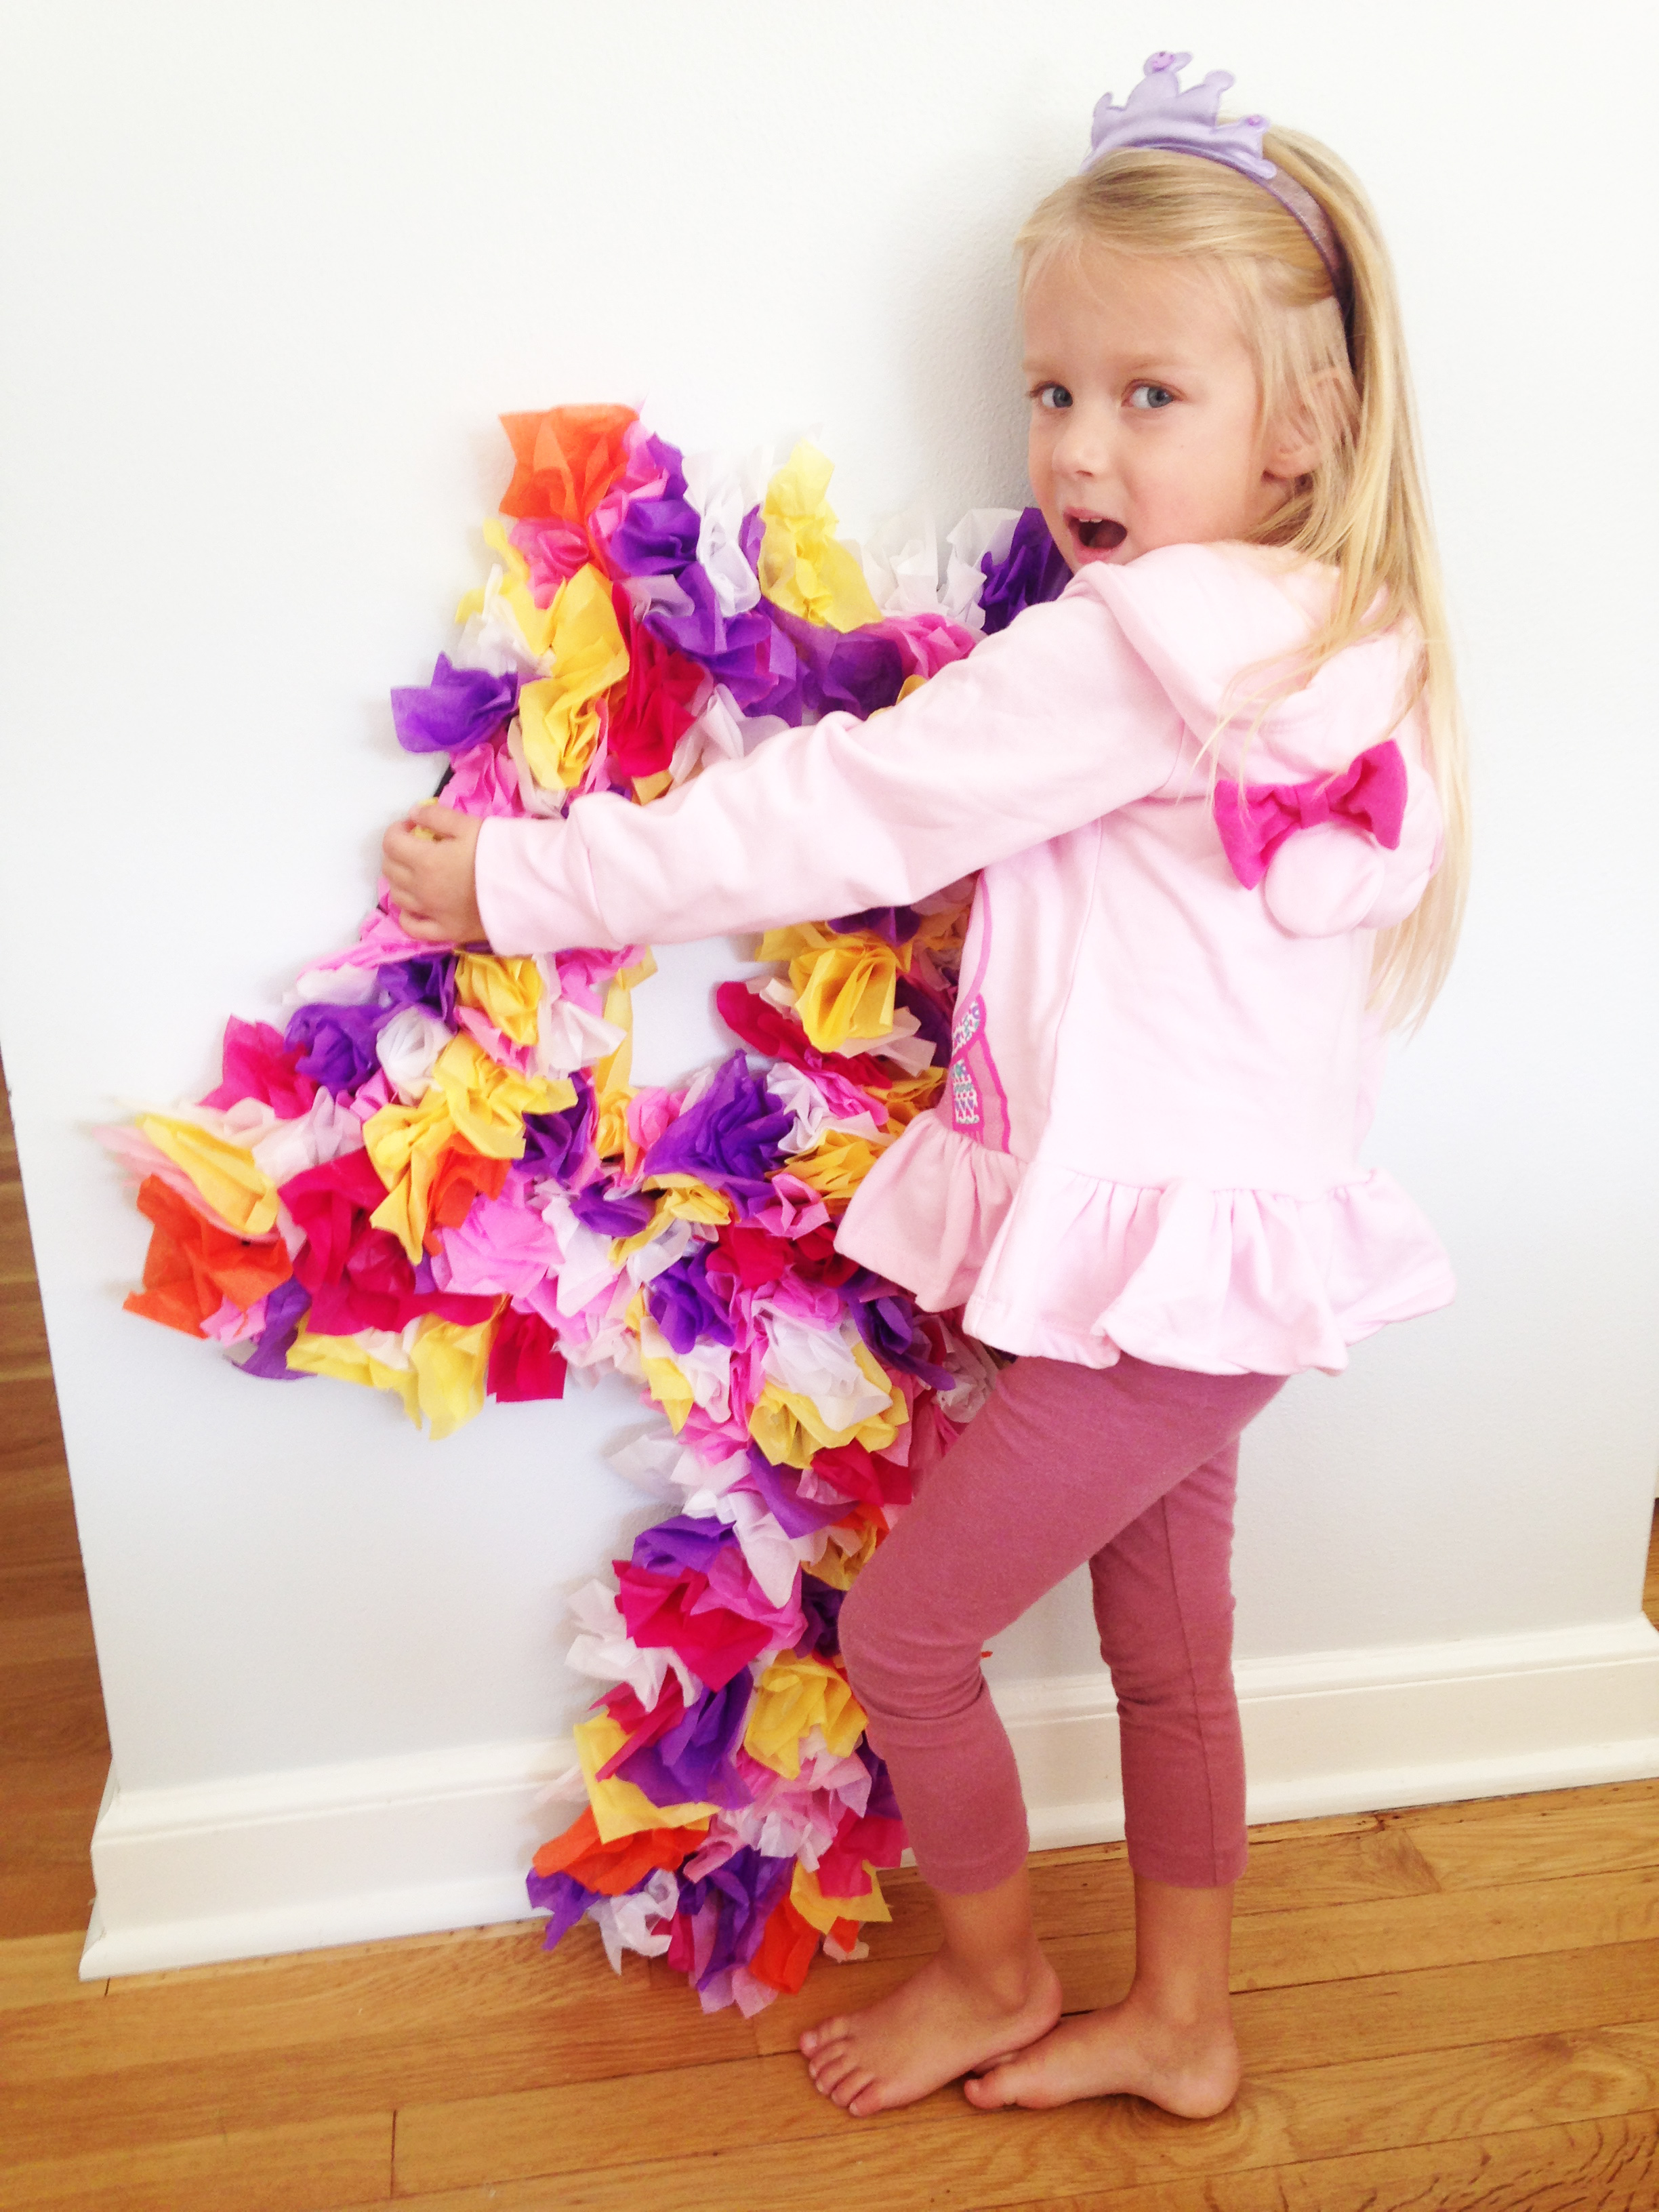
I decided to make a tissue paper #4 – a giant one, to be specific. It turned out great, and was a cinch to make.
I free-handed my giant 4 onto a piece of foam core, and cut it out using an exacto. You could also use a font, print it to scale on a printer and then trace that on your cardboard/foam core. Up to you.
Next, decide on your color scheme and make sure you have LOTS of extra tissue paper. You will use more than you think you will, trust me.
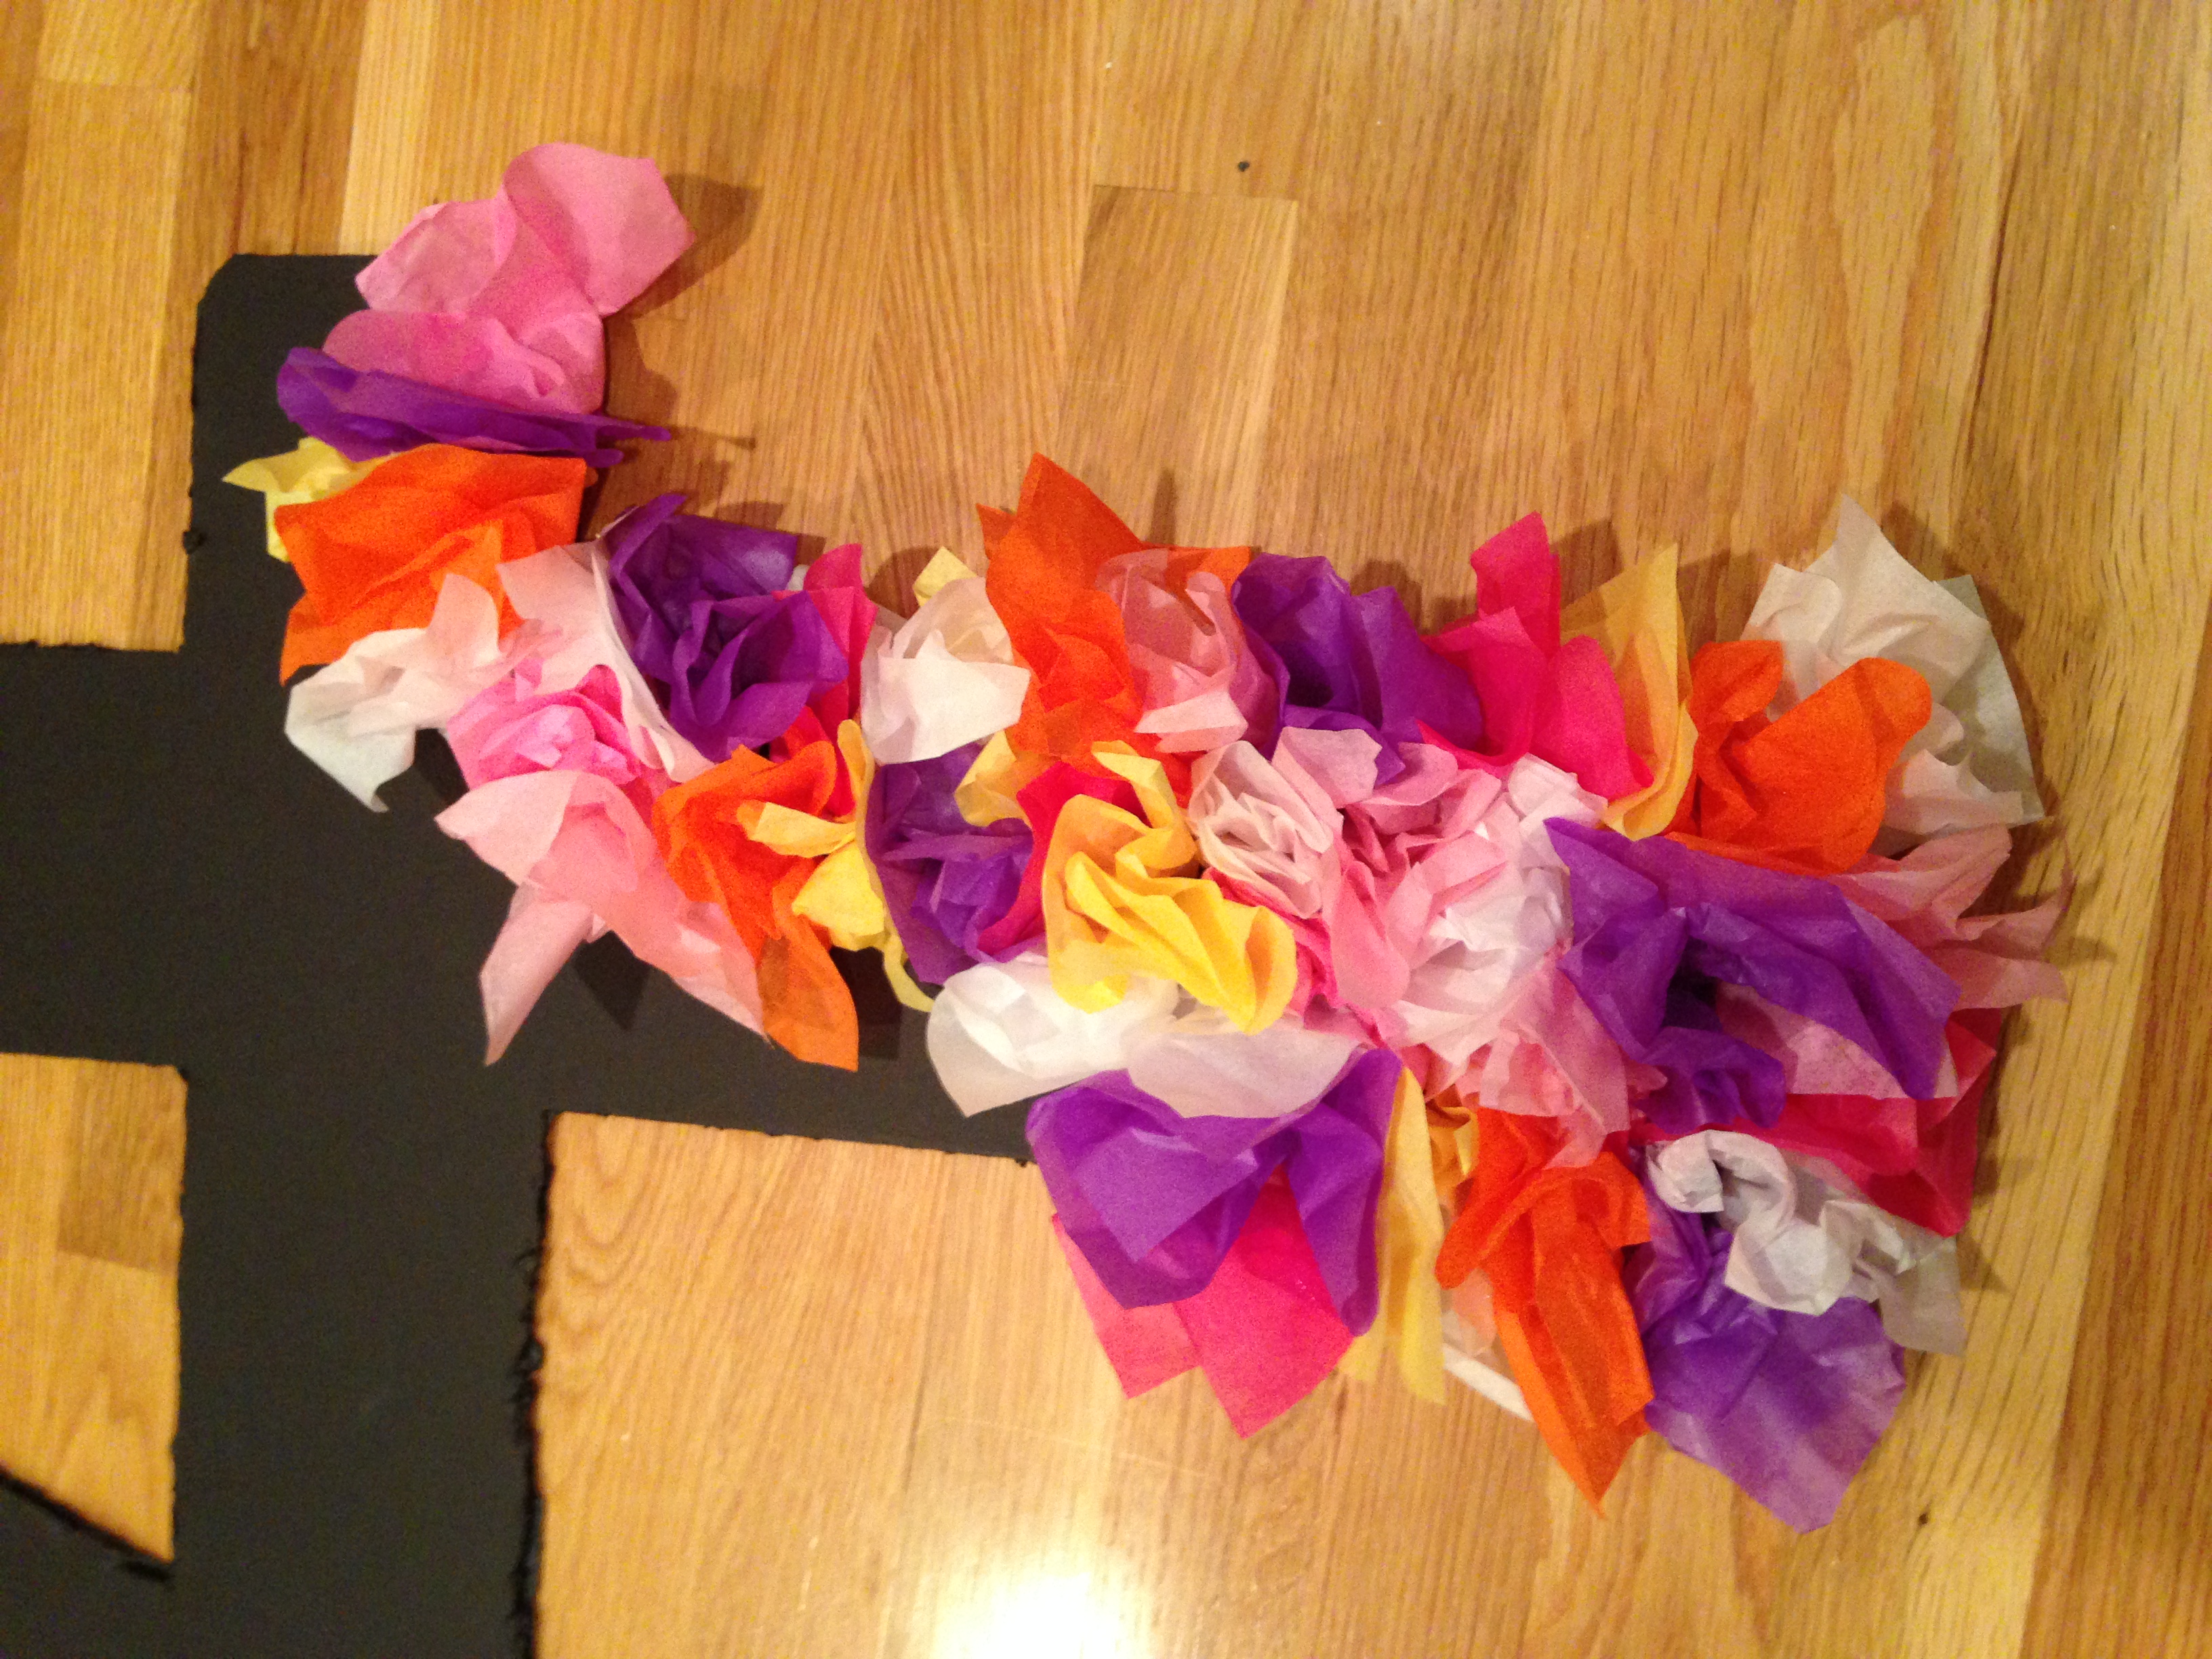
From there, I basically folded my tissue paper into small squares (roughly 4×4-inches), and cut those squares a part until I had piles of each color.
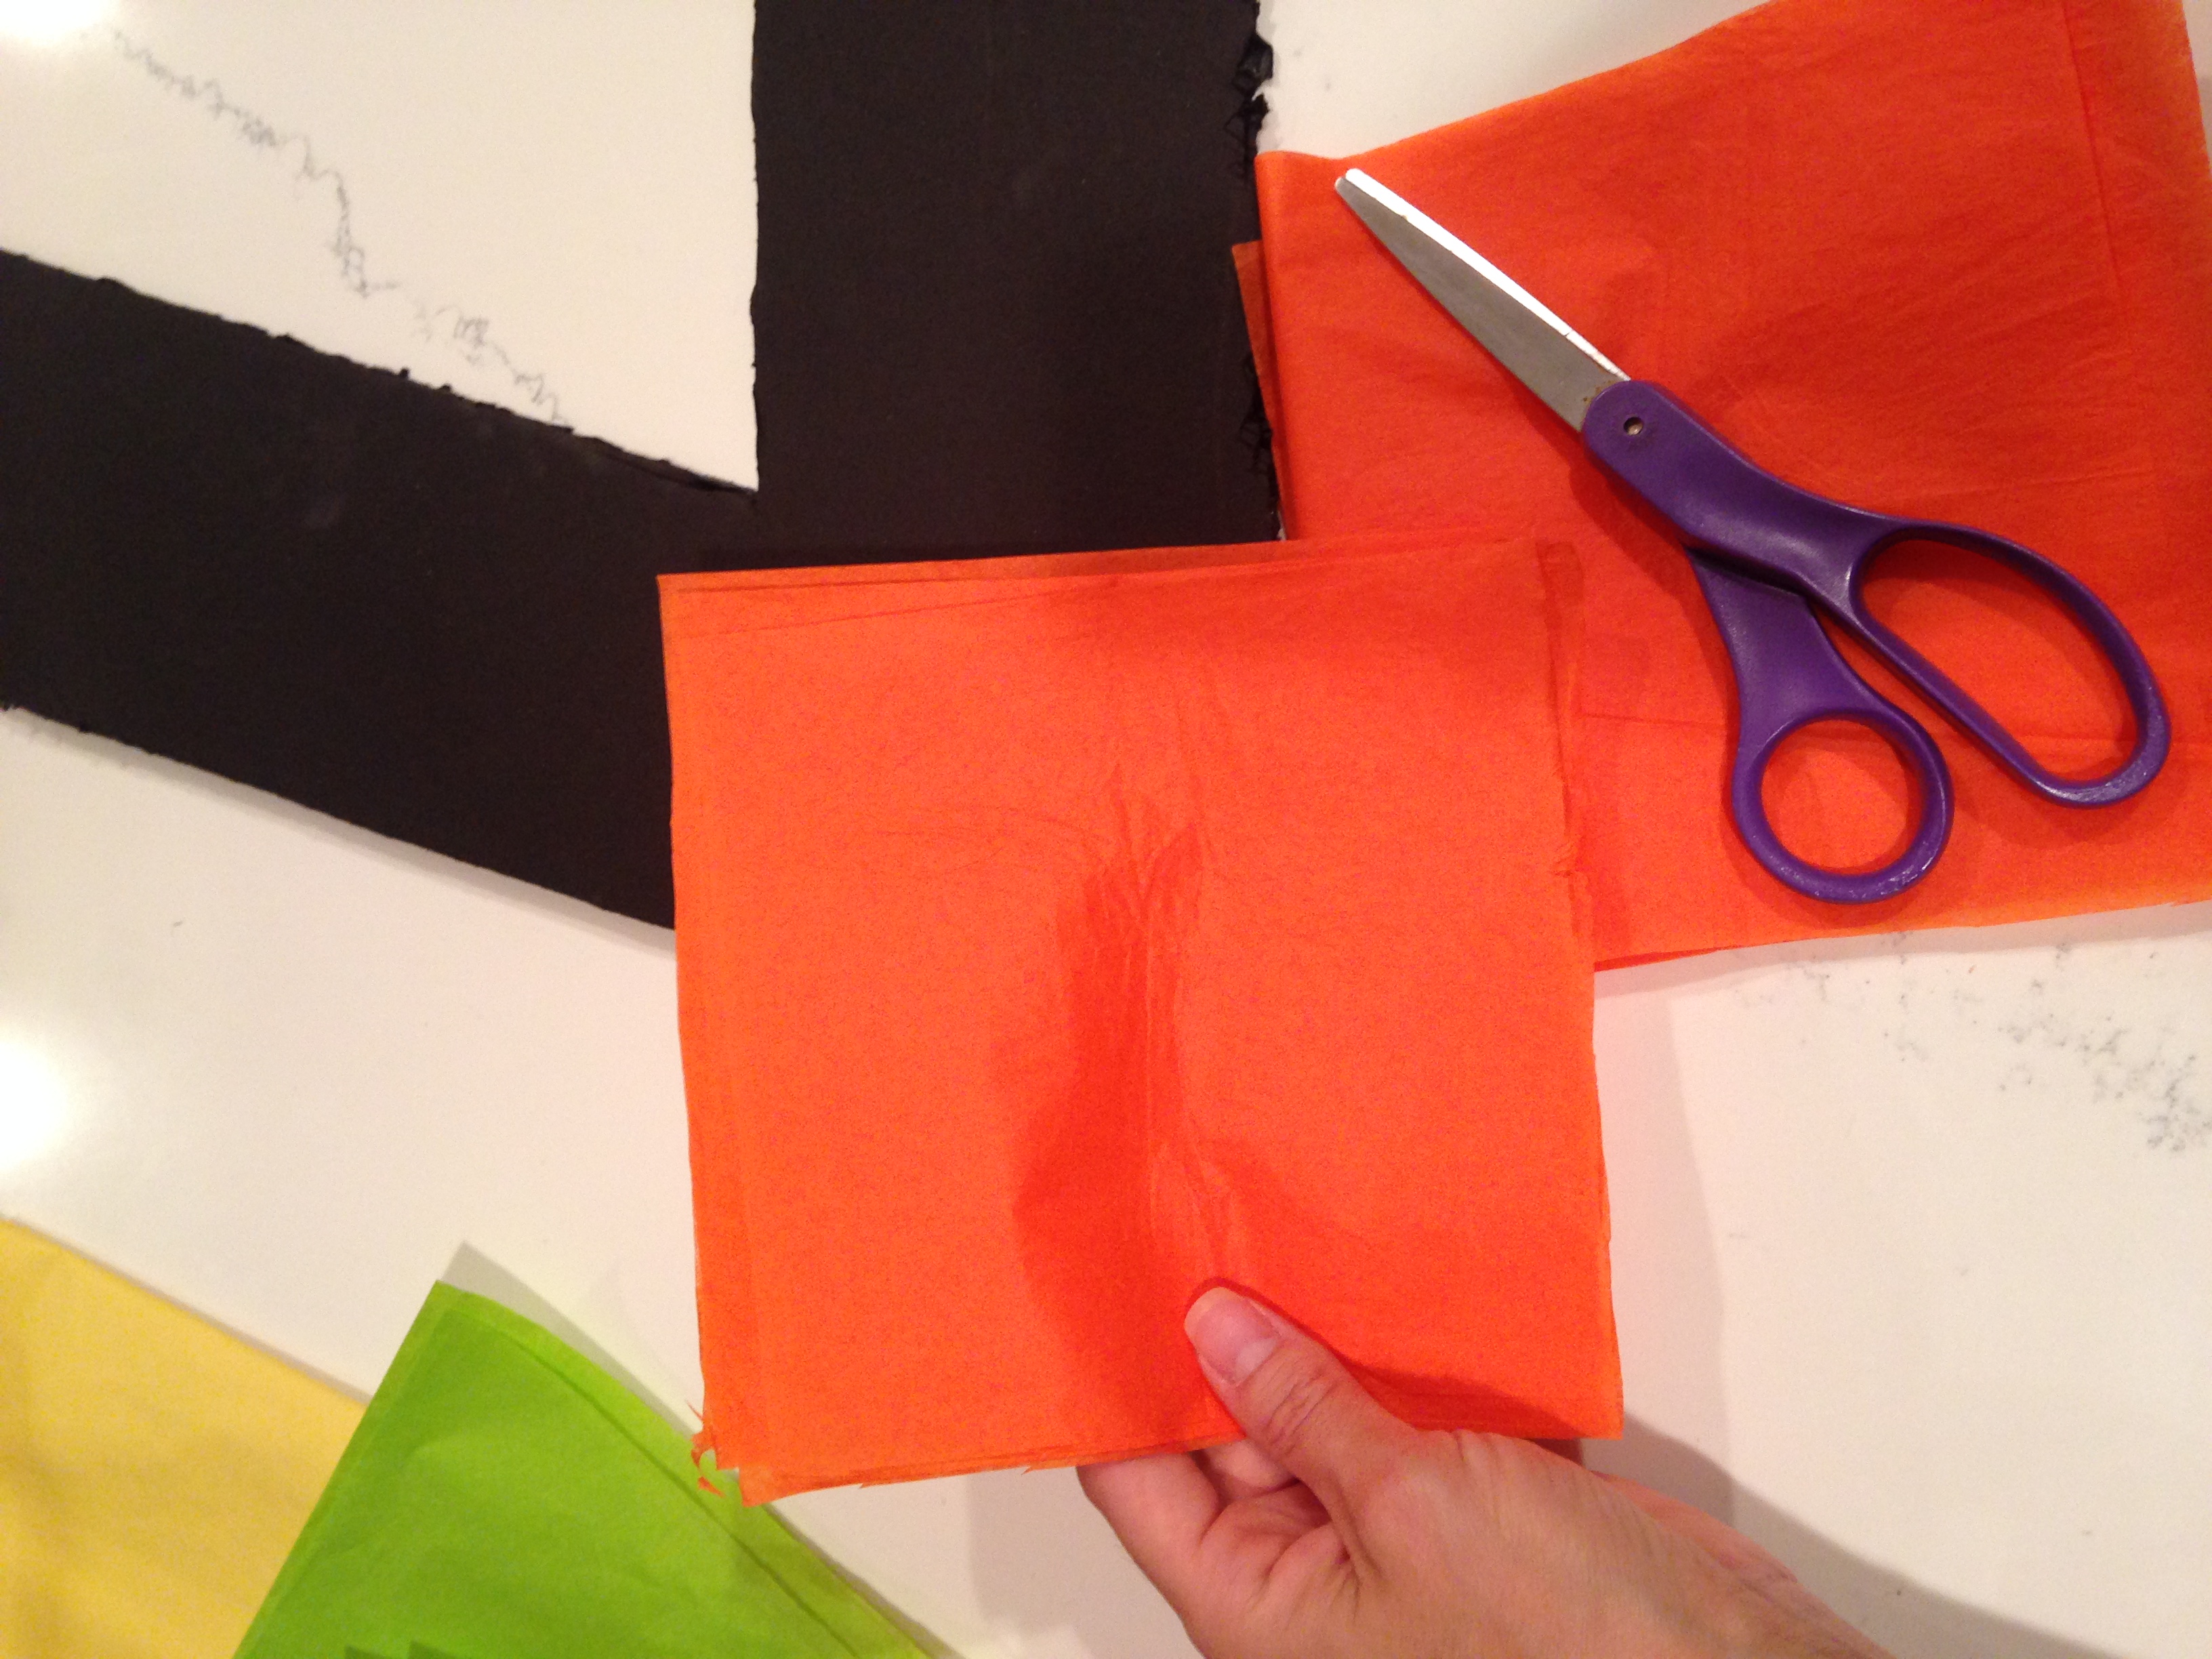
Now, for the most tedious step… the gluing. I used hot glue to adhere the tissue paper, and there’s no real “right” way to do this. I simply put my finger into the center of my square and gathered the tissue paper around it. I put a dab of hot glue on my foam core, and pressed my tissue-papered finger right into it. WARNING: BE CAREFUL. I’m not gonna lie, I suffered a few burns as I usually do with hot glue.
I didn’t worry too much about following any sort of “pattern” with my colors. I just made sure to vary it up as I went. Here’s a look at the number as it started to take shape.

Nope, not done yet!!
Settle in, because this is a bit tedious, like I said. So don’t say I didn’t warn you!

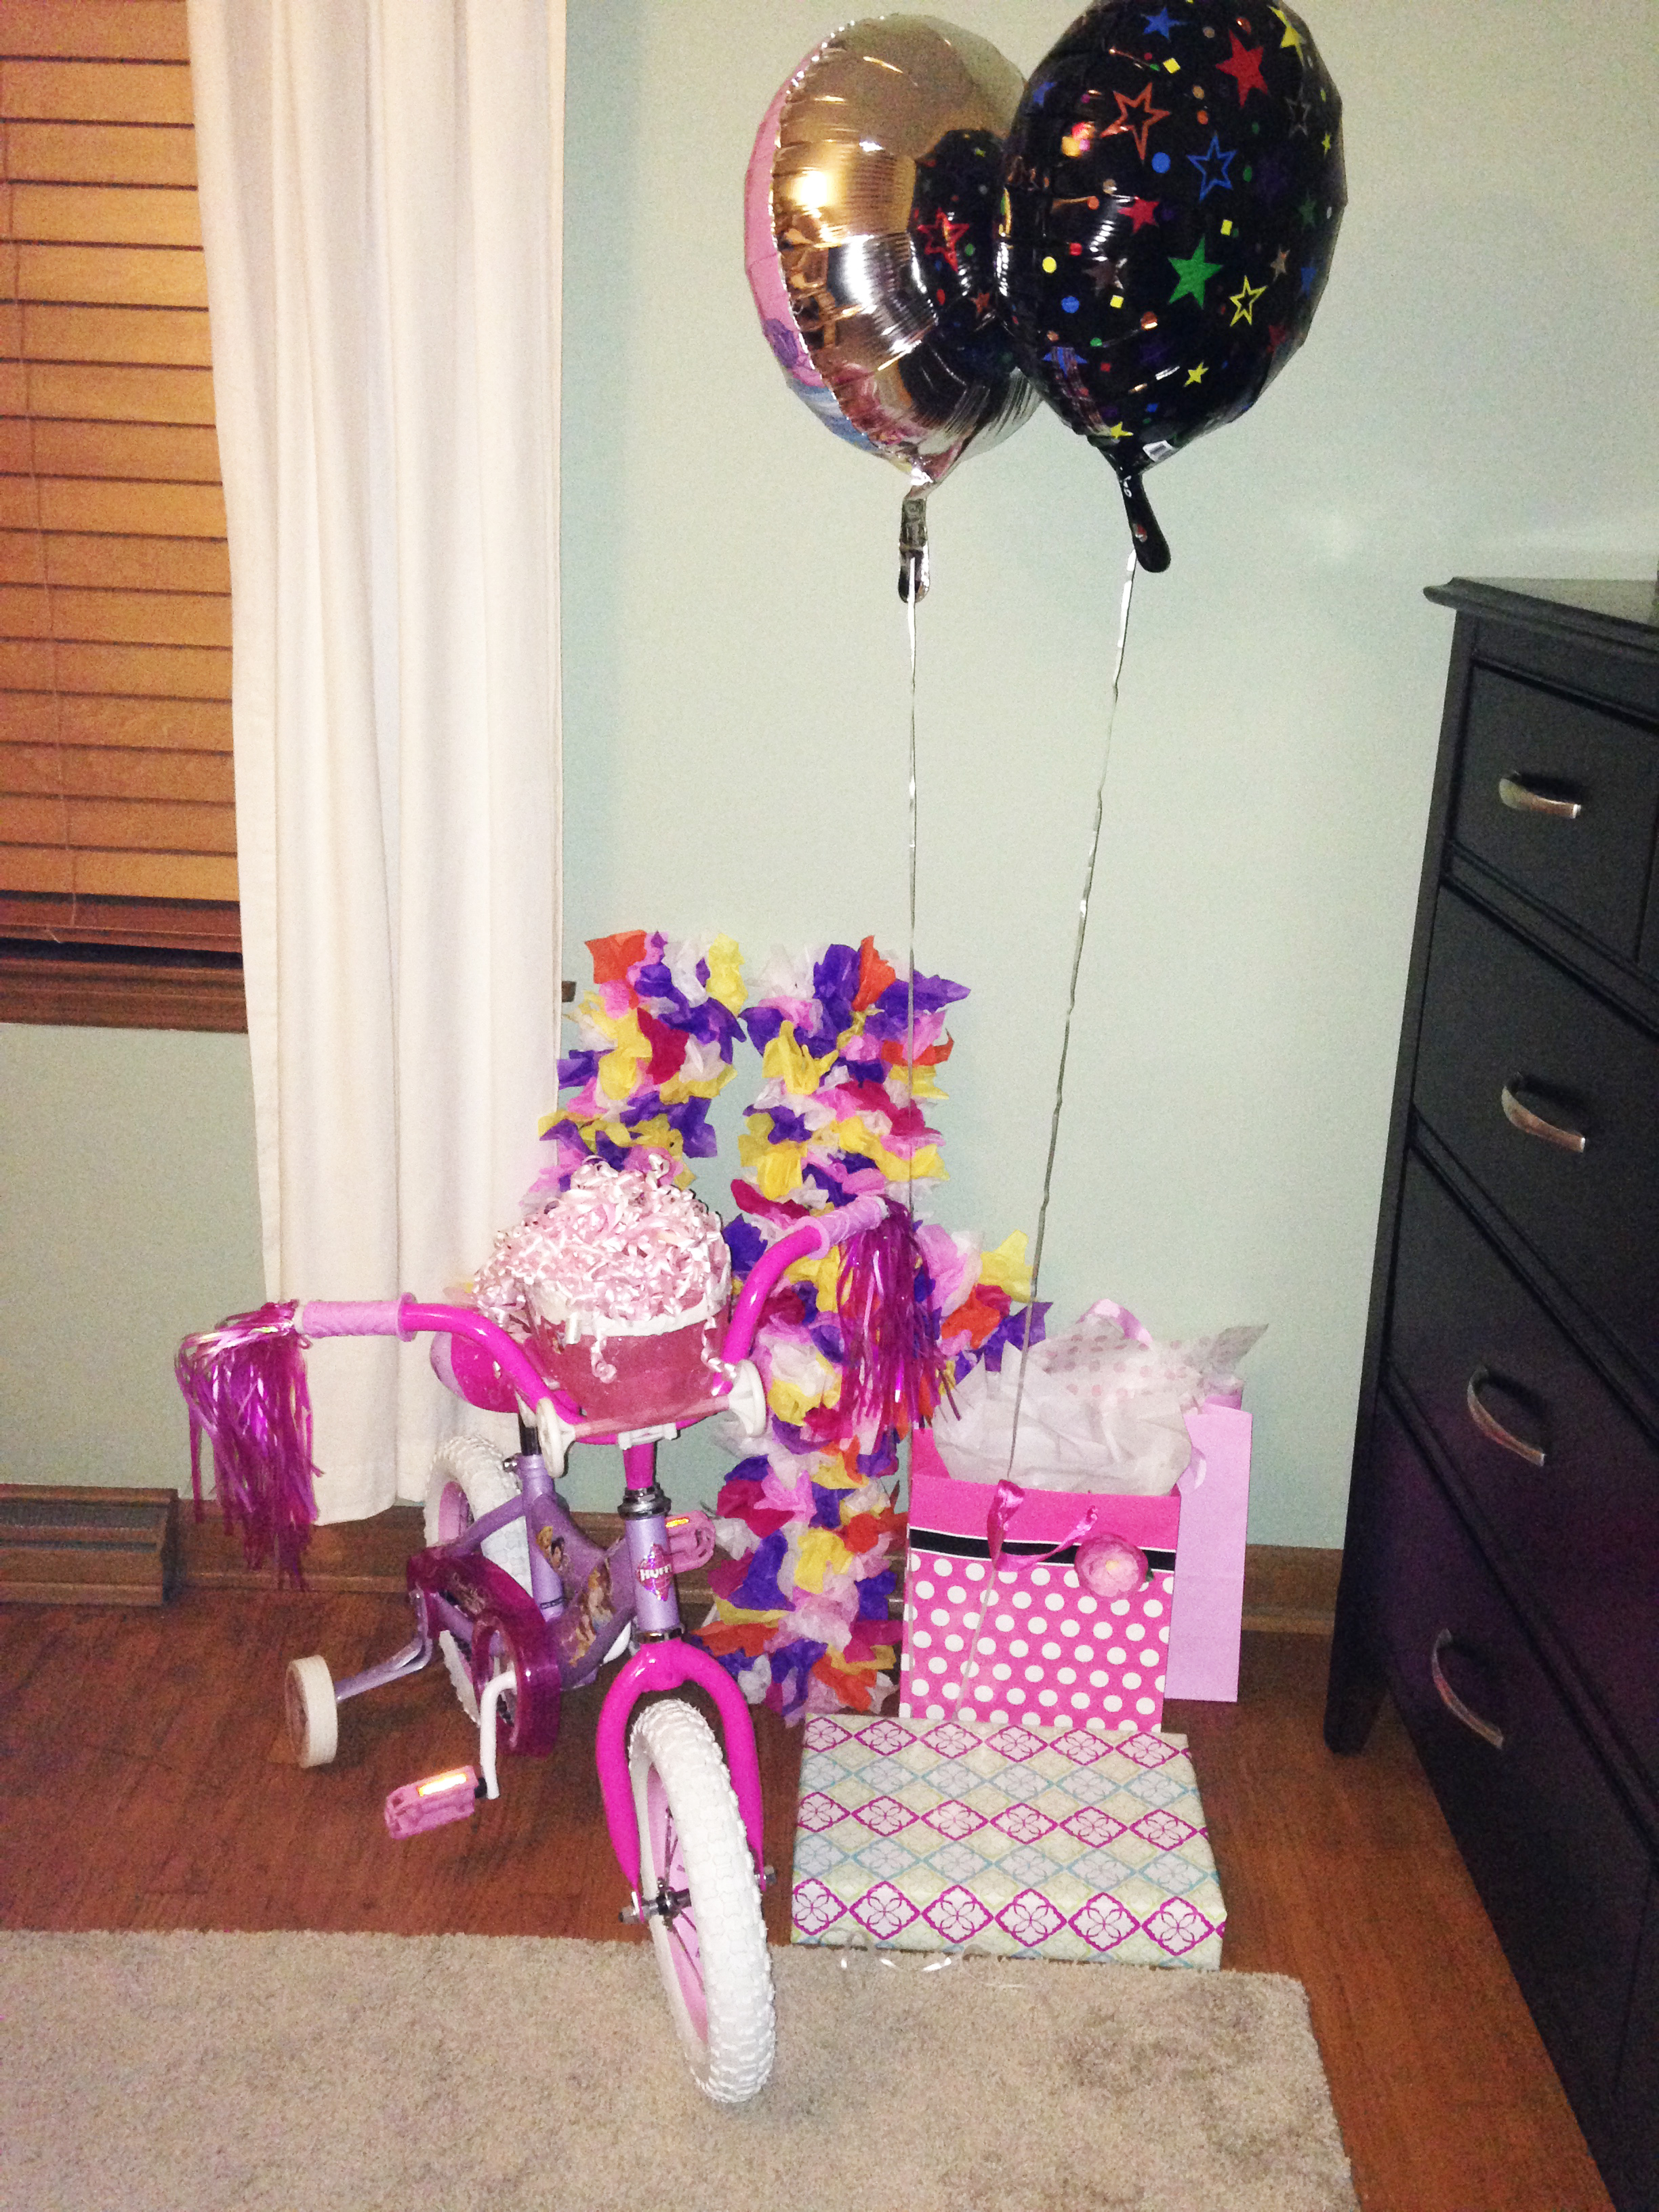
On Elli’s birthday morning, we set up the #4 with her gifts:
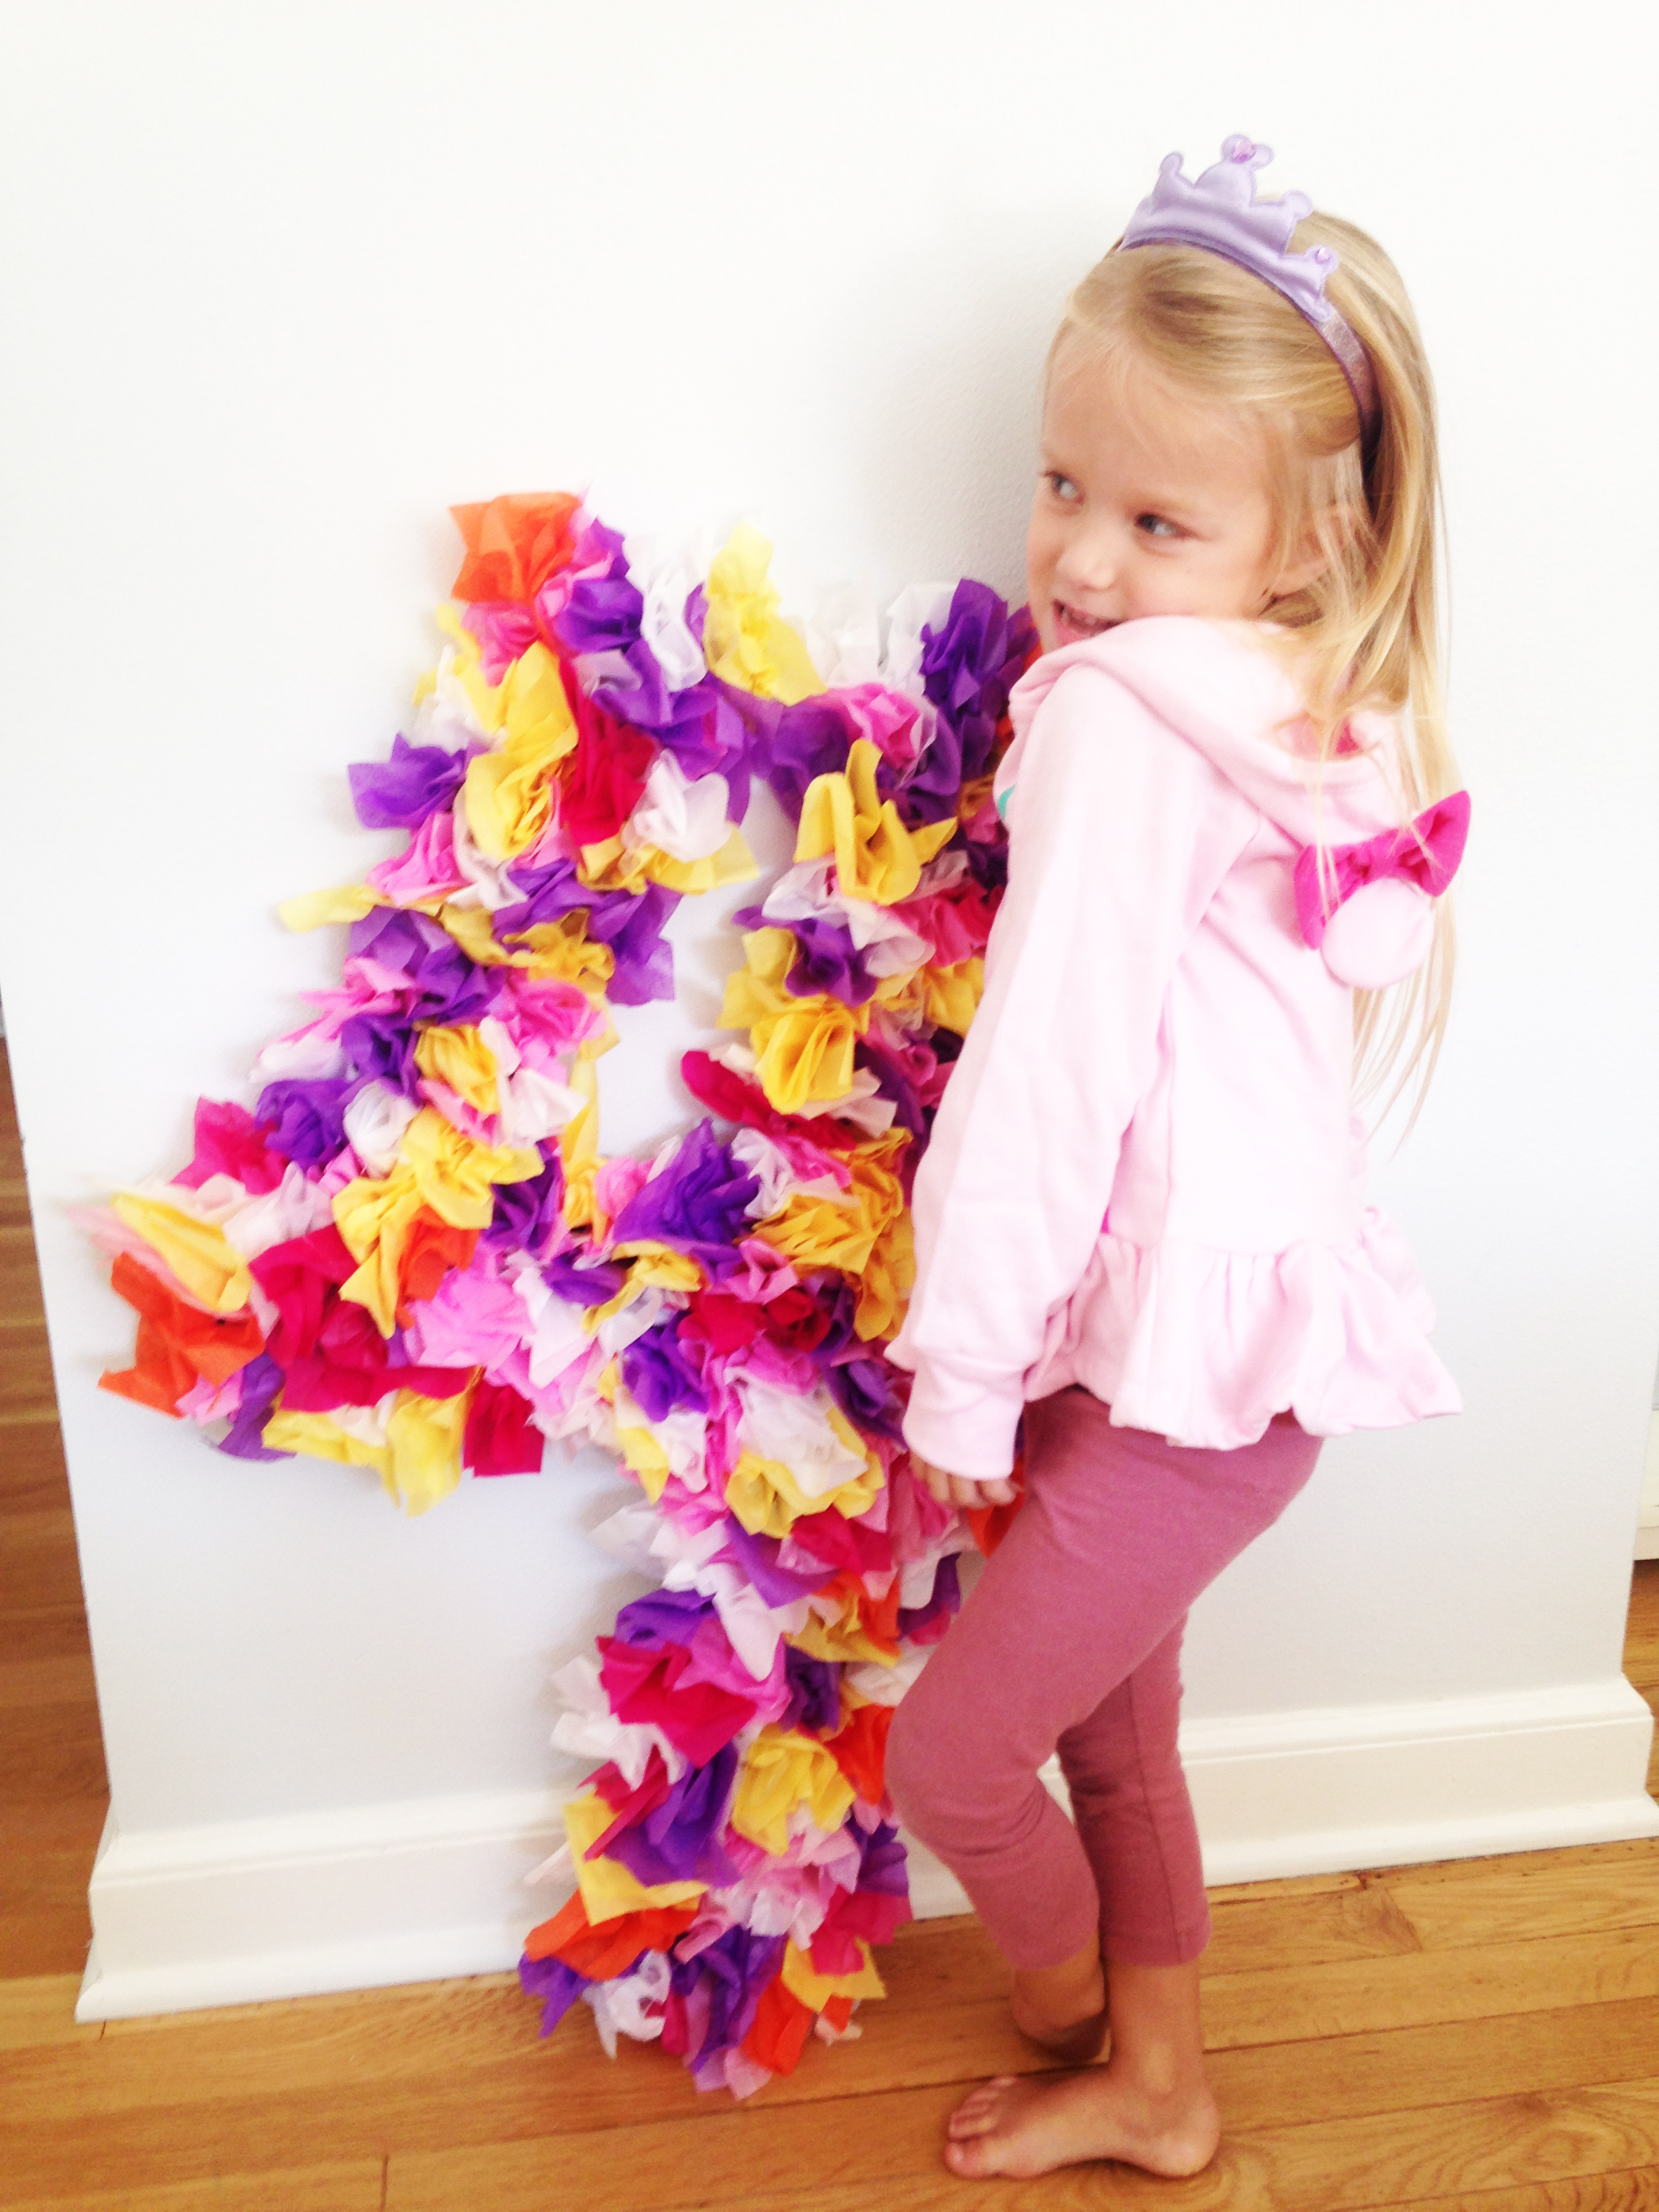
And then of course, it became a toy before finding its final resting place on our front door. I love how it turned out, and it couldn’t be easier – or cheaper – my two favorite qualities in a DIY project : ) Enjoy.

Leave a Reply