From beat up bowling ball to sparkly garden art

From beat up bowling ball to sparkly garden art

From beat up bowling ball to sparkly garden art

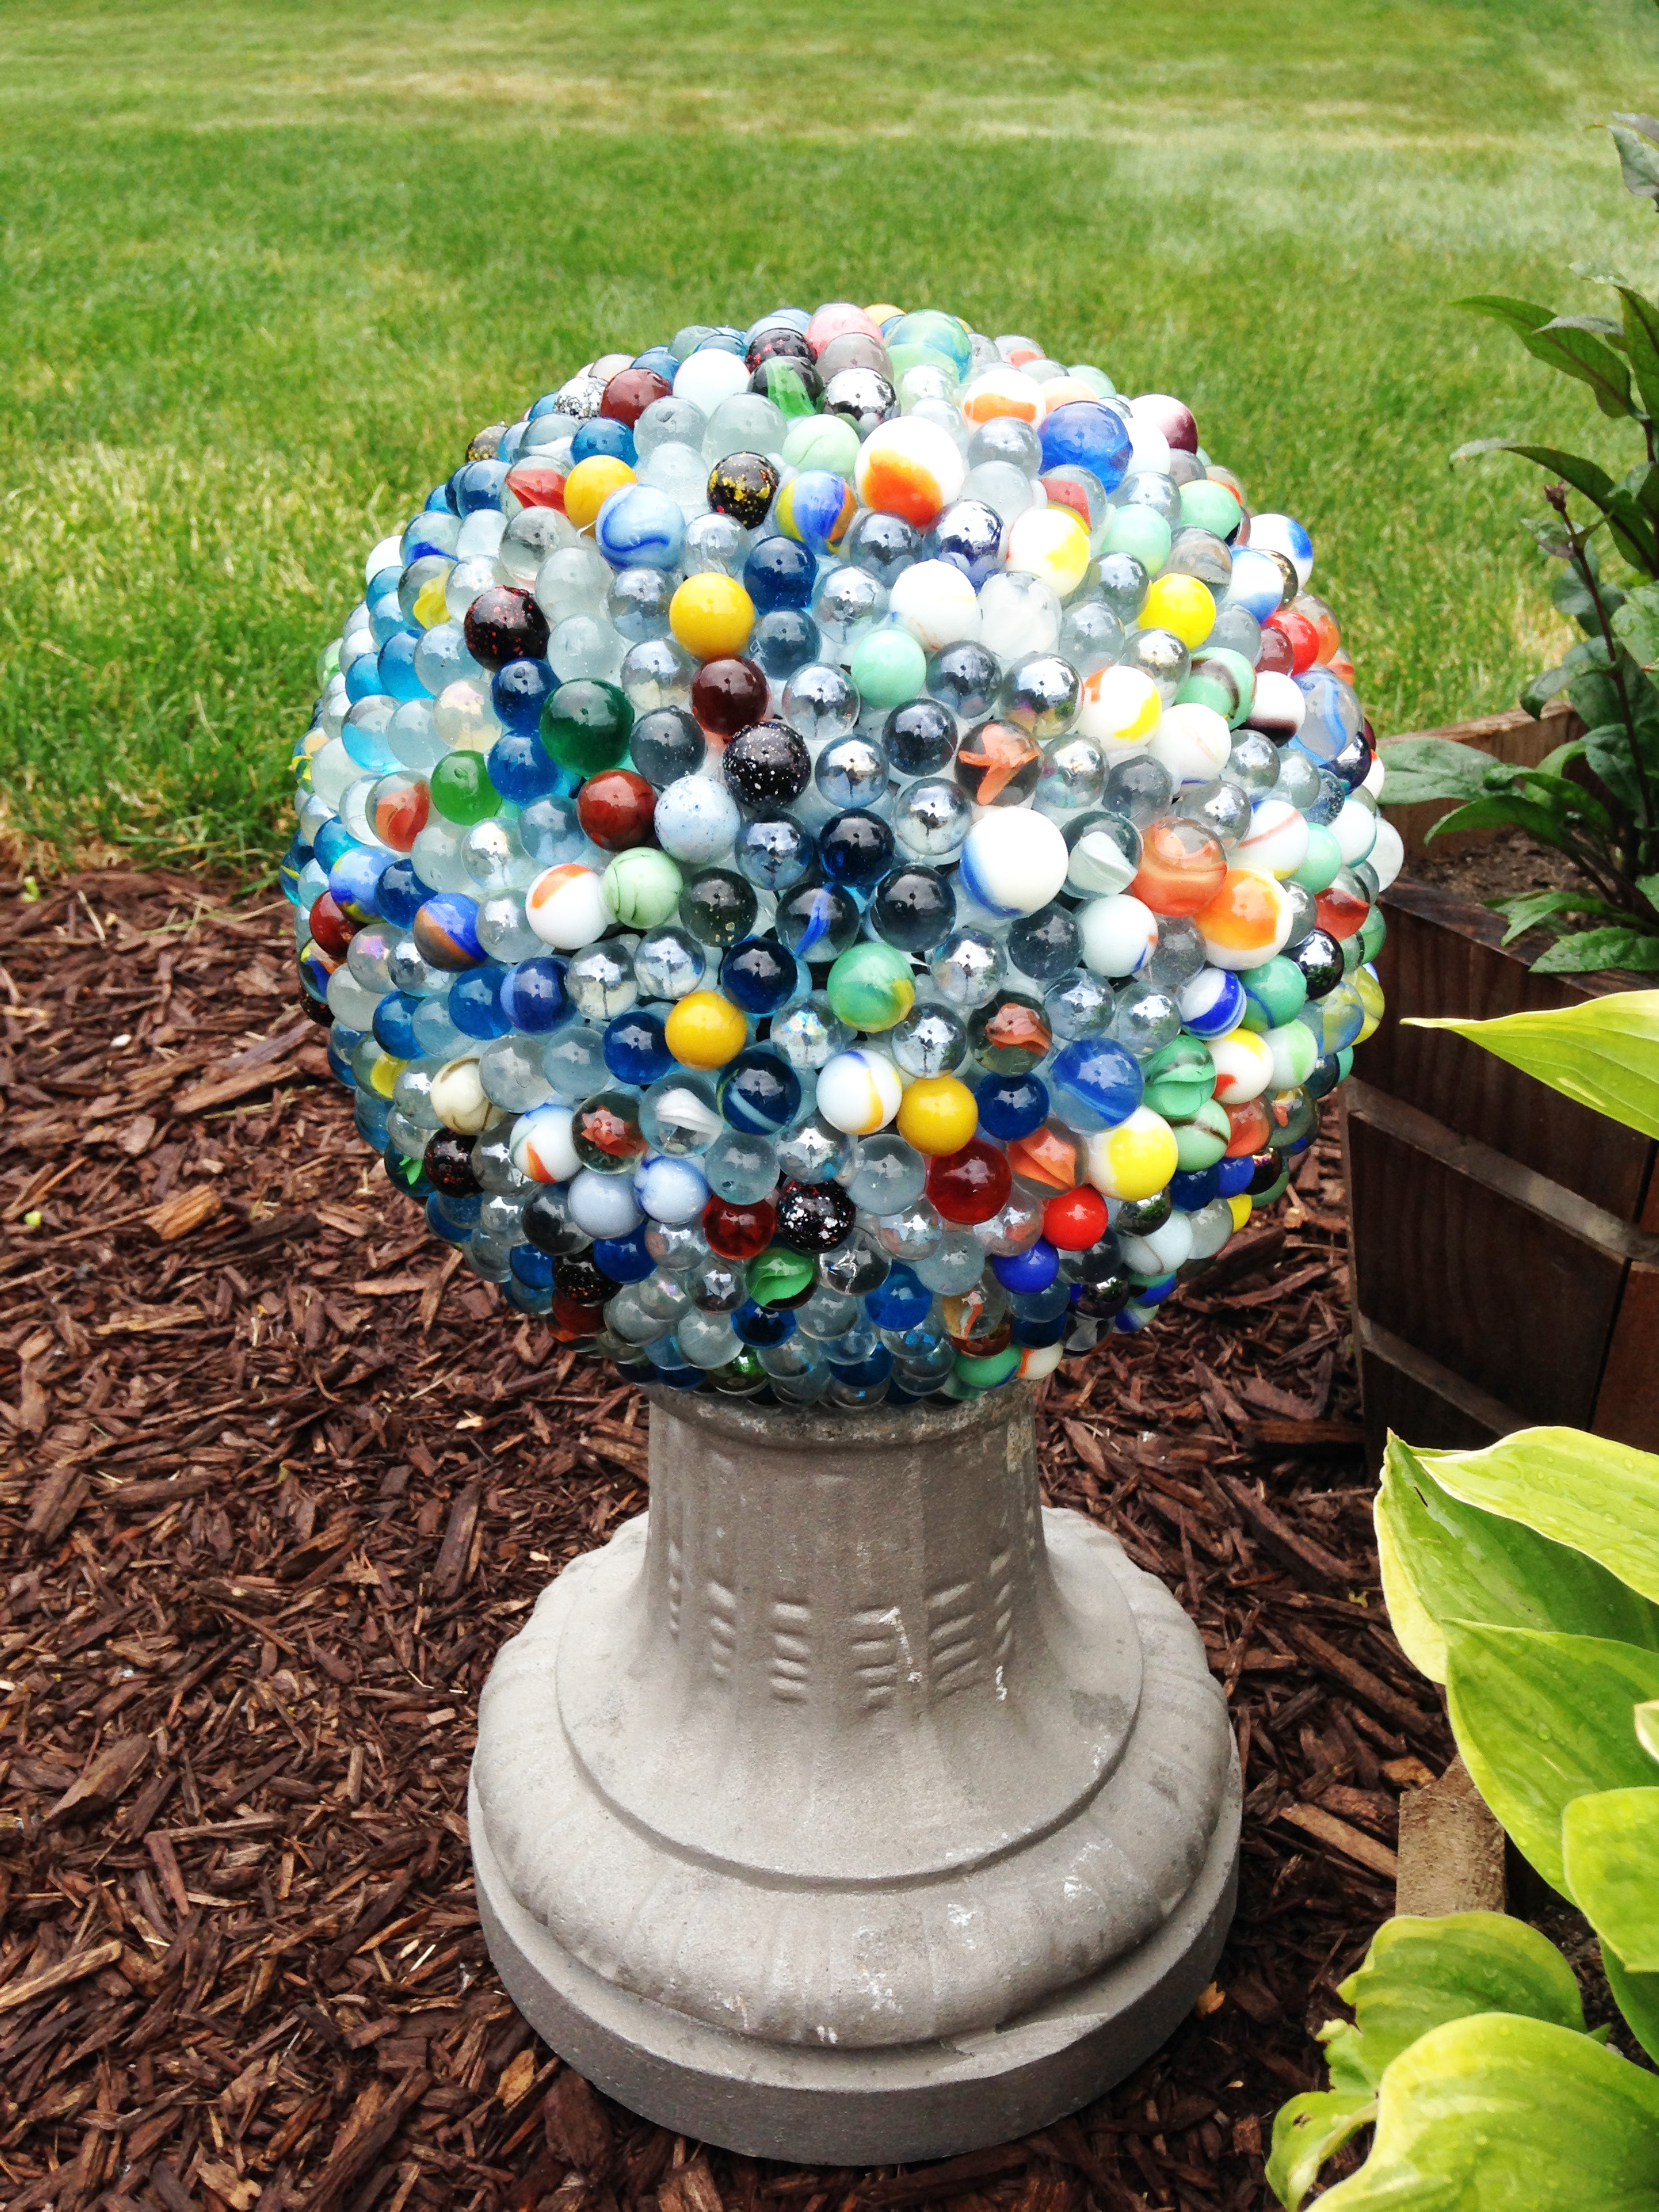
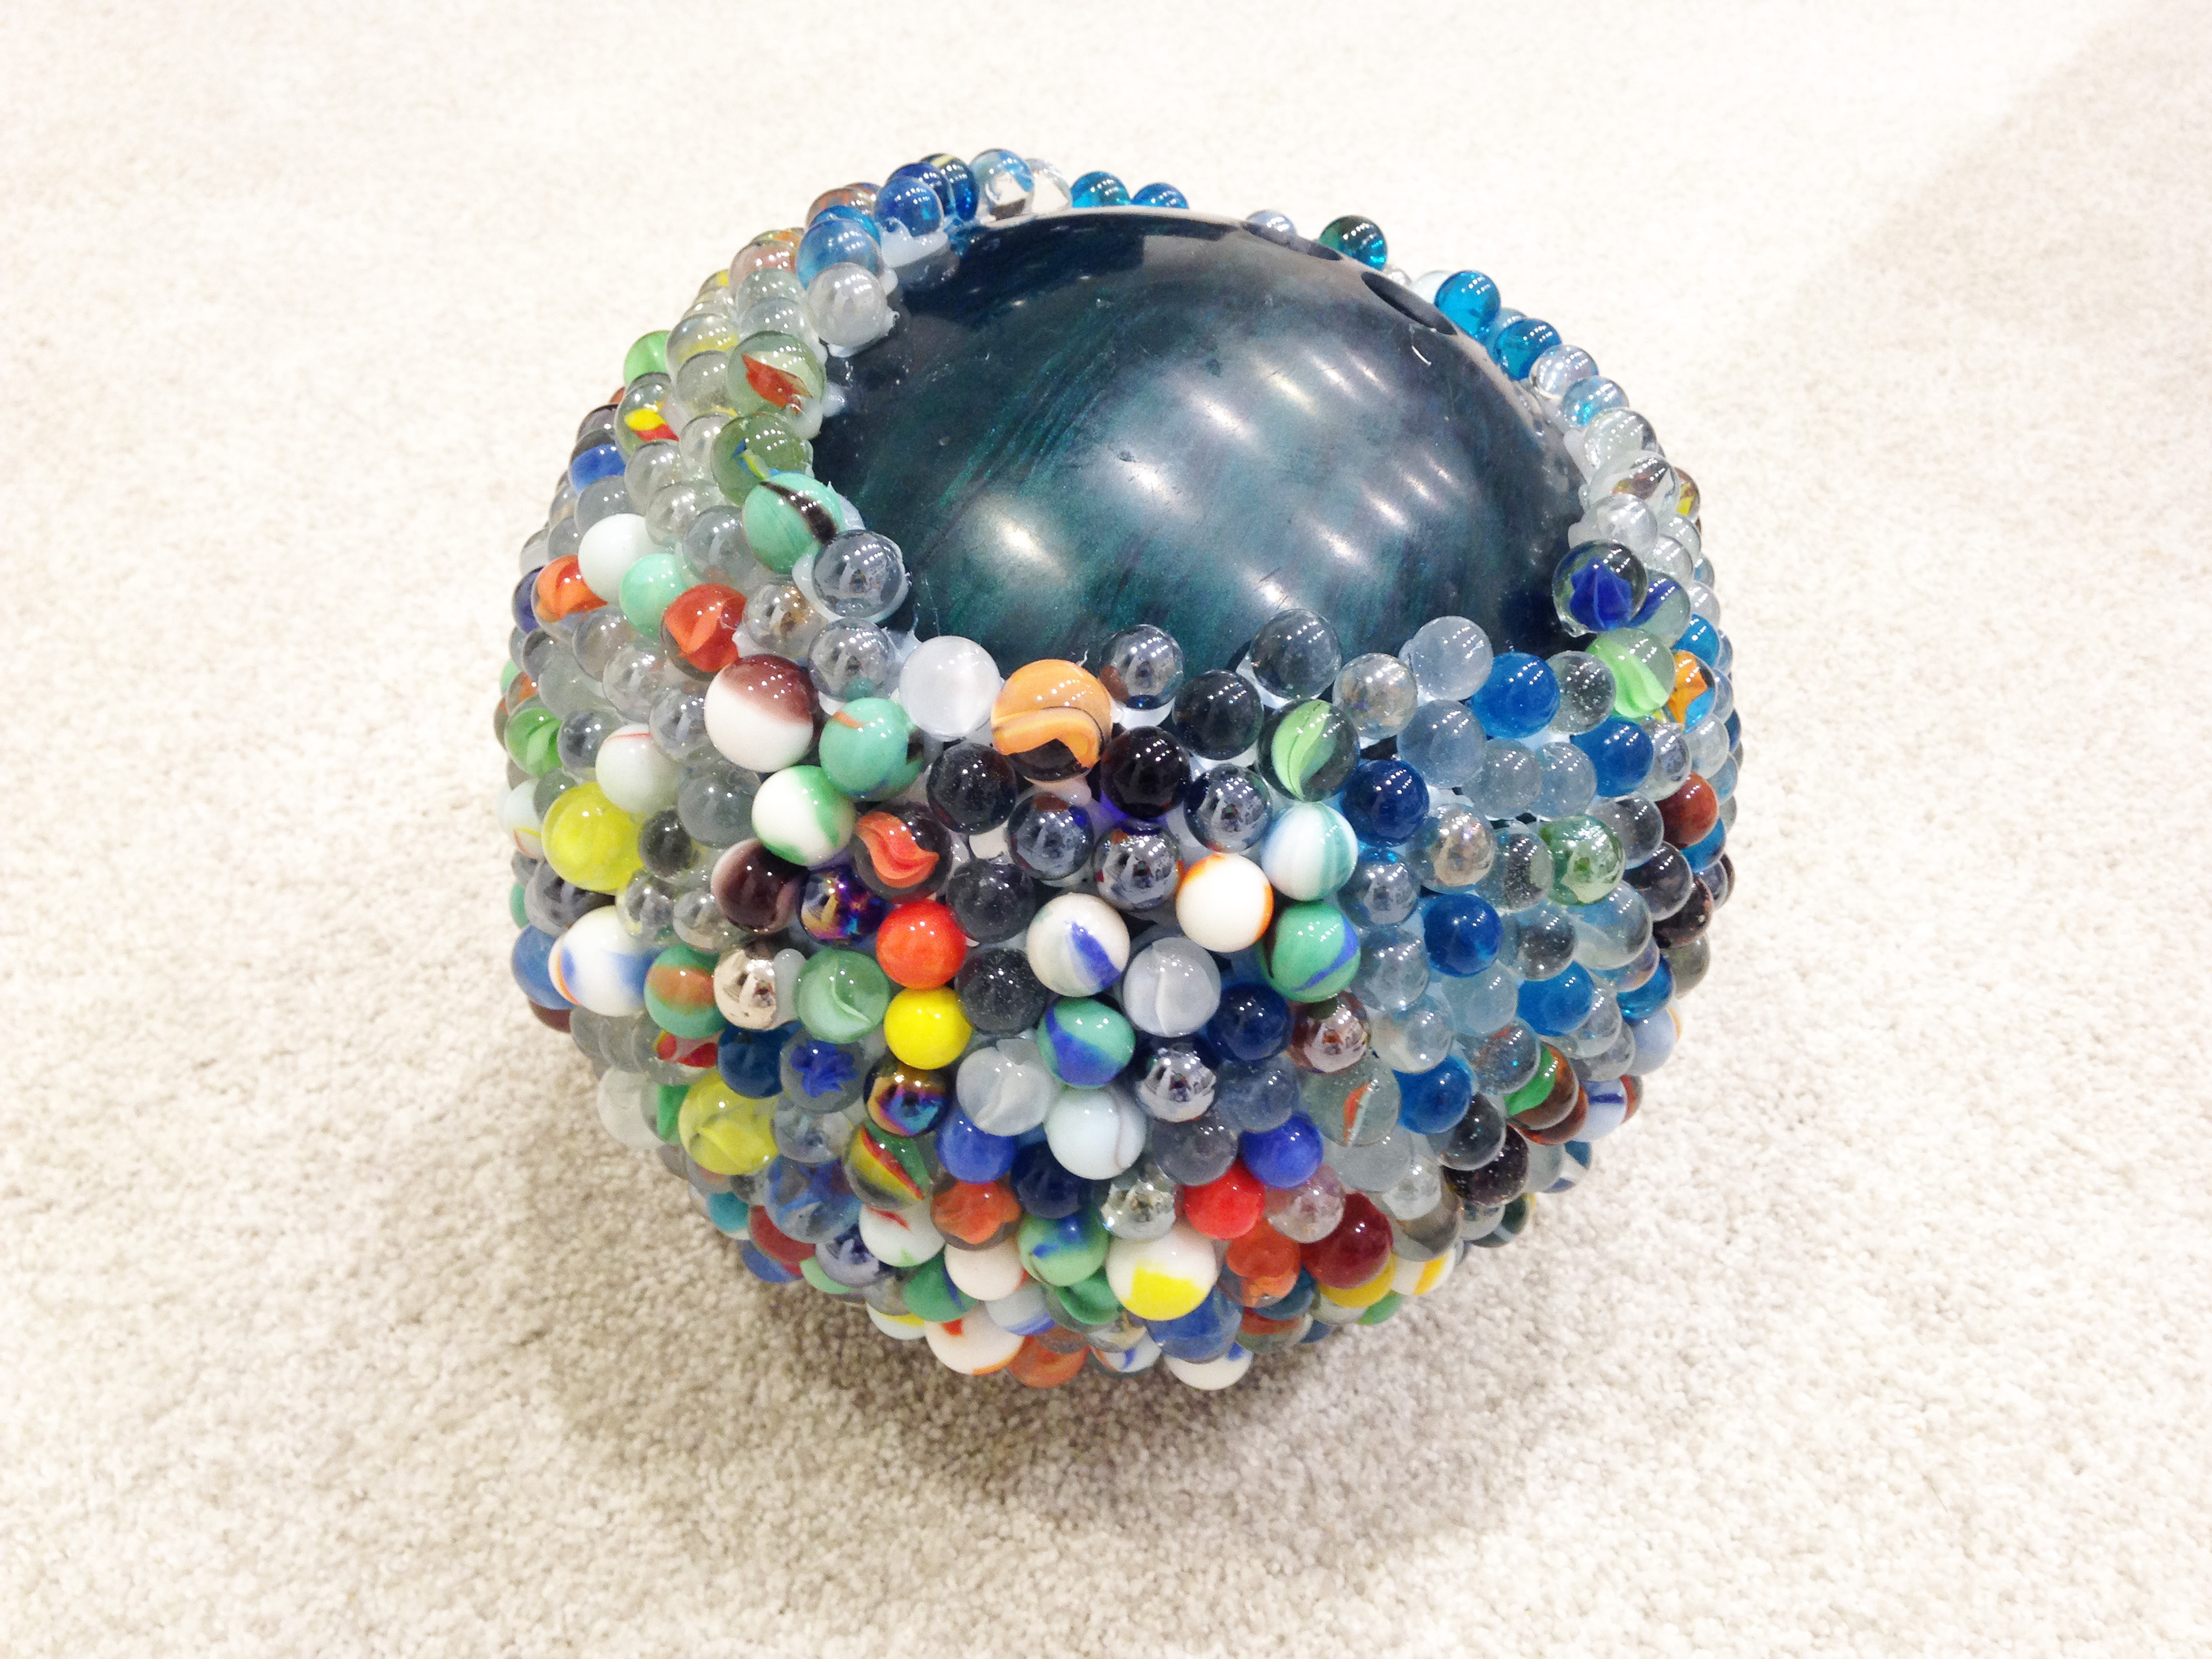
Think about the easiest DIY project you’ve ever done? Now, think about this…. Turning an unused, unloved, taking-up-prime-storage-space bowling ball into a showstopper for your lawn or garden.

That’s exactly what this project is. Easy. And show-stopping. But note: I did NOT say “quick,” I only said “easy.” That’s entirely due to the sheer amount of time you’ll spend gluing, and potentially cursing the day you decided to DIY this beaut.

I kid. (Kinda. Consider yourself warned.)


IMG_3124


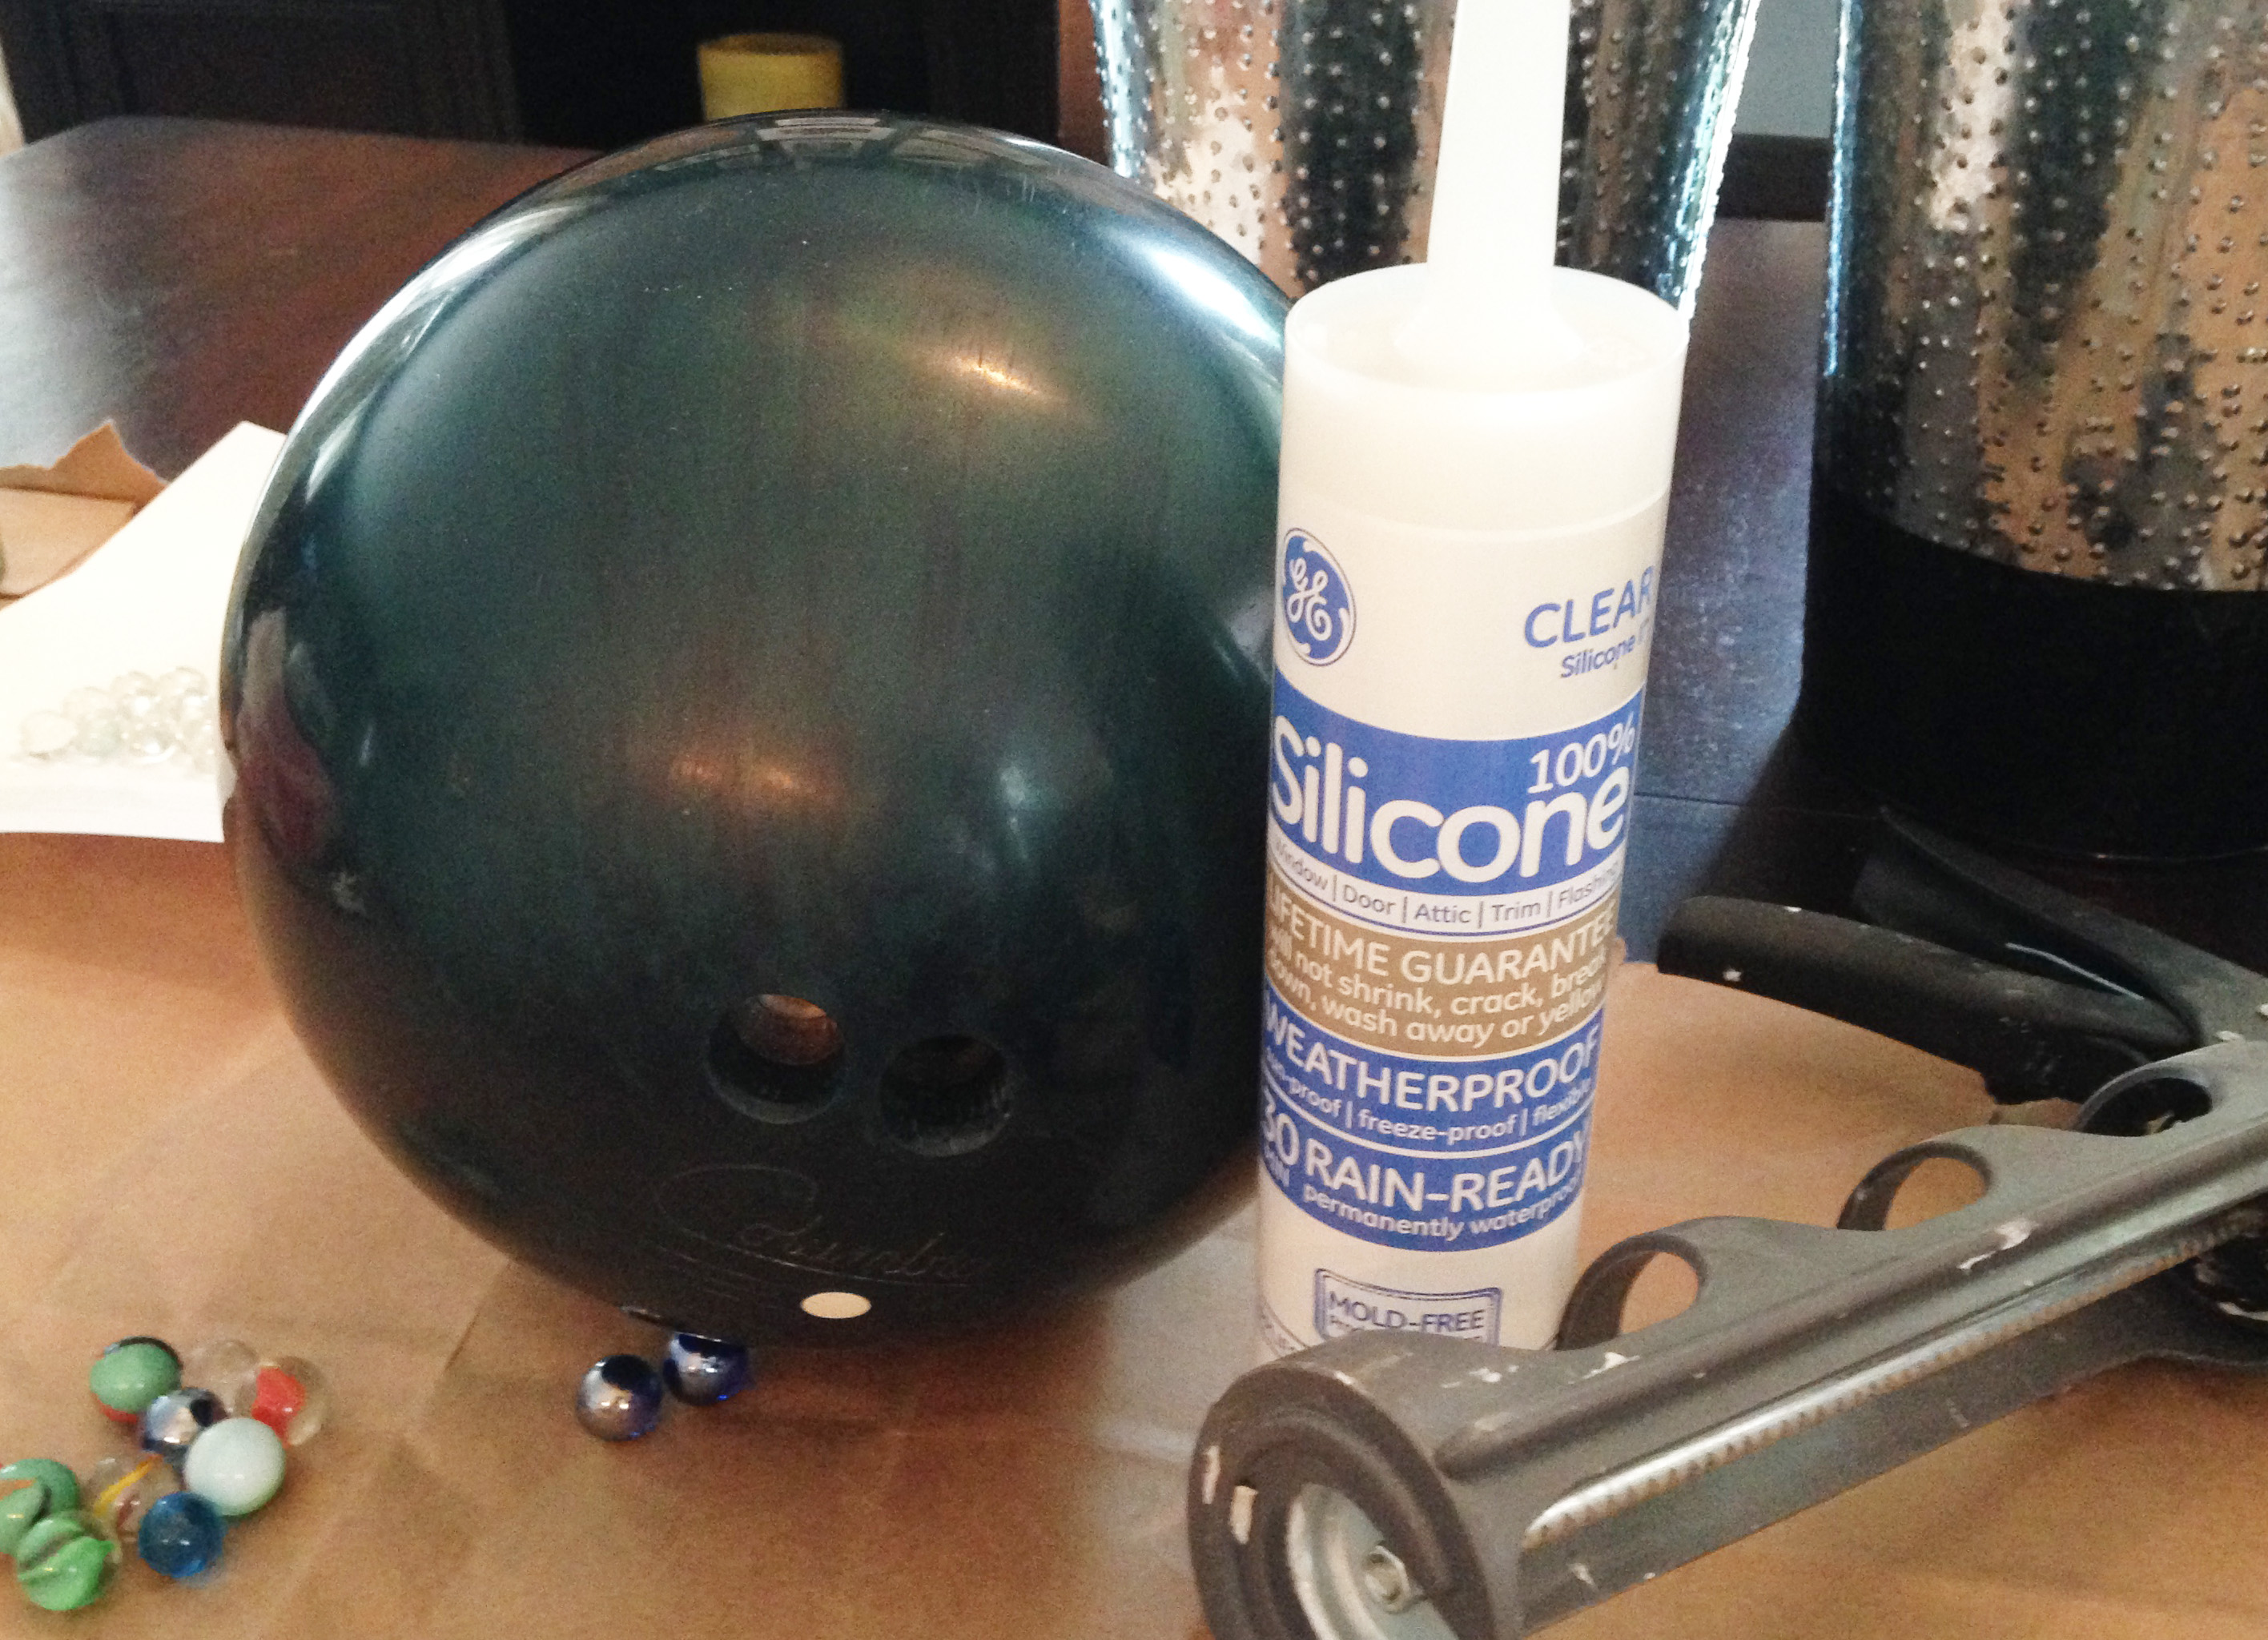
Here’s the breakdown of supplies & uber-simple steps:

  1. Bowling ball. I often find that the best way to score the pieces I’m looking for (in this case, an old bowling ball) is to simply ask around. I’m lucky because mi madre is usually the person who answers with, “Sure, I have an old one lying around.” I mean, who doesn’t, mom?
  2. Marbles. Again, I was lucky that my mom saves everything (If you don’t believe me, check out her guest post here that talks about turning seemingly useless items into pure gold.). She had a stash of marbles from my childhood just begging for new life. If you don’t have a collector mom like I do, I found the best places to score cheap marbles is either flea markets or dollar stores. Most toy and hobby/craft stores sell bags of 15-20 marbles for $4+ which I REFUSE to pay.IMG_3125
    My best bit of advice for collecting enough marbles to cover the entire bowling ball is this: If you think you have enough, you don’t. You will use waaaaaayyyyyy more marbles than you think, so be prepared. If you’ve been following my blog for a while, it’s kind of like the ridiculous amount of corks I needed for this project. Also, in the process of gluing your marbles, you might just lose yours, too. (That was cheesy, but I had to do it.) I know I almost did. Because every night I thought was “the” night of completion, it ended up being the night that turned out like this:  (Not even halfway.)IMG_3136Or this: (Nope, still not close.)
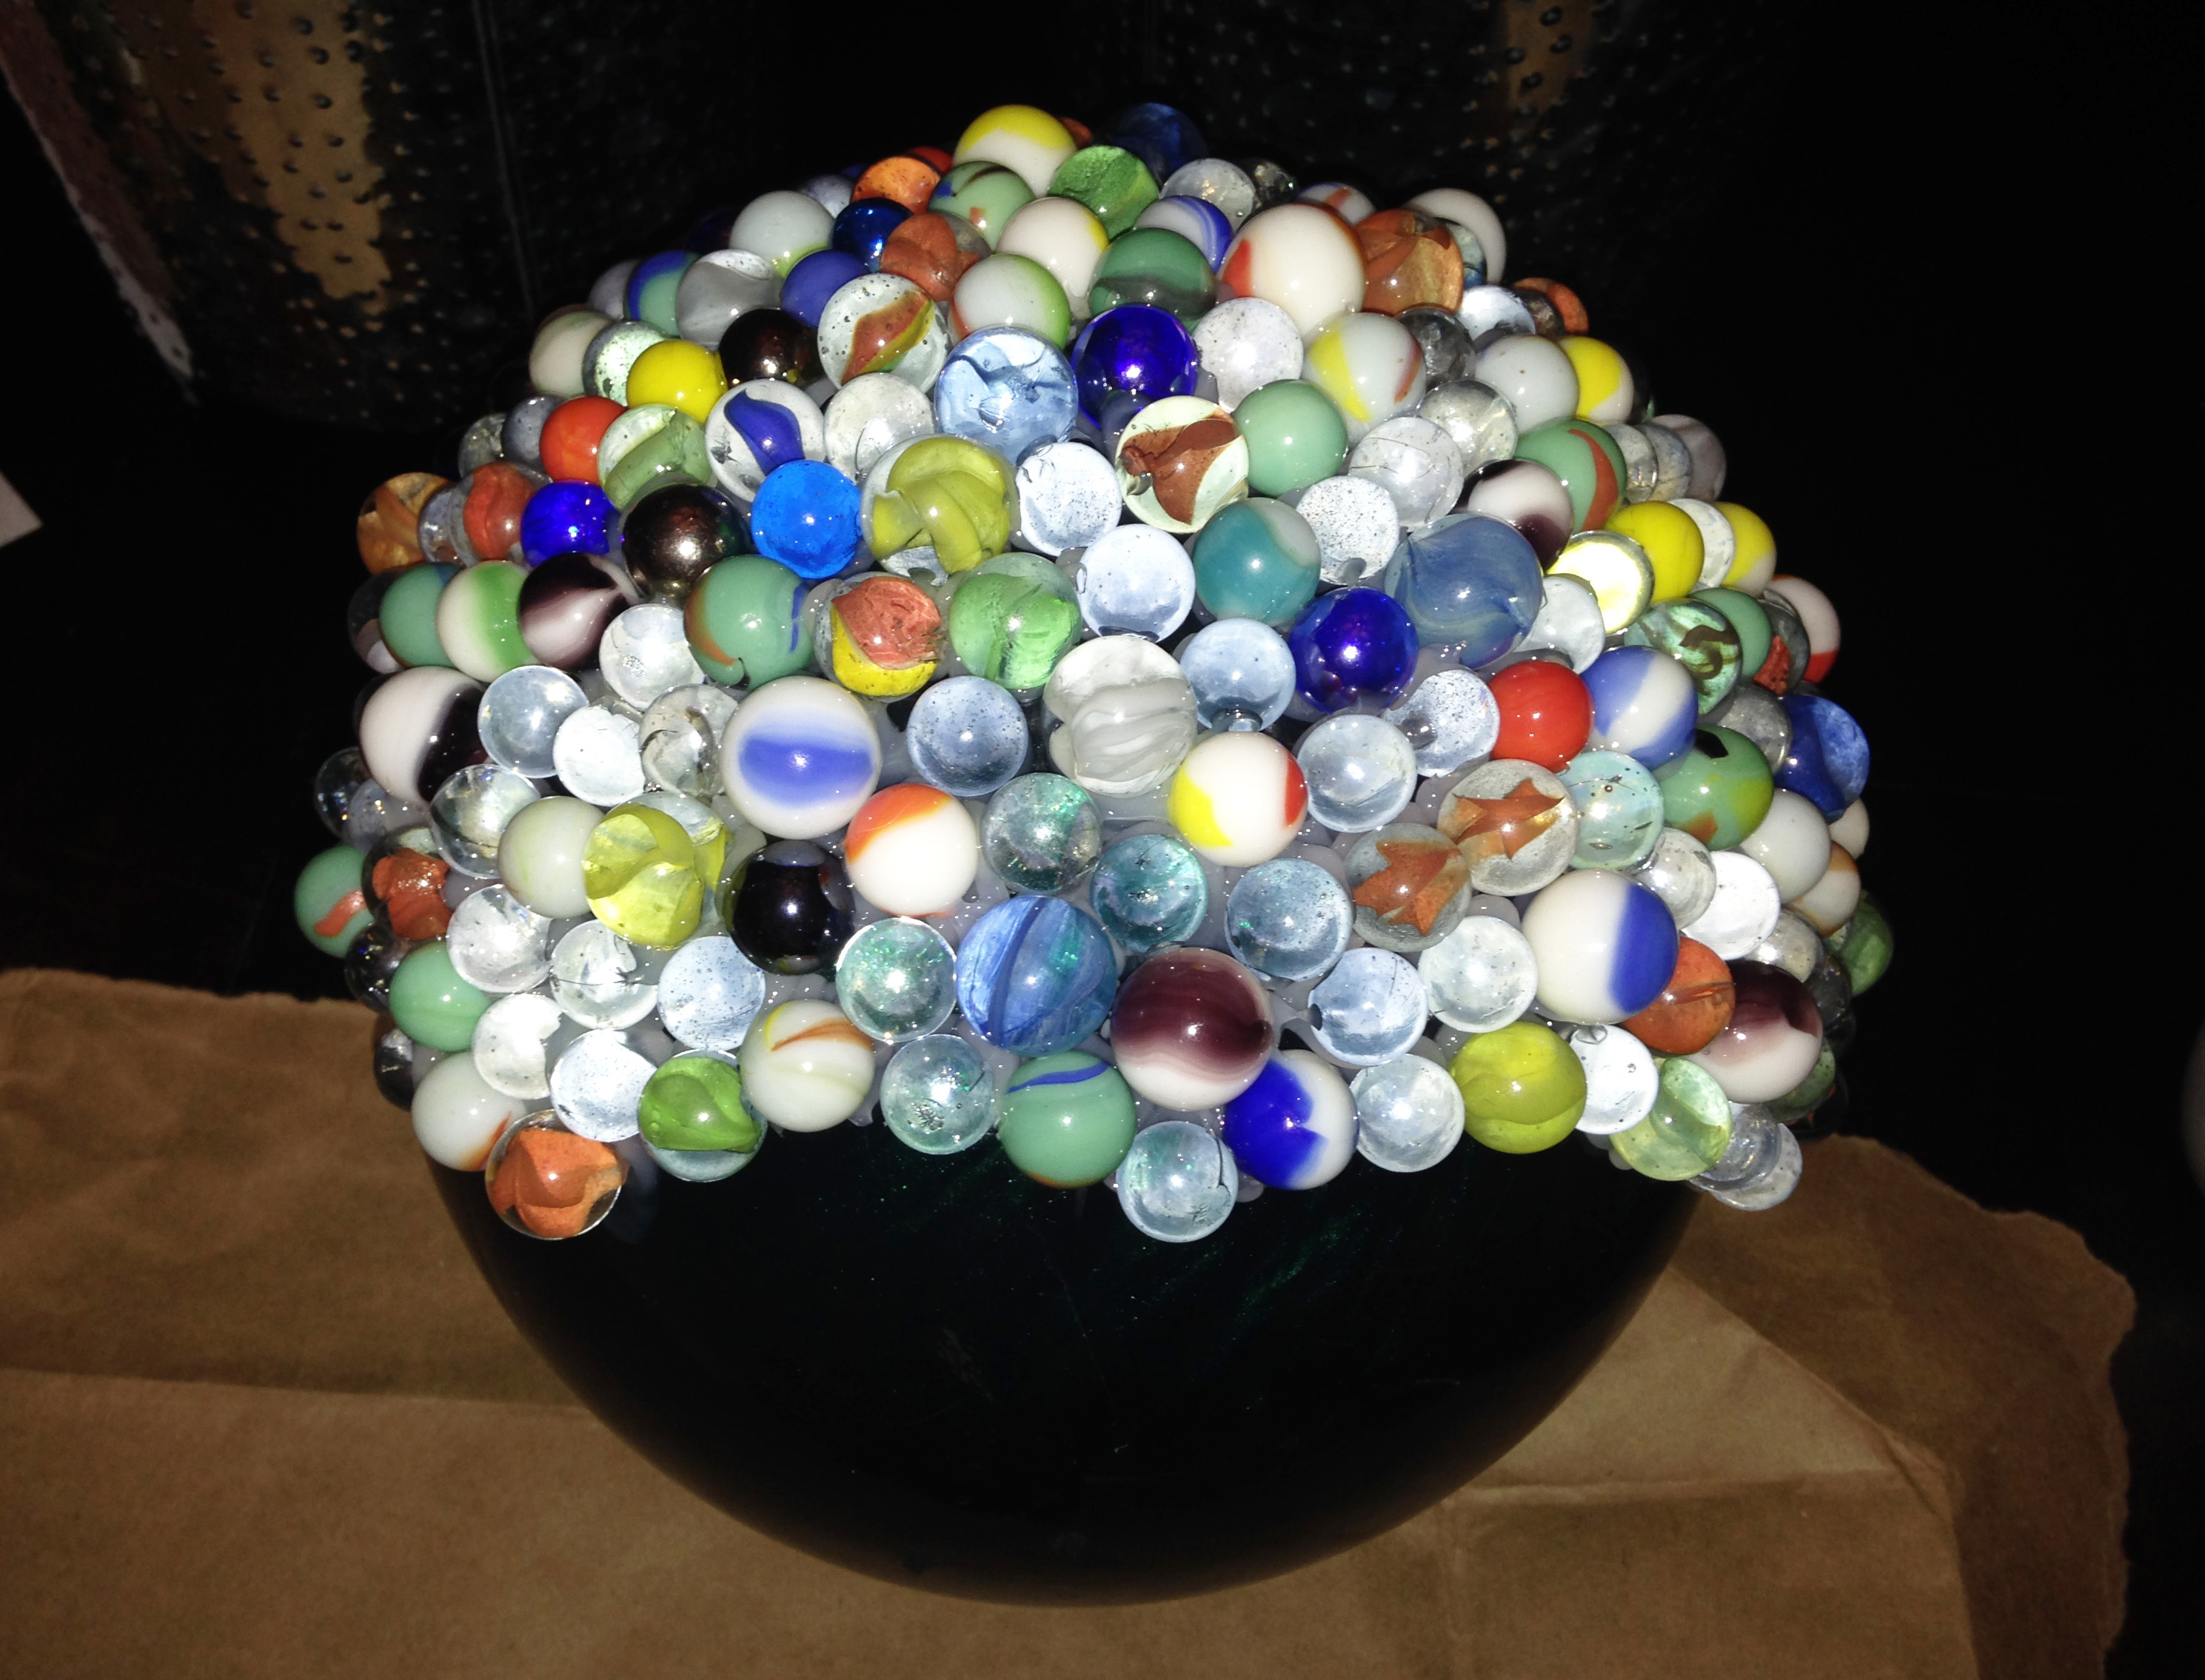
IMG_3142

    Or this:  (C’mon!)

    IMG_3202

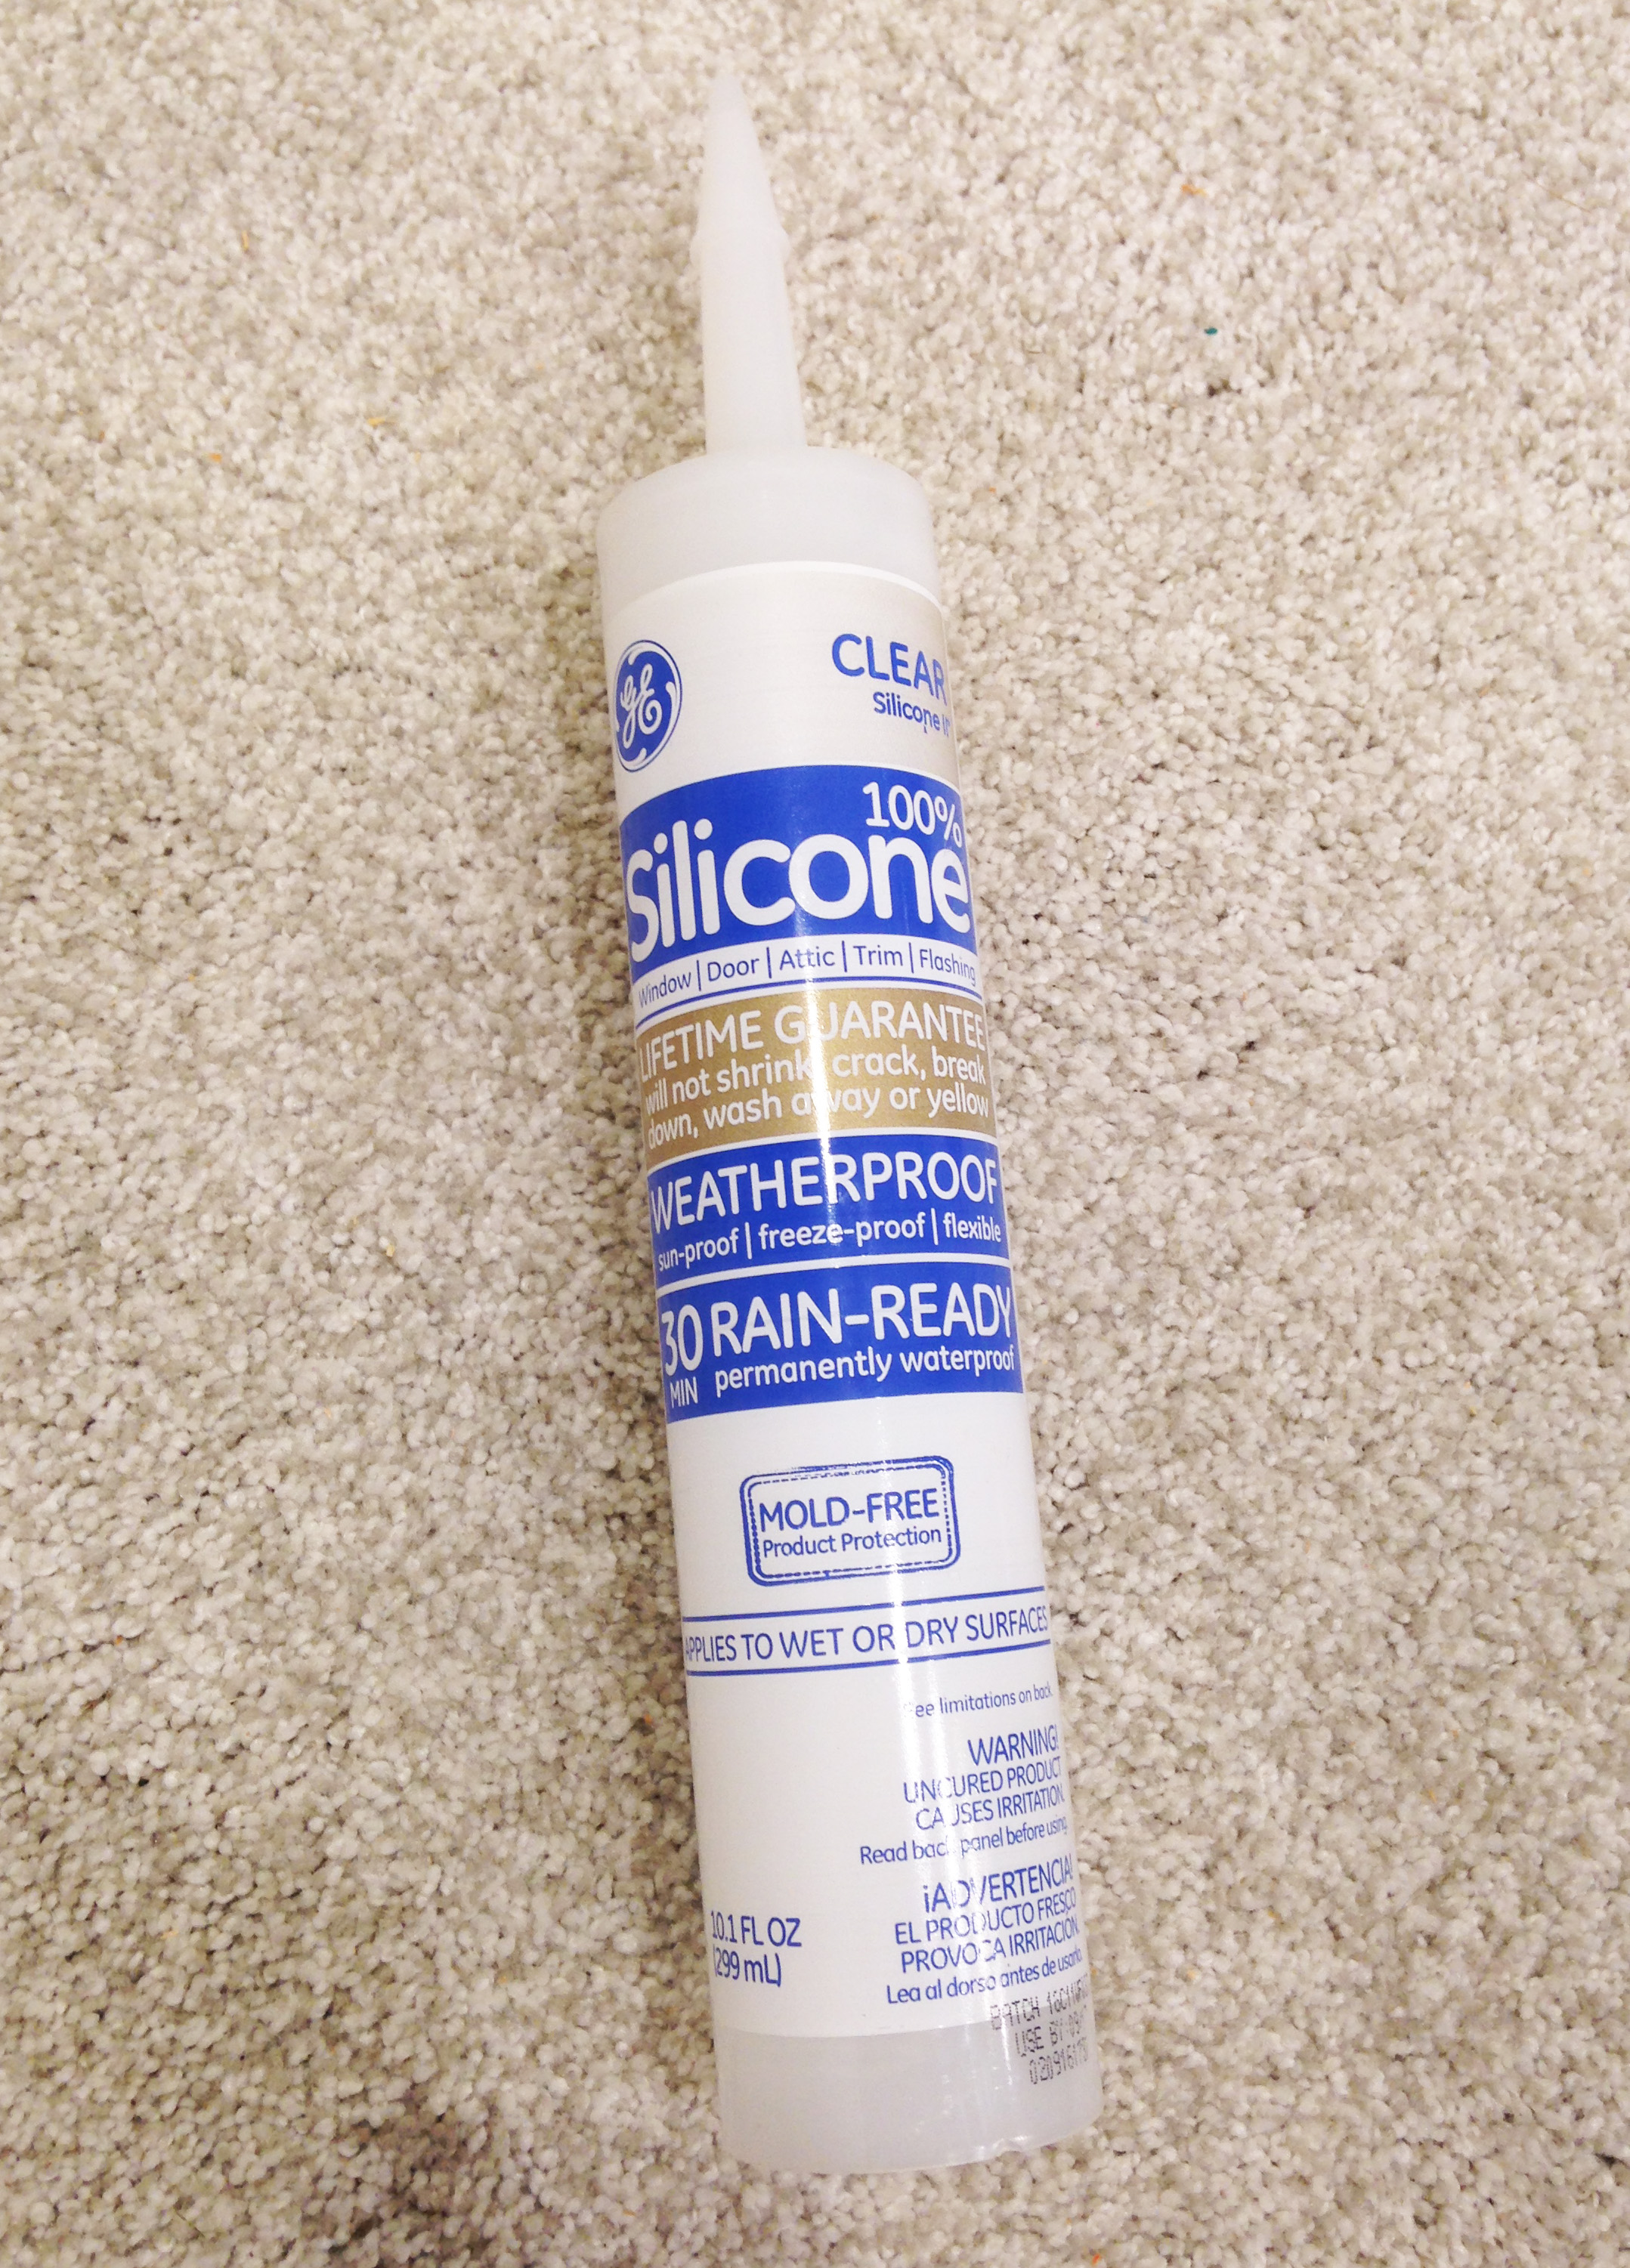
    Other than being prepared for that, the rest is a cinch. Just glue a section, let dry (otherwise they will start to droop), then turn your bowling ball, and repeat. That’s it. You also don’t have to worry about perfection when it comes to gluing. The silicone is clear, so mistakes are masked = joyous DIY project!

    IMG_3127

  3. Standard caulk gun
  4. GE Silicone II. Make sure it’s CLEAR & Weatherproof. I did a lot of research on the best product to use. Different bloggers will tell you different things, but so far, this stuff is the bomb. And I’m pretty sure it would literally take a bomb, to loosen these marbles.IMG_3408

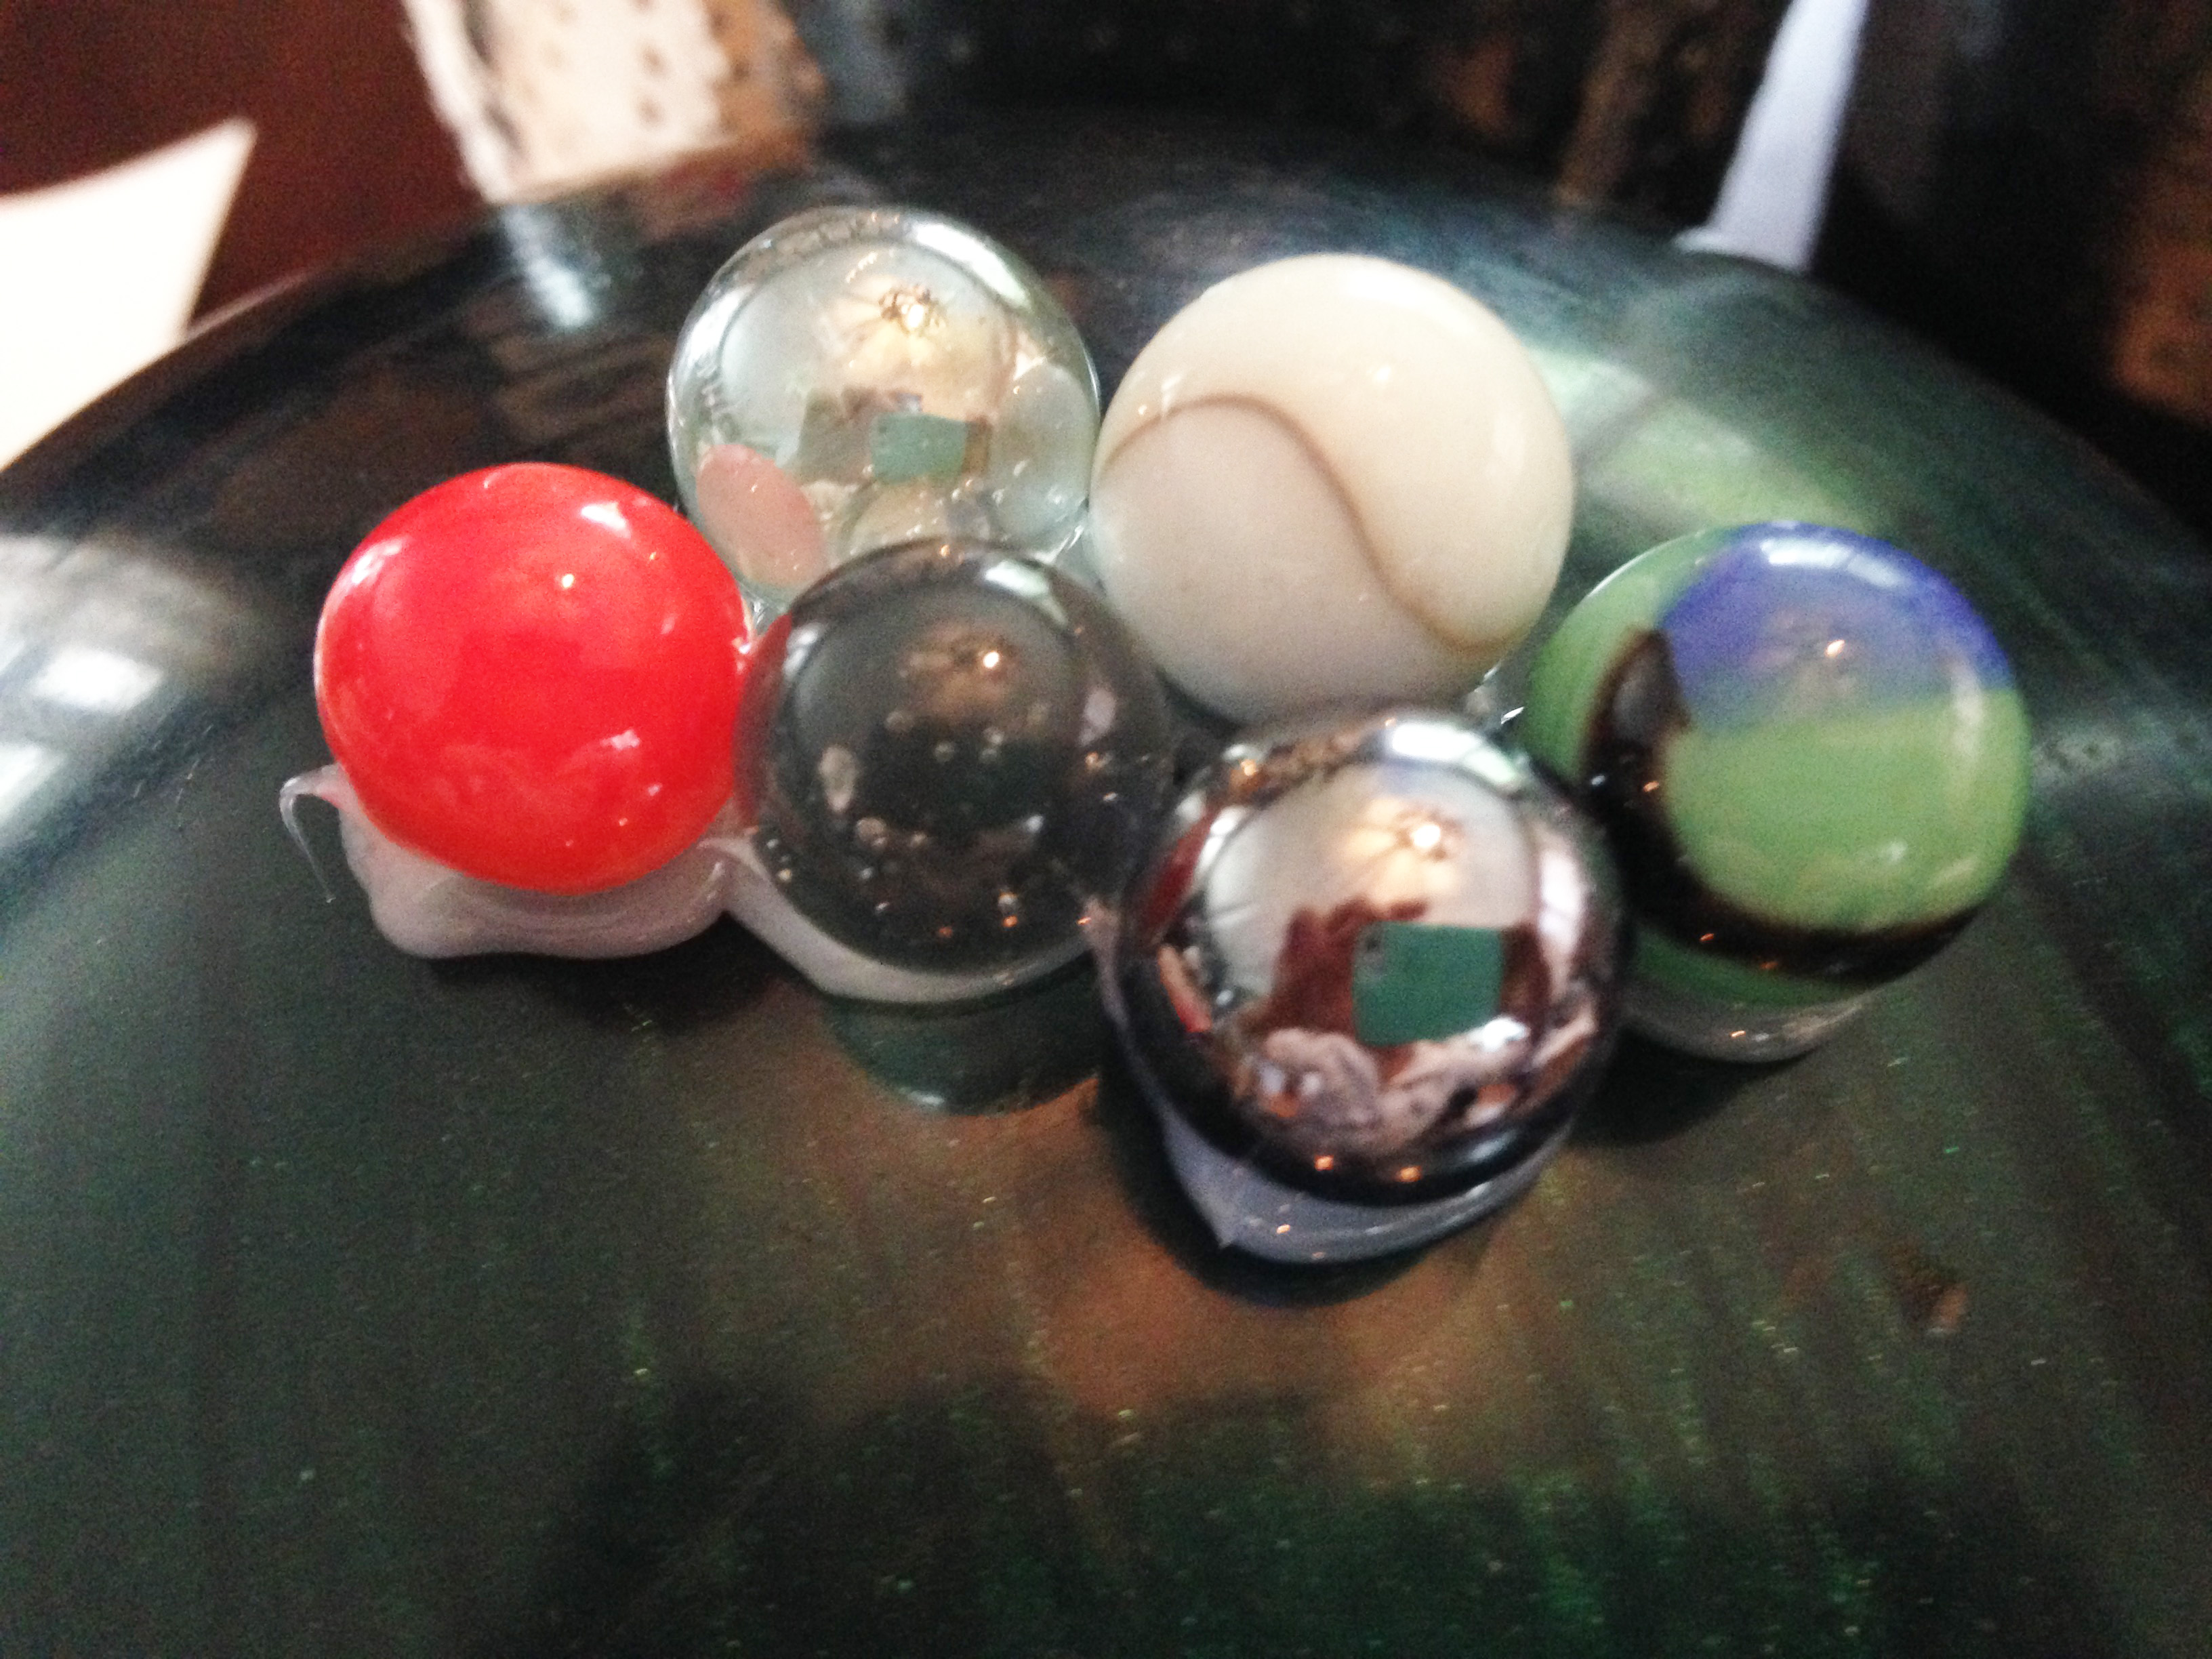
Honestly, that’s about it. Lots of marbles. Lots of silicone. Lots of patience. Some profanity. And a great-looking end product on the cheap. My favorite kind. Good luck!
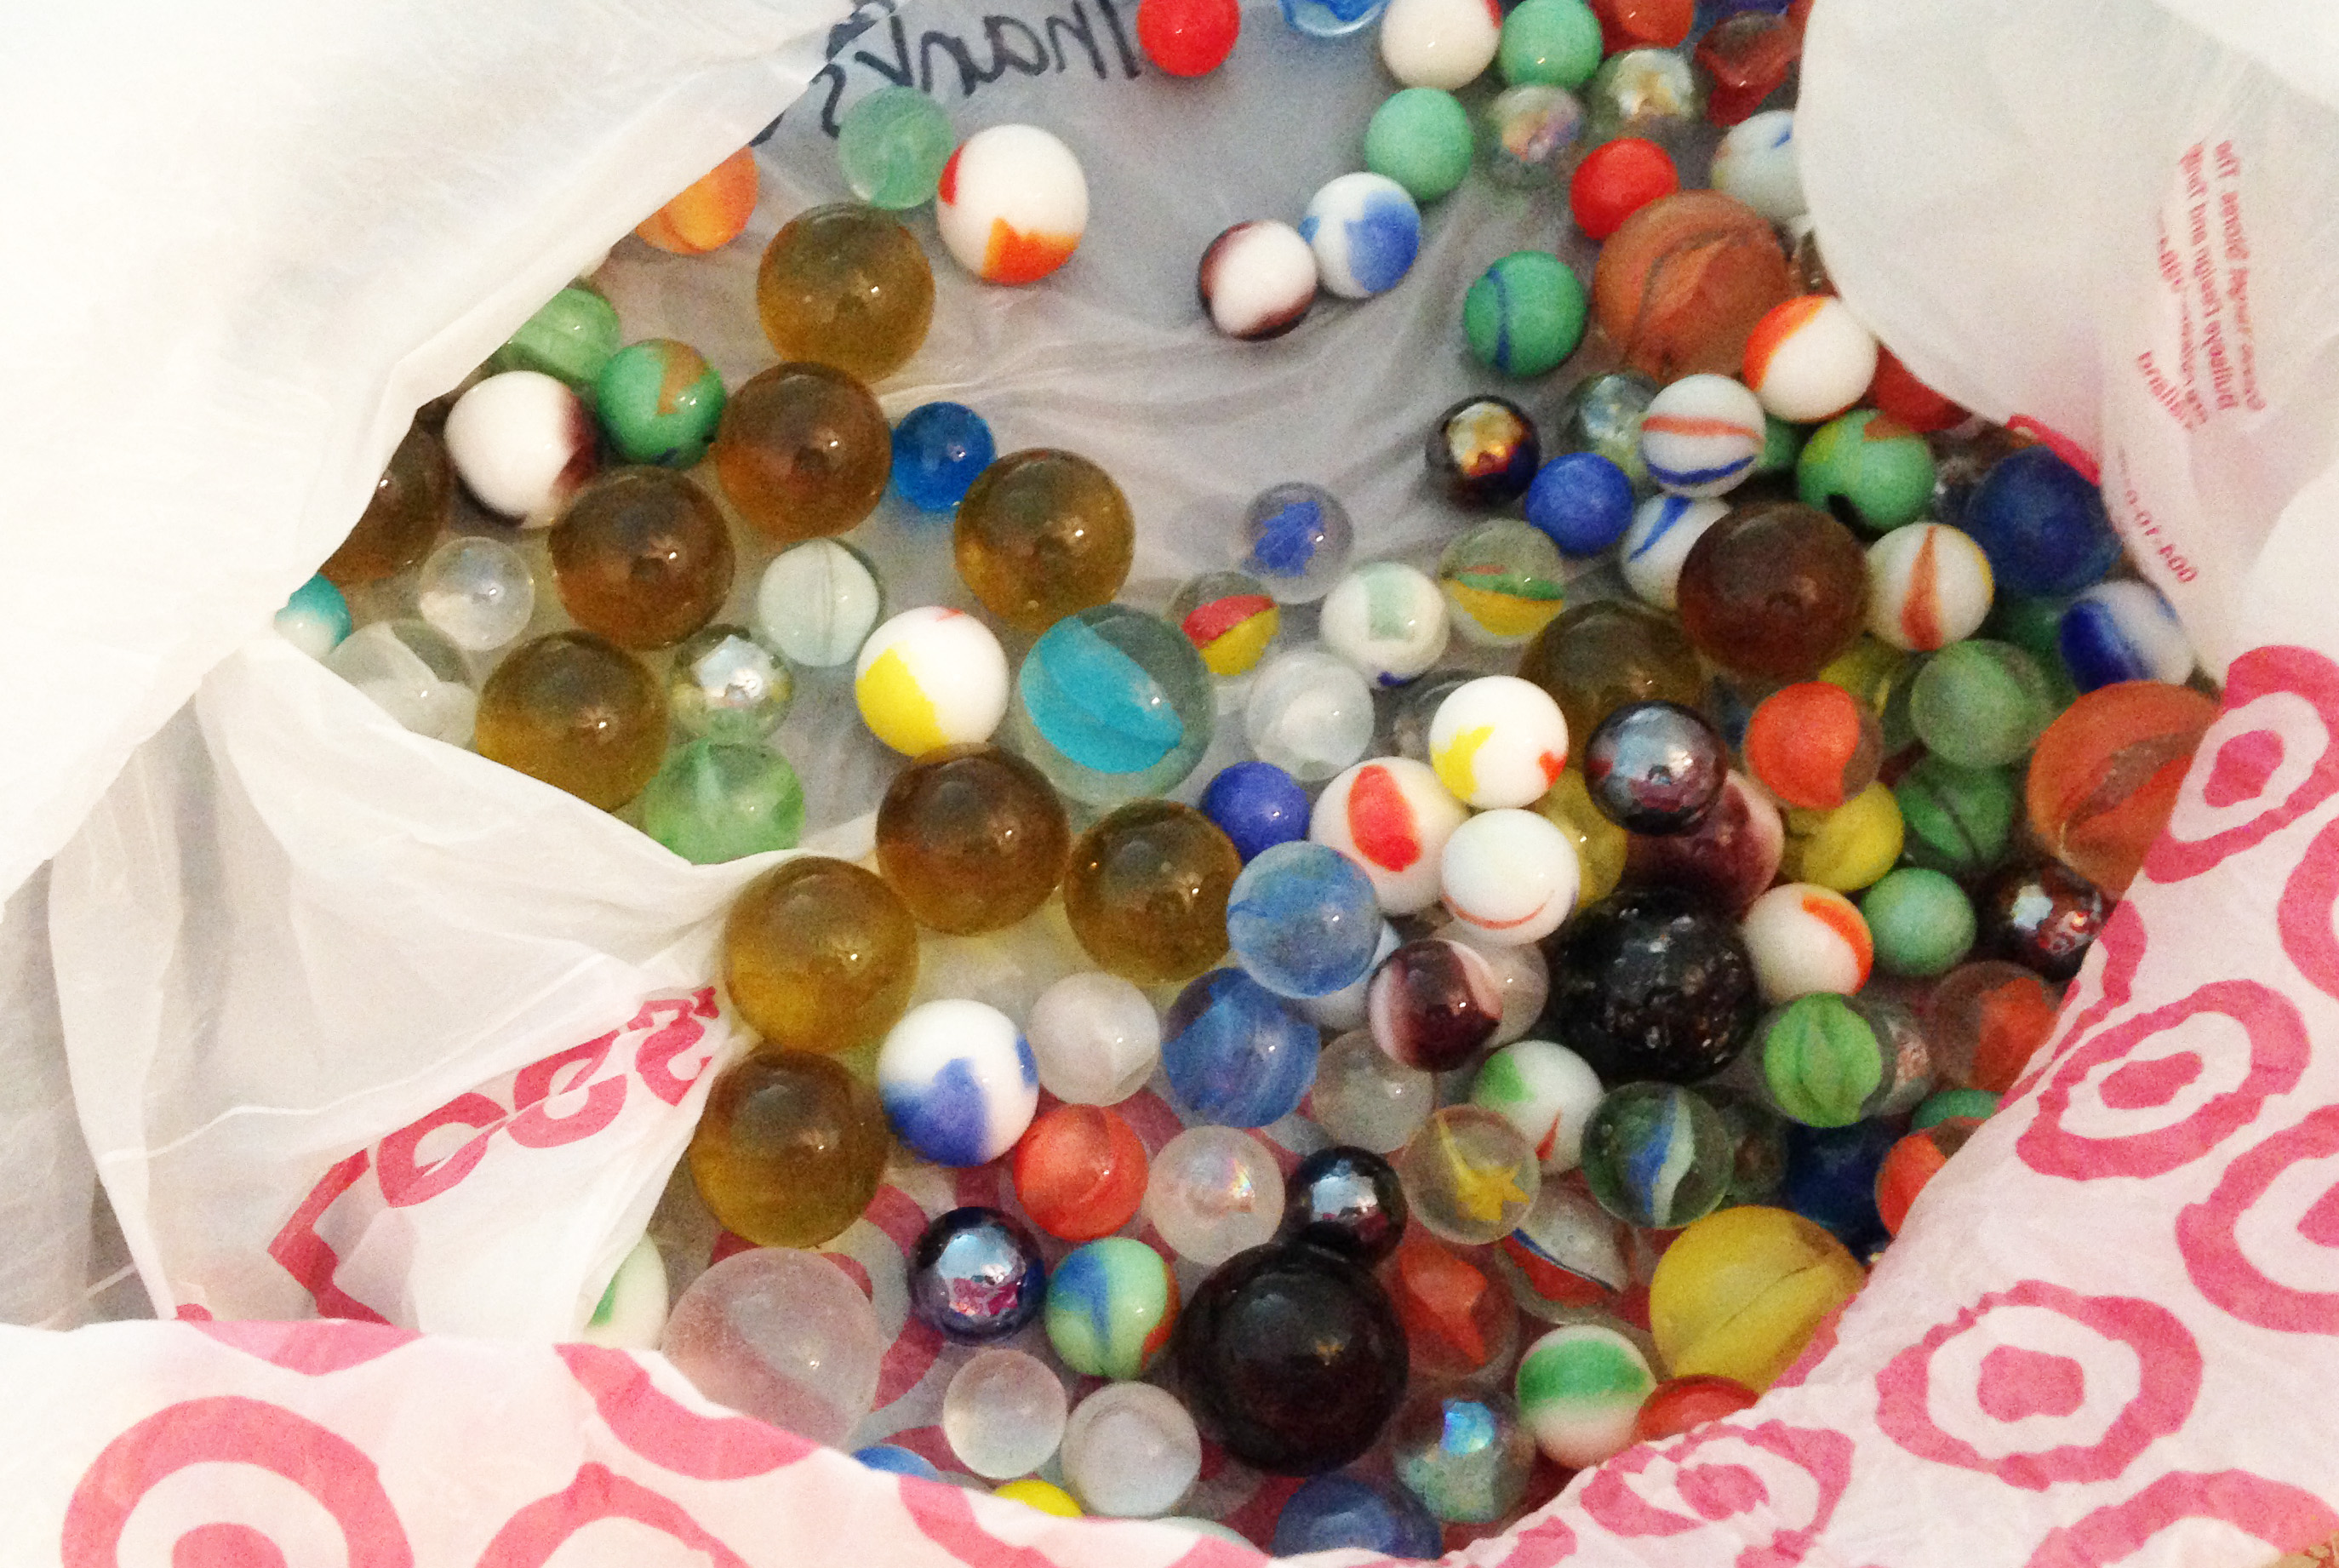
IMG_3405

IMG_3406   IMG_3422


Written by

6 Comments

Leave a Reply

Your email address will not be published. Required fields are marked *

Morgan Hanson

360-degrees of DIY-bliss. Read about my kooky ideas, creations, kids and general chaotically beautiful life. Get inspired. Learn from my mistakes. Steal my ideas. Be merry :)
Affiliate disclaimer:

For the sake of transparency, I've included certain links to products that will earn an affiliate commission for purchases you make. However, I only include products that I know and love through my own personal experience.

Never miss a post again
Follow & like me :)