
Previous post

Next post
too many ideas. too little time. (and far too much chai.)


Rocker? Glider? Recliner? Swivel-er? And you thought just deciding to have kids was the tough part.
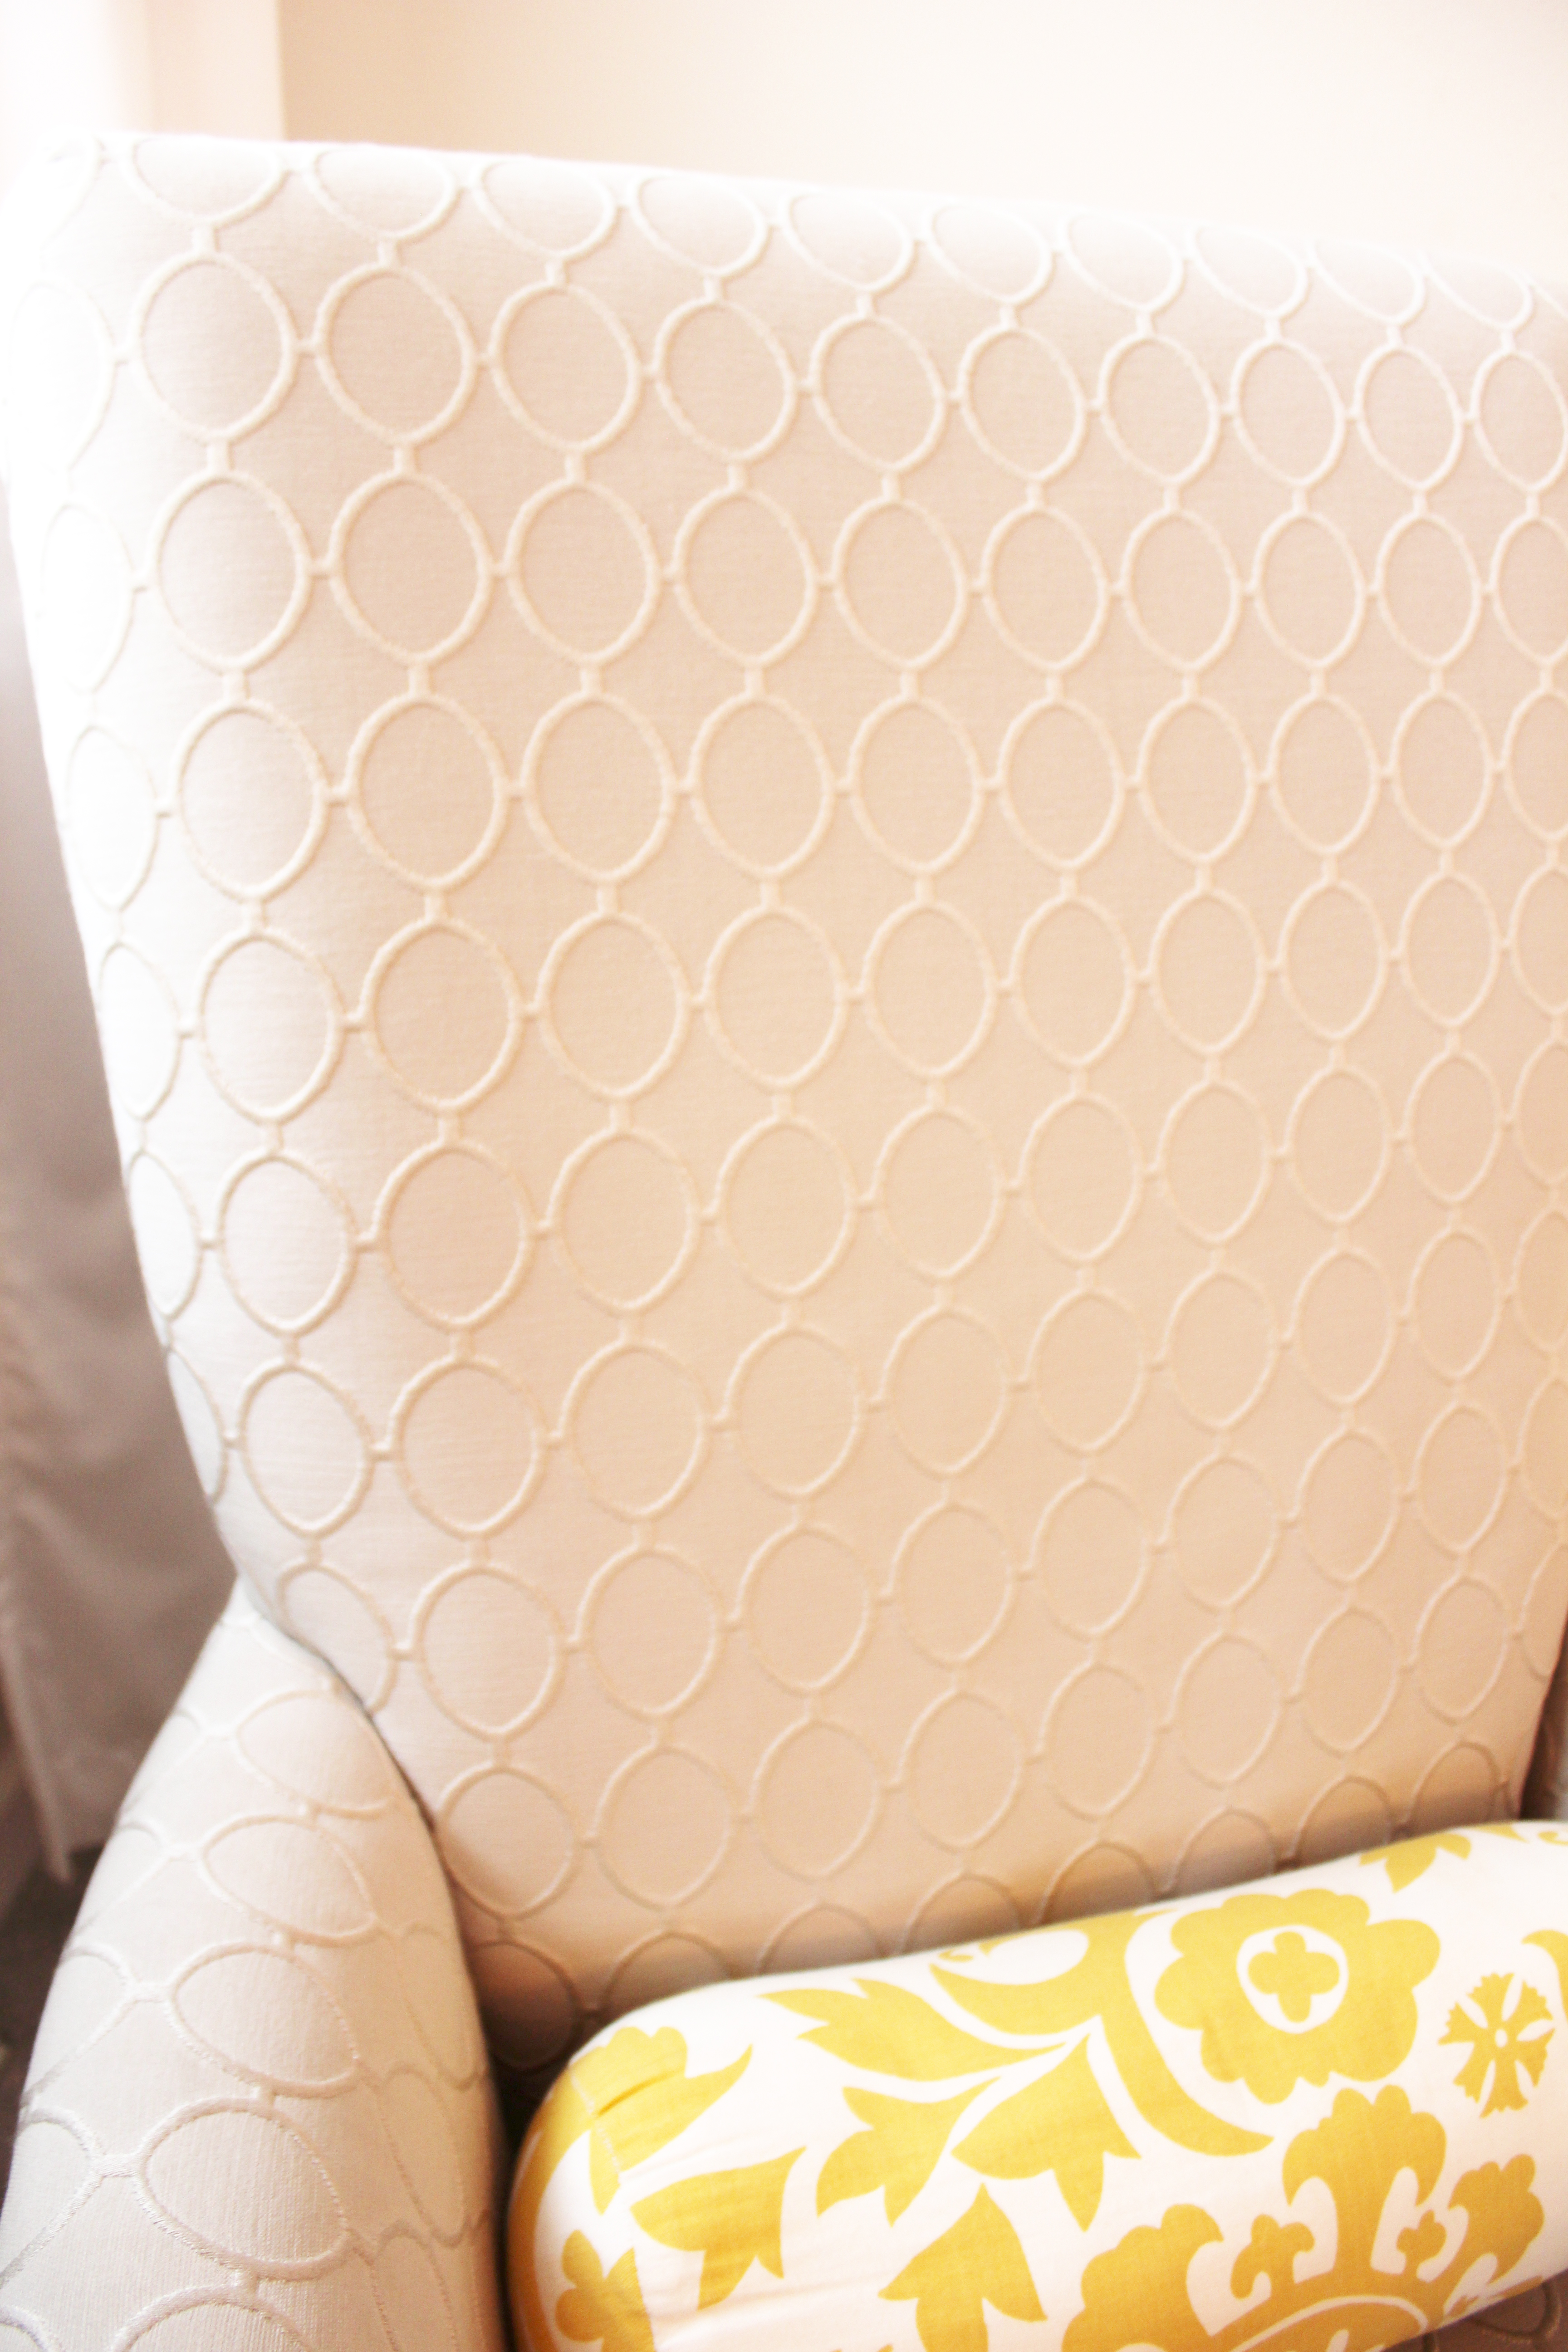
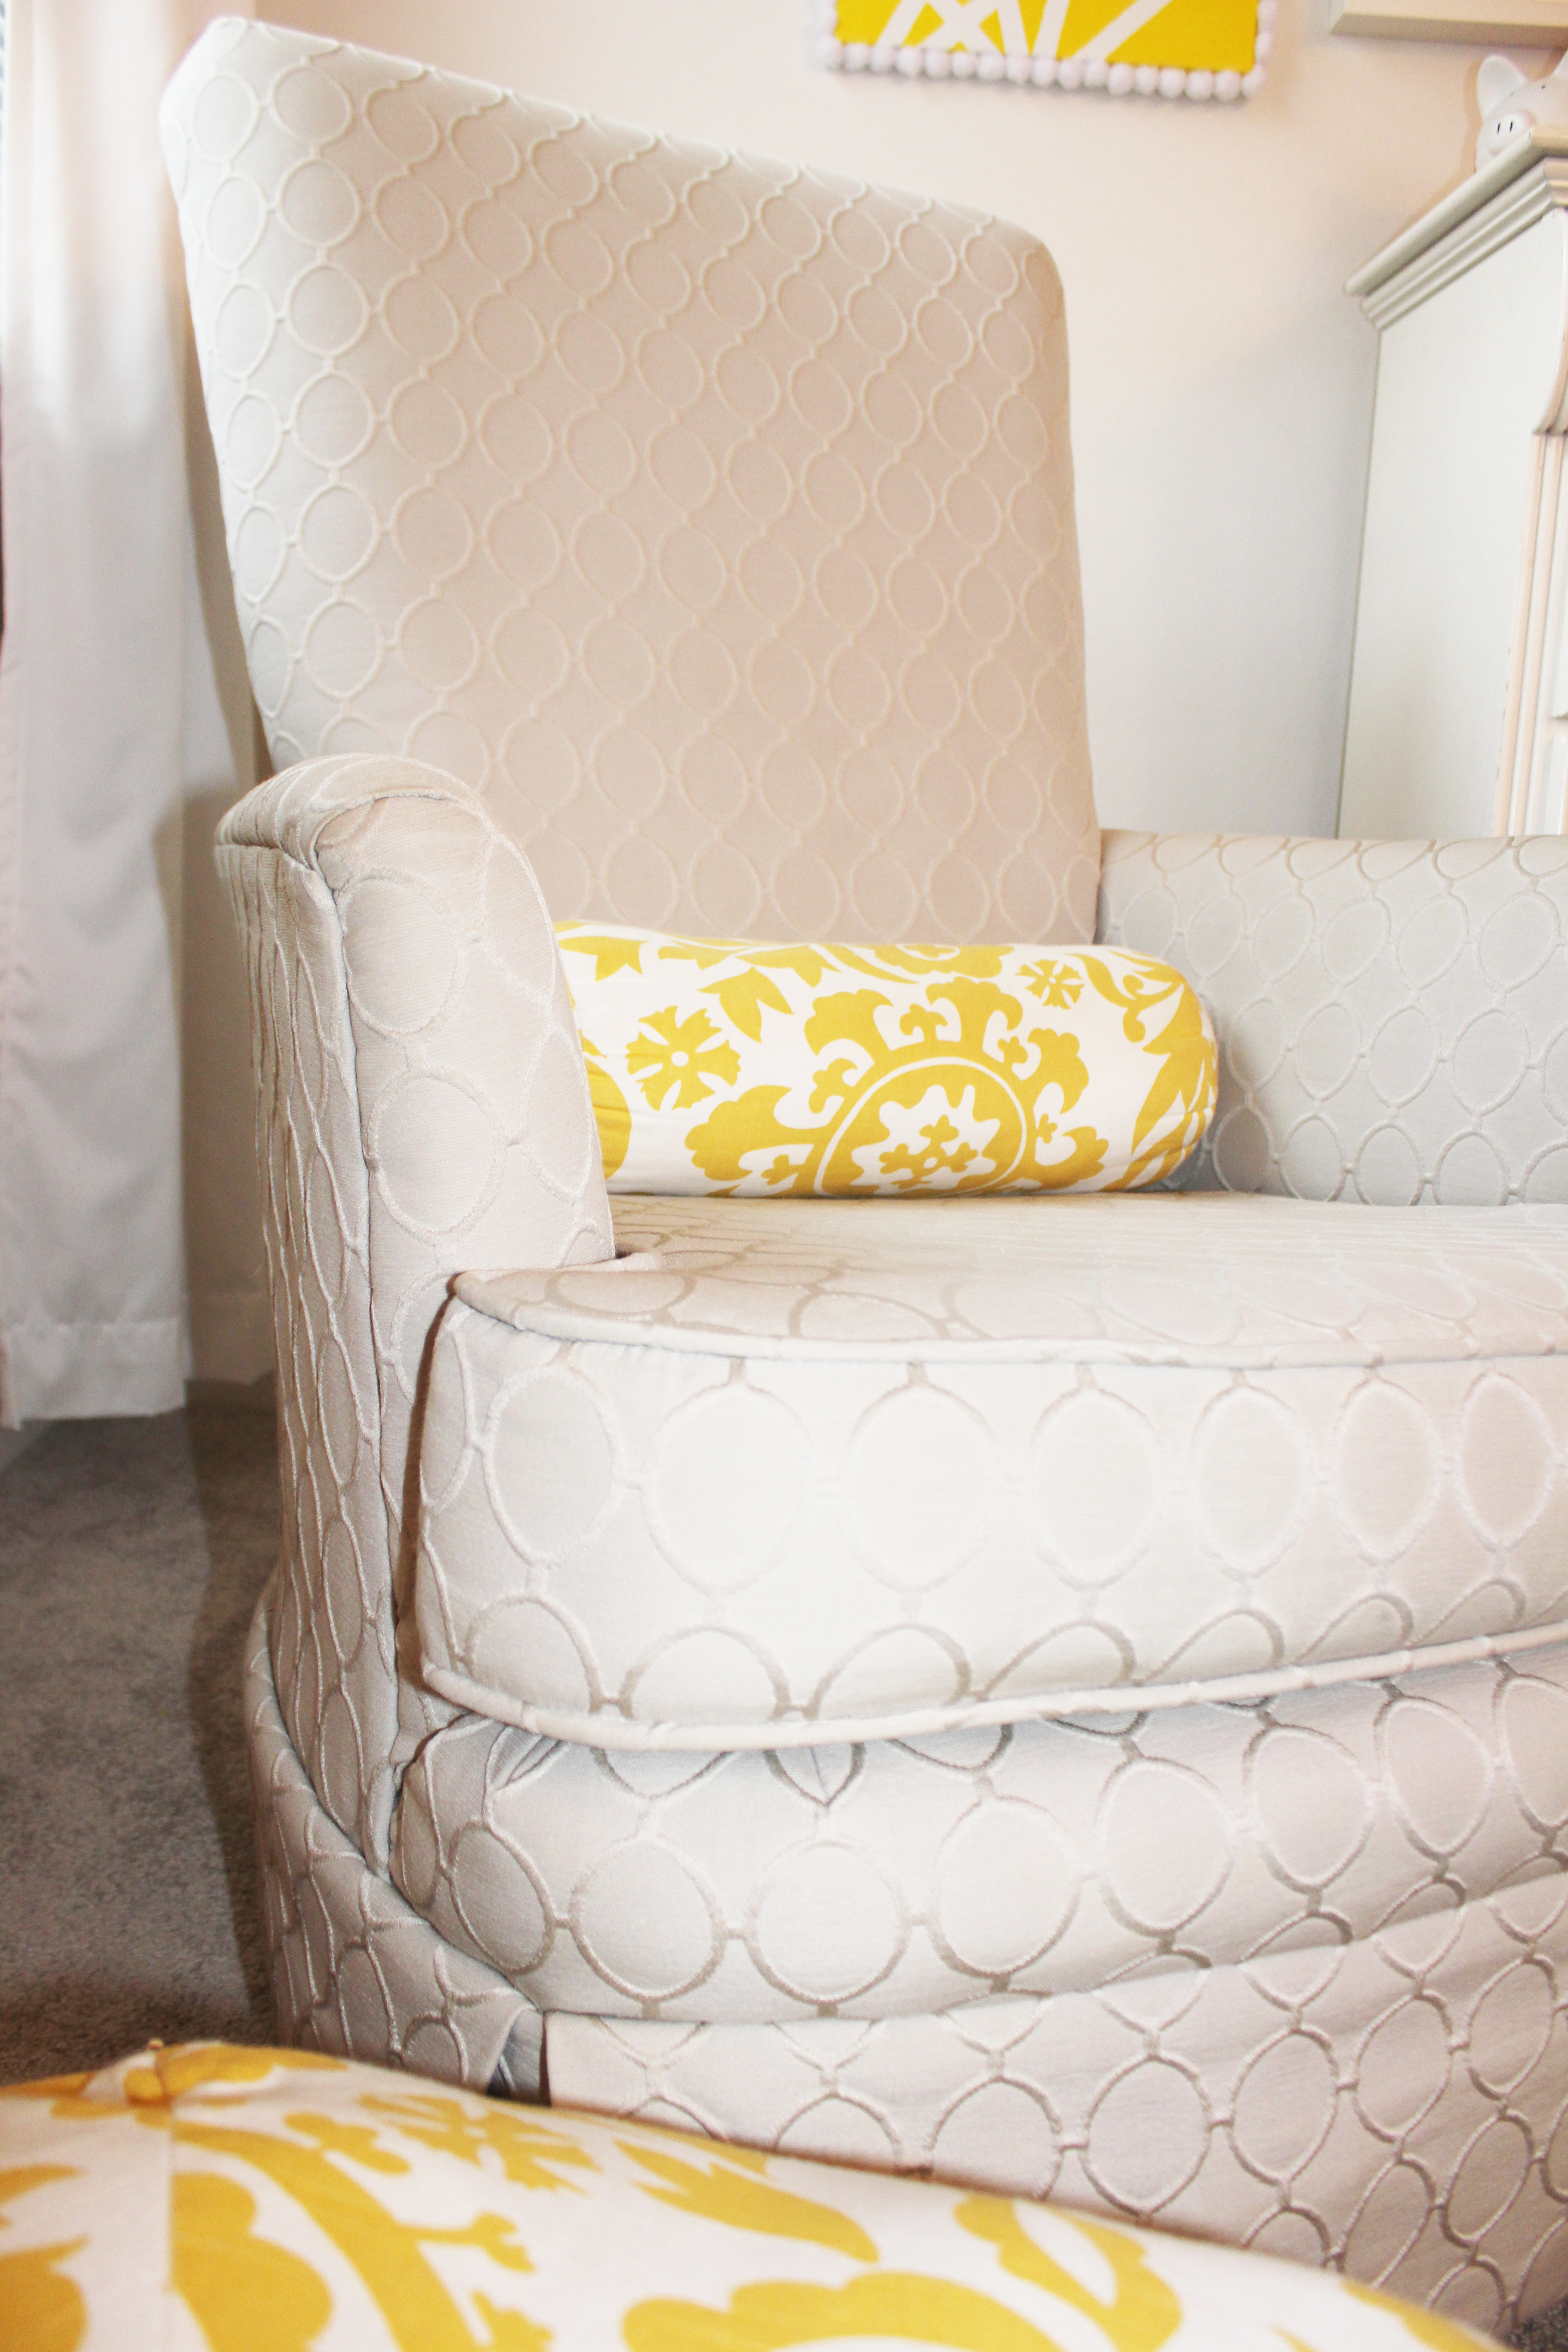
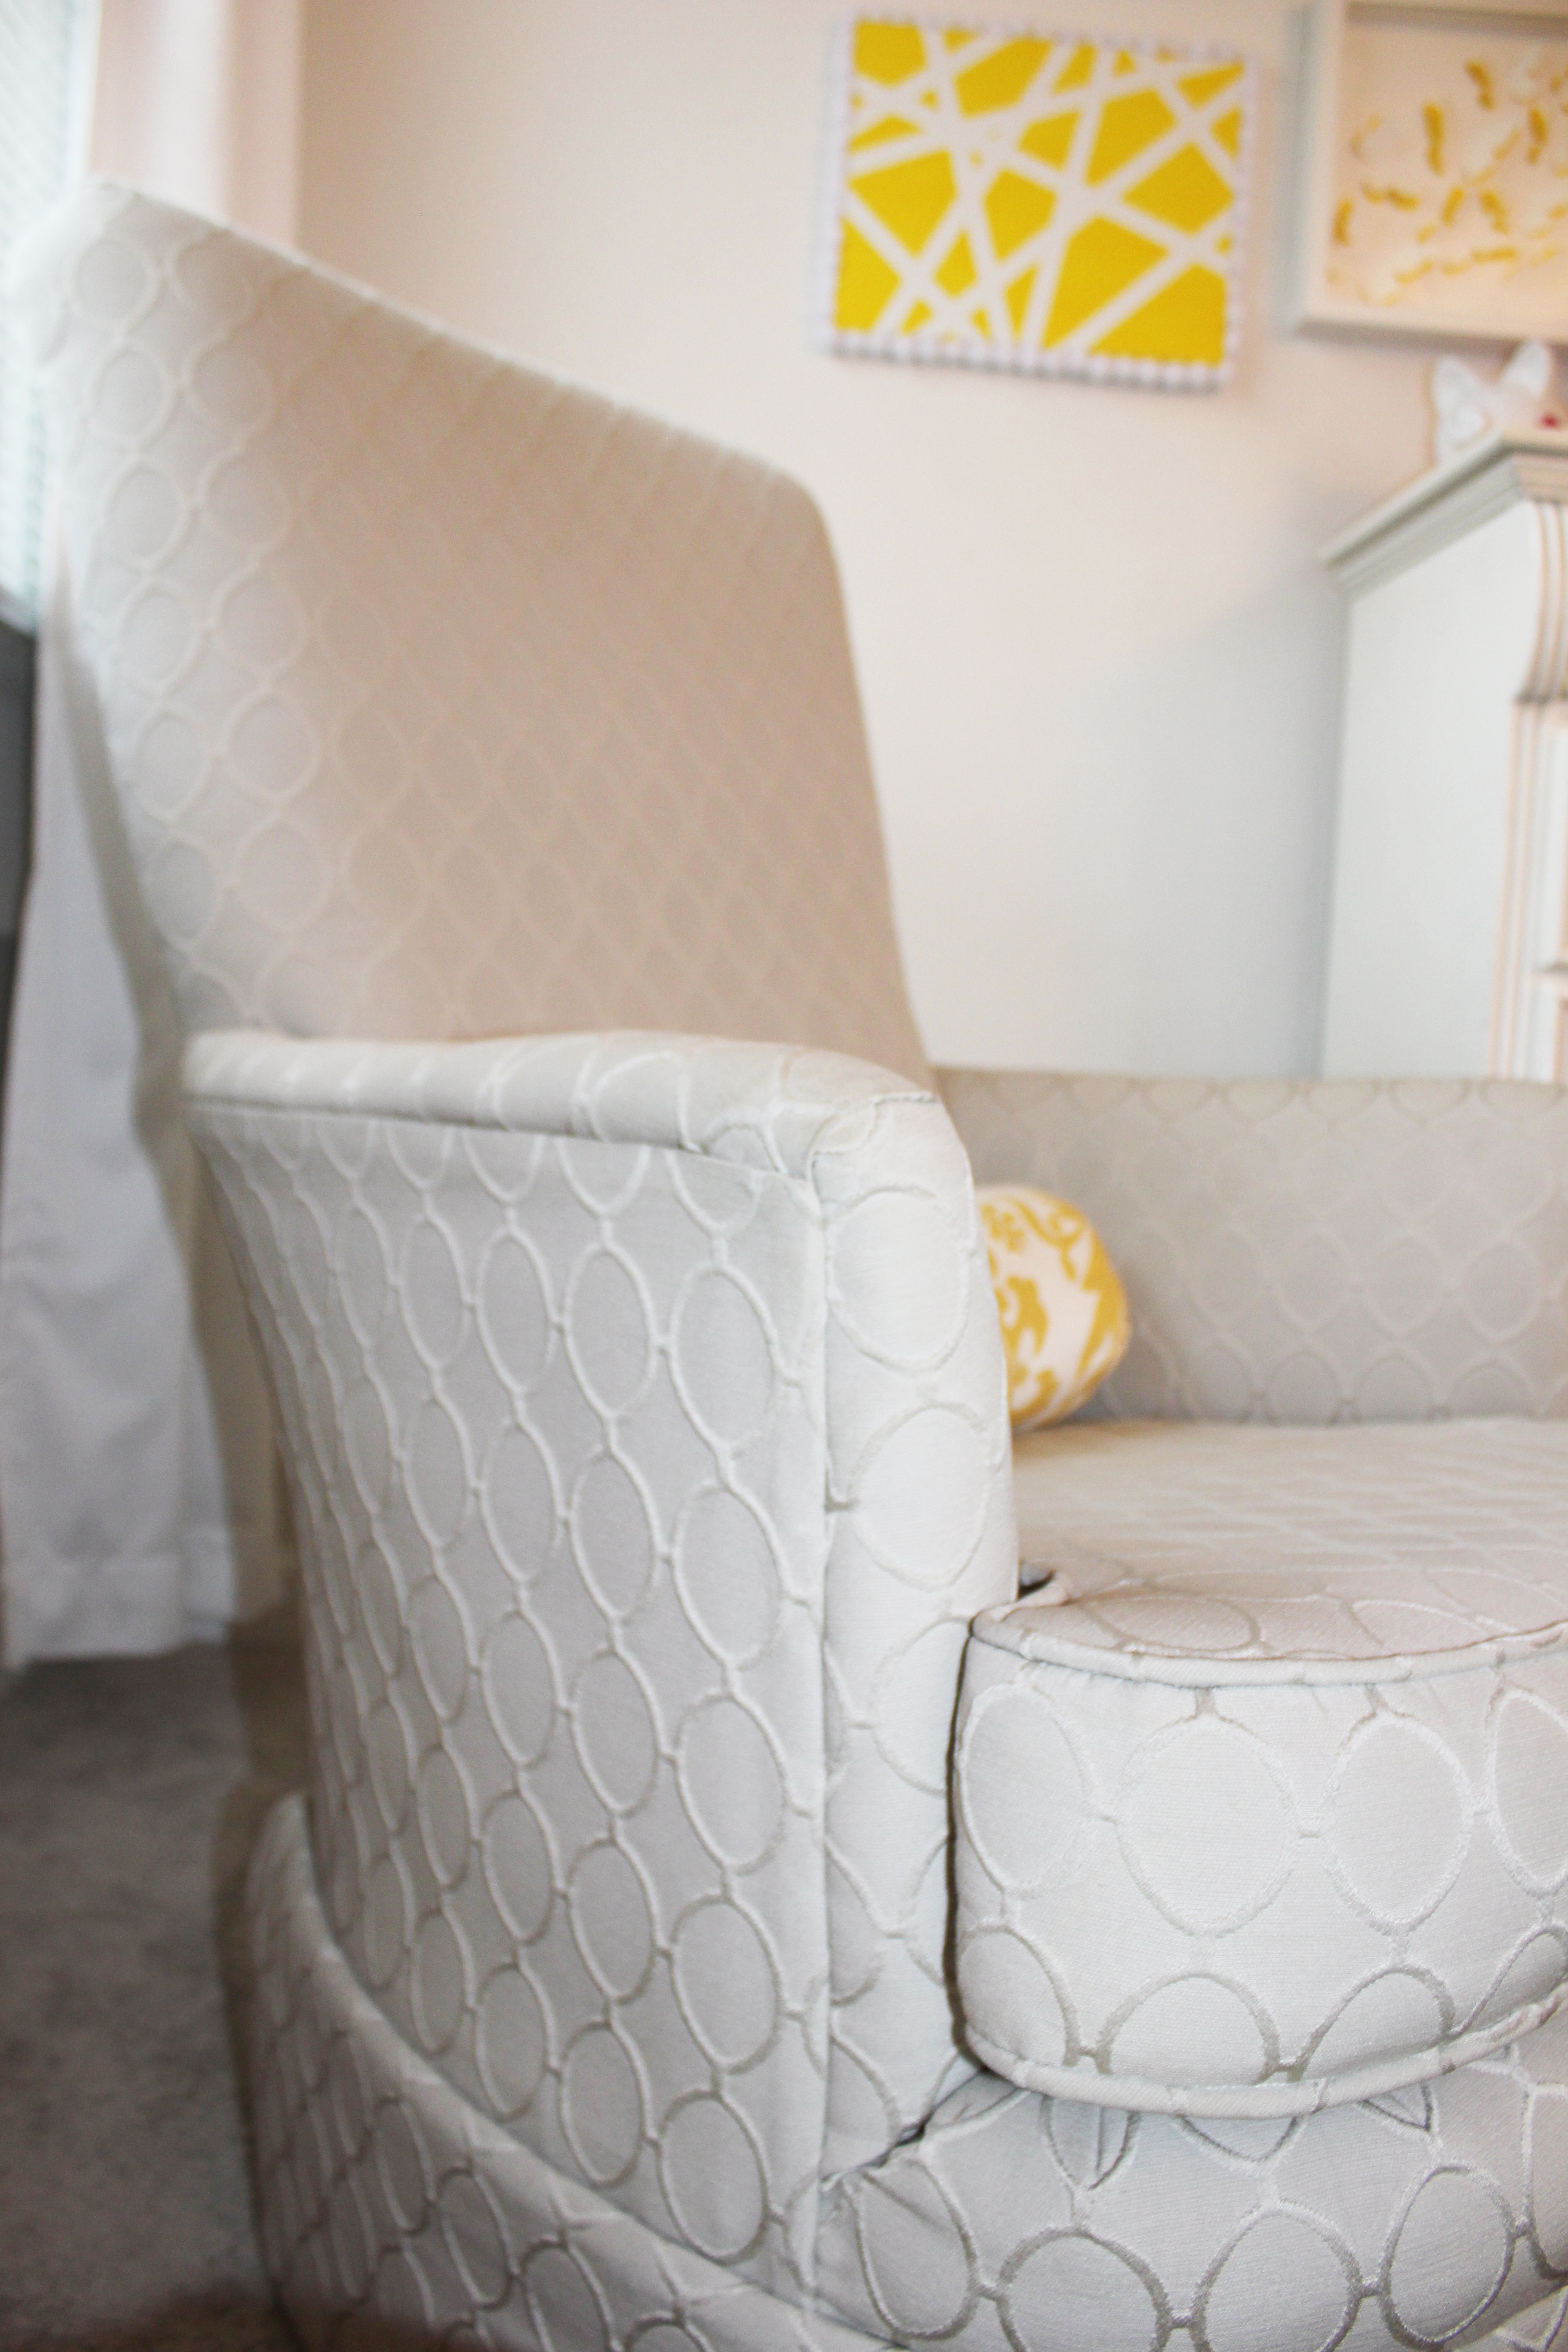
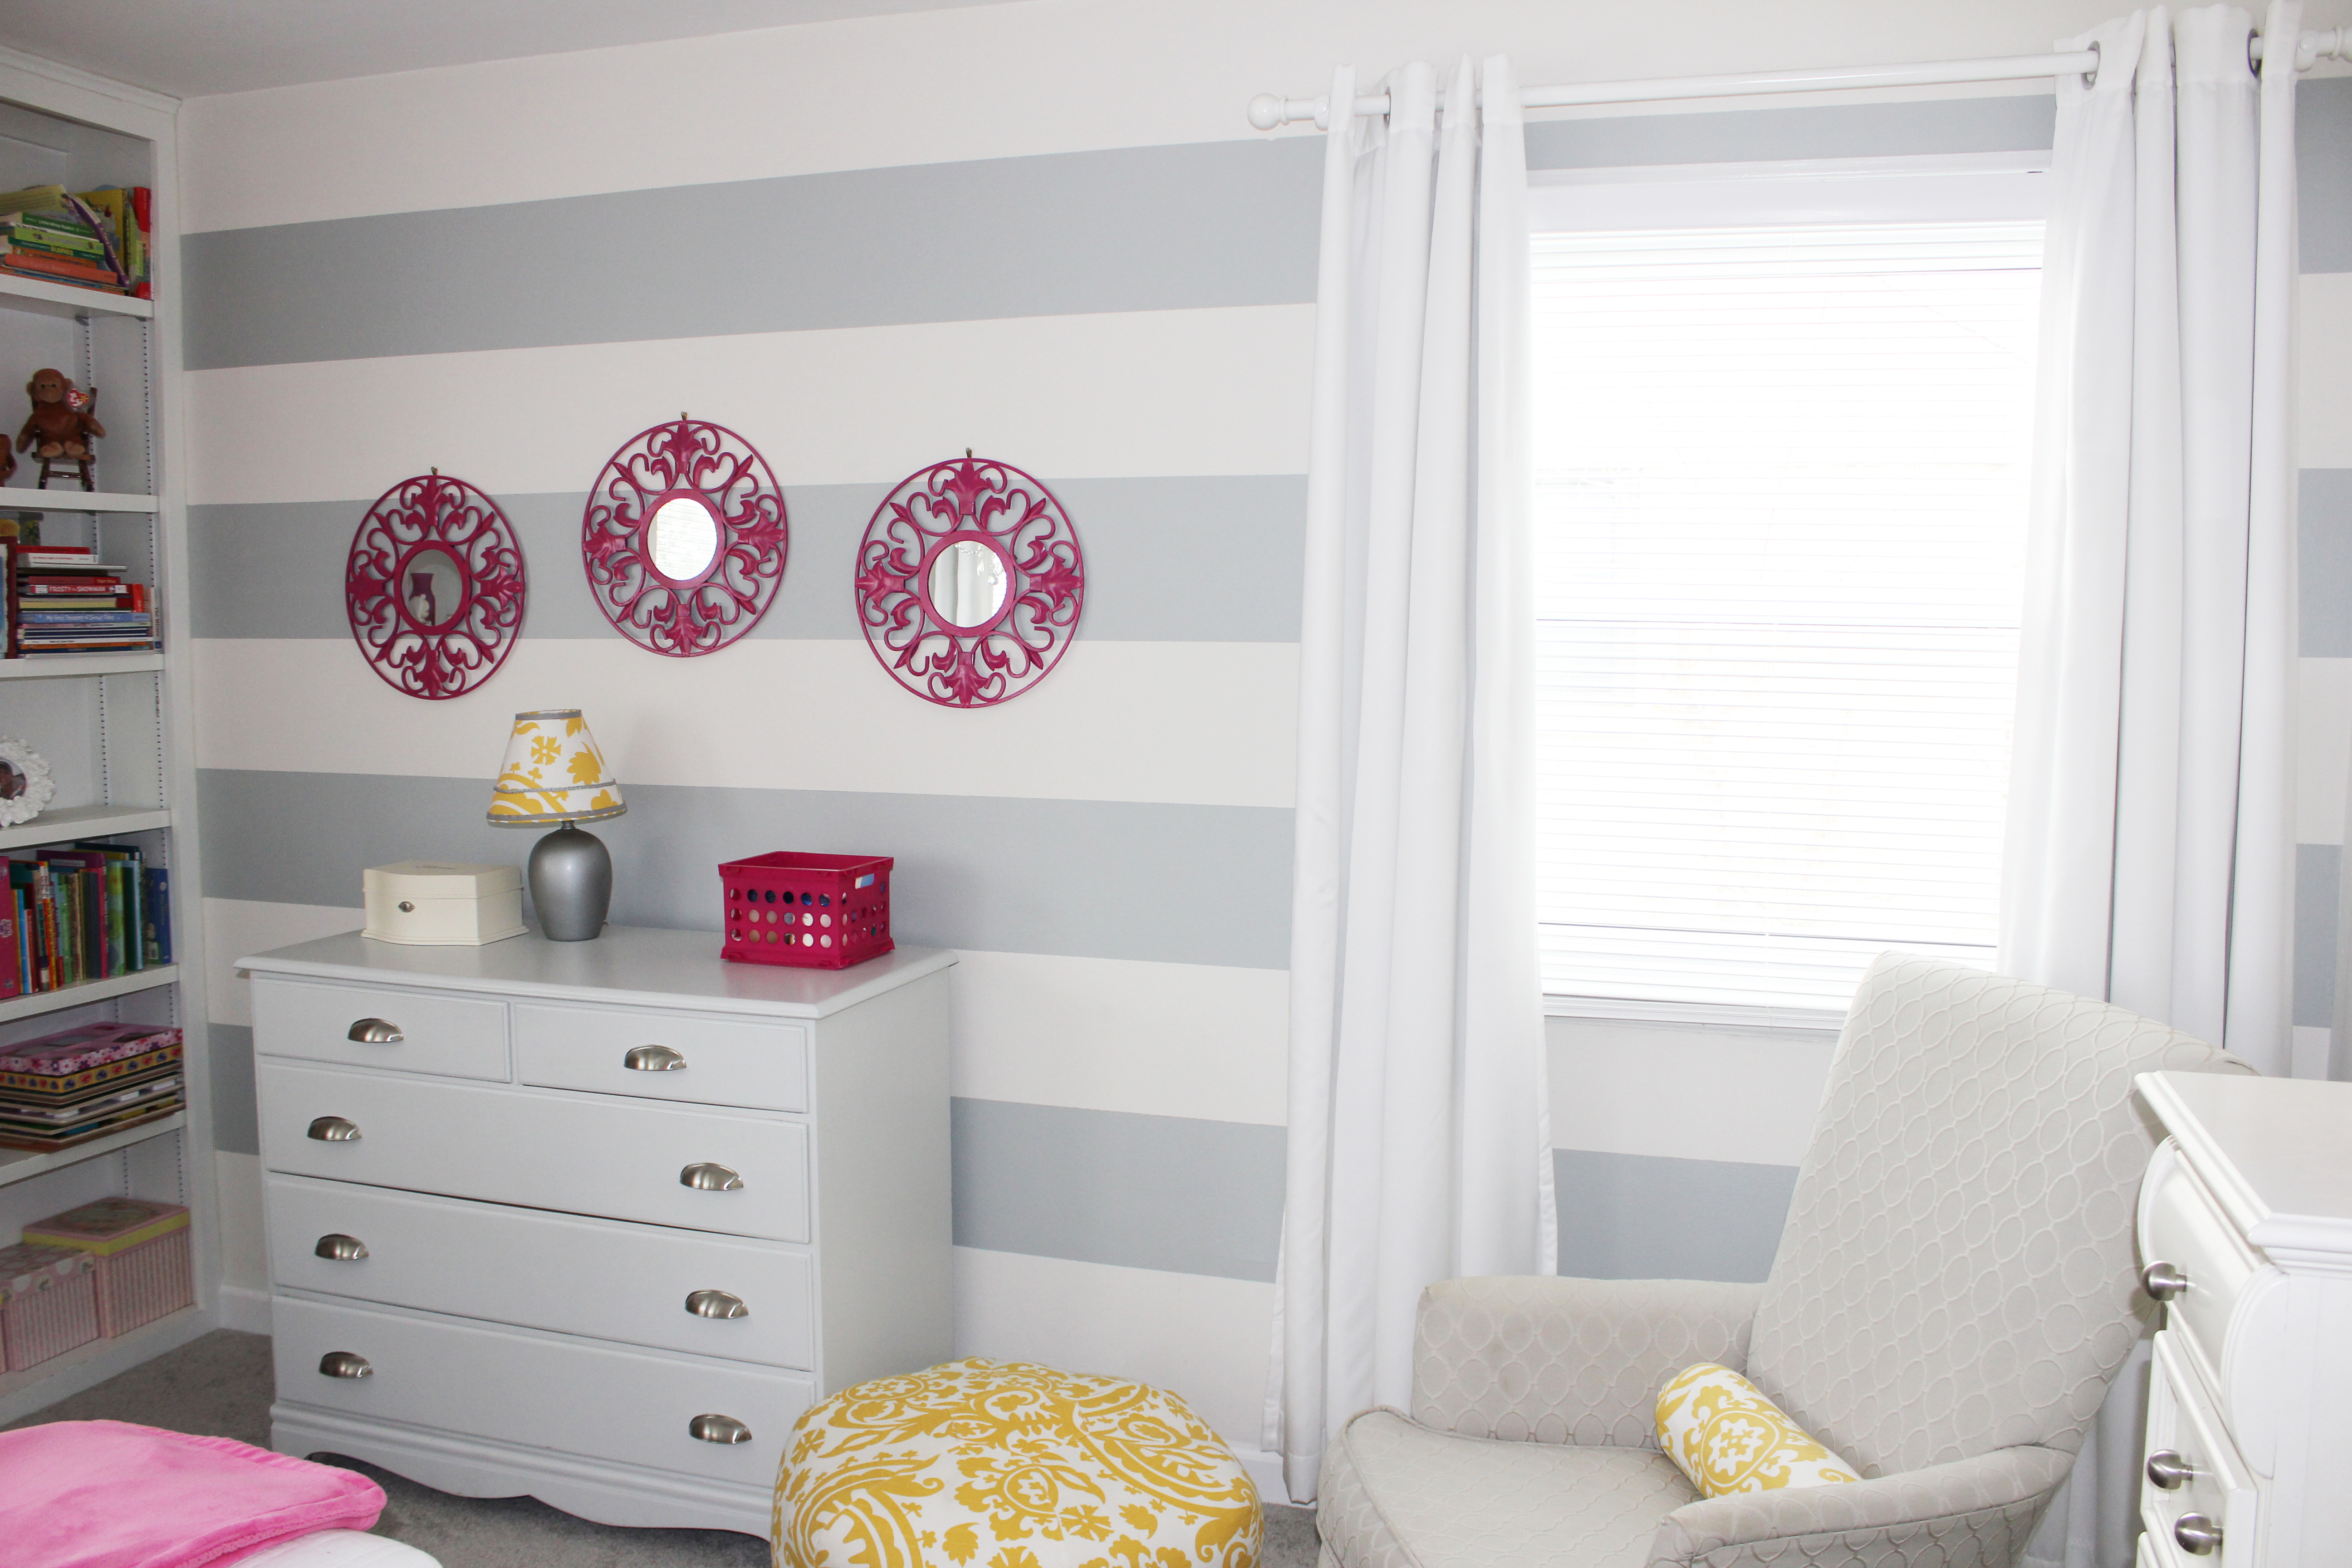
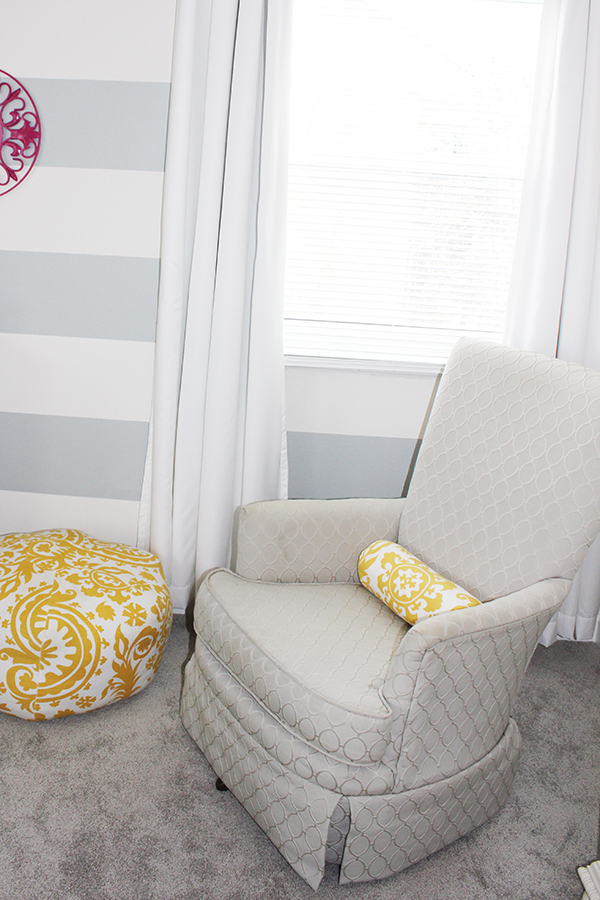
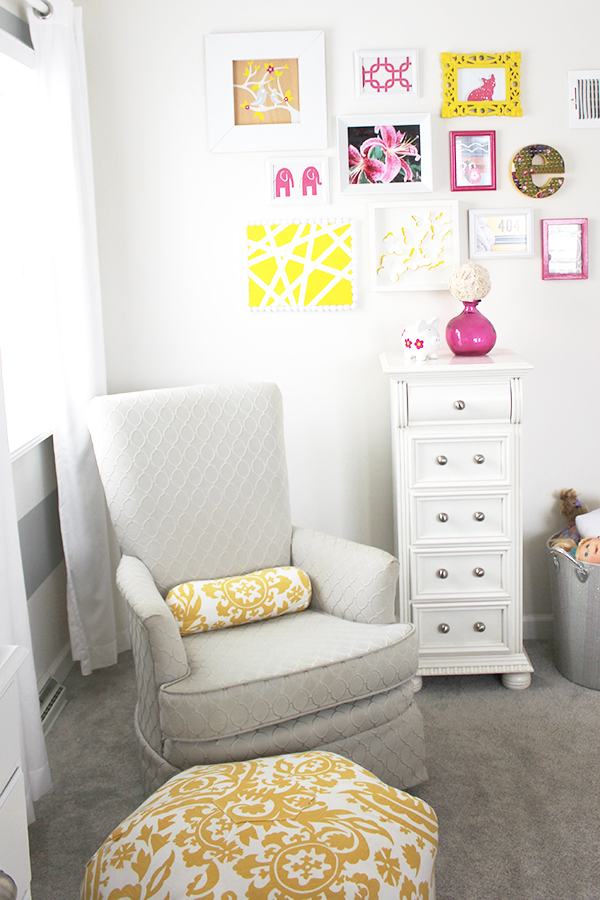
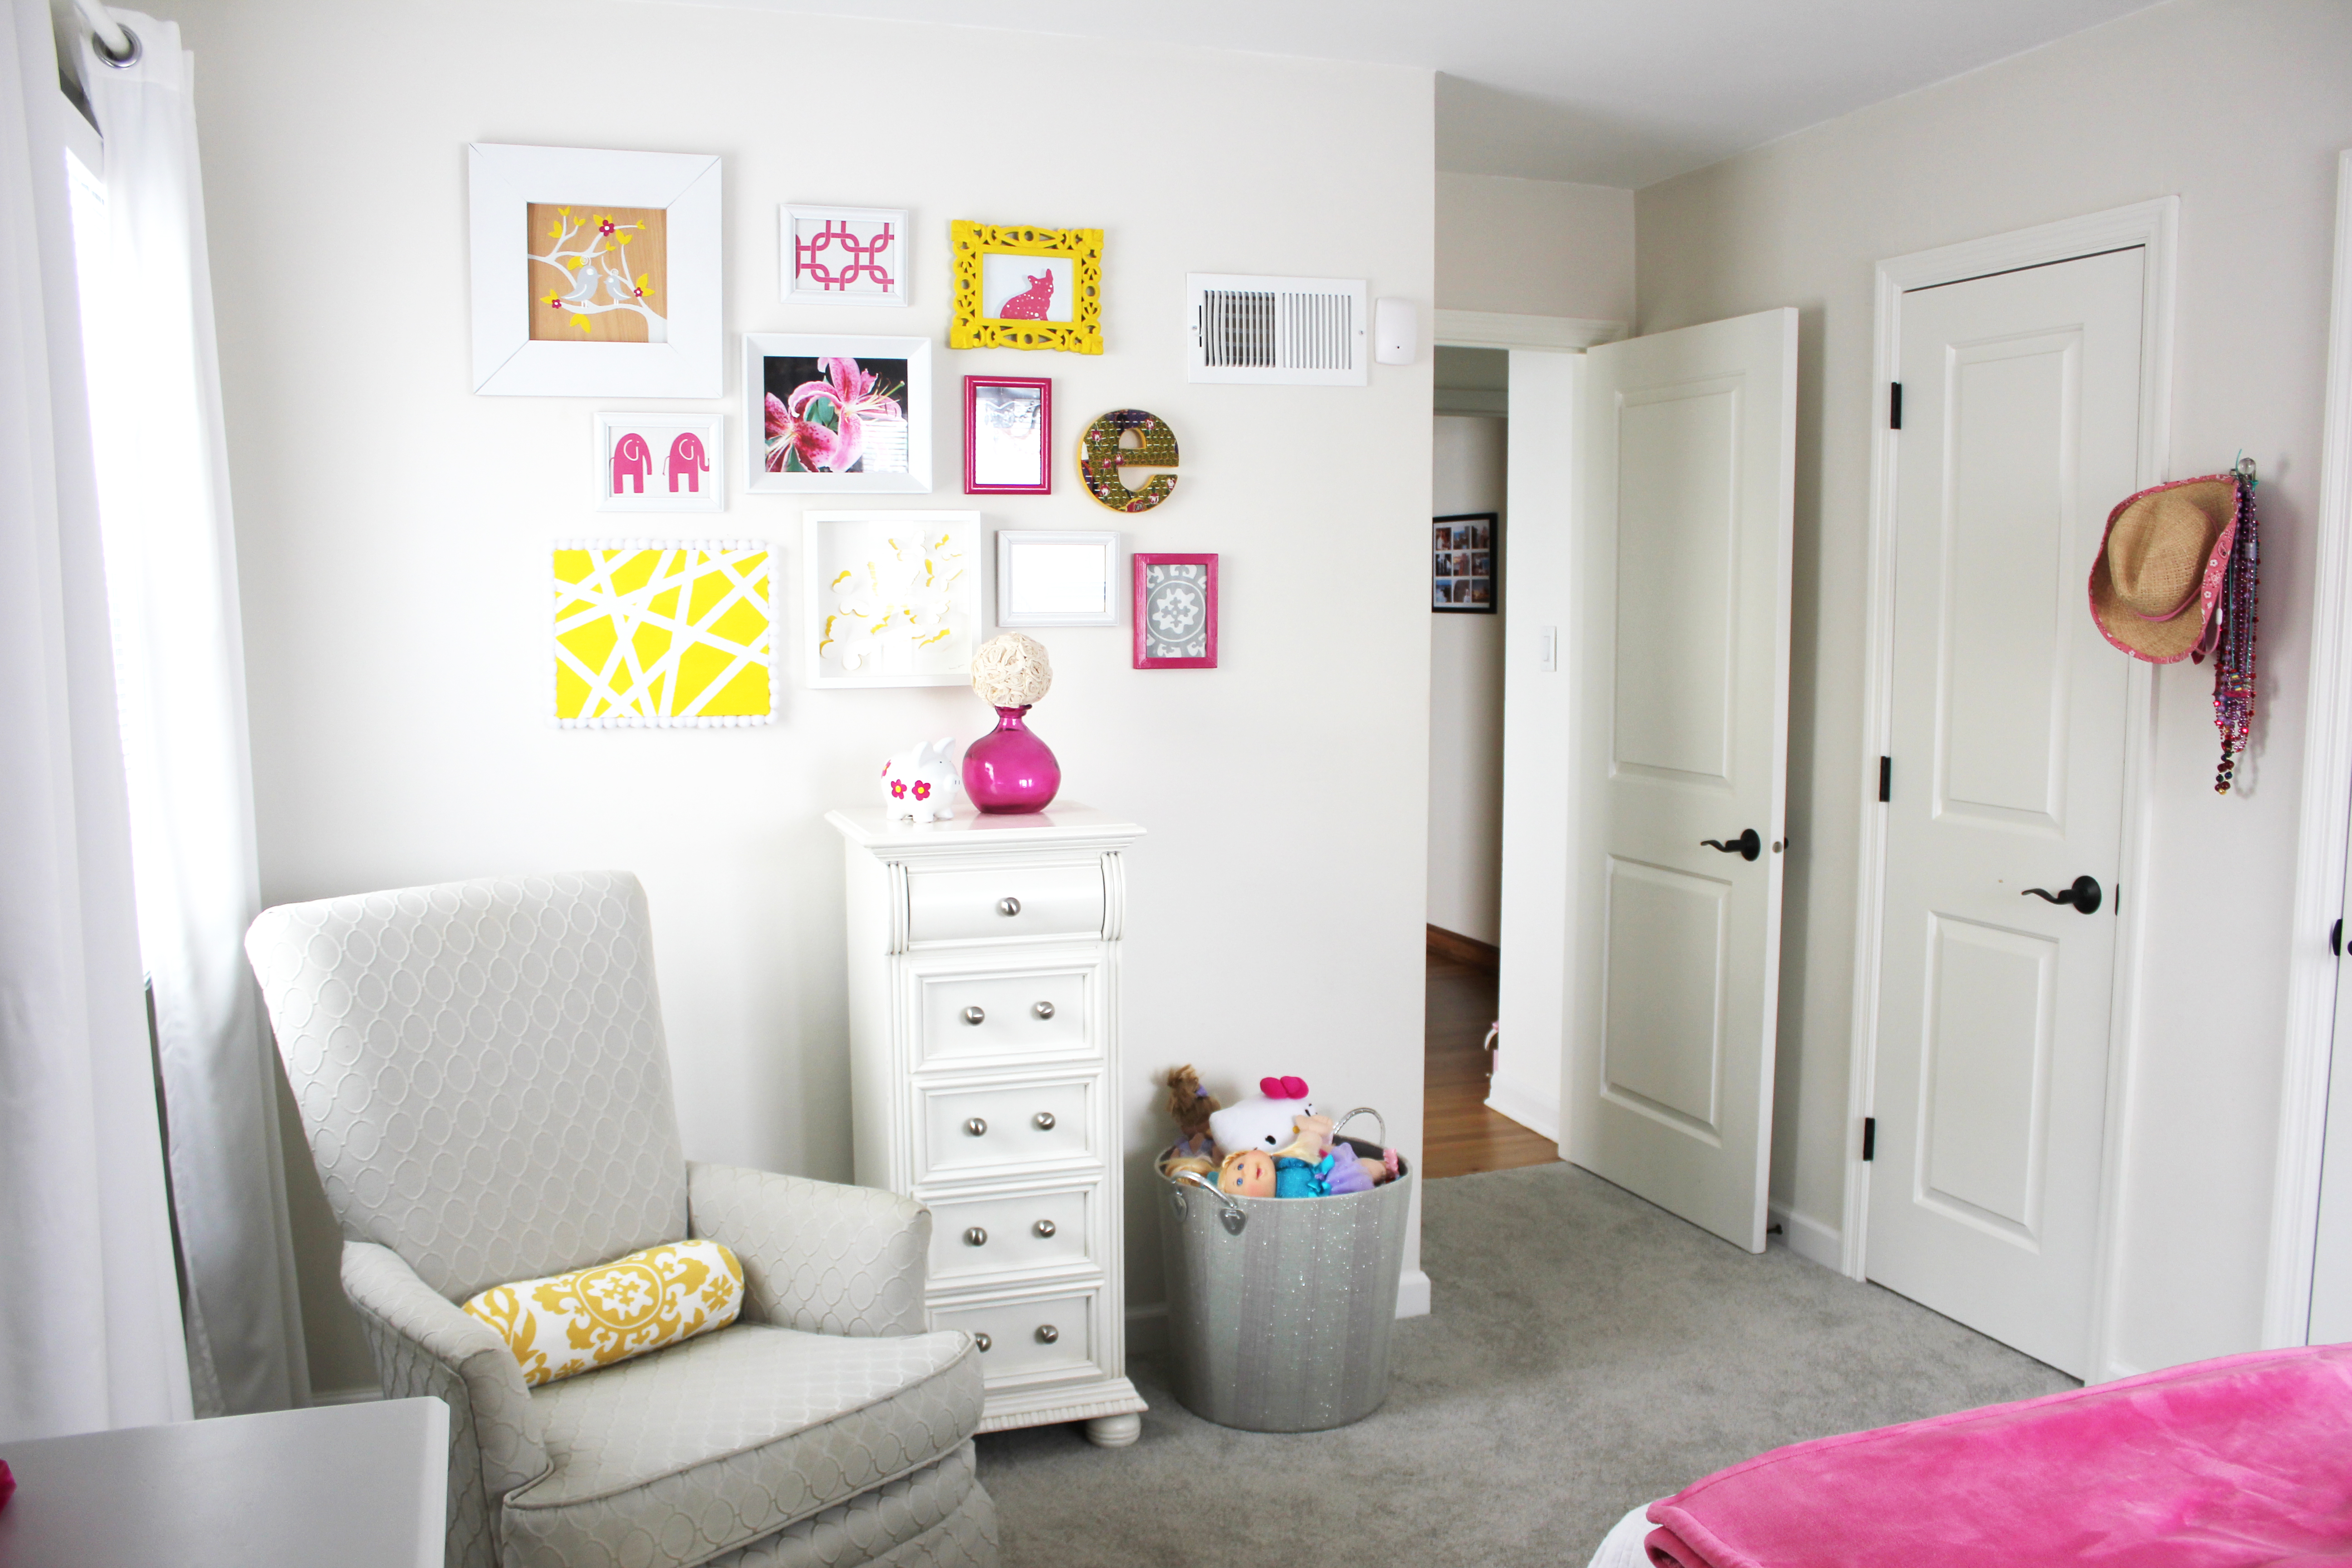
Deciding on nursery seating is serious business. The number of options are asinine, but not quite as asinine as the price tag. And like you’ve probably realized by now, I’m waaaaay too cheap to spend upwards of $500 on a chair that may only be used for a few years. So it probably comes as no surprise that I opted to reupholster an old one to achieve the style (and price tag) I wanted.
Enter: My mom.
My mom is like a thrift store genie. She also happens to manage (as a volunteer, mind you) a St. Vincent de Paul store, so any time a killer item hits the shelves, she prices it, snaps a pic and then sends it to me to see if I’m interested. That’s precisely what happened in the case of my nursery chair.
Sadly, I don’t have a perfect before pic, but I found this beaut online (can’t find original source to credit – SORRY!), but this one is pretty darn close.
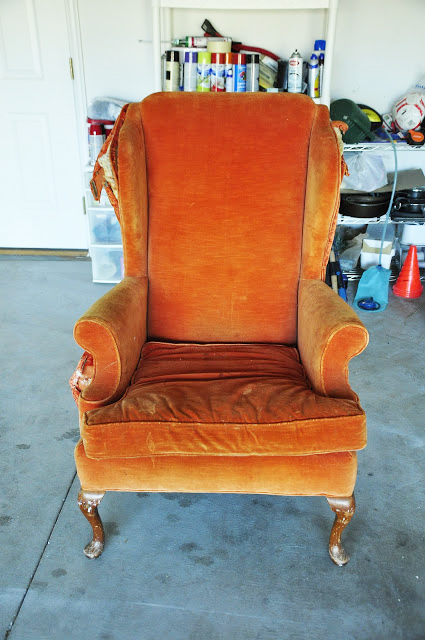
Can I get an amen for orange velvet?! 🙂
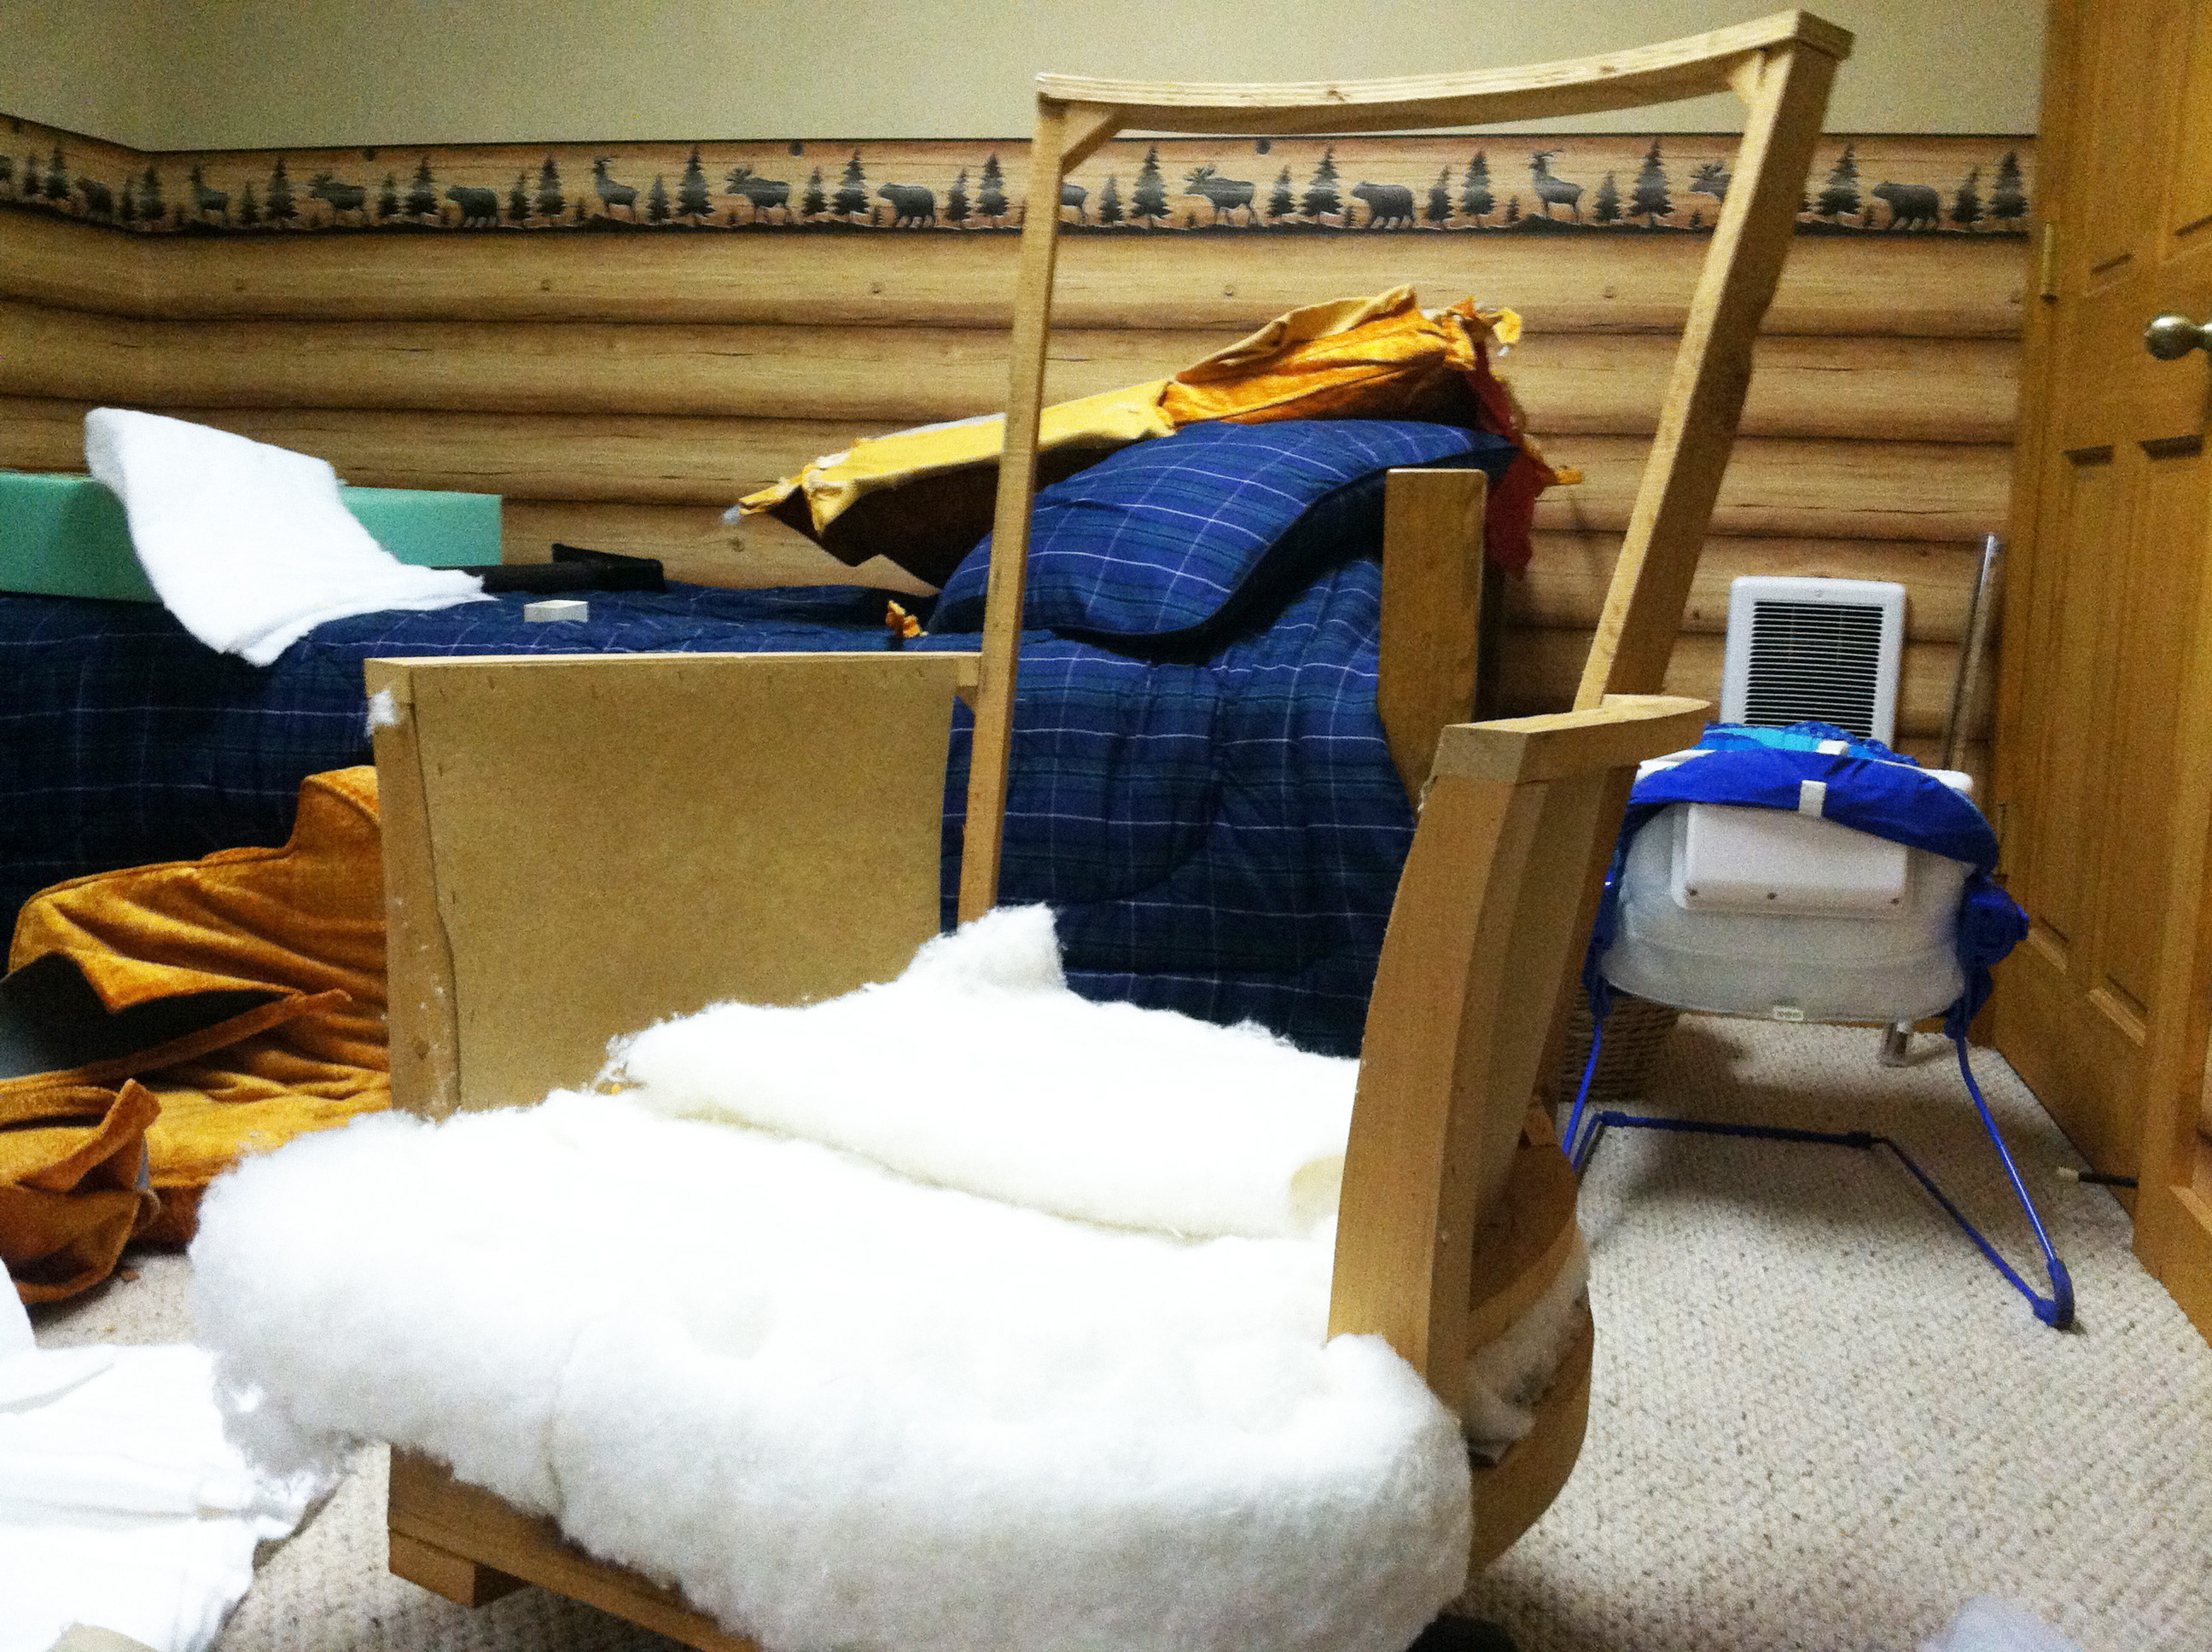
This was my first reupholstery project, but luckily, I had my mom, an upholstery vet, on my side. (Ignore the log cabin-like room in the background. That was my parent’s old basement that has since undergone a shabby chic transformation. Post on that coming soon!)
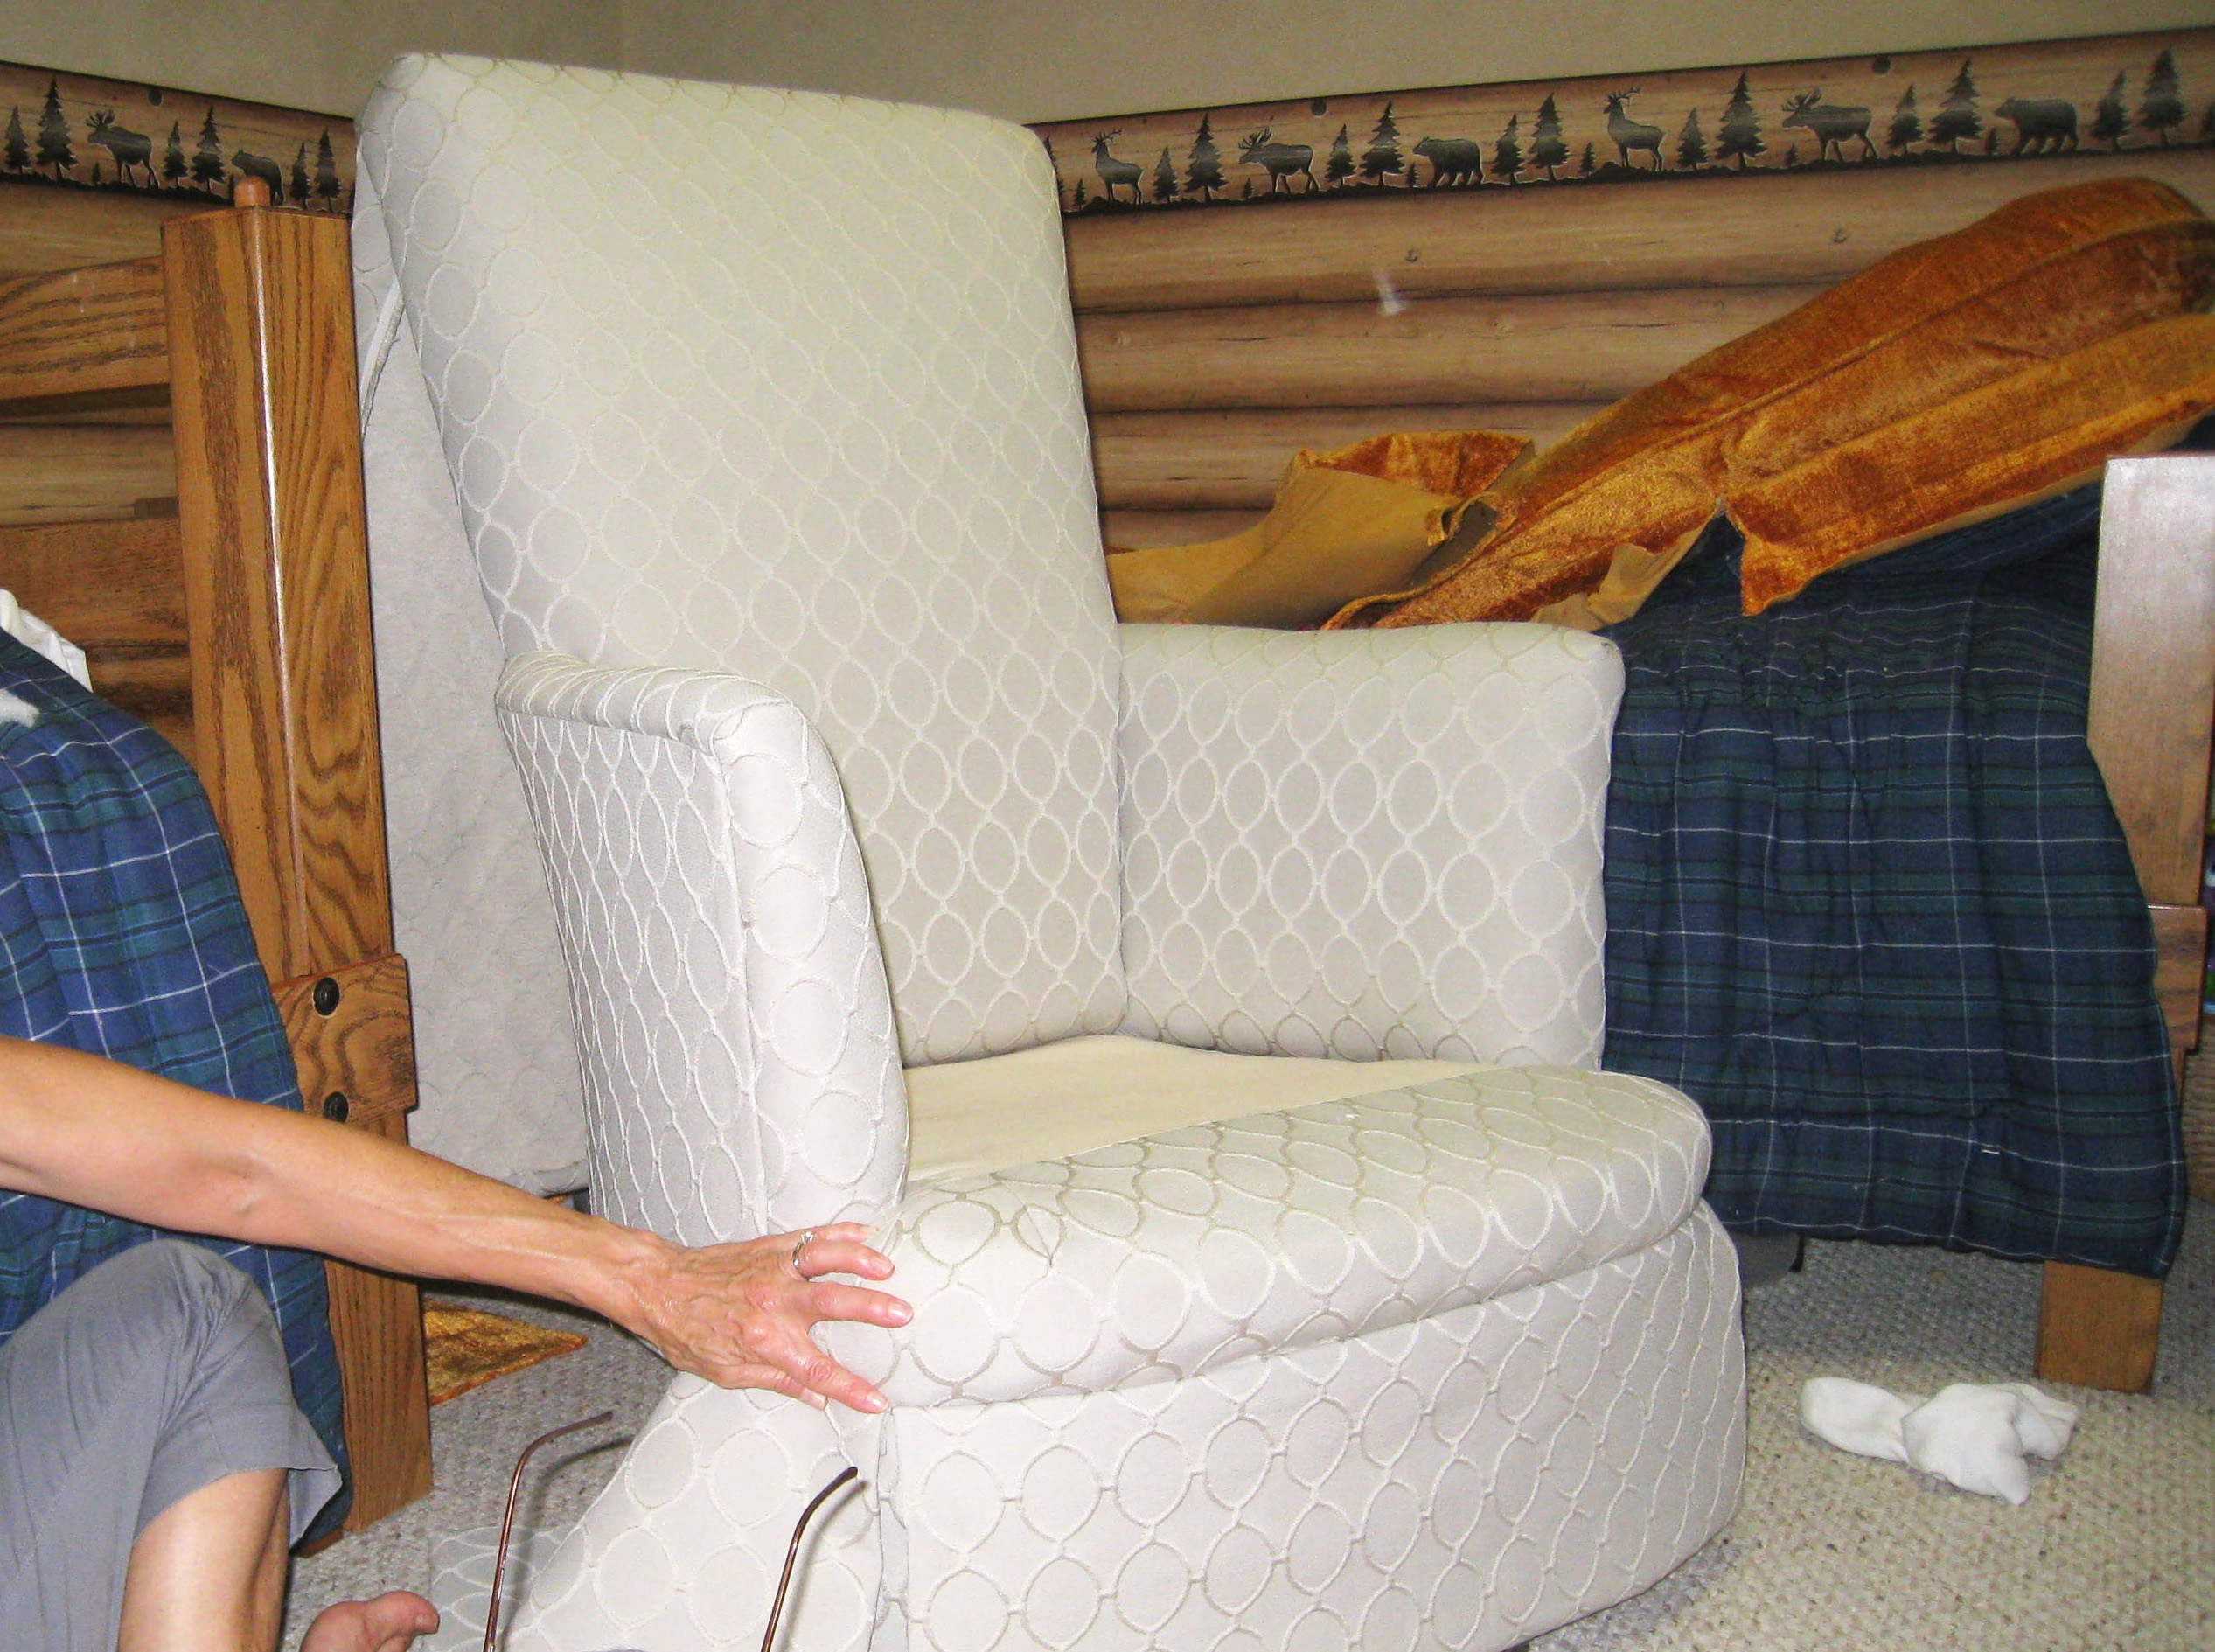
Here she is in all her deconstructed glory.
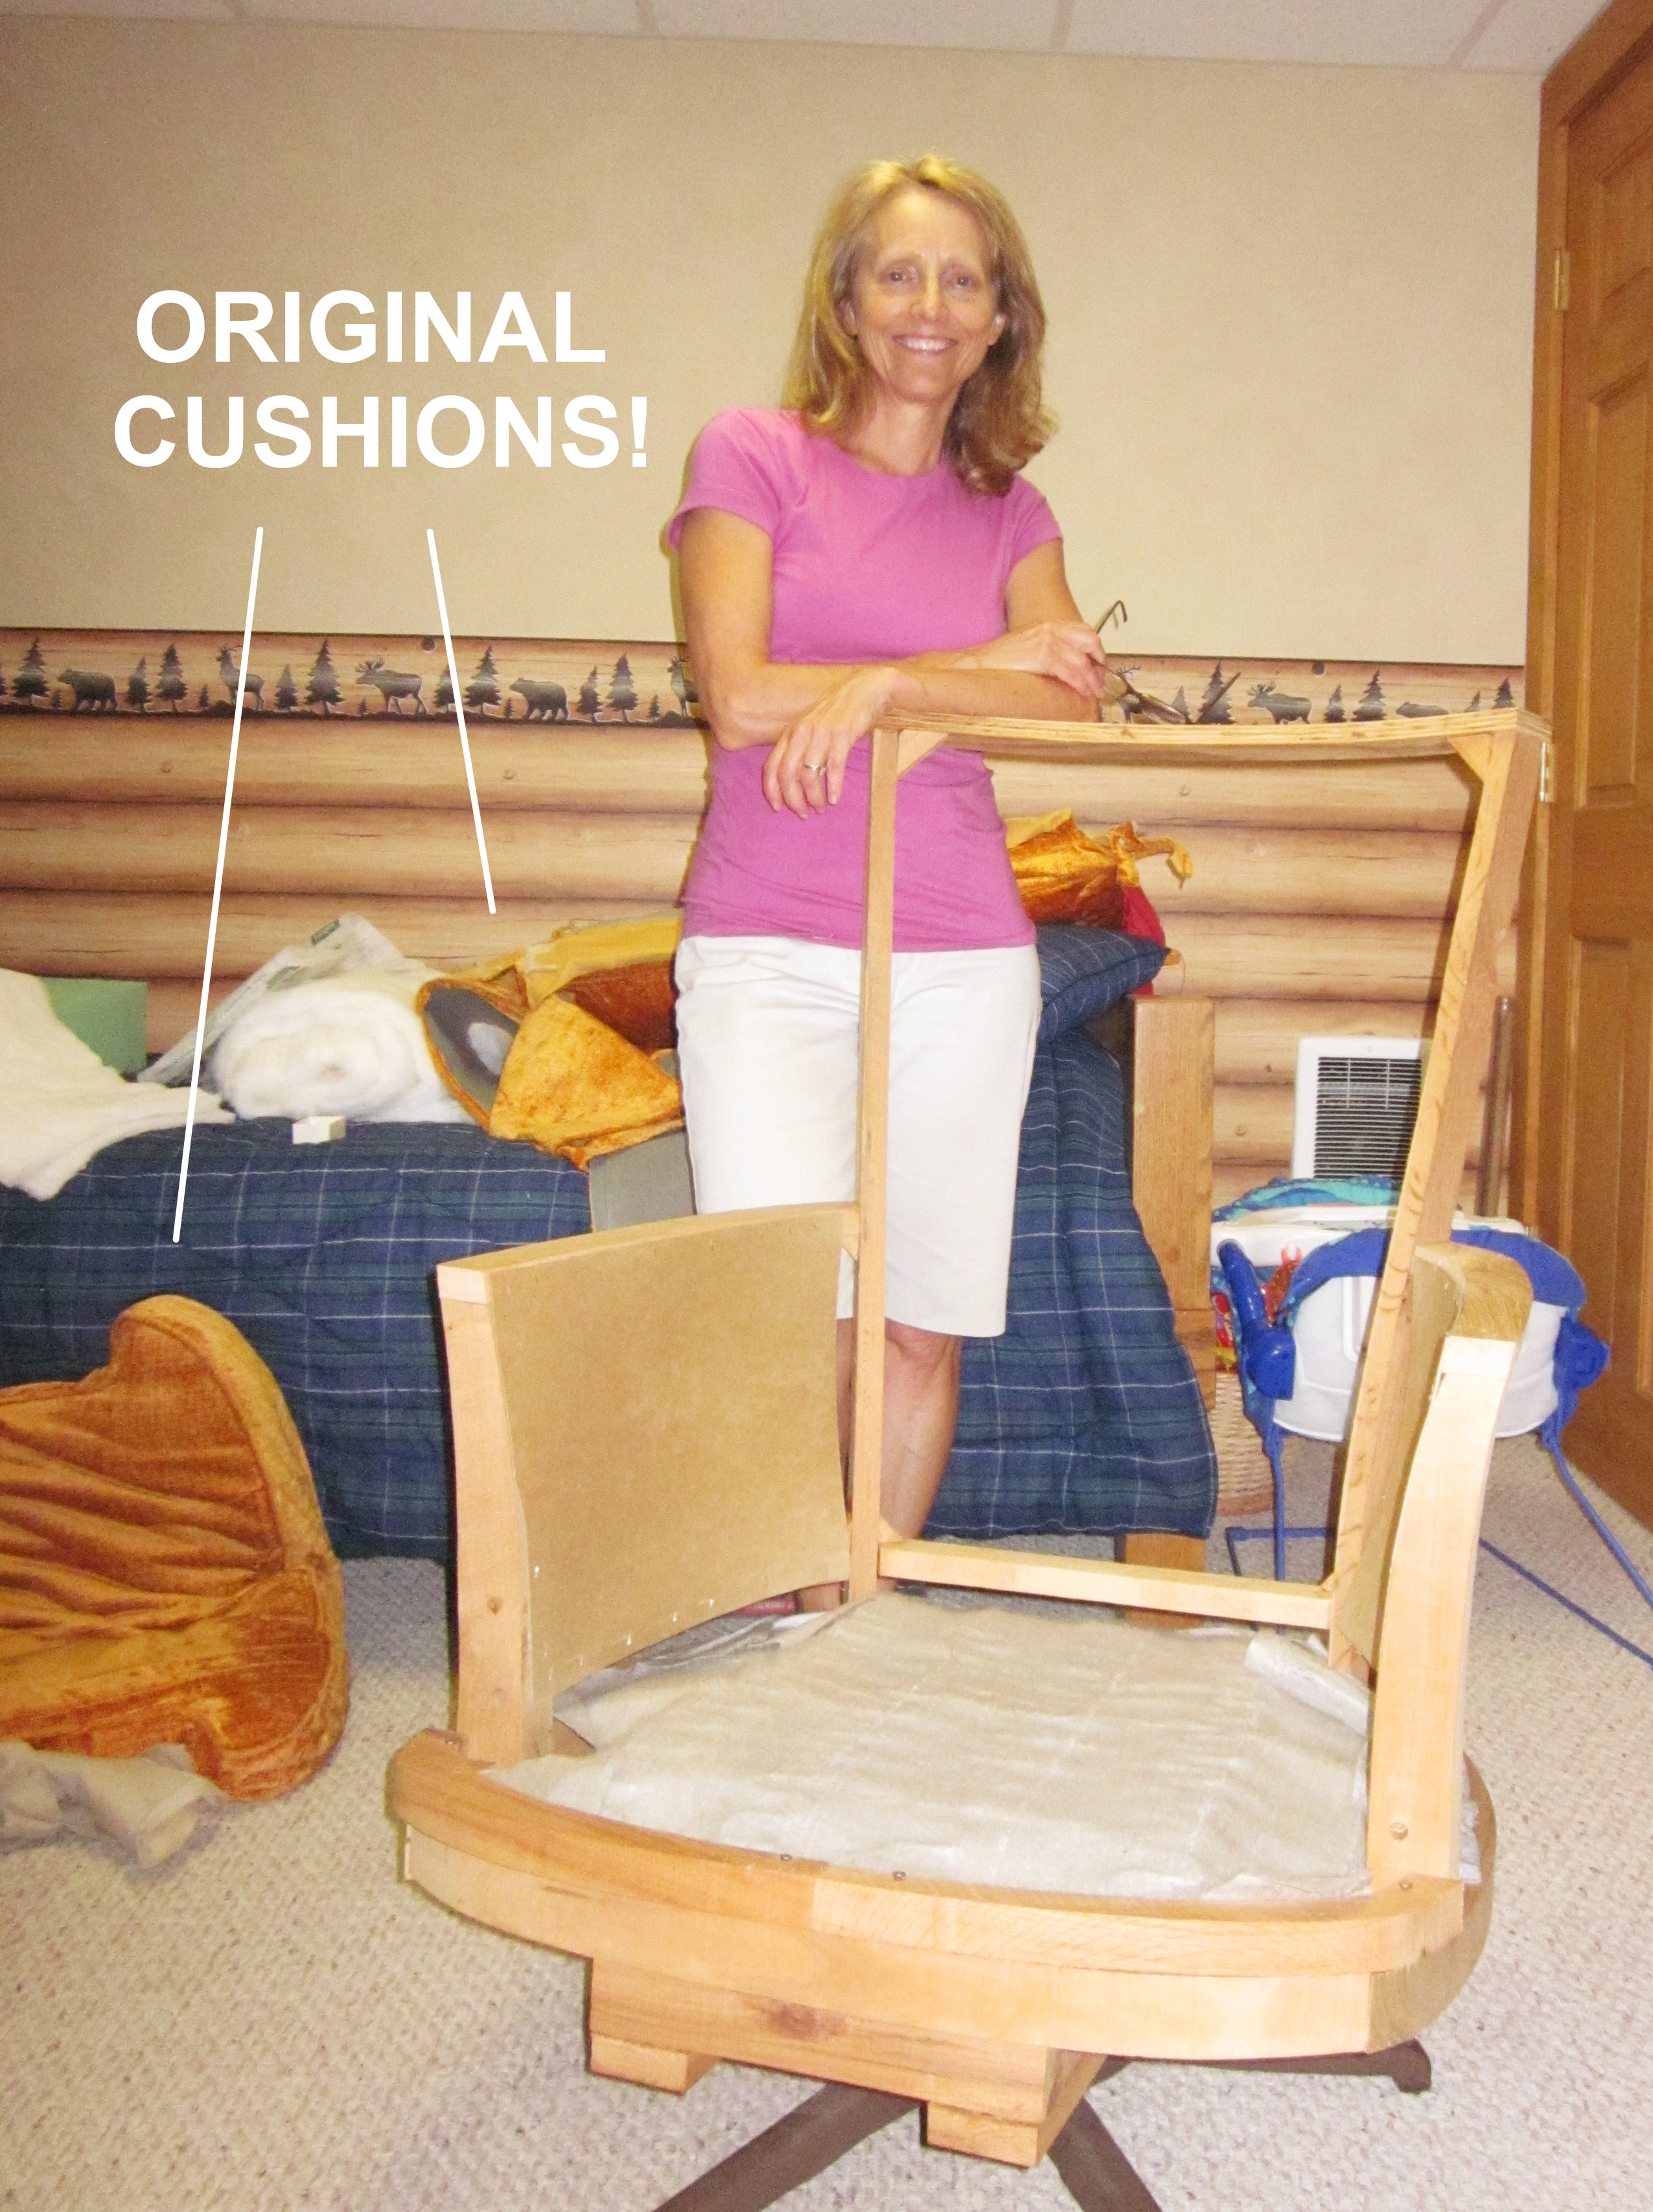
And one more pic, for good measure. Note, the ever-protruding belly, because nothing motivates the progress of a DIY project, like a soon-to-be-newborn : )
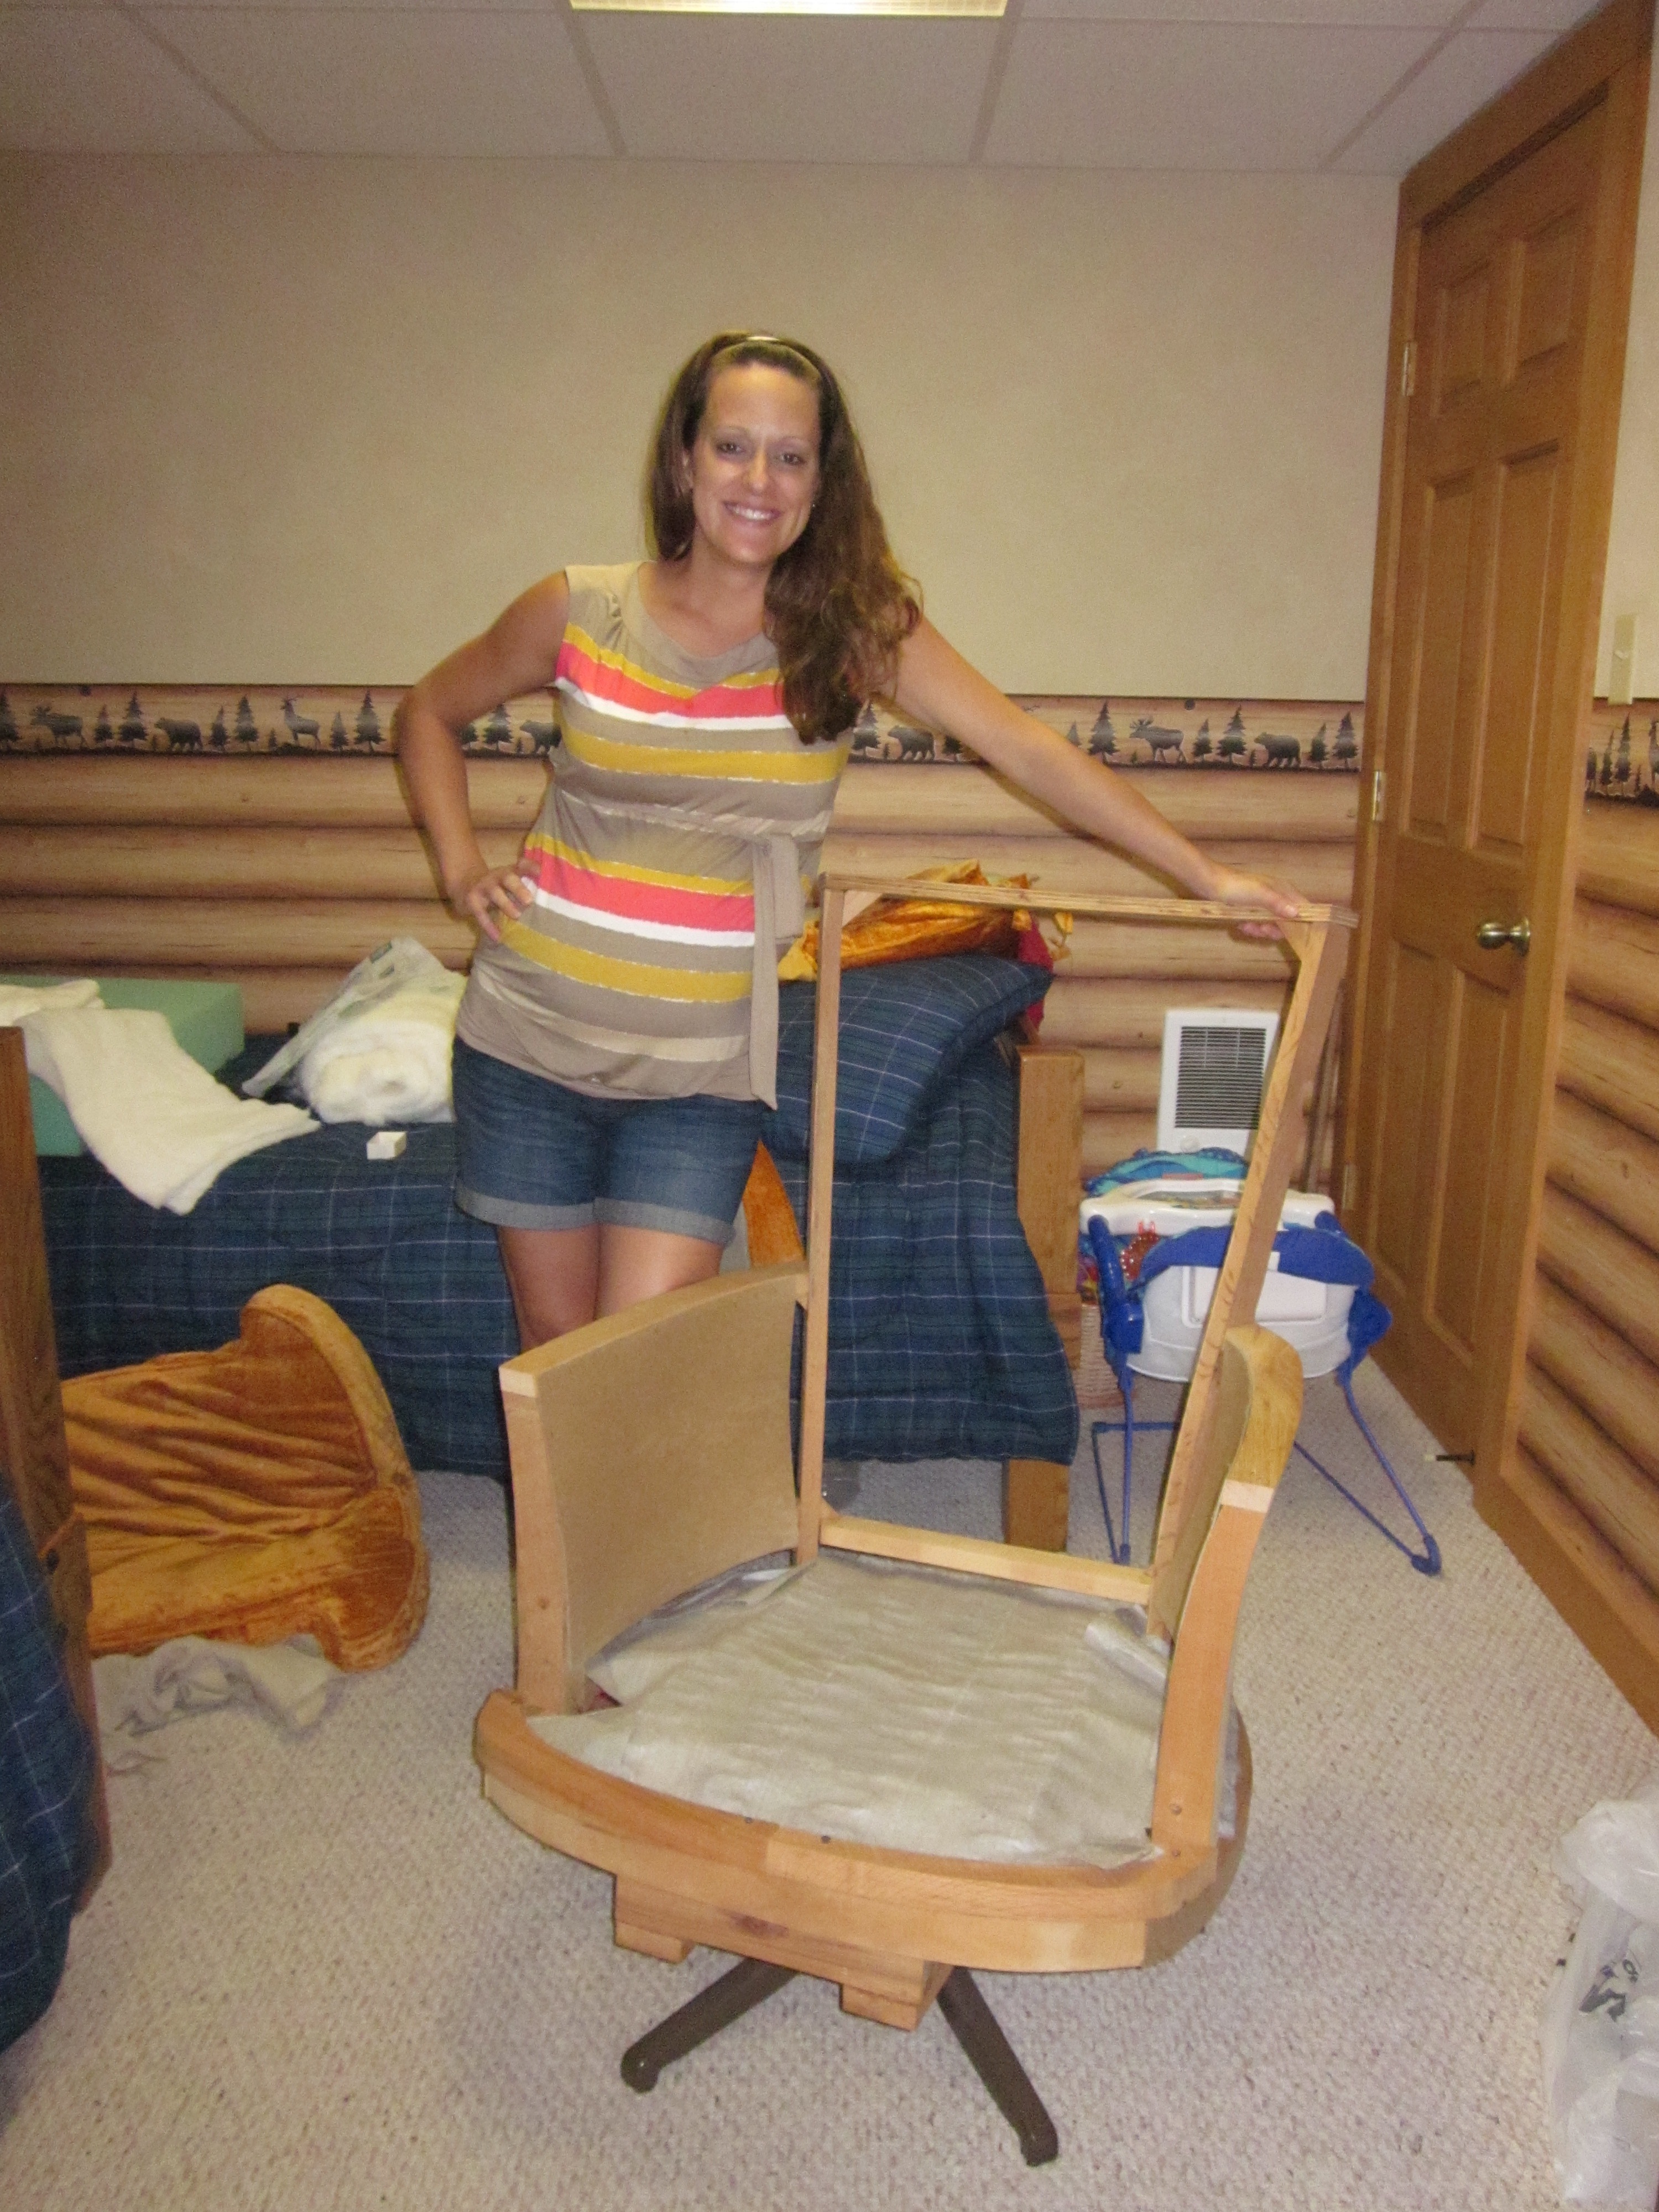
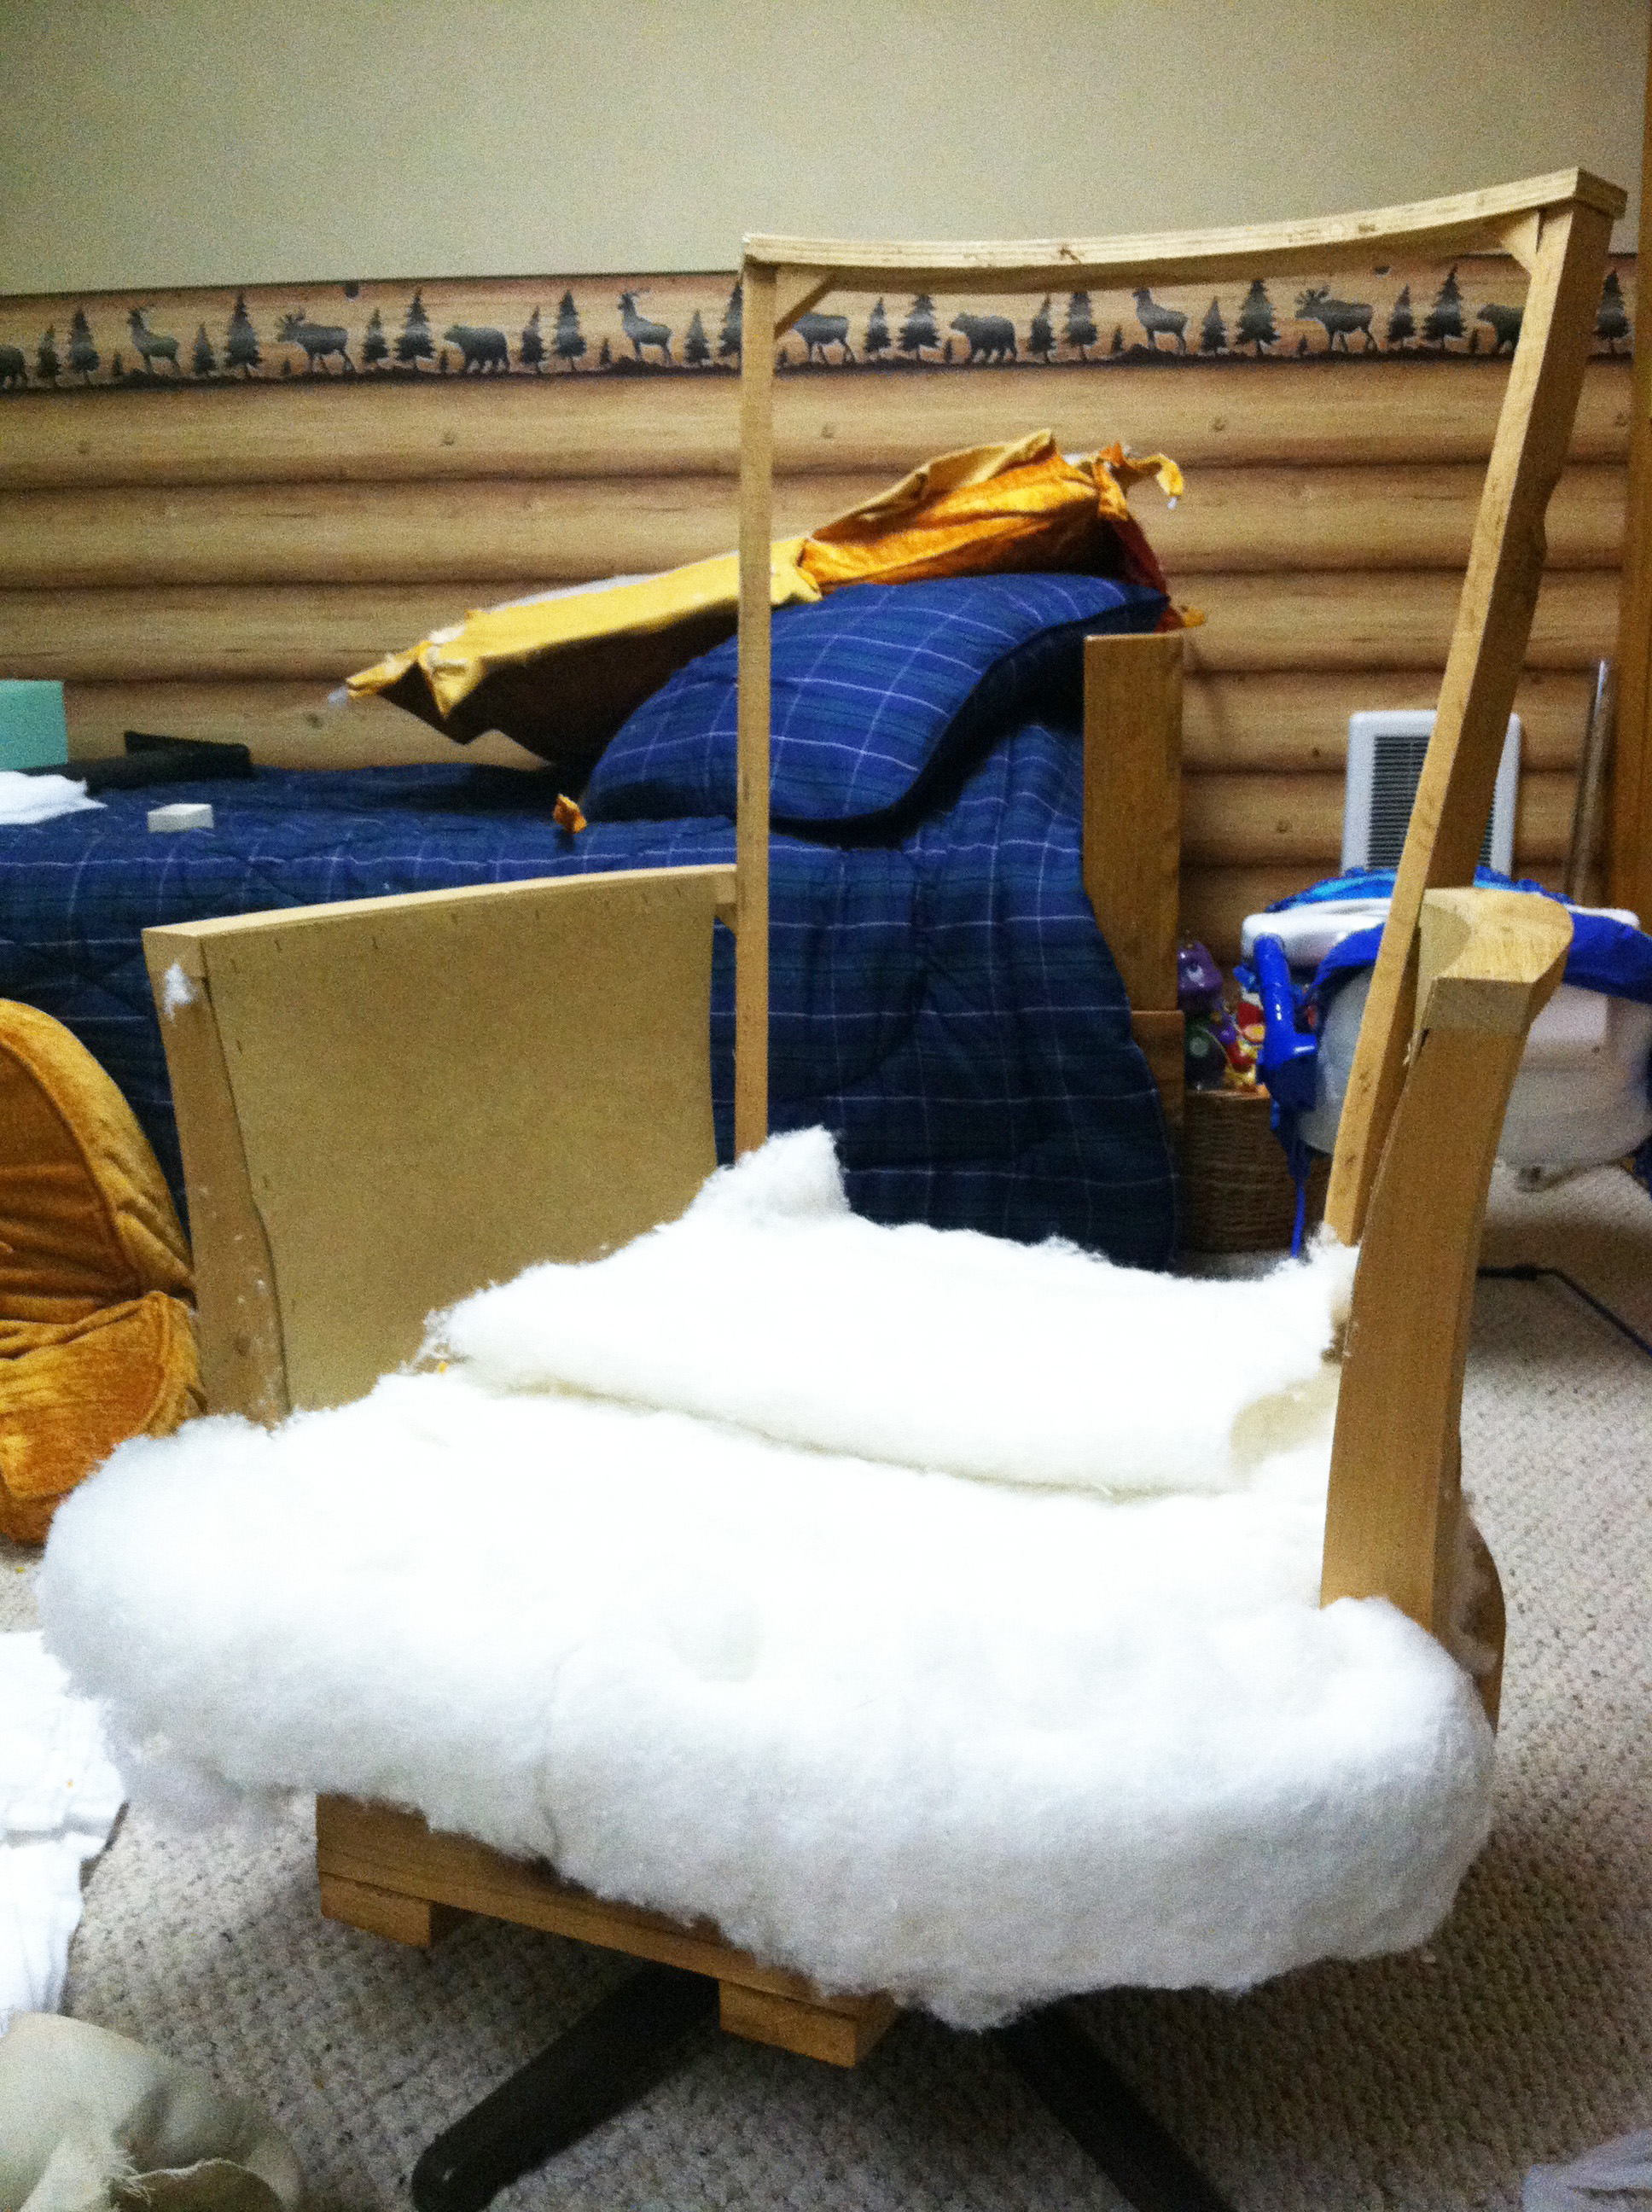
There was nothing to salvage in the way of cushions, etc., so as you can see, we took her down to the frame. But when deconstructing your chair, make sure you determine if there is anything worth keeping. Re-using what you can saves lots of $$.
Now on to the juicy stuff. Mind you, I’m not a pro, so this is NOT a comprehensive tutorial (THAT would be far too long), but merely some helpful tips & tricks I’ve learned over the years:
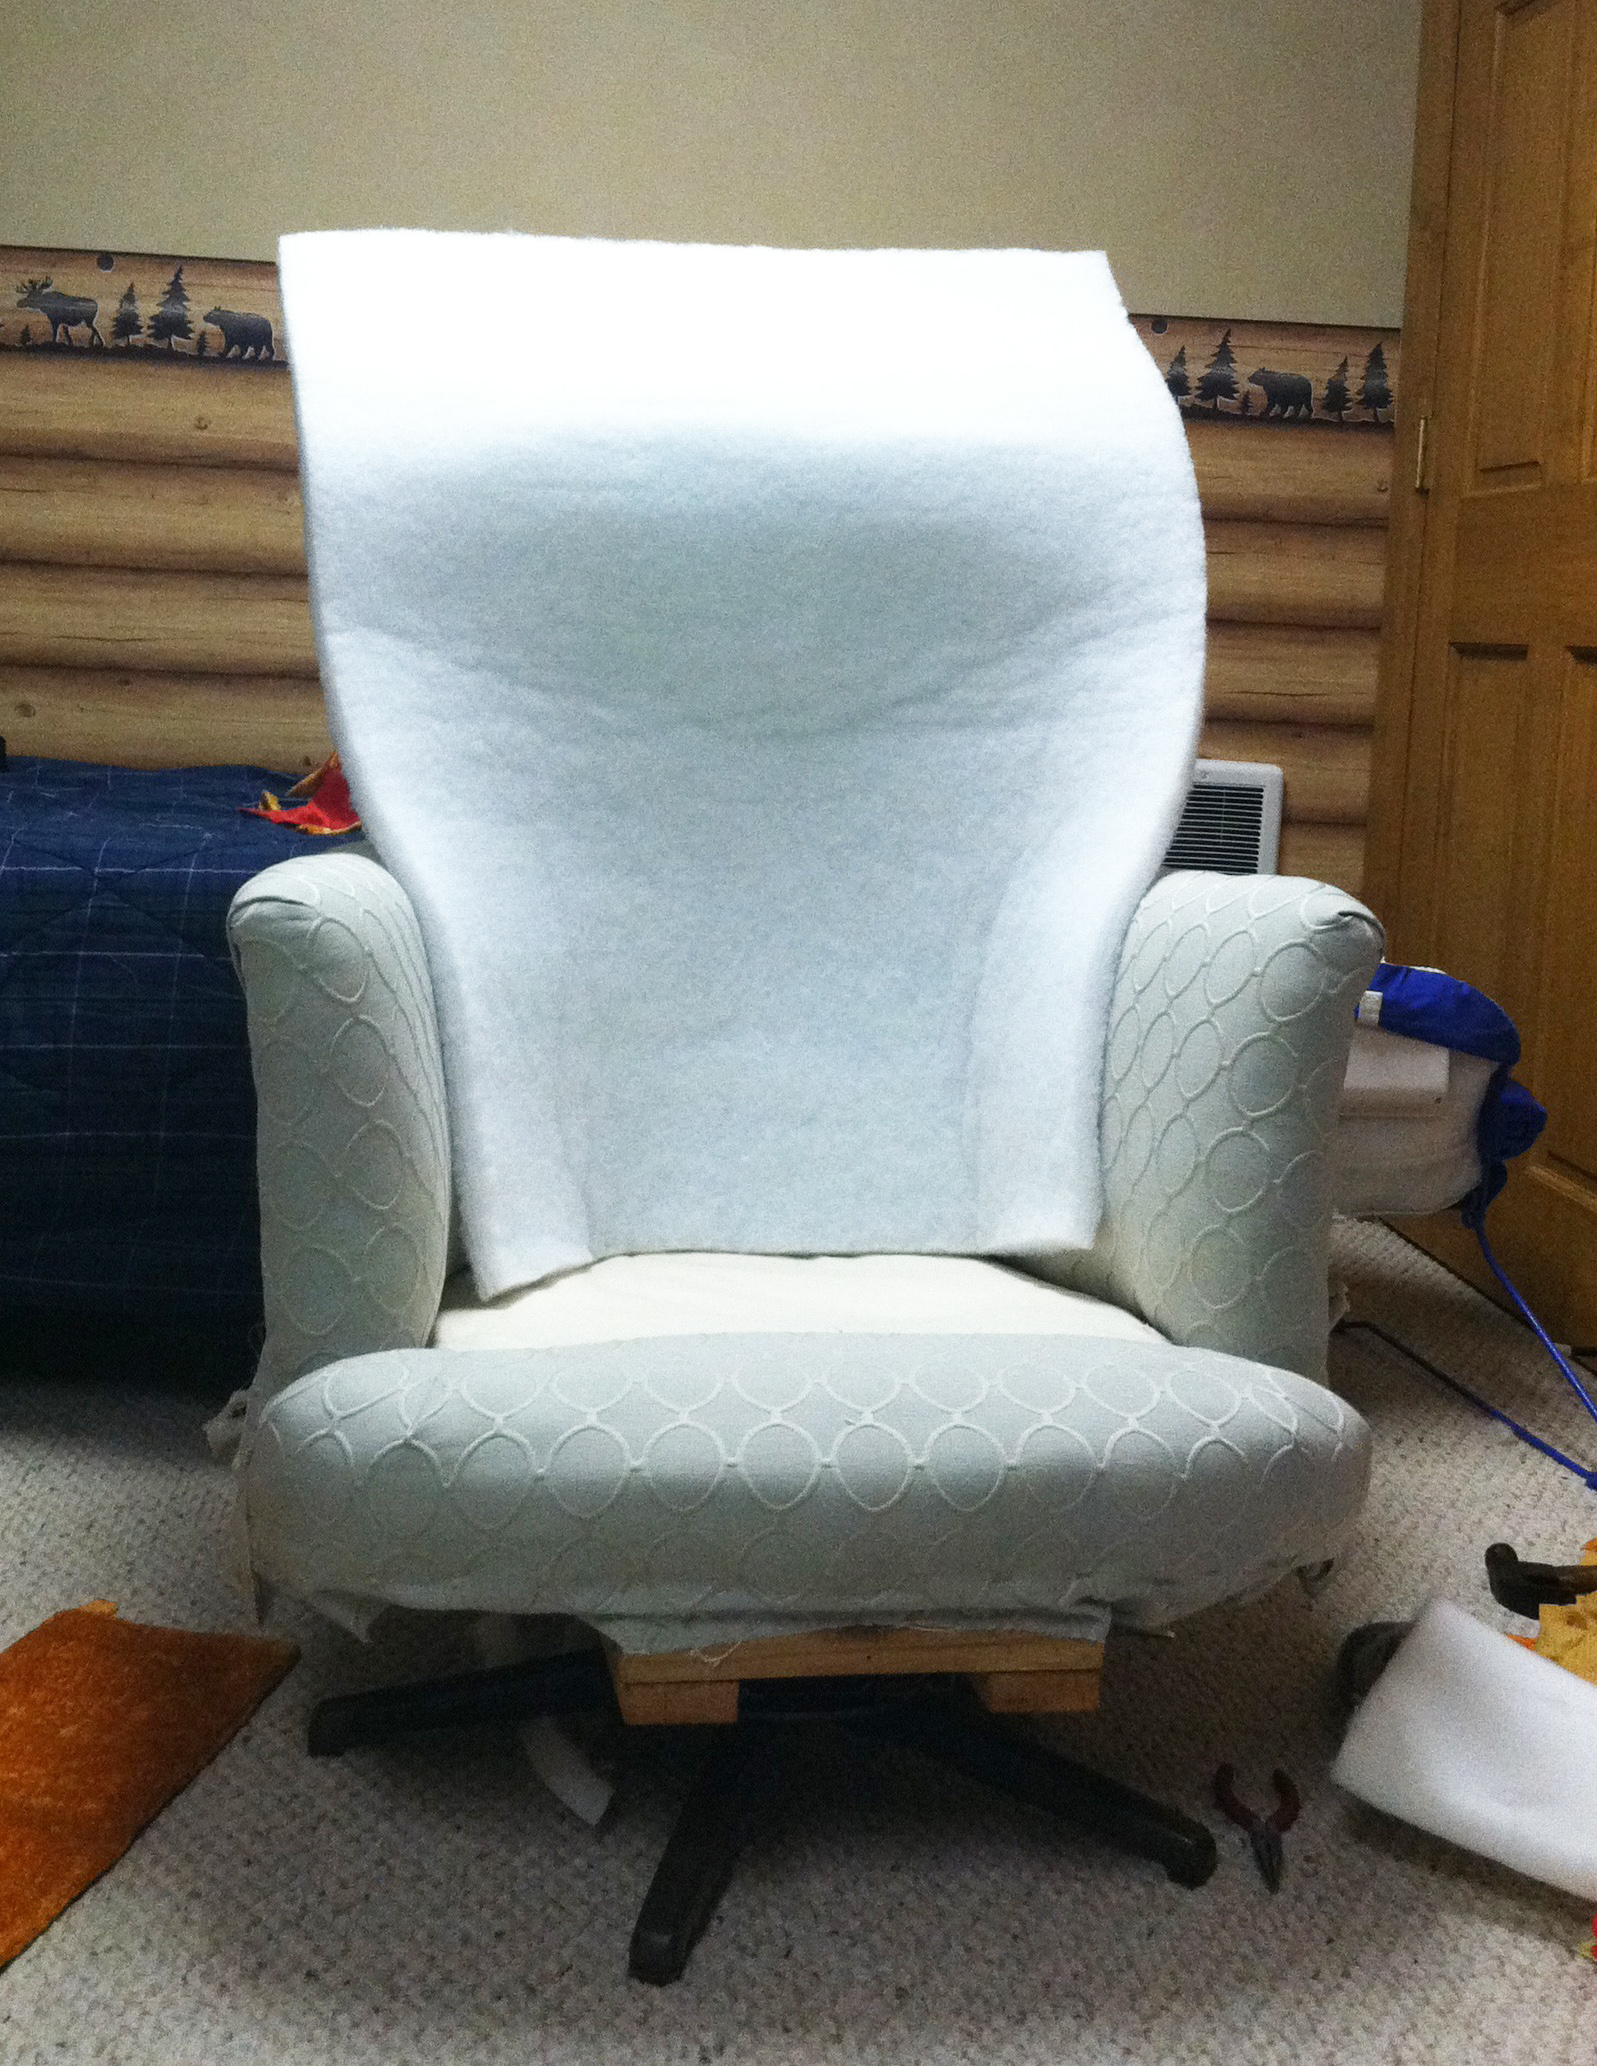
AKA, a room that you can destroy for a little while. Why? Because this:

To make reupholstery worth the loads & loads of time it takes to do it right, make sure you are actually saving moolah. My chair cost me $15. Fabric was roughly $45 total (good price point is no more than $10/yard). Foam was around $70 (this is where it can get REALLY expensive if you don’t shop sales, or find a supplier who is reasonably priced). And the rest was blood, sweat & tears, and inevitably, some other minor expenses.
Price is always my first priority, but solid construction is right there with it. Make sure you inspect the “bones” of the chair. How are the springs? Does it squeak when it moves? Start with a solid base or risk having all your hard work NOT pay off when the chair eventually falls a part.
Deconstruction is where it can all go wrong if you don’t do it carefully. Use the original fabric pieces as your pattern. You can do this 2 ways. You can either deconstruct the pieces entirely (by this I mean, taking a part every seam) until you can lay each one flat and use it as a pattern. Or, if your fabric is too brittle to mess with too much (I usually find this is the case), you can simply measure each original piece, then make a “pattern” from those measurements, and THEN use that to measure and cut your new fabric. I typically use good, old fashioned wrapping paper for this, because I always have it around.
And I do mean ALL of them. If you leave any behind, you risk damaging your new fabric, or making your stapling job more difficult because you’re not starting with a clean piece of wood. NOTE: This is where the real work begins. Like, often, back-breaking work. The older the chair, the more difficult it is to remove the staples. So be patient, and break out the alcohol.
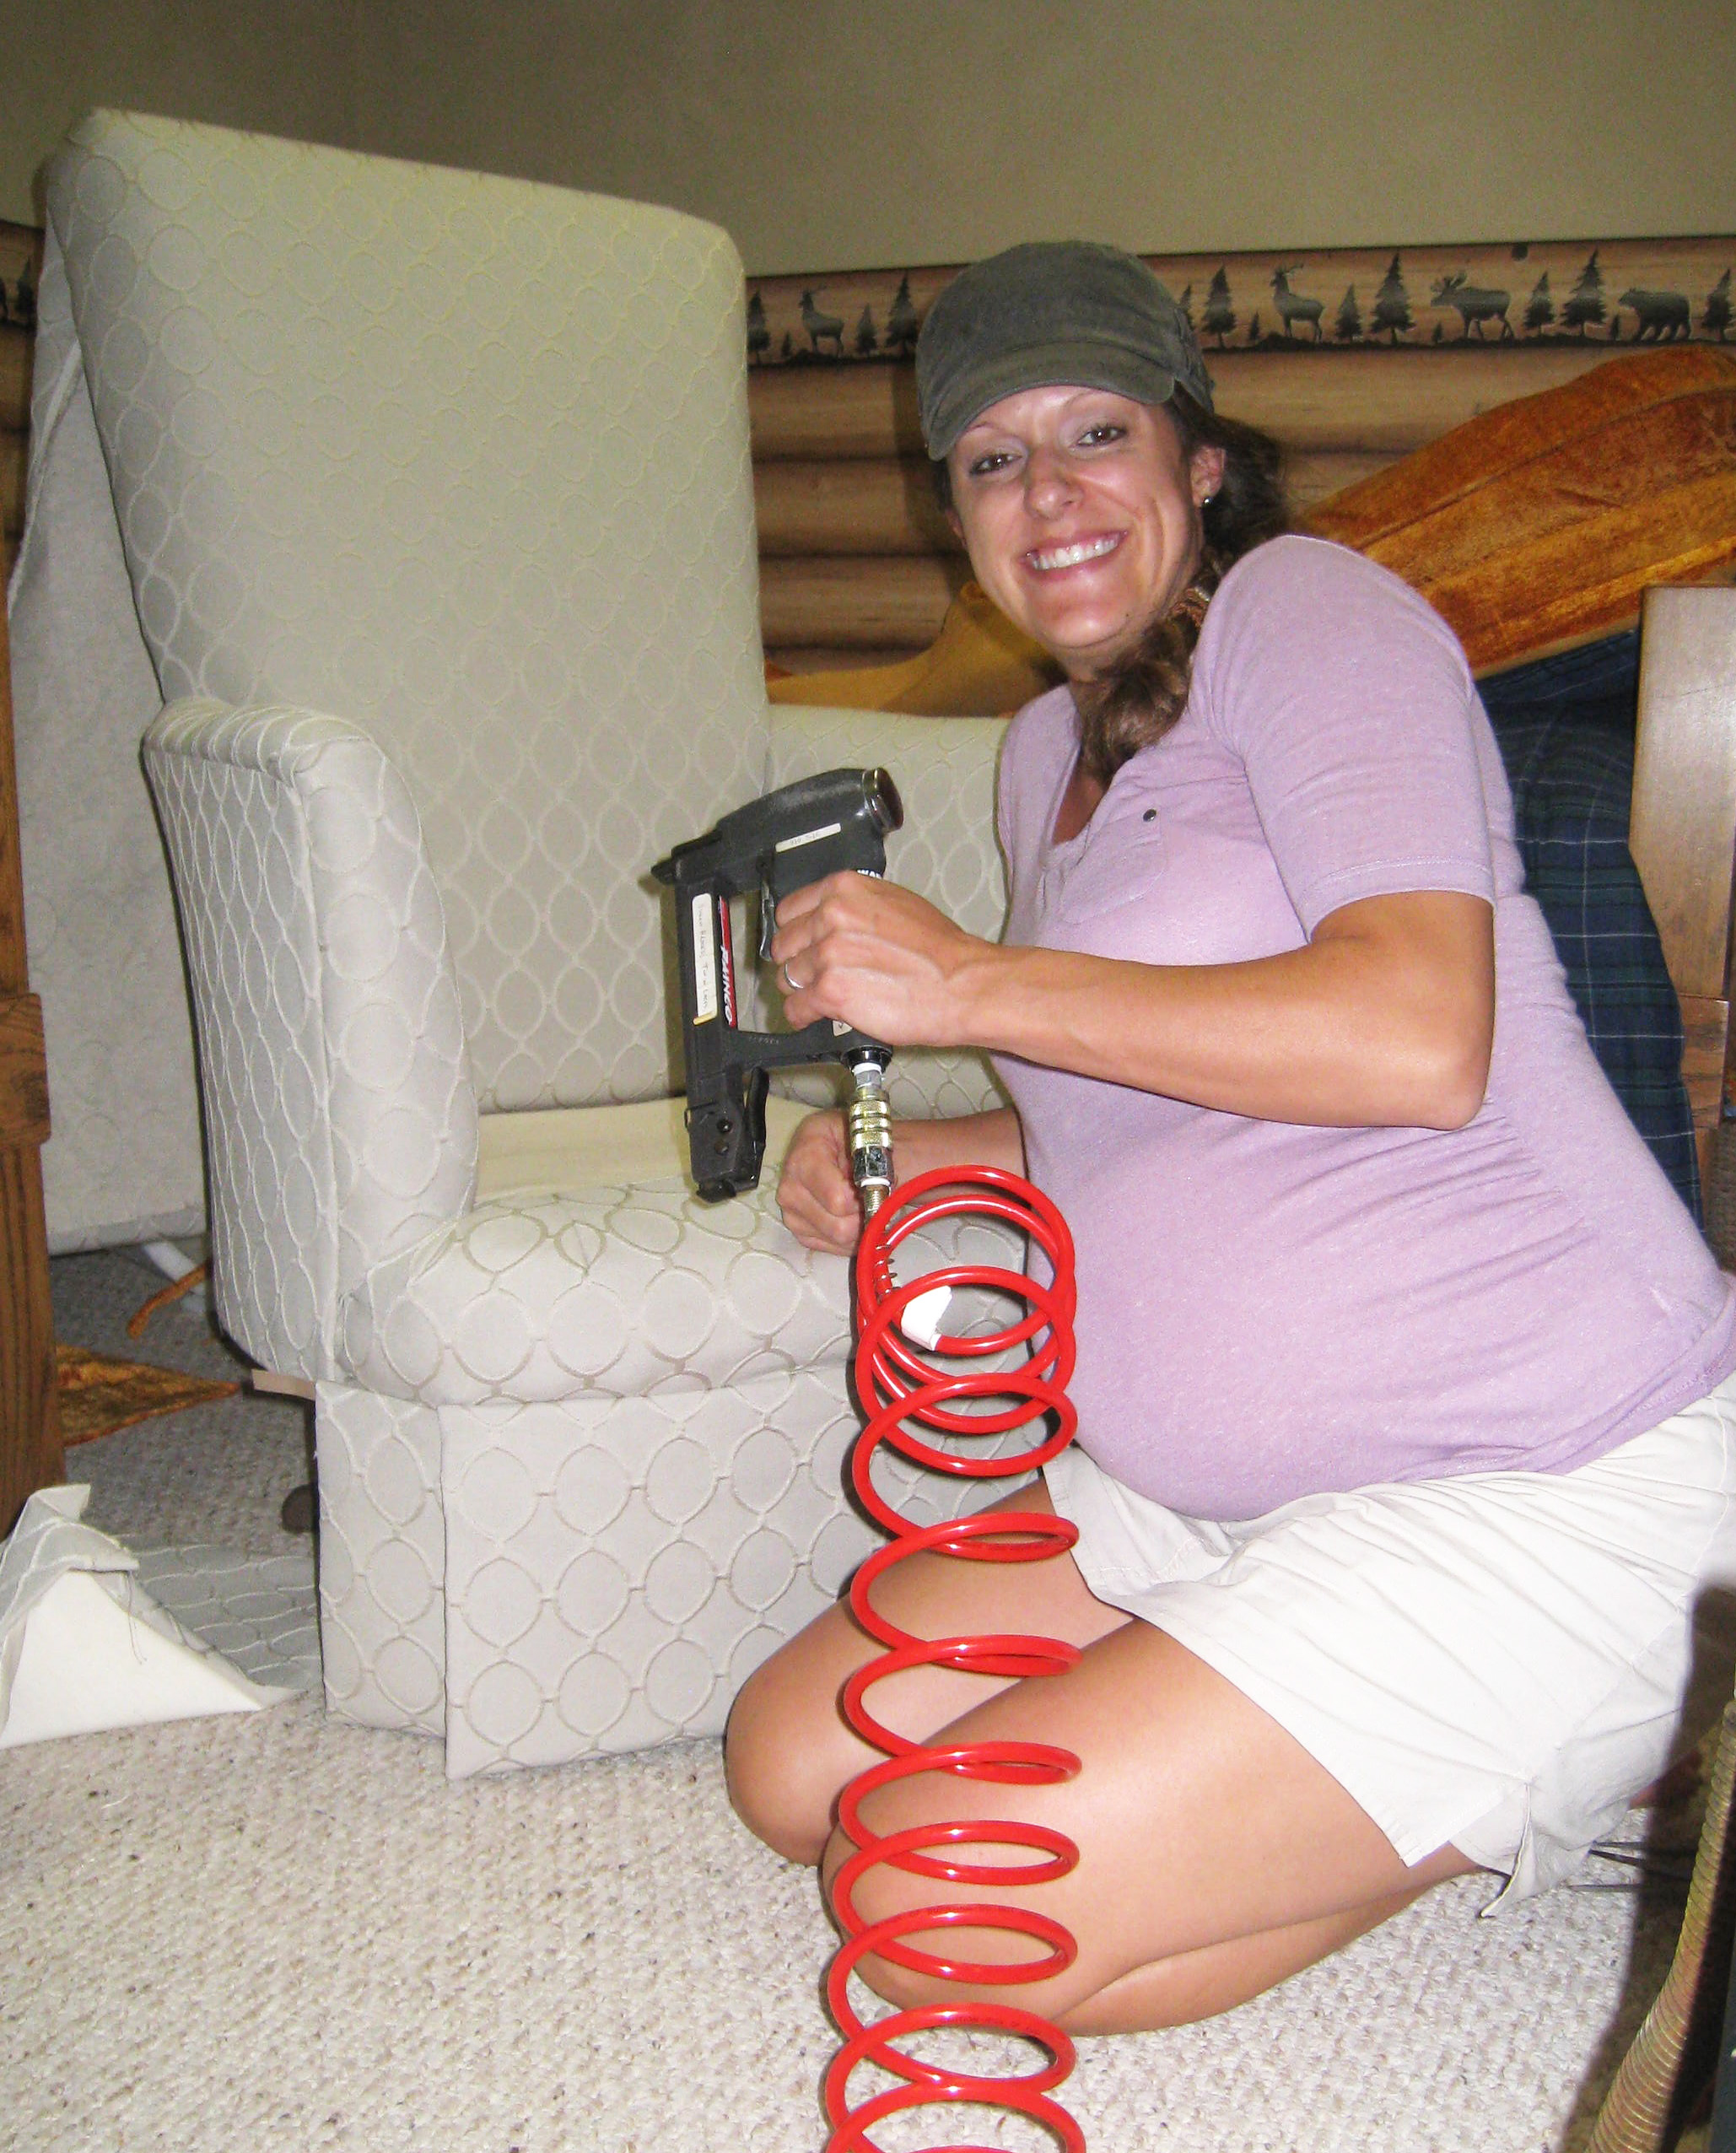
Not only is it more fun to do projects with friends or family members, it’s also a necessity. Certain parts of your chair you can no doubt accomplish on your own, but when you’re at a spot where you really need to pull the fabric tight, you need a second set of hands to staple it into place.
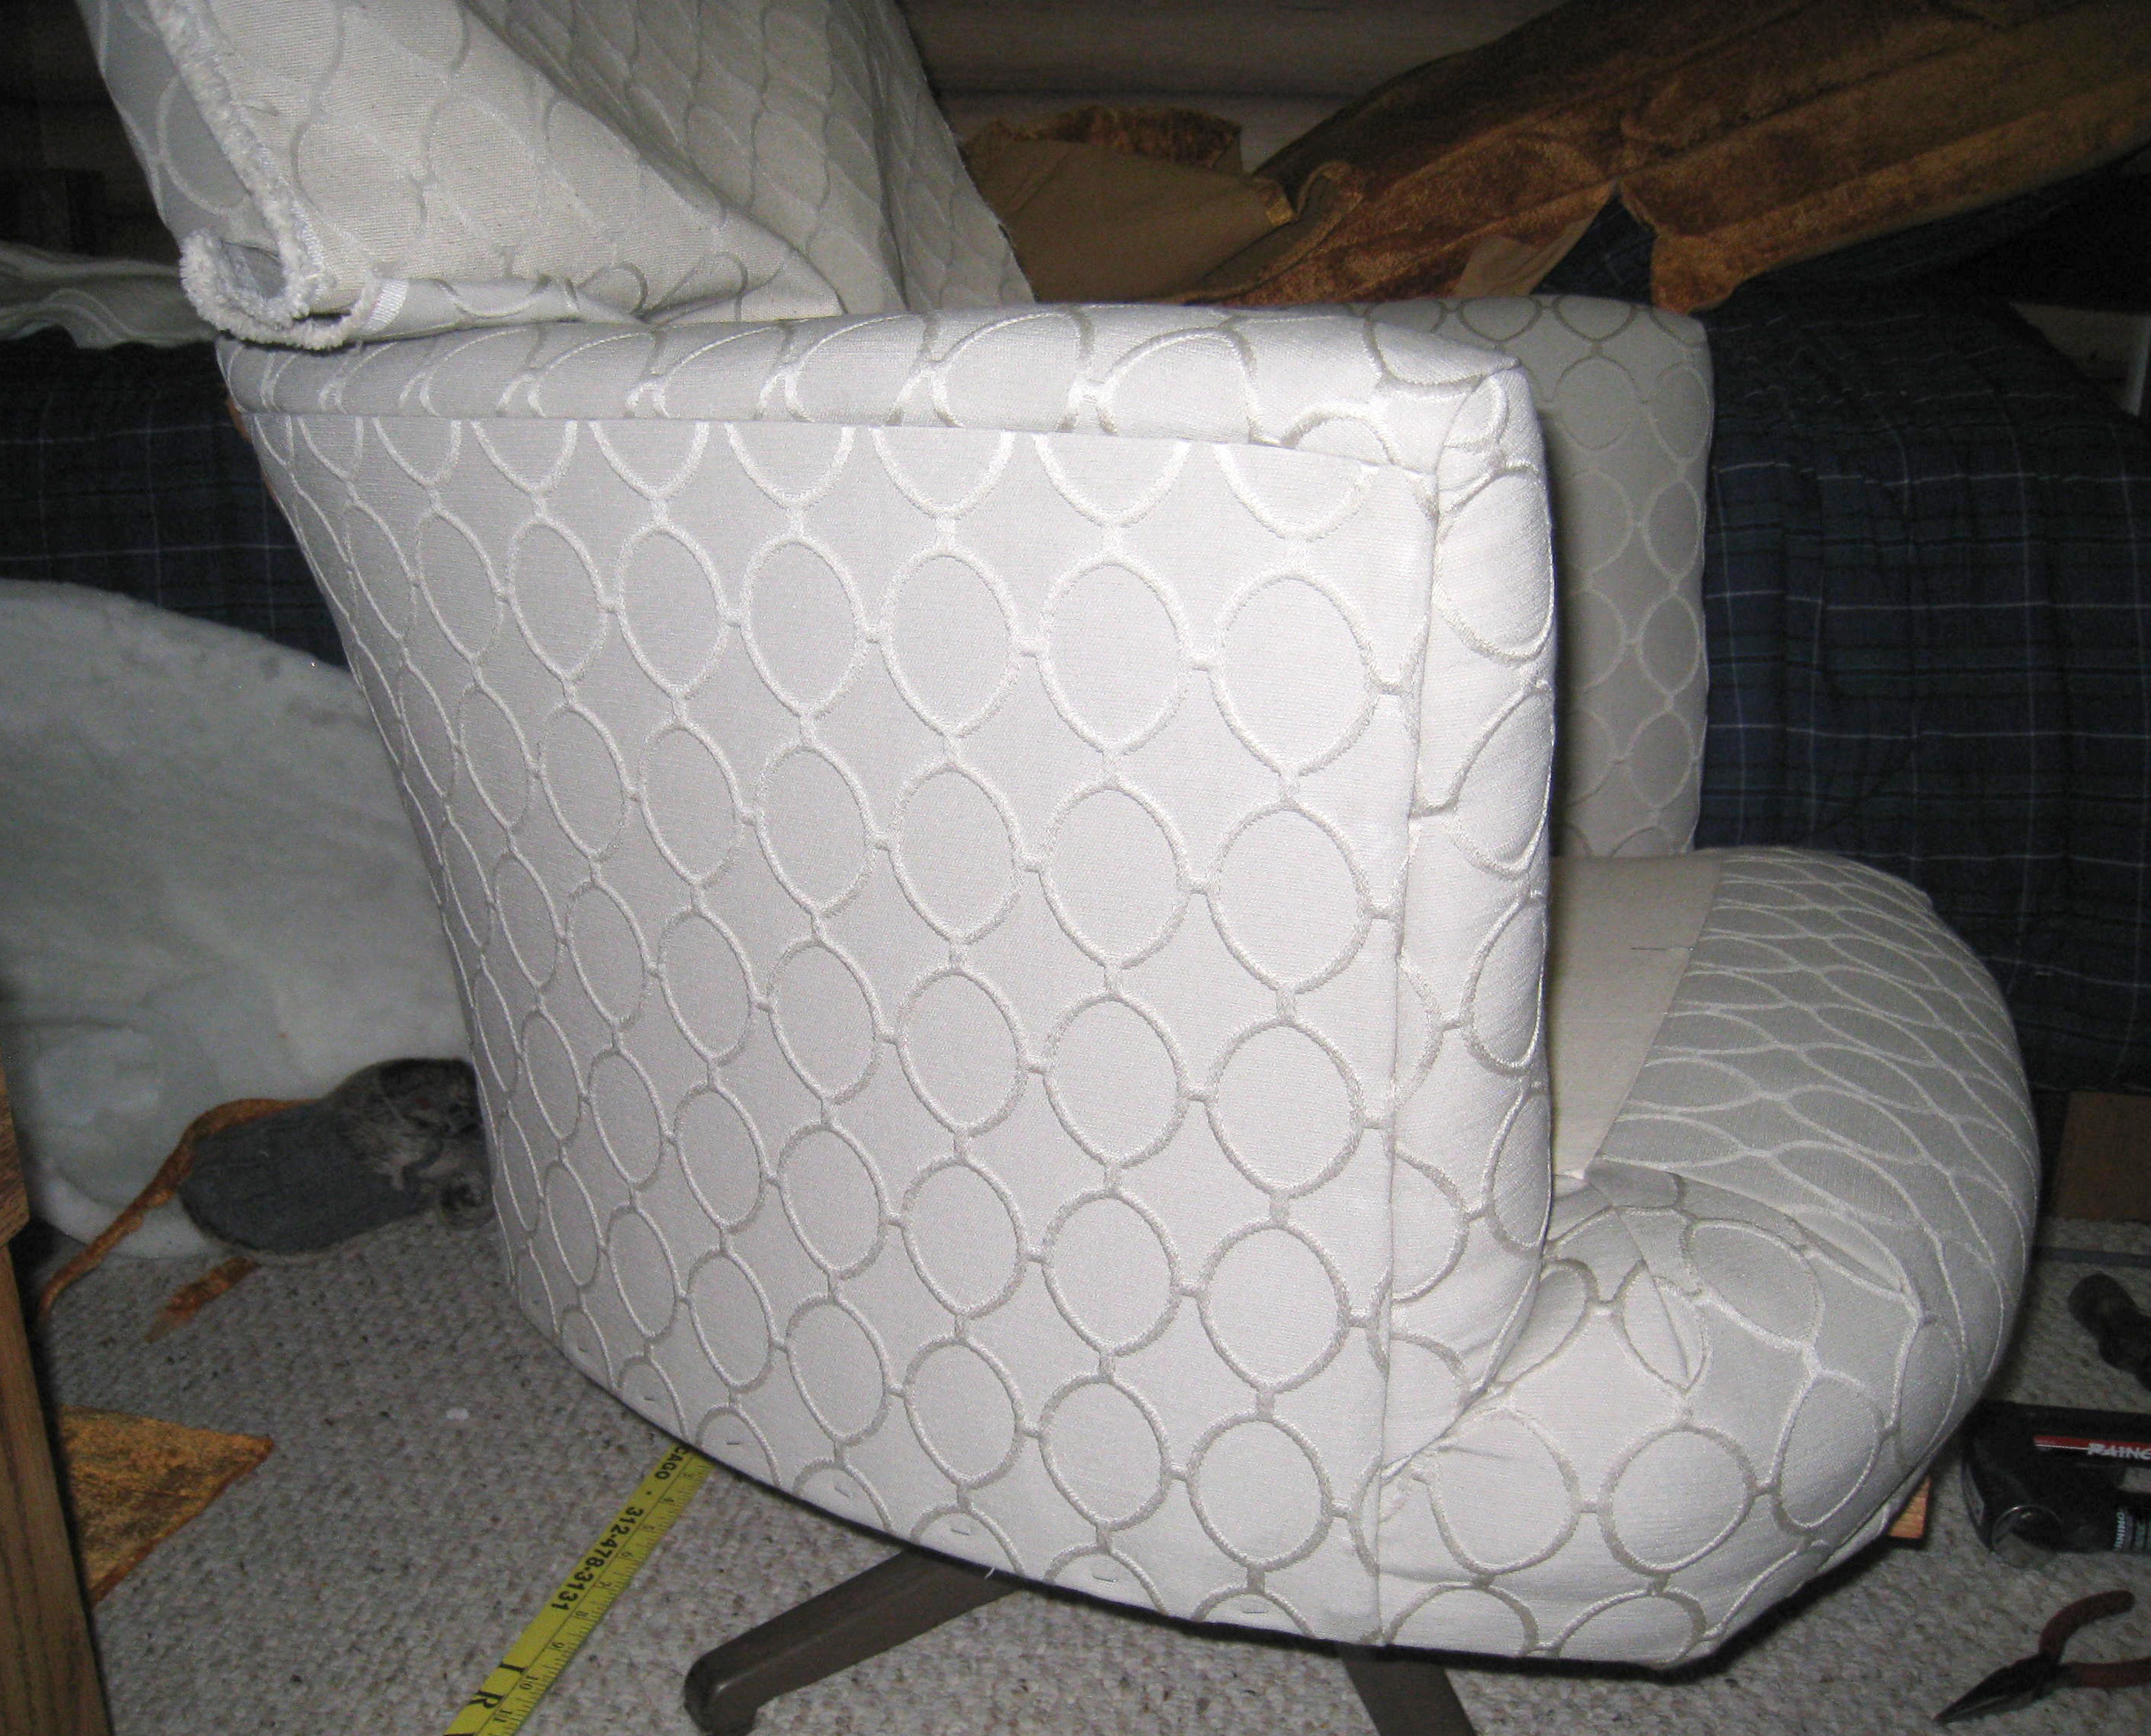
The problem with DIY reupholstery jobs is they often look like DIY reupholstery jobs. Avoid this by pulling your fabric tight. Sagging fabric = no bueno.
If your budget allows it, I always opt for 1-3 extra yards of fabric. What if your original measurements were off? What if you end up wanting a pillow in the same fabric? All these what-if’s can be avoided with a little extra fabric up front. Plus, the absolute WORST circumstance to find yourself in is a nearly-finished project, when you just ran out of fabric. Oh, and that fabric was just discontinued. (It happens, trust me.)
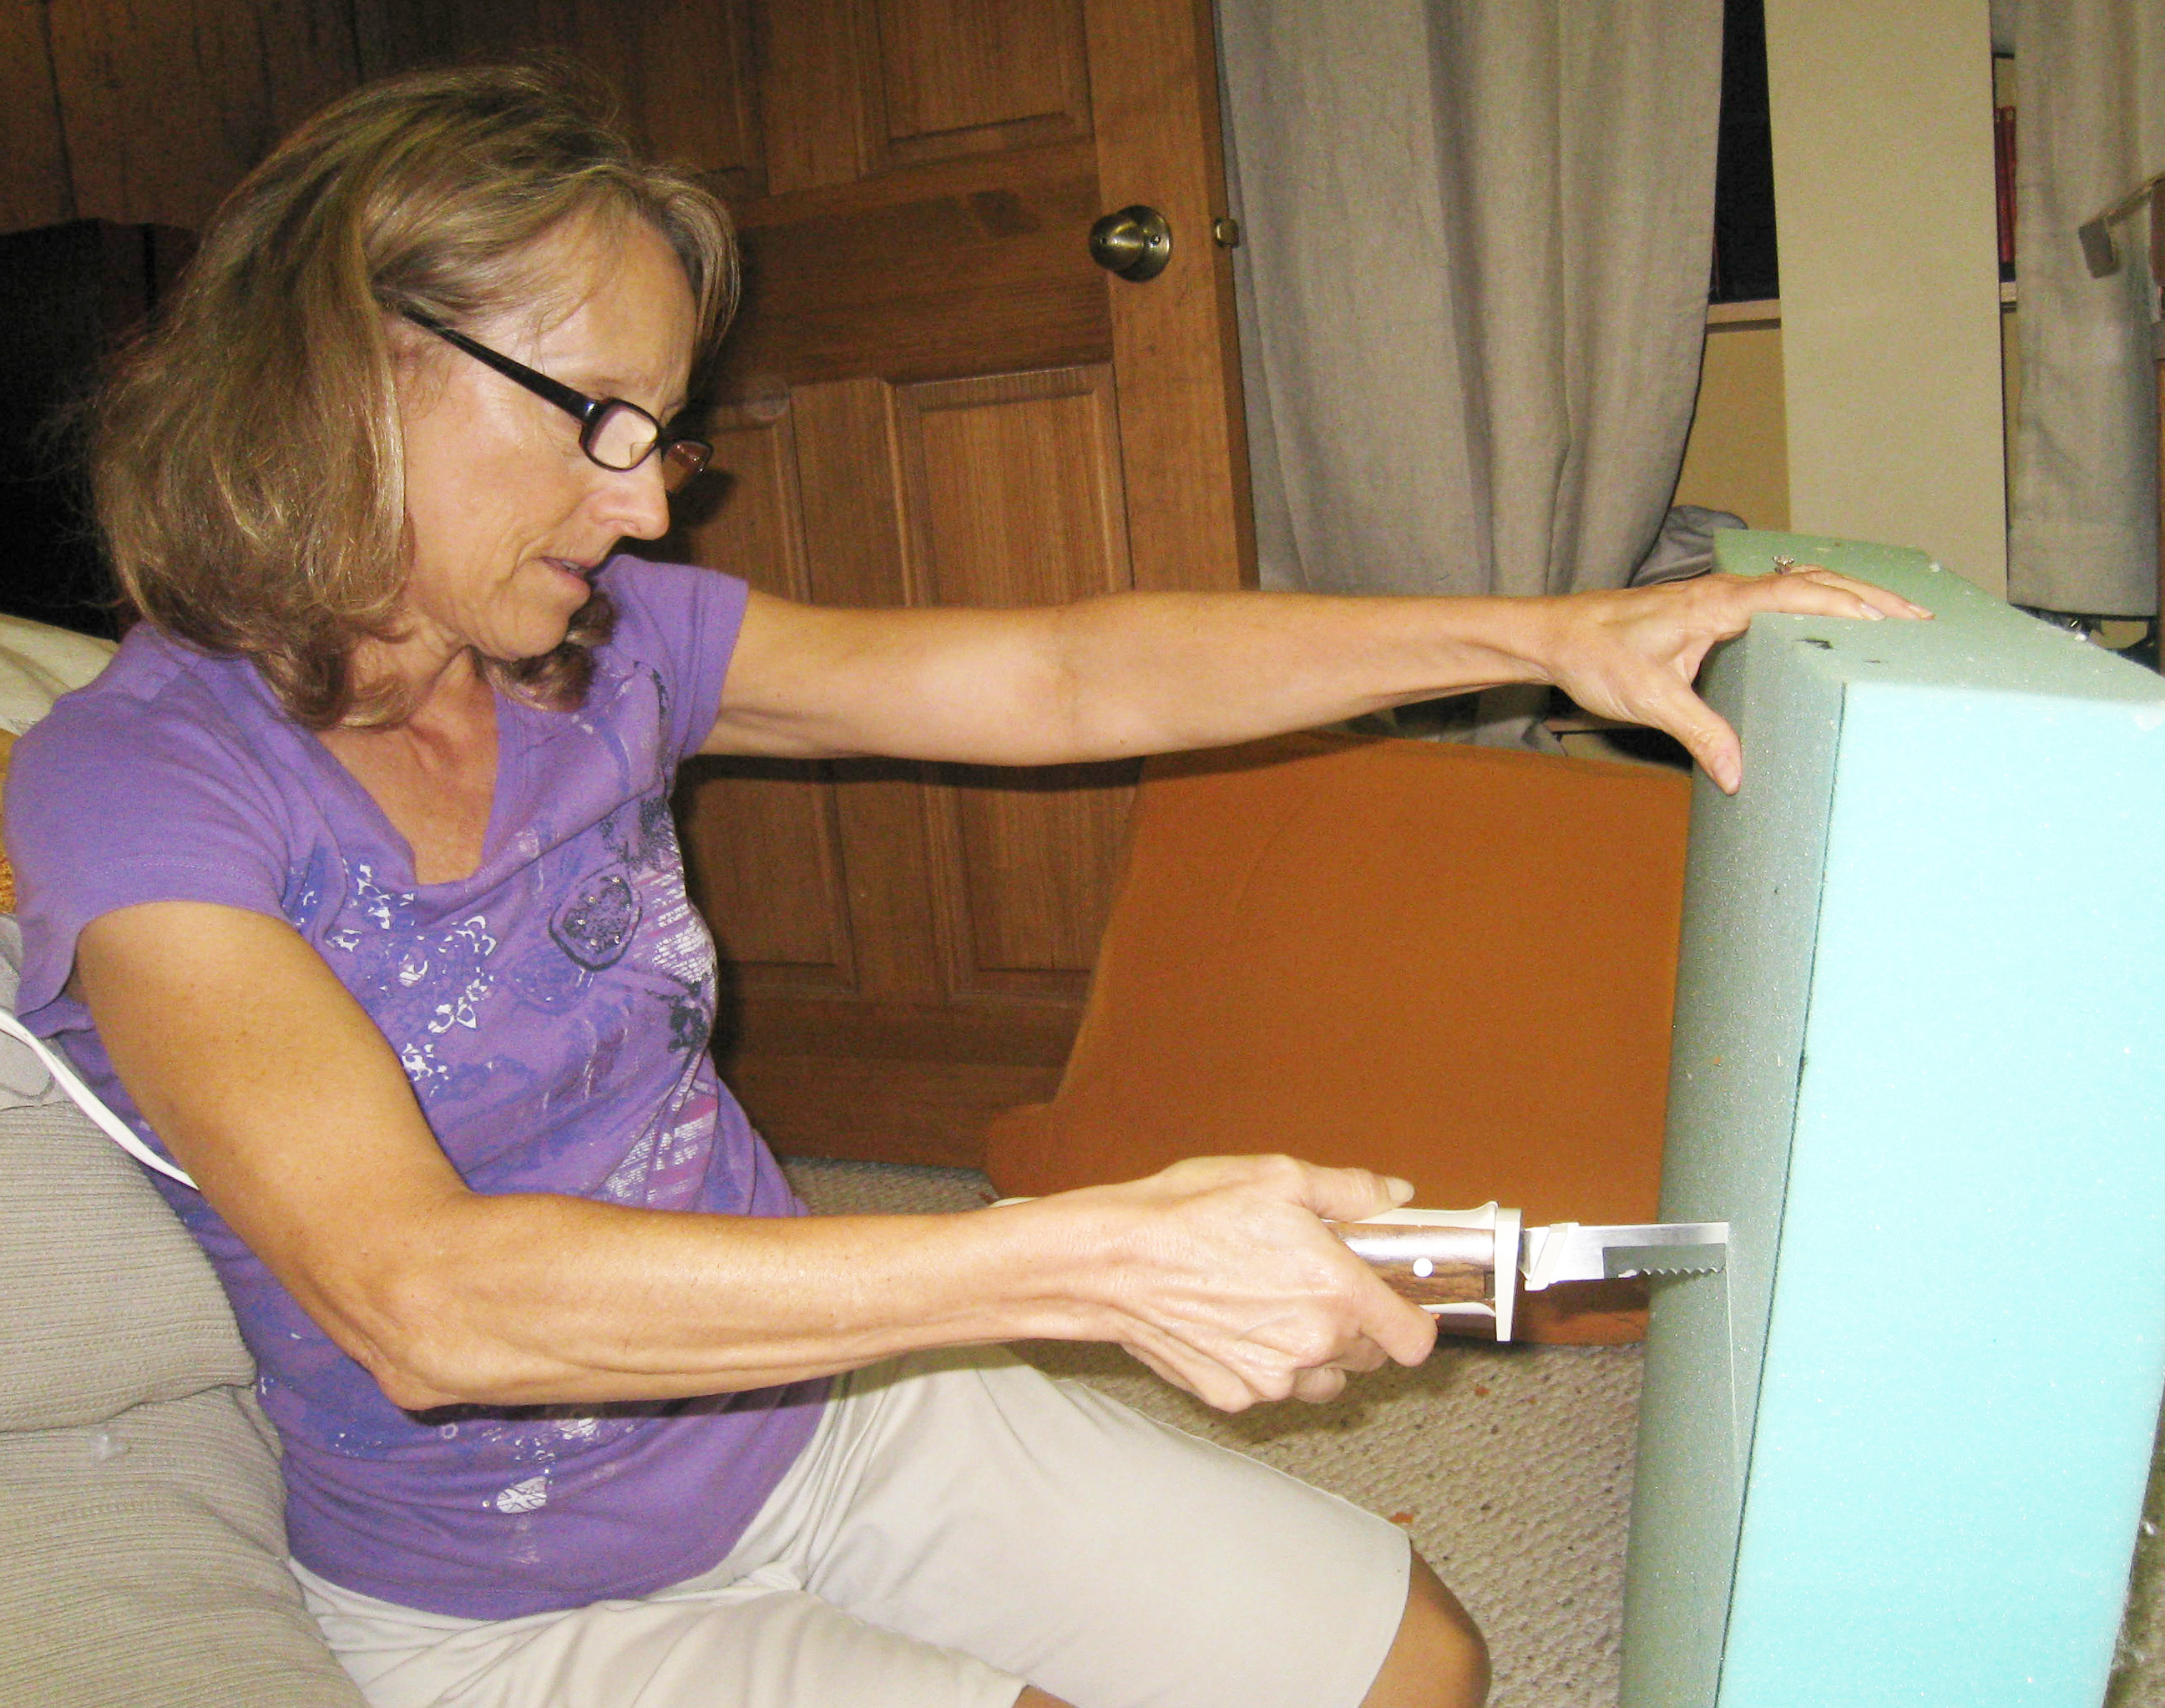
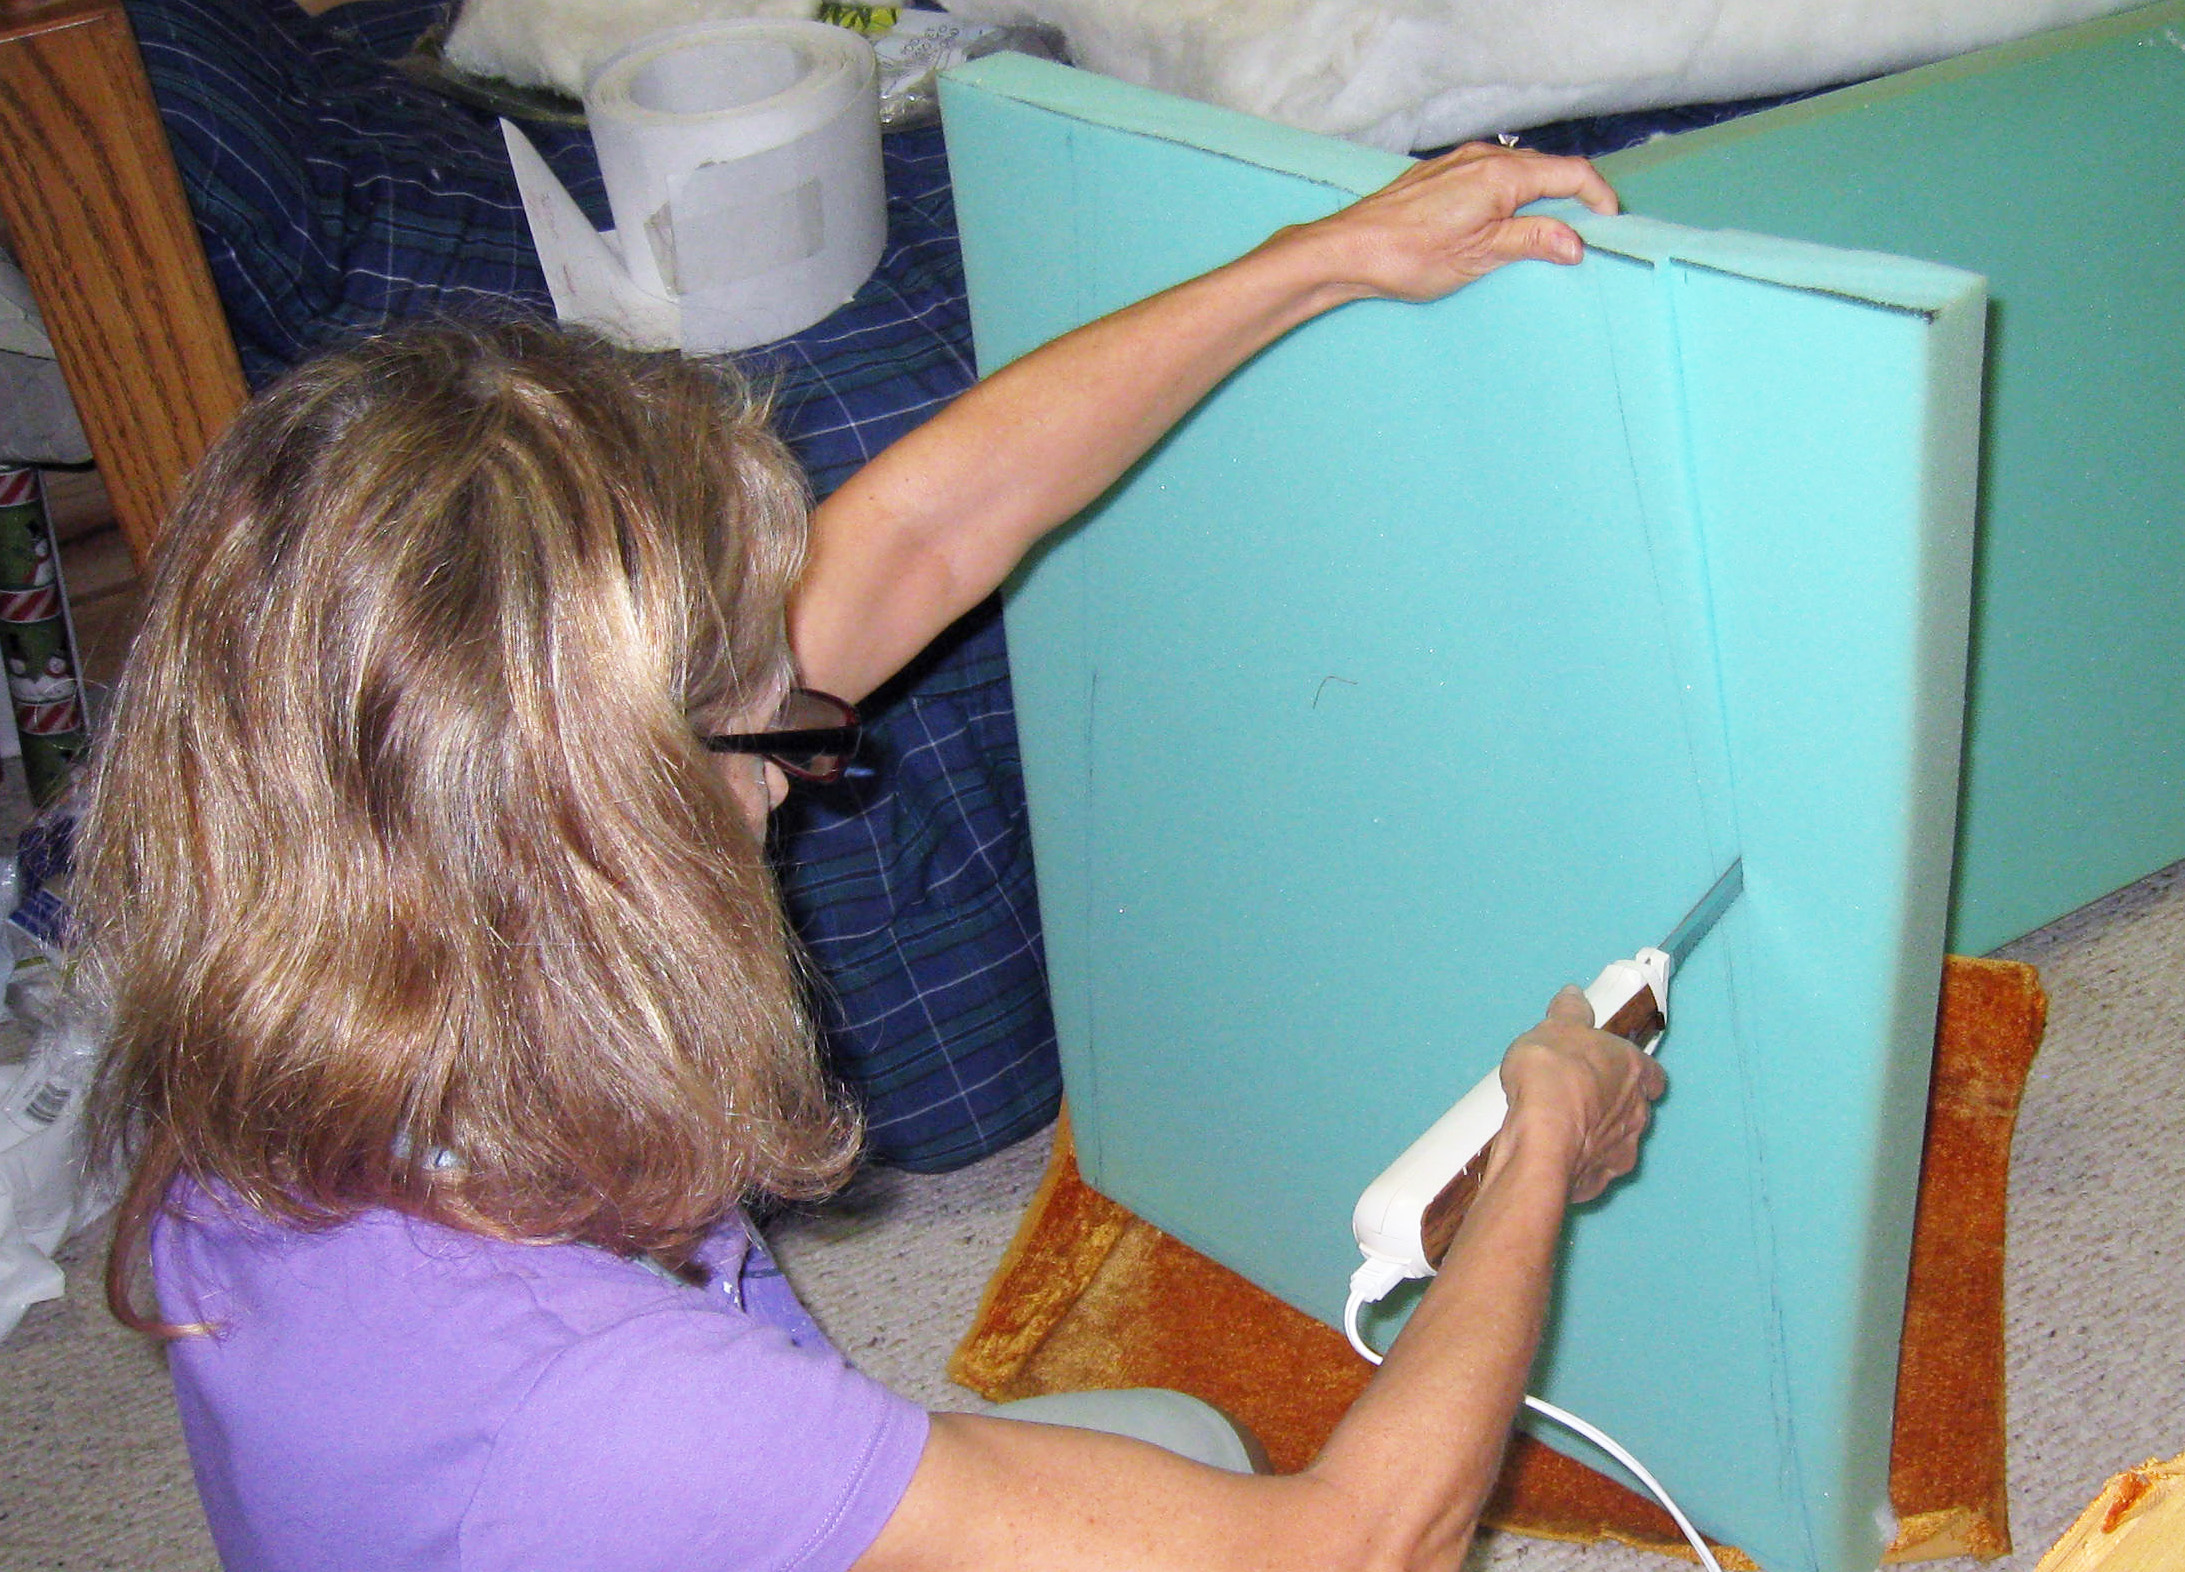
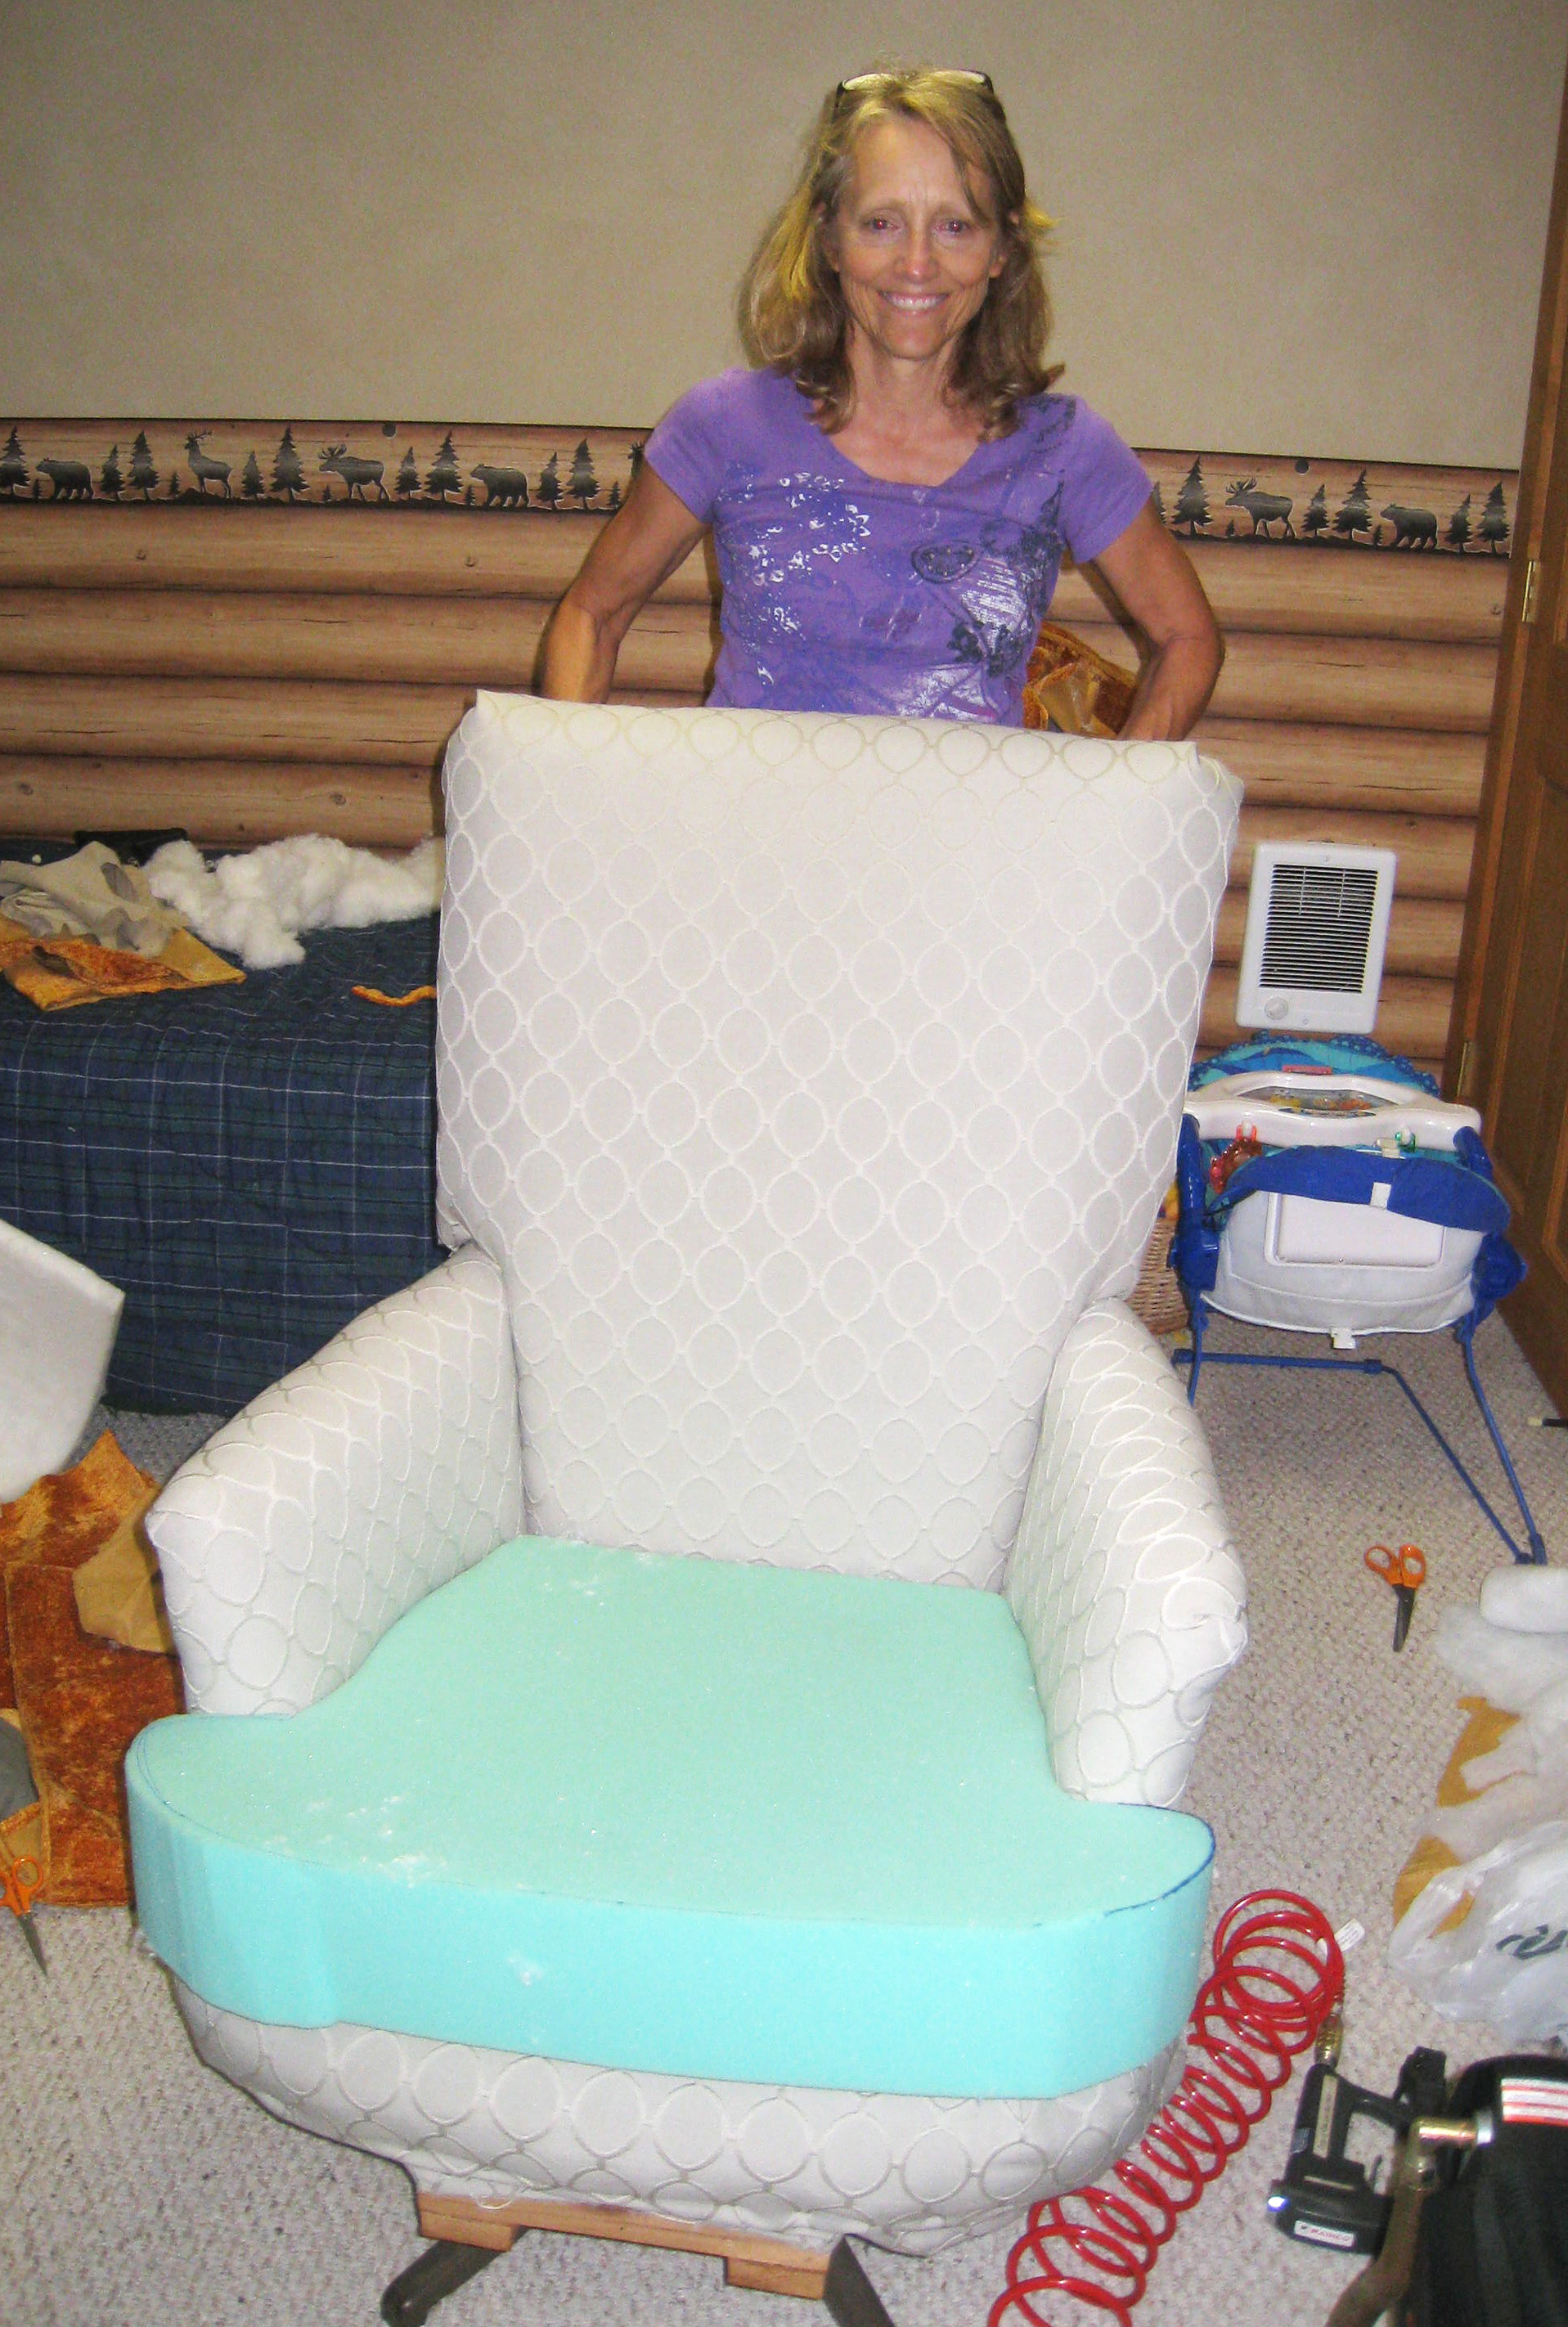
Again, new foam isn’t always necessary. But if it is (and it was in my case), make sure you measure accurately, and cut very, very carefully. Foam can be expensive, so you’d rather cut too little, than too much. Consider practicing on a starter piece first, to get used to the feel. As you can see, I let my kooky mama handle this part, as my belly was bound to get in the way 🙂
This is my last, but certainly not least, piece of advice. Every reupholstery job brings about new challenges & circumstances. If you know that going in, you won’t be so surprised by them when they happen.
Good luck! And more in-progress pics below for your viewing pleasure.


Leave a Reply