Previous post
too many ideas. too little time. (and far too much chai.)


Maybe this will come as no surprise to you guys, but I, for one, had NO idea that you could buy blackout fabric. If you’re thinking “Whaaaaaaaa?” then yes, I can relate to your reaction. But trust me when I say, buying your own blackout fabric and sewing it on to whatever curtain panels you already have (or plan on having) is an AMAZING addition to any room. Especially the room of a toddler.
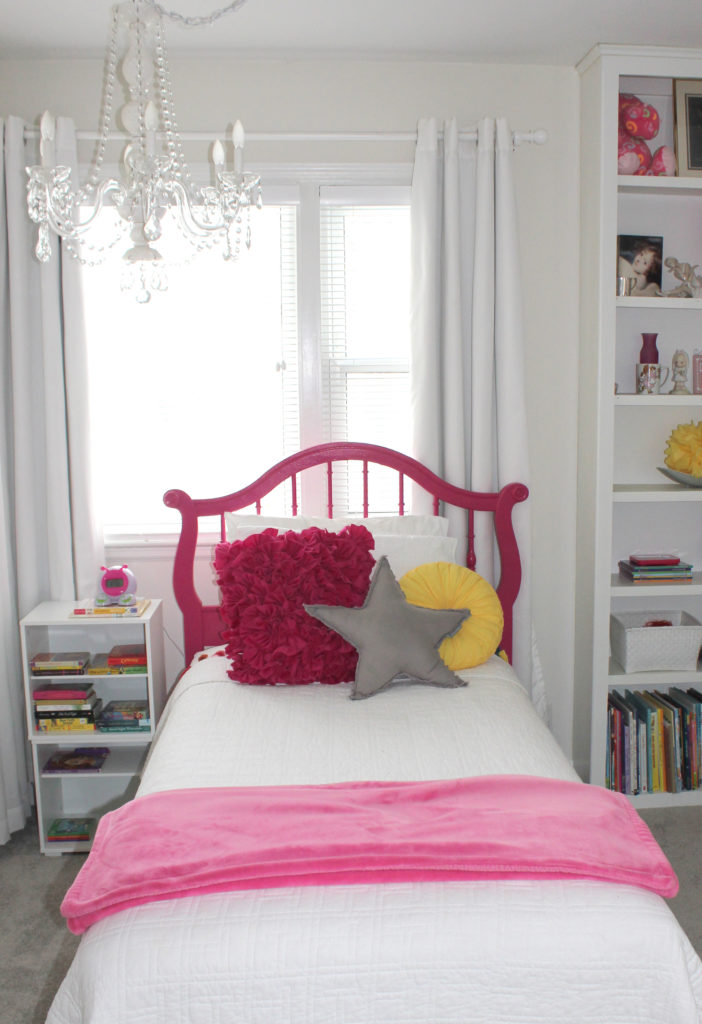
Here’s what the curtains in my daughter’s room already looked like.

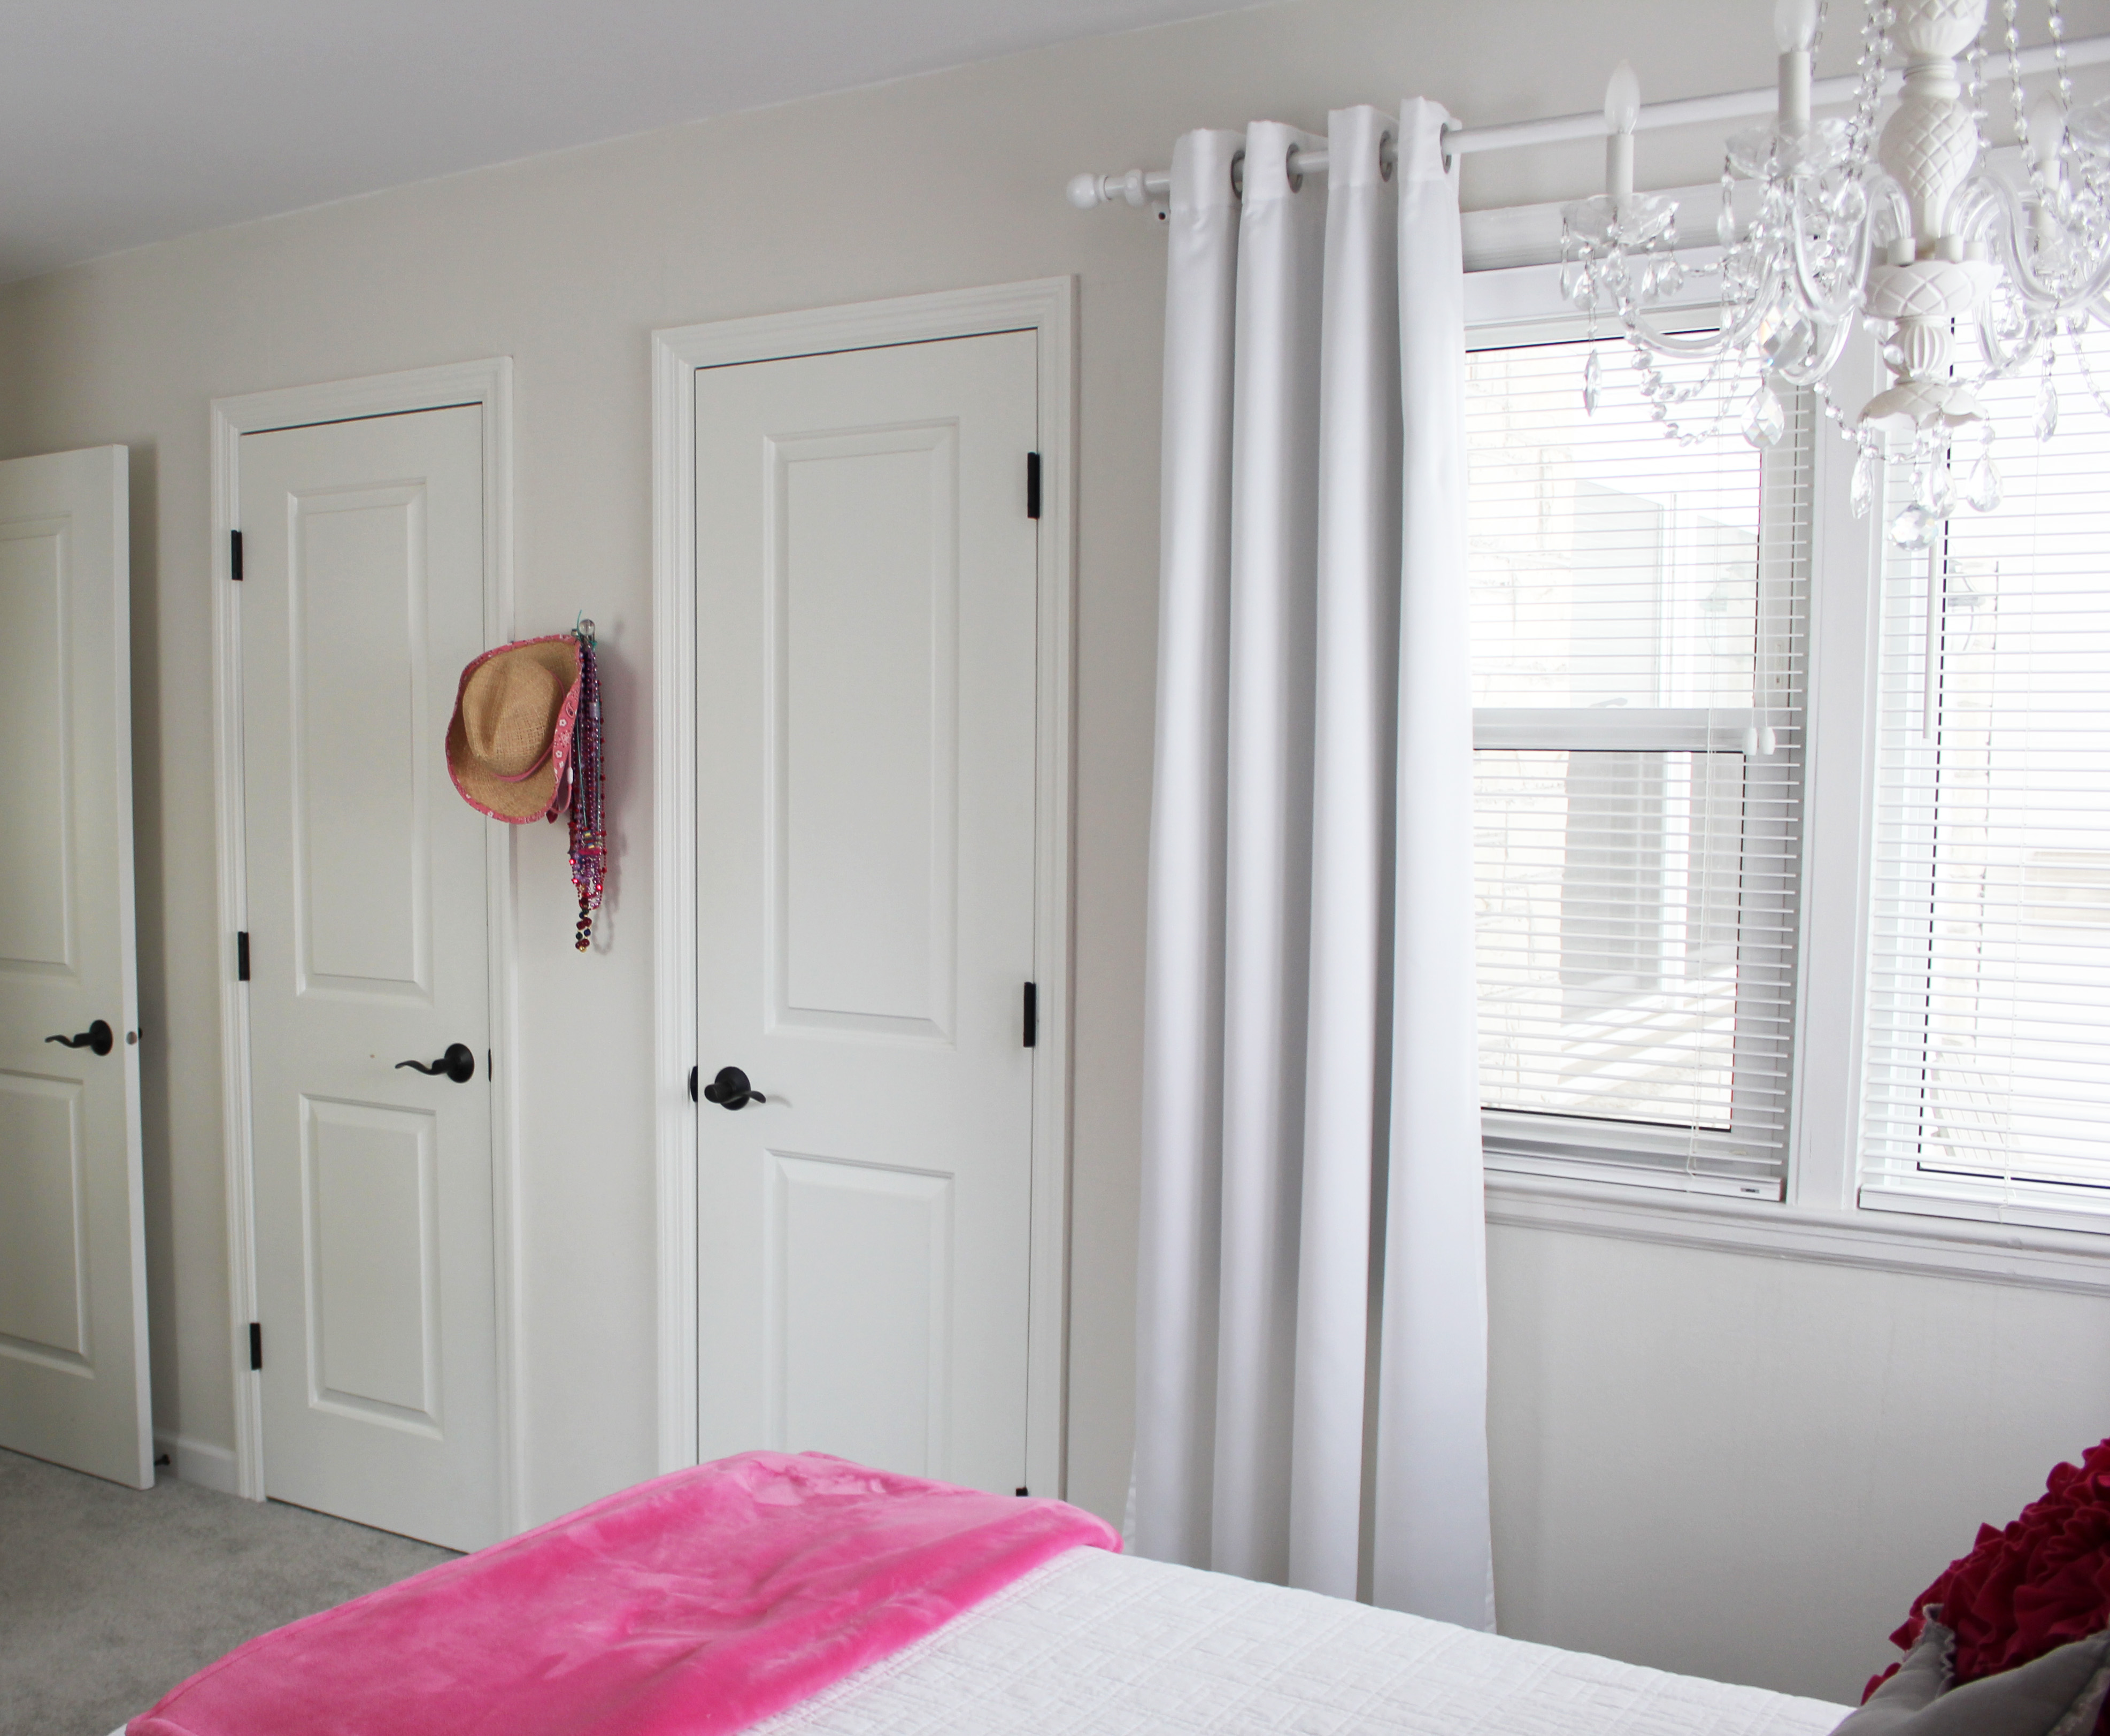
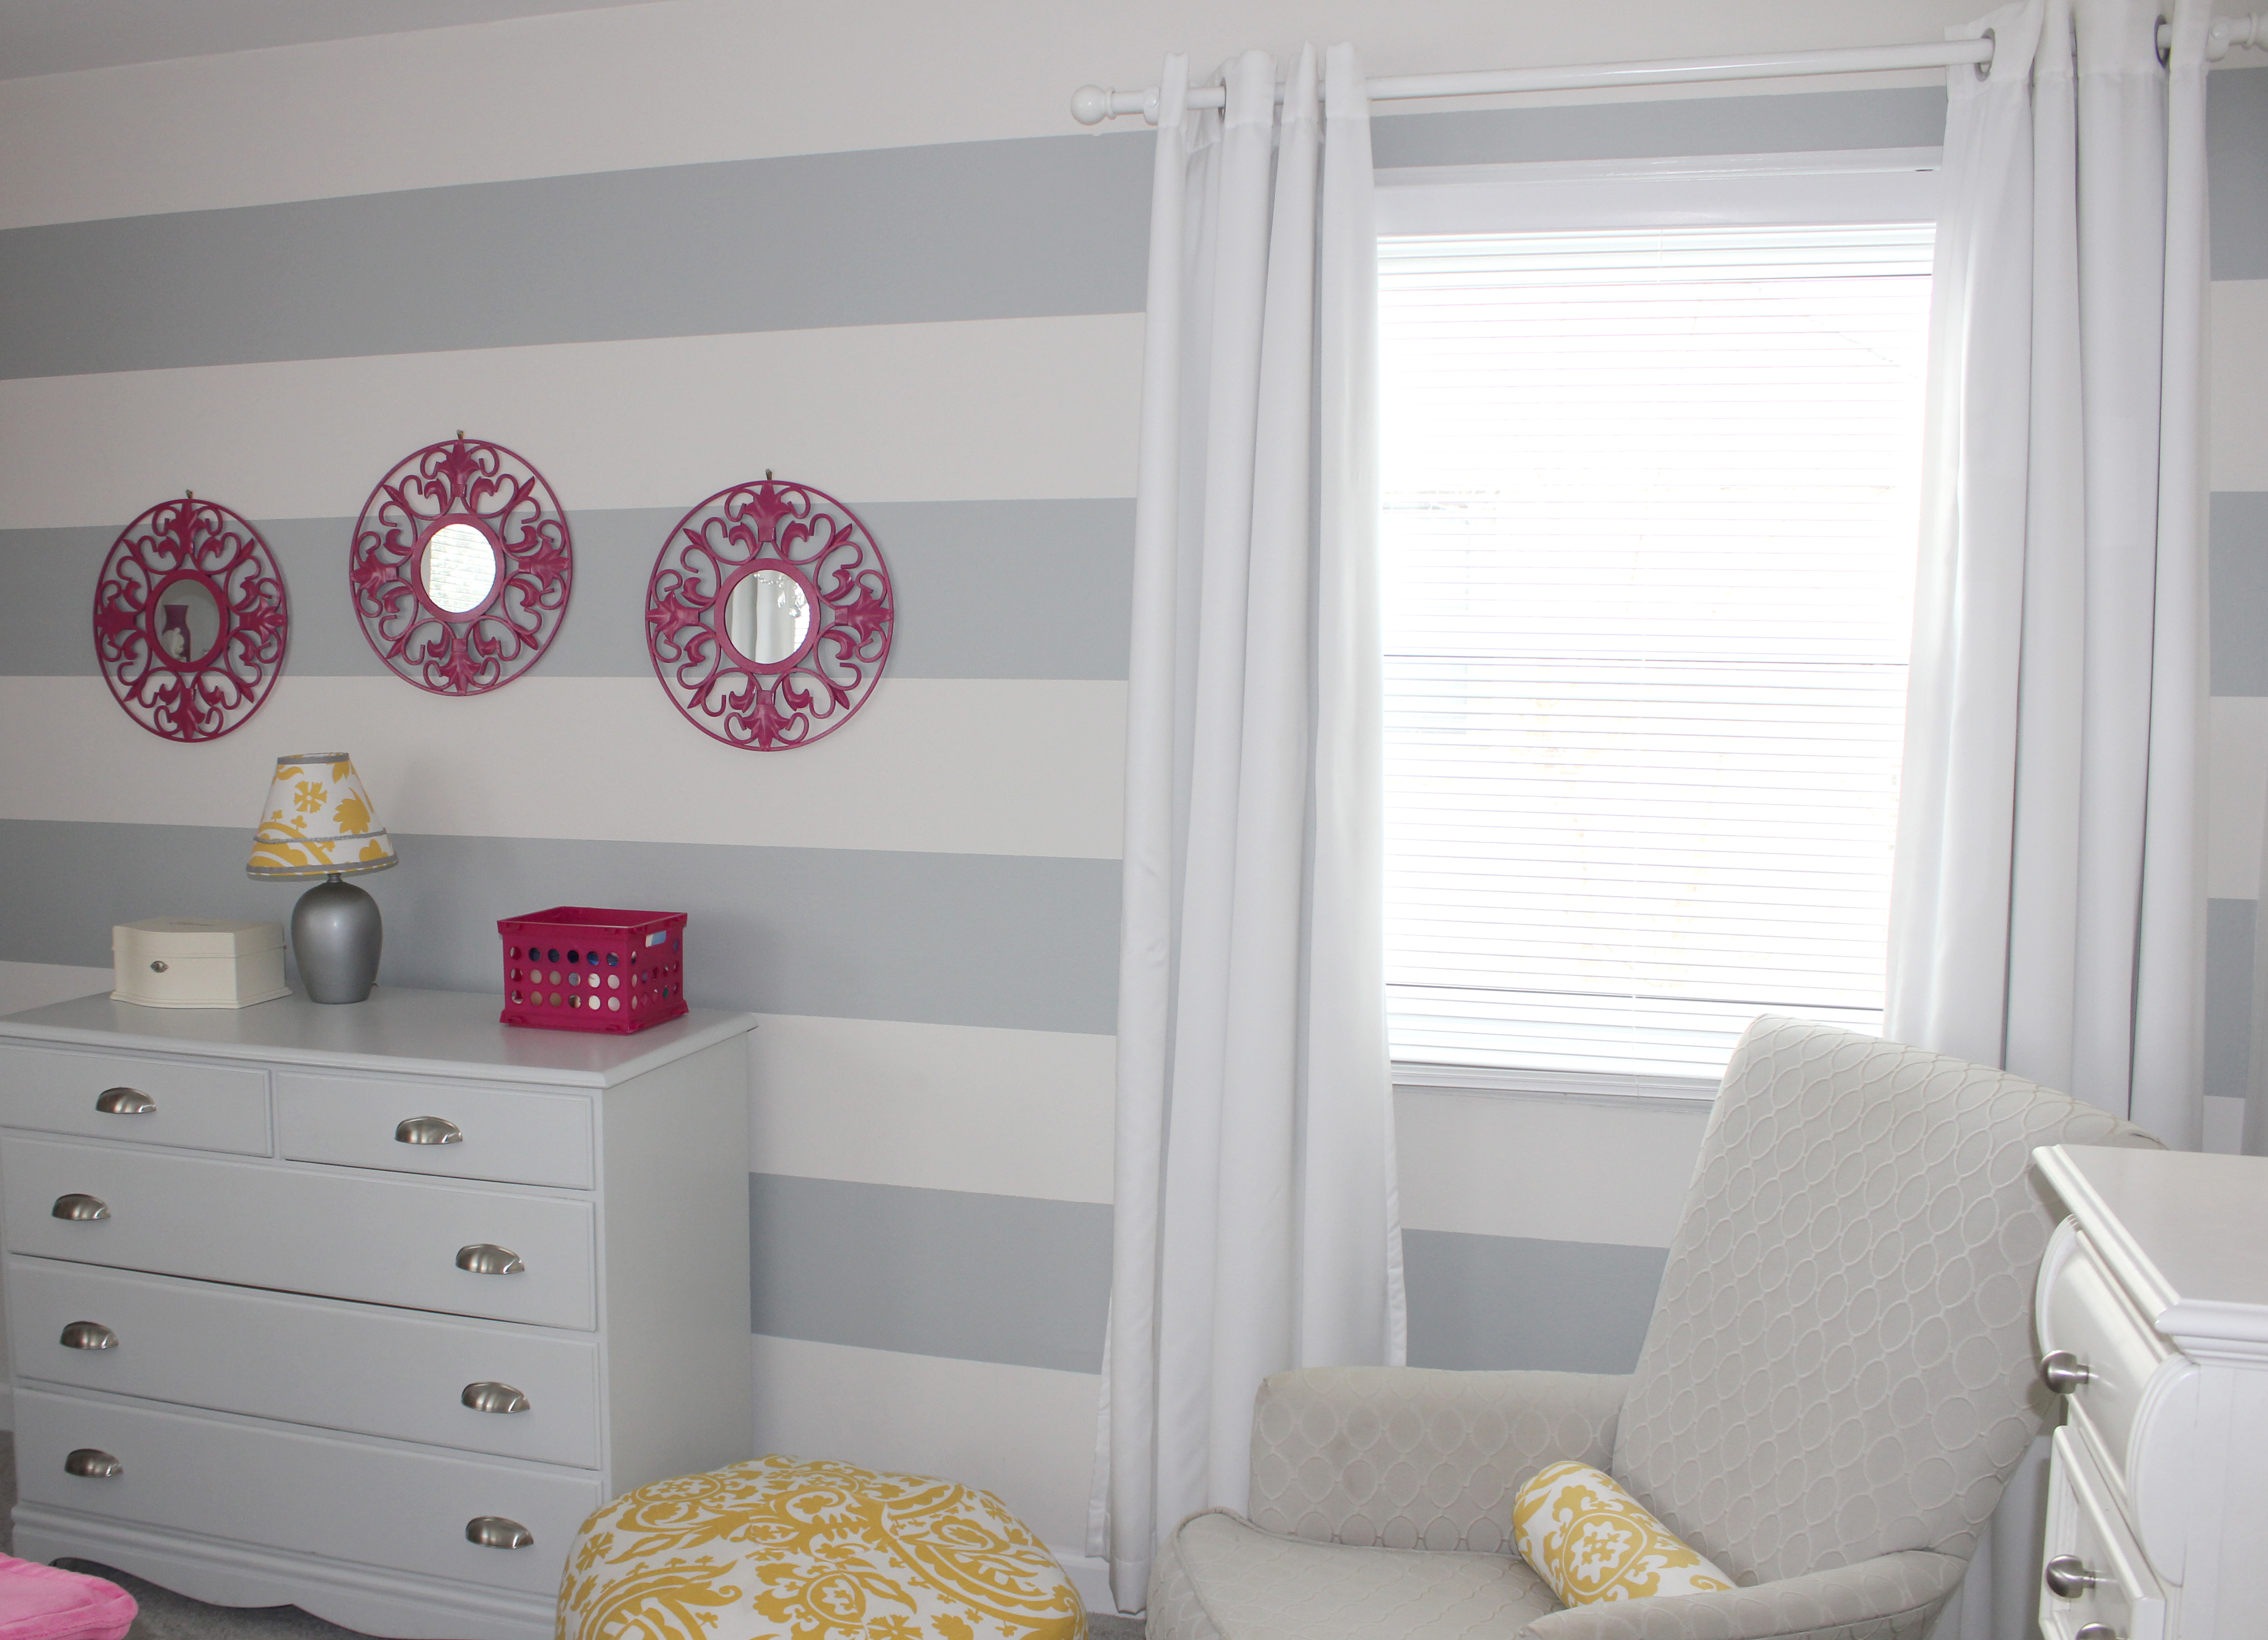
They were perfect. I searched and searched for (true) white panels, that draped luxuriously, and hit just above the floor. They were also double-lined, so I figured they’d drown out the light just perfectly. Right? Wrong.
Even with the double lining, the light was still pretty bright in Elli’s room. To top it off, Elli has always been extremely sensitive to light. So I scoured the web AGAIN for affordable blackout curtains.
They really didn’t exist. Now, I realize that one person’s “affordable” is another person’s “expensive.” But beautiful curtains are already pretty pricey, so beautiful blackout curtains were well over what I wanted to spend.
Enter blackout fabric. My mom told me about this monumental discovery. She said you can buy it at any fabric store, and she was right. Like usual.
When I approached the sales lady, she pointed me in the direction of the blackout fabric section. SECTION. To my amazement, there were countless options to choose from. I went with the one that felt relatively heavy, while still being a good price point.
NOTE: Make sure you know exactly how much fabric you need before heading out. Since I already had my curtains (see same pics above), I simply measured the length of curtain that covered the window—so basically, from the curtain bar, to the trim just below the window. Then I measured the width of my curtains (which you should already know from the packaging).
You could always opt to cover the entire panel with blackout fabric, but for me, it seemed like a waste to cover anymore than the window’s length. It ended up being the perfect choice, because I sewed on just enough fabric to shut out the light.
Now comes the fun part of actually tackling your project. There are lots of options. You could take a part the seam and sew the fabric into the middle of your panel. You could also use your sewing machine to just sew it to the top seam. Or, you could do what I did, which requires no sewing machine at all, and relatively zero sewing ability. If you’re not familiar with this type of stitch, get familiar, because it’s super useful. It’s called a whip stitch, and this is basically what it looks like:
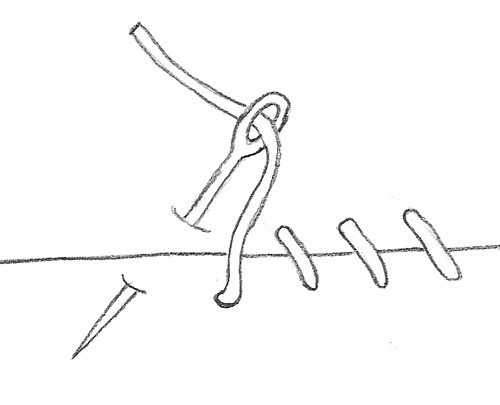
Thank you Google. That’s essentially all I did to attach my fabric, and I just whip stitched it right into the same seam that was already at the top, so as to not add an additional (and unnecessary) seam.
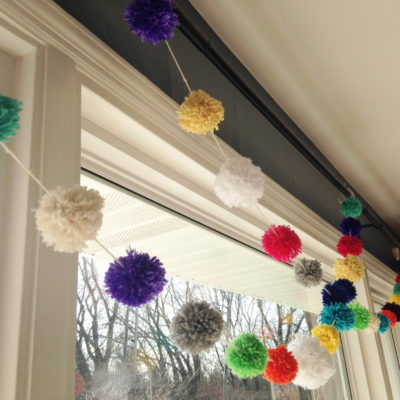
Here’s a quick look at the blackout fabric when I pull back my curtains:
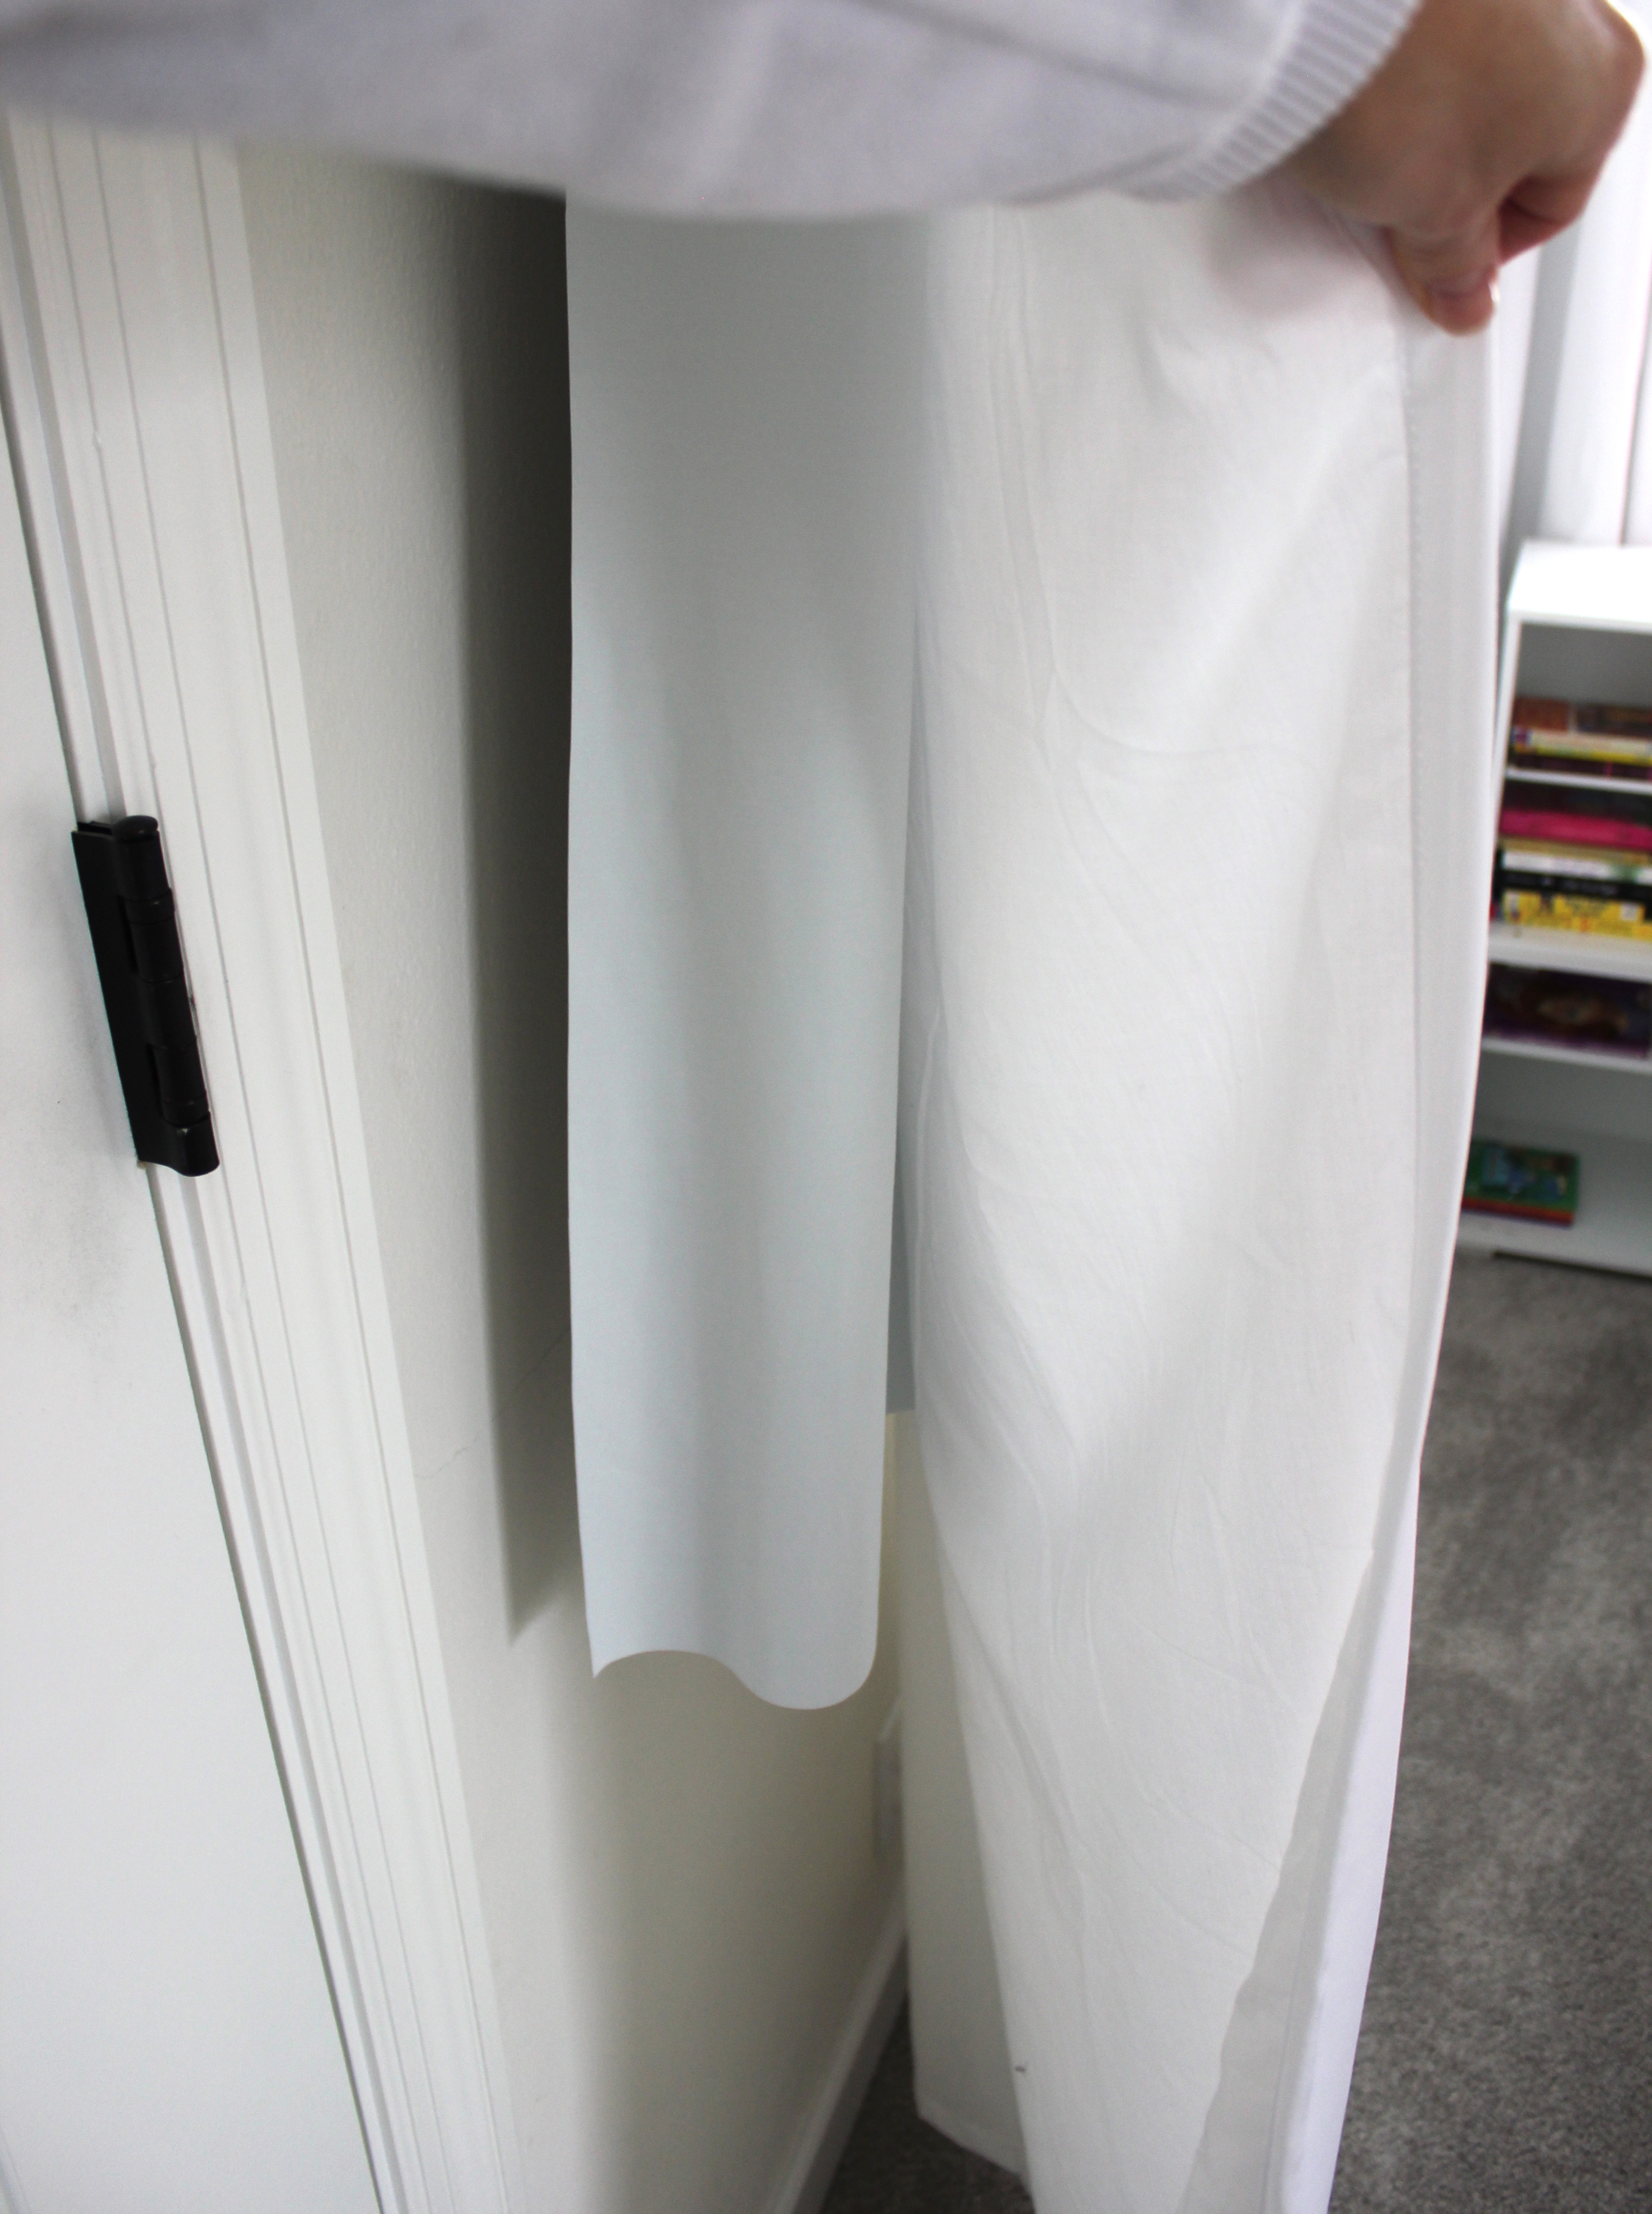

Super, super simple. But one more important note: Really think about how you want to attach your fabric. Think about every aspect. For instance, will you need to wash your curtains often? If so, you better opt for a secure sewing method. Other than that, this afternoon project couldn’t be easier. Plus, it’s super effective.

Leave a Reply