Previous post
Next post
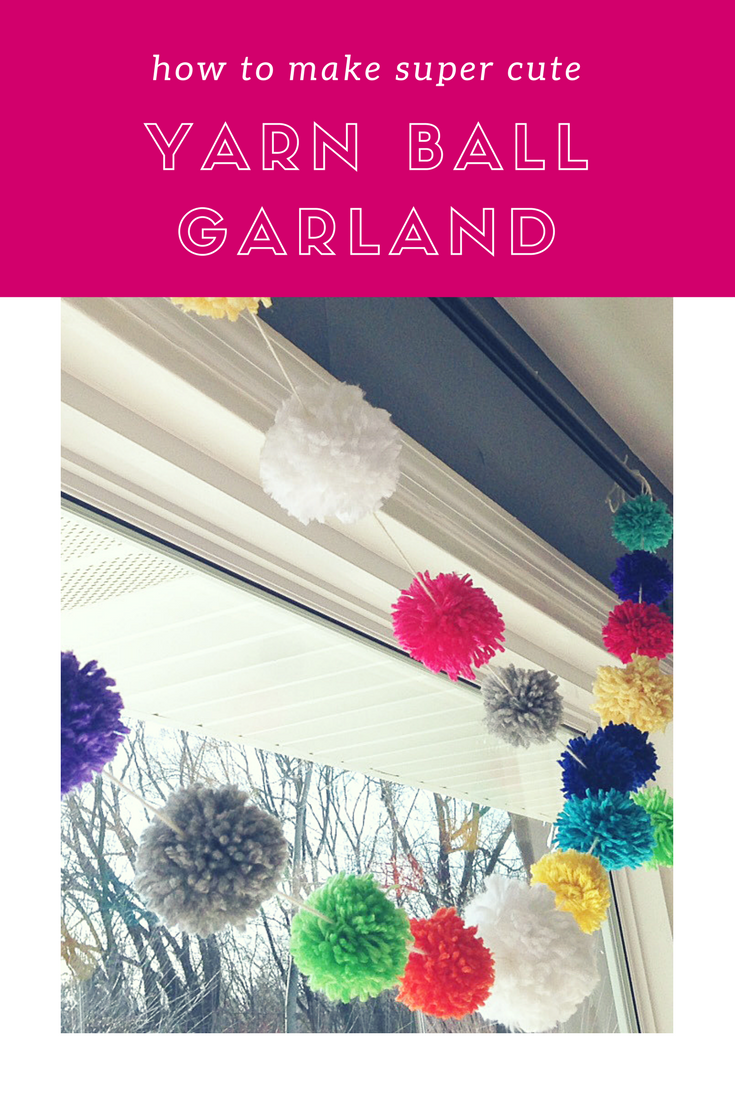
too many ideas. too little time. (and far too much chai.)

If you hate kids, smiling and general joyfulness, don’t read this. For everyone else, here’s the cutest project I’ve done in a while. I call it, yarn ball amaze-balls. (I really don’t, but I wrote it anyway.) It’s sure to brighten your day—or room, for that matter. The best part is, it’s super simple, and if you already have yarn laying around, it’s FREE, too.
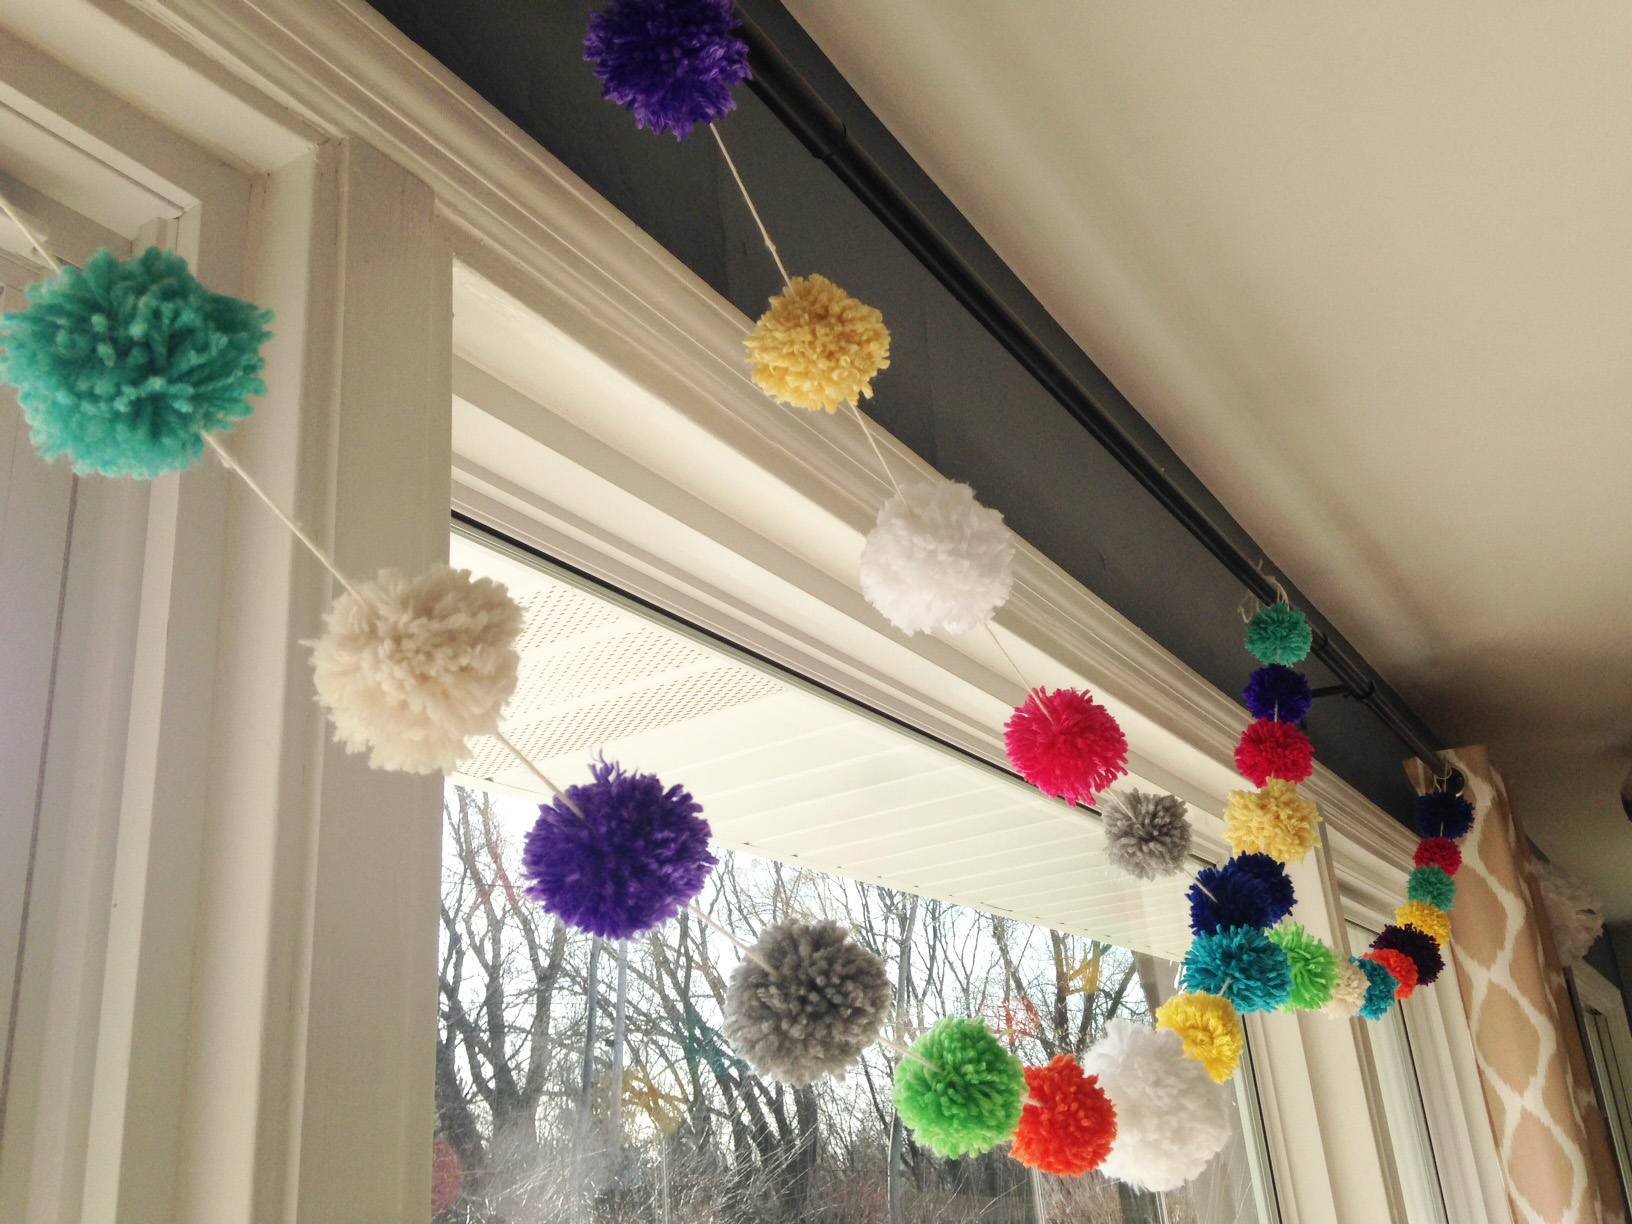
There are very few steps involved, aside from deciding on your color scheme, and then, deciding how you want to string and hang. For me, my daughter’s second birthday was coming up, so I thought yarn ball pom poms would be a cute addition to the party decor. That’s why I chose color. Lots and lots of color.
Here’s the jist of how to make your own pom pom garland.
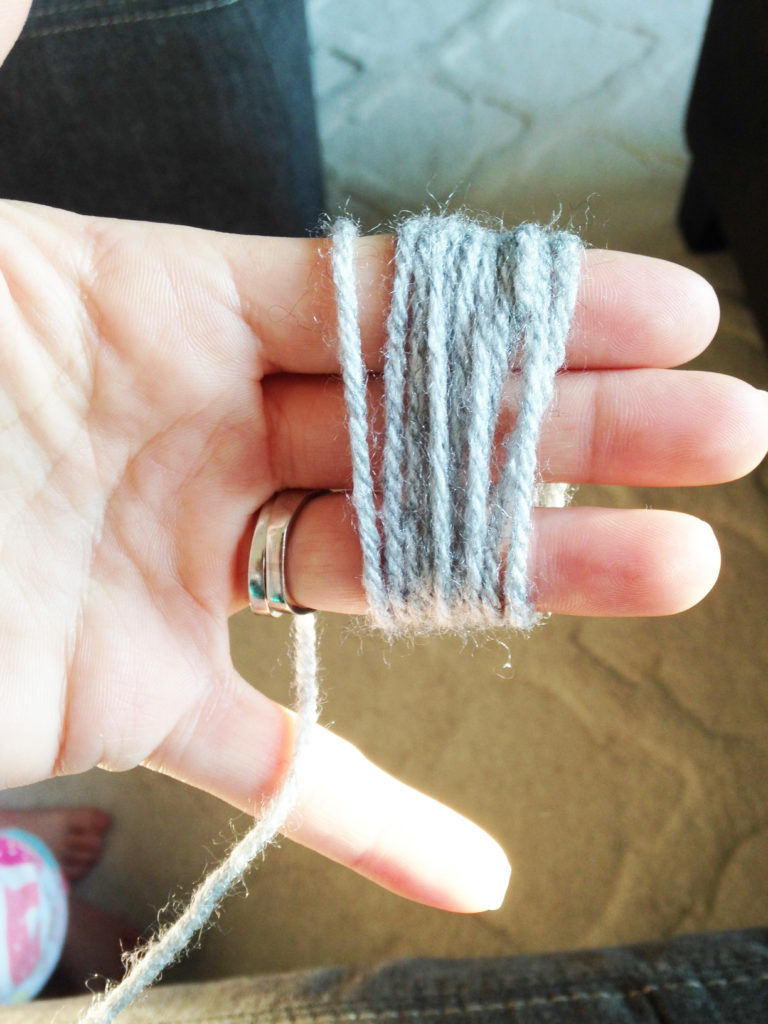
There are many gadgets available at any and every craft store for this sort of thing, but since I’m so cheap, I went old-school. AKA, I used what I had, which happened to be my own two hands. In my opinion, making them this way is just as effective.
Basically, you choose how many fingers to wrap, and you can either spread them wide, or keep them tight. The wider they are, the bigger your pom pom will be. NOTE: You might want to experiment (like I did), to get an accurate idea of how many fingers to wrap for which size. I used a combo of 3 and 4 fingers.
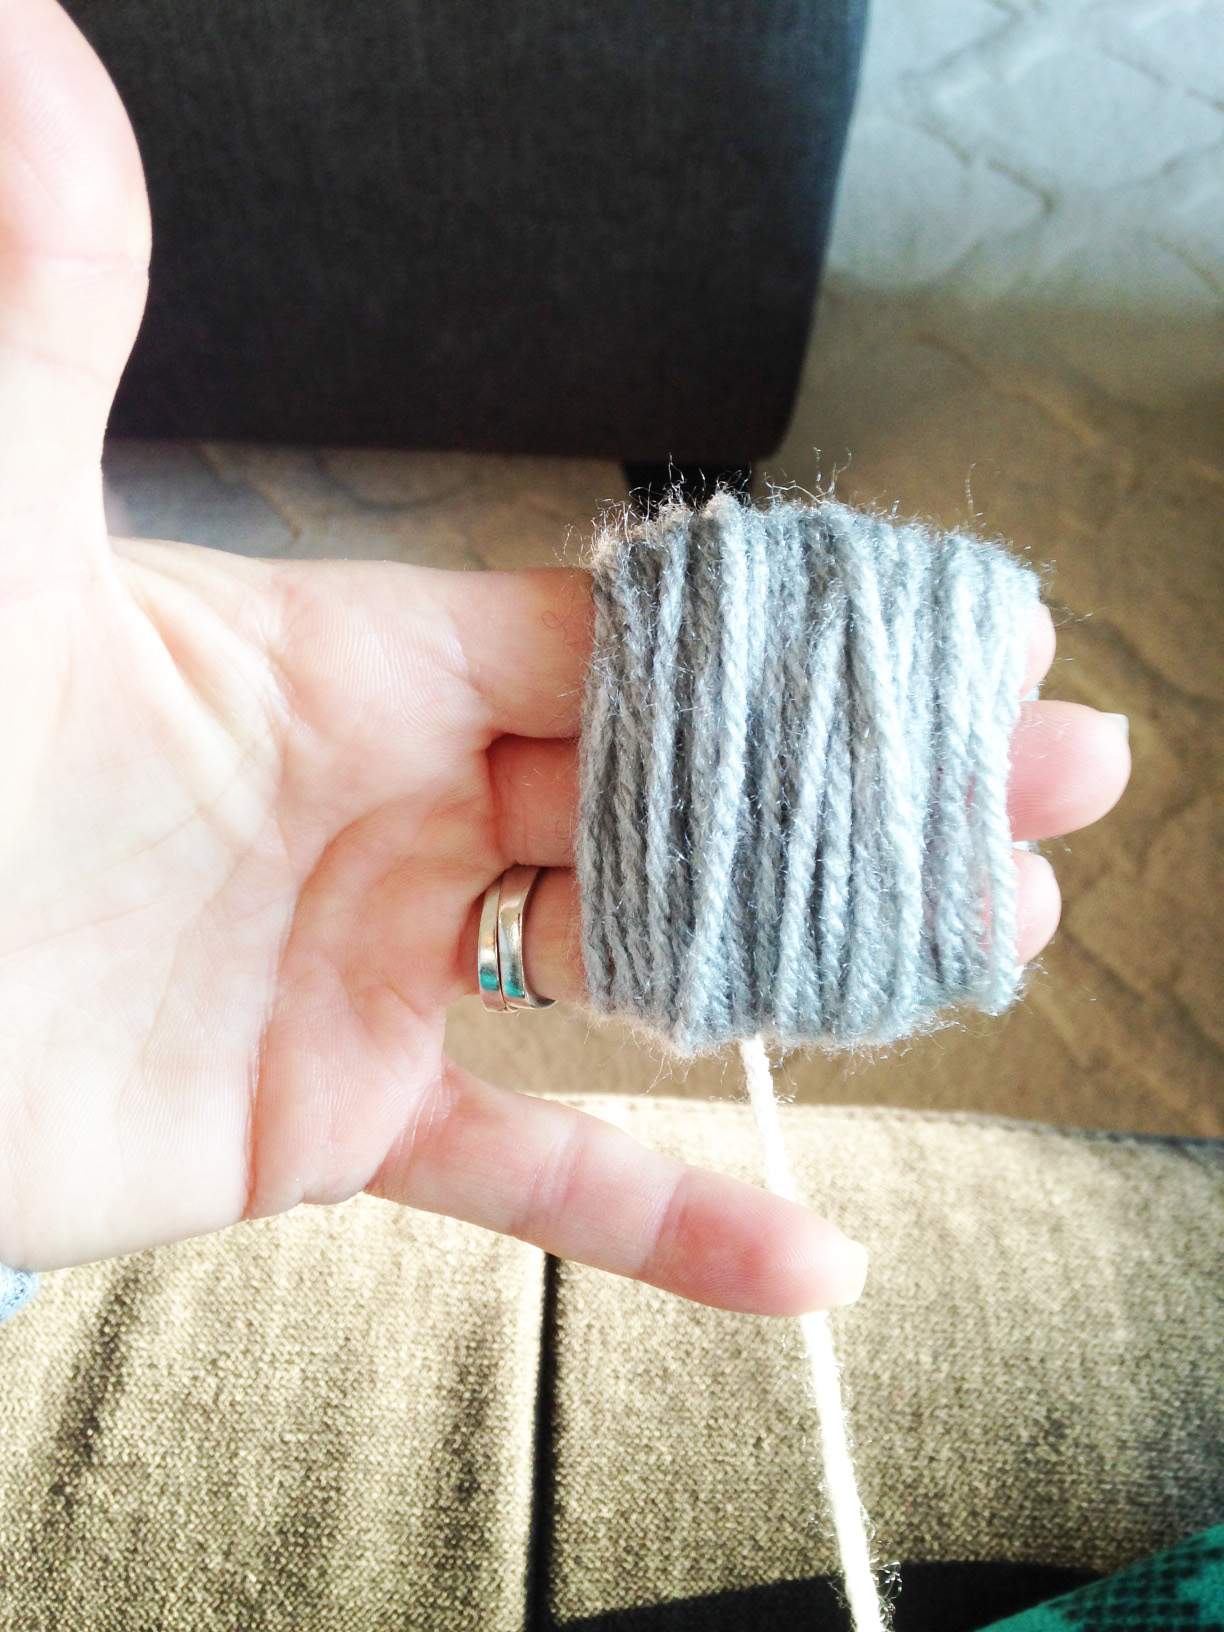
70 to 90 times around your fingers should do it. I kept every one of mine somewhere in that range. Let’s face it, after a while, you lose track : )
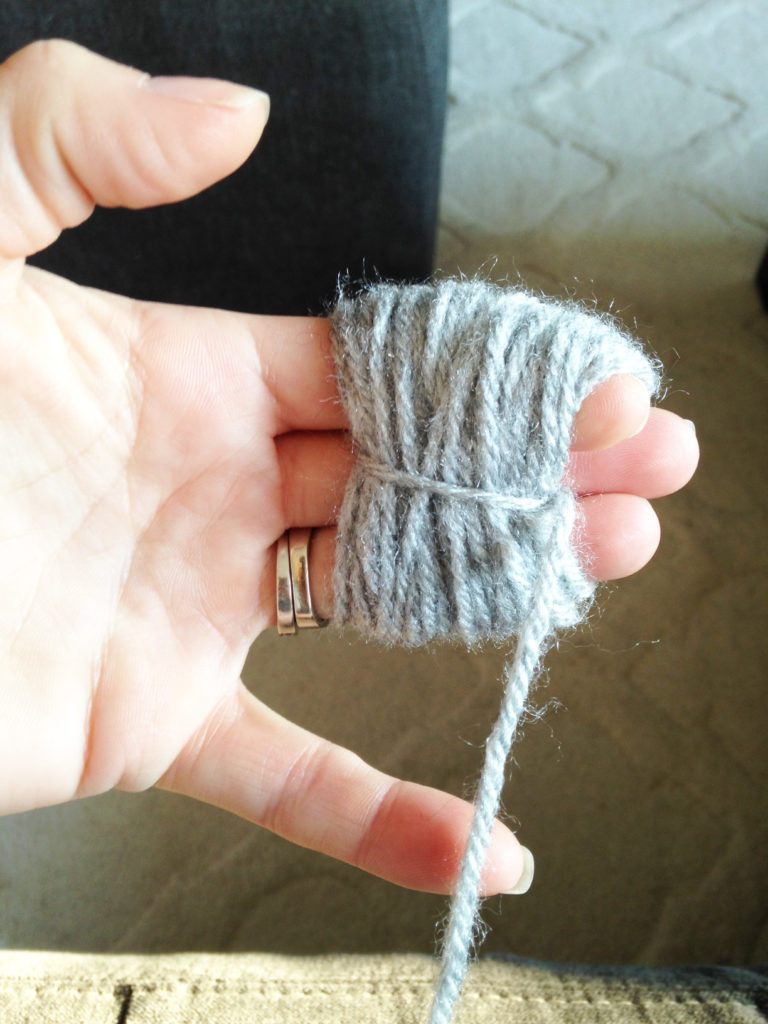
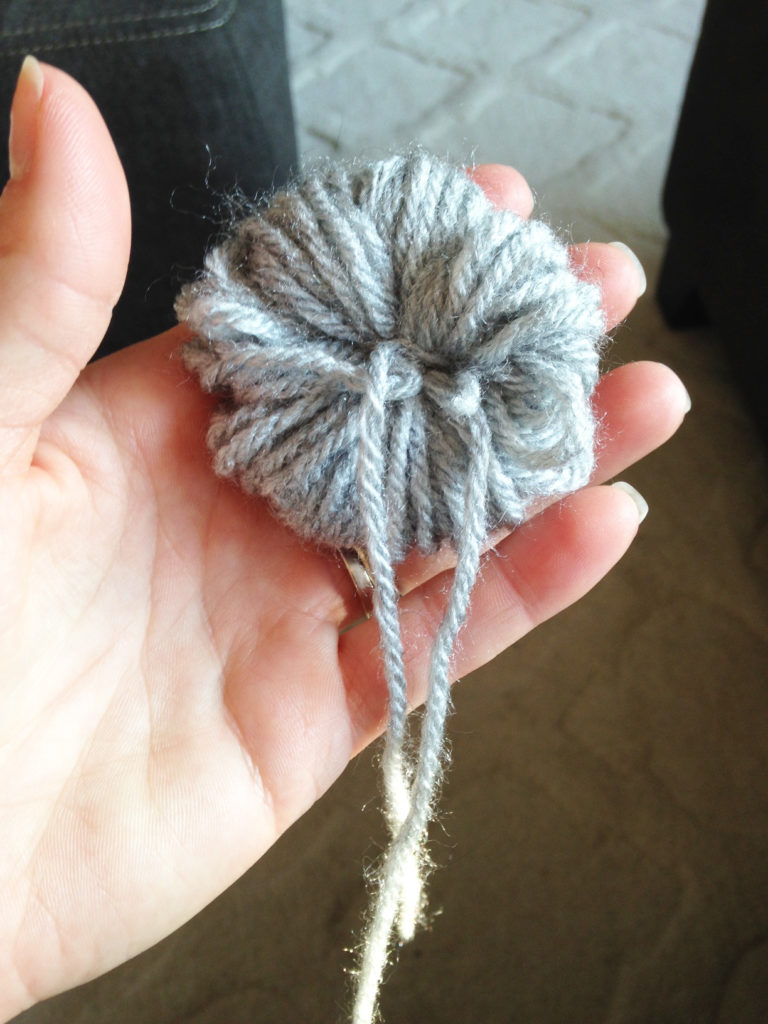
And by this I mean, tie the yarn around the middle as tightly as you possible can. NOTE: If you do NOT tie tightly, you risk your pom pom falling a part. I learned this the hard way, a few times. Again, experiment with this, so you understand what I mean.
For me, after I wrapped the yarn around enough times, I cut it, leaving a few inches of yarn behind. Then, I simply threaded that cut end through my middle finger (that’s why I always used a wider spread of my fingers, so that I could “fit” the yarn through easily), and tied it. Once it was tied once, I then cut another 4″ piece of yarn, and tied it again, to act as a reinforcement.
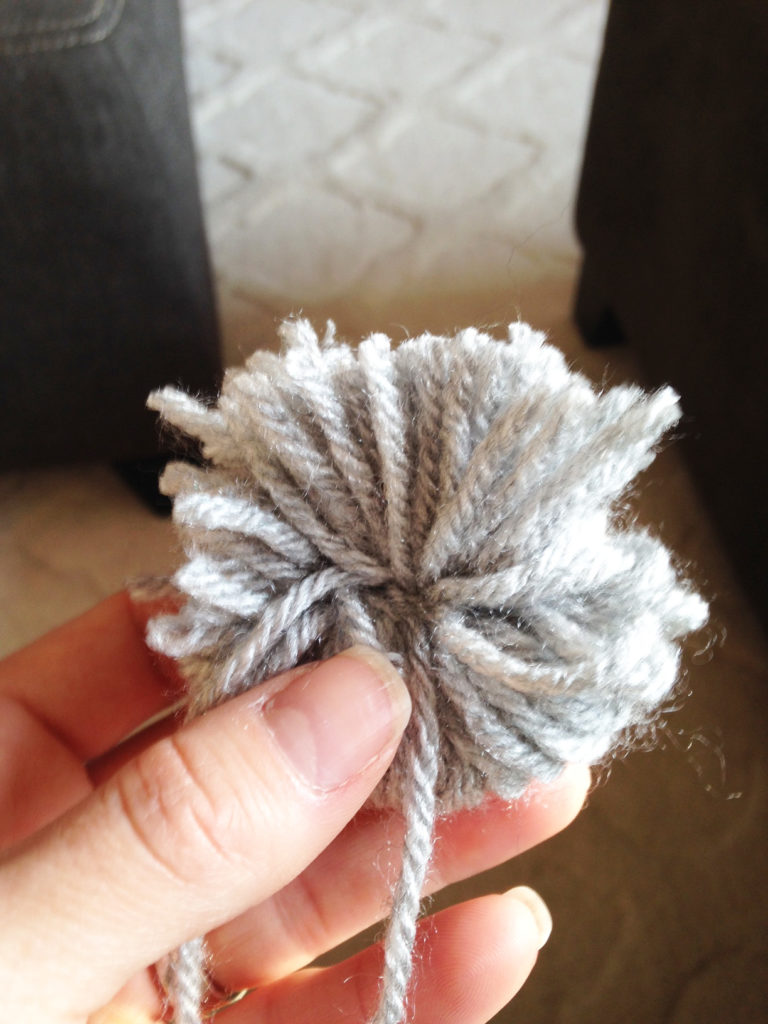
Start on one side, and cut the loops. Then proceed to the other side, and repeat. If you failed to tie the middle tight enough, when you’re cutting the loops, you may notice the yarn pulling a part a bit (especially if you pull too tightly with the scissors). The second picture down is basically what you end up with, but notice how goofy it looks. Proceed to step 5 for goofy-proofing your poms 😉
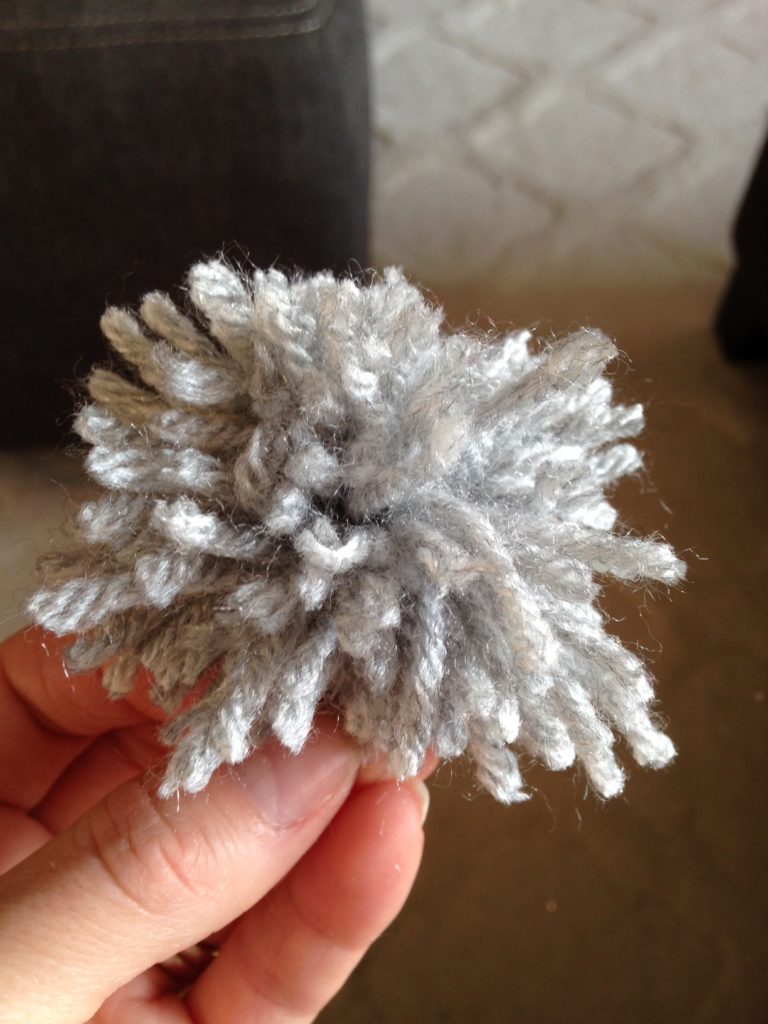
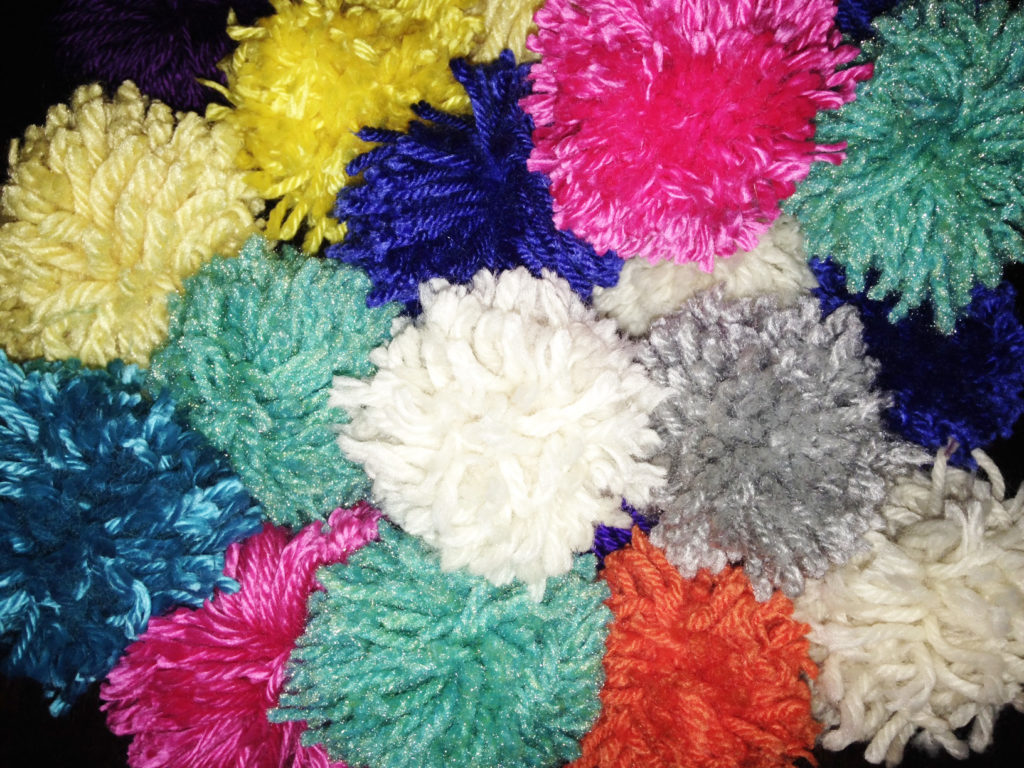
There is no wrong way to do this. What worked for me is simply trimming bit by bit. Start in one section, trim, then roll the pom to another side, trim, etc. Keep doing this until it looks like a cute, little, perfectly-measured pom pom. NOTE: The more you trim (or rather, the deeper you trim into the center), the “denser” your ball will look. So if you want really nice, plush pom poms, I suggest trimming your little heart out.
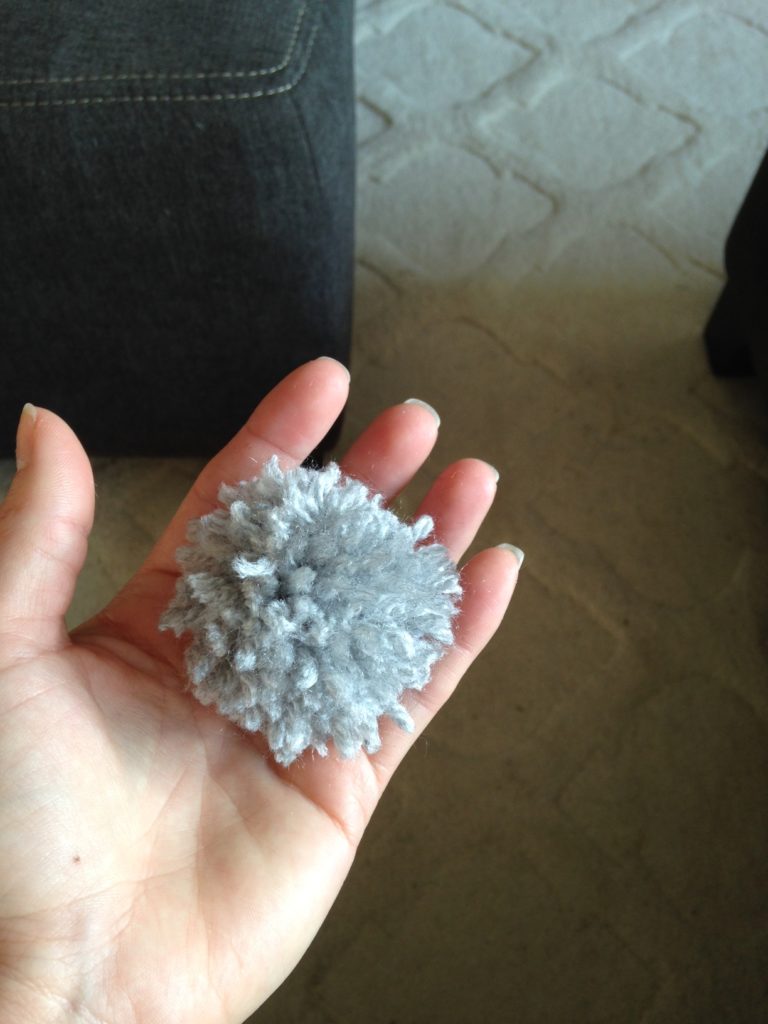
I used ivory yarn to string mine (along with a VERY large needle to poke through my centers), but you could use fishing line, hemp or whatever you have lying around. It mostly depends on the “look” you’re after, and whether or not you want to see the string. Enjoy!
Awesome pom poms. I would have never thought to create this. Very different and I love the colorful pictures. Great eye cather. !!!

1 Comment