Previous post
too many ideas. too little time. (and far too much chai.)

And by “custom,” I mean unique, because no one else will have anything like it.
That’s what I told myself when I started this project anyway. To this day, I think that still remains true because I get more compliments on the finished product.
Before I had any idea what I wanted to make, there were 2 things I knew:
True story. Or at least I am too cheap to buy something that I think I can do myself. So I had no choice but to scavenge around the house for a starting point. You probably know by now that I have a LOT of “stuff” laying around my house. Everything from ribbon to fabric to paper to scrap wood to…. well…. you name it. So I took to the scrap wood pile knowing that I wanted something substantial looking for the walls. A “focal point,” if you will.
Luckily, a piece of 1/4-inch plywood was staring right at me. It was perfect: A flat surface just waiting to be messed with. We also had some spare trim wood lying around from a previous project, so I figured that could act as my frame. My husband was generous enough to construct said frame for me. (Side note: It’s amazing the things you can get people to do for you when you’re pregnant.)
From there, I scoured the web for inspiration. That’s usually always where I start. I also knew I had some paint leftover from other things I had already painted in the nursery, so a painting was the perfect solution.
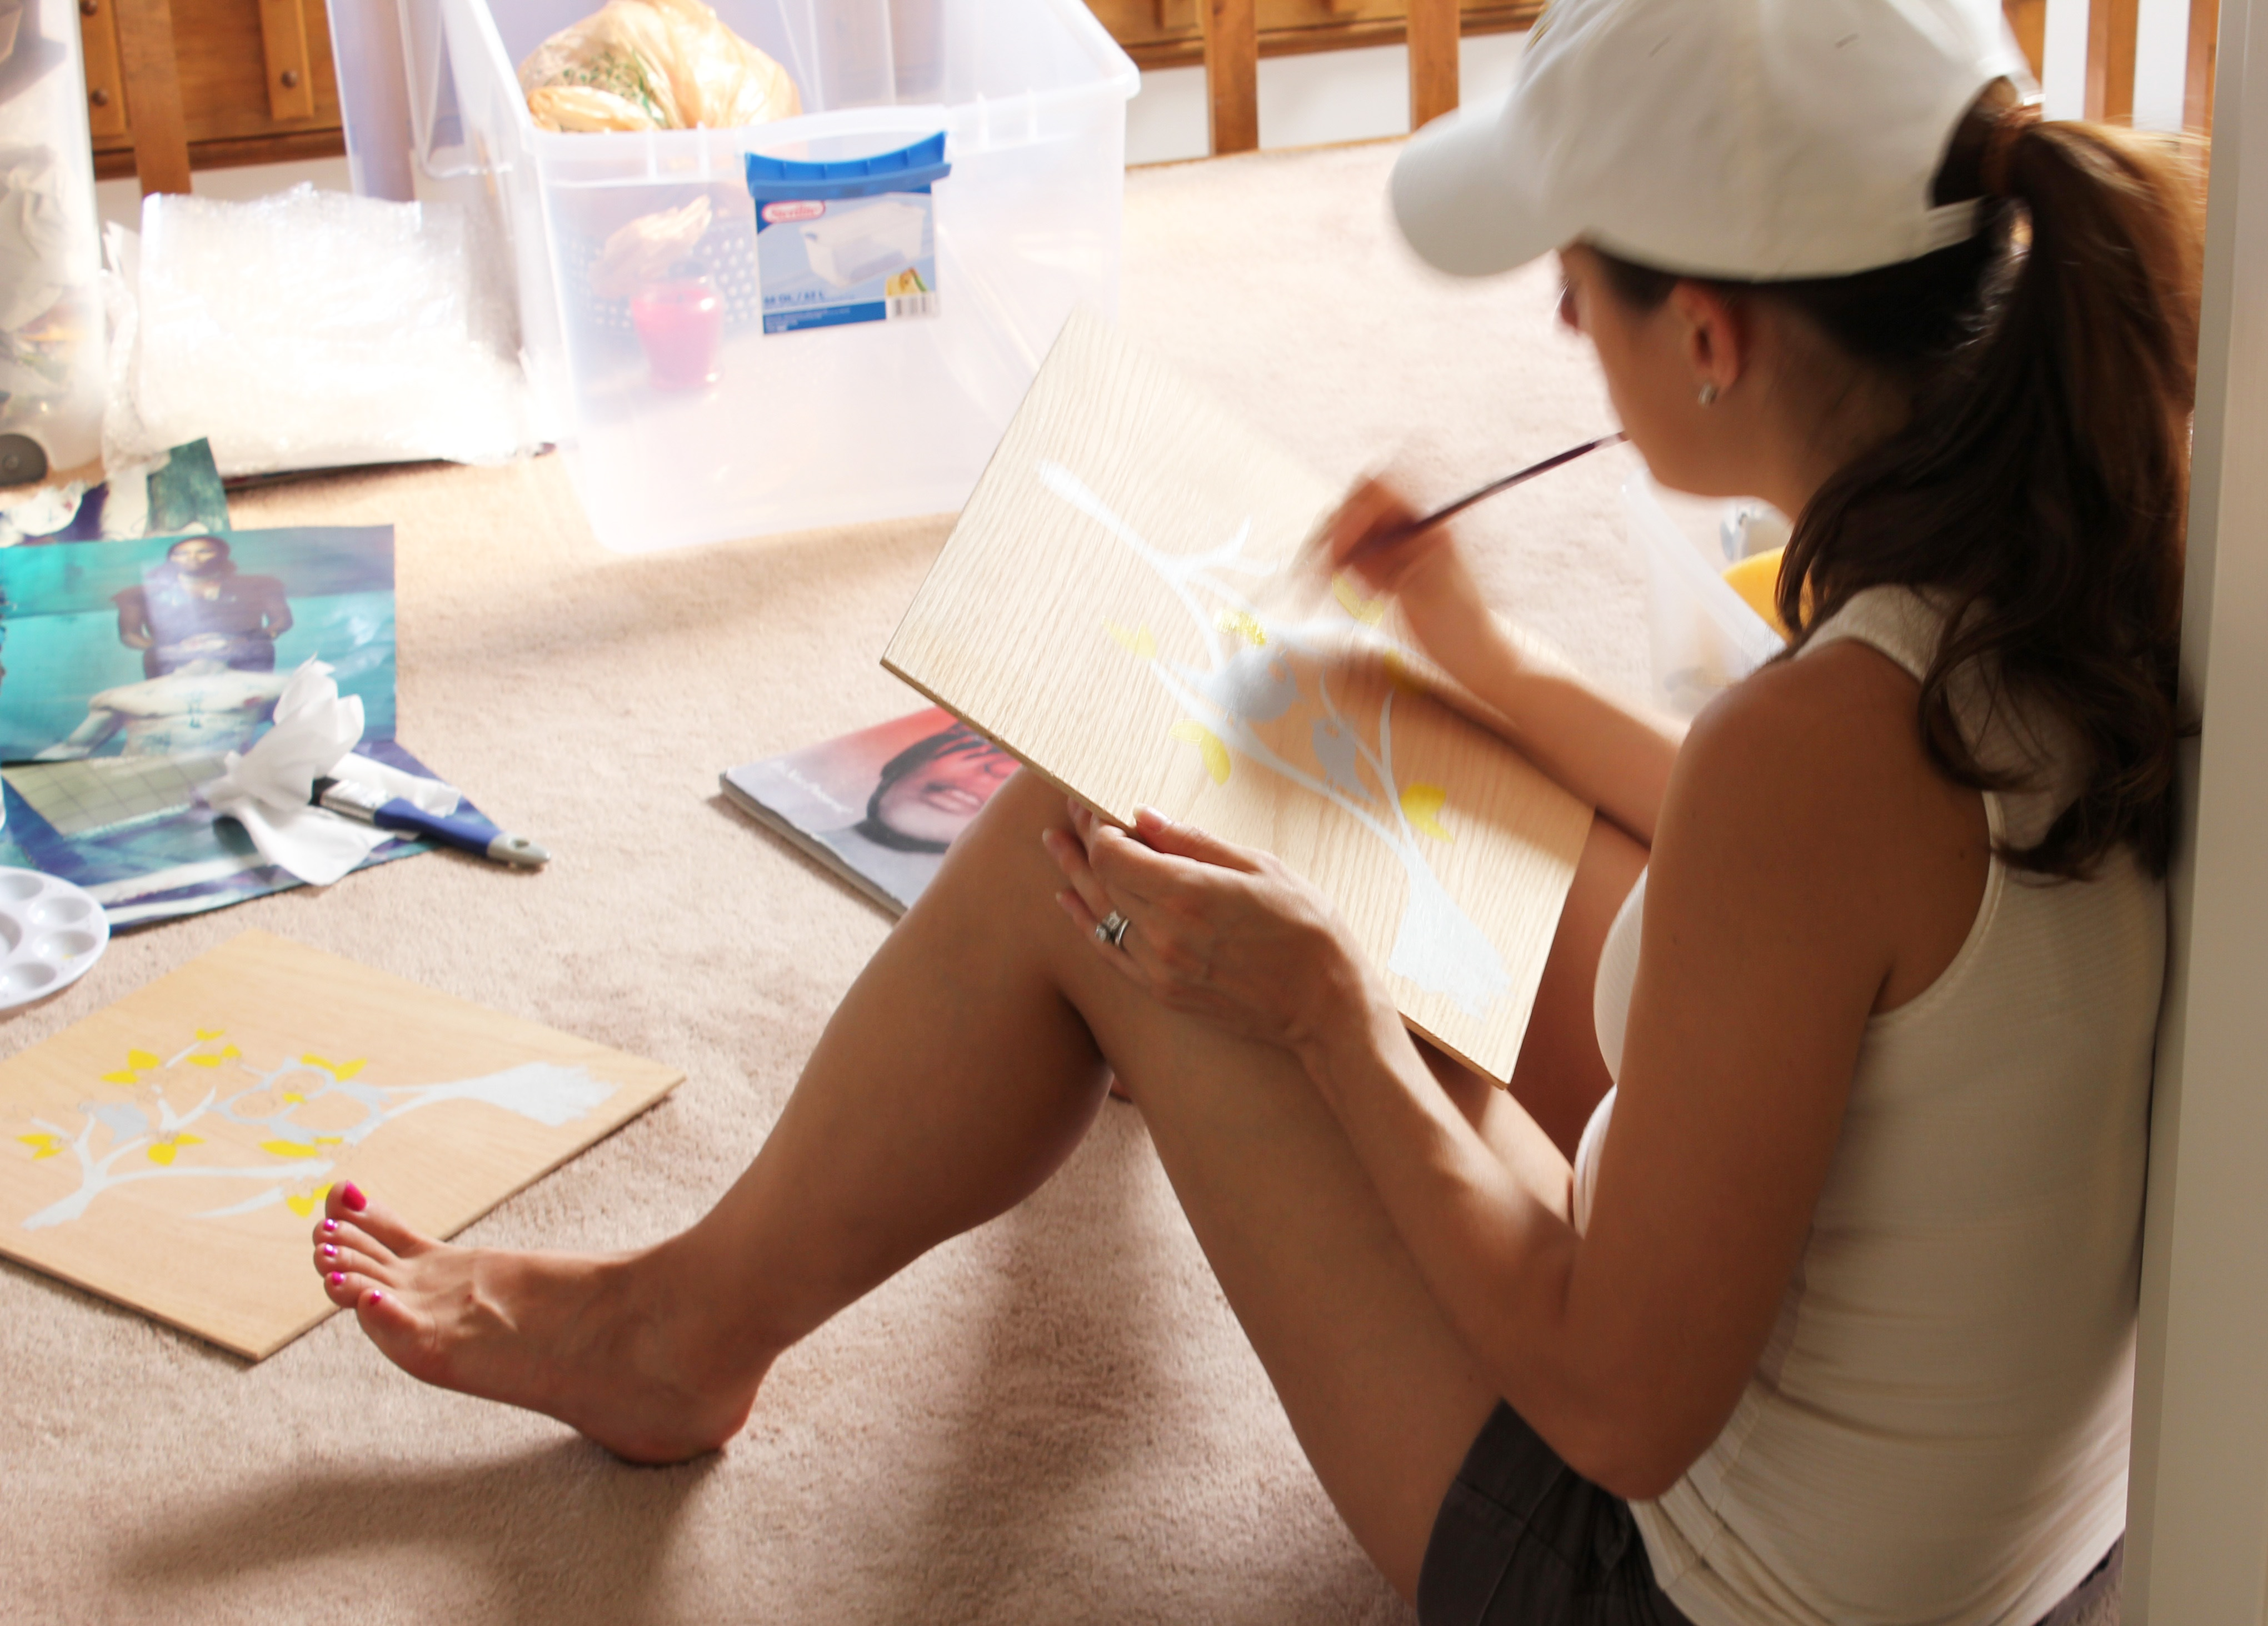
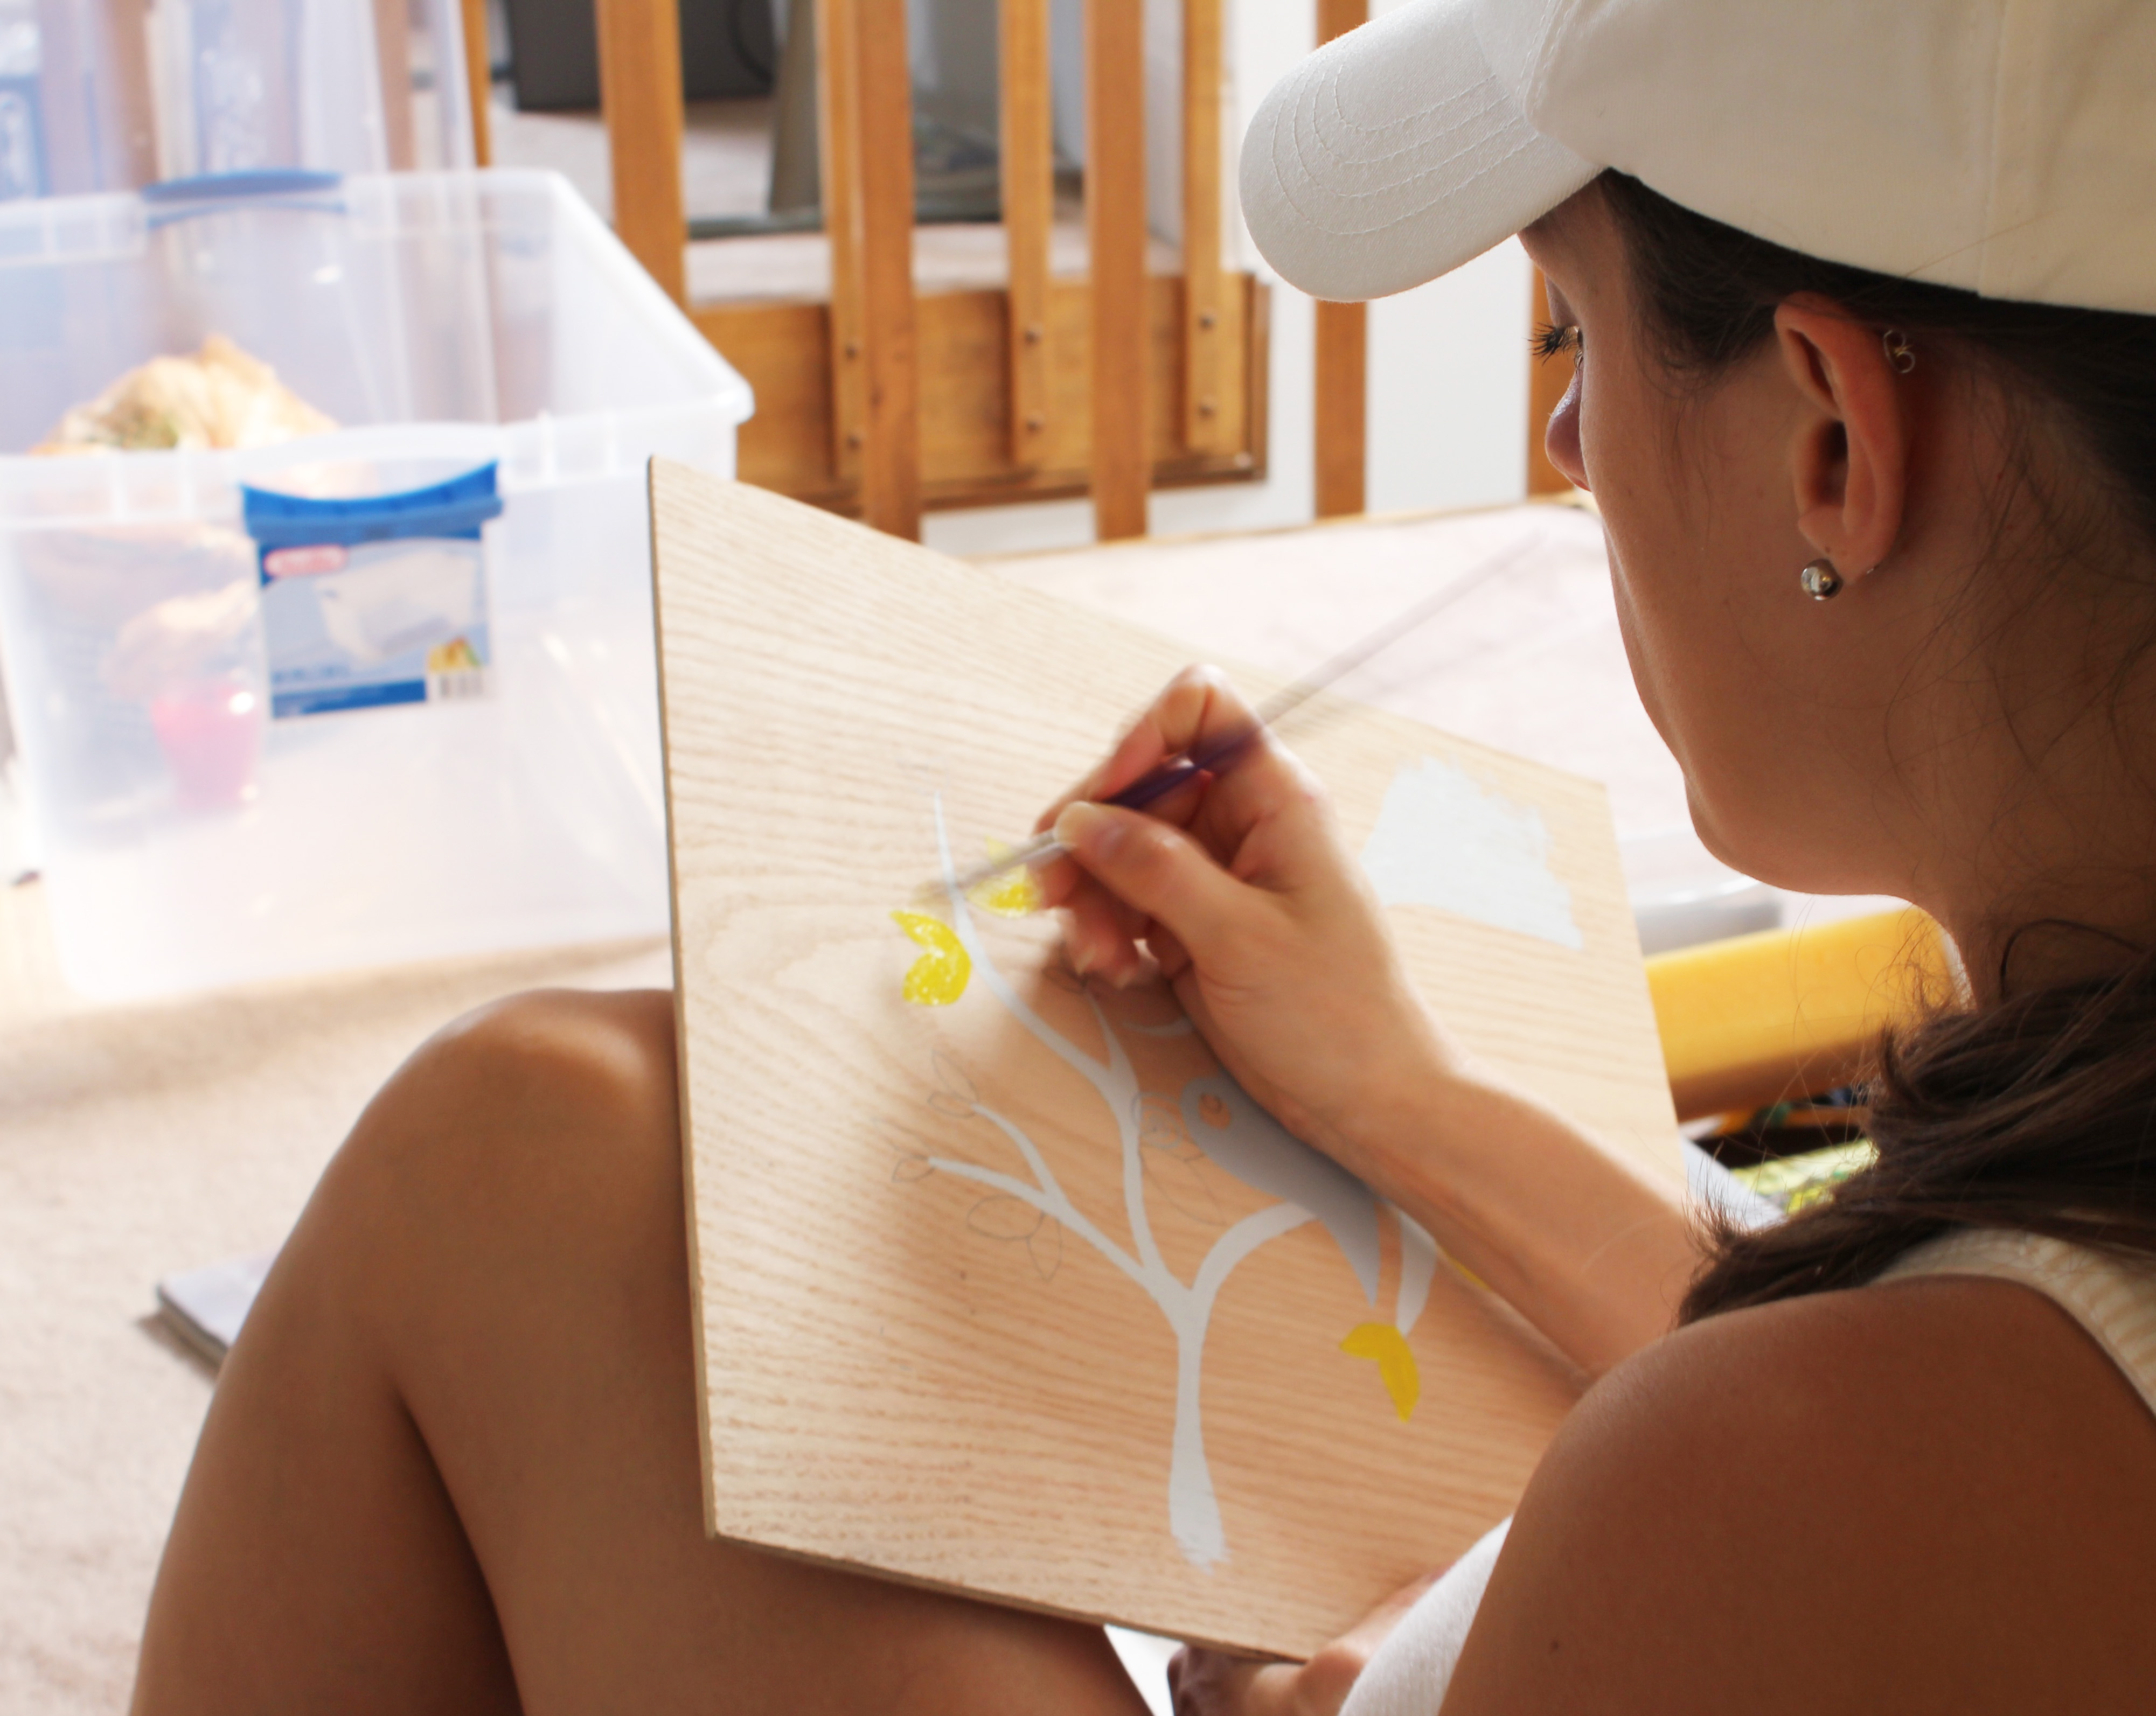
If you’re anything like me, you may need a reference image before you’re really “inspired.” I had seen a lot of cute trees through my nursery decor searches, so I printed one off and did my best to create something similar. Nothing difficult here. Just some freehand sketching with a pencil on plywood. If you look closely at the second picture, you can actually see my pencil guidelines.
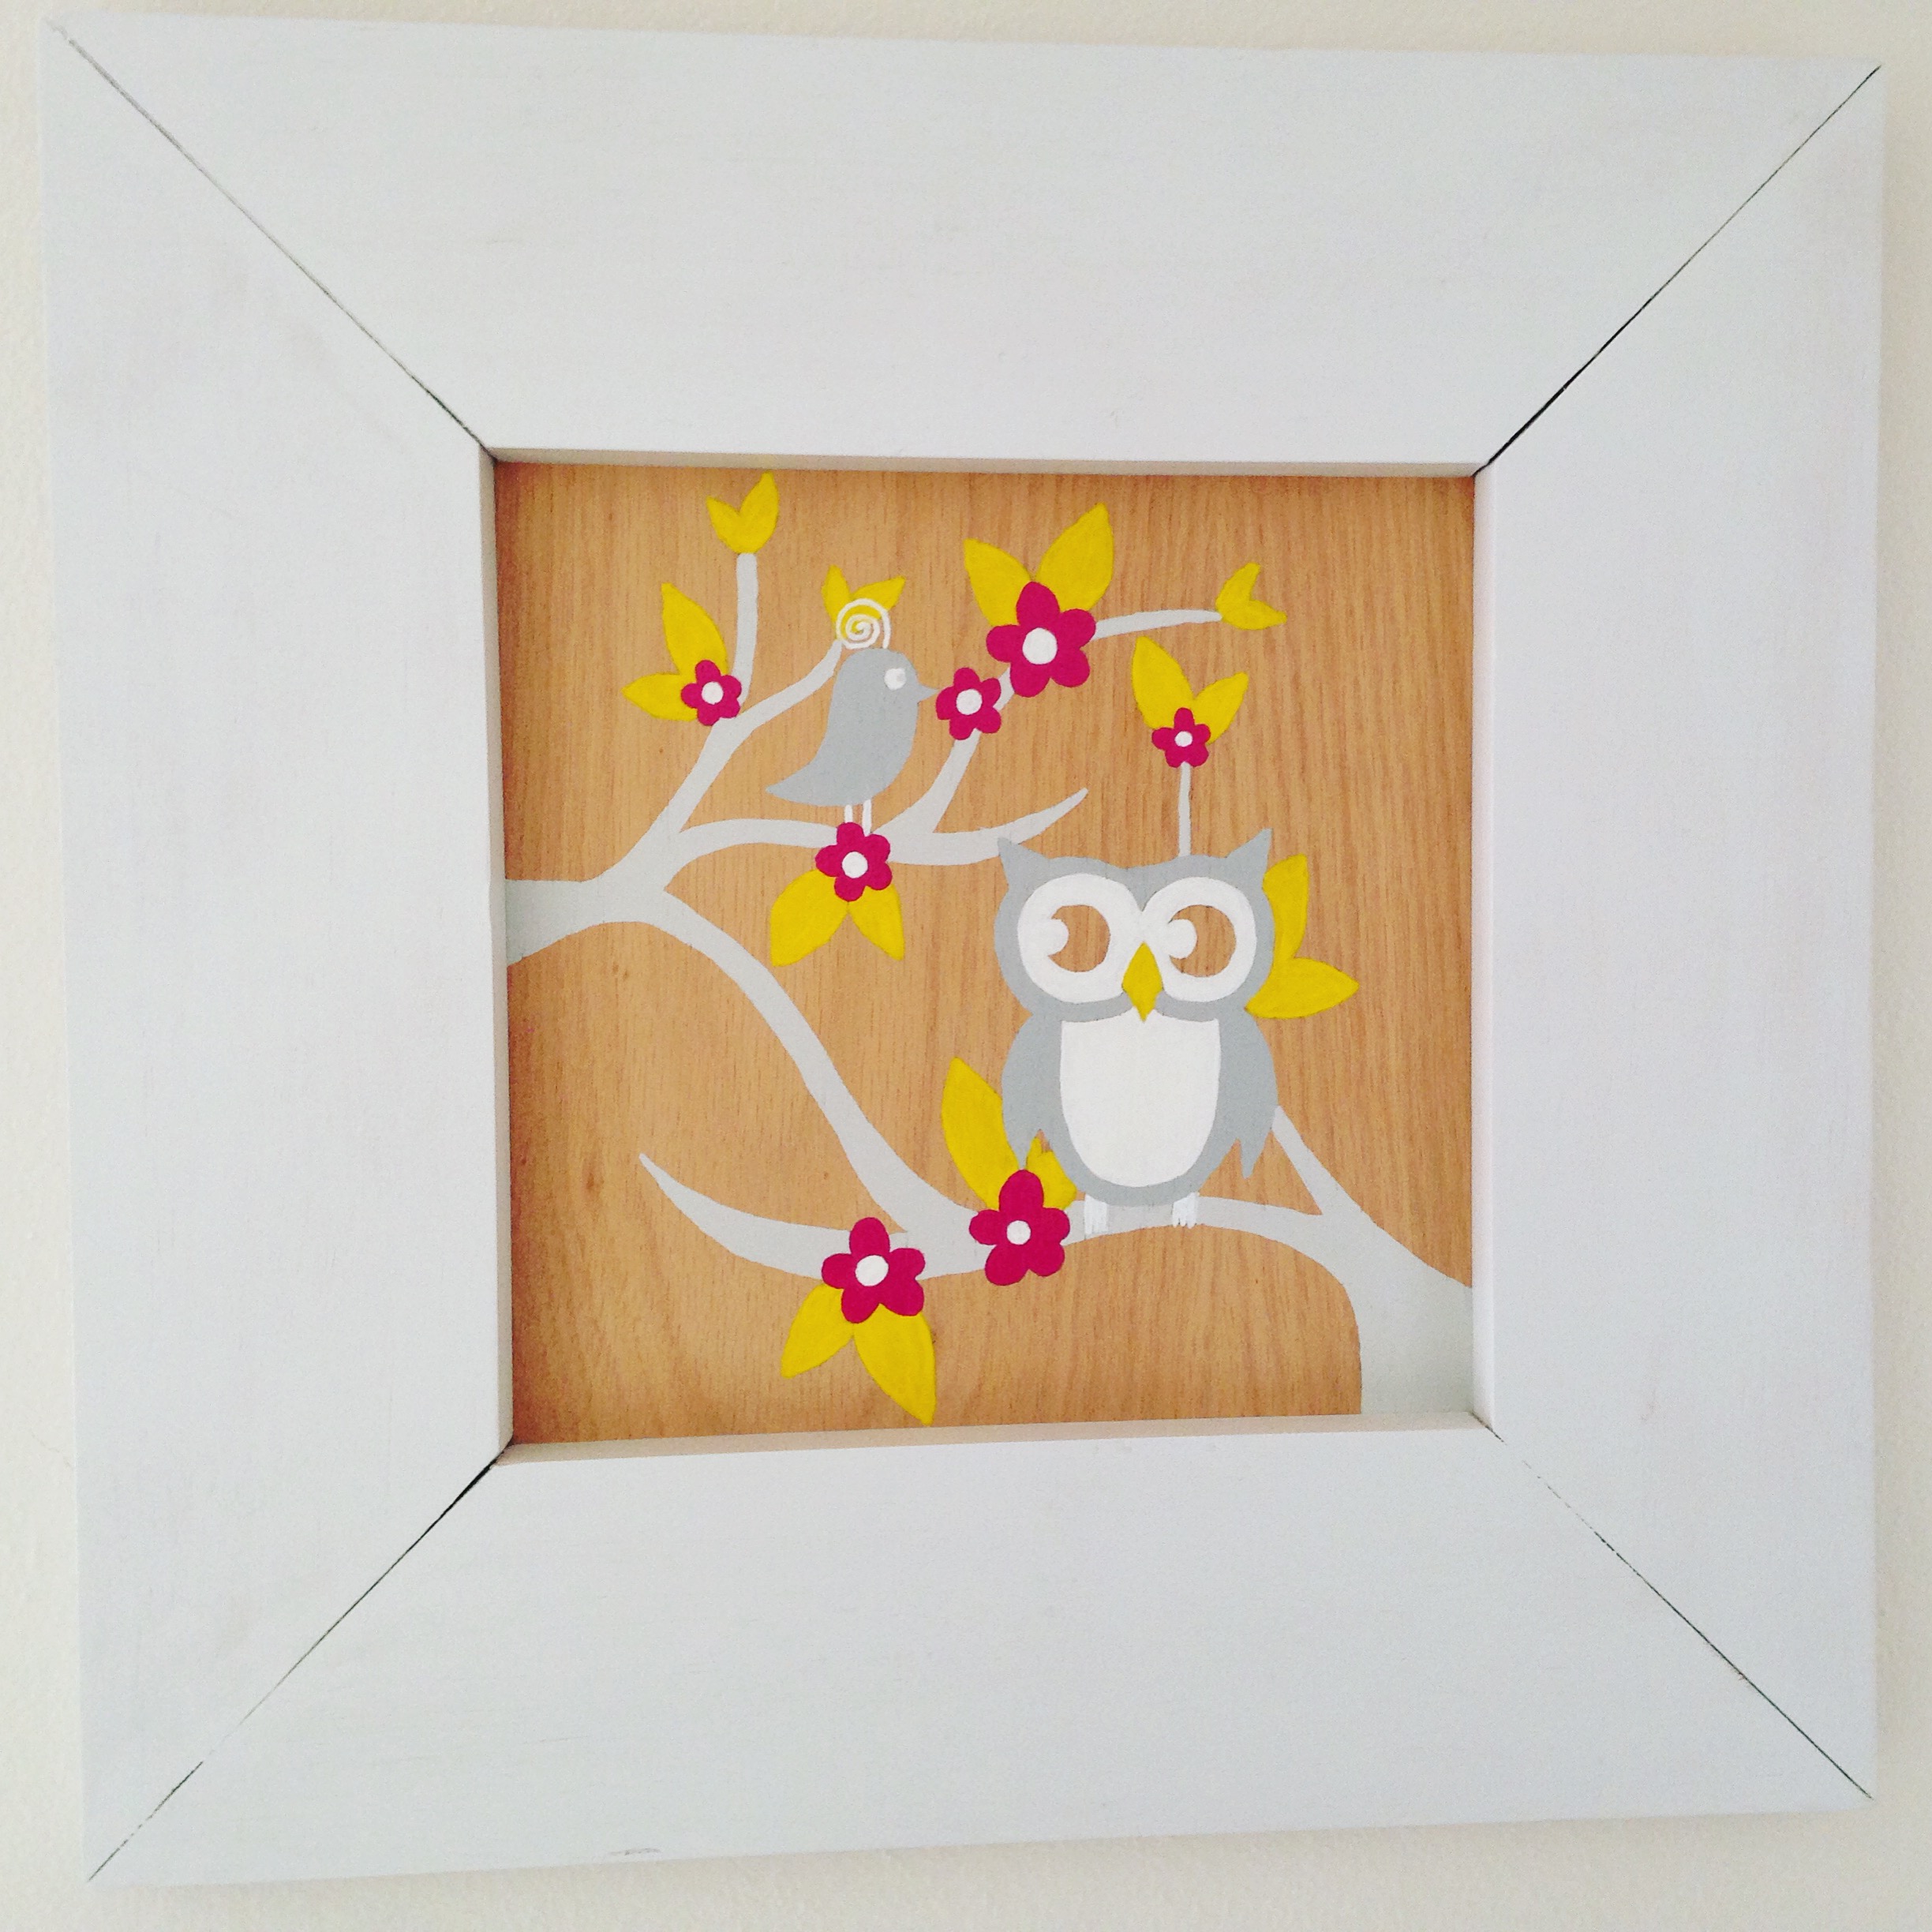
It took 2-3 coats of paint before I was satisfied that my pencil marks were fully covered, and this was the final outcome: 2 cute trees with a hero owl, and his birdie and flower friends. The best part is, I didn’t spend a dime on this, save for the original paint I had bought for my other projects. Everything was leftover.
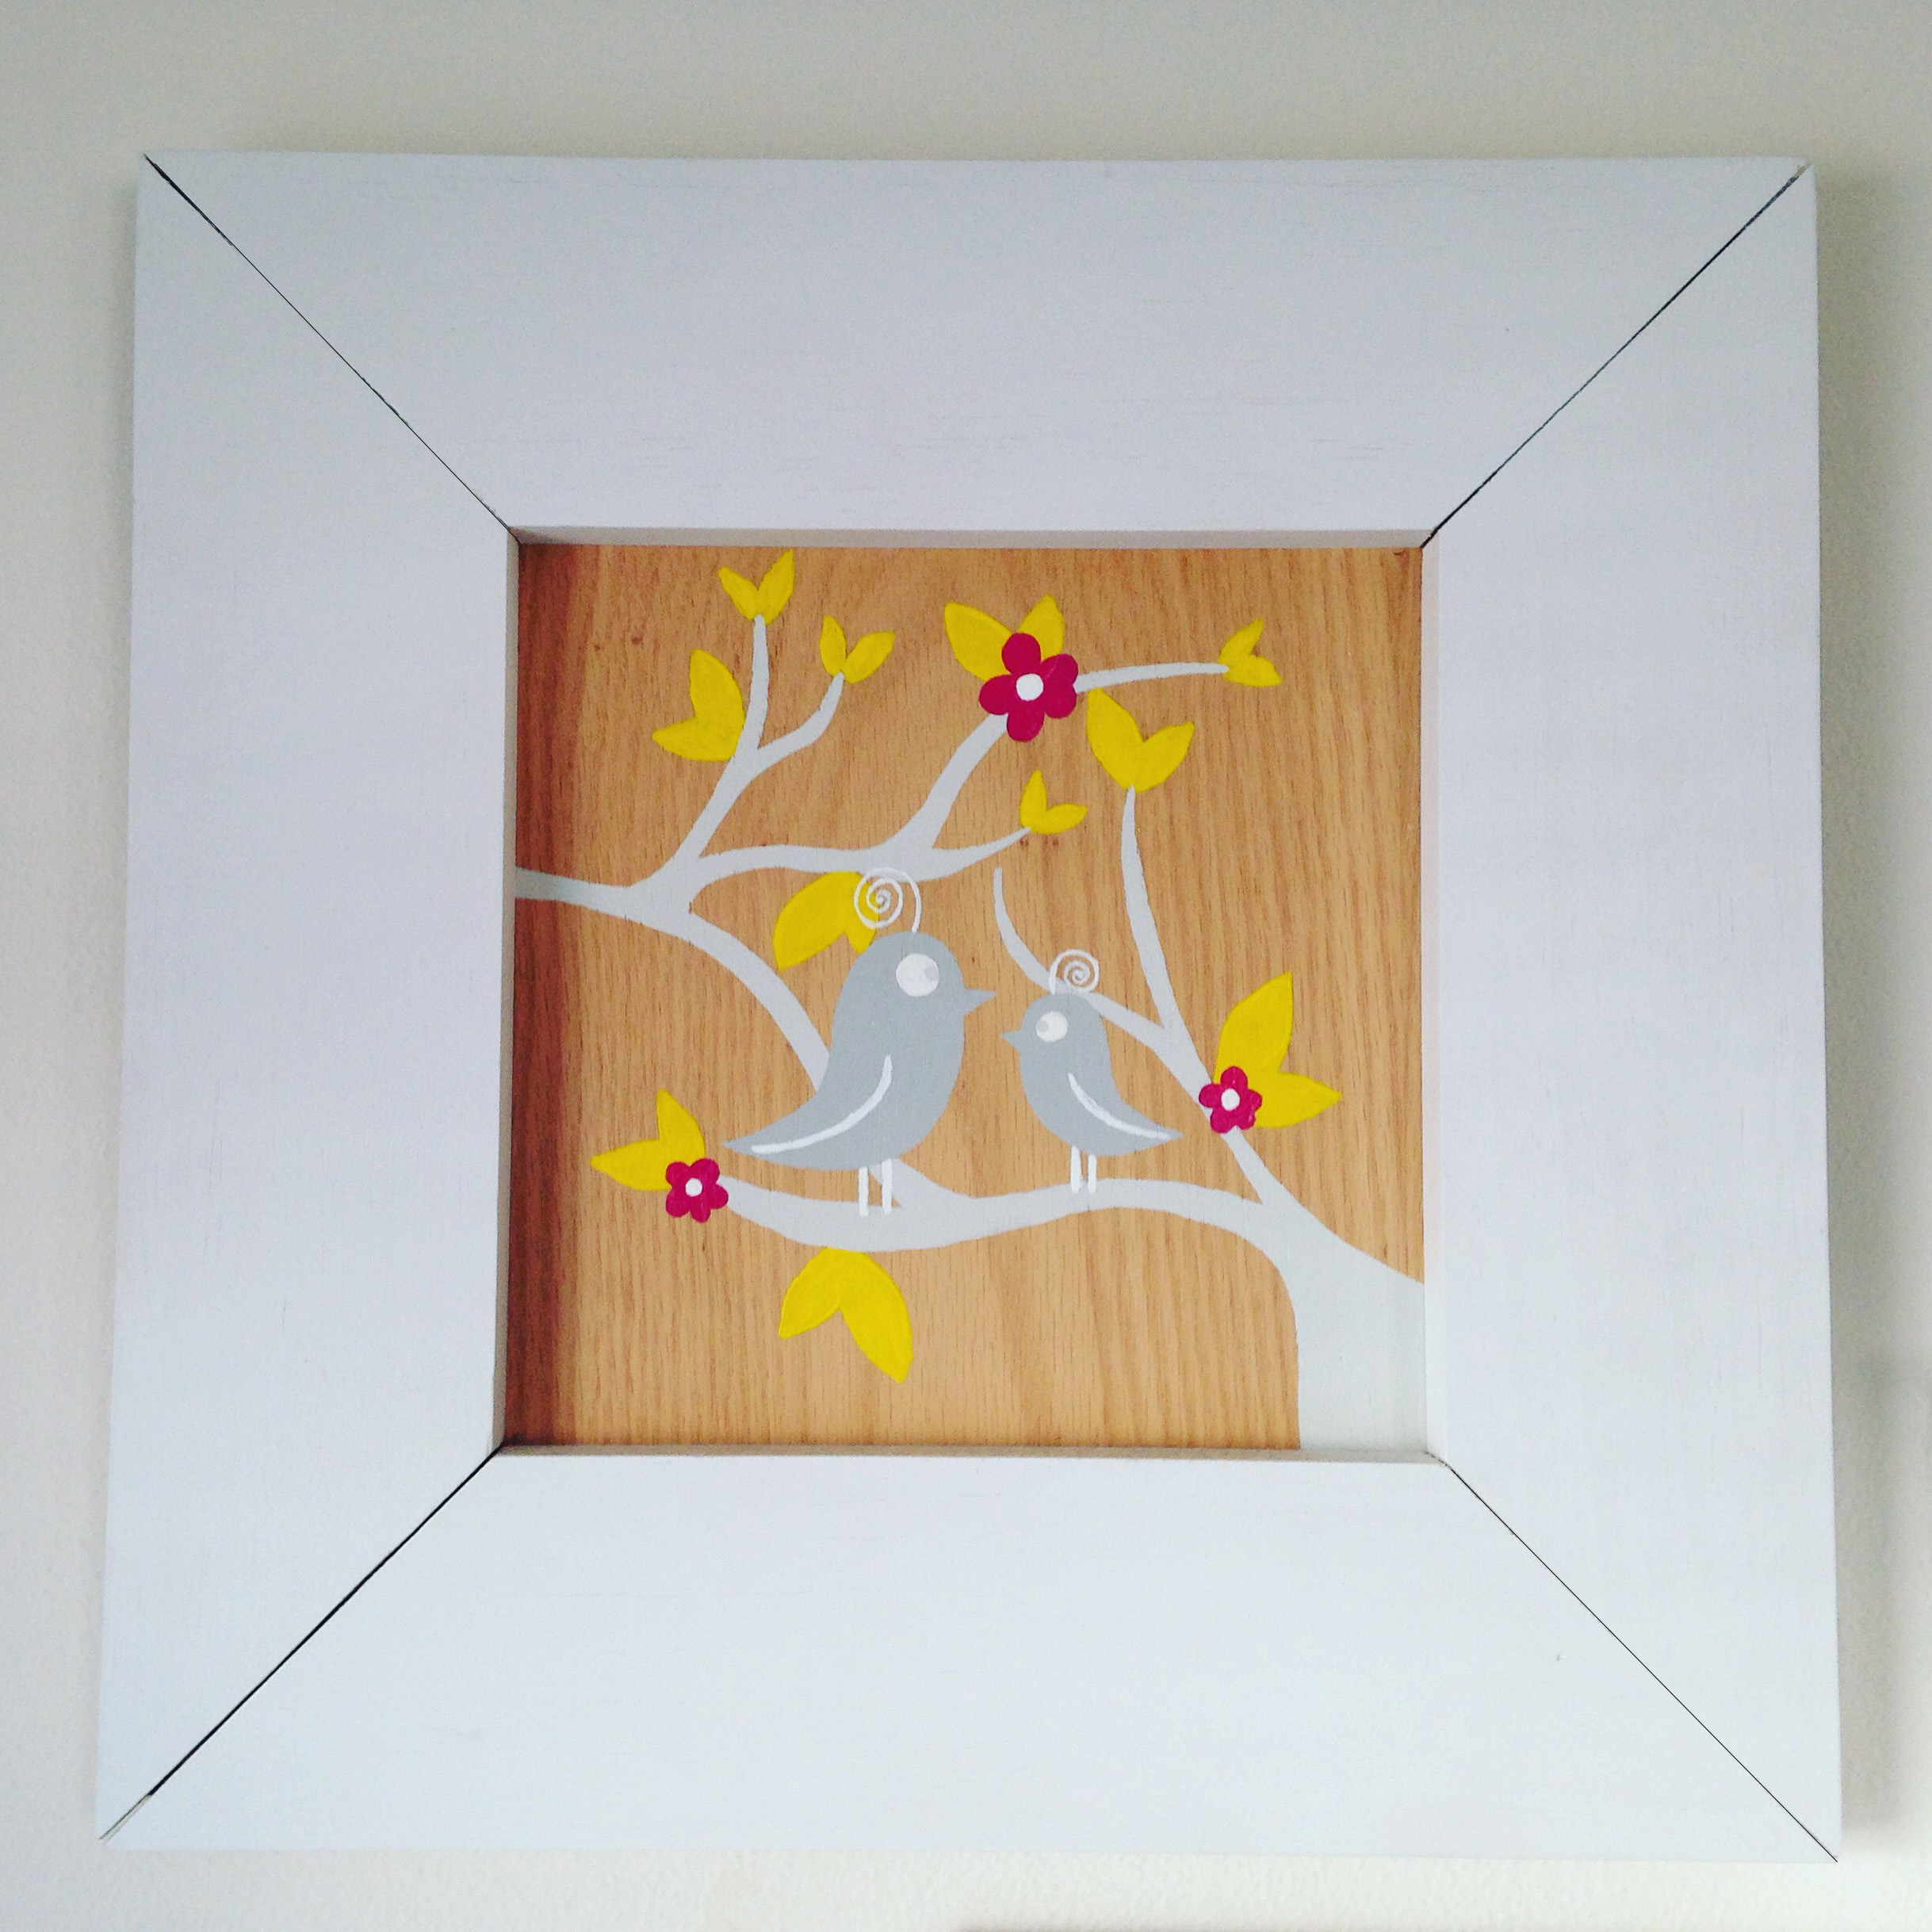
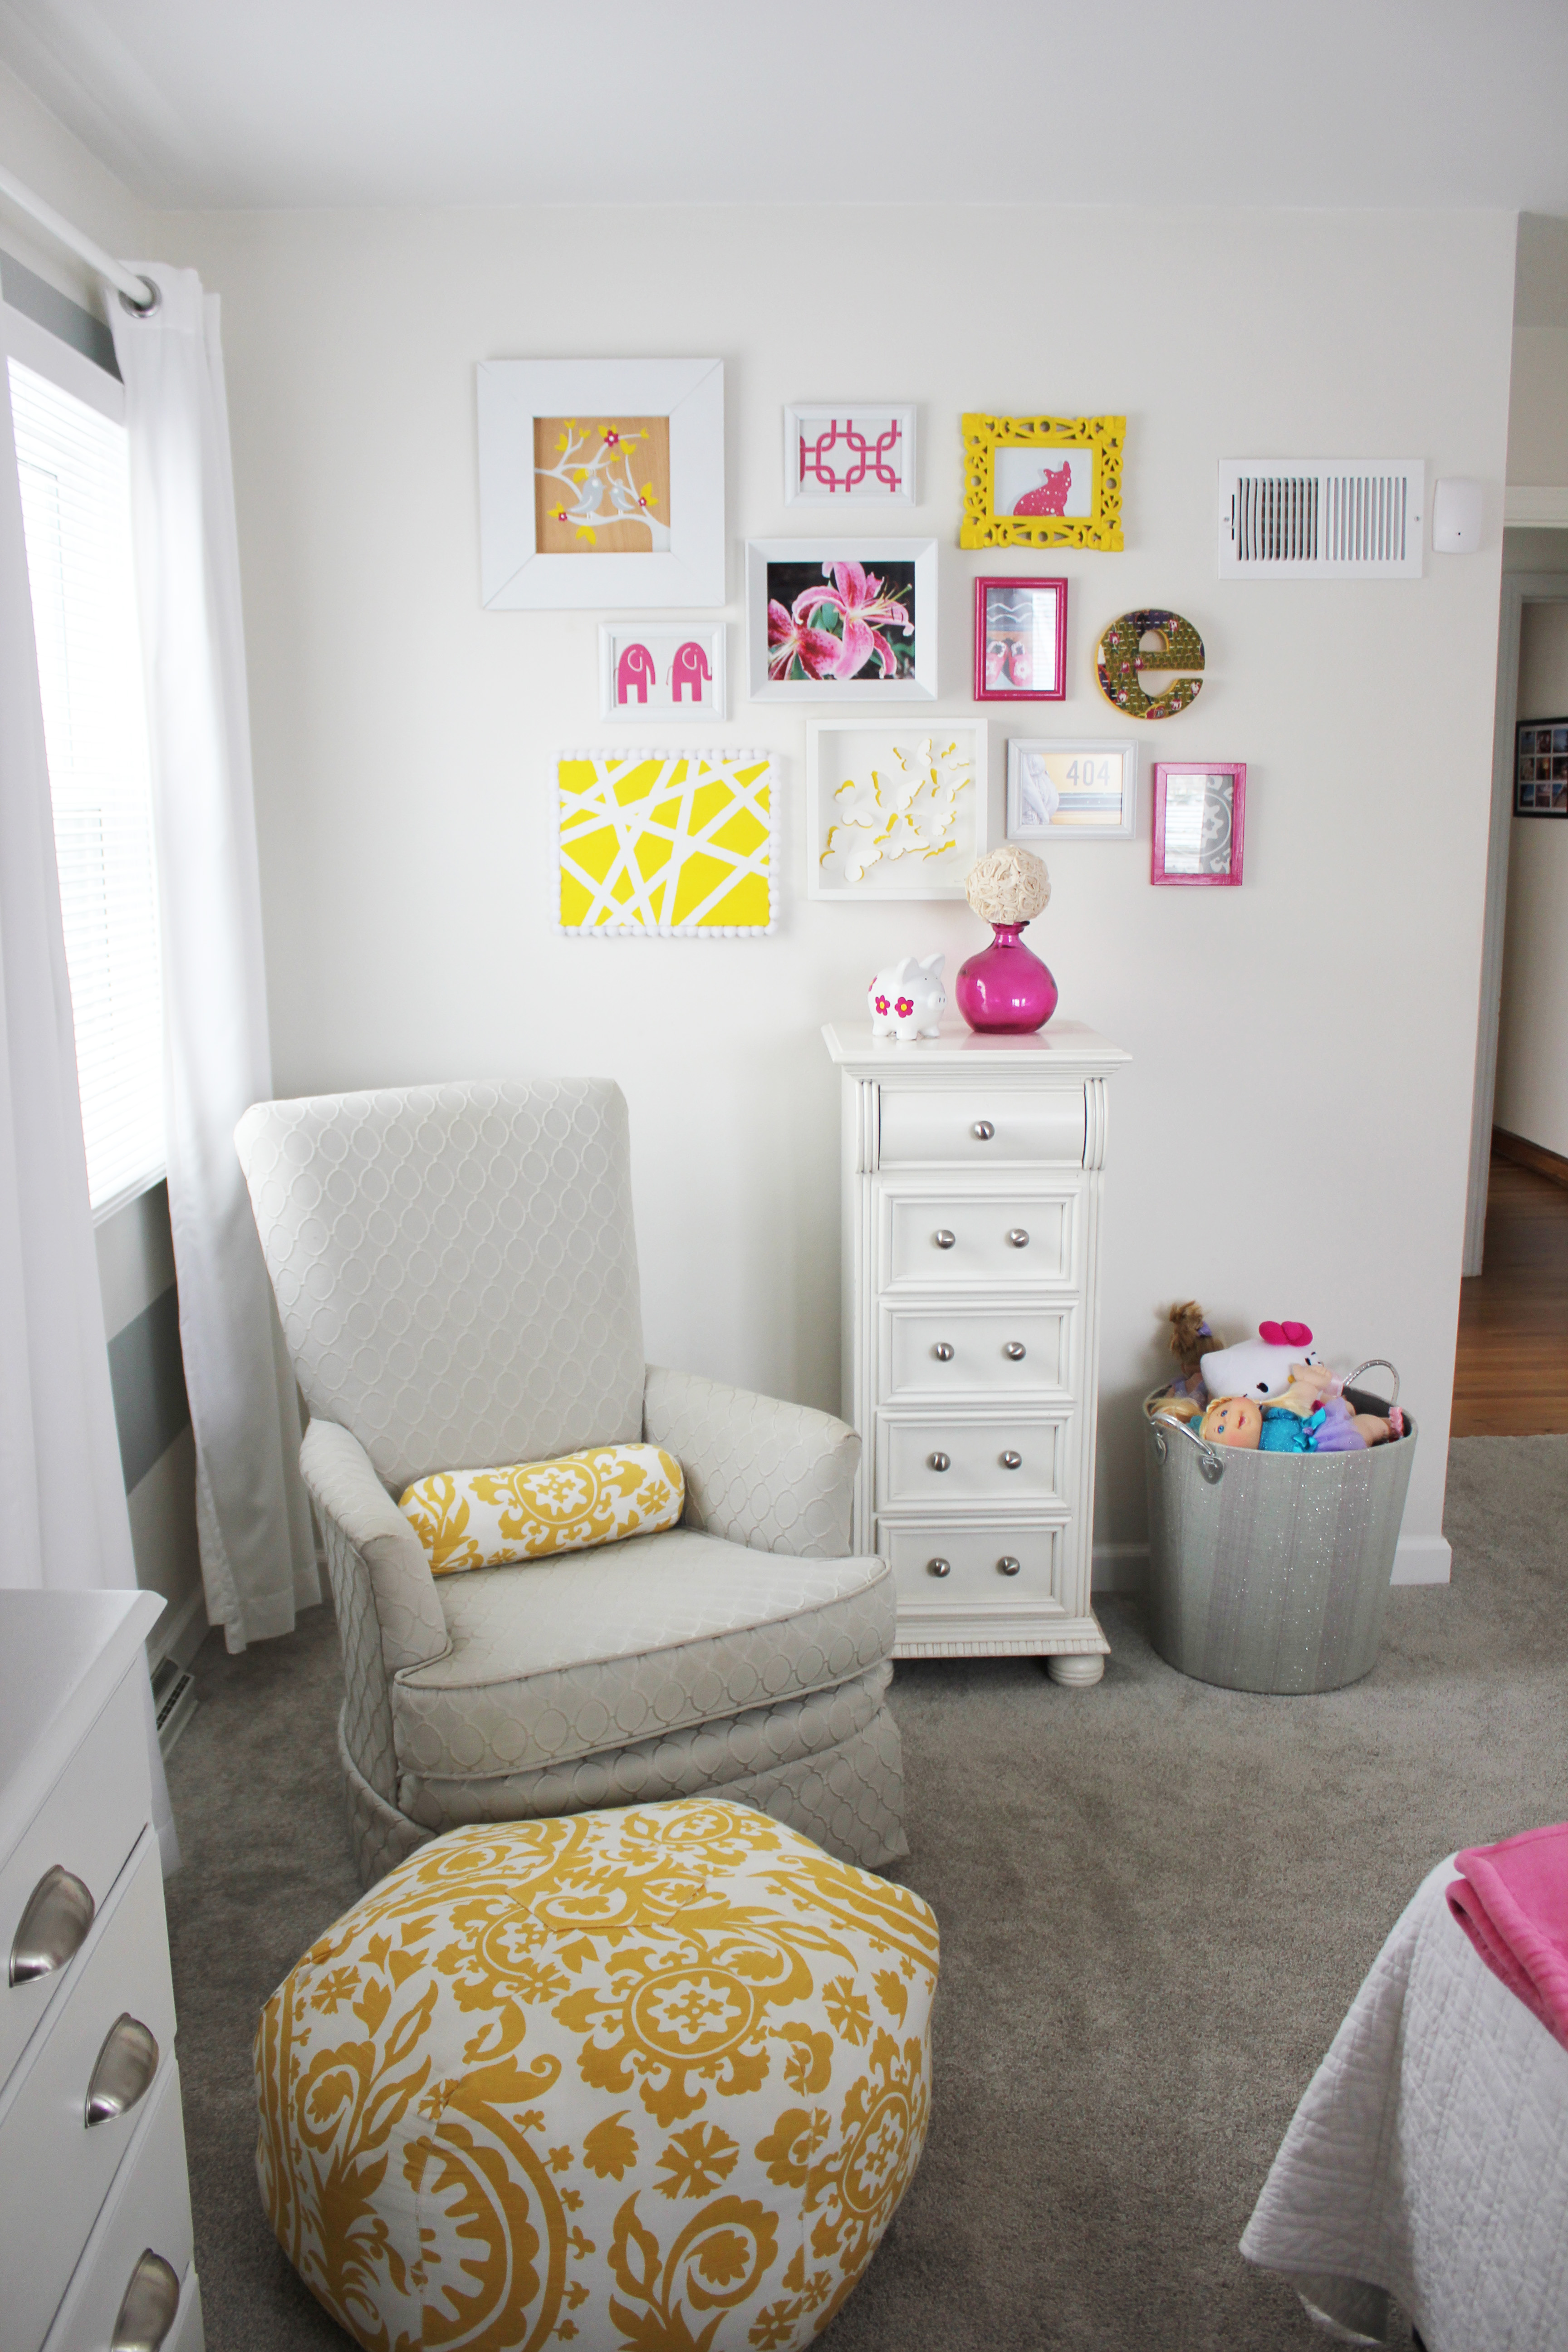
Here’s a better picture of one of the pieces on my daughter’s gallery wall. I opted to split the pair up, and I placed the other one (the one with the owl) around the corner. This way, the moment you walk into her room, you’re greeted with the owl, and then you turn the corner, and see this gallery wall with the birds as the standout.
I can’t tell you how simple this project was. It took some time, but I love the outcome, and more importantly, so does my daughter, Elli 🙂 DIY plywood project = Huge success.

Leave a Reply