
Previous post
too many ideas. too little time. (and far too much chai.)


It’s the holidays ya’ll, and while that doesn’t excuse my lack of blogging (omg, it’s been SIX MONTHS), it does explain it a bit. Parenting and working and having a life outside of one’s kids is HARD. And I often can’t find the time to blog with so much other stuff on my plate. I promise to work to change that as my youngest is getting older.
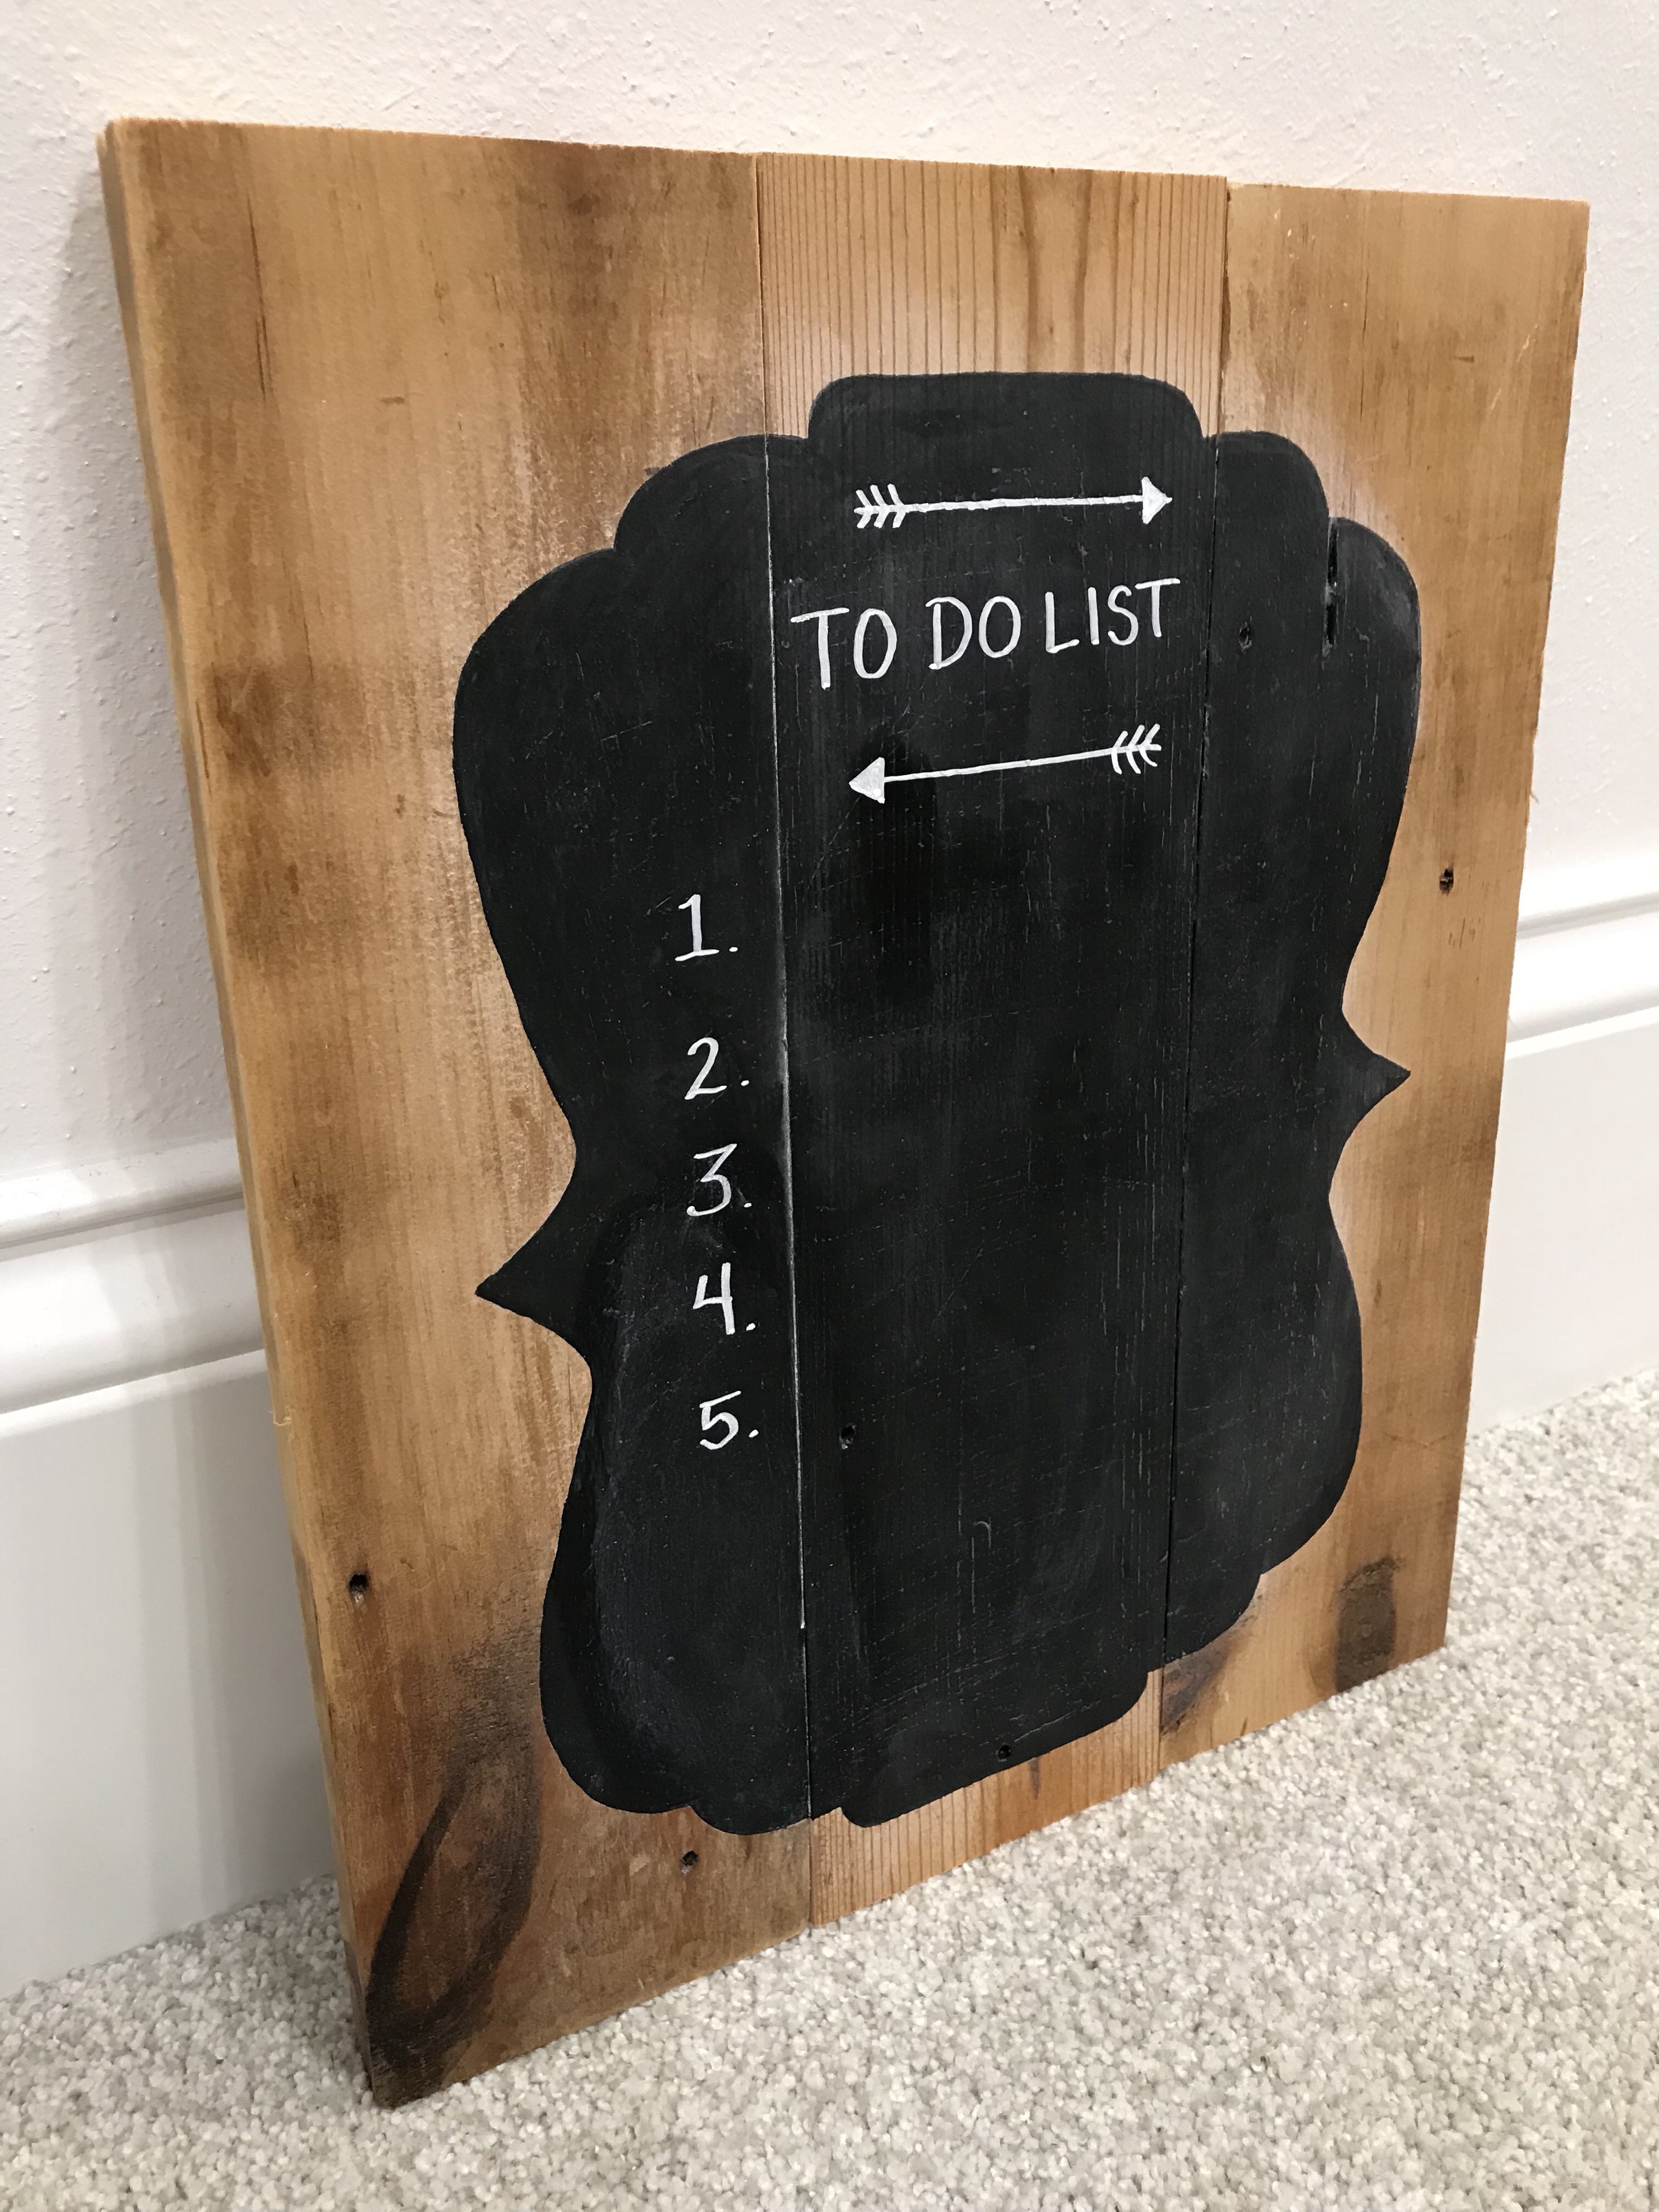
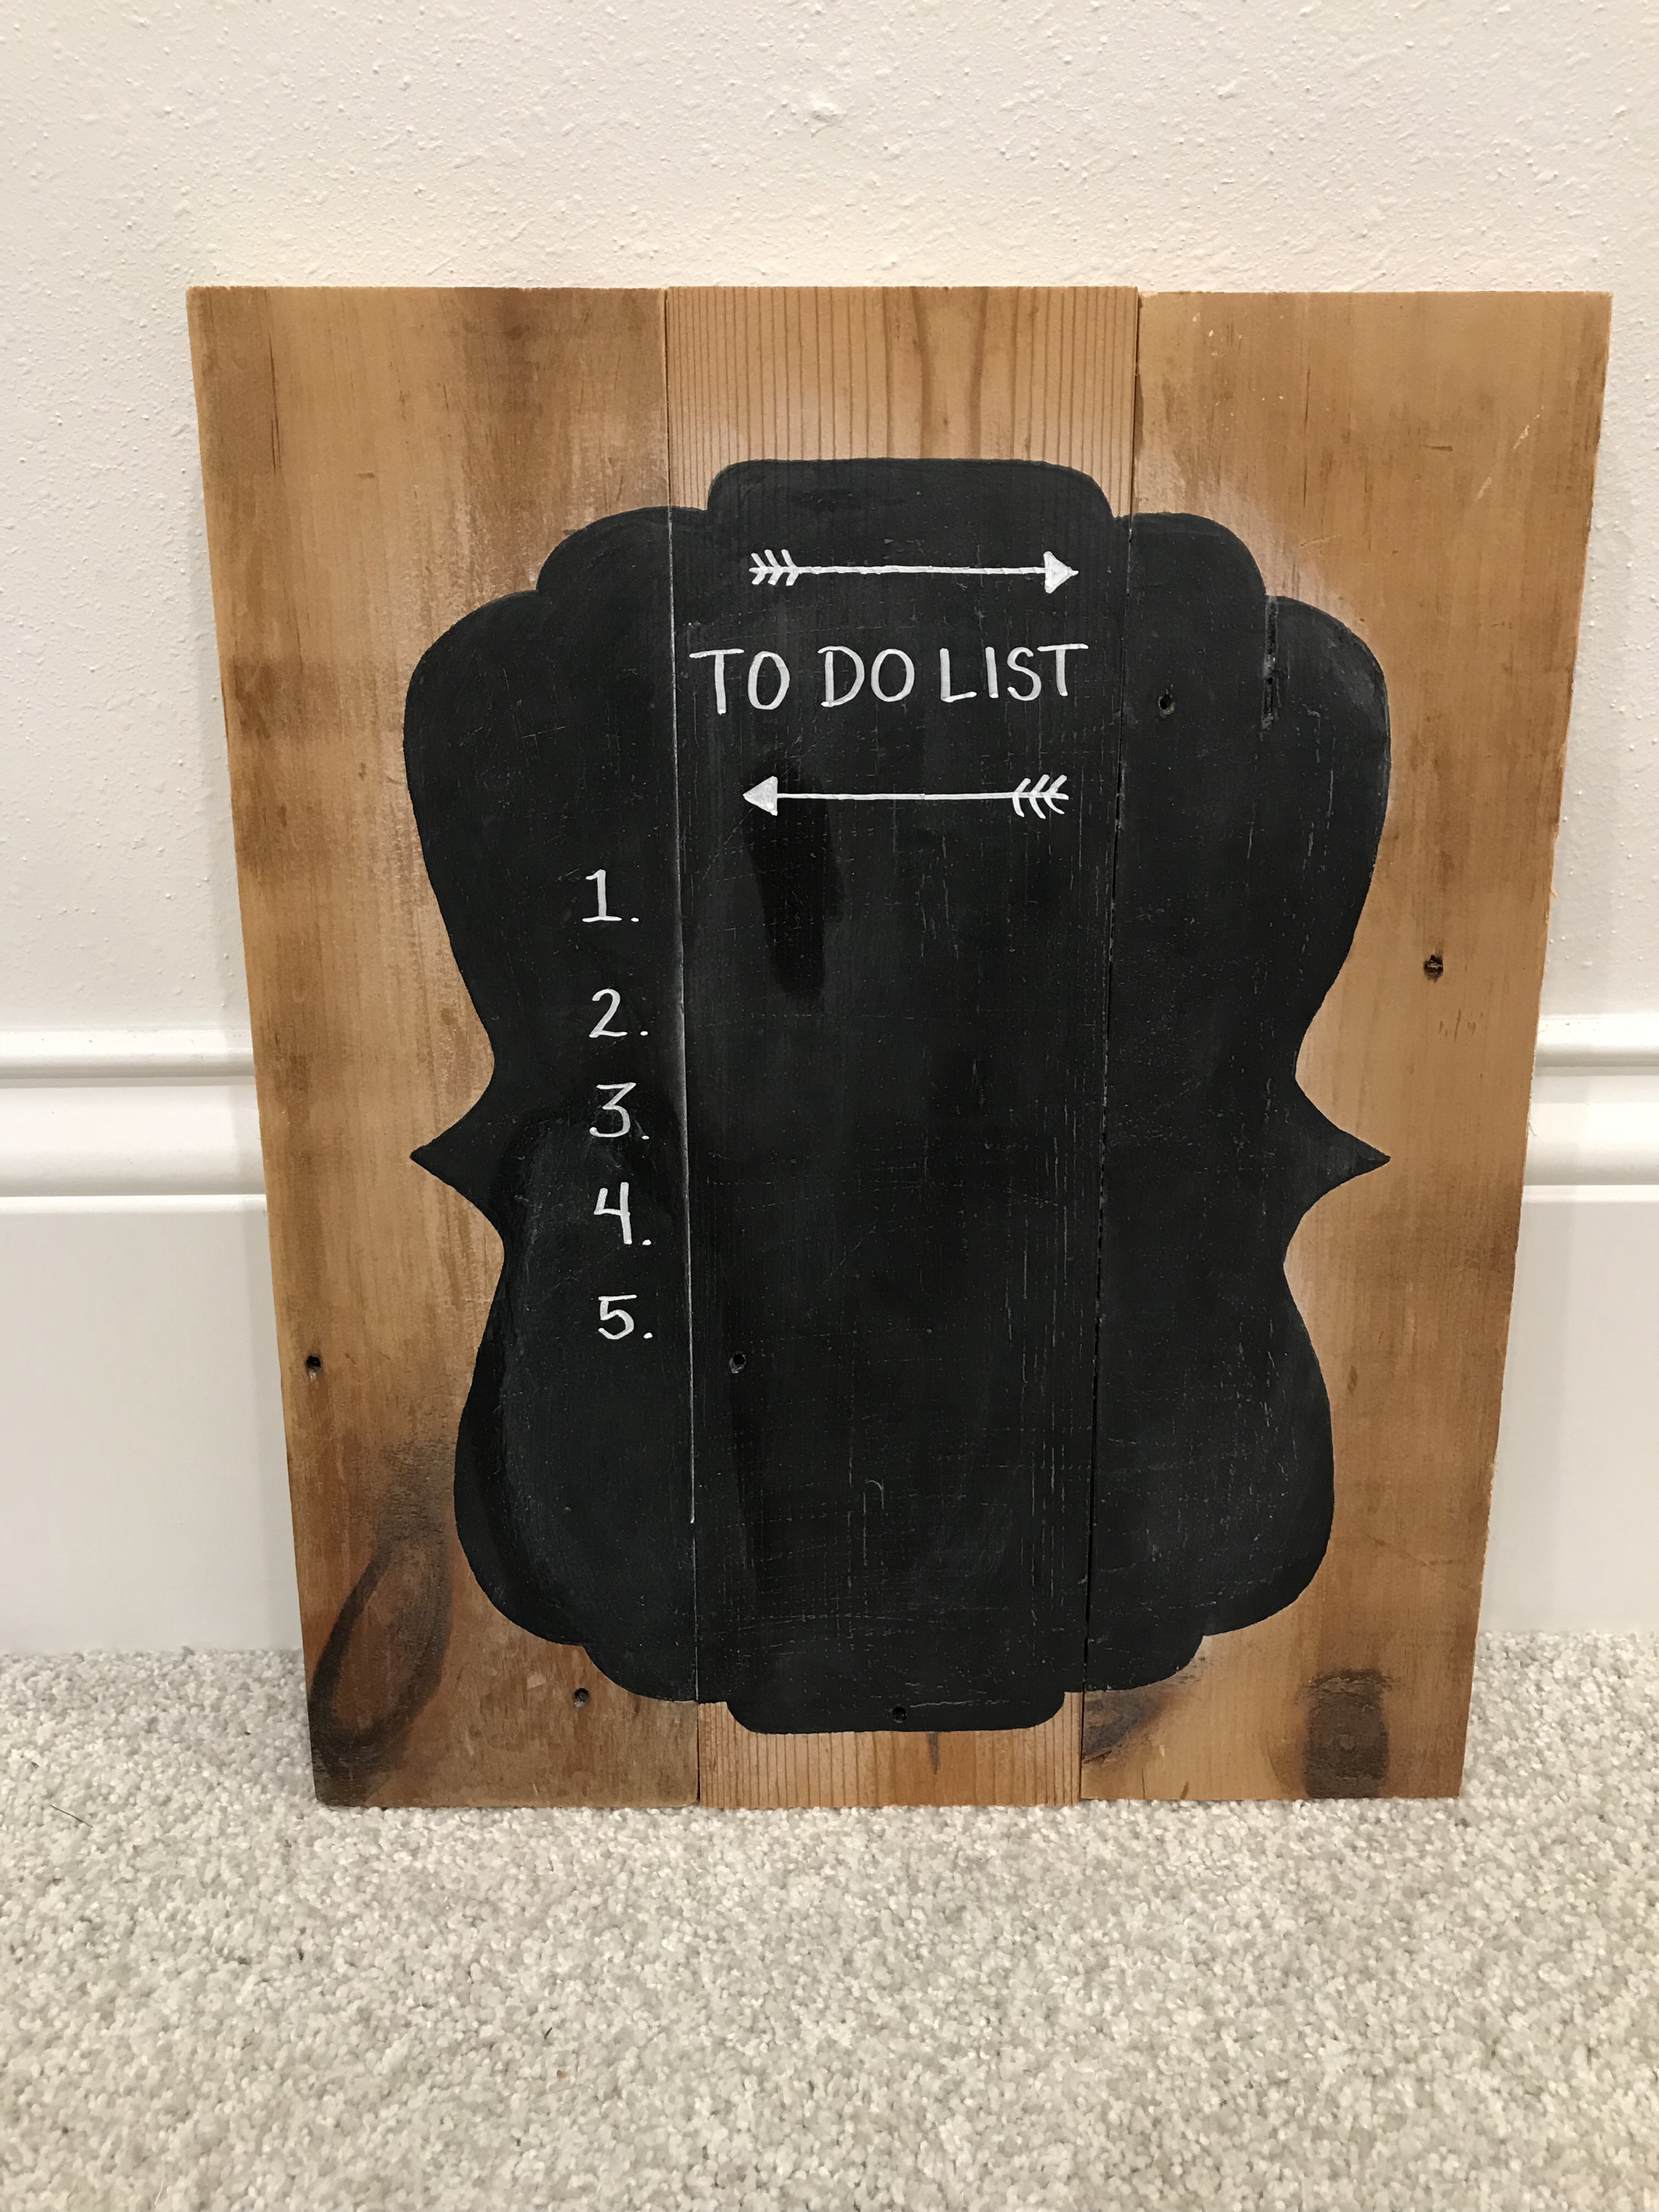
I had to post this one since it’s so cute, simple and totally doable for anyone who is even remotely creative and motivated. Ha. How’s that for a dare??! It’s also versatile – you can use and reuse it as much as you want – and it’s super, super, duper cheap to make.
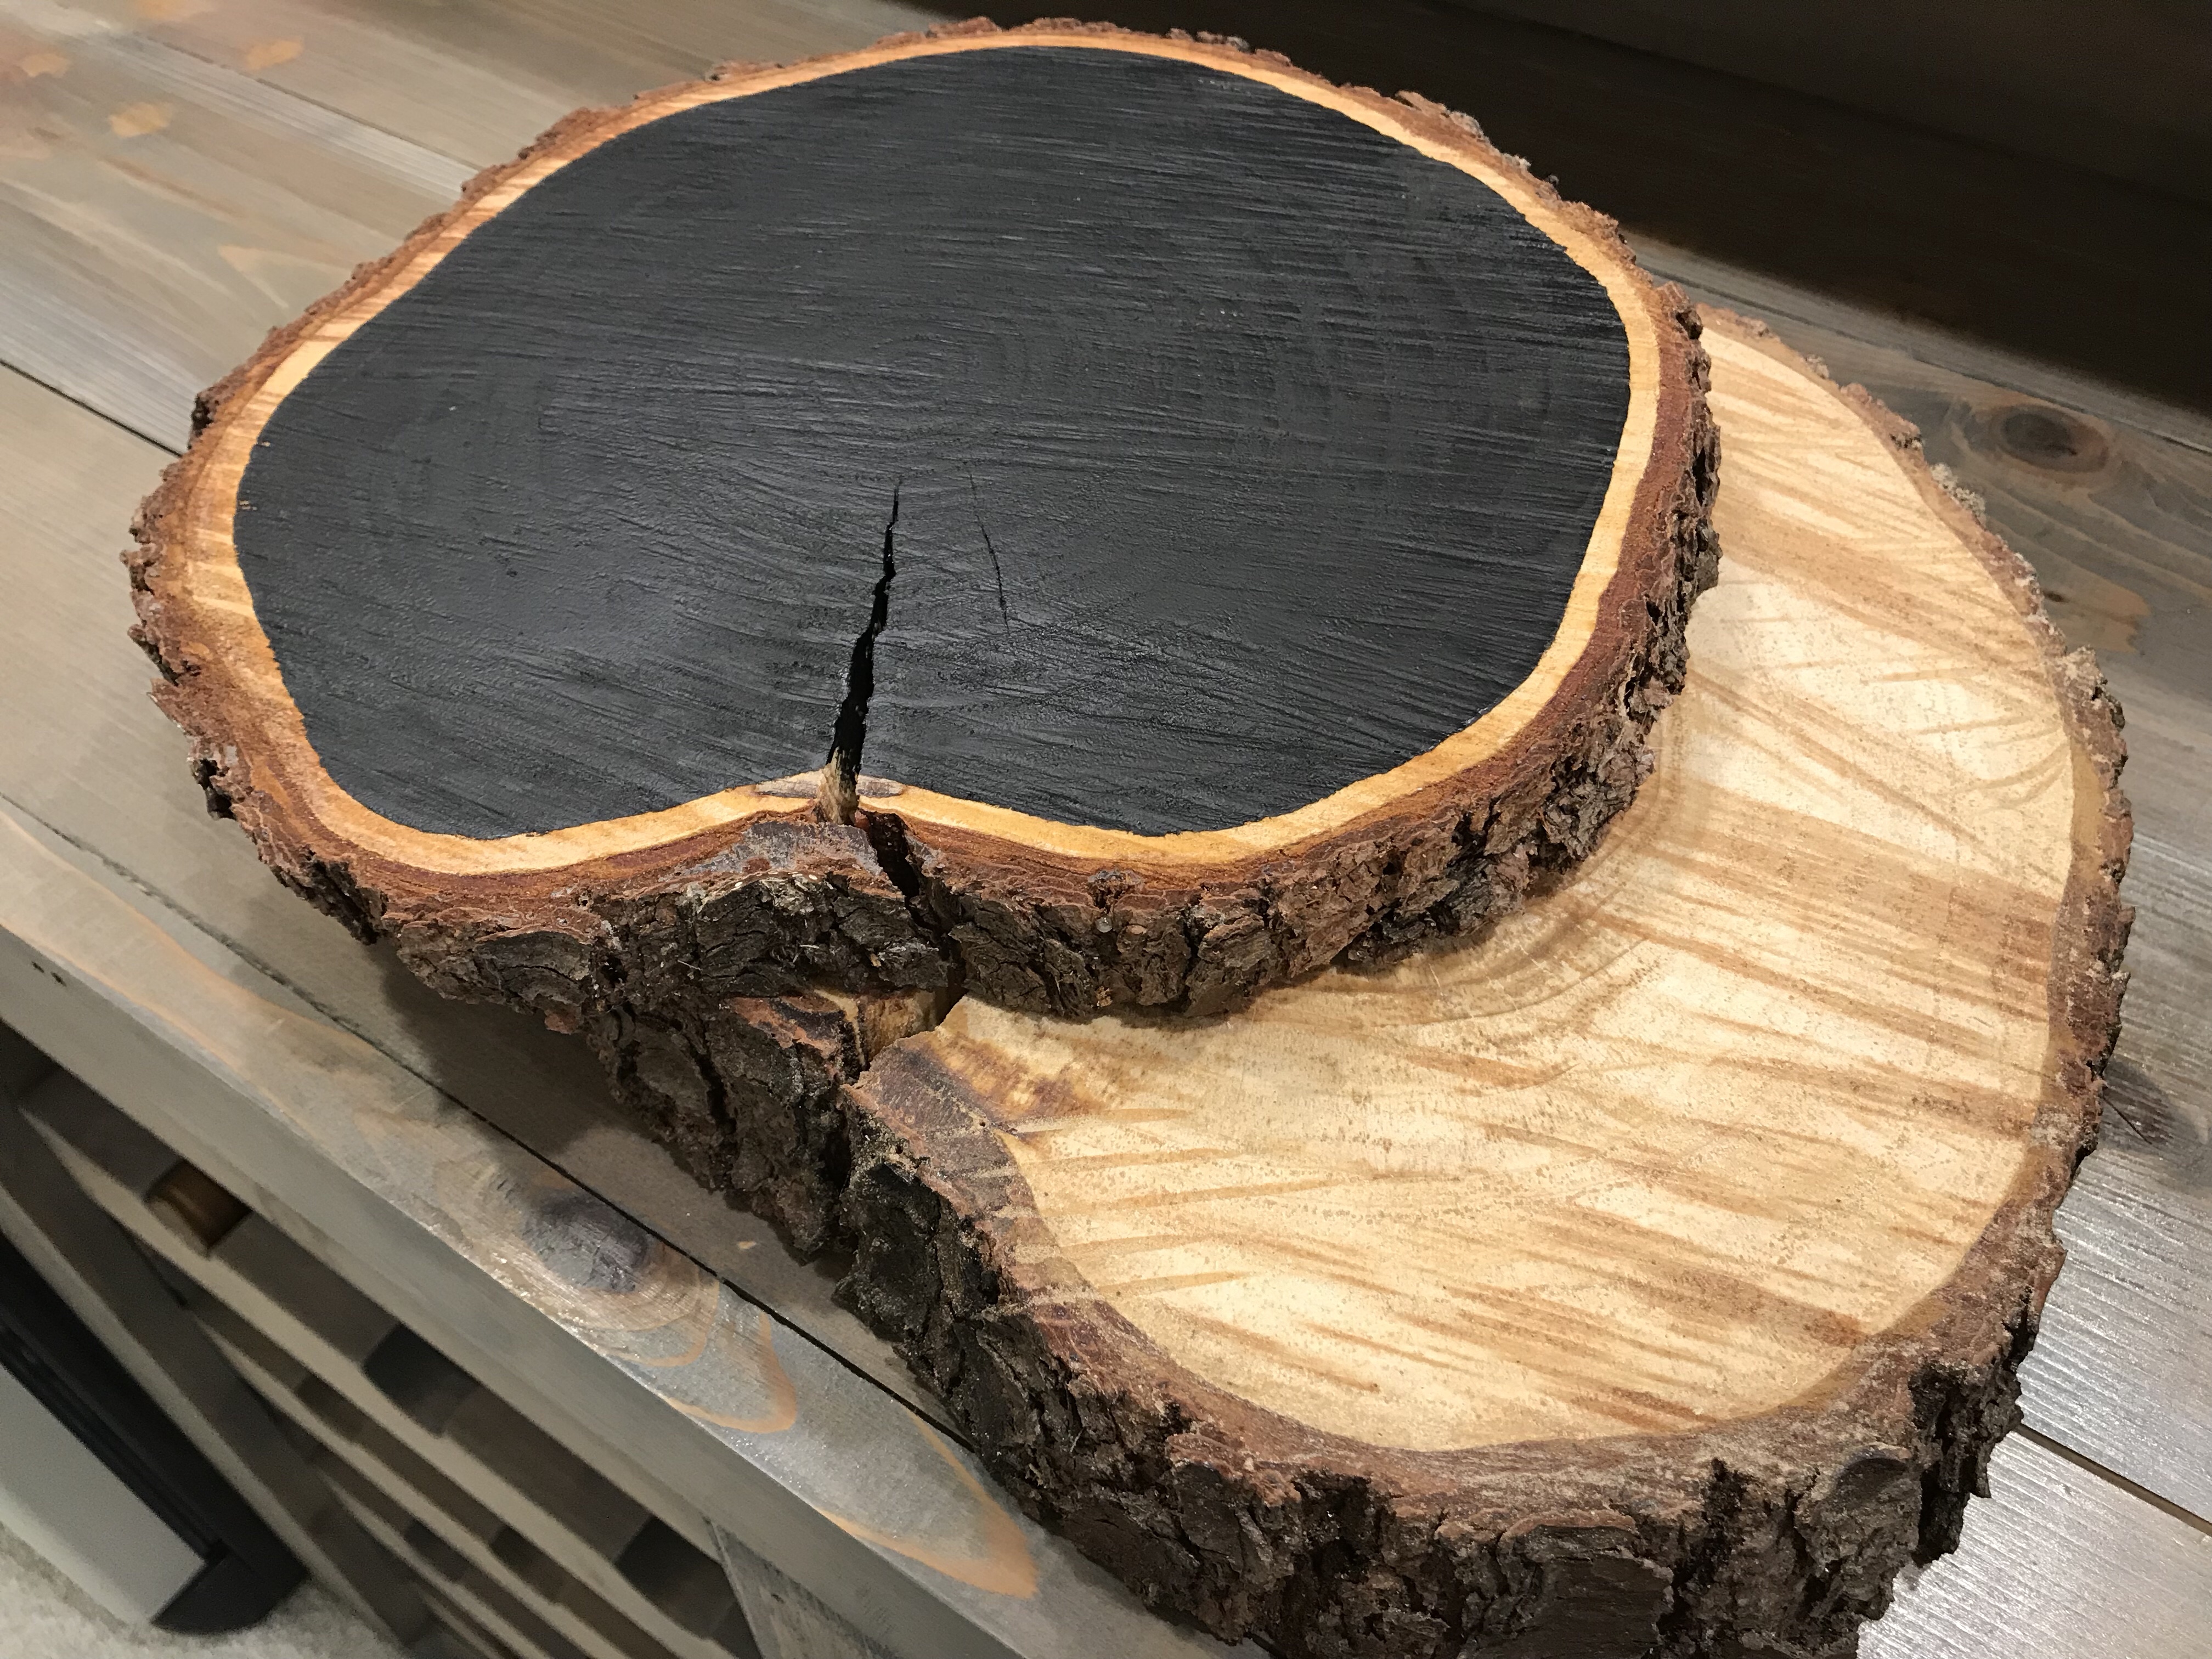
If you don’t have a wood round, you can cut one yourself or even buy one from a craft store. Now me being me (read: CHEAP) I would never buy what I can cut myself, but if you don’t have the skills or tools, head to the store. Wood rounds are everywhere. If you opt to DIY, you may have to sand it down a bit before painting.
Once you let your wood dry out for a few weeks, grab your chalkboard paint and have at it. I like the look of a small wood border, so I left just a hint of that. Make sure you let your first coat dry completely, and then give it a second. Two coats is usually plenty, but you’ll be able to tell if you need more once it dries.
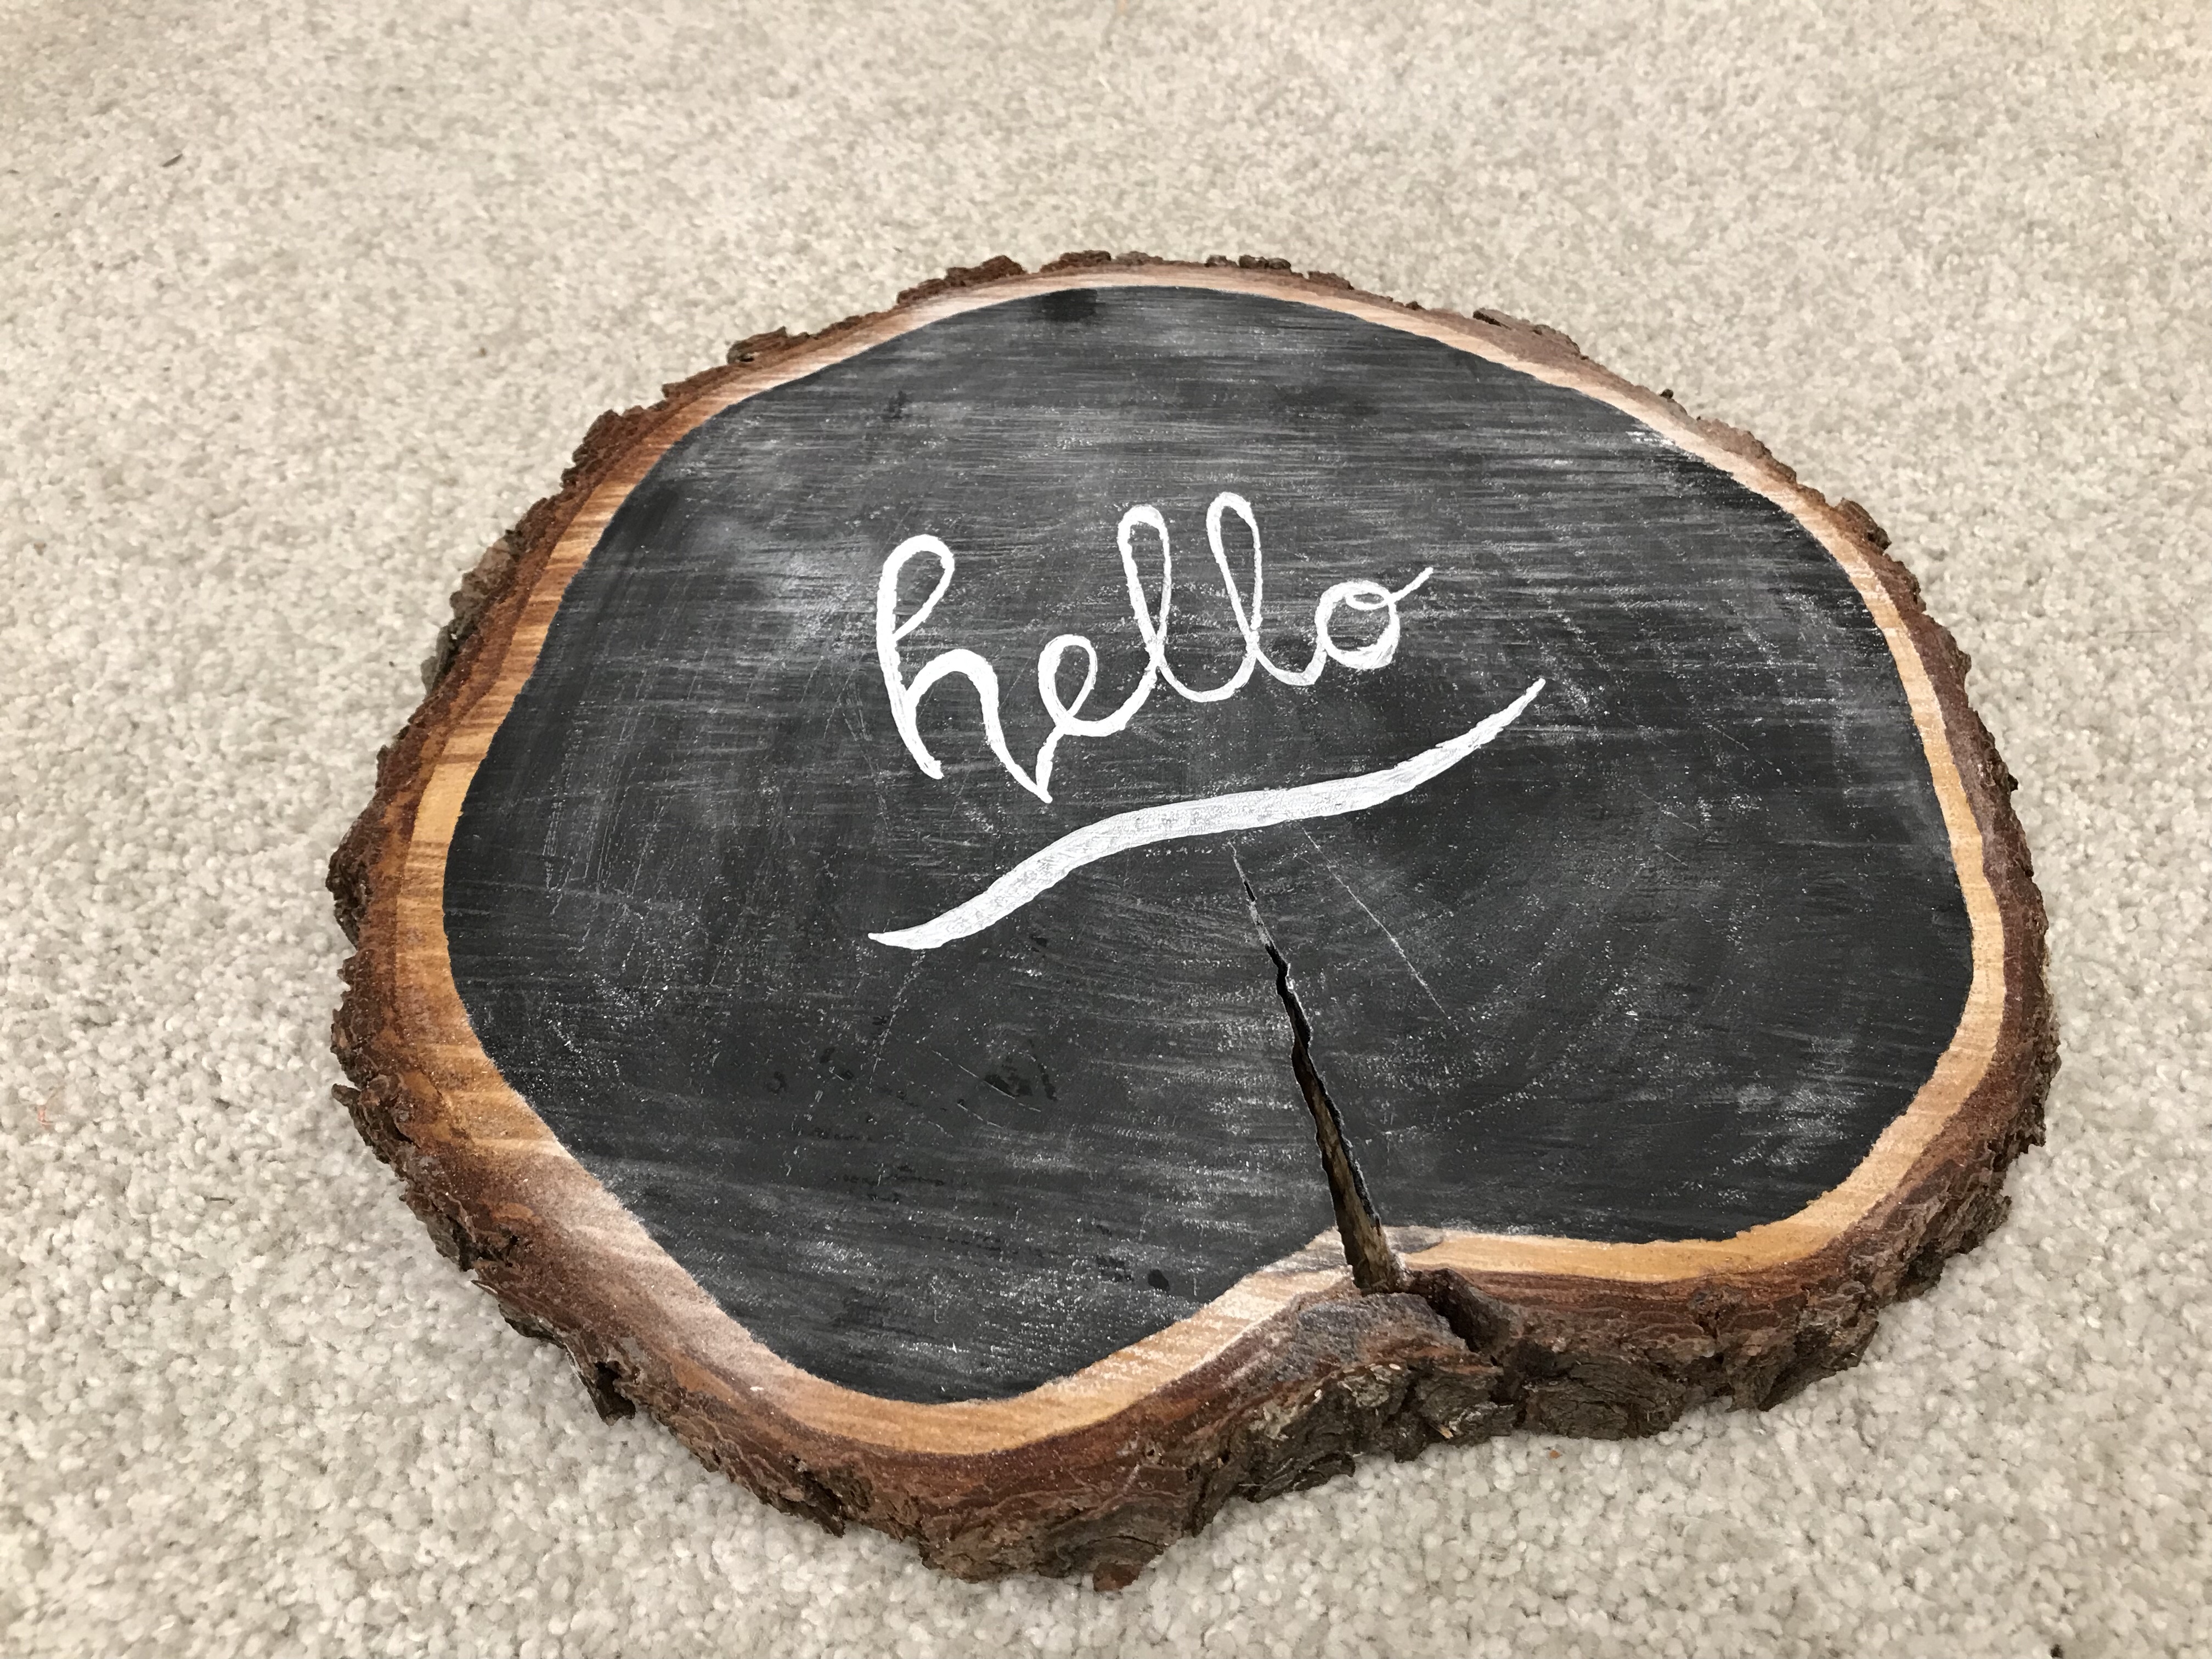
Once the paint has completely dried, it’s time to “prime” the chalkboard paint. What this means is basically prepping it for chalk. All you do is take a piece of chalk, turn it on its side, and roll it LIBERALLY all over the paint. Once you’ve covered every inch, take a soft cloth and rub it in a bit more. Next, wipe it clean and you have a “primed” chalkboard surface.
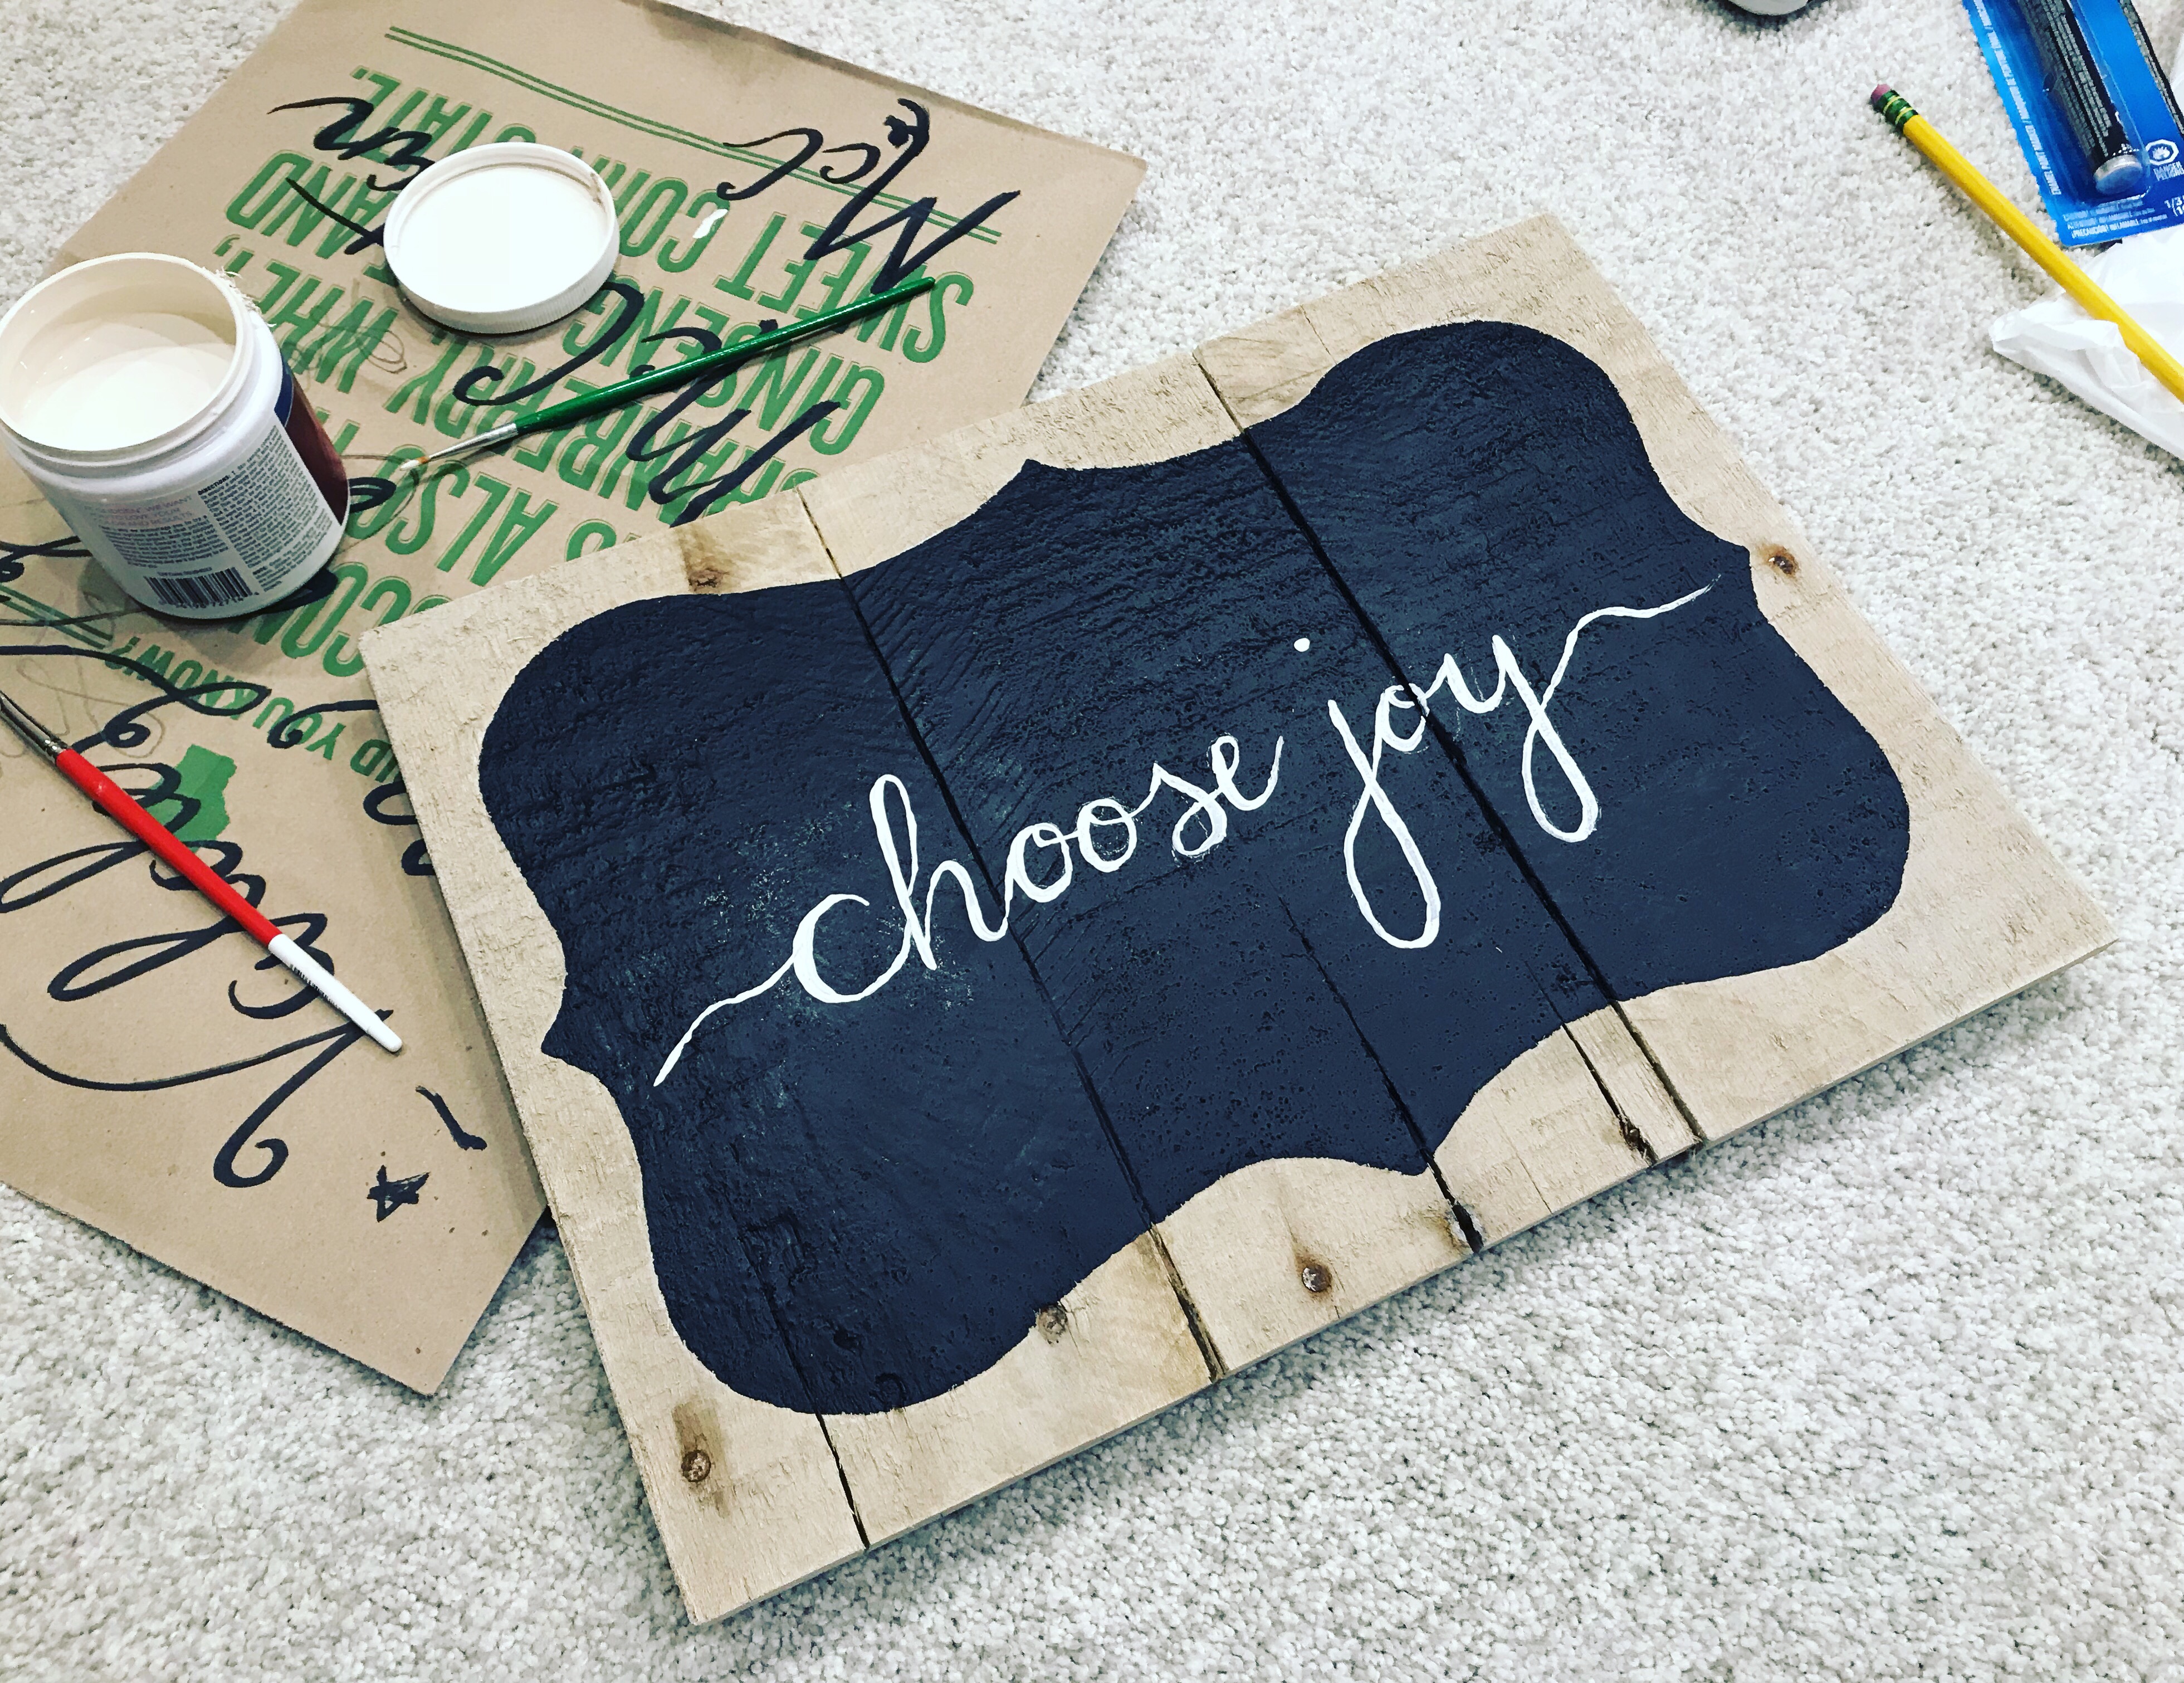
Finally, grab your chalk paint pen – you can buy these at any craft or paint store – and draw on your word or design. I chose something simple, but the sky’s the limit here. If you’re at a loss, check out Pinterest. There are so many fun things you can do with a chalkboard.
I am a big fan of freehand, but you could definitely use a stencil, too. Check out this post on how to achieve the perfect stencil lines without actually using a stencil.

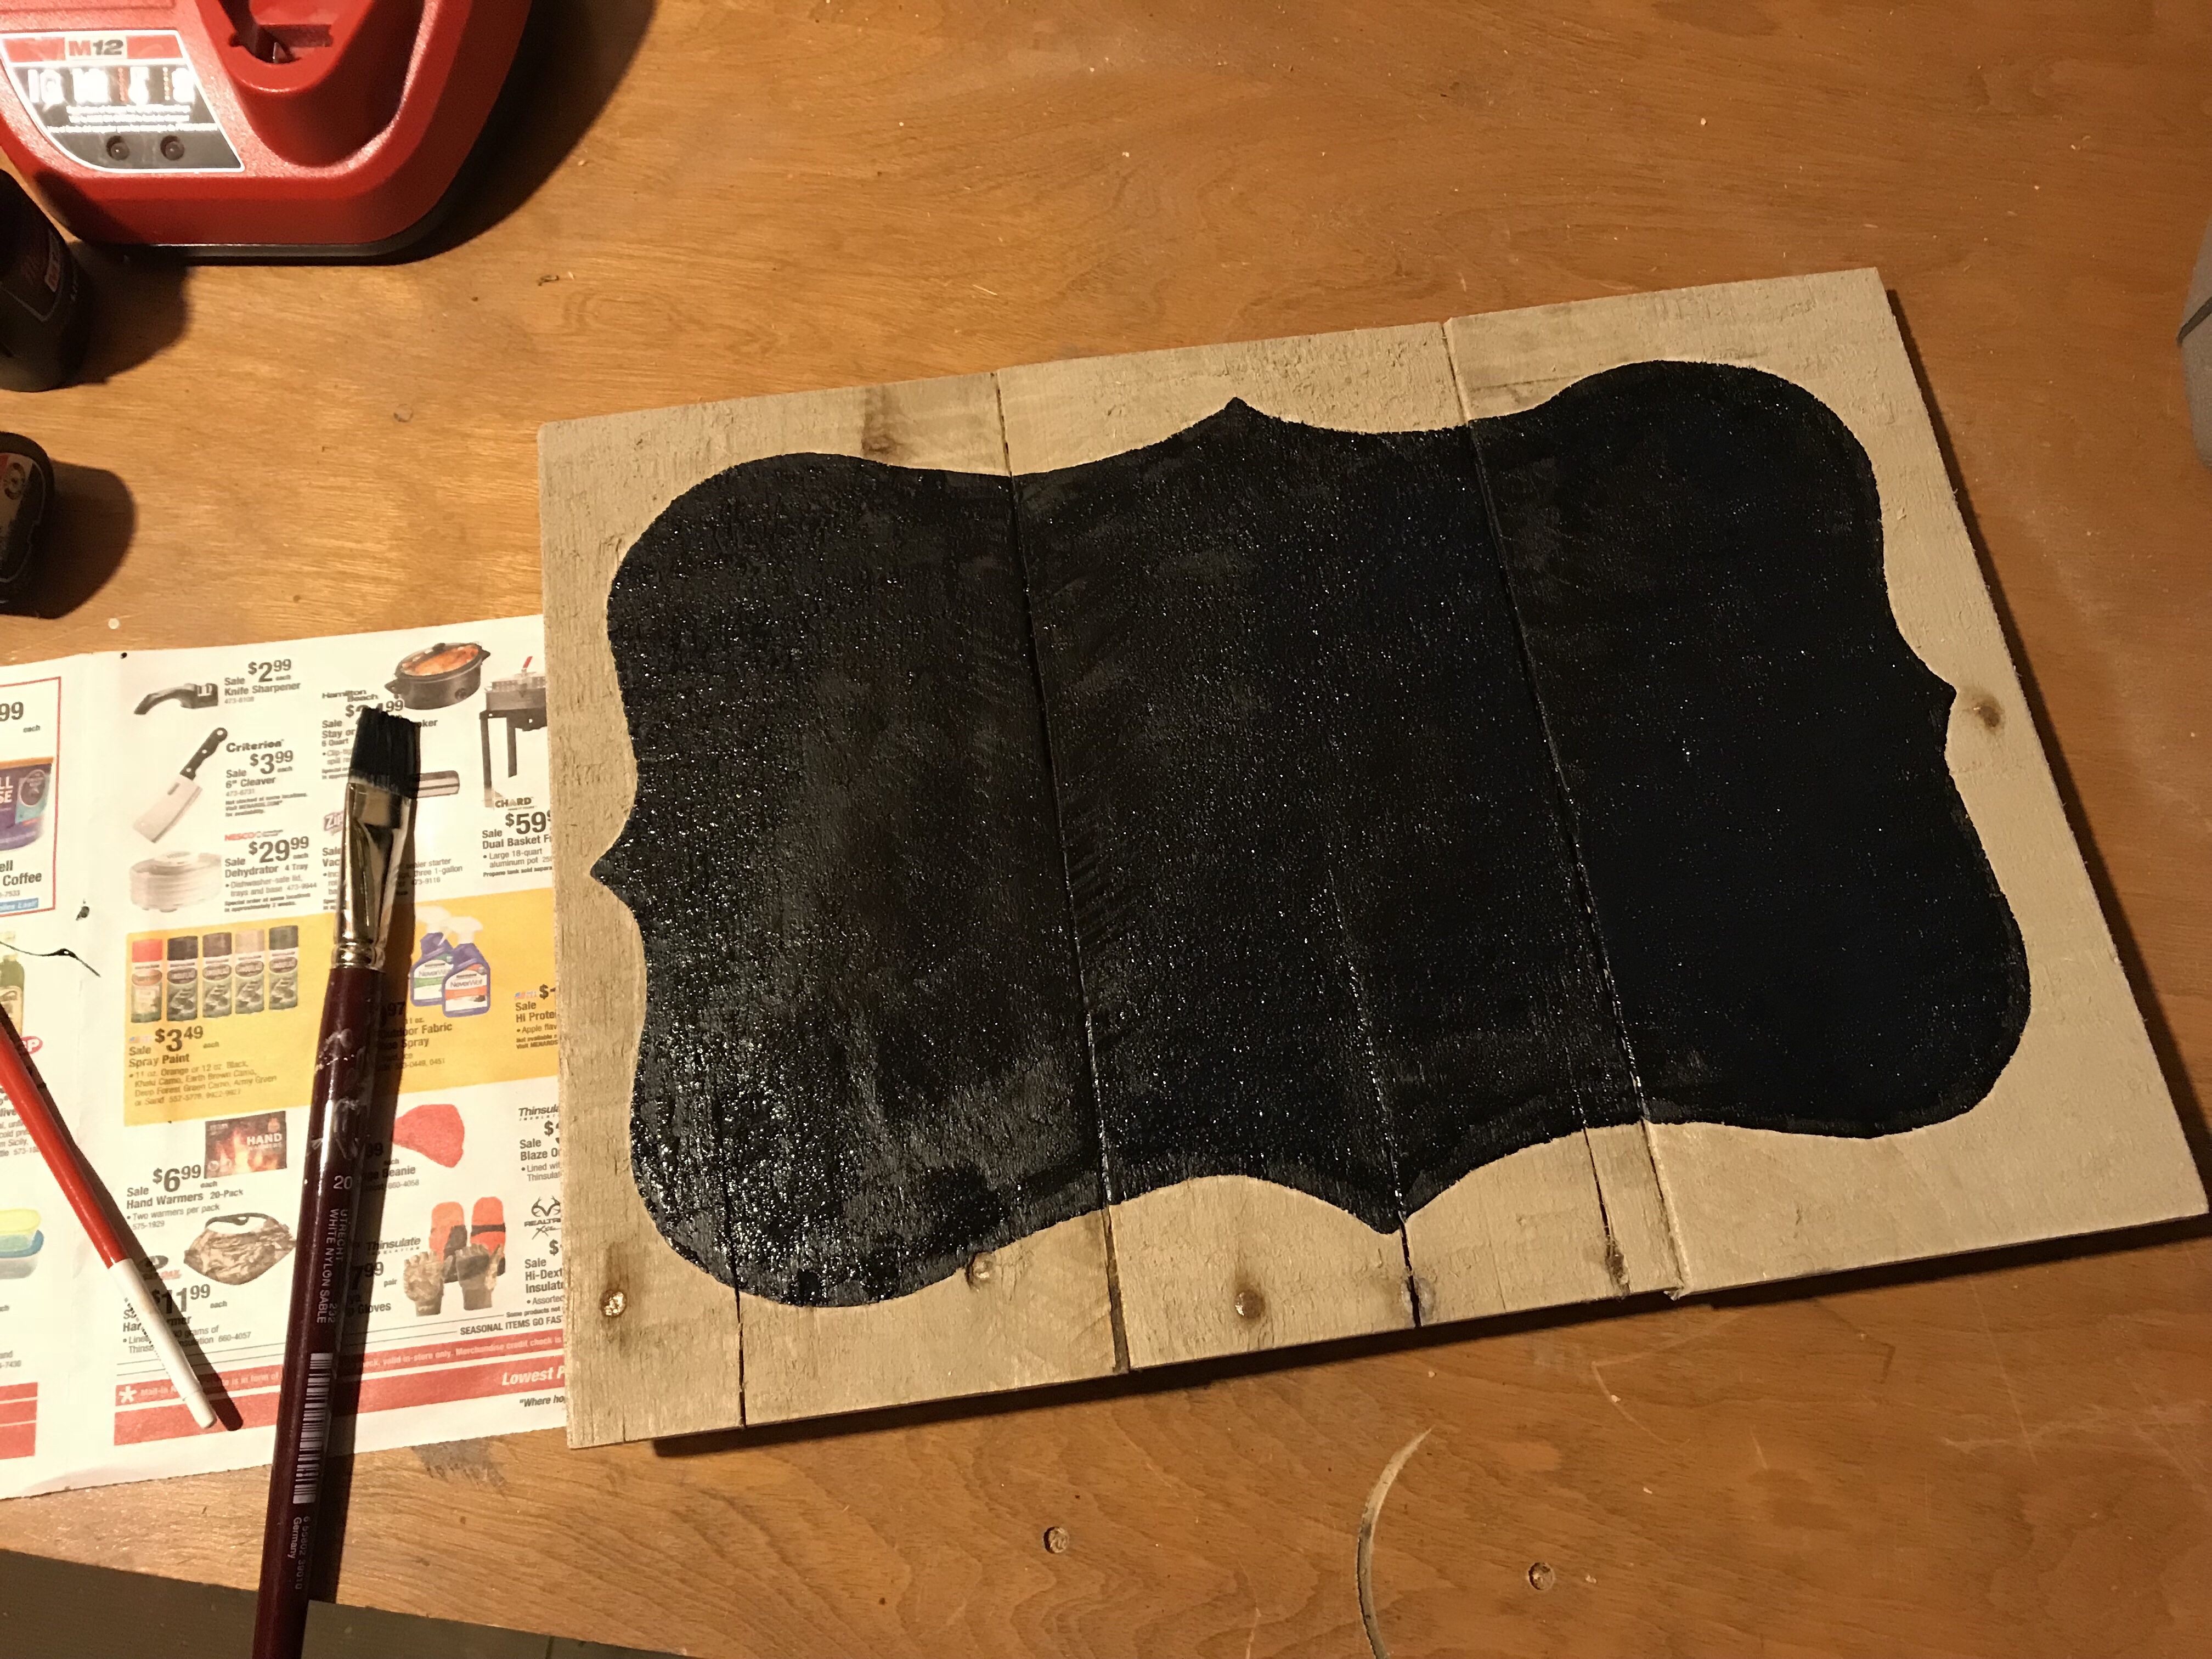
That’s it! I told you it was simple. I’ve also tried this chalkboard technique on various other wood projects and it’s turned out great. Happy holidays friends 🙂


2 Comments