too many ideas. too little time. (and far too much chai.)
too many ideas. too little time. (and far too much chai.)

There are a few reasons why I love chalk paint.
It can be left as is or distressed as much or as little as you want. It’s also super forgiving, so if you feel you’ve made a mistake (distressed a little too much, for example), you can just cover it up with more paint.
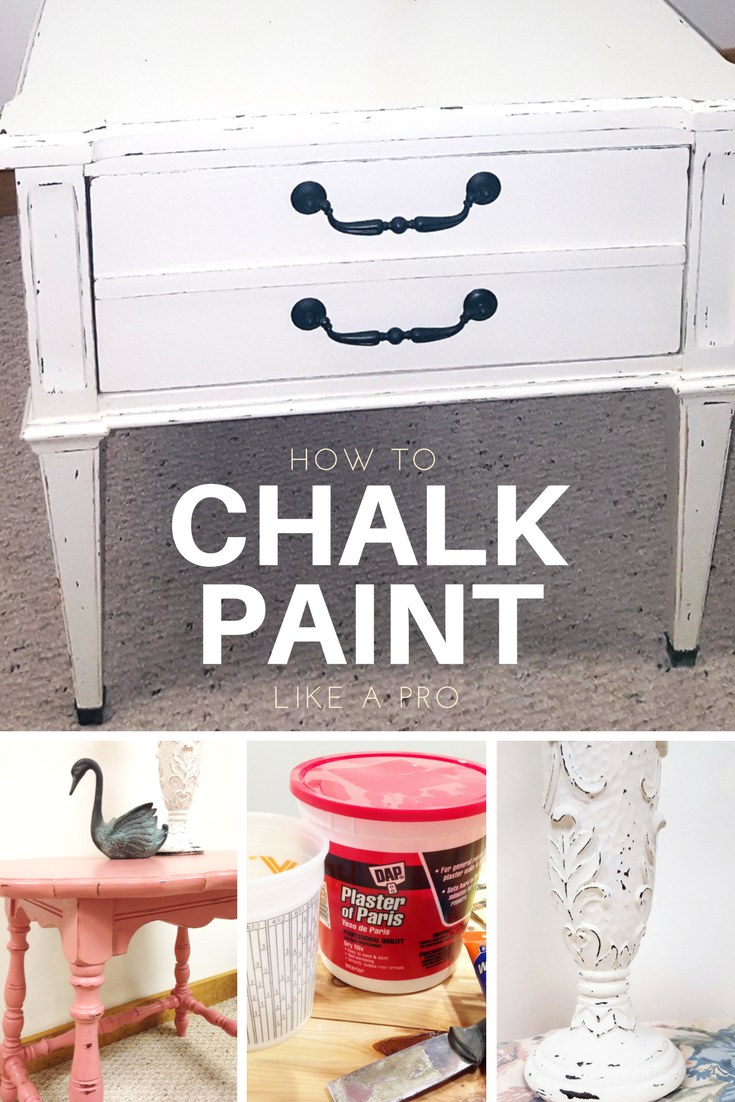
Chalk paint is a very inexpensive way to refinish a piece of furniture since you can make your own chalk paint (which I always do!). Often times I use leftover paint from other projects. If you are not too set on an exact color, you can even mix different colors together. Just keep in mind that colors will not be as vibrant since you are watering the paint down, so if you are very picky about your color, homemade chalk paint may not be for you. I’m planning on trying a store bought chalk paint on a future project because I want an exact shade, and I’m also curious if I’ll be able to tell the difference. The downside will be the higher cost.
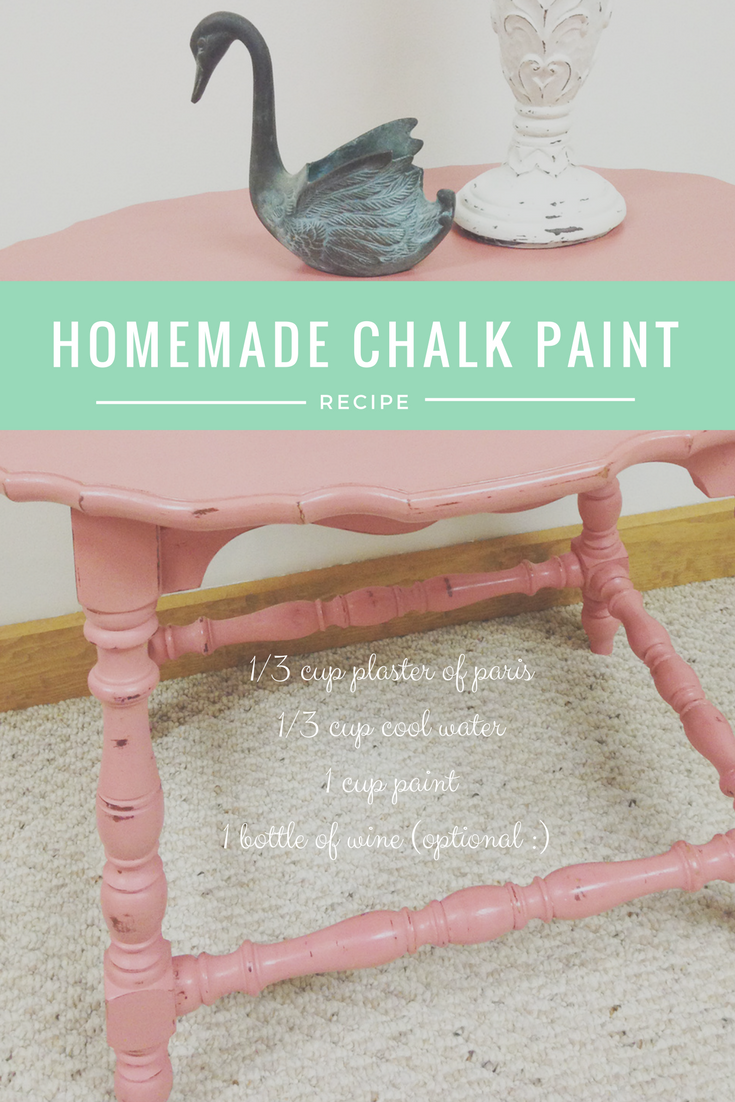
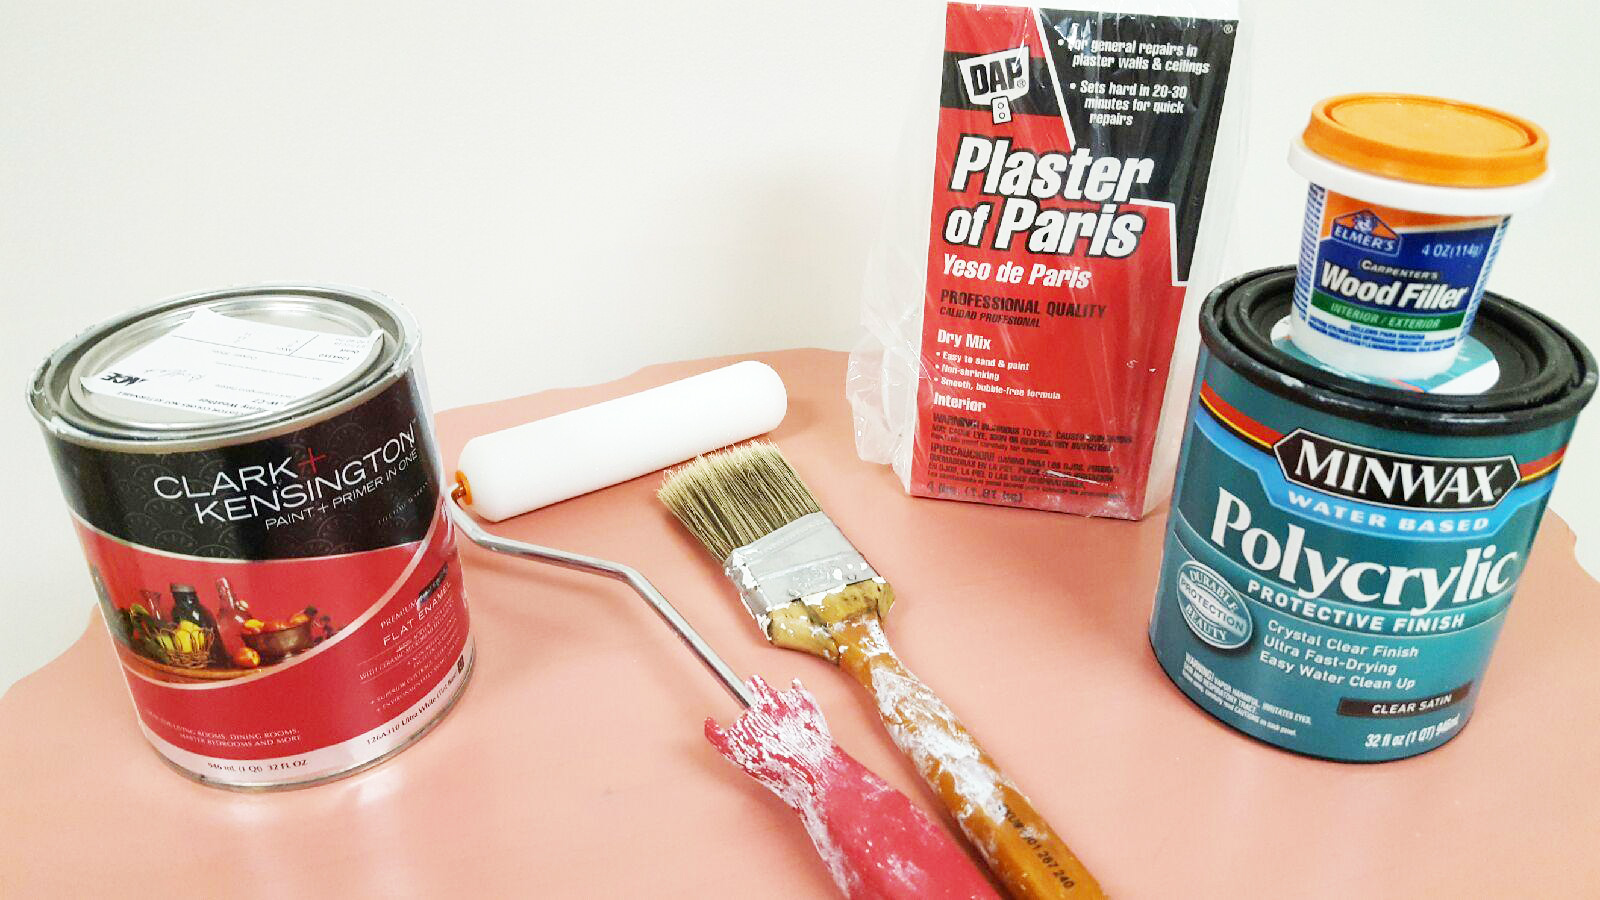
After trying many different online recipes, this is the formula I landed on:
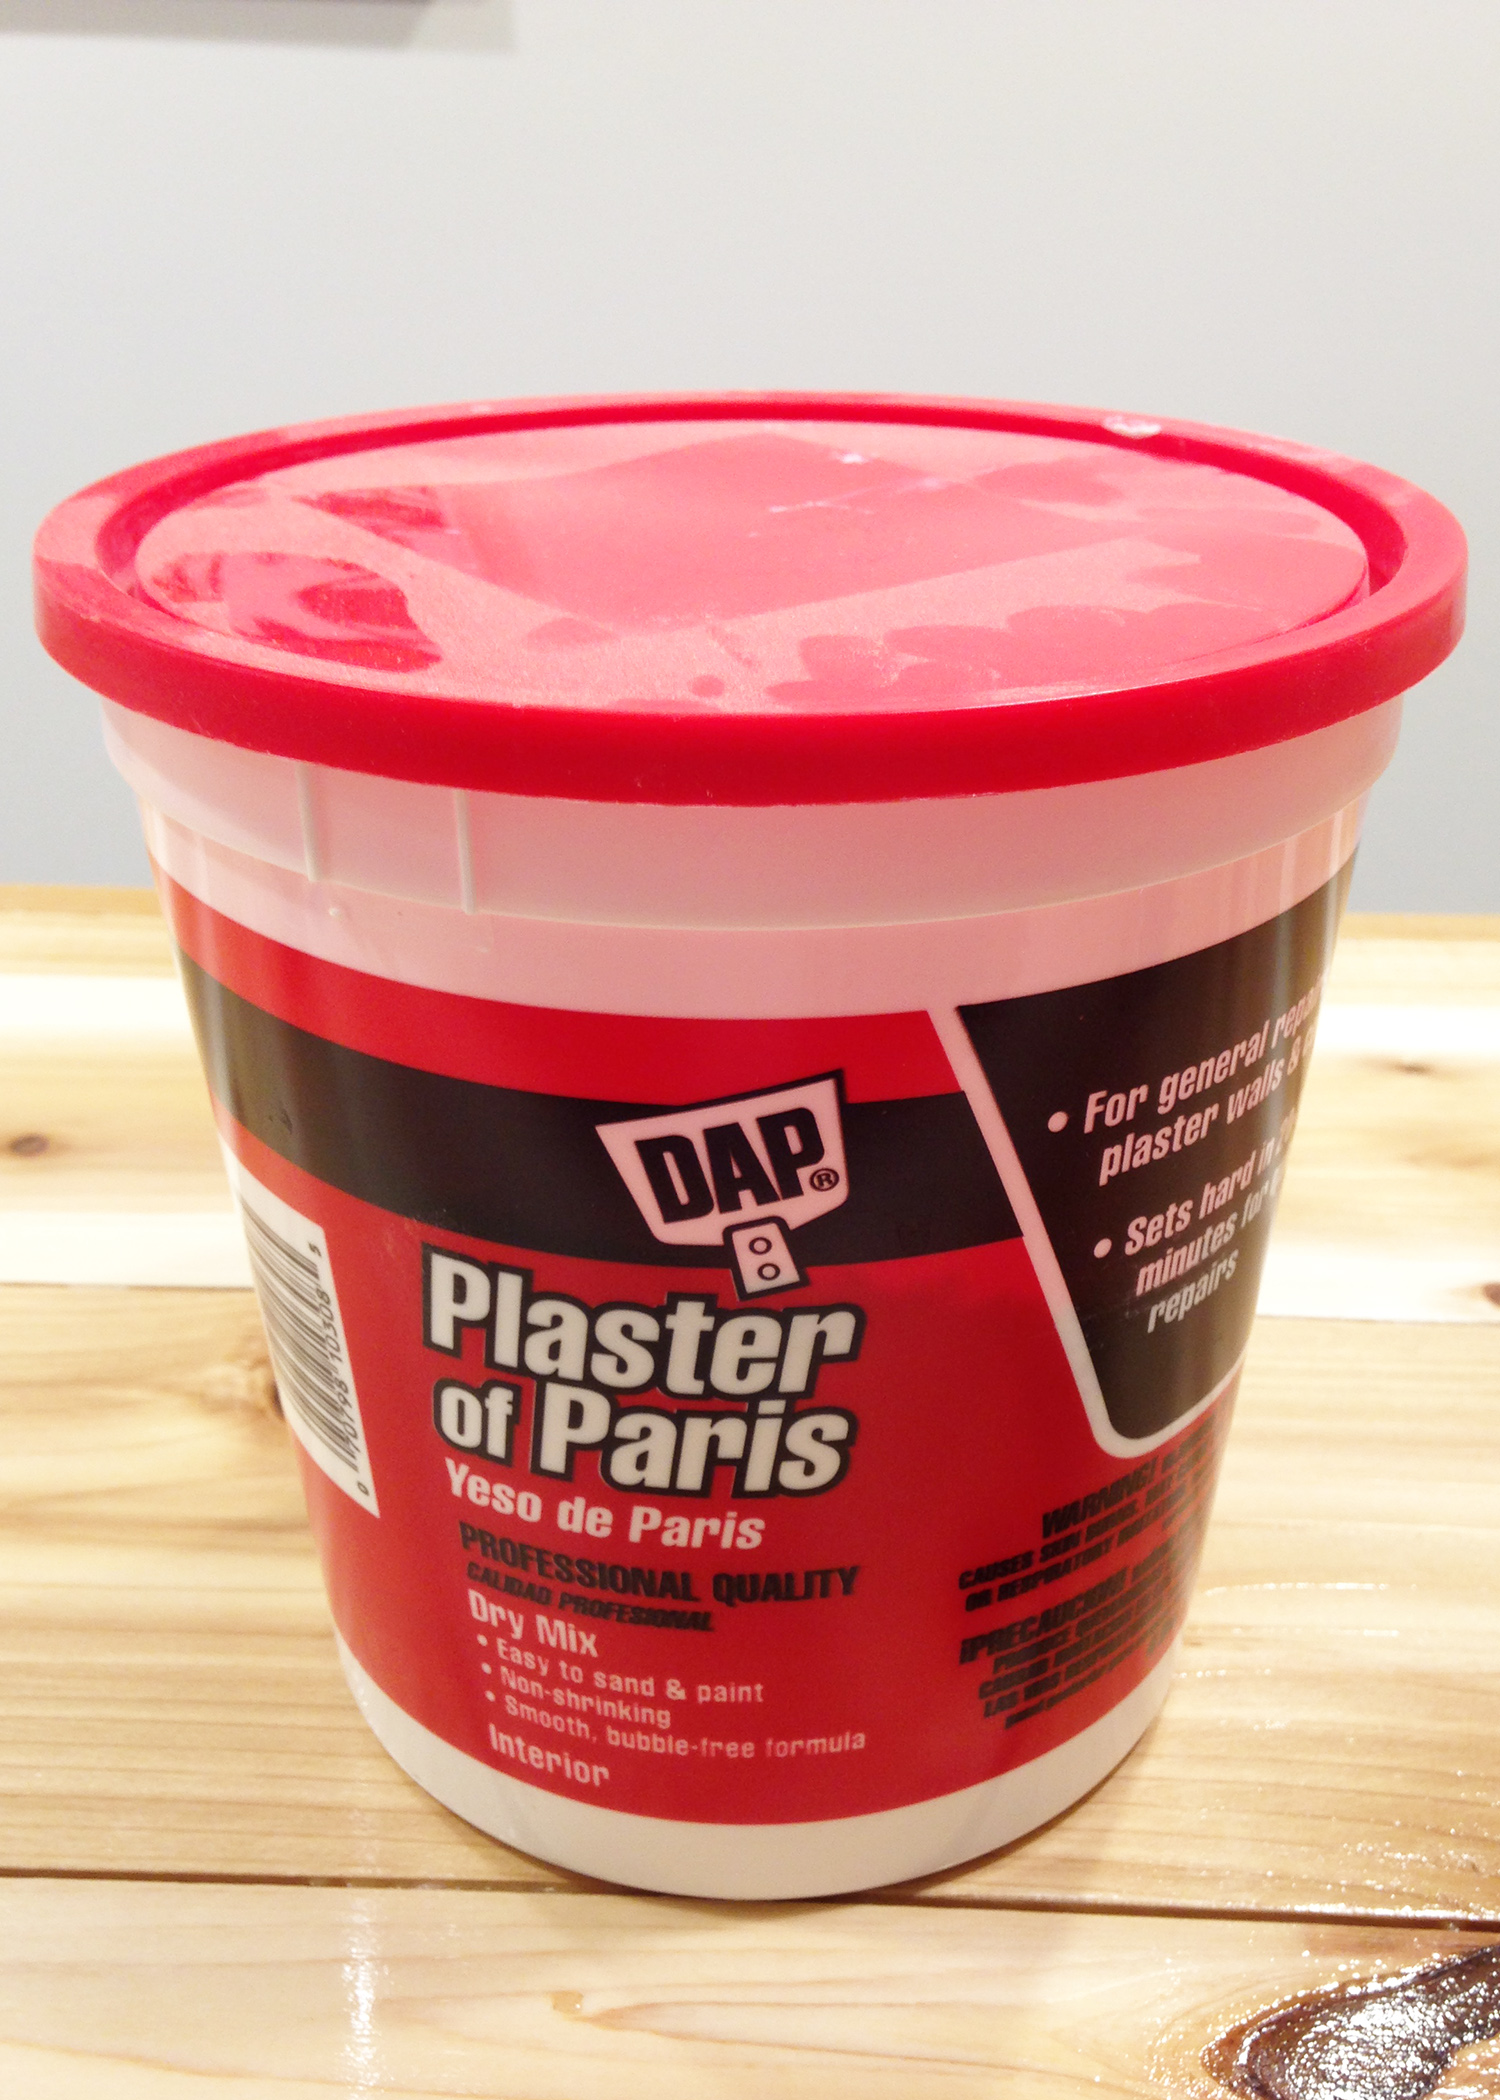
Just dissolve the plaster of paris in cool water, and then mix in your paint. It has worked great for me on a number of pieces, but everyone’s different, so feel free to adjust to your liking. That’s another great thing about chalk paint – there is more than one “right” way to achieve the right paint for you.
Enough said.
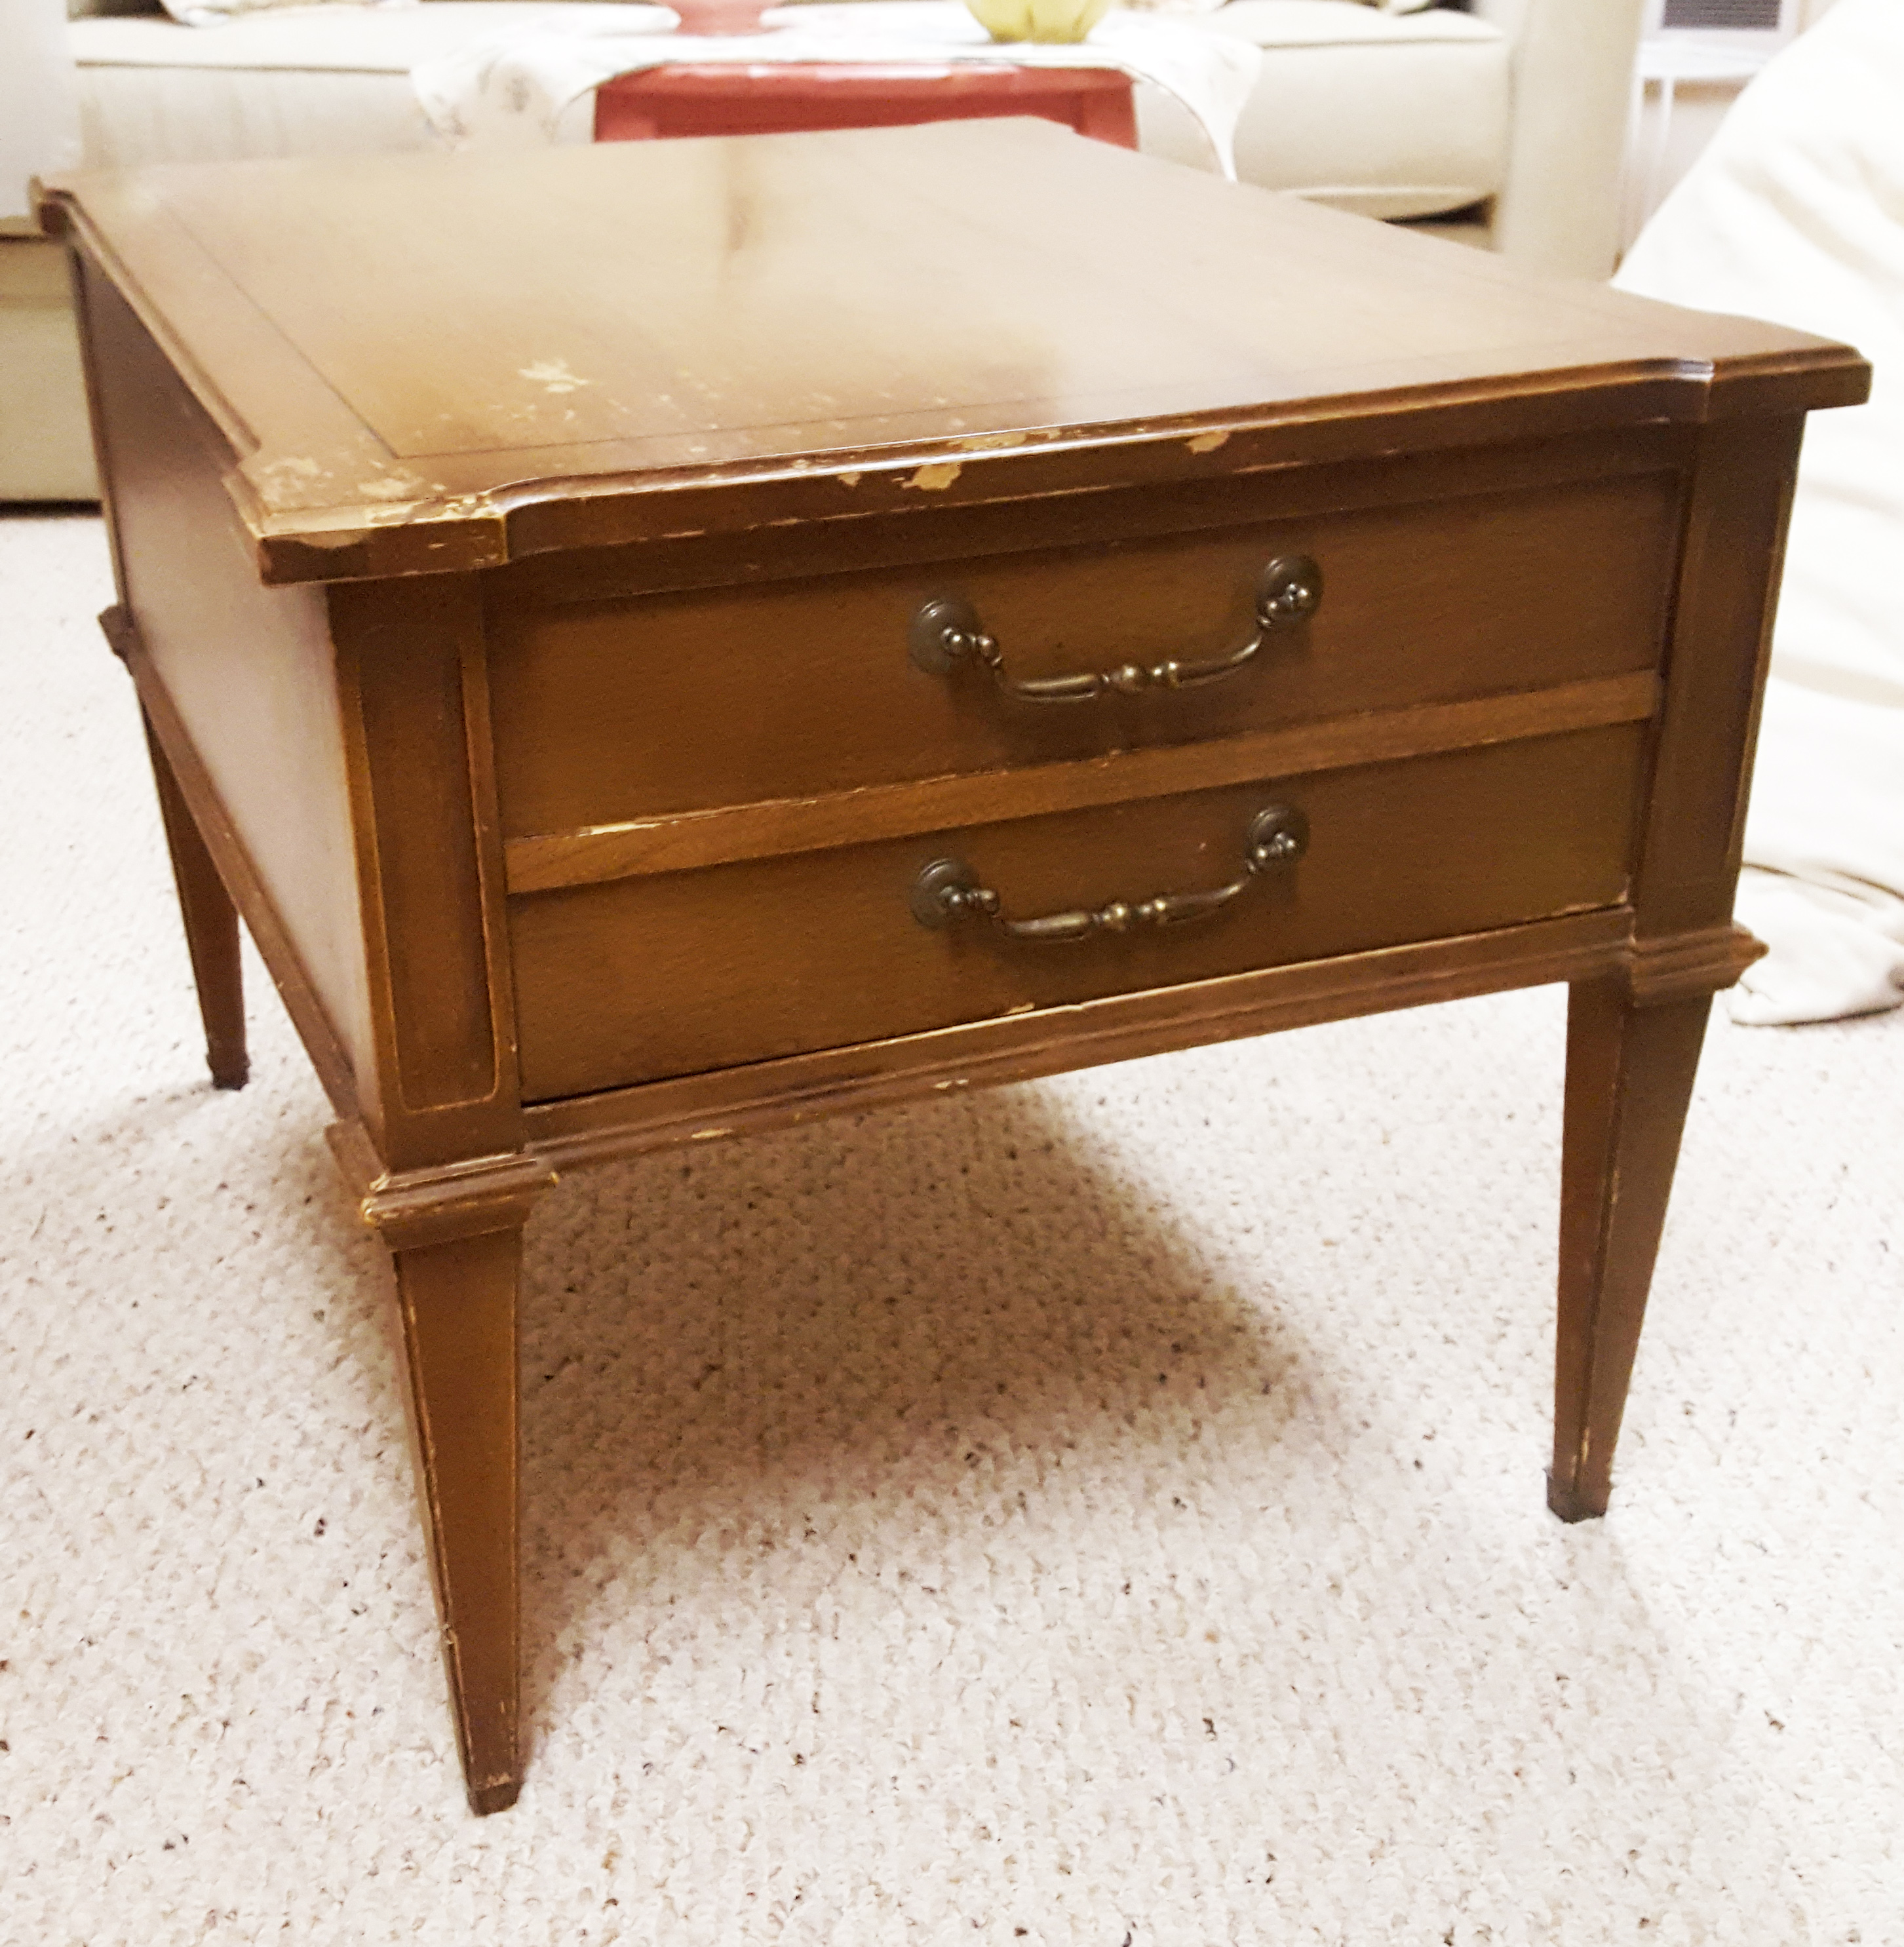
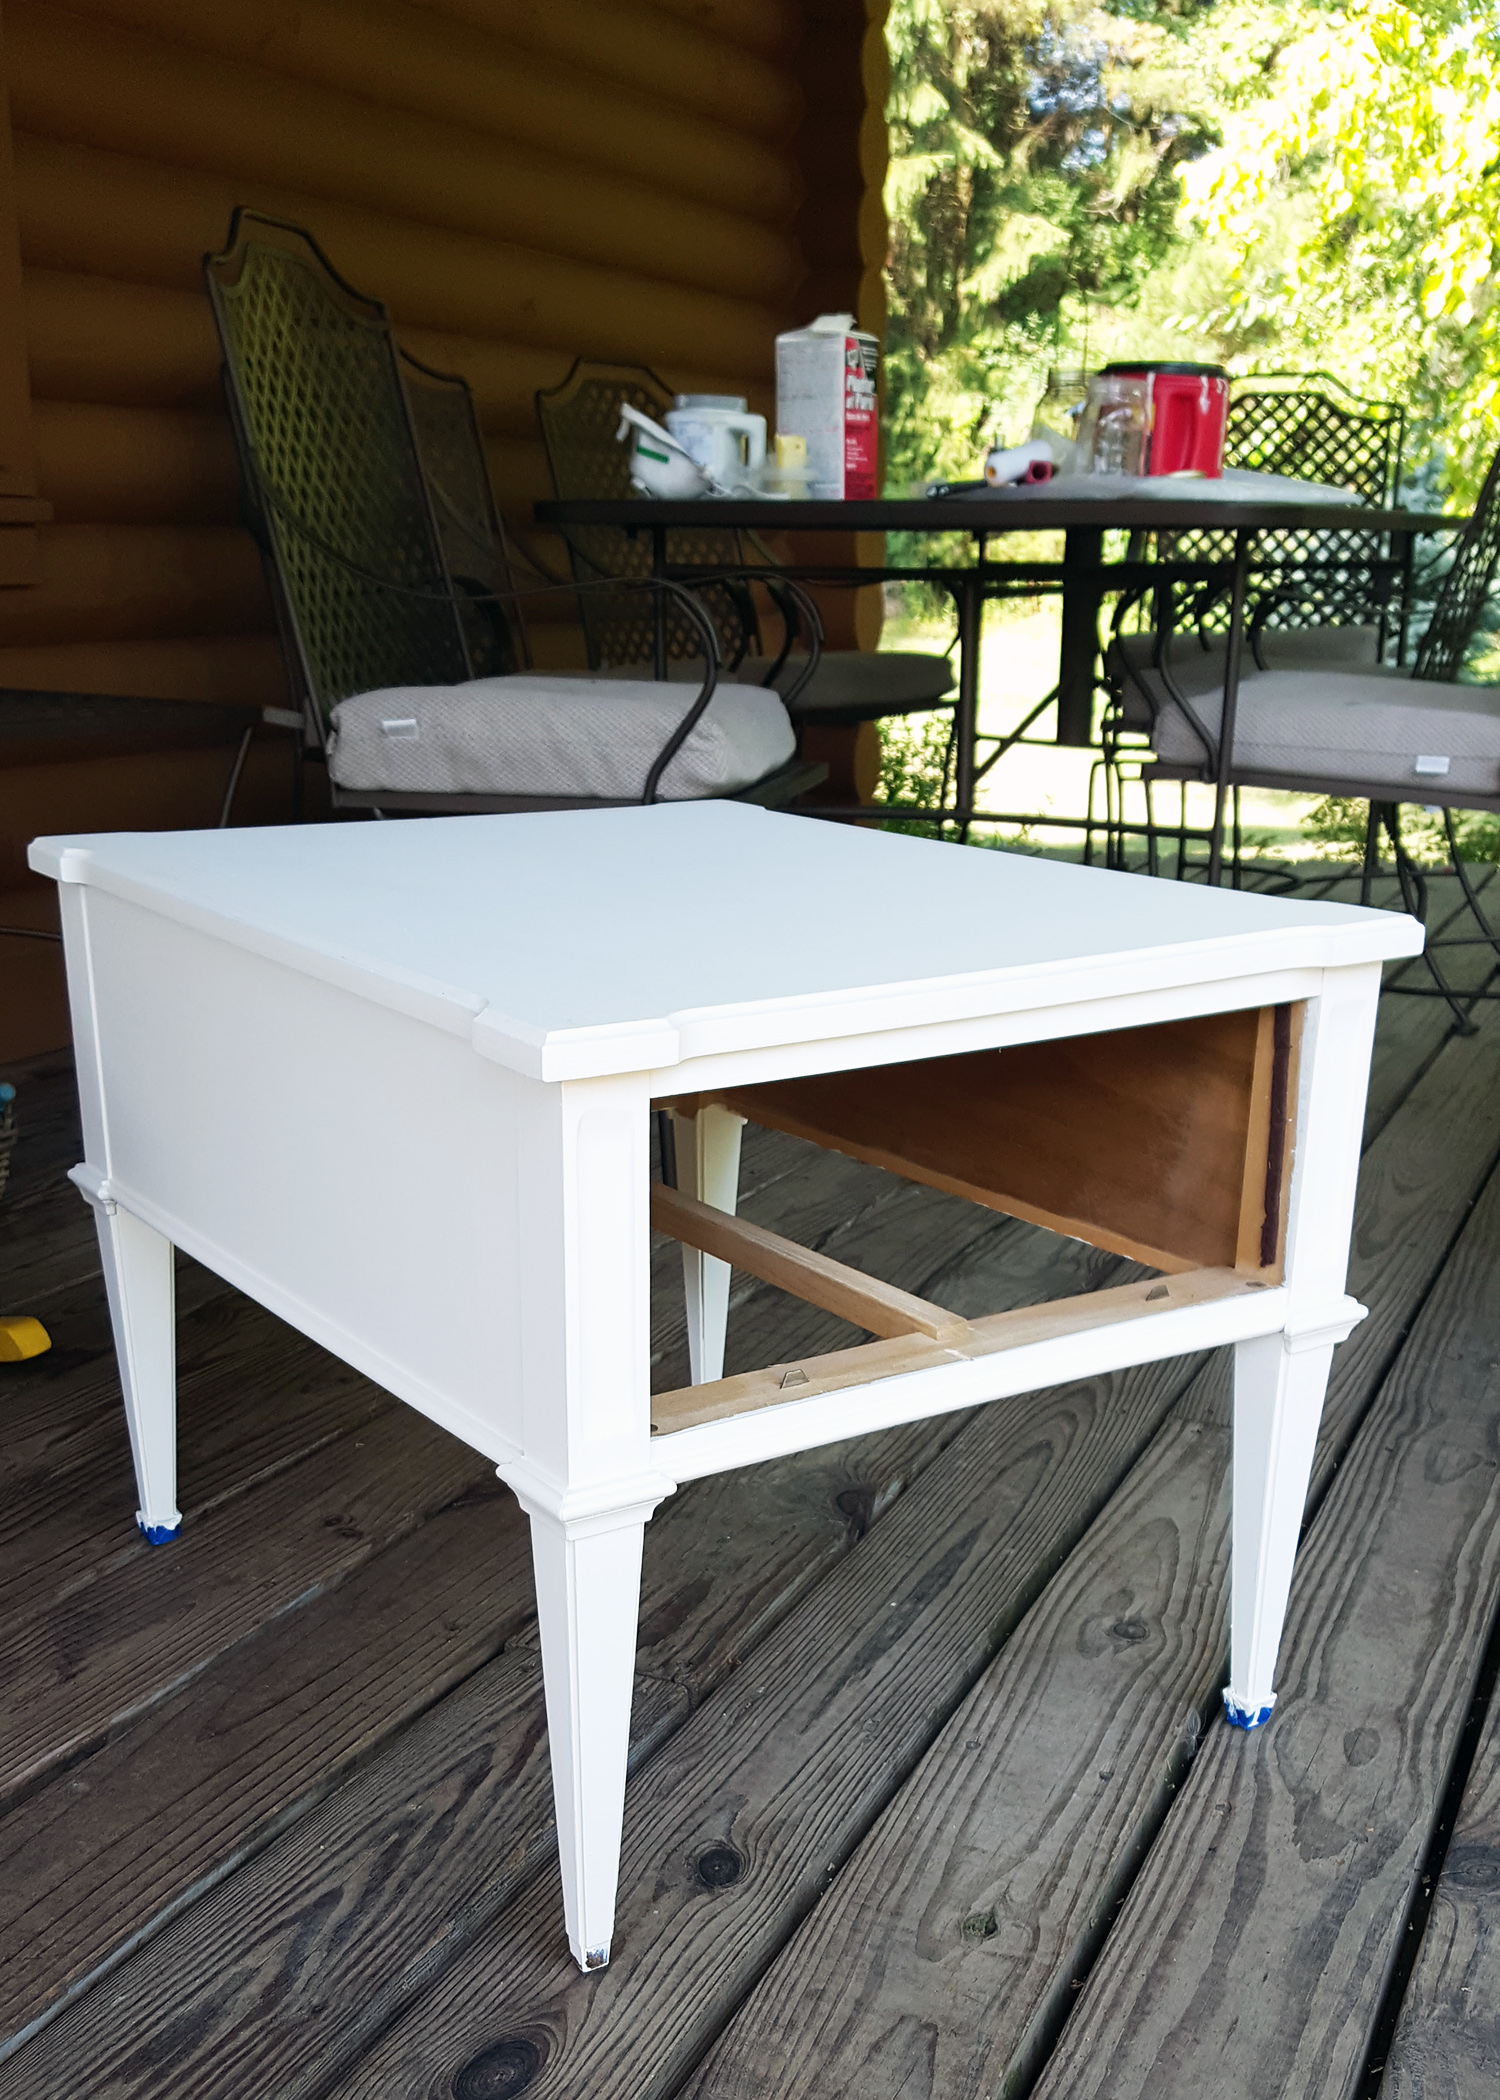
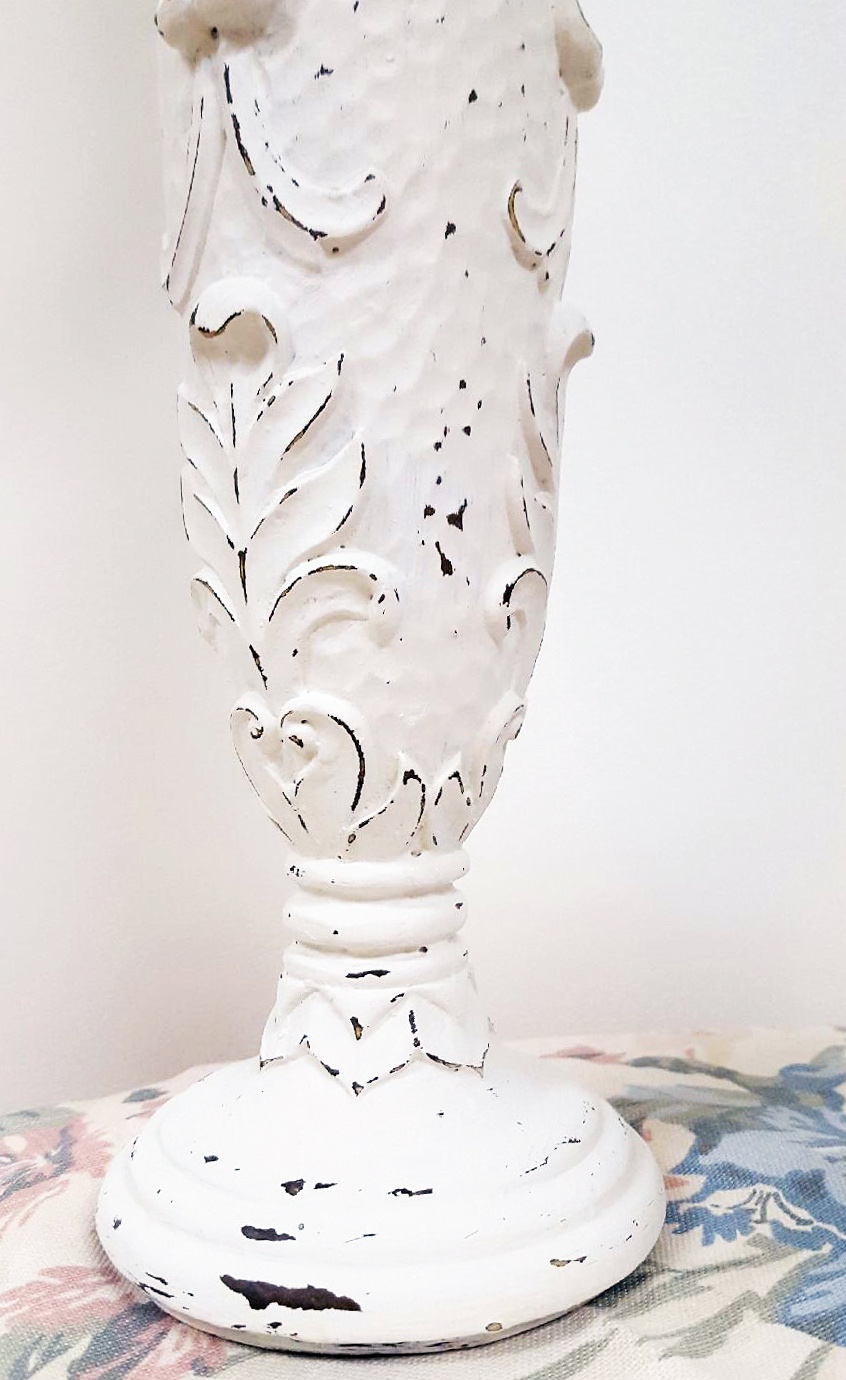
I always distress the pieces that I chalk paint. I like sanding along the straight edges, taking my time and standing back to see if I have achieved the look I like. Take this table (the before and after):
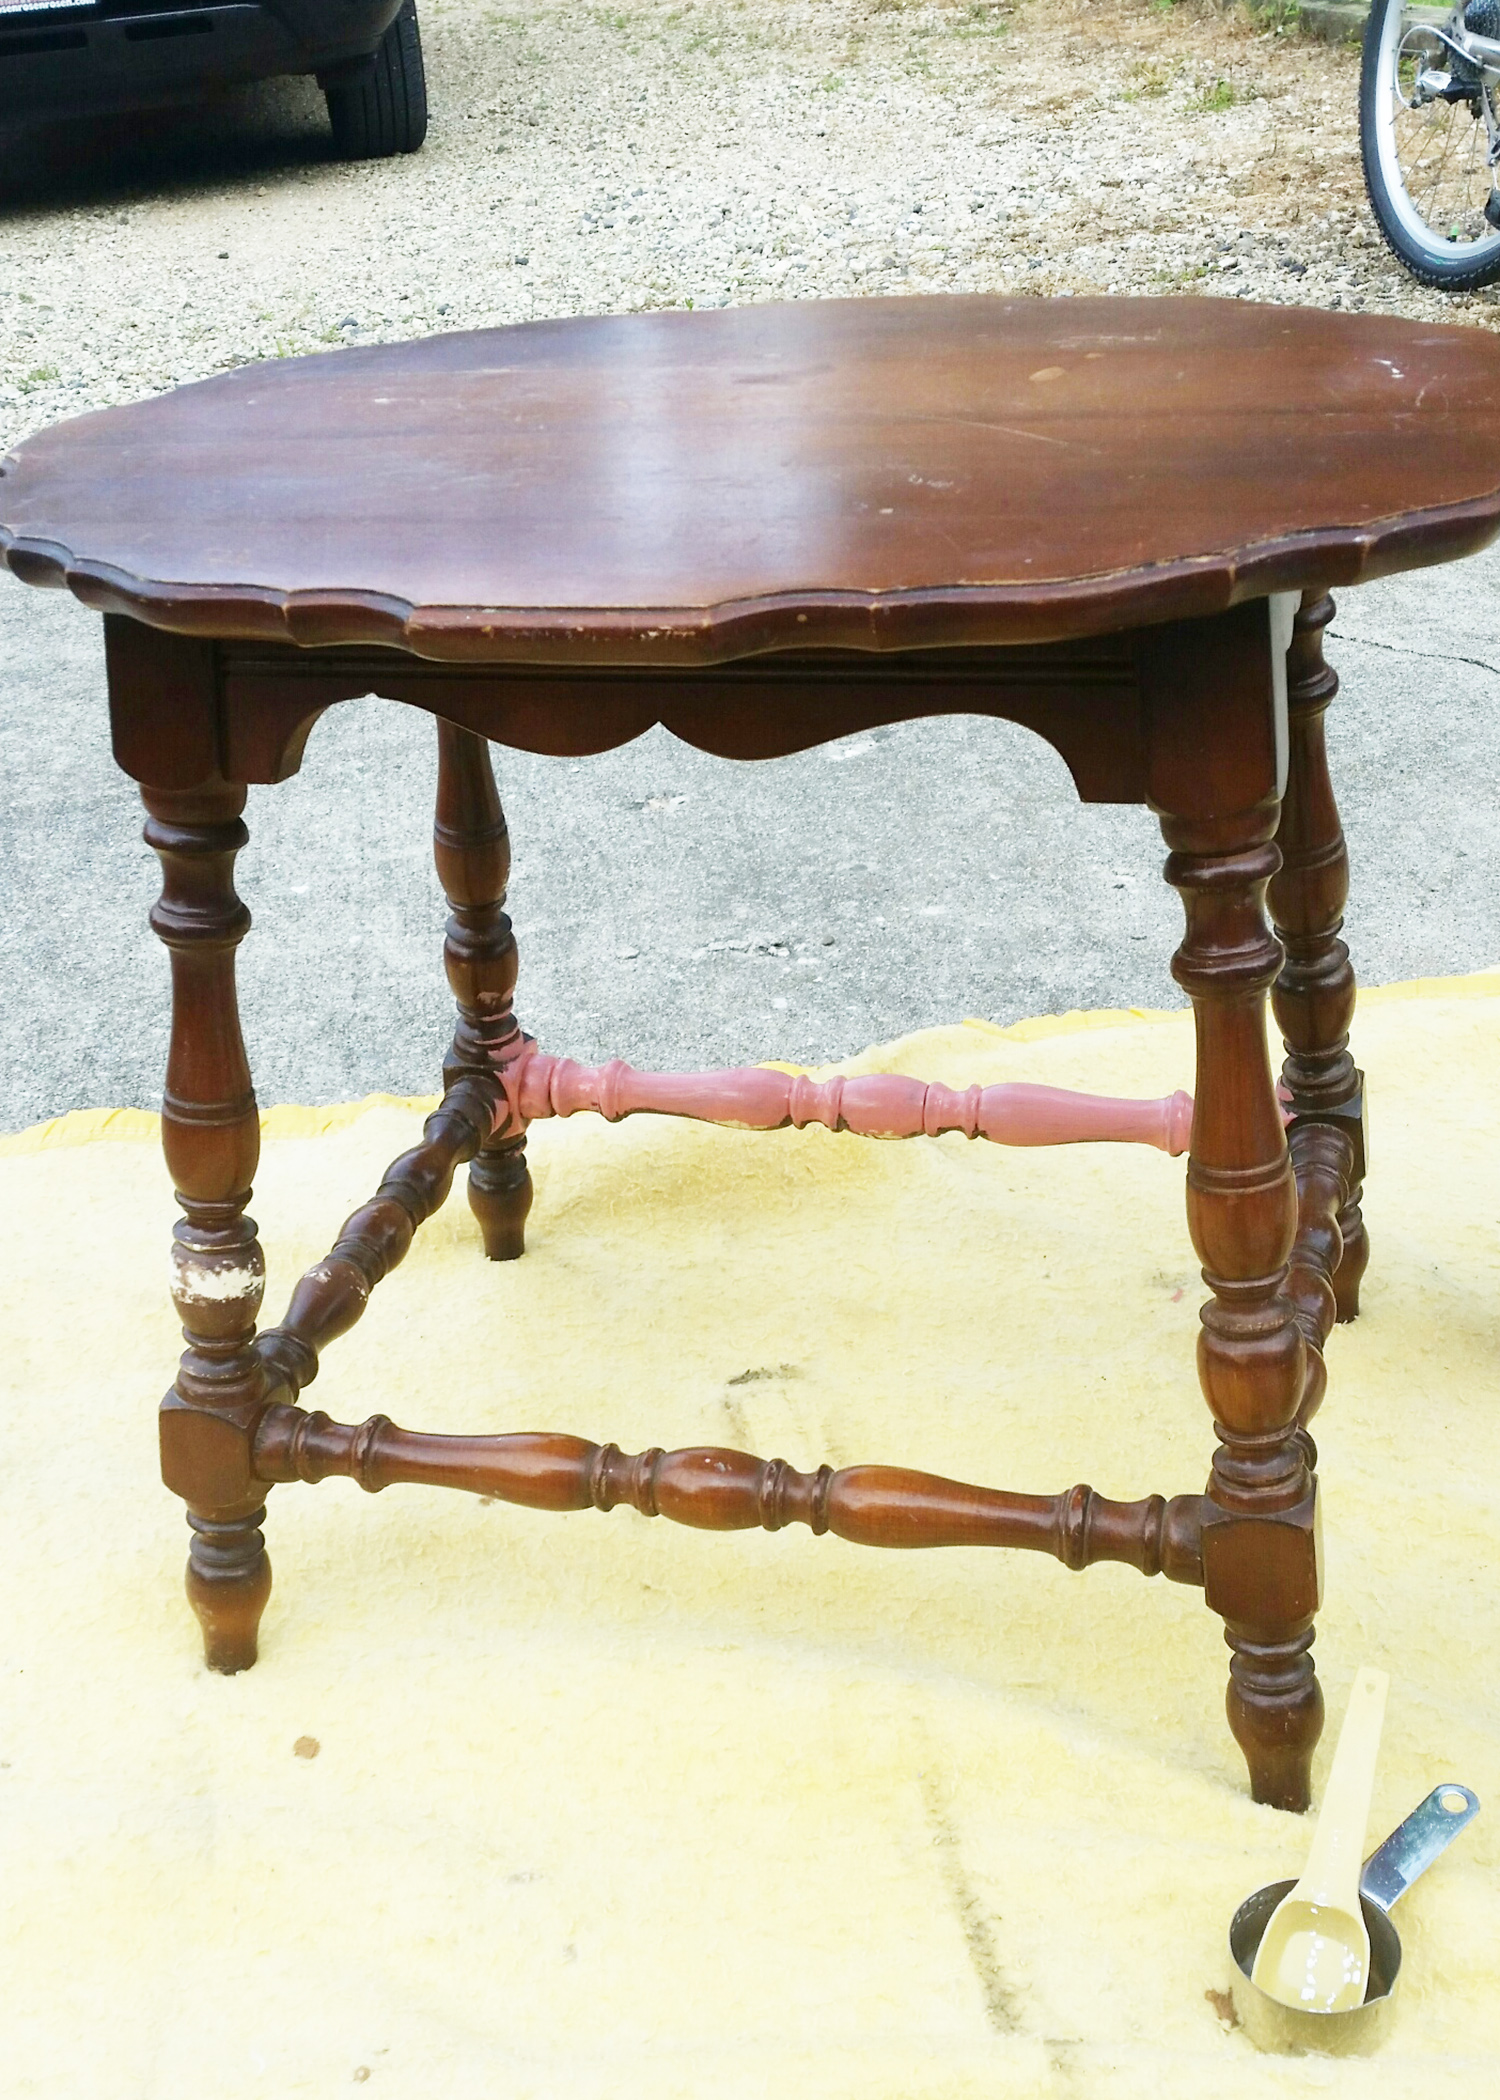


With its great spindle legs, the high points (i.e. curves) are where you would normally notice wear, so that’s where I concentrated my sanding on this piece. I have even used a screwdriver to scratch away small little knicks – just use a light hand so you don’t actually gouge the wood.
When distressing larger flat surfaces, I randomly sand a small area, and again randomly sand another area, maybe just a little heavier, even making a few smaller scratches along the way, just so it looks rather haphazard. Just make sure you go with the grain of the wood.
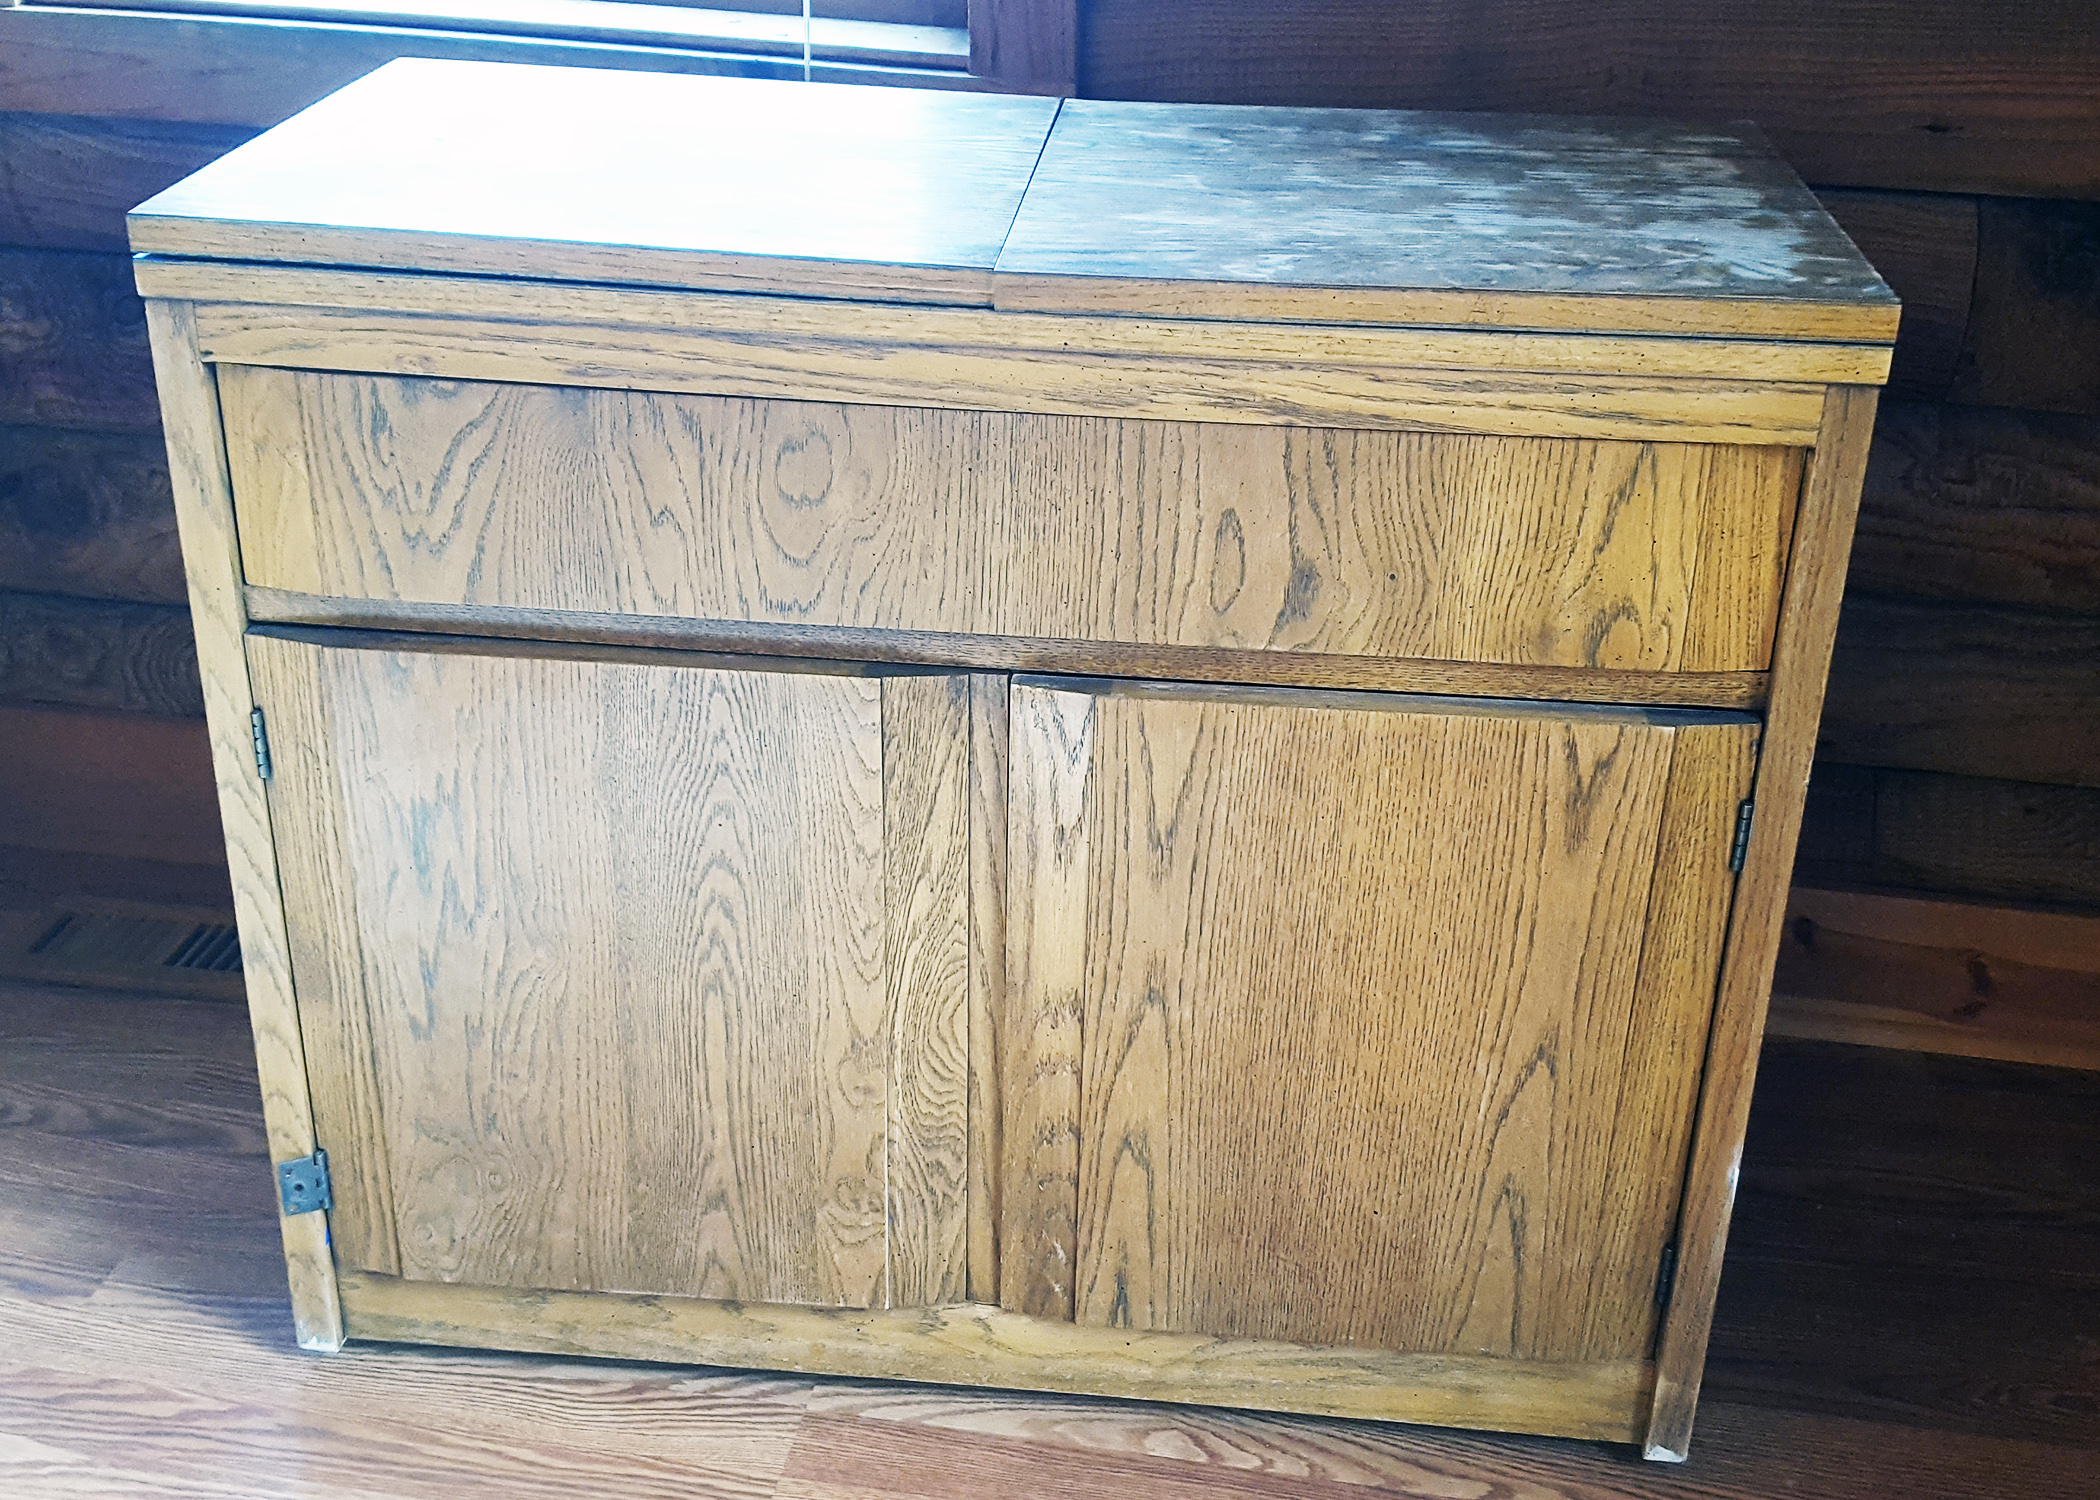
One time I accidentally touched the top of a freshly painted buffet area, without a good result, and decided to try wiping some of the paint off with a rag dipped in mineral spirits. This would have been approximately 10-15 minutes after application when the paint was still tacky. I wouldn’t normally suggest doing this, but it was interesting to experiment. Like I said before, if the result was not what I wanted, I would have added another thin layer of paint on top of the mess. But in this case, I loved the look.
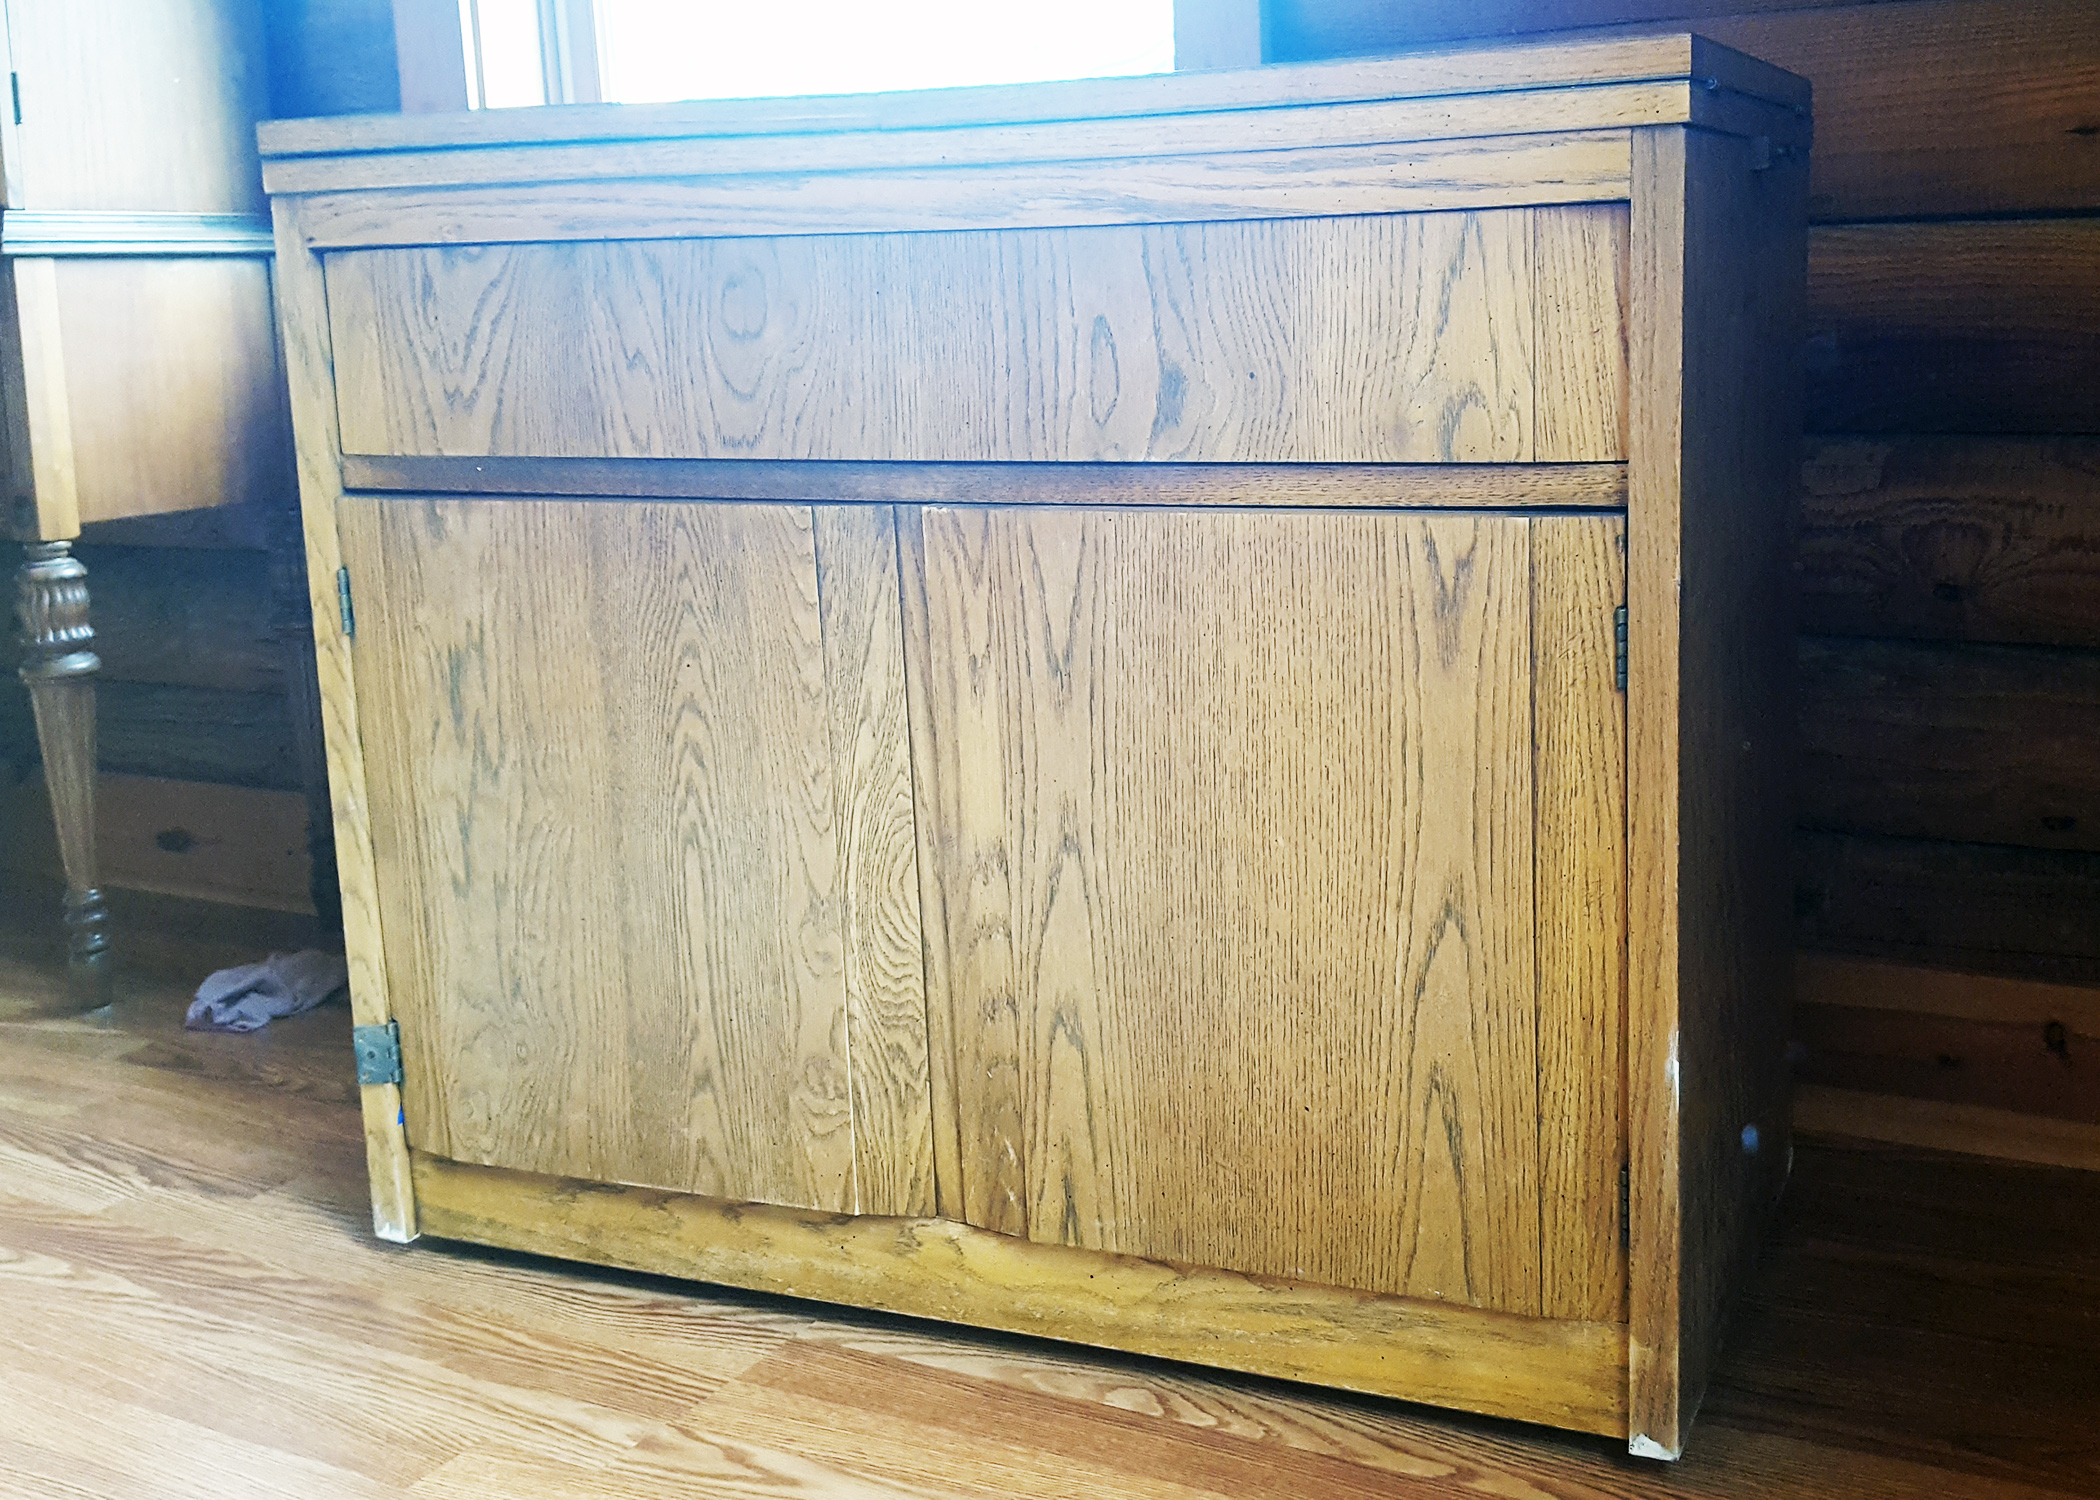
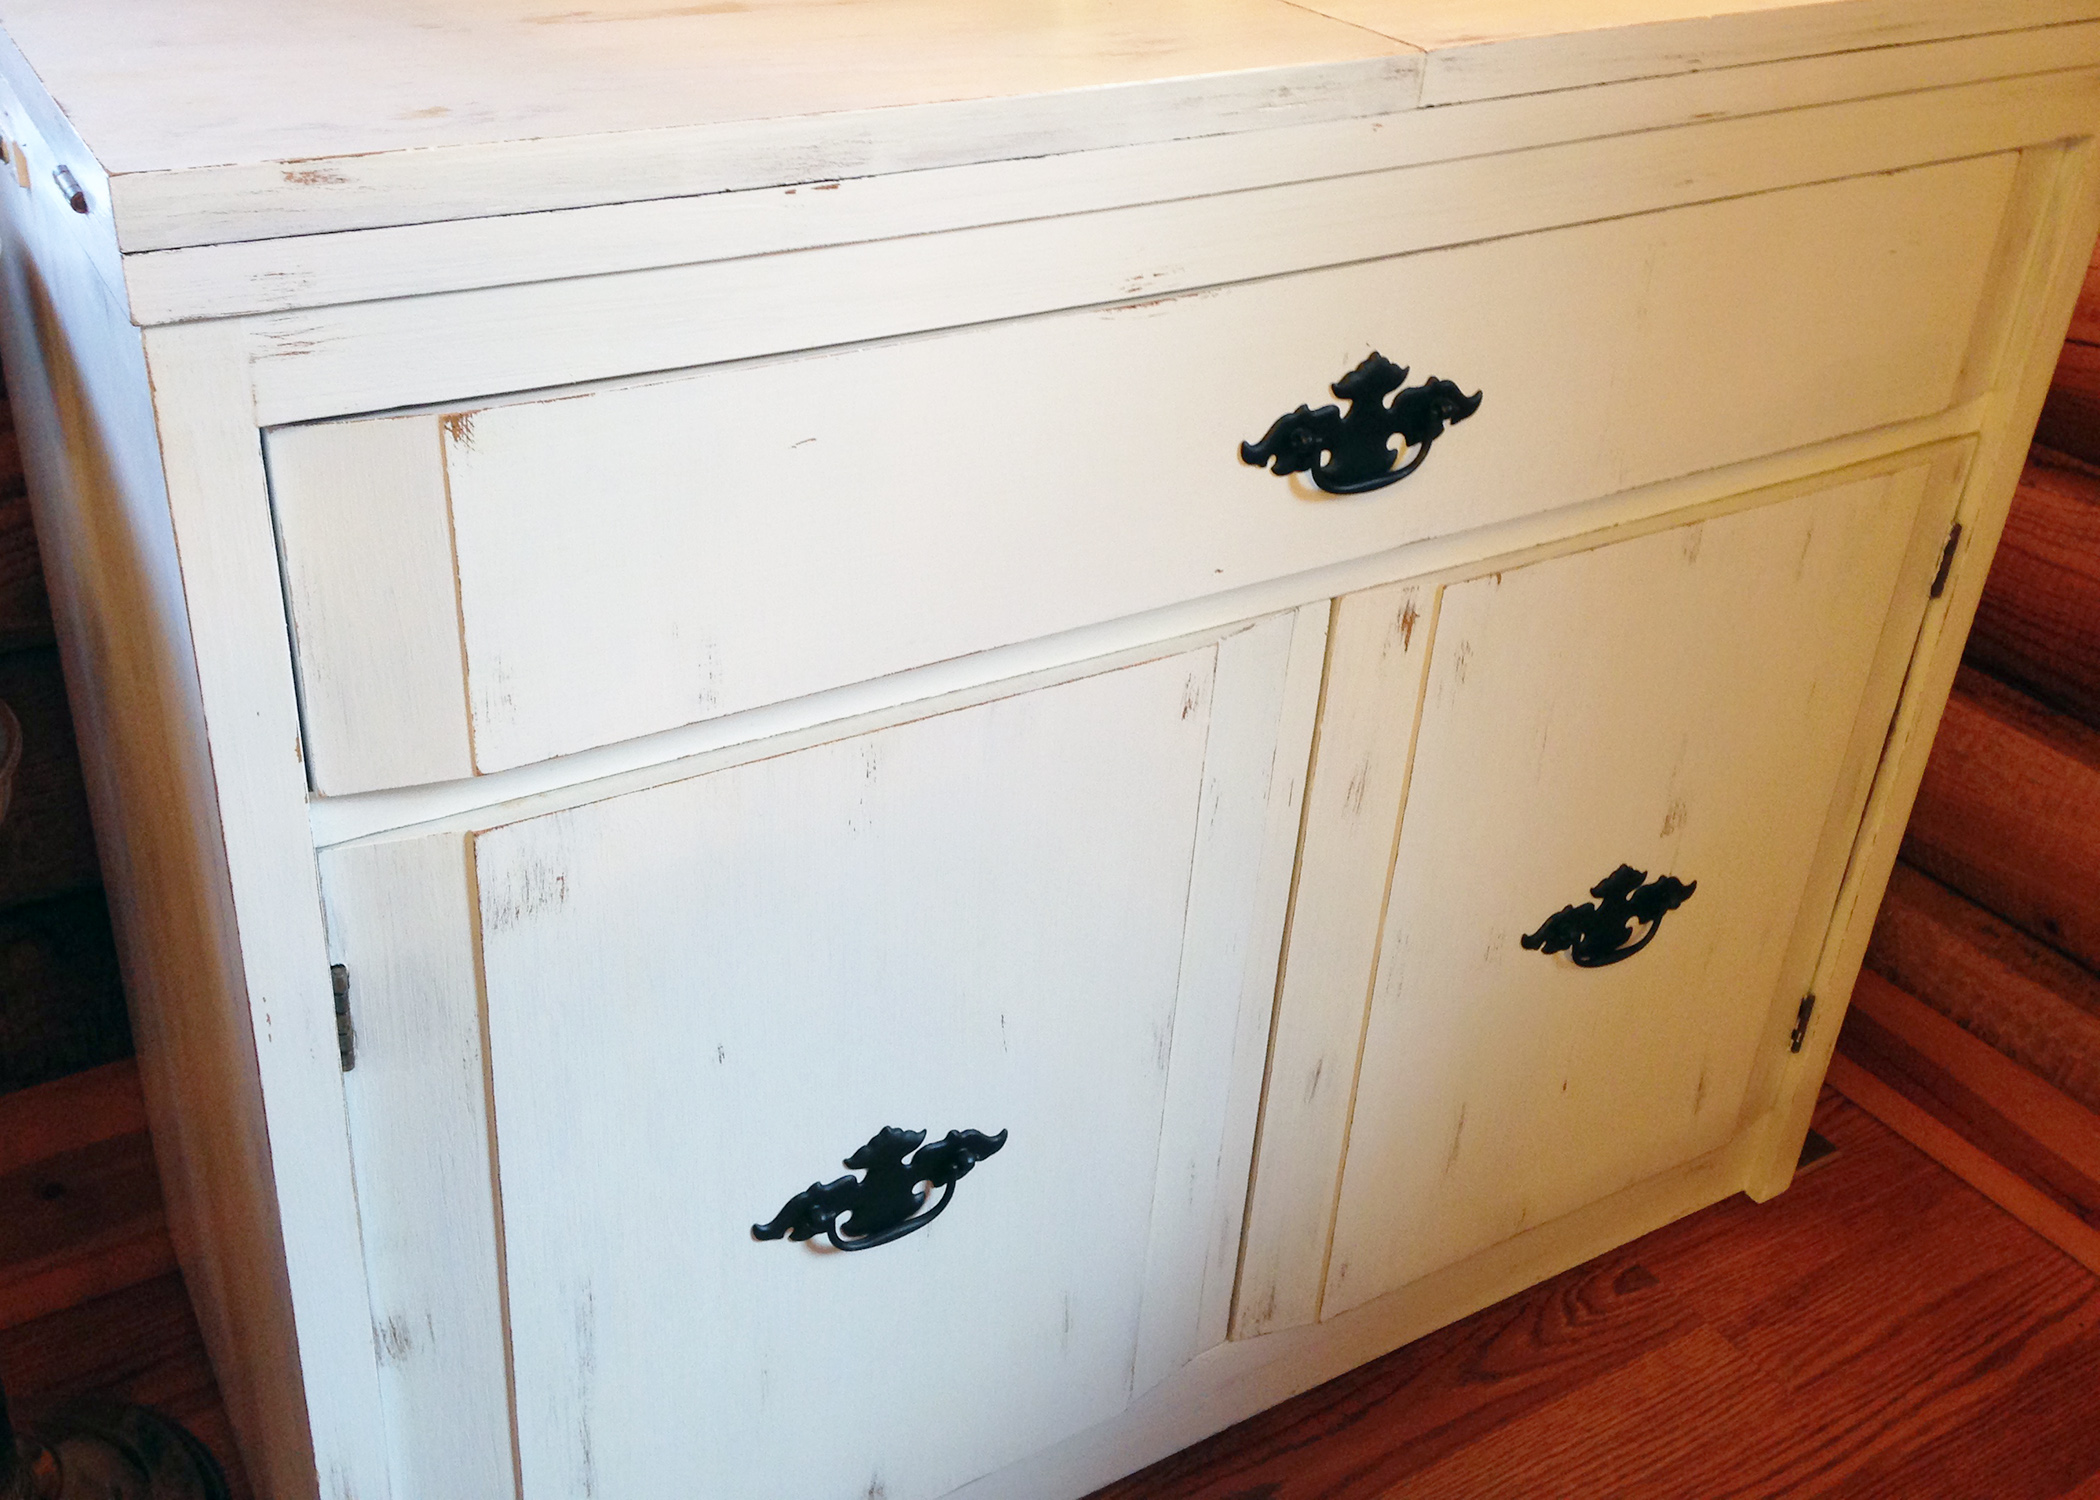
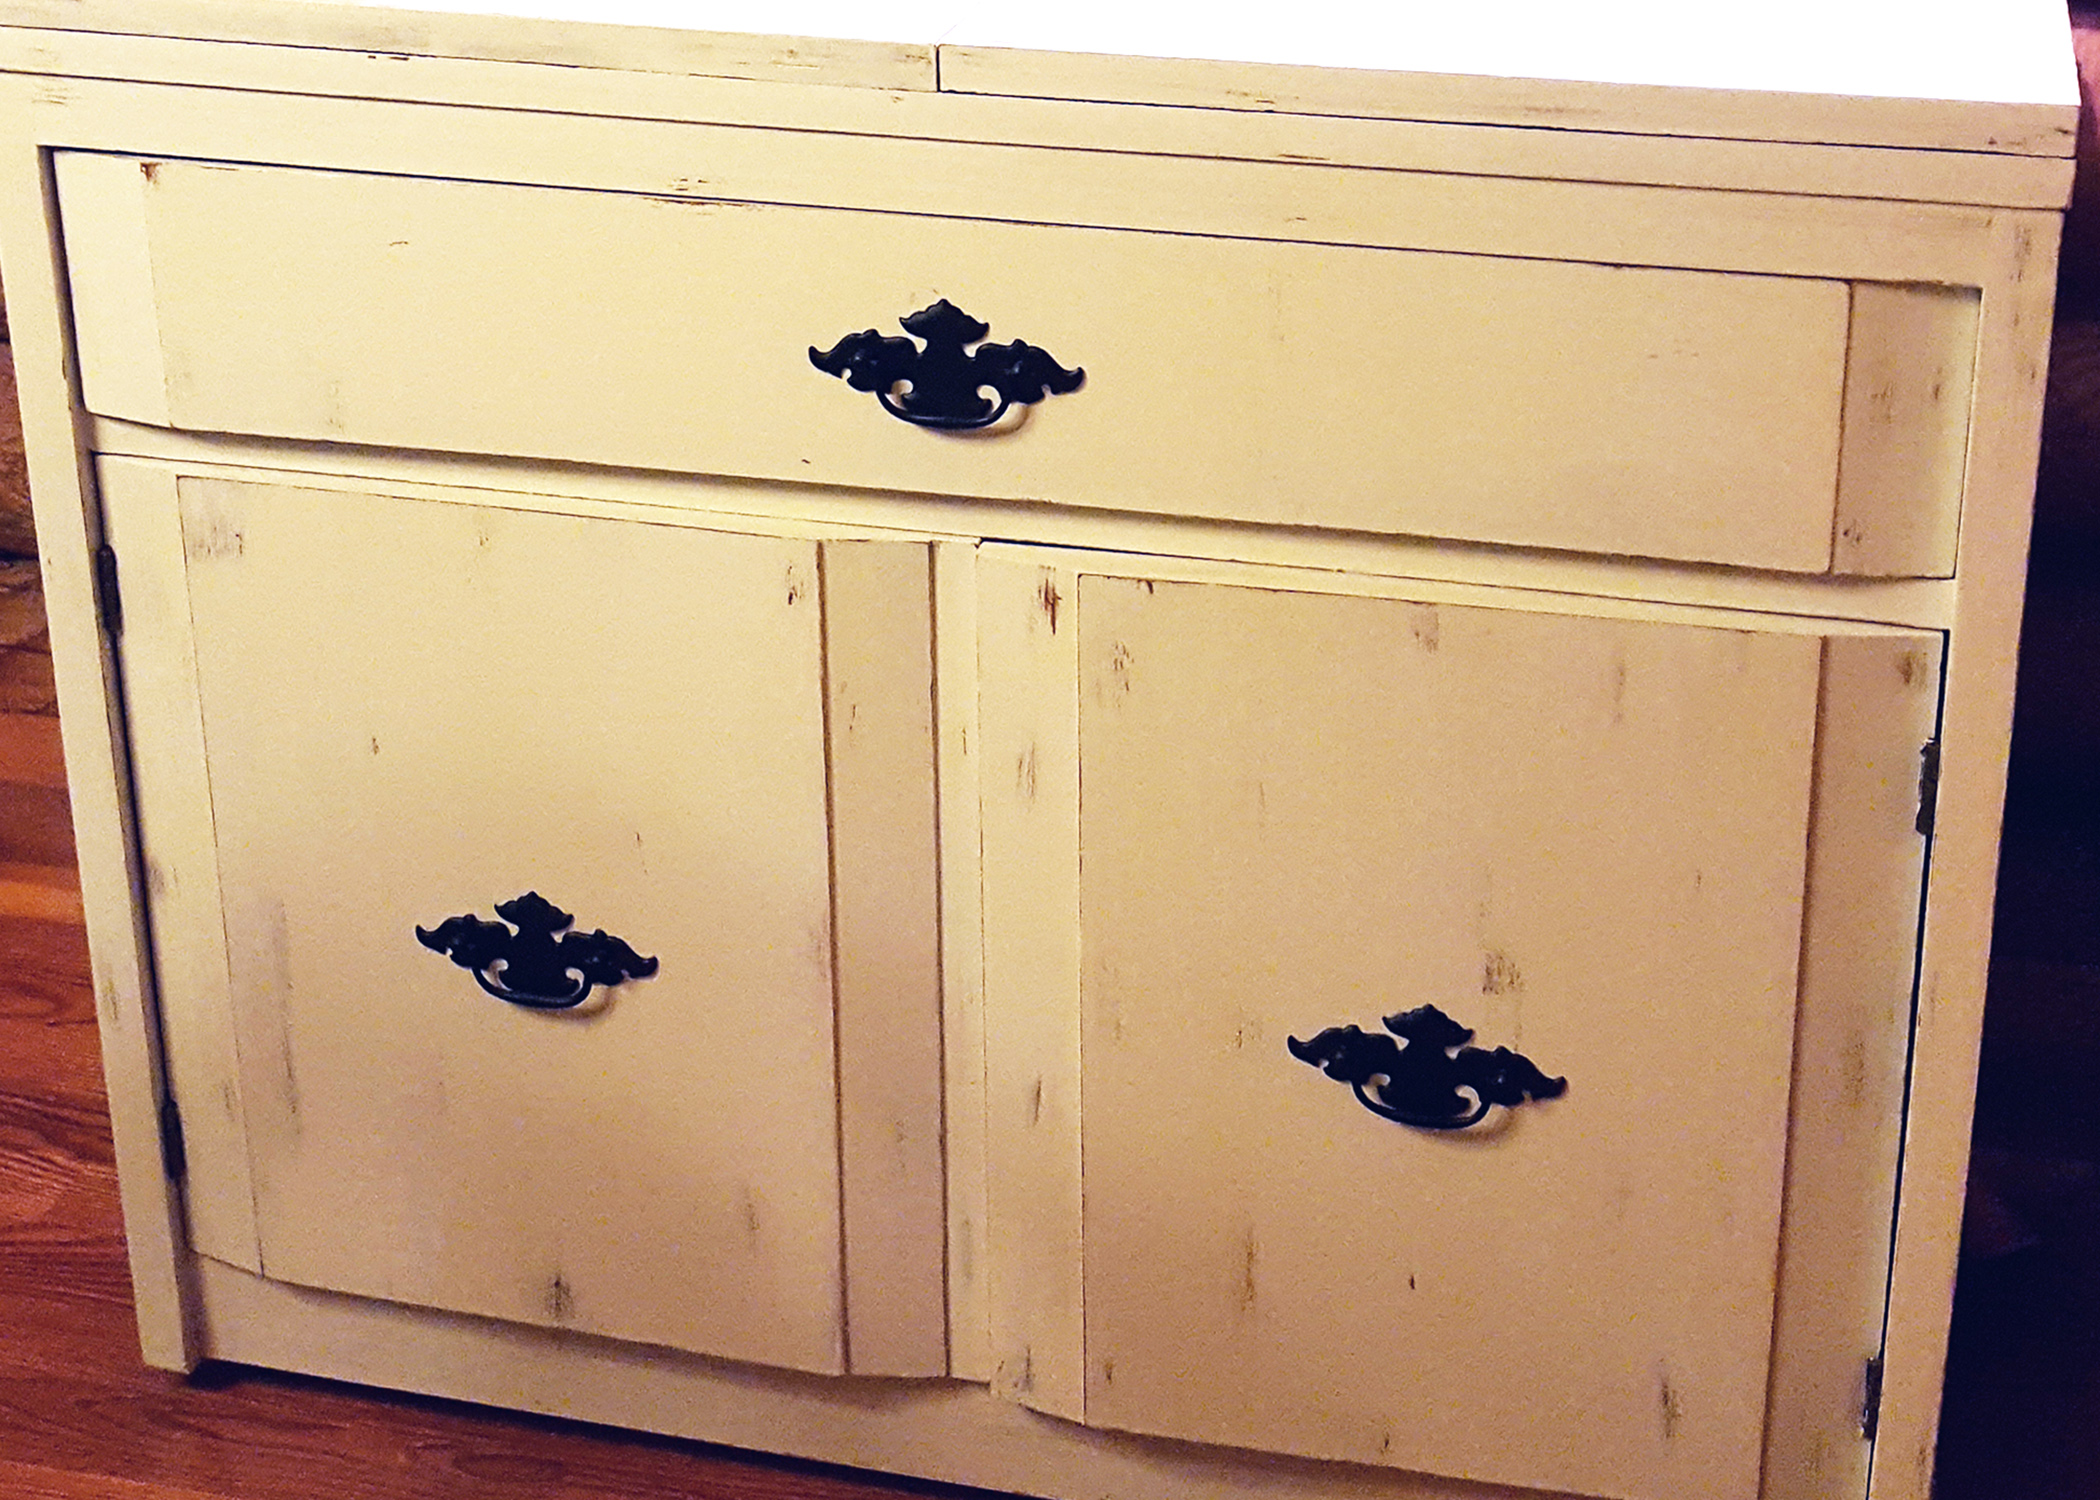
Here’s the before and after of the same piece. Notice the original buffet had no hardware:

Even a small area of damaged veneer can be repaired with wood filler. Take the small table I showed above. It was $5 (be still my heart!), but it was severely damaged – the rungs looked like they had been chewed up by a dog. Regardless, I snatched it up knowing that it was all fixable, and went to work. You can “sort of” see the marks below:

To repair, I easily filled in the gashes with wood filler. Some of the deeper gashes took another coat of filler. Just make sure you let each layer of filler dry before applying another. I used my fingers to smooth some filler around the spindles. Once that was left to dry overnight, I just used a piece of sandpaper to smooth out the contours.
Now that you know WHY I love chalk paint, let’s get to the steps to actually chalk paint.
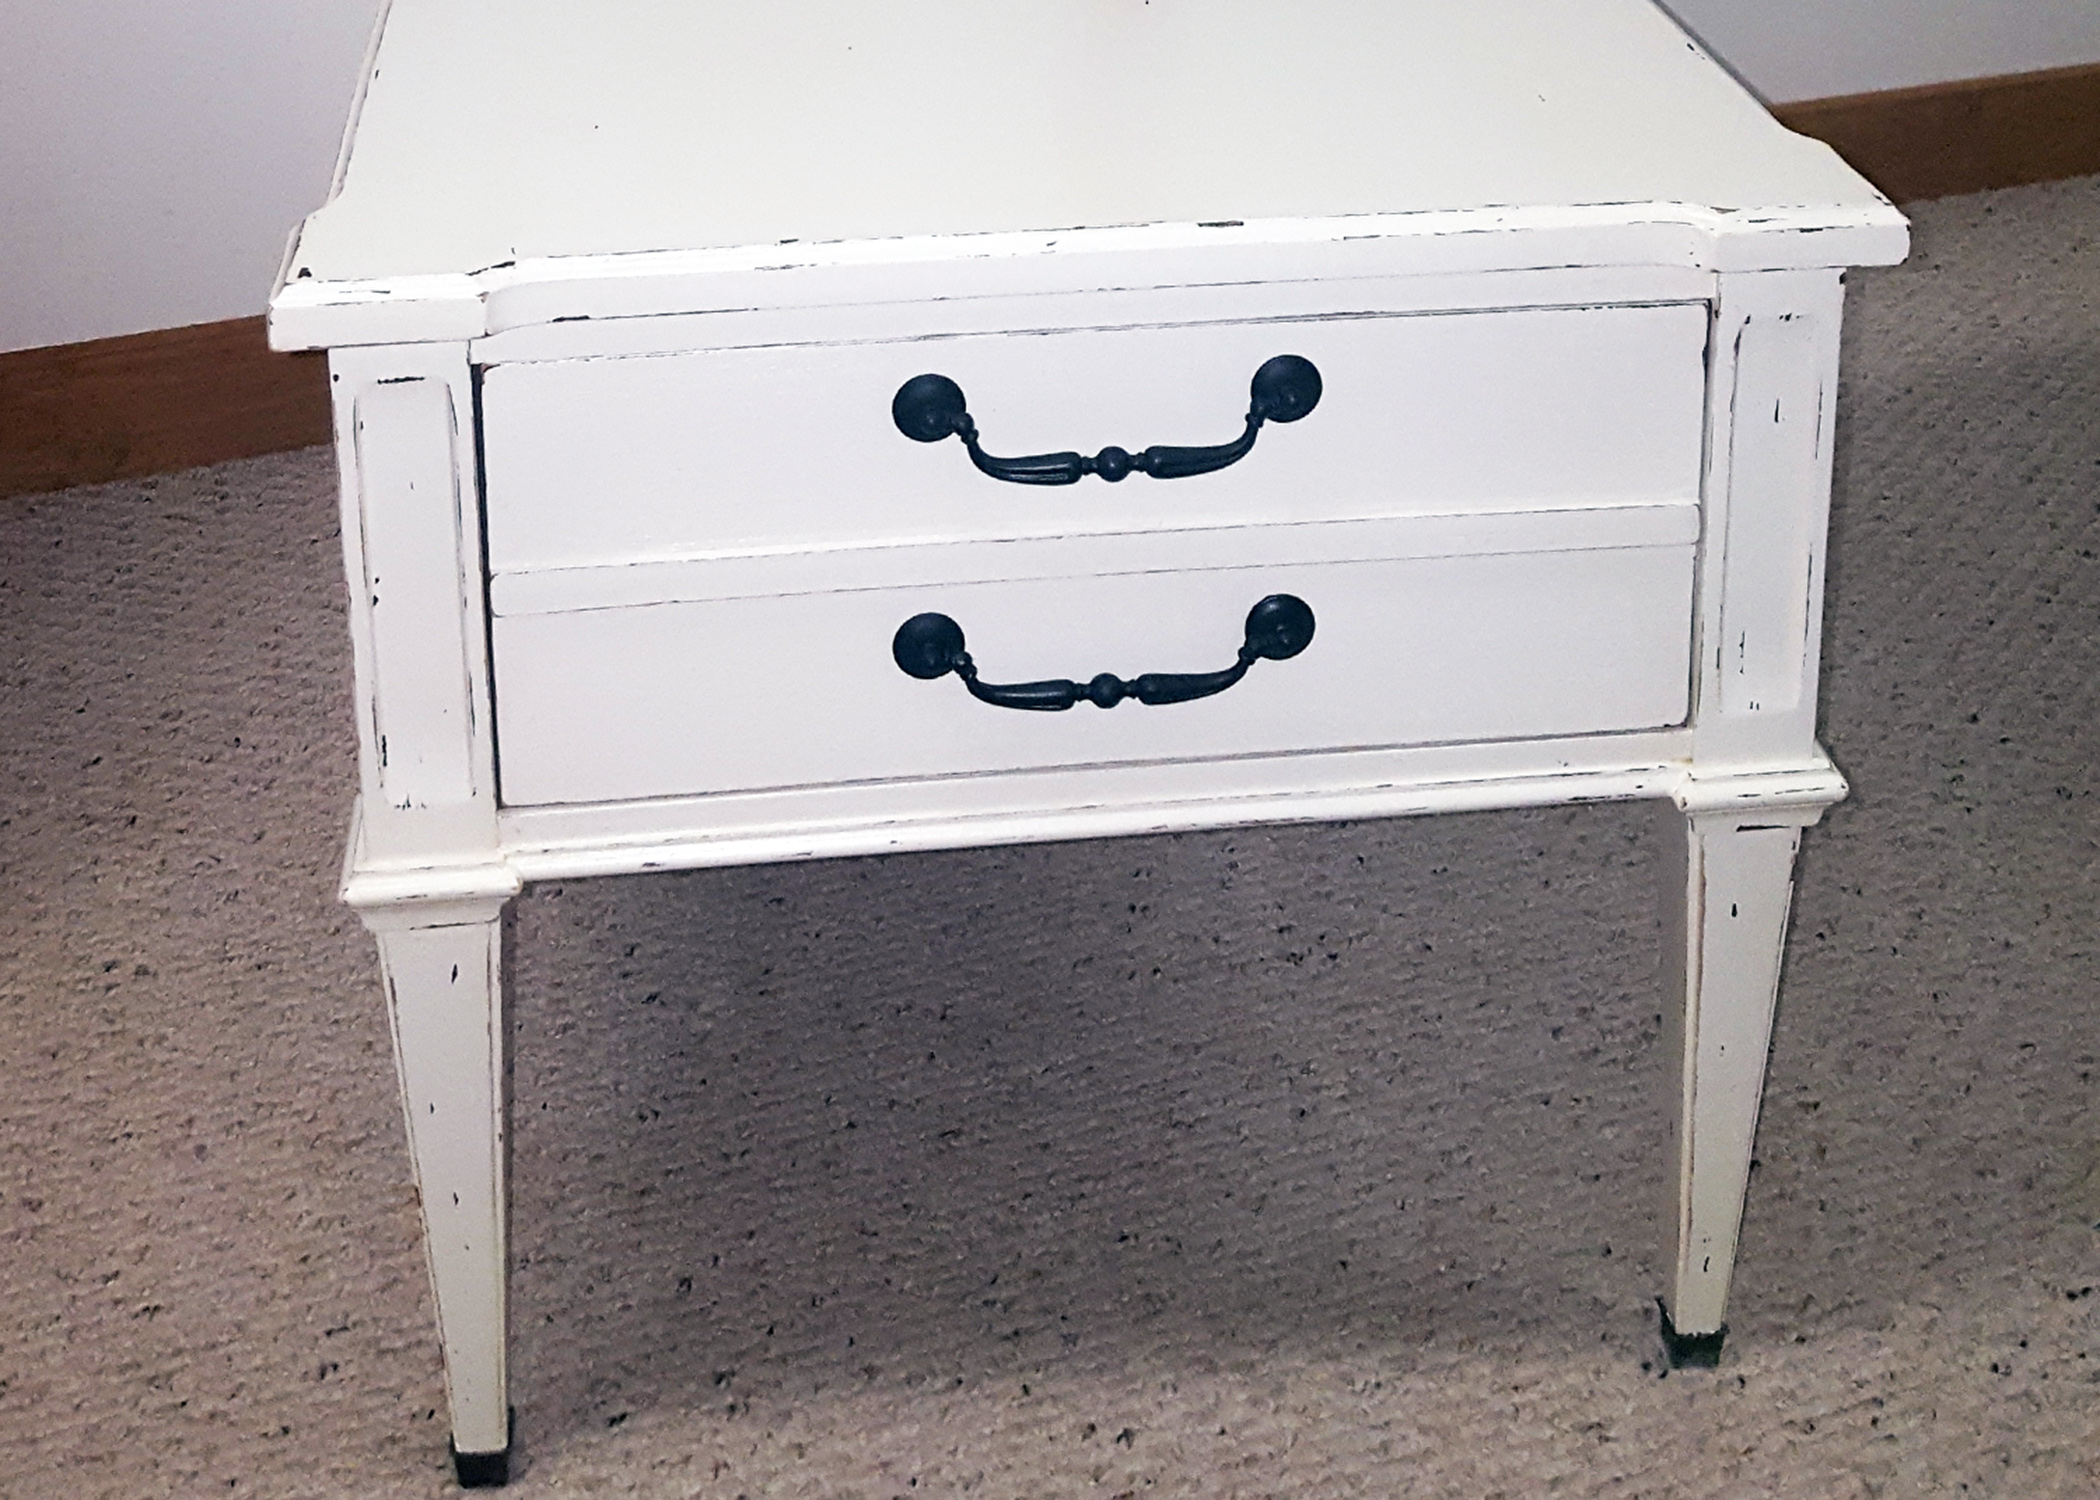
 If you don’t feel comfortable drilling new holes into your furniture, I suggest asking someone who is. Being that I am the person who saves everything (if you don’t believe me, check out my last post), I found old brass colonial hardware from my stash and spray painted them a matte black.
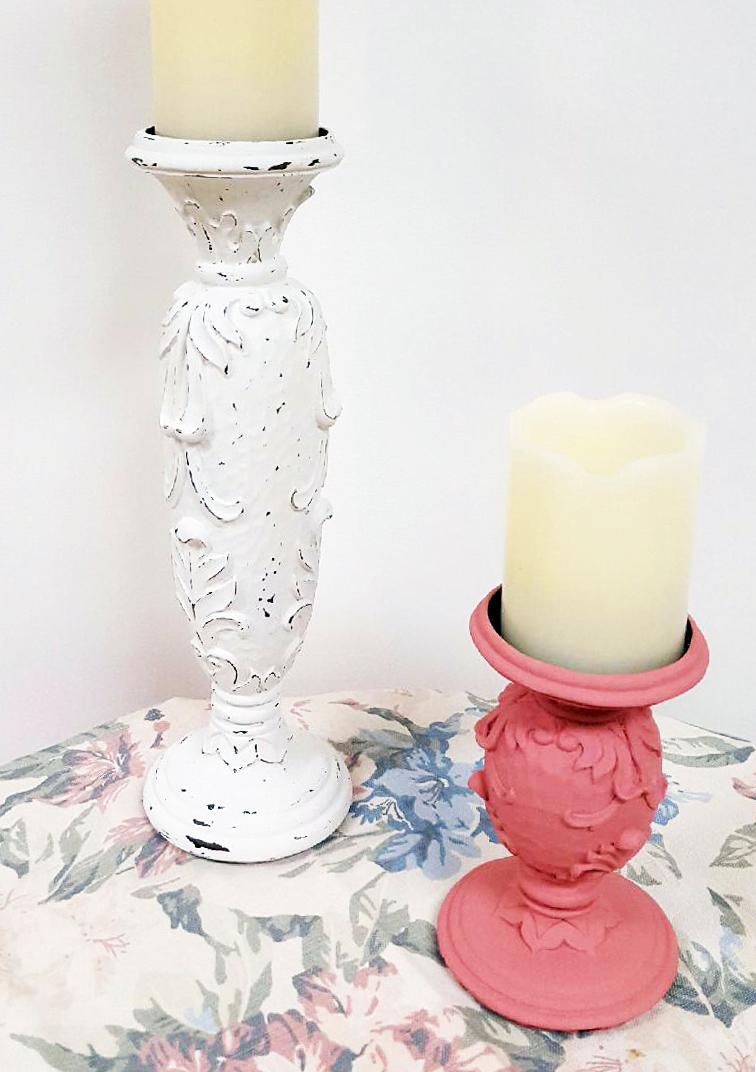
That’s it! It might seem like a lot of steps, but once you get the hang of it, you’ll be hooked on chalk paint like I am. Here are a few other pieces I’ve chalk painted below. Happy distressing!

Leave a Reply