I have gallery walls ALL over my house. All you have to do is go to House Tour, and you’ll see multiple examples. There’s one in each of my daughter’s rooms, my dining room, the hallway down my basement stairs (a work-in-progress), and just recently, my basement rec room.
Because I’ve planned, modified and hung so many different types, I feel obligated to share some of the most useful tips & tricks I’ve learned along the way. So here goes:
- Start with what you have. Look no further than your own collection when starting a gallery. Do you have some great framed, or even unframed, pieces collecting dust in your attic? Or maybe you have a thrift store find that needs a little love? Whatever it is, start at home, because you never know what you may have overlooked.
- Think outside the box, but within your style. Don’t let “rules” get in your way, but as much as creativity is beautiful, it can also get a little cray cray. Any art you choose should still look appropriate with the rest of the decor and furnishings in your room.
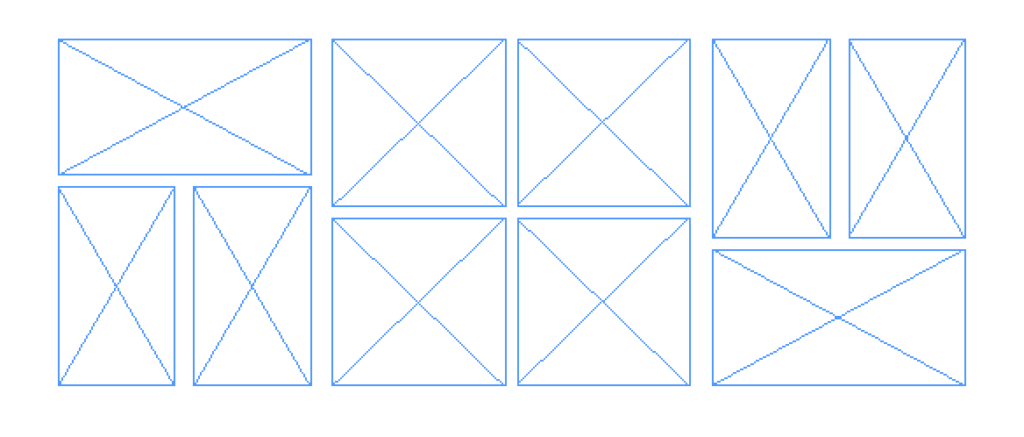
- Plan before you hang. Gallery walls can come in all shapes, sizes & aesthetics. That’s why it’s so important to plan yours out beforehand. In my basement, I knew I wanted a photo canvas gallery, so I did my research and found the most reasonable online provider I could. Vivyx Printing is who I ended up going with, and I was very pleased with the results. That said, before I even thought about ordering, I mapped out my design on my wall with painter’s tape, adjusting the sizes until I got it right. Then, I created a mini version of that on my computer. This is what it looked like:
Once I had the sizes and number of canvases nailed down, I started placing and adjusting photos: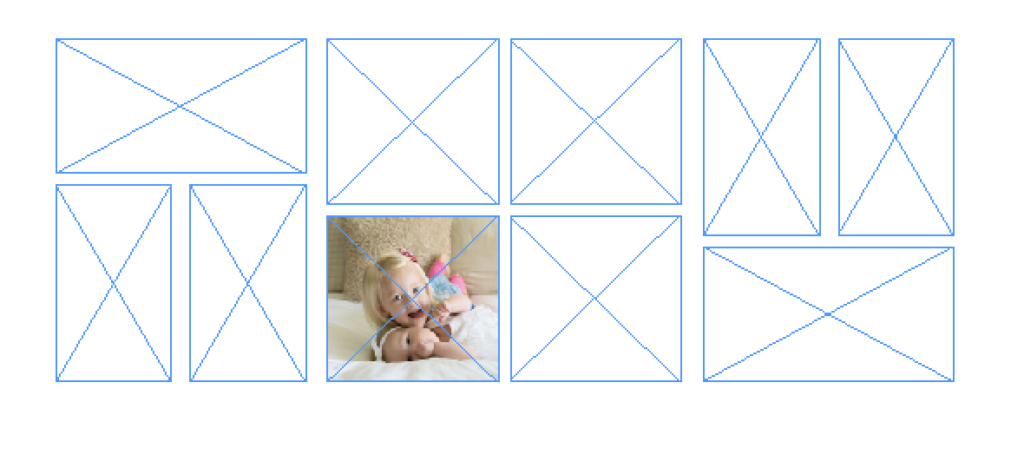 I re-arranged until I had a good balance of close-ups, wide angles, colors and black and whites. Reality Check: This took a looooooong time. I wanted it to be more of a work of art, than cheesy family photos, so I tweaked my image selects endlessly, moving one here, and another there. In the end, I think I succeeded at balancing each one with its neighbors. Here’s the finished product (you’ll notice it’s slightly different from the computer mock-up, but it was really just swapping the two horizontal end canvases with the 2 above and below them. A minor change that didn’t impact the design):
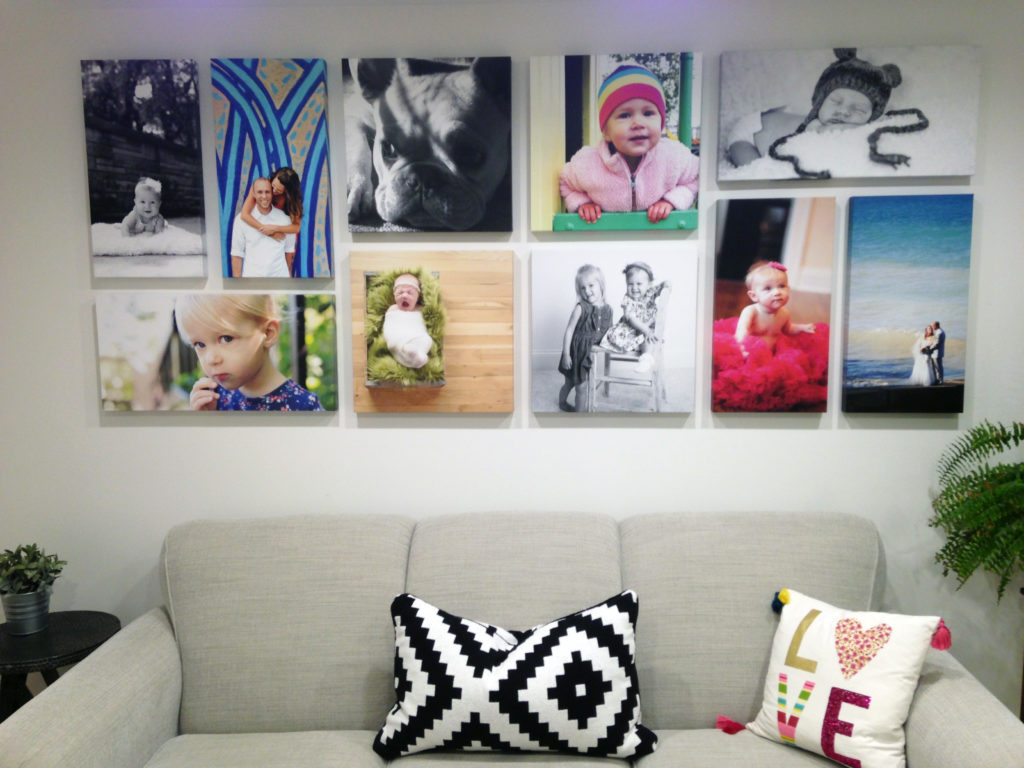
One thing to note, I opted to pay a few bucks more per canvas to get a thicker edge. Usually you can get a 1/2-inch to 3/4-inch edge for free. However, I think a thicker canvas looks more premium, so I paid more to get a 1 1/2-inch edge. So worth it.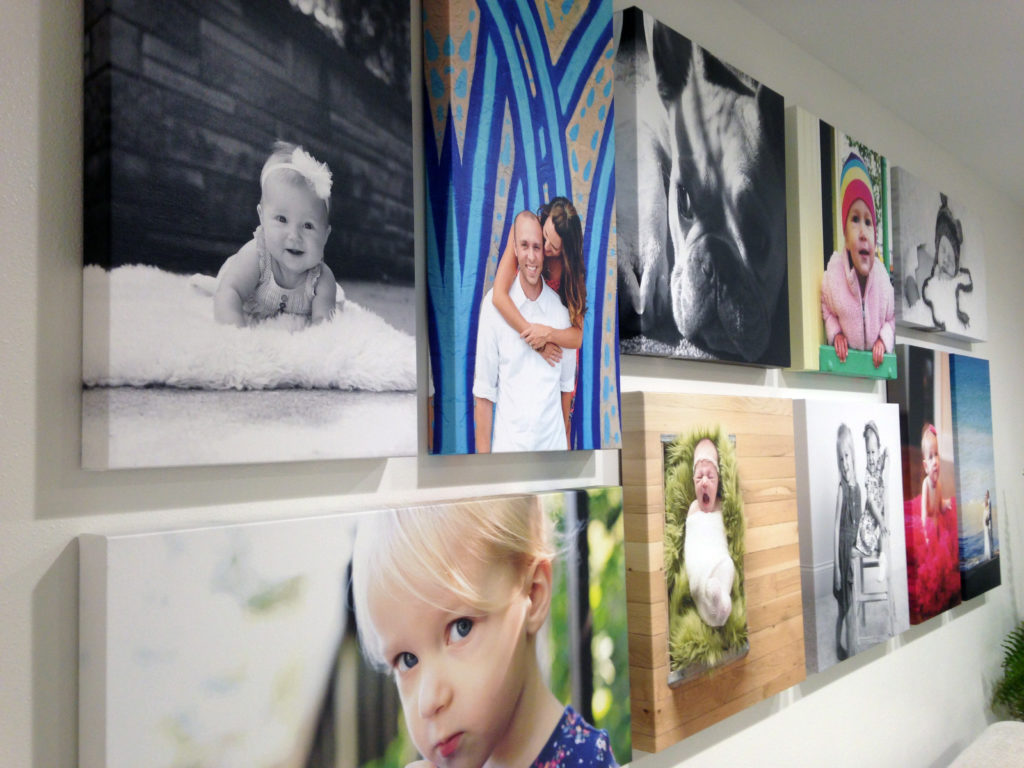
- Create a focal point. Let’s say you just bought a fabulous couch that looks great in your home. To draw even more attention to it, consider creating a gallery wall to hang above it.
 Photo cred: Kerrie L. Kerry @ Houzz
- Start in the middle, and work out. I often choose a big frame to “anchor” a gallery, placing it in (or around) the middle of your wall. That way, you can work your way out, keeping the wall feeling balanced by your anchor point. If you don’t follow this advice, and rather, start on one of the ends, who’s to say your gallery will wind up centered where you want it to be? No one.
- Frames don’t have to match. Varying black, white, silver and wood frames can all look beautiful together. The same goes for uniform frames. Choosing all white, all black, etc. creates a simple, modern look, while opting for varying frames gives an eclectic feel. TIP: There’s a difference between eclectic and cray cray, so if you’re choosing variety, make sure it still looks collected. I tend to be a little cray (shocking, I know), so most of my galleries utilize whatever I’ve got, uniform or not, but strict uniformity is completely beautiful, too. Check out this all white wall by my favorite bloggers, and a beautiful mostly black stairwell gallery that’s fantastically streamlined:
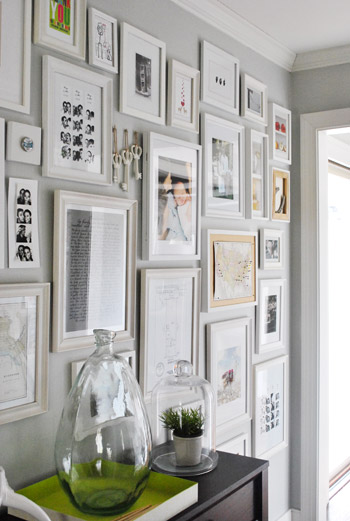
Photo cred: Young House Love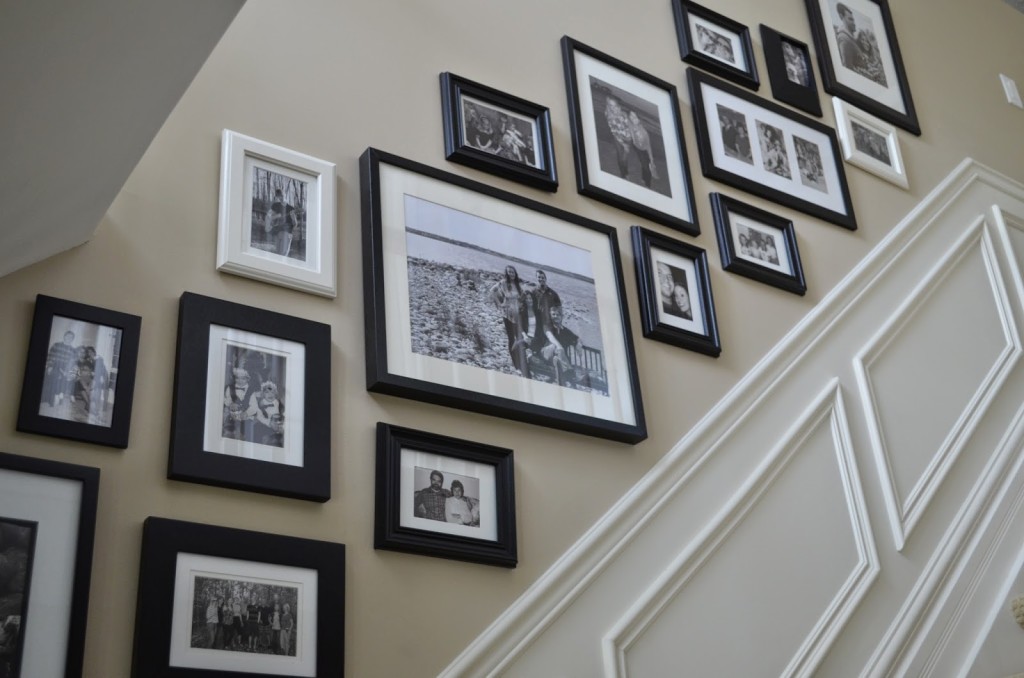
Photo cred: A Burst of Beautiful
- It’s all about balance. Whether you’re going for uniformity or not, make sure you “balance” your gallery. Meaning: If you have 2 frames with white mats, and the rest are a different color, make sure you spread the white mats a part. The same goes for size and color of frames, and style of artwork.
- Get creative. A basic, straight wall is just the beginning for potential gallery walls. Think corners, weird nooks, stairwells, etc.
- Choose a combination of photos, art & objects. The possibilities are endless when it comes to the subject matter of your gallery. DON’T stop at framed photos, but DO curate only the most meaningful pieces that will keep you grinning every time you lay eyes on them. Here are a few examples of possible showstoppers:
- Framed family photos
- Photo canvases
- Posters
- Hand-drawn artwork. I love the posters & art highlighted here:

Photo cred: Lindsay Pennington @ Houzz
- Shadow boxes: If you have kids, consider doing one for each of them, showcasing going-home- from-hospital outfit, hospital bracelets, etc.
- Keys from old houses/apartments
- Monogram letters
- Vintage frames with old, black & white family photos
- Framed fabric, wallpaper, or other meaningful items. What about a handwritten recipe from your Grandmother? Or a graduation card you received that had the best saying on the front? If it holds a lot of meaning, consider adding it to your gallery.
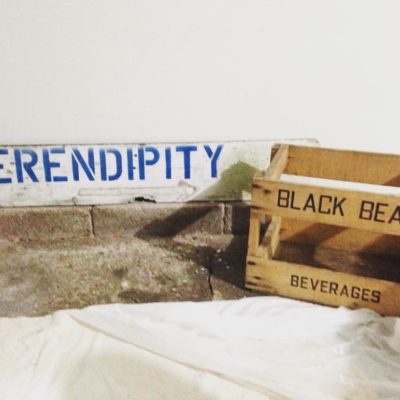
- Architectural salvage pieces or other 3D objects. Great example of this in the below pic. I wish I could give photo cred, but it’s been on my Pinterest for-eva, and the link is no longer active. P.S. The hooks are my fave.

I could go on and on with tips, but let’s face it, the sky is the limit. So get to gettin’ and start creating your dream gallery wall!


Leave a Reply