If you’re like me, you sometimes fly by the seat of your pants with design. This project is the perfect example.
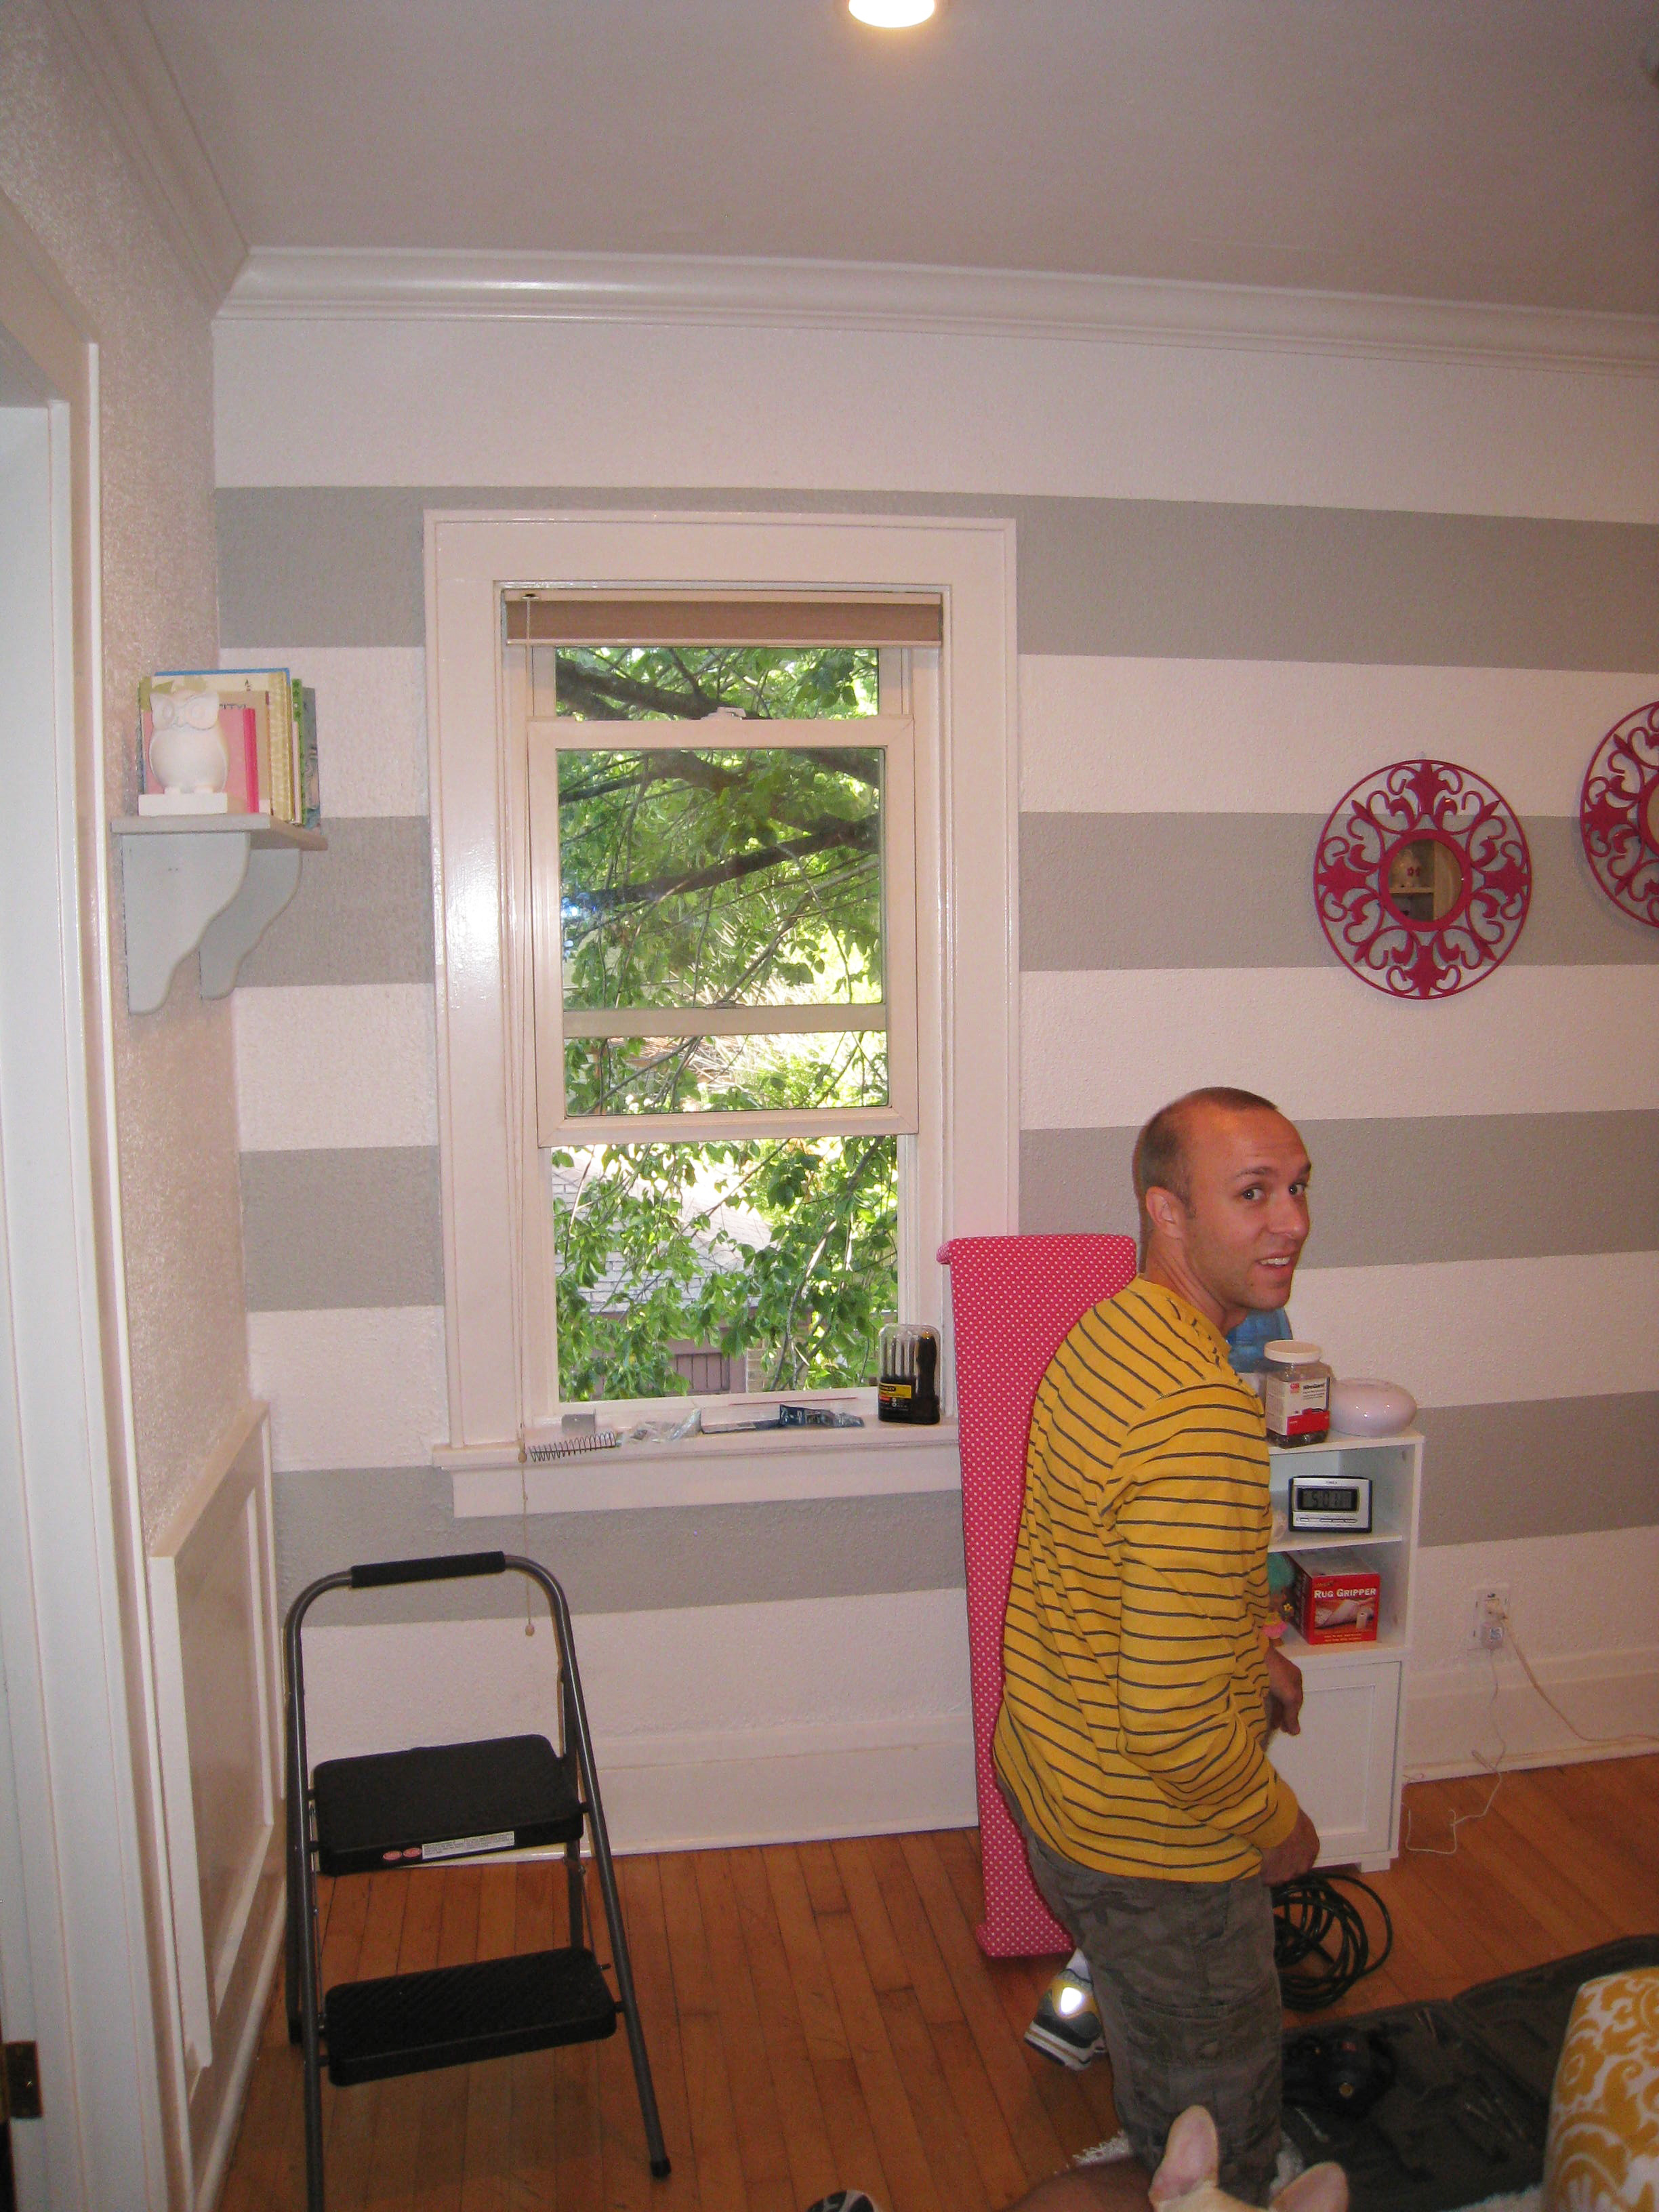
It’s the classic story—and a position I find myself in all too often. Just when my husband and I thought our nursery project was complete, we stepped back to admire our work, only to discover that something was missing… but what?!
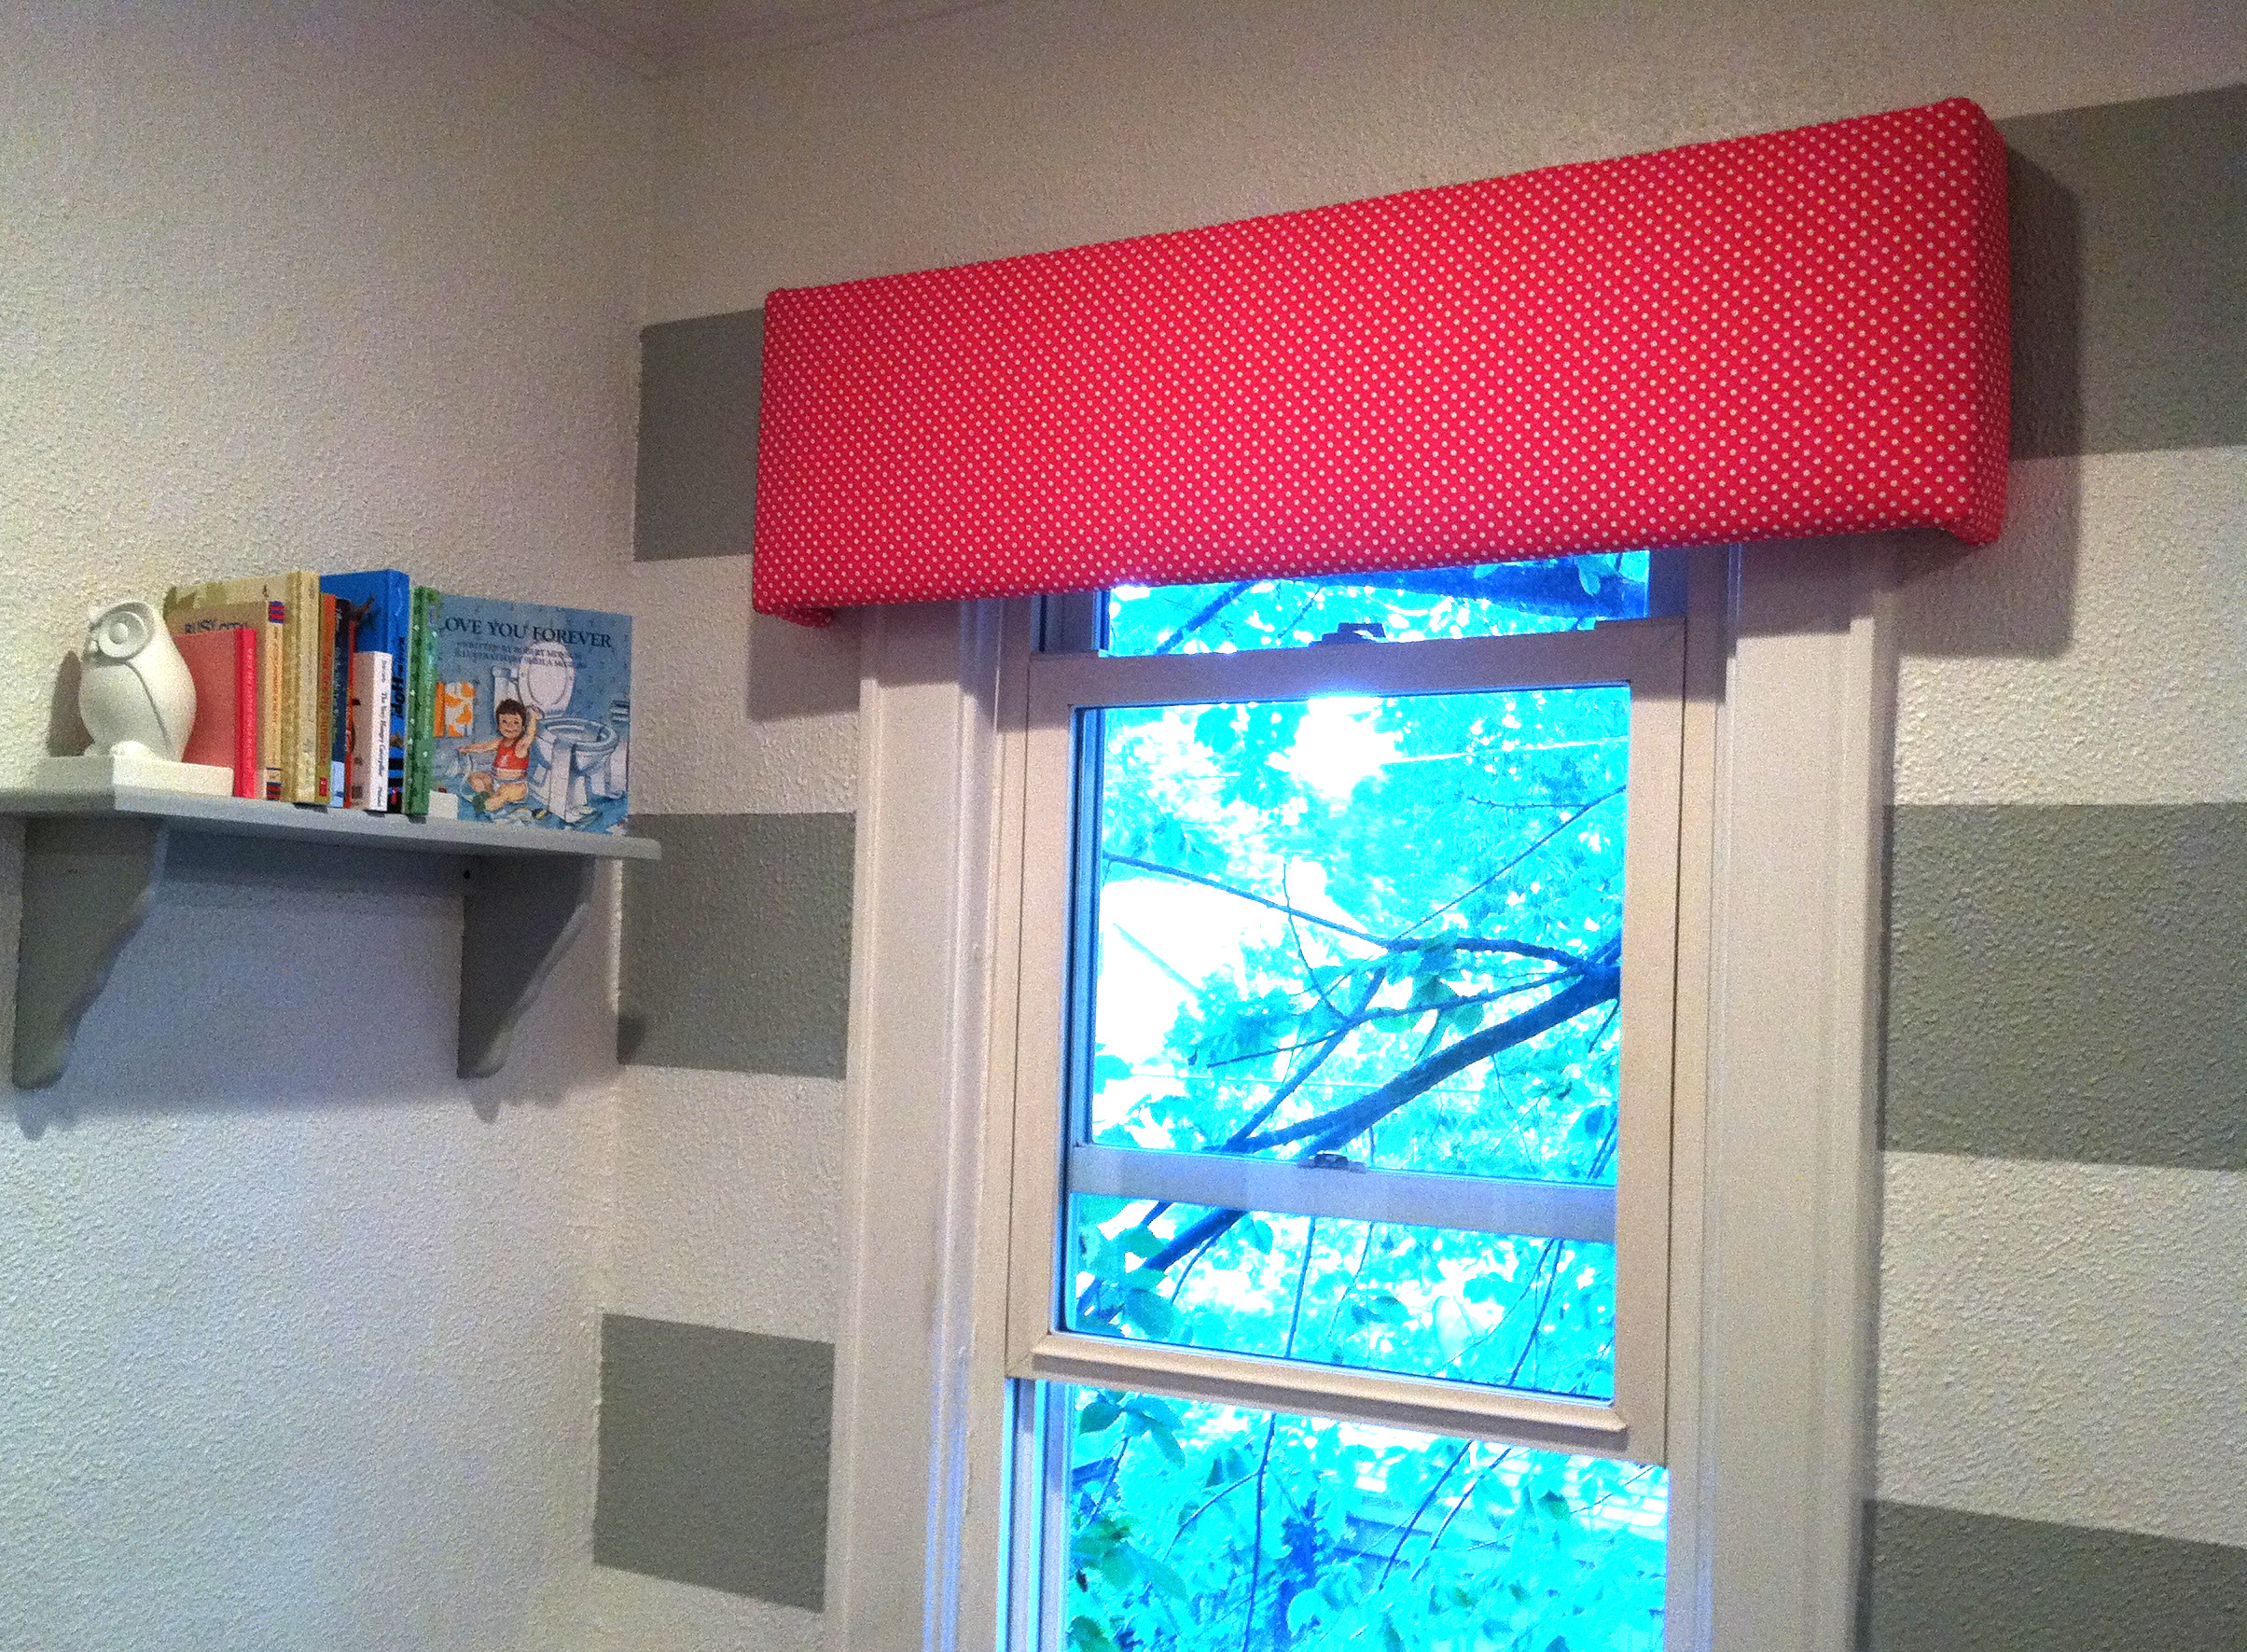
It didn’t take me long to realize the window on the striped wall needed a makeover. Lucky for me, I had some fabric leftover from a crib skirt I made (post coming soon!) and my husband is a good sport, so we swiftly began our next project (moments after deciding on it): Uber simple window cornice. The upside: It only took one afternoon to complete.
STEPS:
- Find cute French Bulldog sidekick.
- Put him in a ridiculous outfit.

- Determine your base. We used a piece of plywood, but you could use whatever you have lying around, including cardboard, foam core, etc. I really wanted ours to last, so wood was our decision.
- Measure for desired look. In our case, we wanted the cornice to fit pretty snugly on the window casing, so we measured just an inch or so longer than the casing on either side. Then we cut two additional smaller pieces to serve as the sides. Our sides were around three inches long, just enough to give the piece dimension and ensure that any future window coverings (i.e. new blinds) would fit beneath it. Remember: Measure twice. Cut once.
- Nail pieces together. See image above. What you have left is a simple 3-piece unit.
- Choose your fabric. Expensive upholstery fabric isn’t required. Old linens (table or bed) can look amazing in an upcycled project like this. I opted for leftover fabric from my crib skirt project, and some batting to serve as the padding. Without batting, you won’t get that “rounded” plush look that makes the piece feel finished.
- Get your staple on. I used a simple staple gun to affix my batting and fabric to the wood. Pay special attention to wrapping the corners. (This is where your DIY can really show through, so take your time.) I always channel my inner gift wrapper, because this is essentially how you wrap your fabric.
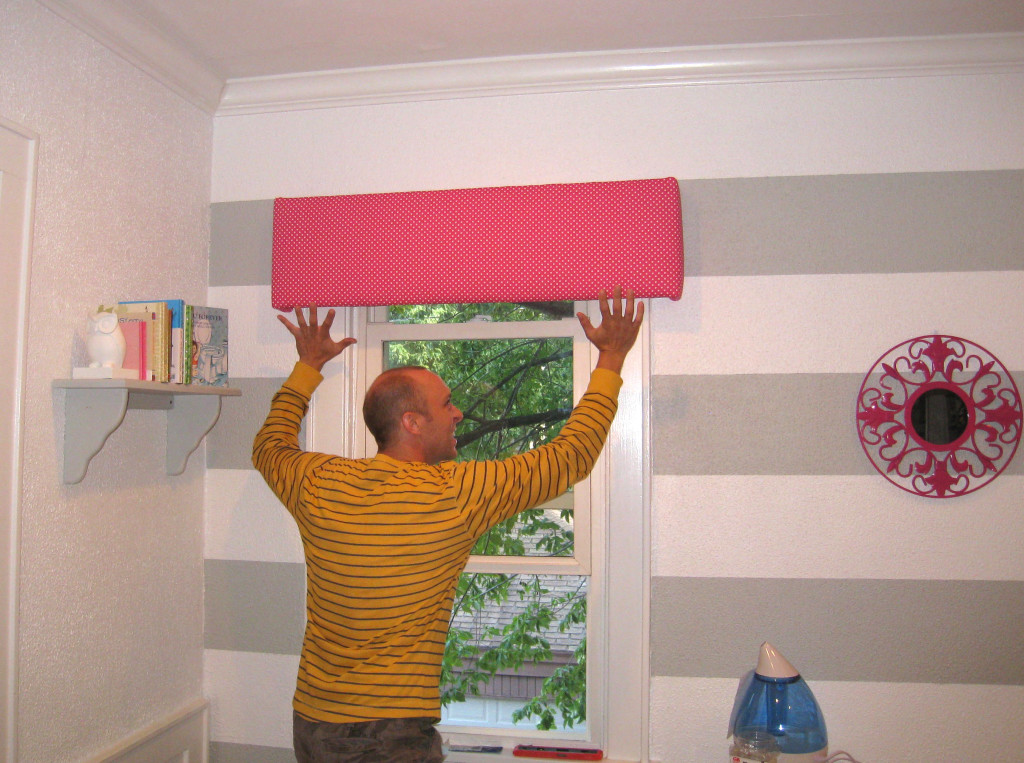
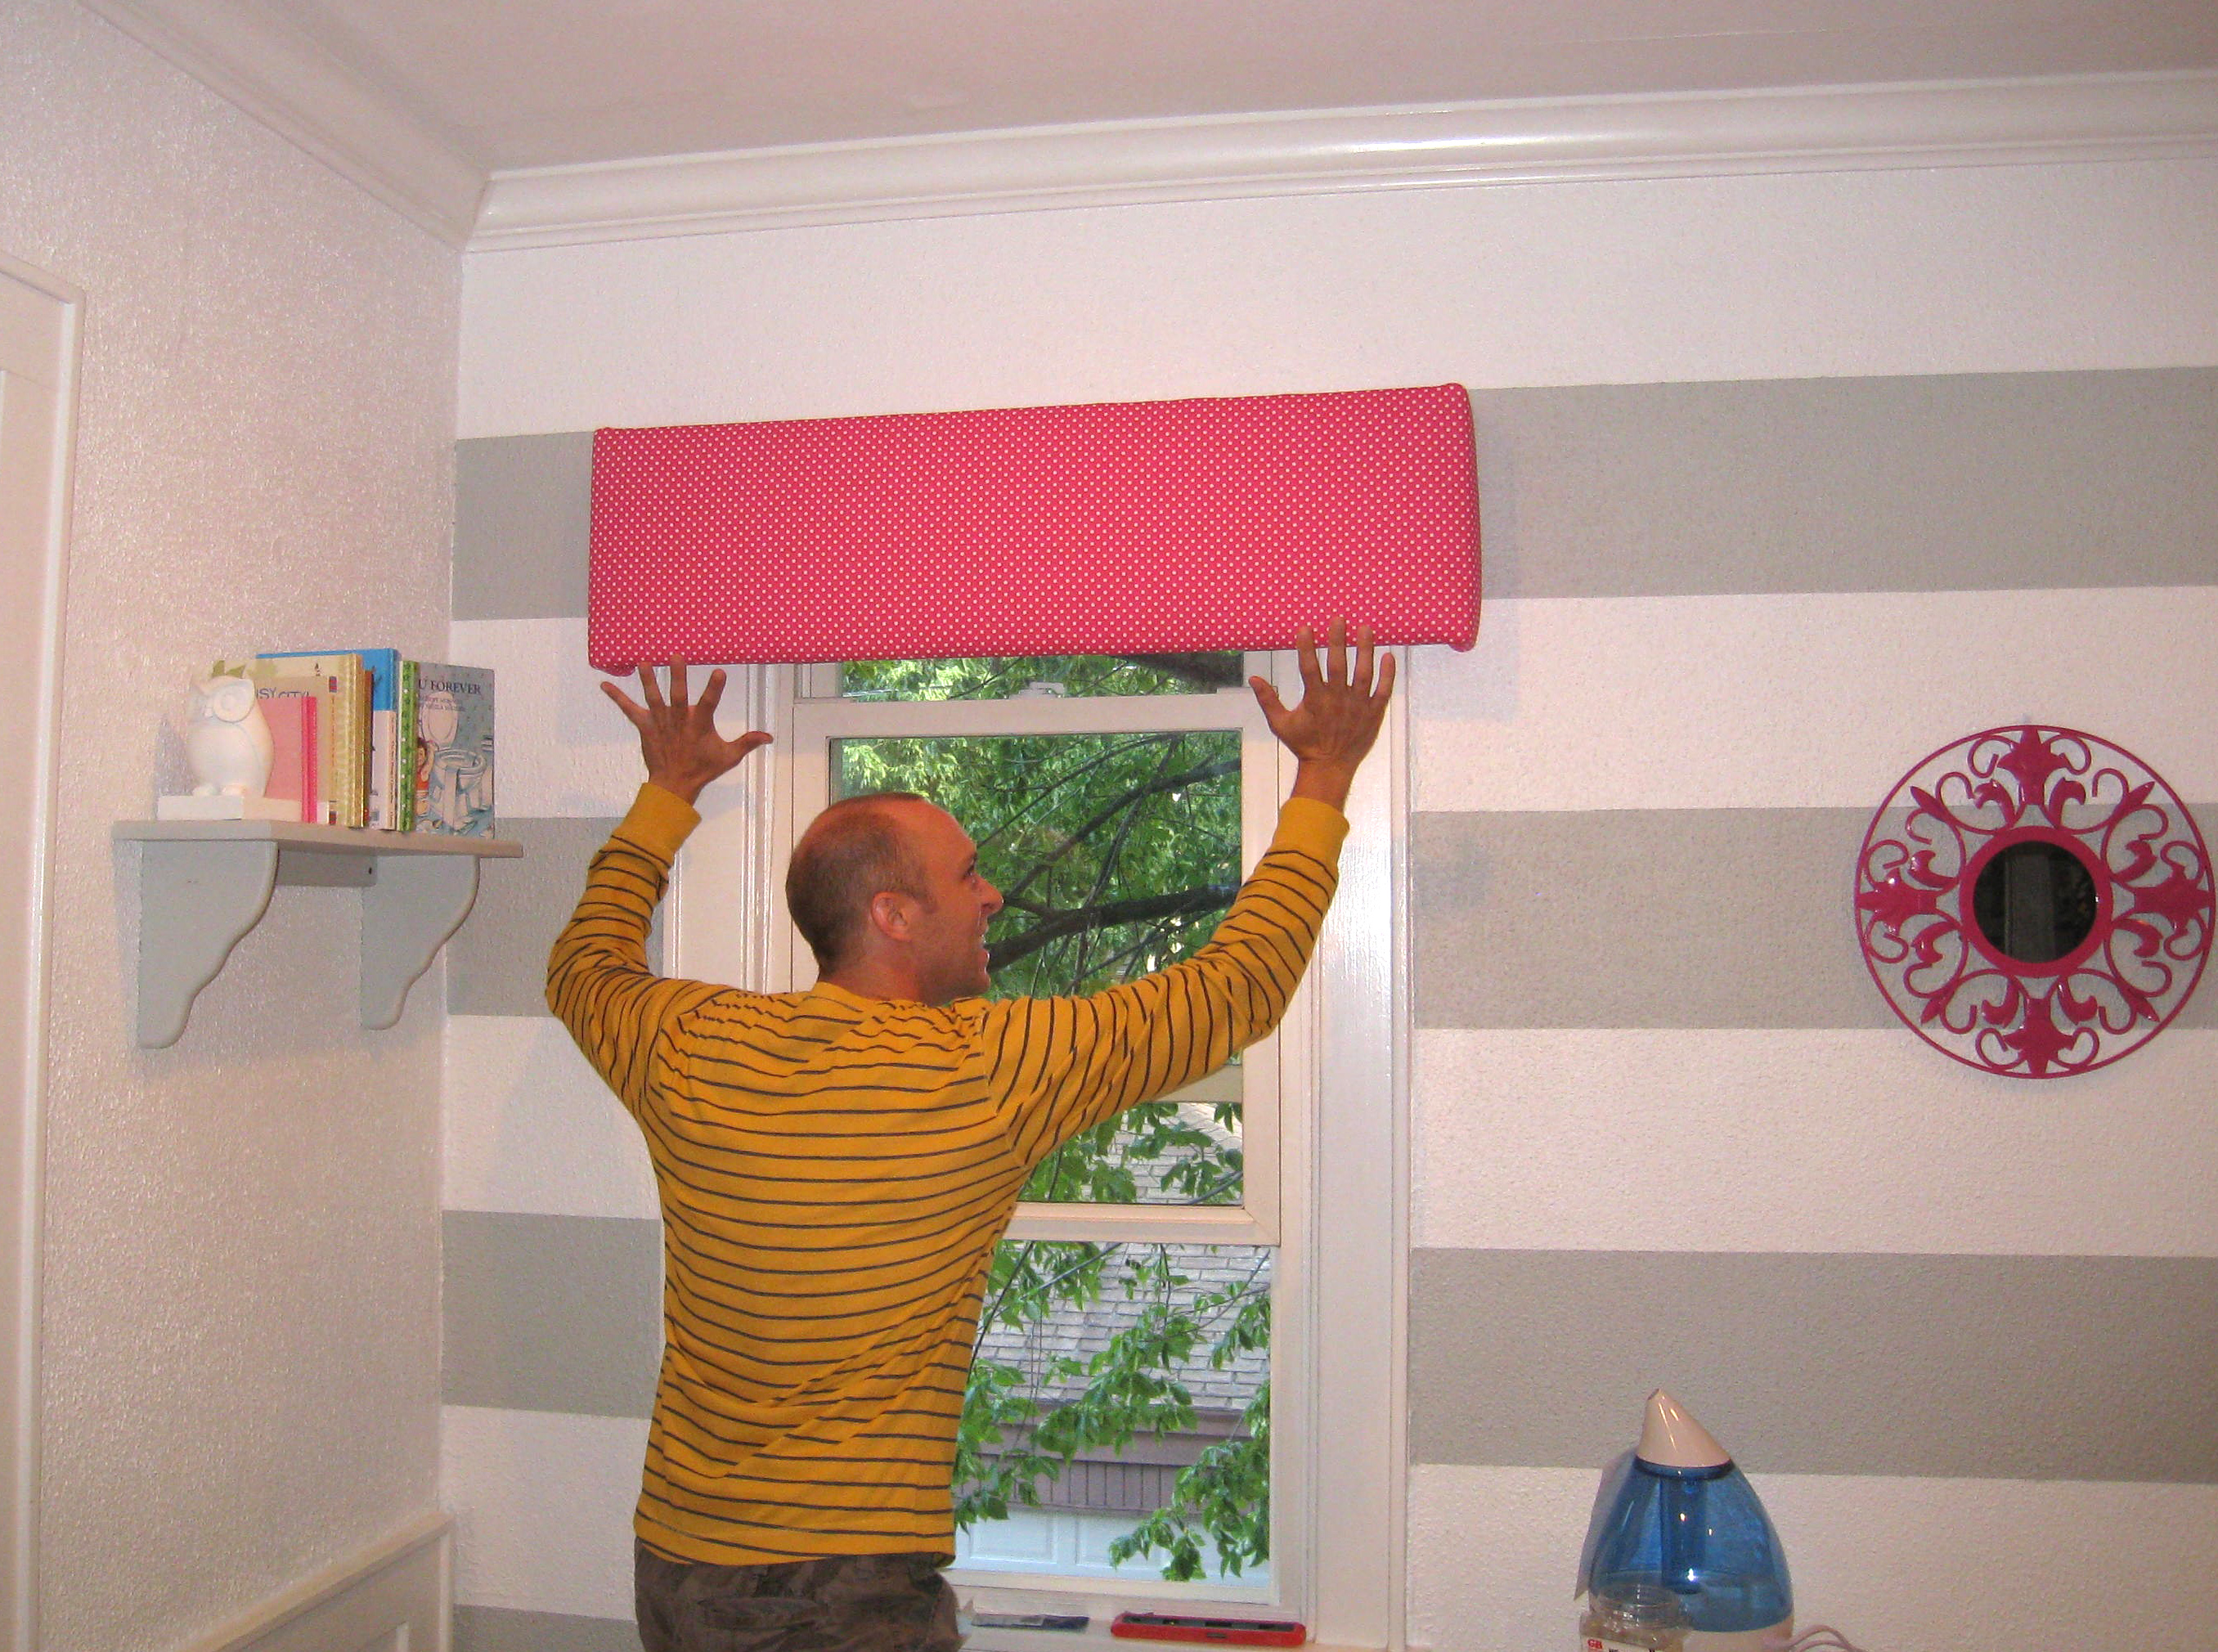
- Hardware & hang. This was potentially the most difficult part: Scouring the hardware store for the proper brackets to hang it. L-shaped brackets are what we chose. Thankfully, my handy husband finished out the job.
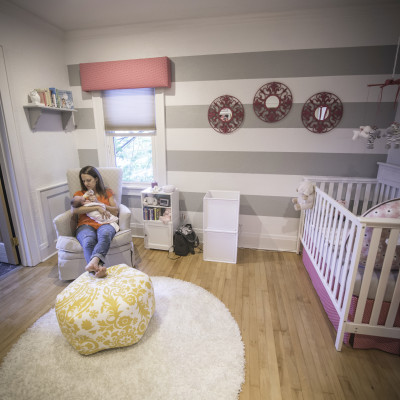
- Enjoy.


2 Comments