Previous post
Next post

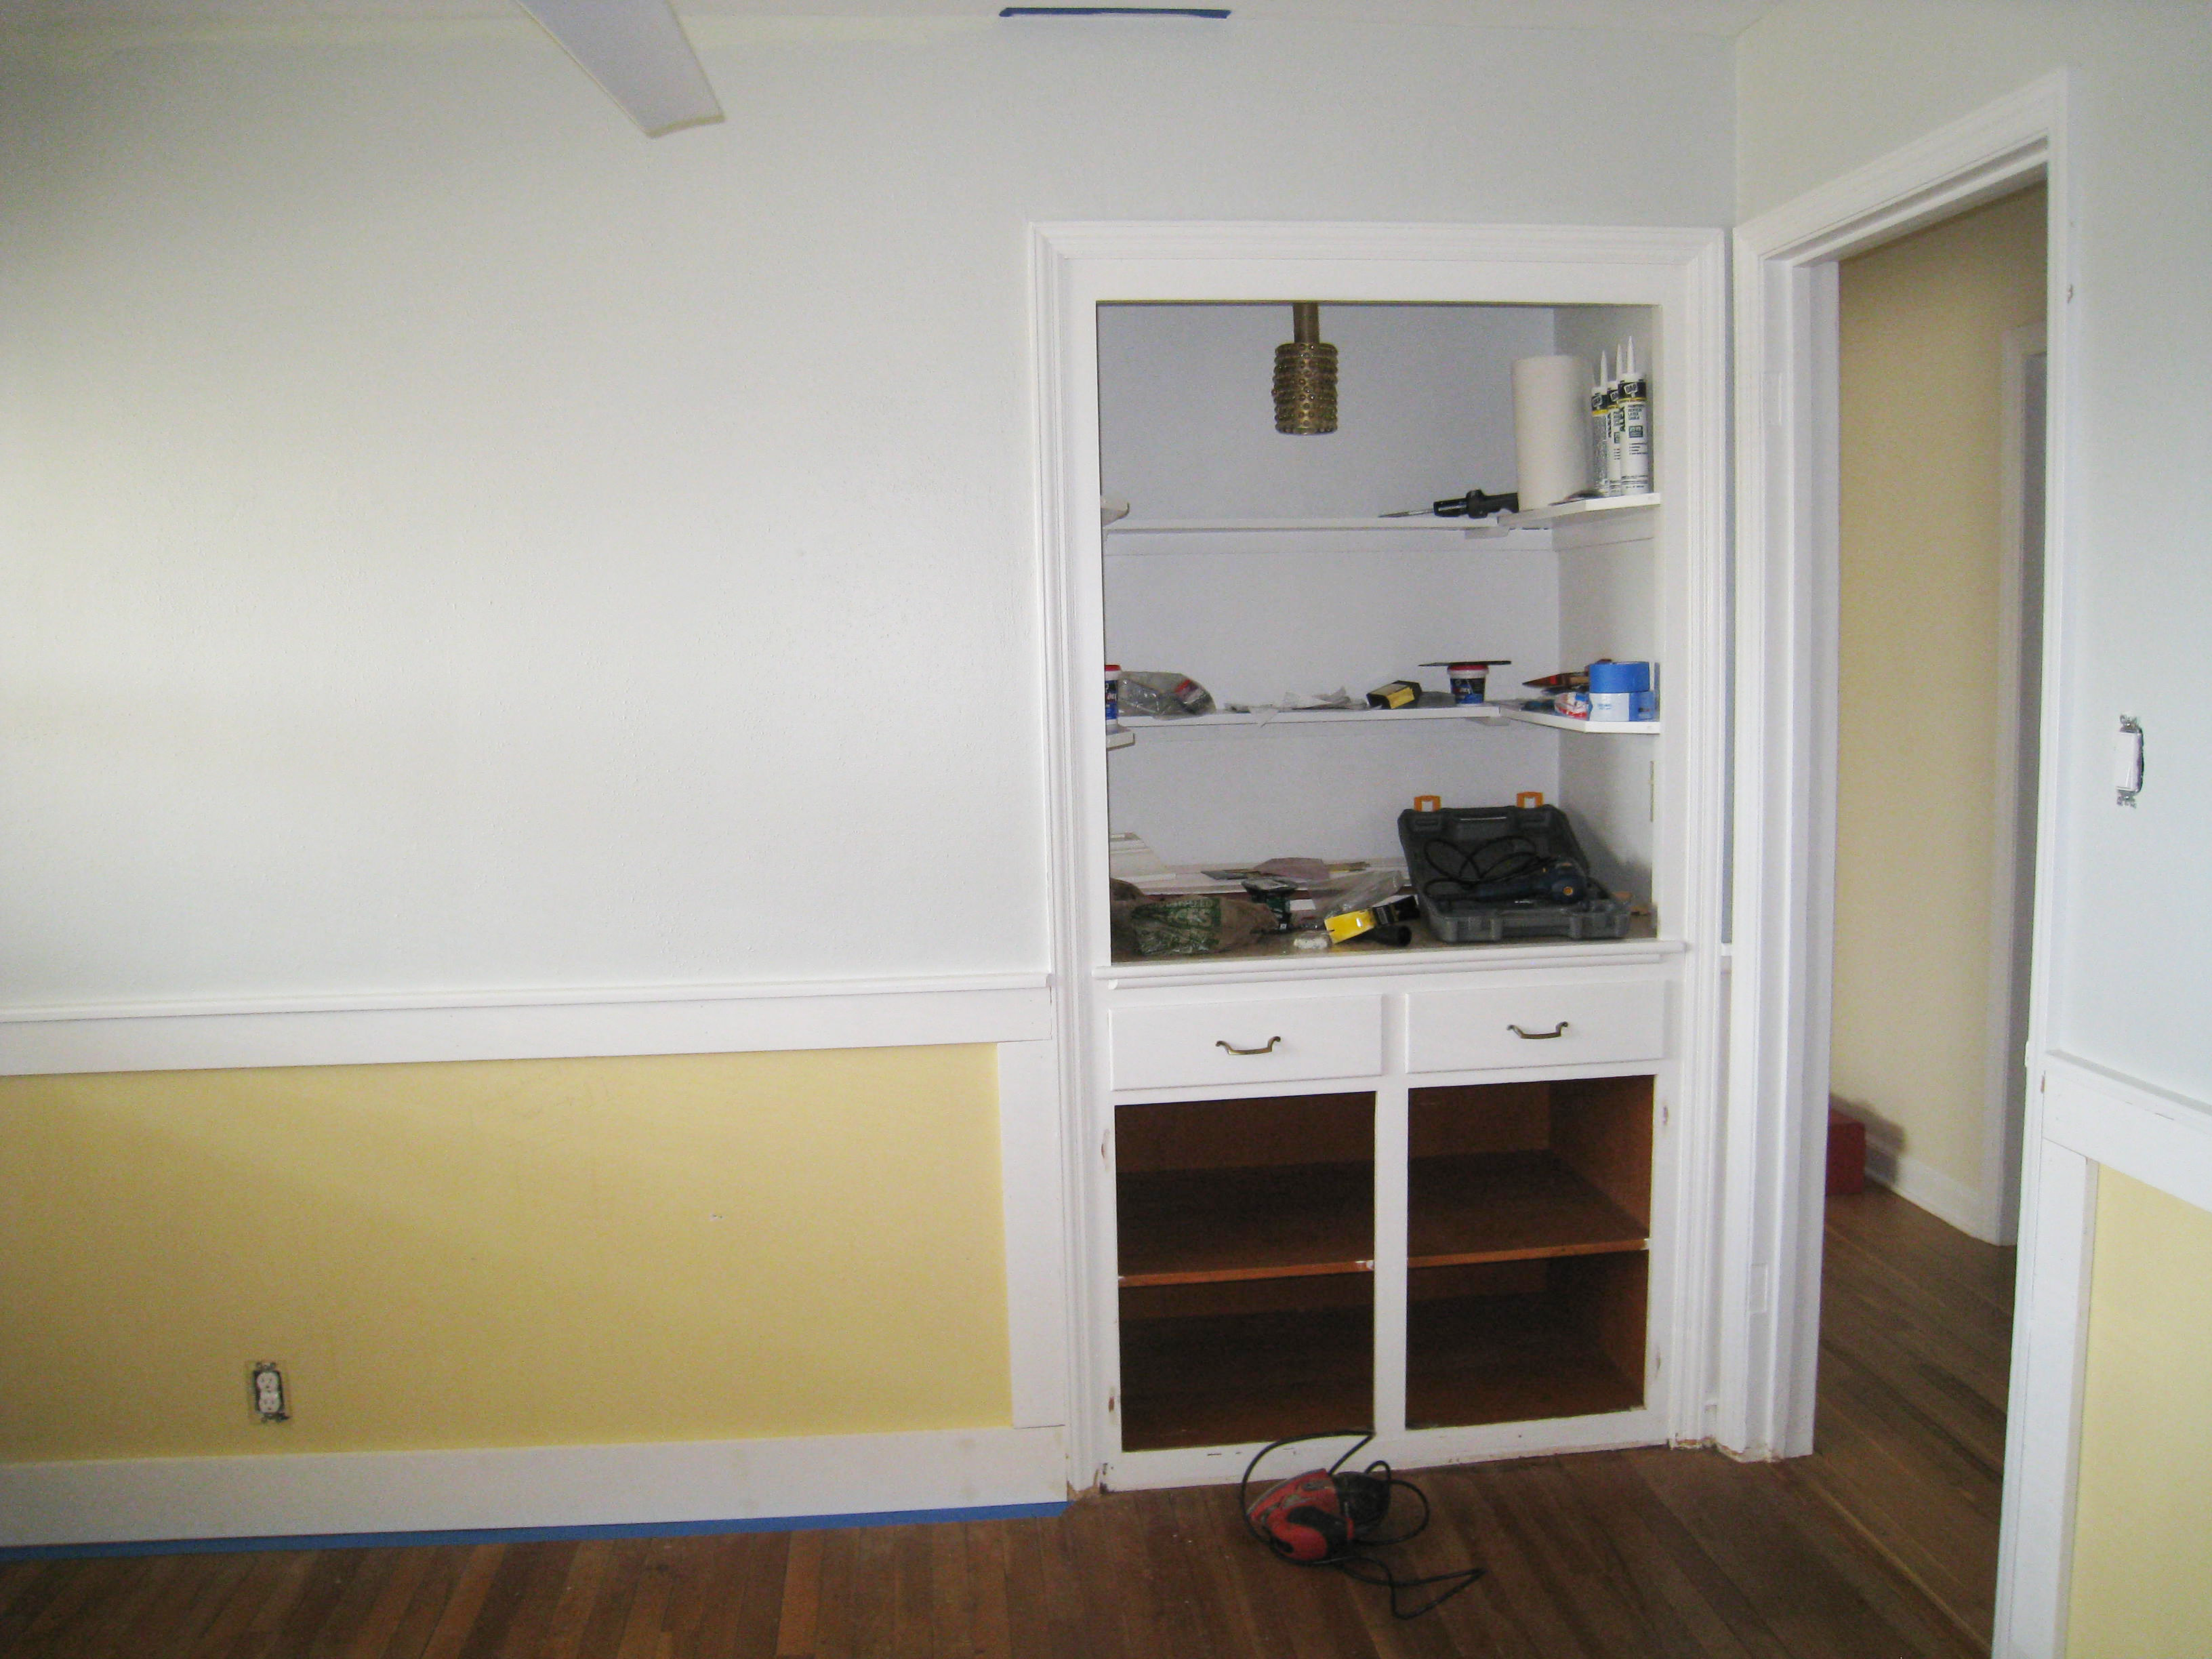
I wish I had a truer “before” picture of this space, but this project was pre-blogging days, so the below image is the best I can do. Never mind the ugly paint color on the walls and the beat-up wood floors. Those are two entirely different posts:

Originally, the top of this nook was filled with tiny shelves, unfit to hold anything but regrets. The bottom was cabinetry, even though in the above pic, I had already removed the doors.
Once we found out Baby #2 was on the way, we were faced with how to turn “this” into a baby’s closet. Enter me, armed with a sledge hammer, sander, gallon of fresh white paint and, most importantly, ideas. I started by taking down the shelves to make way for hanging clothes, and then giving the whole thing a good sanding, inside and out.
Once done, I repaired any demo imperfections with spackle, wood filler and the like. Then I applied 2-3 coats (yes, it needed that many) of white paint. Removing the cabinet doors was move #1 because the open shelving was the perfect spot for storage bins. I figured anything from shoes to blankets to toys could be stored in there. Then my husband worked his magic and hung two closet bars/rods, with special attention paid to how far a part they should be (i.e. How long baby’s clothes hang).
With the main projects complete, all that was left was the finishing touches. The hanging clothes felt too exposed, so I thought it would be cute to “mask” them by hanging a coordinating curtain from a simple tension rod. Adorable purple pom pom ribbon for the tie, and voila: Closet. I love how open it is, without feeling unfinished. And the bins on the bottom are perfectly multi-functional.
One thing to note, this is still a small closet. Nia is now 2, so her clothes still fit just fine, but in a couple of years, we will probably have to demo the whole thing to give her a more “traditional” closet. That said, it’s great for our current needs, and looks cute, too.
Leave a Reply