There’s nothing worse than a blank white wall that you know needs “something,” but you just don’t know what. It’s a problem every decor-obsessed person faces, but if it’s a baby nursery, it’s my favorite problem to have. Because, in a word, POSSIBILITIES.
Which brings me to my next project: Nursery wall art. It began with an assessment of materials gathering dust in my home, and ended with a few canvas castaways begging to be re-used. It’s a good thing, too, because I think my husband was starting to develop a twitch at the sight of said canvases. You’re welcome, Andy 🙂
Steps:
- Color palette decisions. I landed on white & grey with a pop of color. The longer you follow my blog, the more you’ll realize my love for white & grey. Sticking to this palette lets me continually change up my decor, without ever having to repaint. BO–NUS.
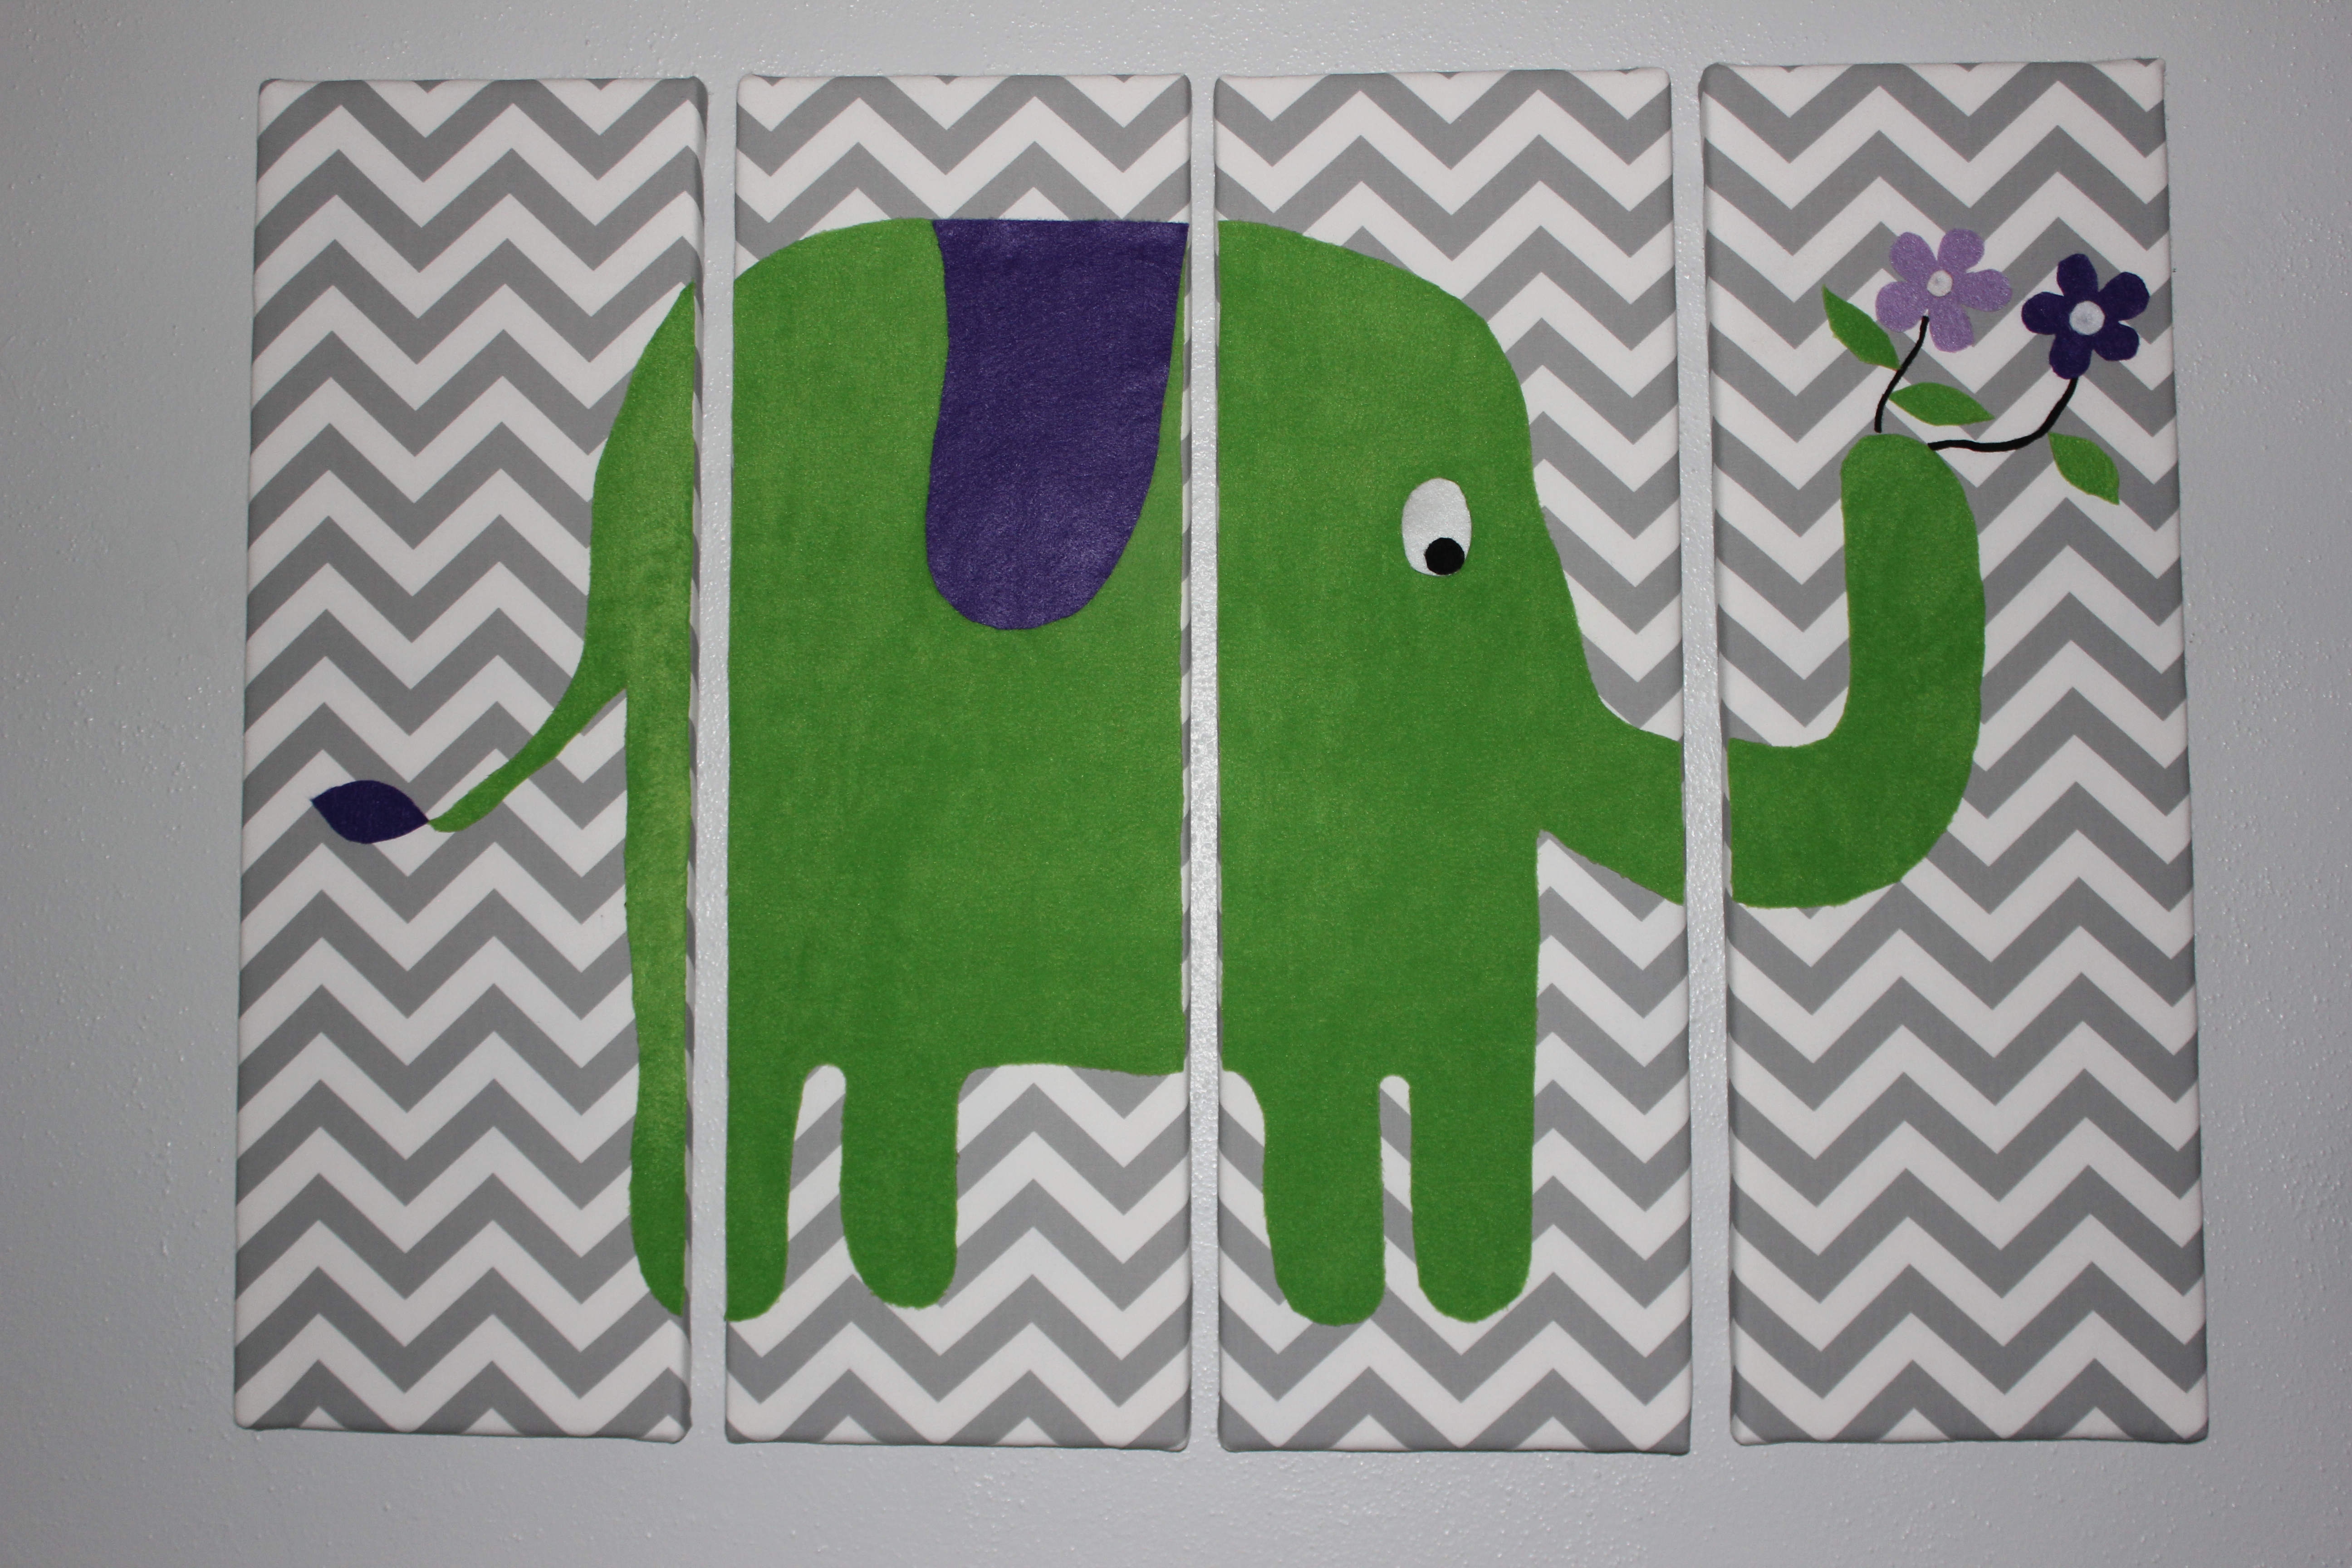
- Pinterest inspo. If you’re ever “stuck” with a design dilemma, do as I do, and look no further than Pinterest. After much “nursery decor” searching, I landed on a cartoon animal as my theme. More specifically, an elephant. Why? Simple. I felt confident I could successfully cut the silhouette of an elephant, given the minimal curves, etc. Plus, who doesn’t love elephants!?
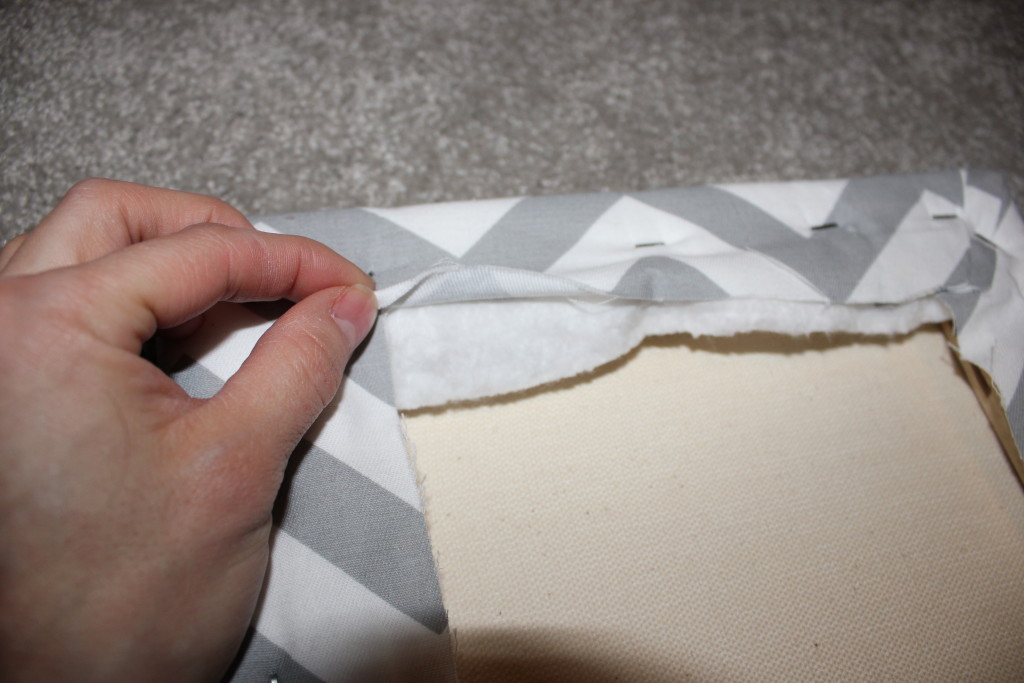
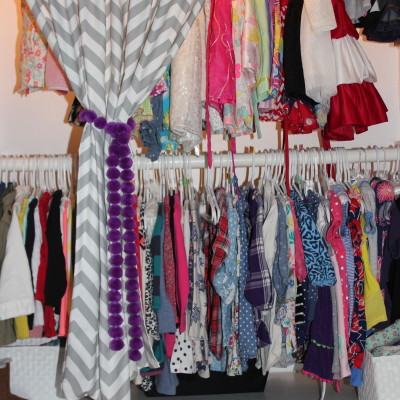
- Choose fabric. I’m one of those people with a “fabric drawer,” so this part basically means looking through my stash until something speaks to me. The white & grey chevron fabric did just that, so I had my start. But first, I had to cover my canvases with some sort of liner (the previous artwork I had painted was pretty dark, and I knew it would show through the white stripe of my chevron fabric if I didn’t line them beforehand = no bueno). Leftover batting did just the trick.
- Fold. Staple. Repeat.
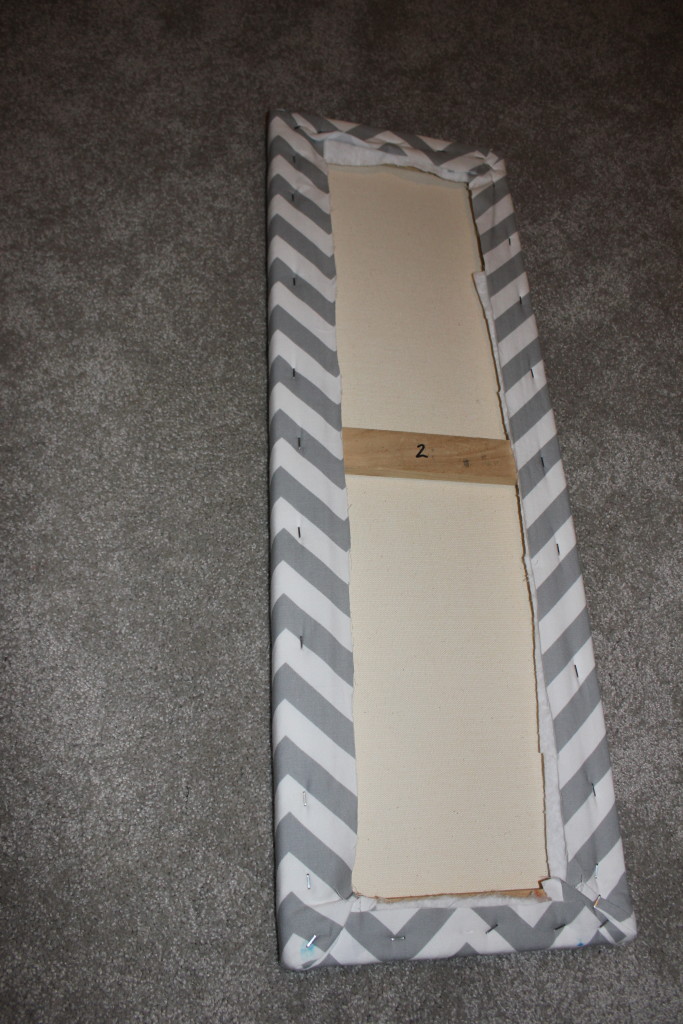
- Adhere felt. I used a simple spray adhesive in order to give it an even coat of glue, something you can pick up at any craft or hardware store. I also had 4 canvases to deal with, so I made sure to position my full shape first, before cutting it into 4 pieces.
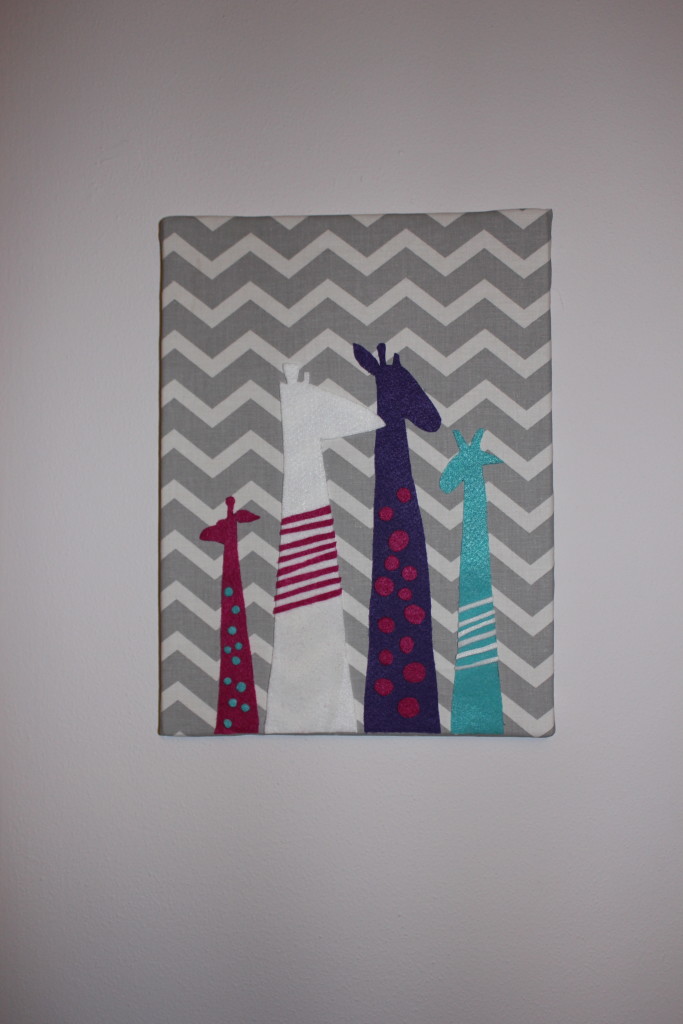
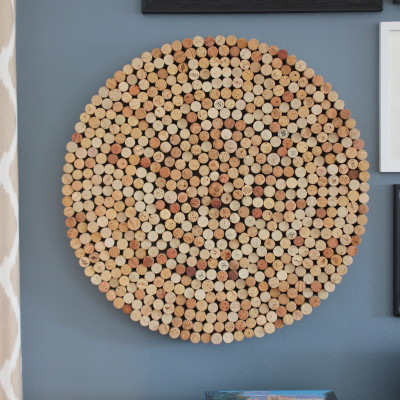
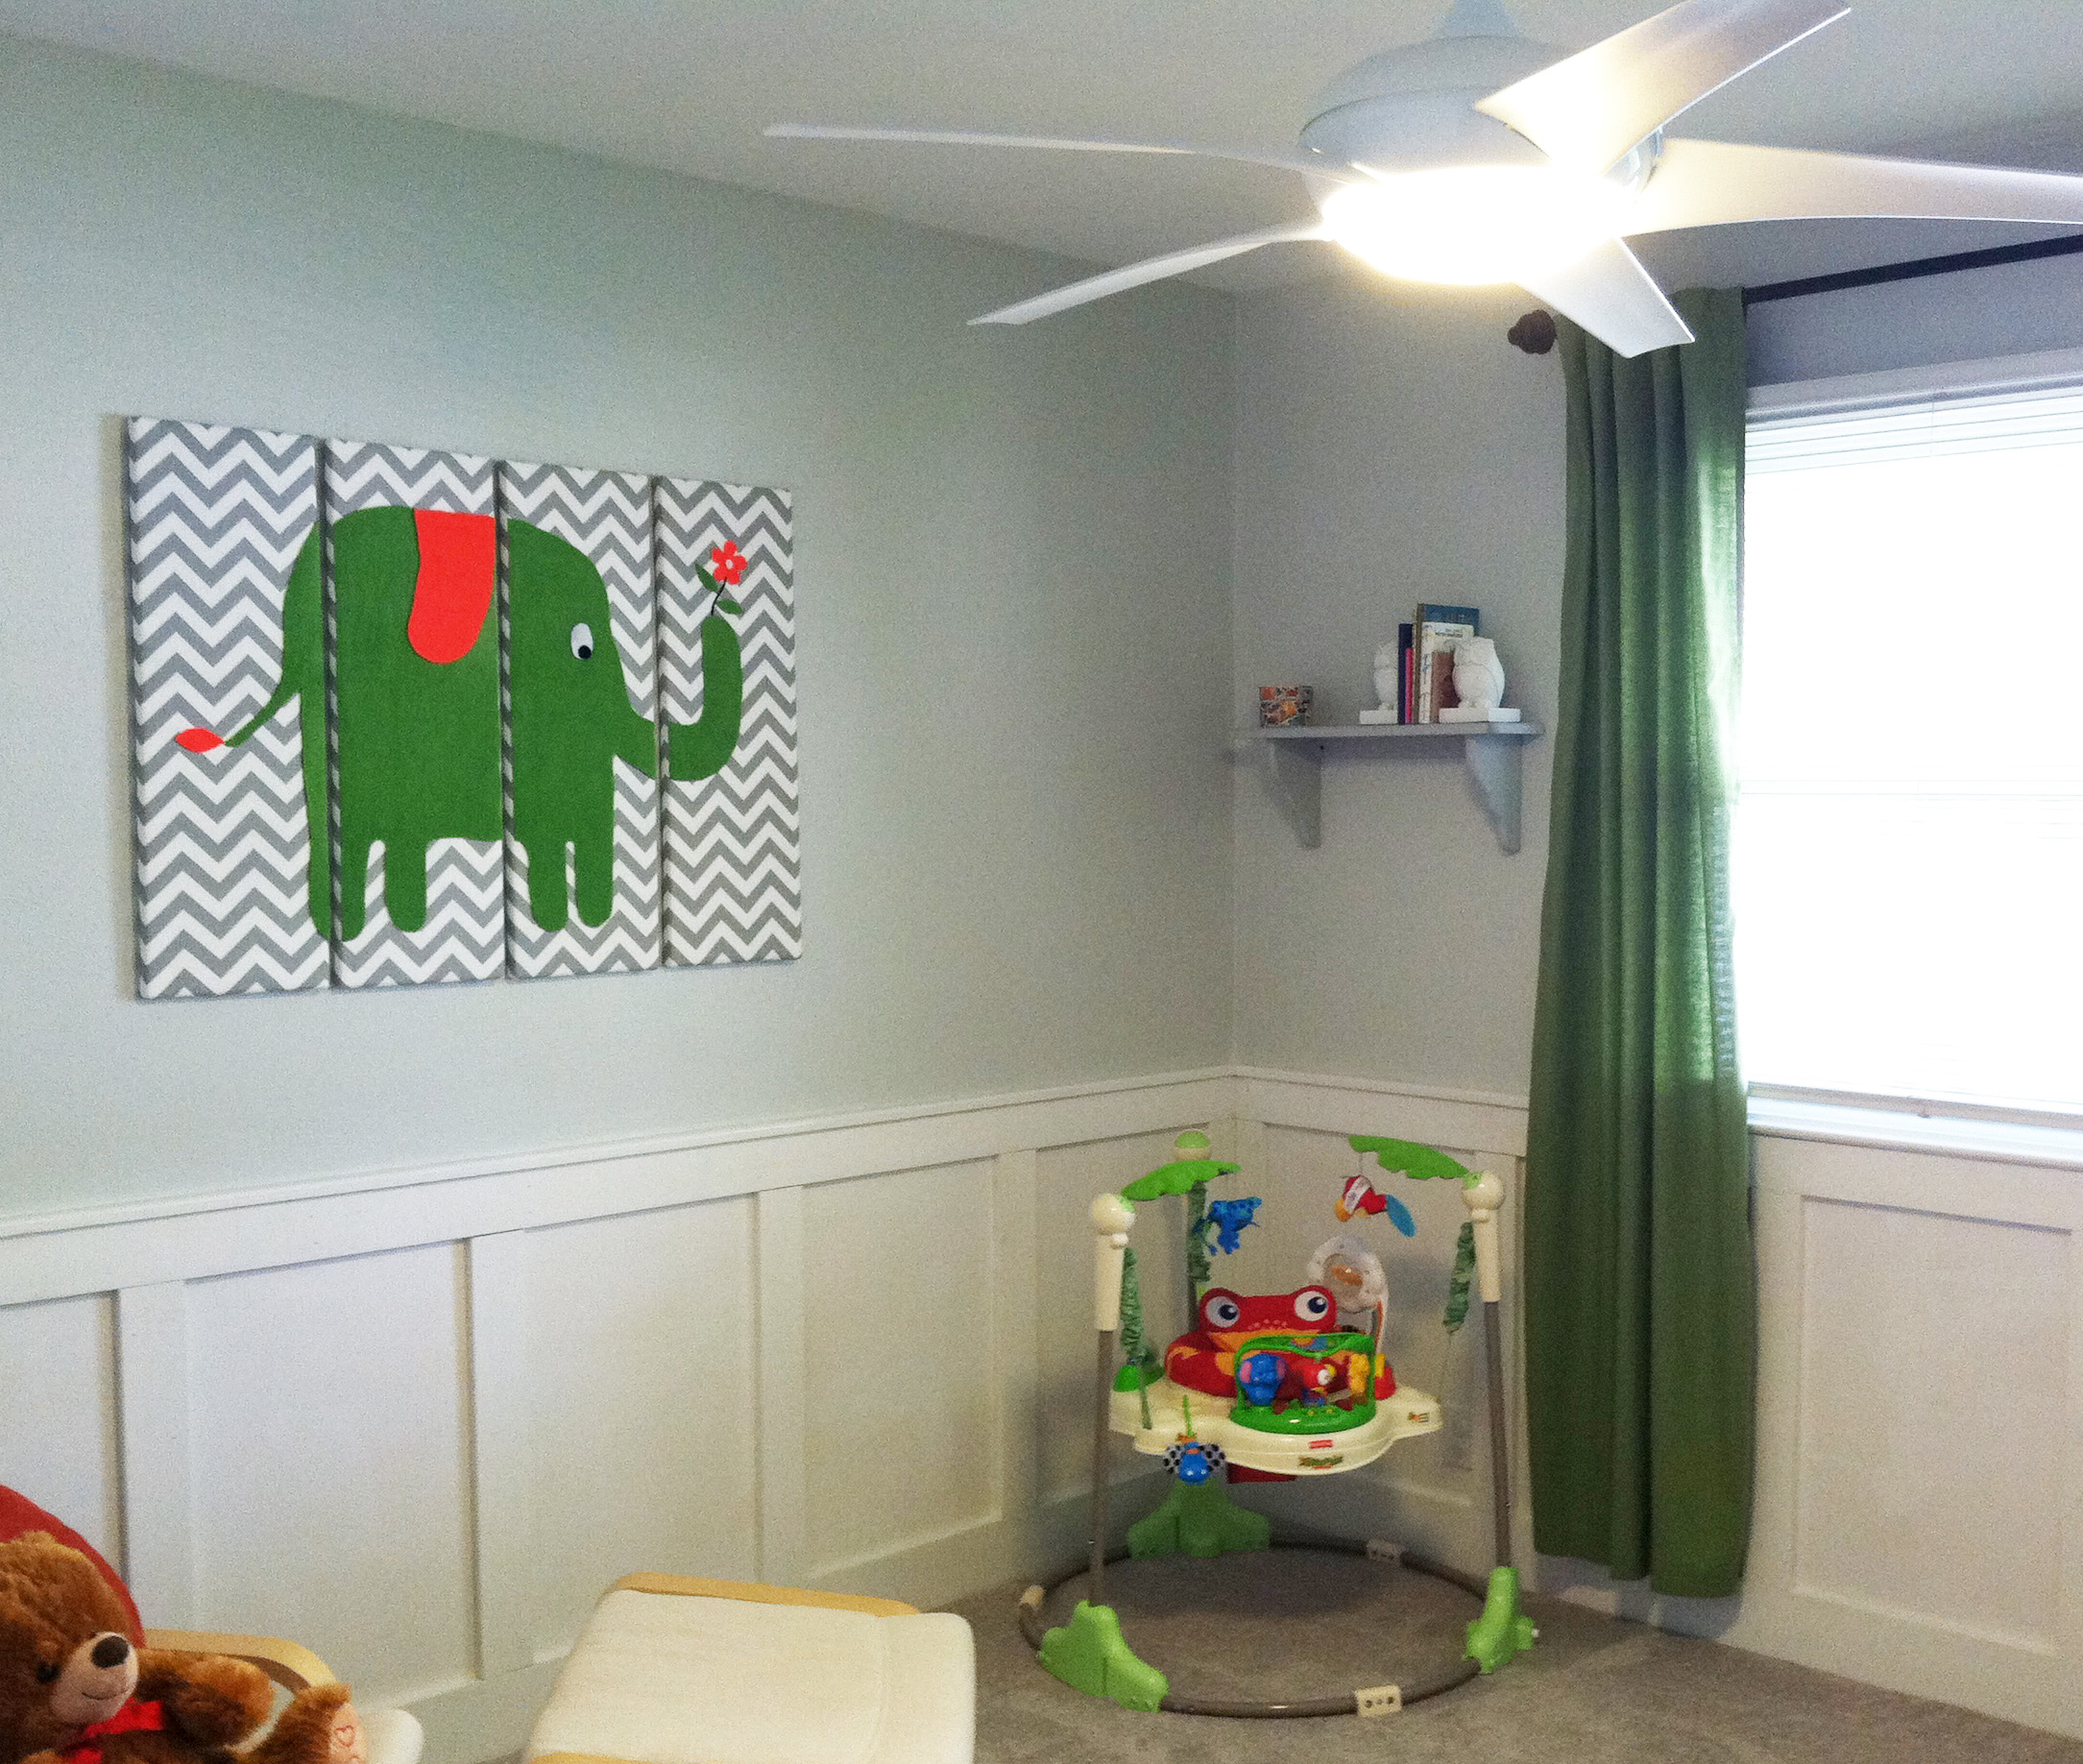
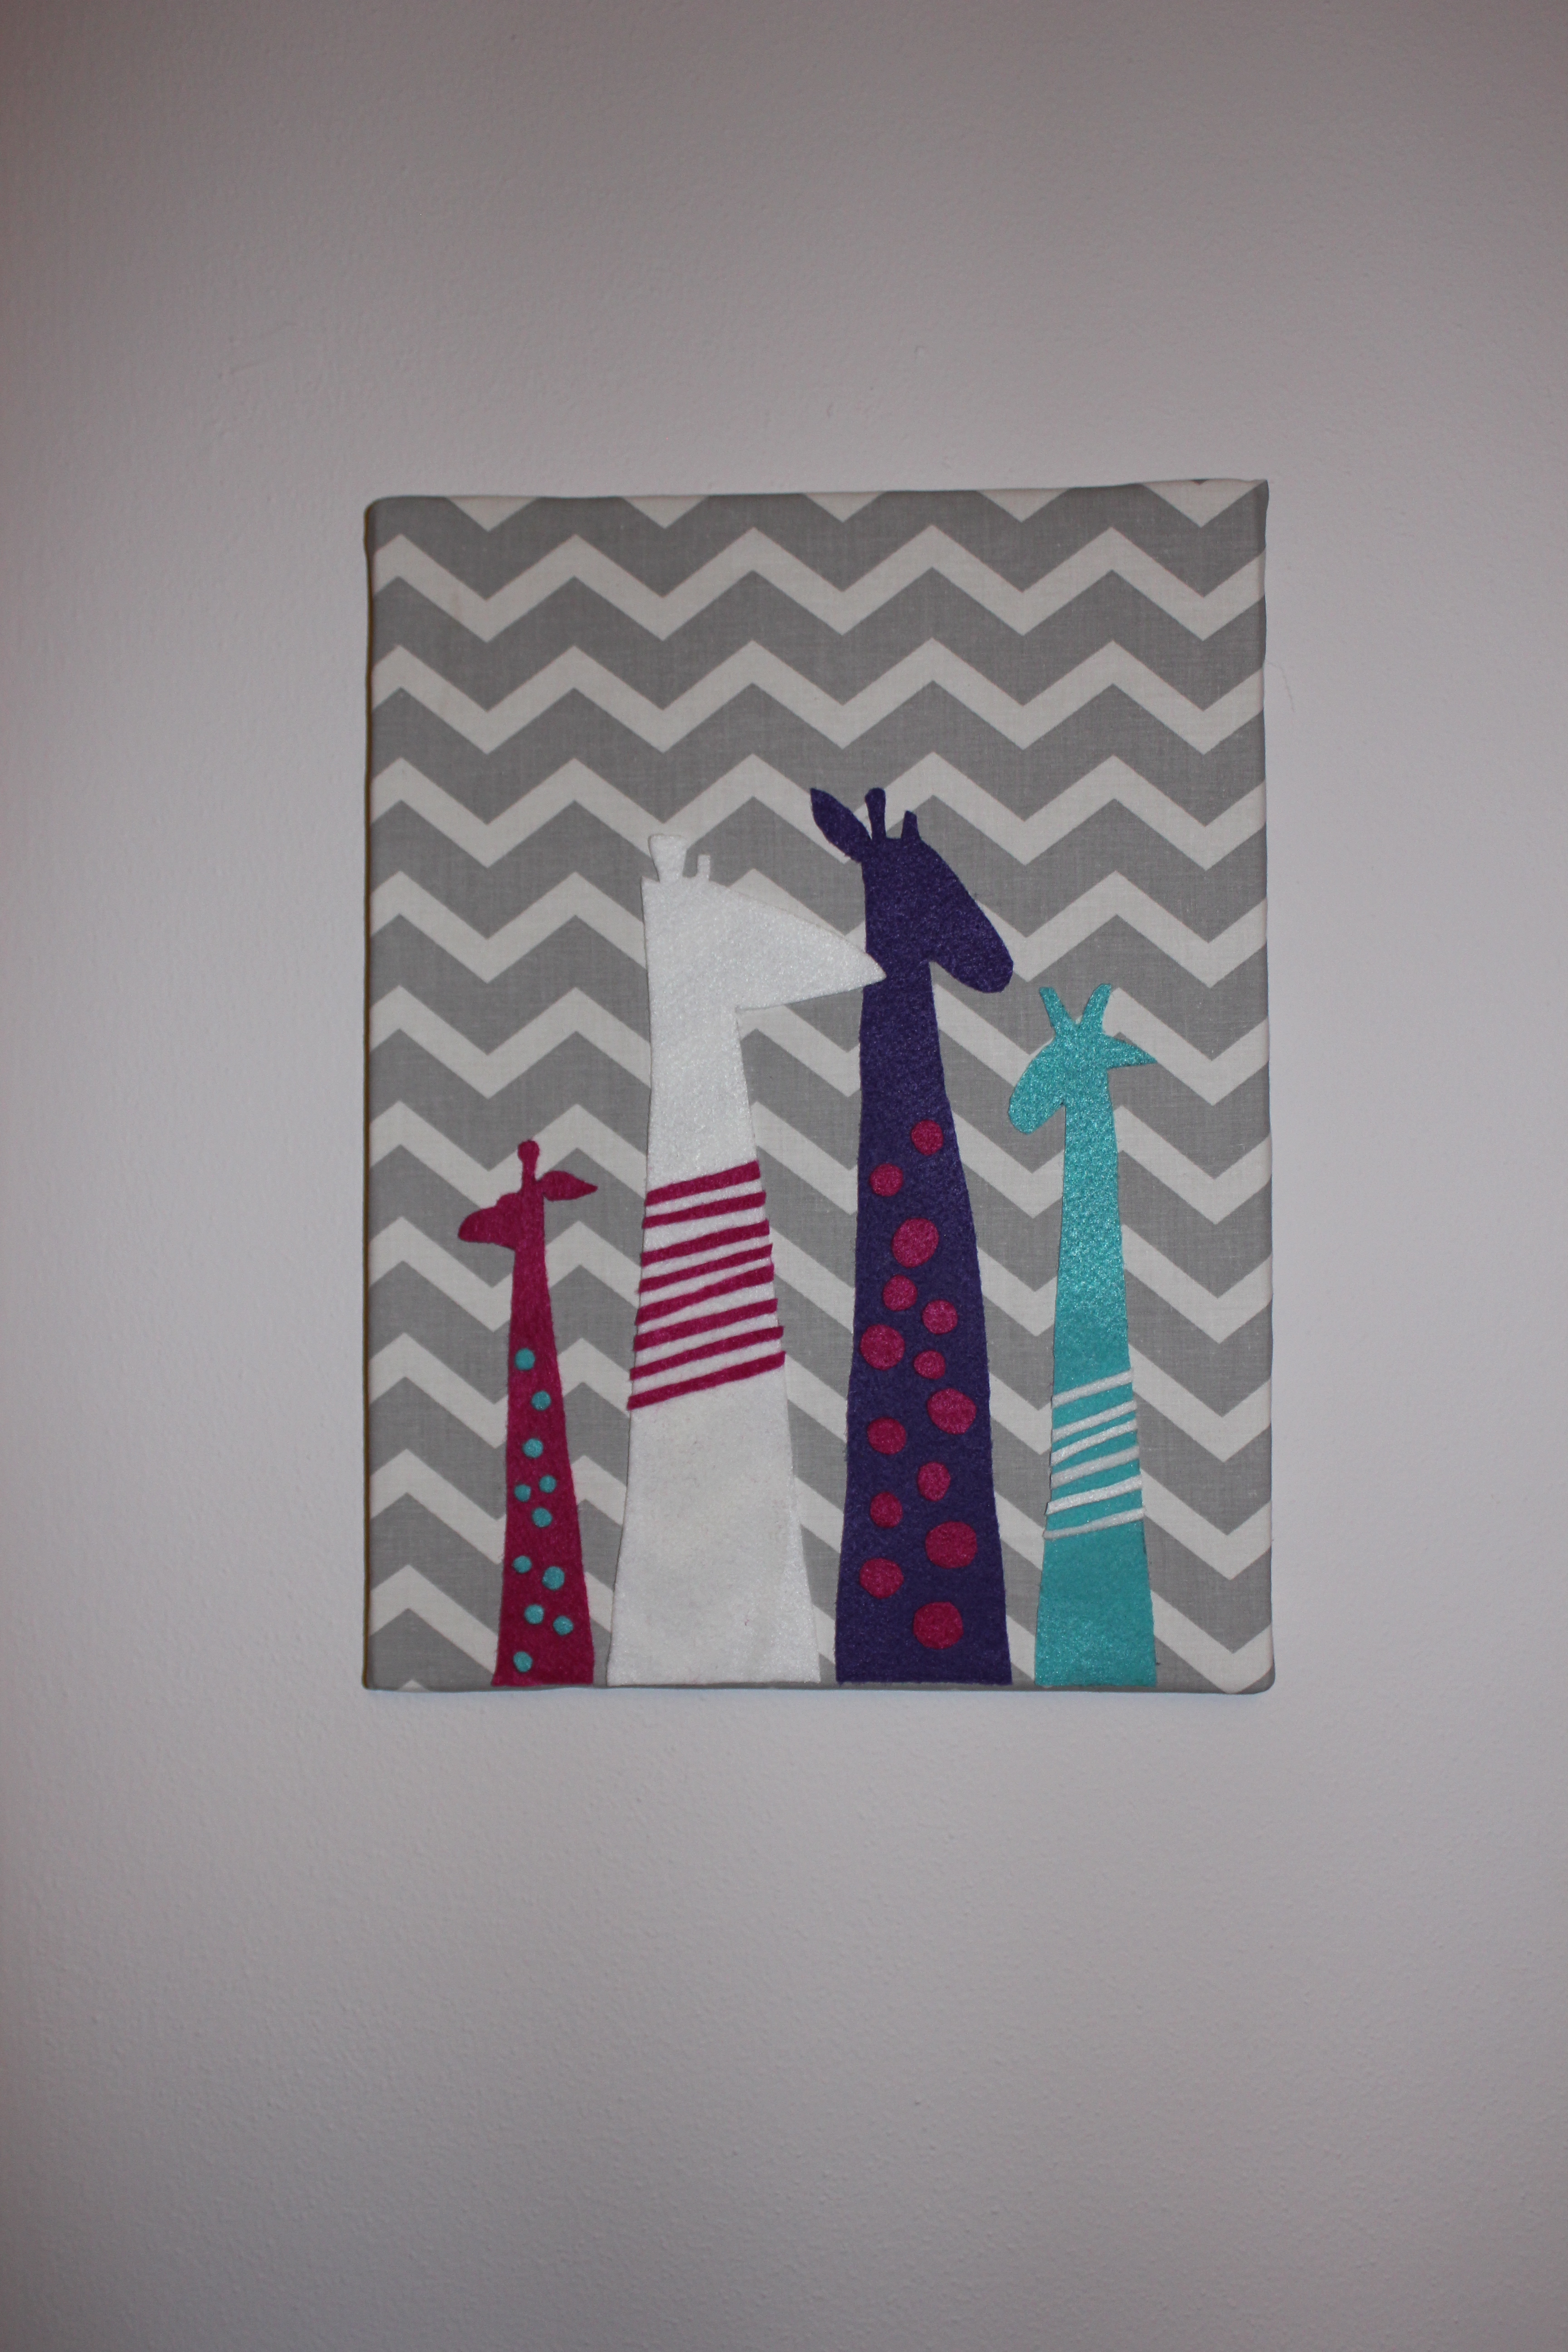
- Hang & admire. The picture below was actually Round 1, the round that hung in my first daughter’s play room. Round 2 was swapping out the orange for purple (super easy) for my second daughter’s nursery. I loved the final project so much, I recently attempted another simple felt piece. See below, and good luck with your next masterpiece 🙂


Leave a Reply