Next post
too many ideas. too little time. (and far too much chai.)

I have a “never-overlook-the-unwanted” philosophy that I religiously live by, and it’s what led me to one of my favorite garbage picks-turned-artwork ever. Long story short (ish): A few years ago my parents decided to remodel their kitchen. It was a huge decision. Not because they have a hard time making big, expensive decisions, but because my dad built their home. The home my two brothers and I grew up in. With his own two hands. Without any prior knowledge of you know, building a house. Details, right?
Once the decision was made, the sledgehammering began, and so did the voices in my head:
Thou shalt not waste others’ waste.
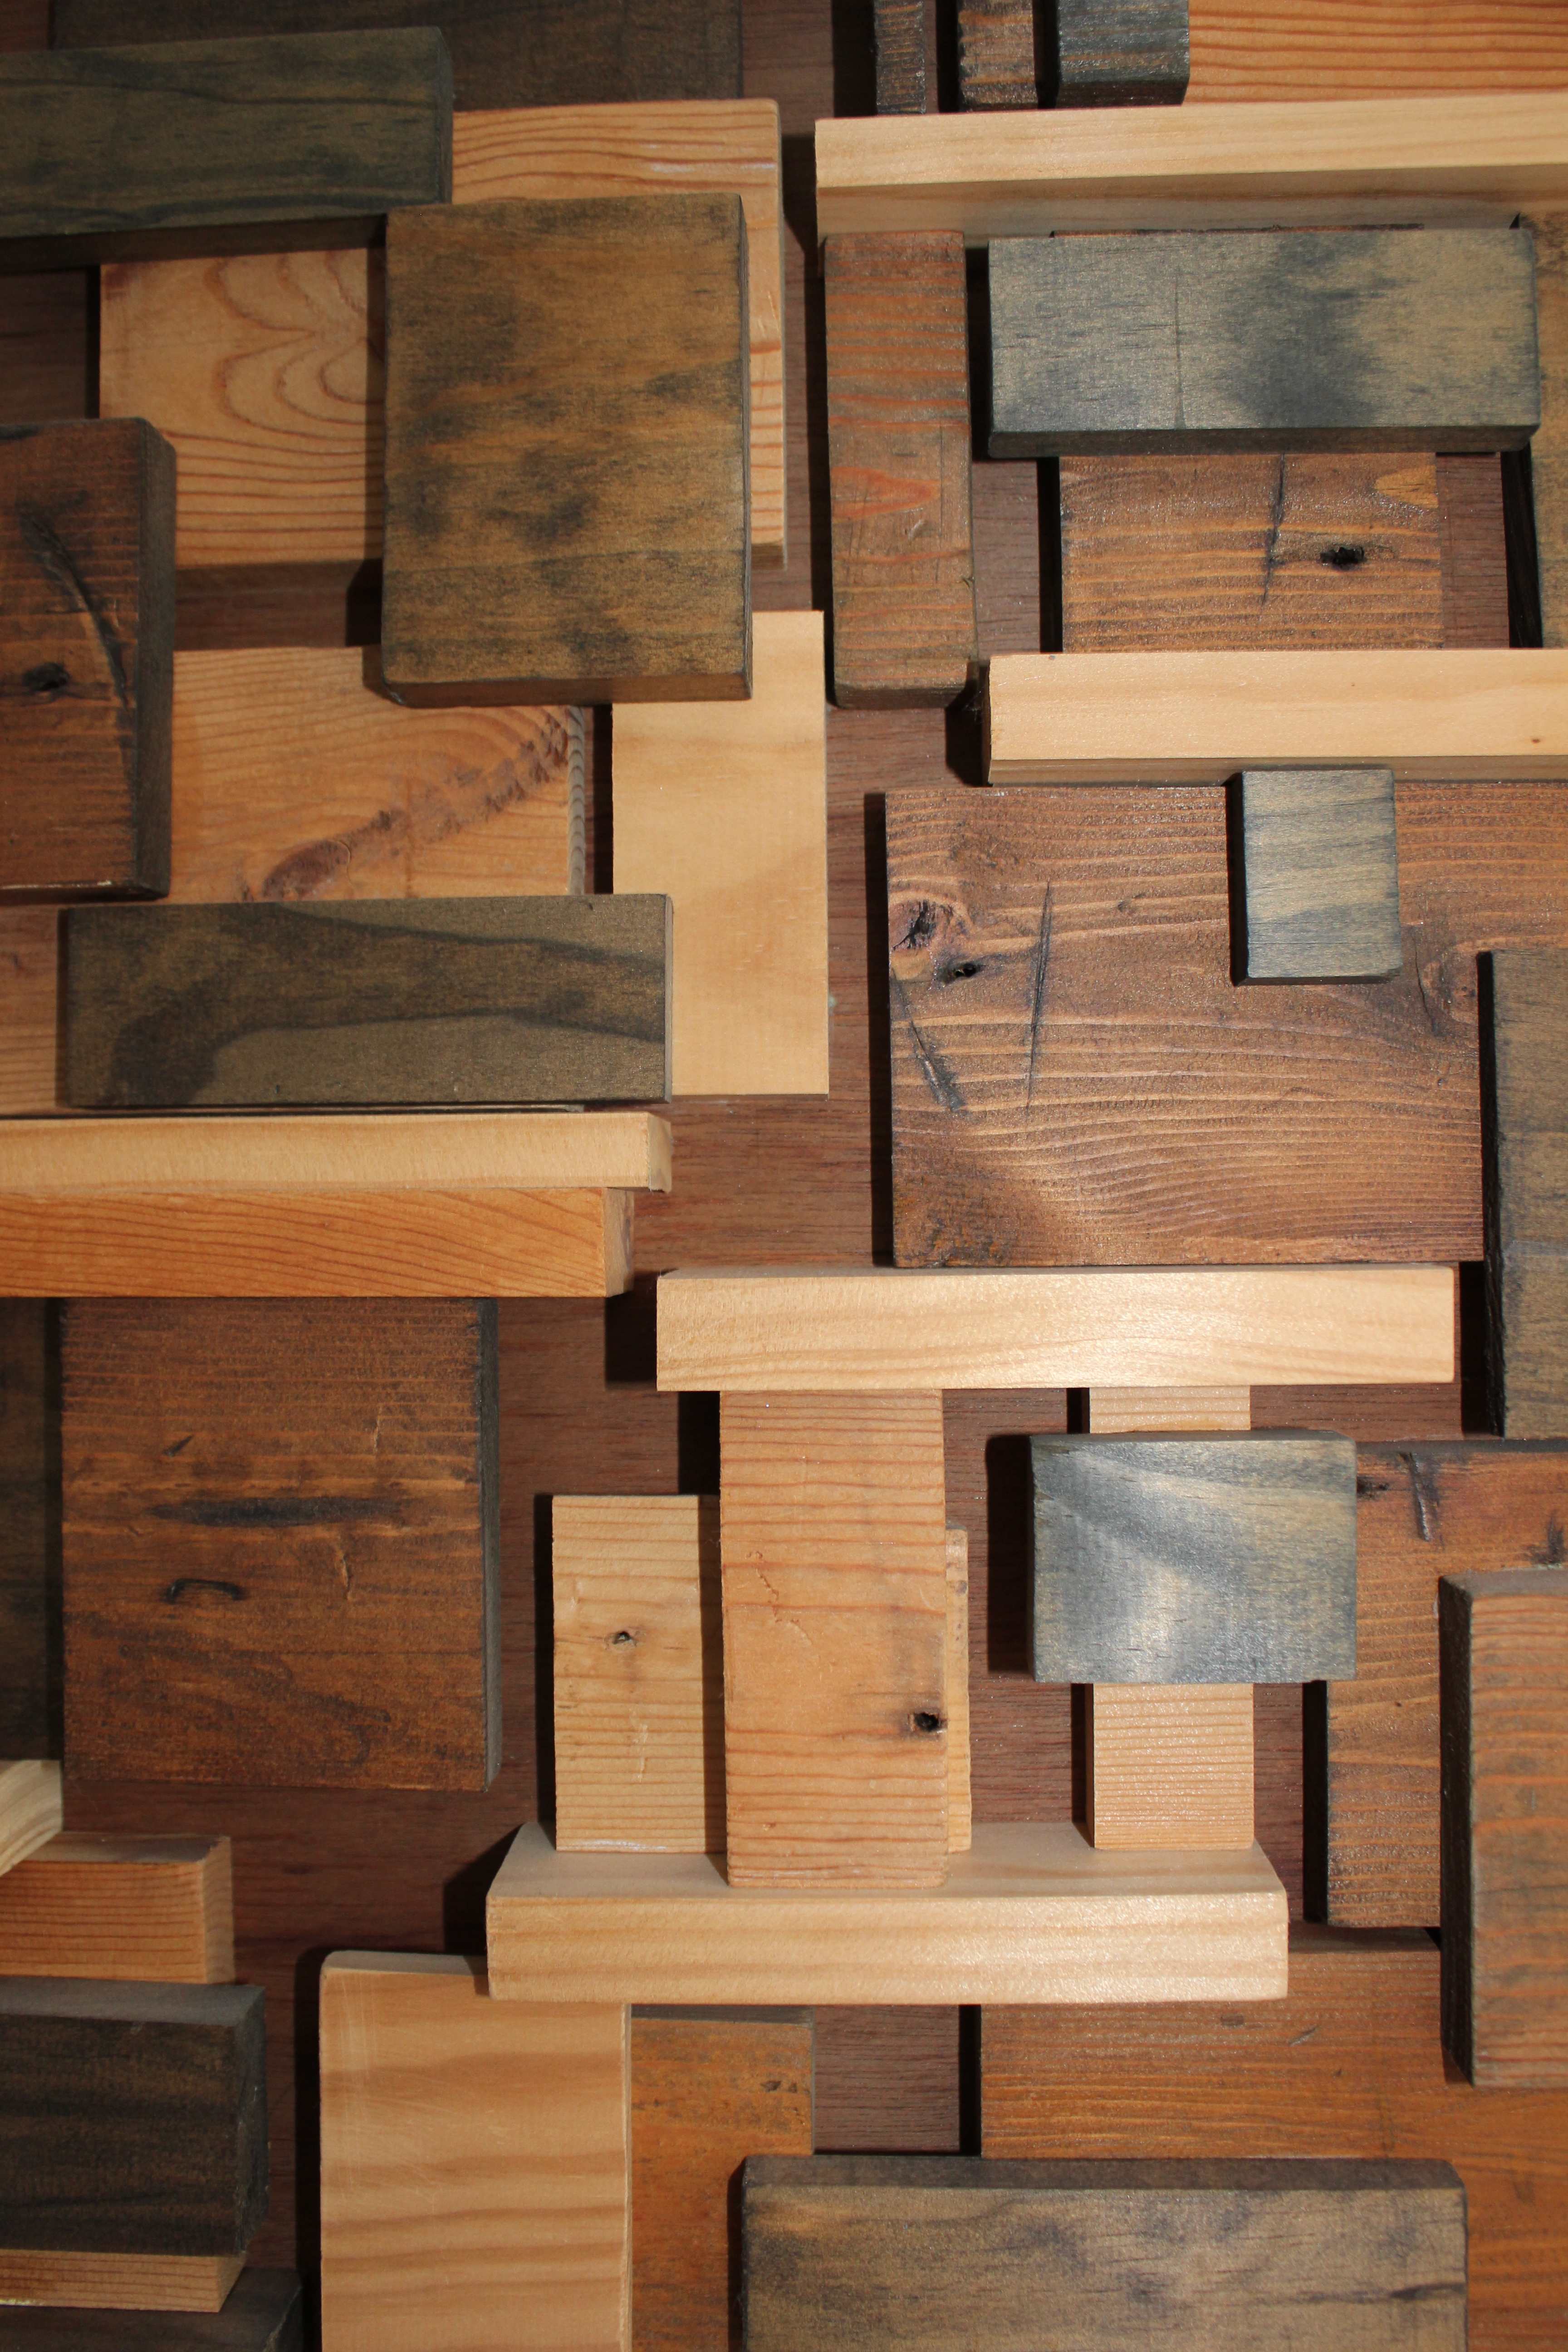
Scraps of old trim wood were hittin’ my parents’ trash can faster than you can say “gimme.” And that’s when one man’s trash became another man’s…. well… this:

Here’s a current picture of “it” (for lack of a better word) hanging in my living room:
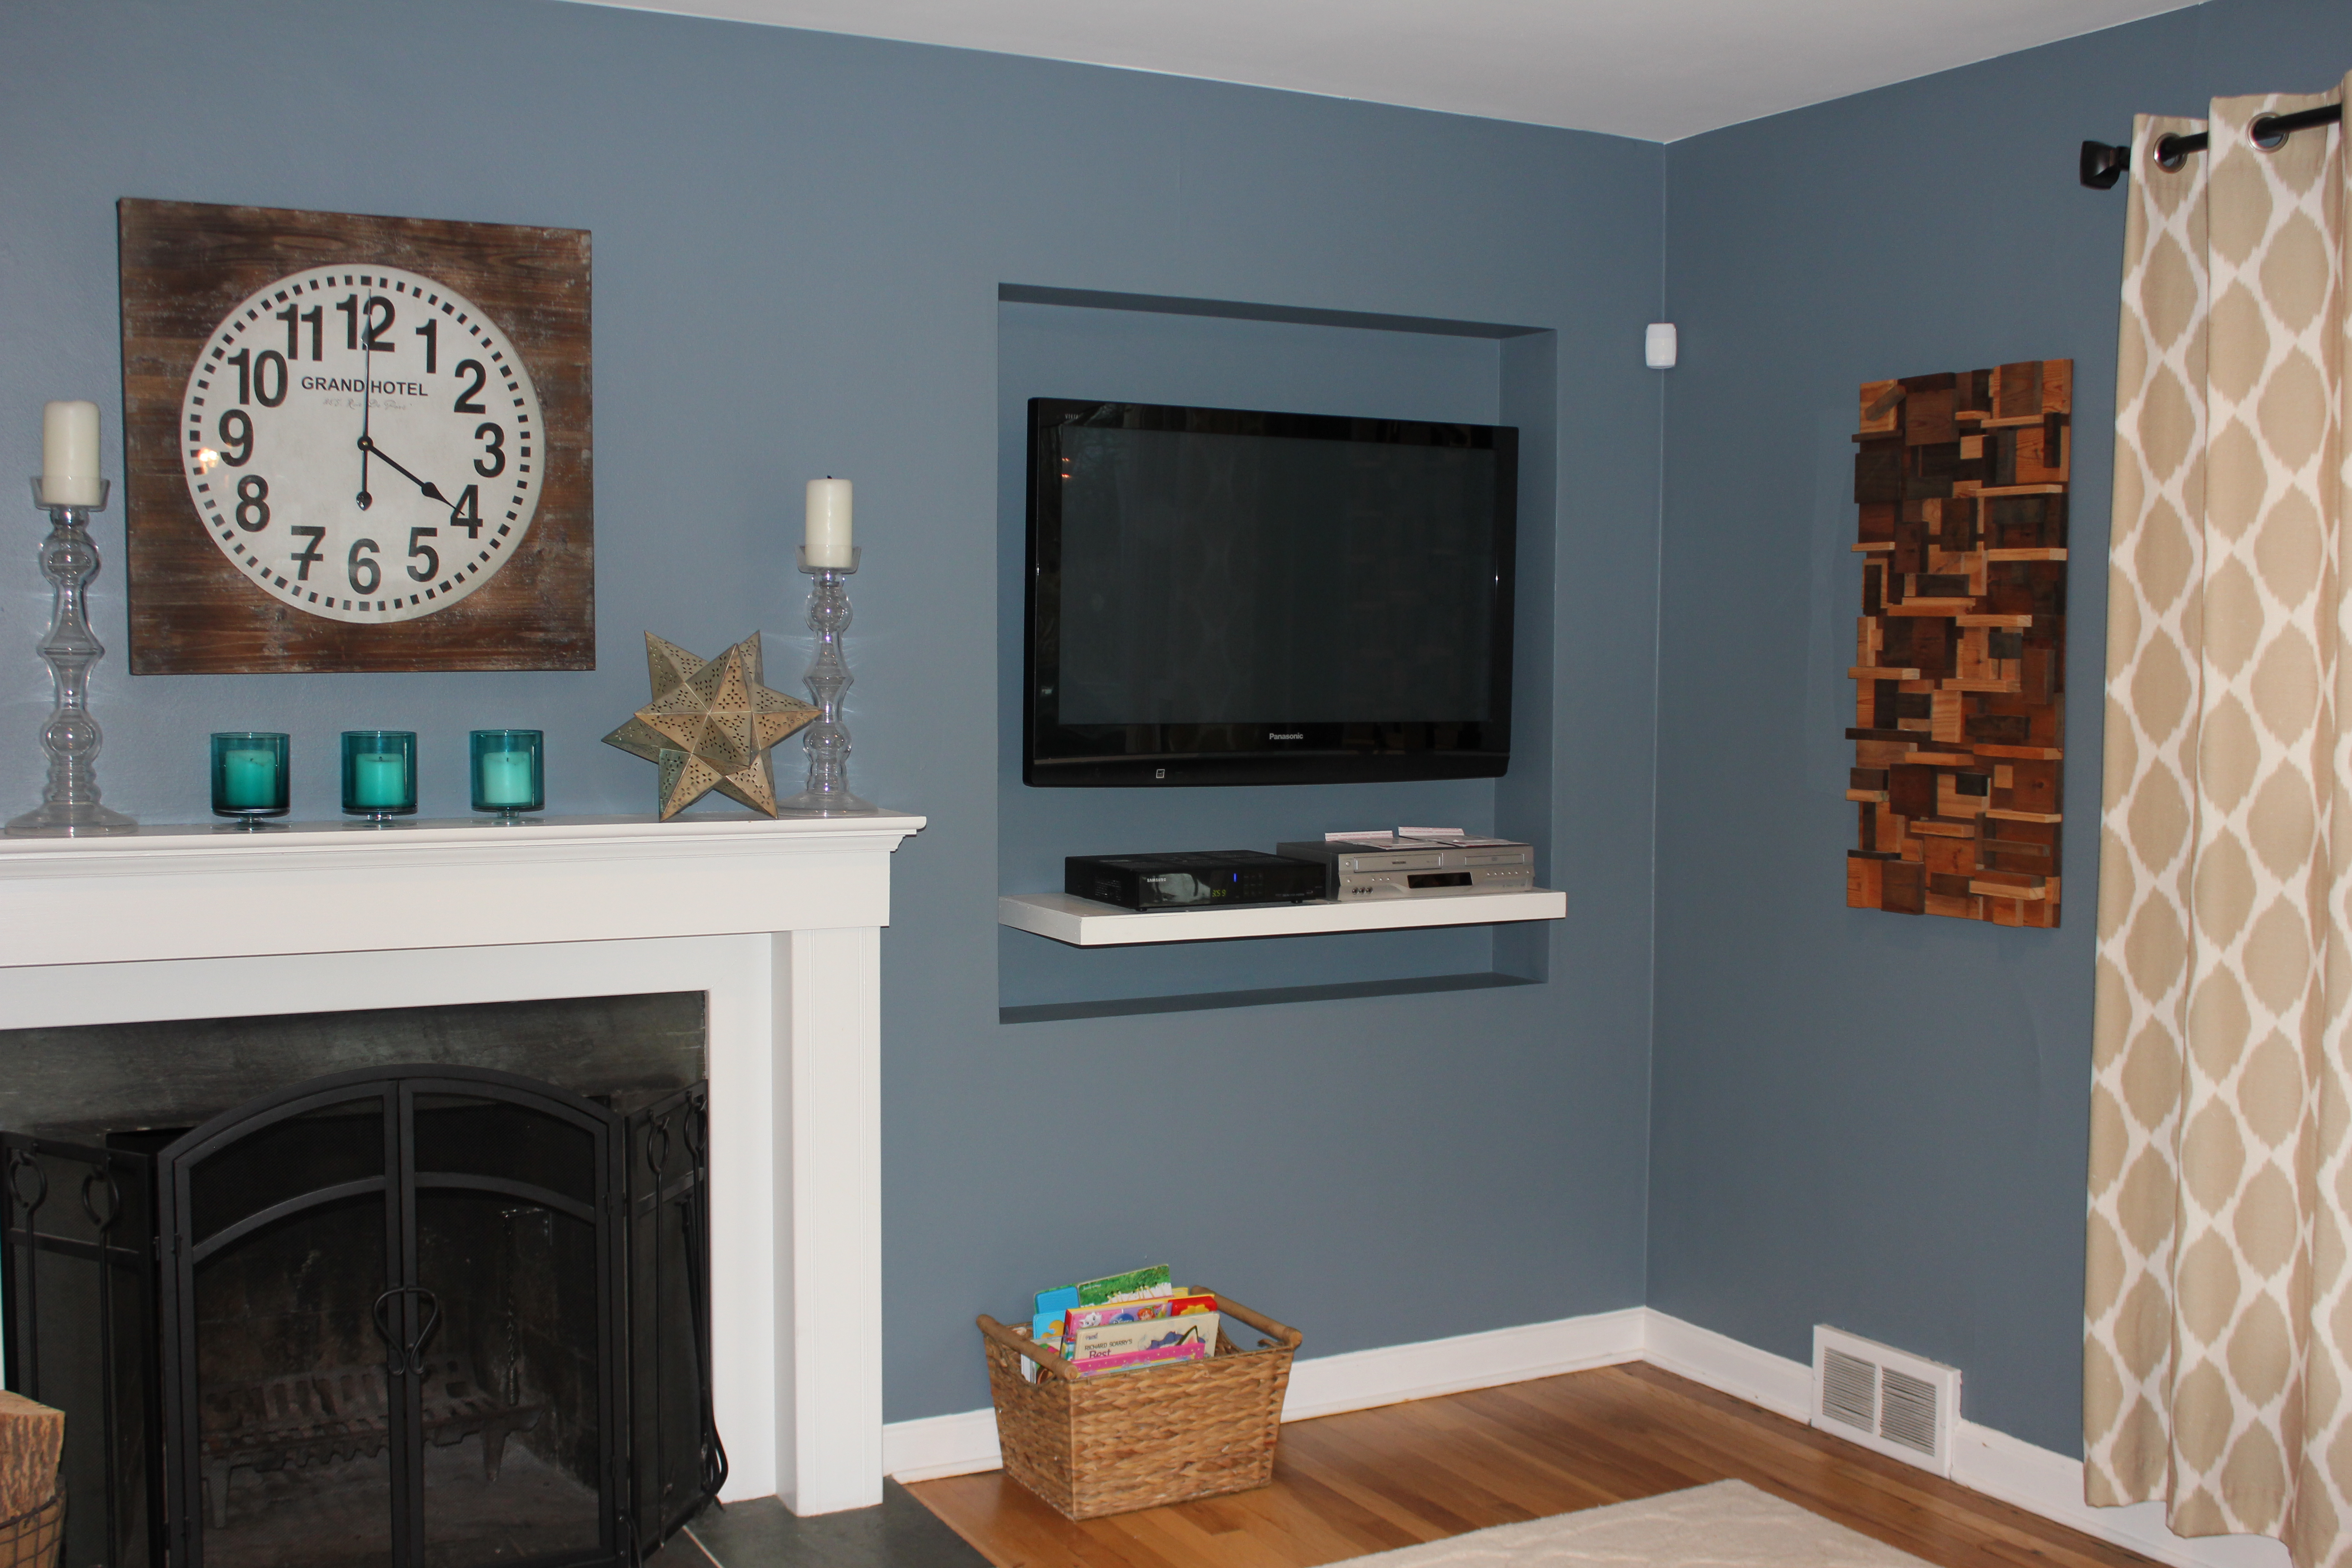
I love this piece for many reasons, but mostly for the way I feel everytime I look at it. In a word, sentimental. It not only reminds me of the very house I grew up in, but also serves as a reminder of all the hard work my dad put into our family home.
Unfortunately, I finished said project during my “why didn’t I start my blog sooner” phase, so I didn’t take any in-progress pics, but here’s the jist. I used mostly what my parents were throwing away. The more nail holes, and the more distress, the better. I supplemented those with a few pieces of new scrap wood I had lying around the house. To get the color variation, I used different wood stains that I also had lying around. For the design, I just went with it, as I usually do with most projects. We’ve all seen enough cool wood wall hangings to know that cool, old trim wood could certainly become something, so that was my starting point. I wanted a lot of dimension, so I began by cutting each piece into different sizes to give the piece a lot of depth. And then, I started in one corner, and went from there.
To adhere the wood, I started with wood glue, but soon got really paranoid that all this puzzle-piecing wouldn’t hold up (and trust me, it was a LOT of work), so I used my nail gun as a double reinforcement. It wasn’t pretty, but it was effective. Here’s a quick look of the back:
(coming soon, need to take pic : )
And that about does it. So the next time all you garbage pickers, scavengers, dumpster divers and trash hoarders are, well, garbage picking, scavenging, dumpster diving and trash hoarding, this is me, giving you permission. Apparently I think it’s mine to give. You’re welcome.
What a beautiful keepsake
Thanks Diane!!!
Brings up a lot of good memories
Brilliant! Gives me an idea of what to do with all wood scraps. No waste. Love it! Thanks for sharing!!

5 Comments