Previous post

My husband and I recently purchased our first home in Illinois. HAPPY DANCE! But it needs a lot of work. SAD DANCE! Actually, not really a sad dance. I’m a DIY’er at heart, and making our house a home by putting in some sweat equity is exactly what we were looking for in a home.
There were some things to address immediately. Our house was built in 1964, and when we moved in (as you might expect with a house of this age), most of the walls were either wood paneling or sand-textured plaster. And well, that is not okay by me… which brings me to this tutorial about smoothing outdated, textured walls.
We had just put up fresh (smooth) drywall in our family room, and as I began painting it, I couldn’t stop noticing the sand-textured hallway walls. It’s like they were staring at me… taunting me with their textured eye-sore-ness. So I did what any reputable DIY’er would do. I decided I’d try something new and smooth out the hallway.
First stop: My computer. I did a bit of online research and also consulted my handy father-in-law about tackling this project.
My first thought was to sand the walls smooth. That didn’t work. Other posts online suggested spraying the walls with water and scraping off the texture. Easy, right? Wrong. This technique would be easy with popcorn texture, but we have sand texture on plaster walls. Double whammy. And the walls are also covered (most likely) in the original primer, with 50+ years of paint layers on them. Triple whammy.
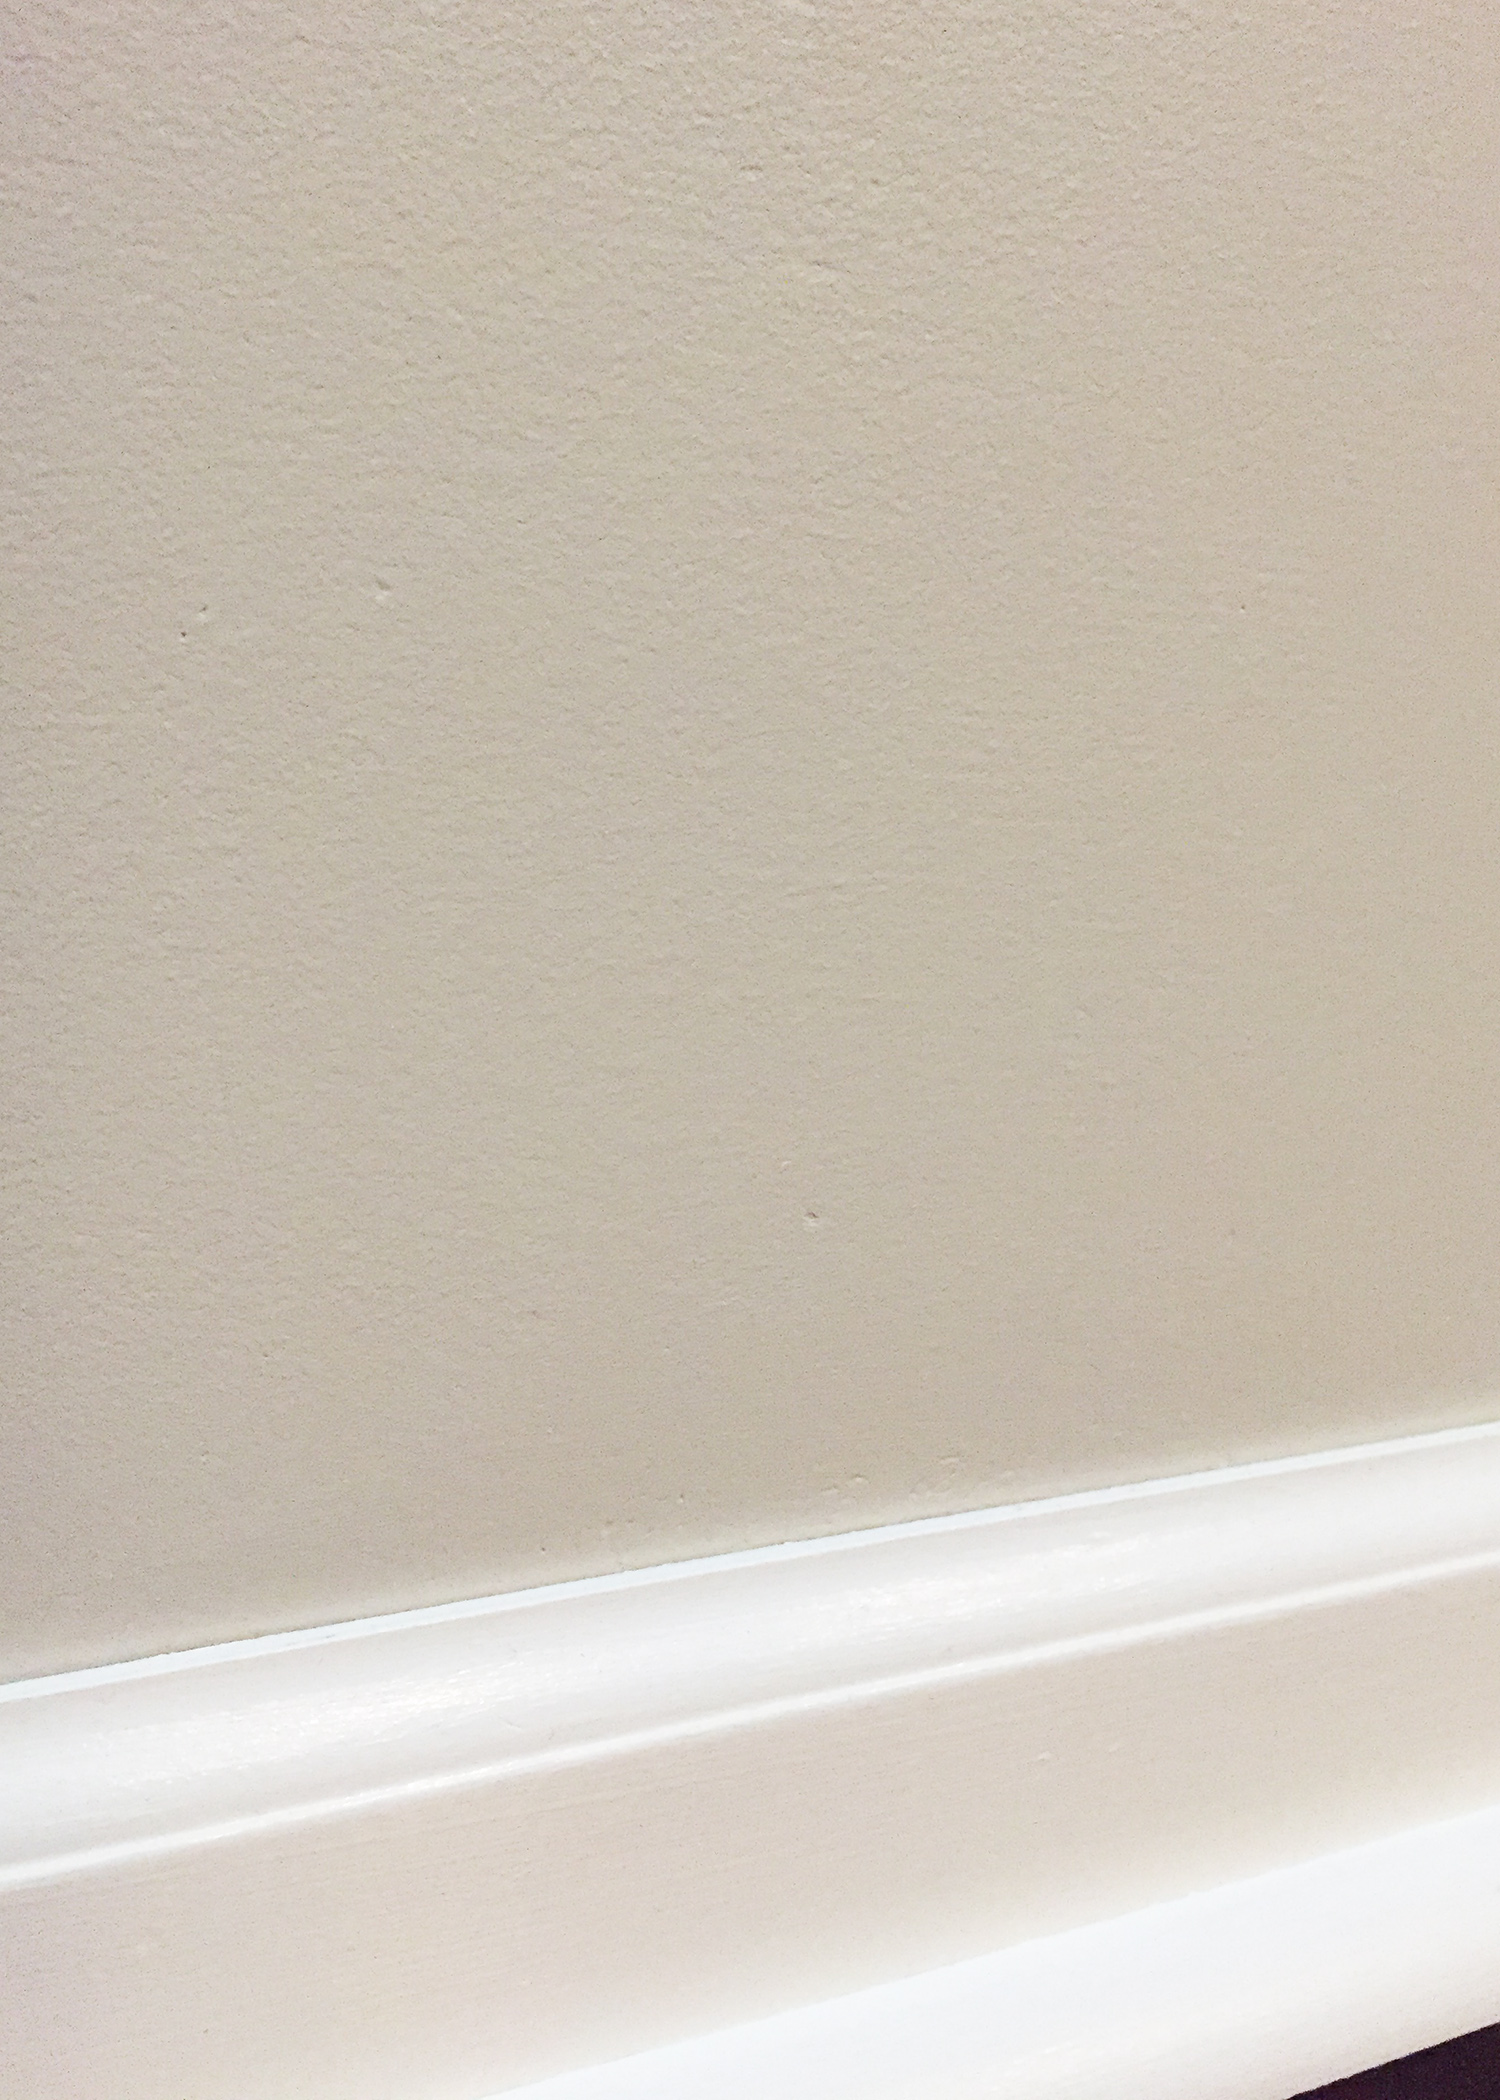
Needless to say, neither option worked. And since my “quick” project had already turned into a longer process than expected, I decided I’d jump in to what I knew would do the trick: Skim coating over the texture. Here’s a closeup of the original wall (NOTE: taking pictures that truly showcase the before & after is not easy, but hopefully you can still get the idea):
If you’re new to this (like I was), skim coating is applying thin layers of drywall mud to smooth out a surface. And so… my project began.

We already had a drywall mud mixer, so that was a bonus. This handy, inexpensive tool attaches to your drill and within seconds you have very smooth mud to make your project much easier (it essentially keeps the mud evenly moist and creamy). The mixer is not 100% necessary, but in my opinion, it’s super useful.
I was already rather happy with the first application of mud, and to my (pleasant) surprise, I only needed about 3 full layers to accomplish a smooth wall. Plus, with such thin layers, it doesn’t take long for each one to dry in between applications. Here’s a quick look at the wall in the middle of the process. Starting to see a difference? :
I sanded between each layer, and after the final one, I used a large, damp sponge to smooth out any rough areas. Look and feel as you sand in case there is a rough patch that you didn’t see, but felt, or vice versa. You’ll most likely have to do a few touch up spots after your third application, but only use as much mud as you need. Take it from me: Don’t waste product by going overboard. And honestly, that’s really it! A few supplies, a little patience and attention to detail. Here’s a look at the “after”:

It’s even easier to see in this picture. The wall is the one I smoothed out, and the ceiling is still the old sand texture:
Remember, a project like this always looks terrible in the middle of the process, but keep going because it won’t be long until you start wiping that taunting, textured smile off your dated walls!
Thank you for this helpful post. Did you use the damp sponge to smooth out the rough spots after every coat or just after the final application of joint compound?
If I’m putting up peel and stick/removable wallpaper after this, do you still recommend priming? Thanks!
I think you have saved my life (I mean my bathroom)! I’ve been looking for help for my textured bathroom walls for about a year. Thank you!
This article Inspired me to continue on my project ceiling popcorn removal, Im halfway done with my first coat and Im seeing the transformation already. Thanks!
How long did you wait between coats? I’ve started on this project and the surface looks and feels very dry after 6-12 hours, but it says to wait a full 24. I really don’t want to but don’t want to ruin the project by getting ansty!
Did you have to prep the painted wall with anything for the joint compound to stick?
Did you have to partition the rooms off when you were sanding the walls? I would imagine drywall dust would go everywhere
Our ceiling is 12X12 tile squares do you think it would work on there?
Would you recommend this on a ceiling?
I guess some people would after this consider doing ceiling the same way. But isnt there high chance of asbestos in this textured ceiling? Not sure about the walls but for ceiling I think there is high chance. Were you testing before doing this?
I’m trying to redo the walls & ceiling in our 100 year old house. Someone decided an ugly green was good over texture in the bathroom! Yuck! I am curious, though – I have glossy or semi gloss paint that I would need covering. Will this still work? Or will the mud mix just fall off because of the paint? I plan on painting over the end result of course!
23 Comments