Previous post

My working title for this post was “Reupholstery for rejects,” but in the end I decided against it for a number of reasons.
1. Bullying one’s self is bad.
2. Political correctness is good.
In all seriousness, reupholstery is fairly new to me. But it’s not new to my mom, and her sister, and they are the two main reasons I decided I was capable of tackling this nursery chair reupholstery project. I also already had one reupholstered chair under my belt (post coming soon), so with the help of my awesome mom (we do lots of projects together), we tackled this chair. Here’s her before shot. The chair’s, not my mom’s. Disregard the hideous room in the background that is, thankfully, no longer hideous. That post also coming soon.


And here’s how it went down. Warning: these steps are very in-depth.
Unfortunately for me, Step 4 happened before Step 3, so that made for a few interesting weeks as a new mom of 2. All that aside, this project was pretty painless. The majority of the chair is wood, so the actual “reupholstery” job was minimal. The wood frame just needed a little TLC to bring it back to its glory days. But before any painting could begin, the frame had to be reinforced, and the backing and cushion had to be re-created.
Here’s my mom and daughter trying to figure out what we got ourselves into. The springs were shot, so we opted to take them off and start from scratch.
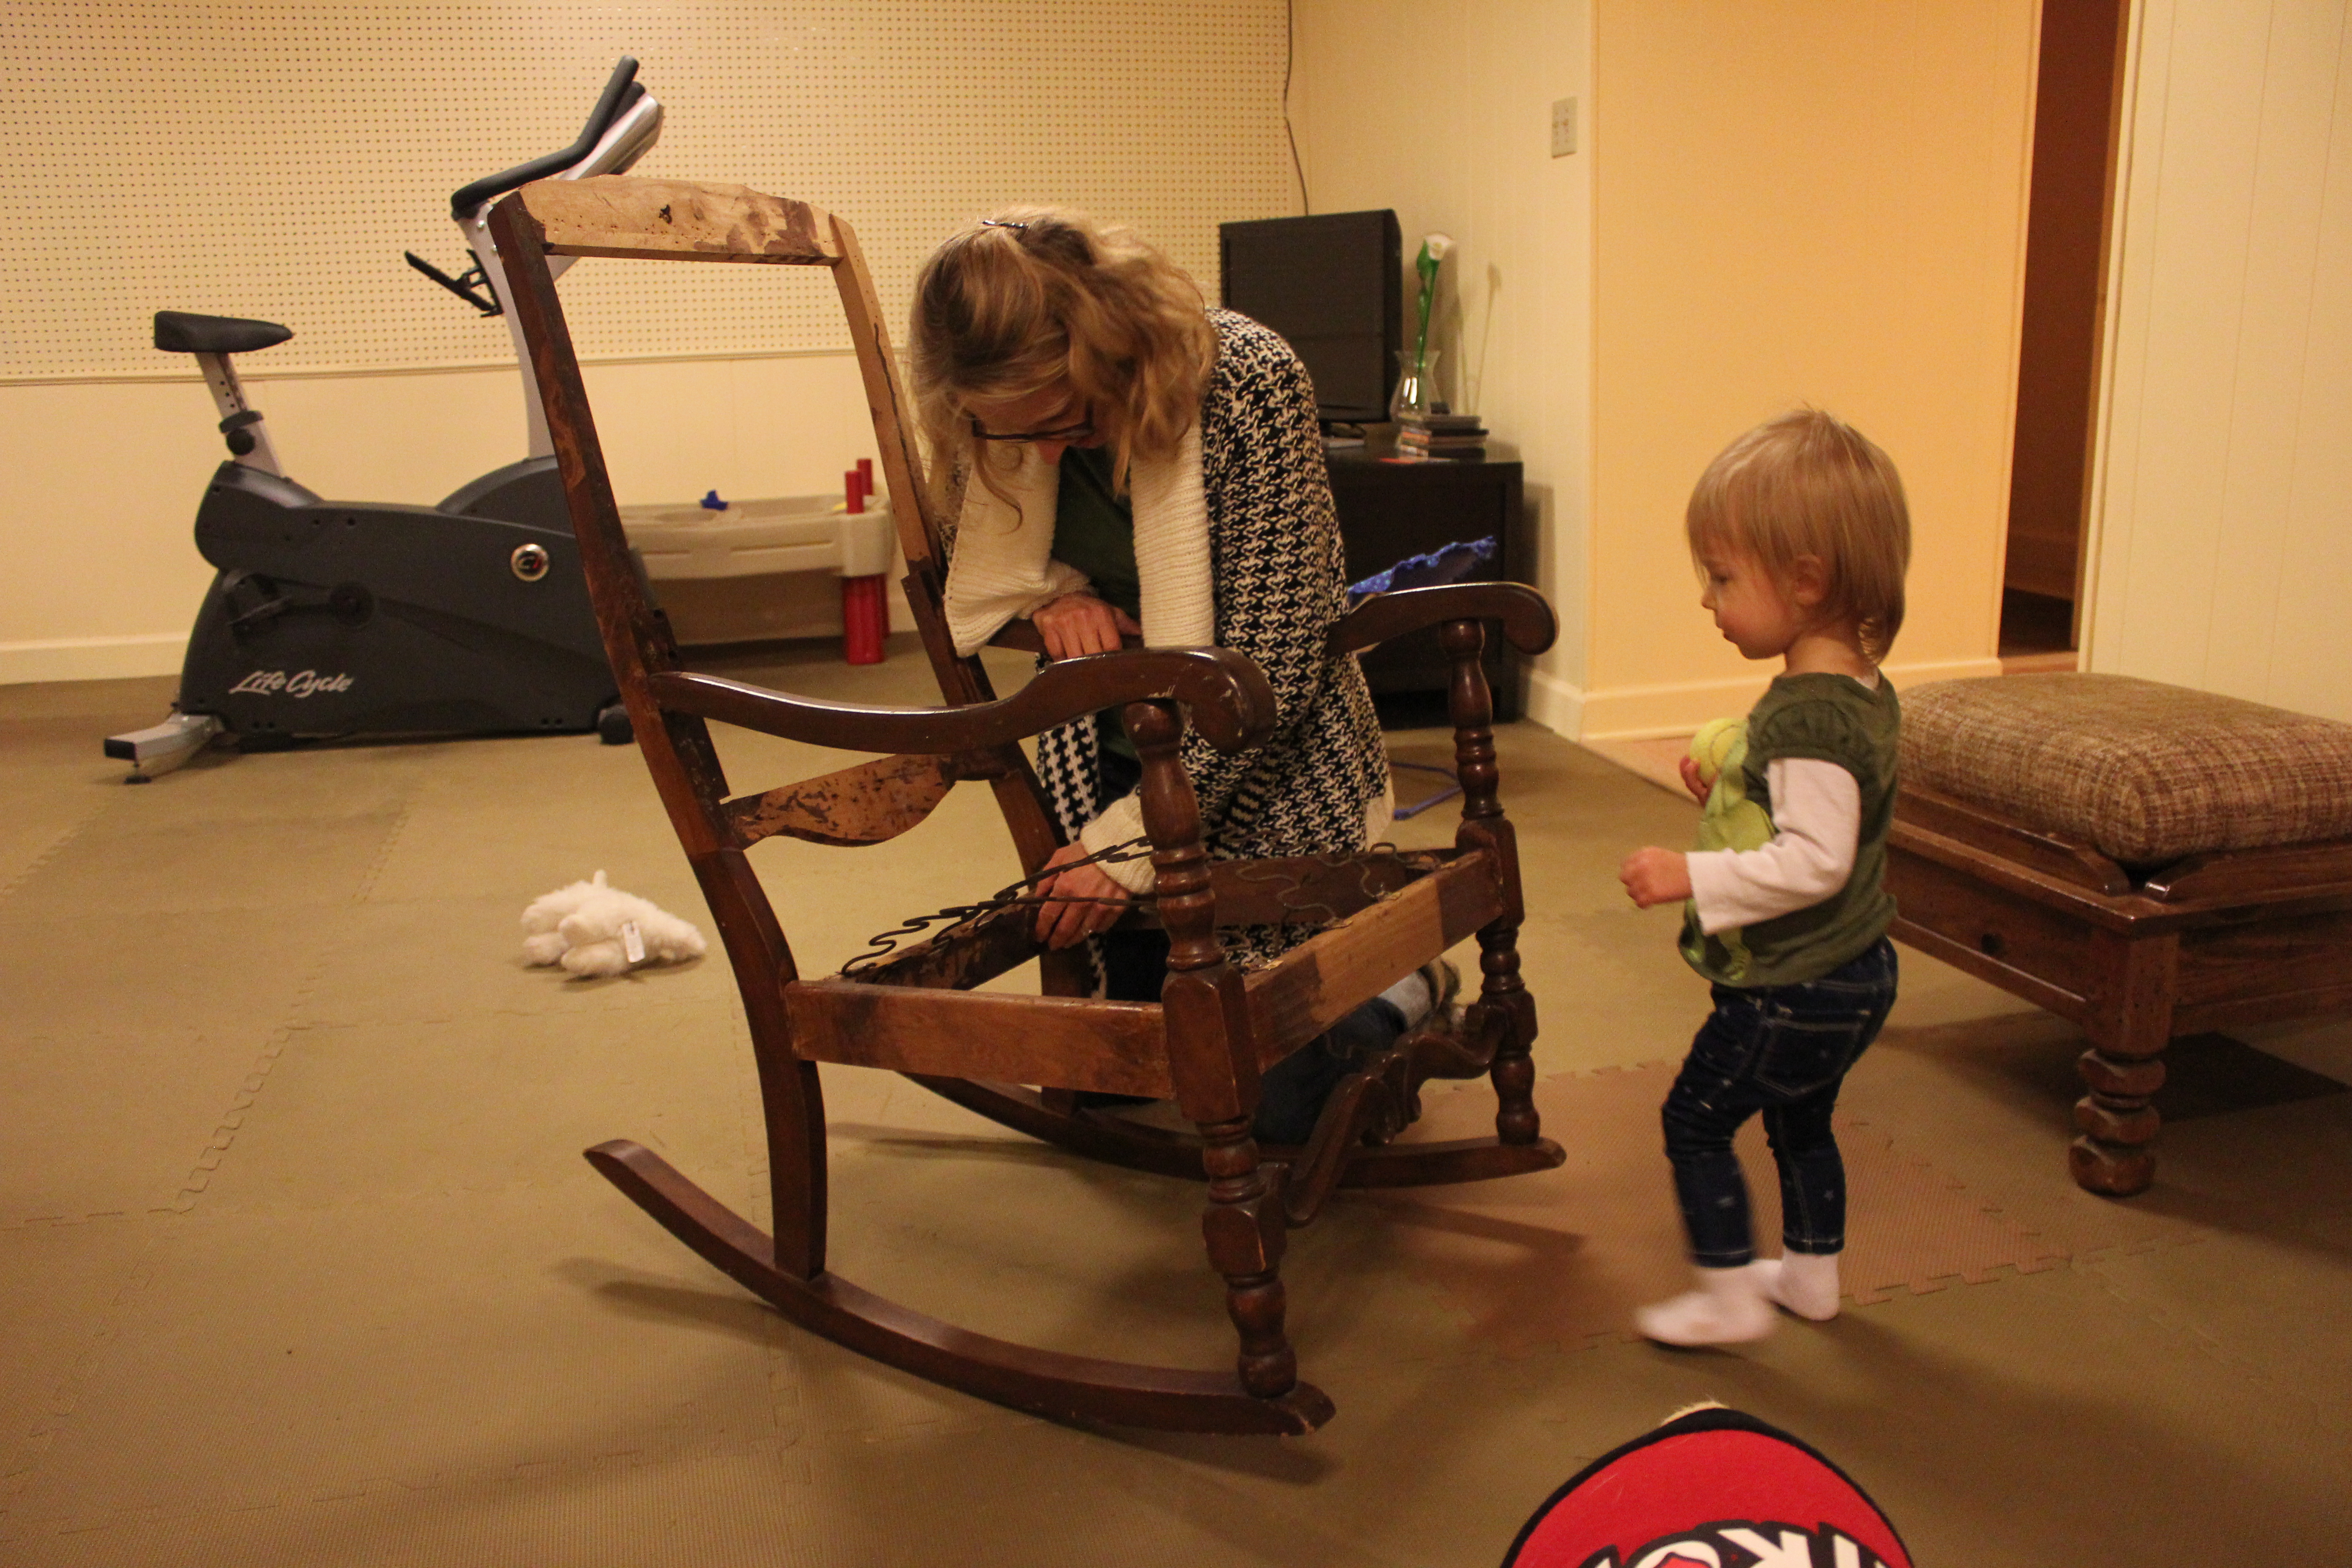
The frame was also shakey, so my husband (did I mention I’m really good at telling others what to do? I kid.) reinforced it with a LOT of screws. He also rebuilt the seat base with a couple 1 x 4s.
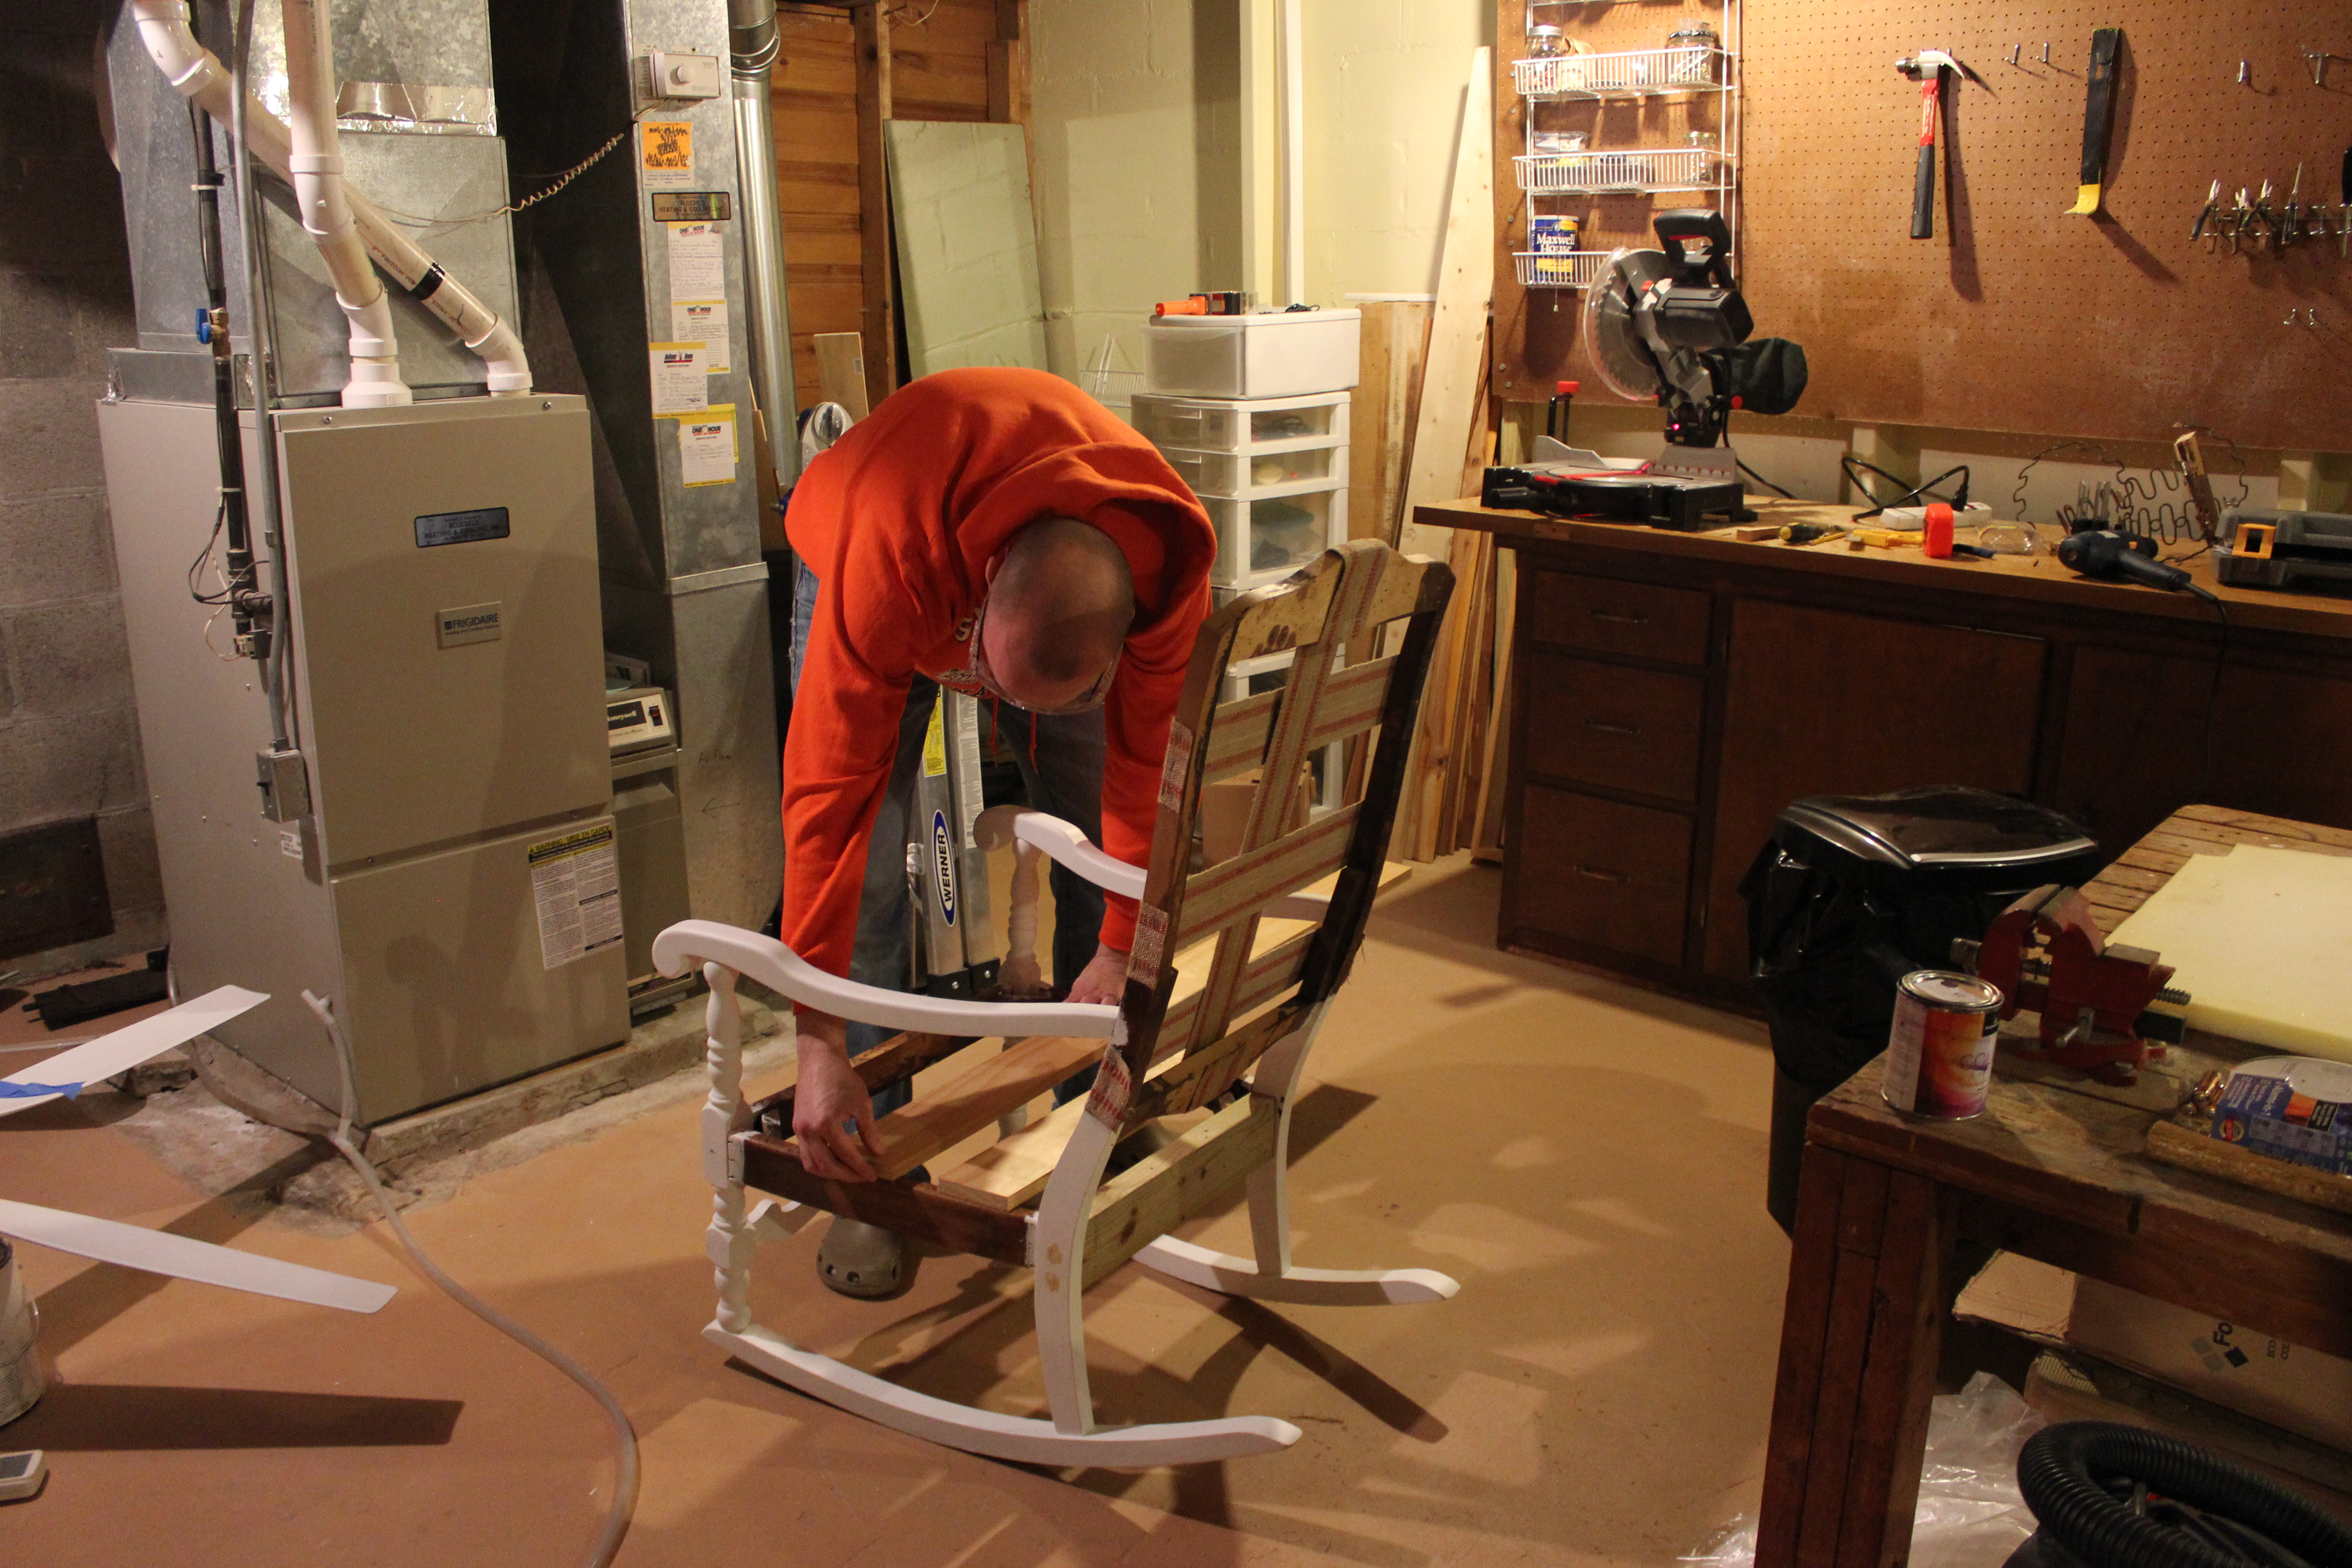
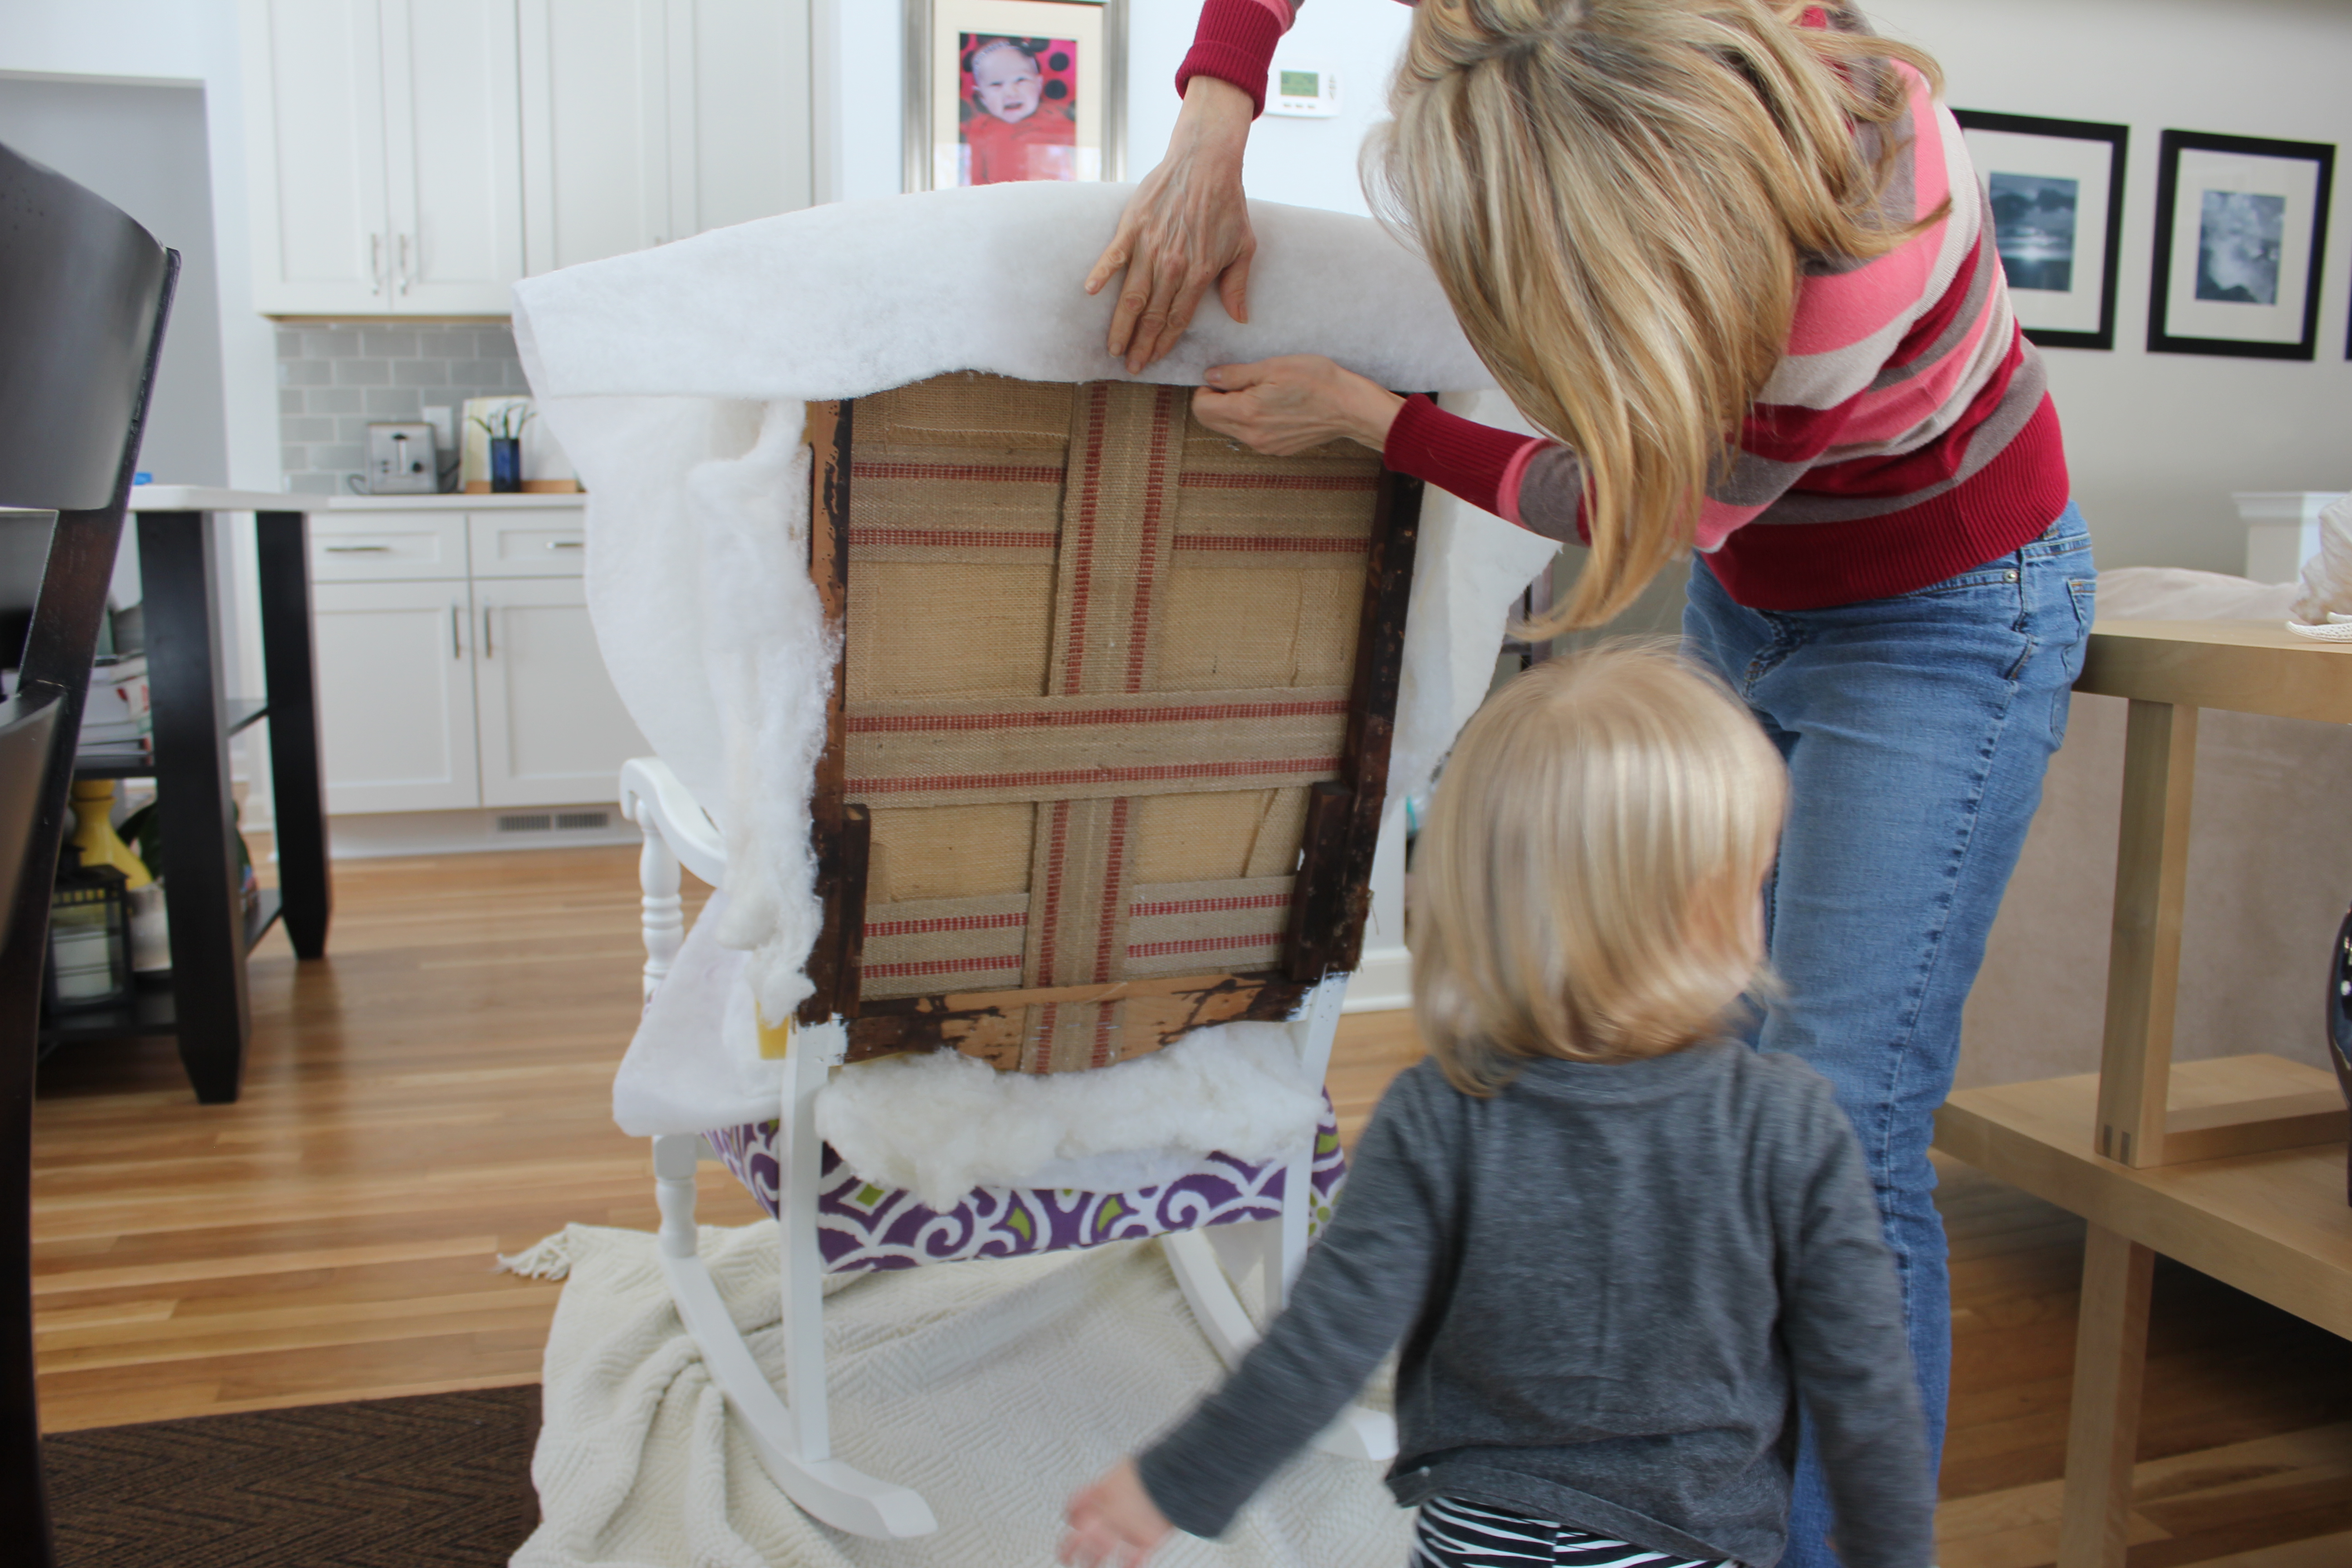
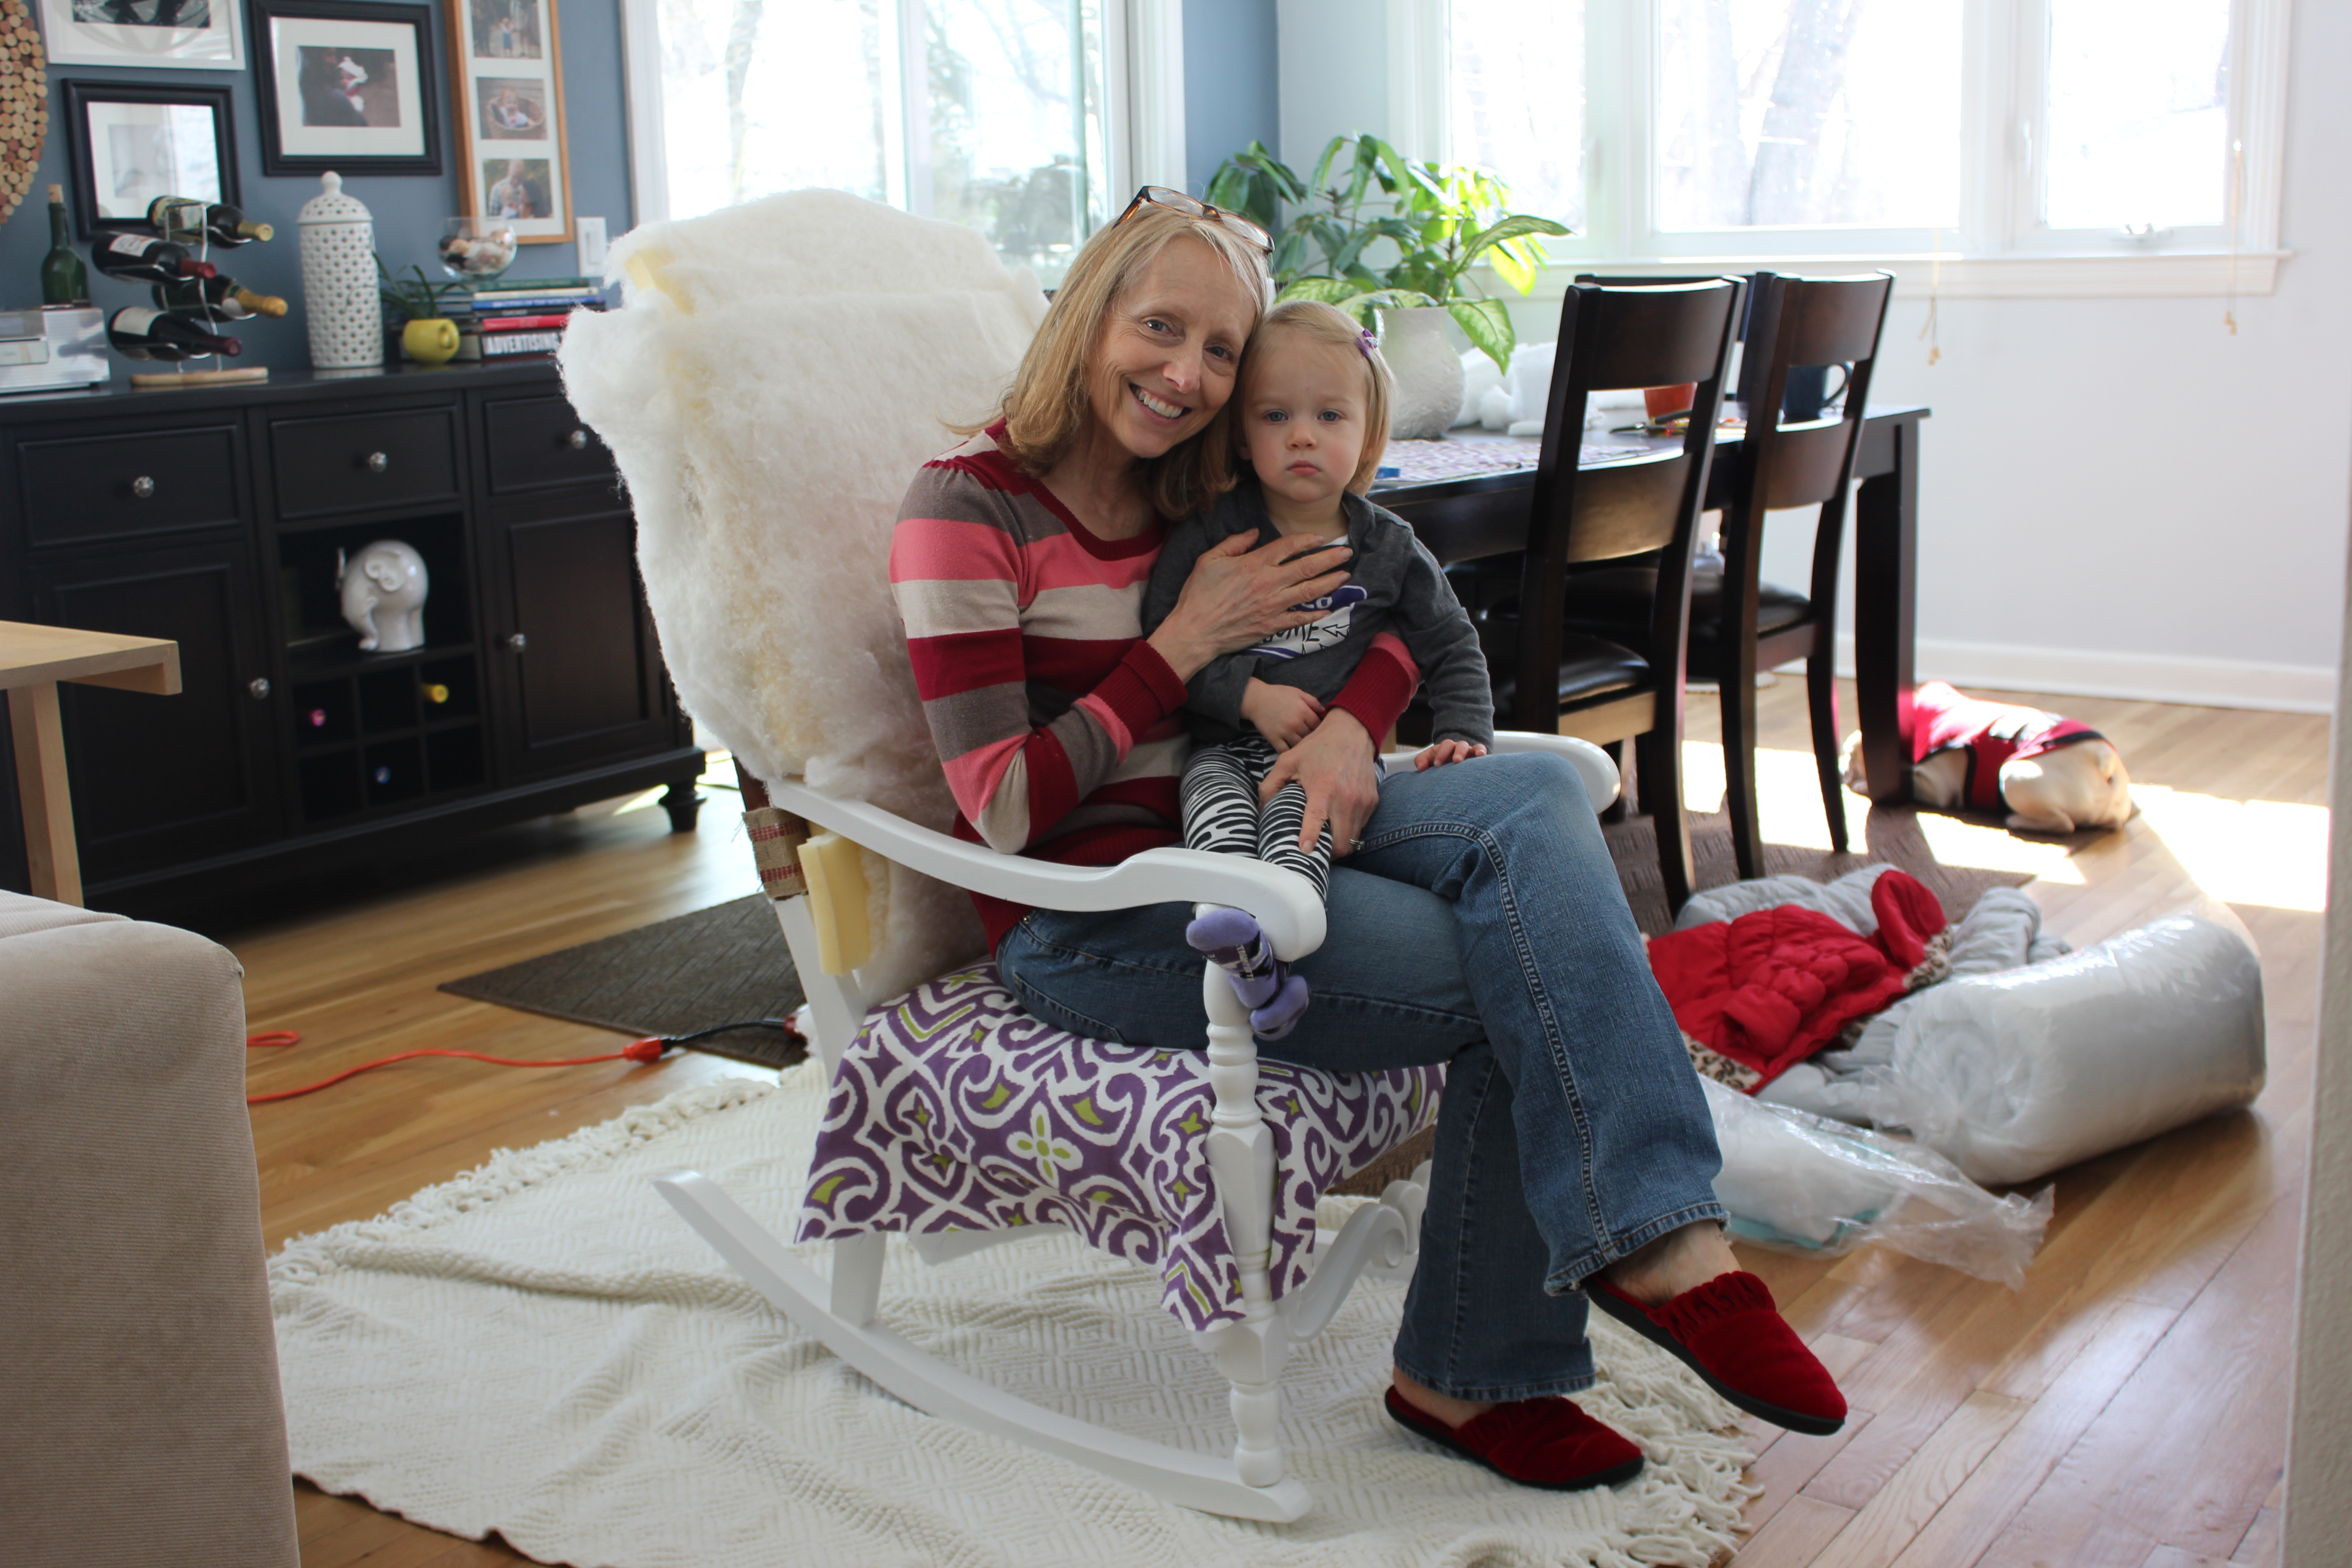
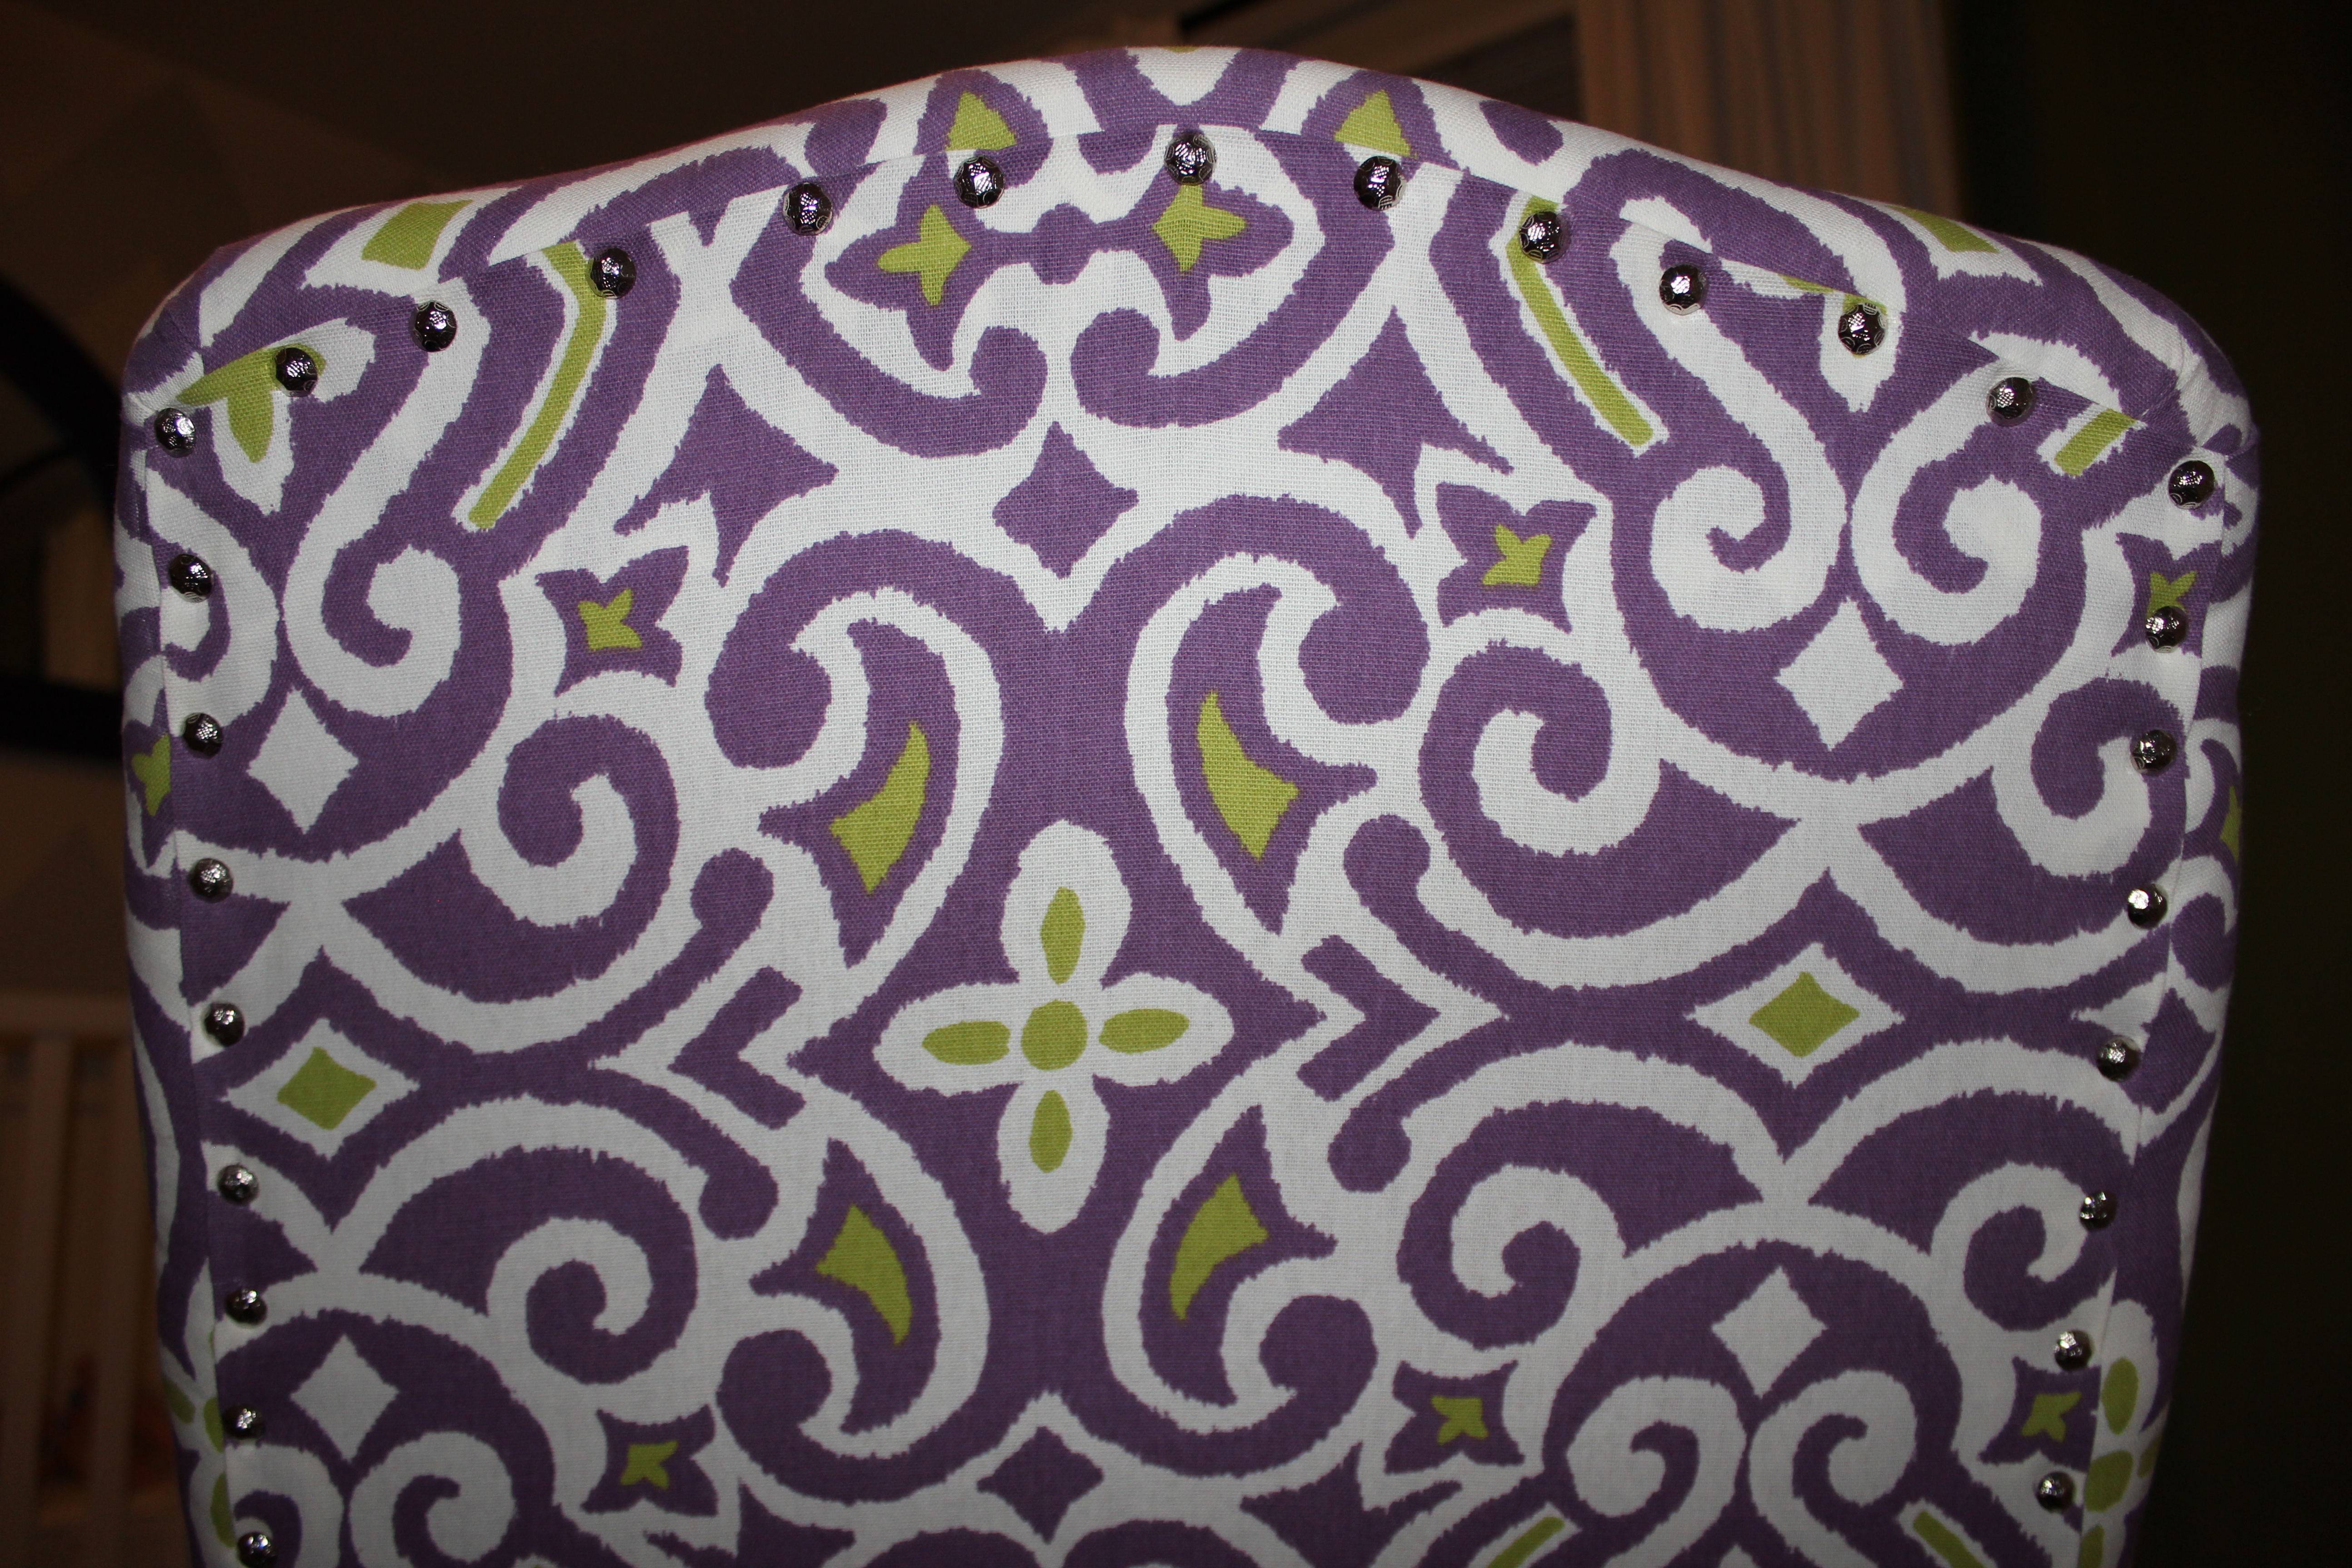
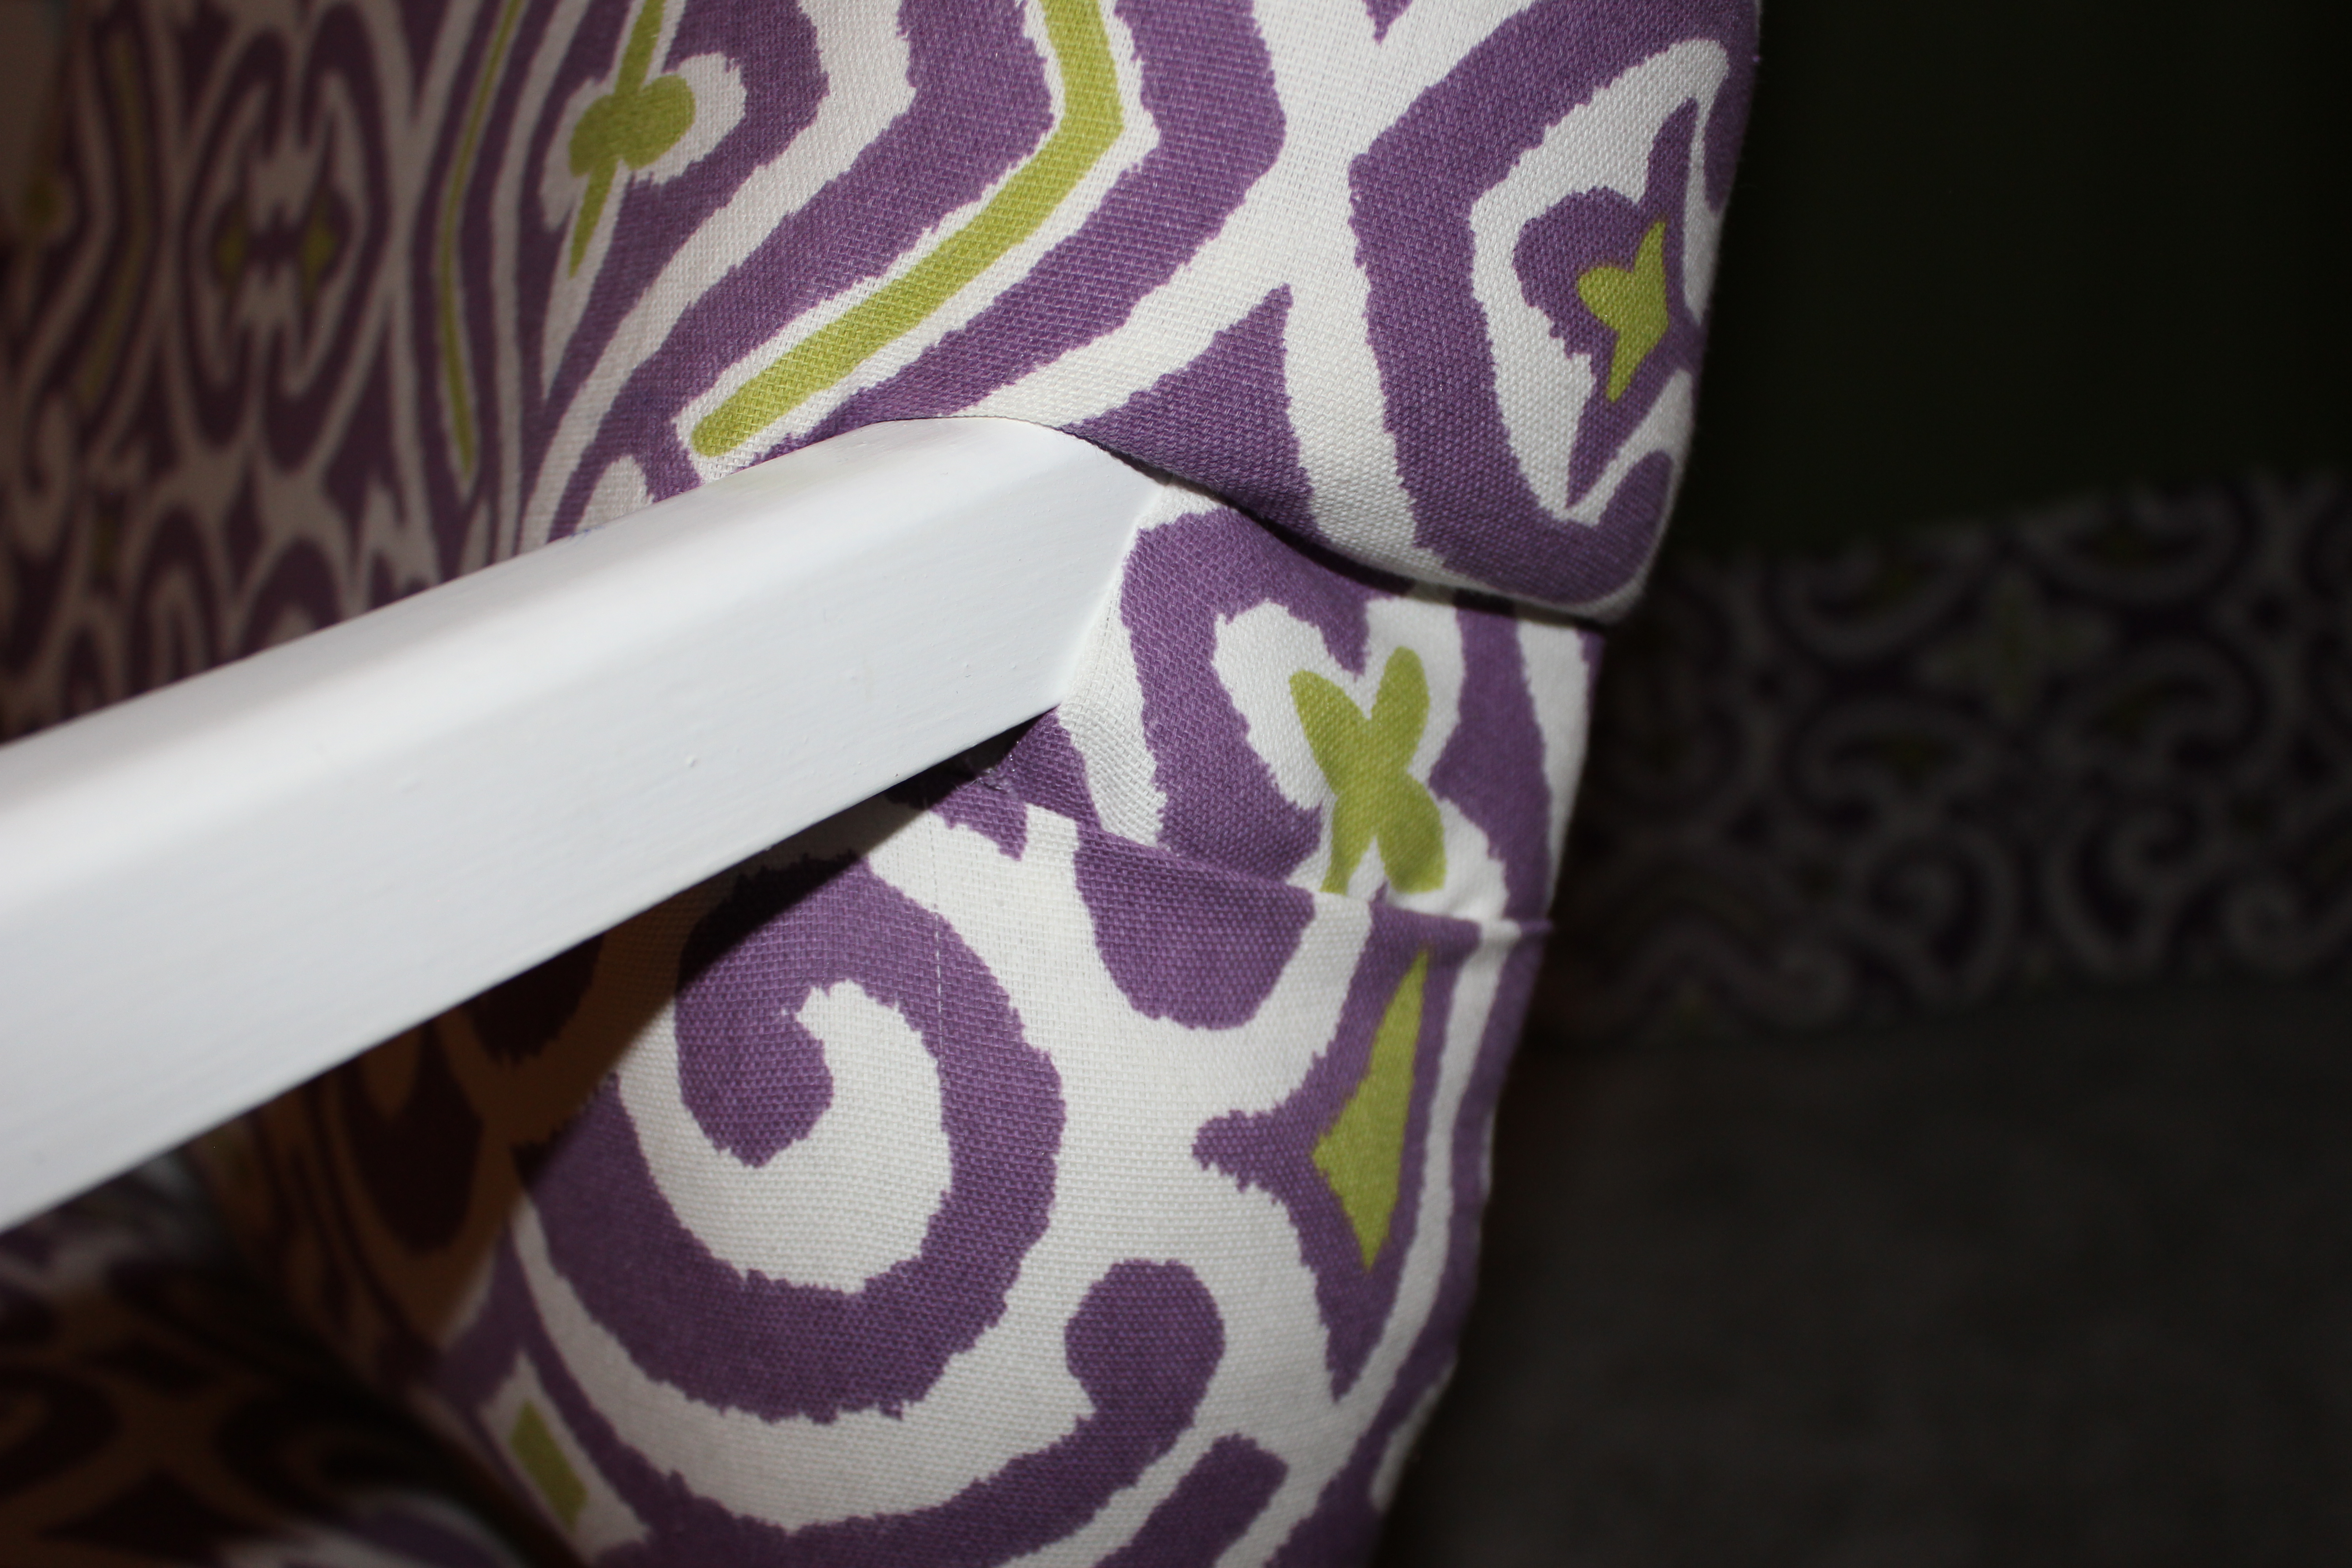
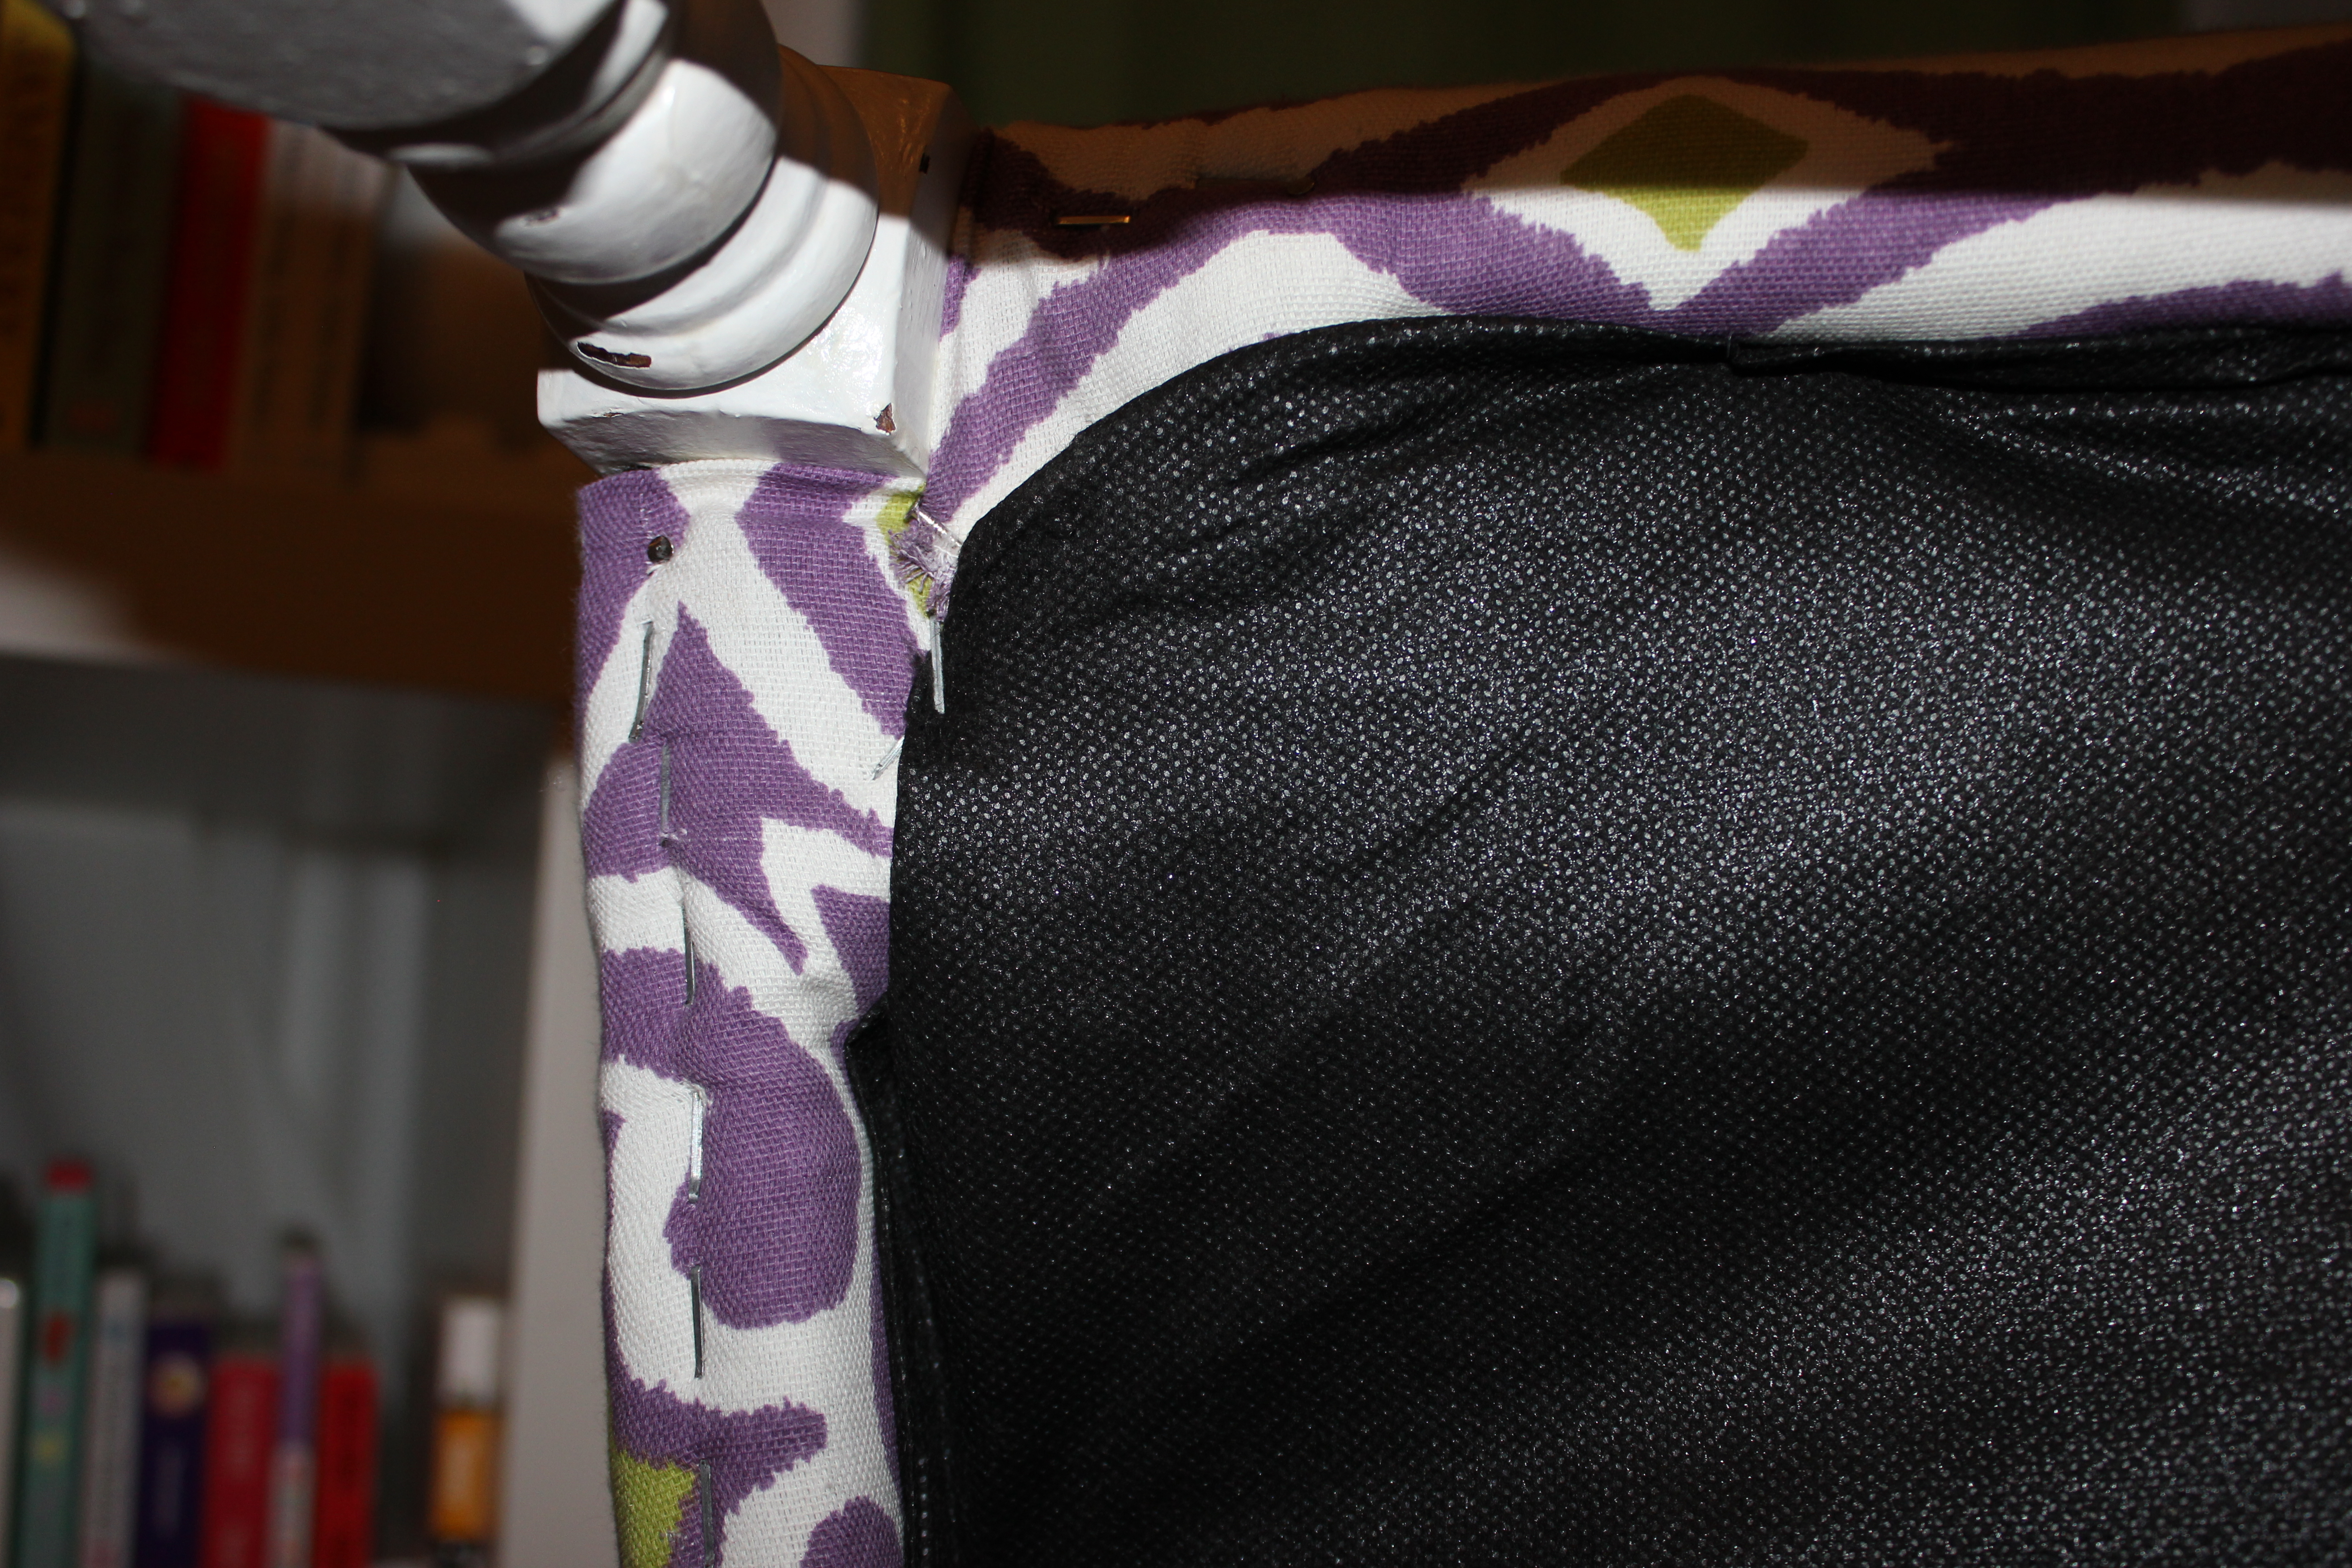
And voila, we were ready to rumble. Between batting, miscellaneous foam scraps and an entirely new cushion, we had our “chair.” All that was left was the fabric. Check out these works-in-progress pics. I love this chair. And the process made for a good post 🙂
That’s beautiful, you all have such talent
2 Comments