Previous post
Next post
too many ideas. too little time. (and far too much chai.)

I love this project. For starters, it took me about an hour to complete (not counting the wood glue and paint dry time), and it cost me zero dollars. So if you’re looking to add a dash of farmhouse fabulousness to a room, this project fits the bill.
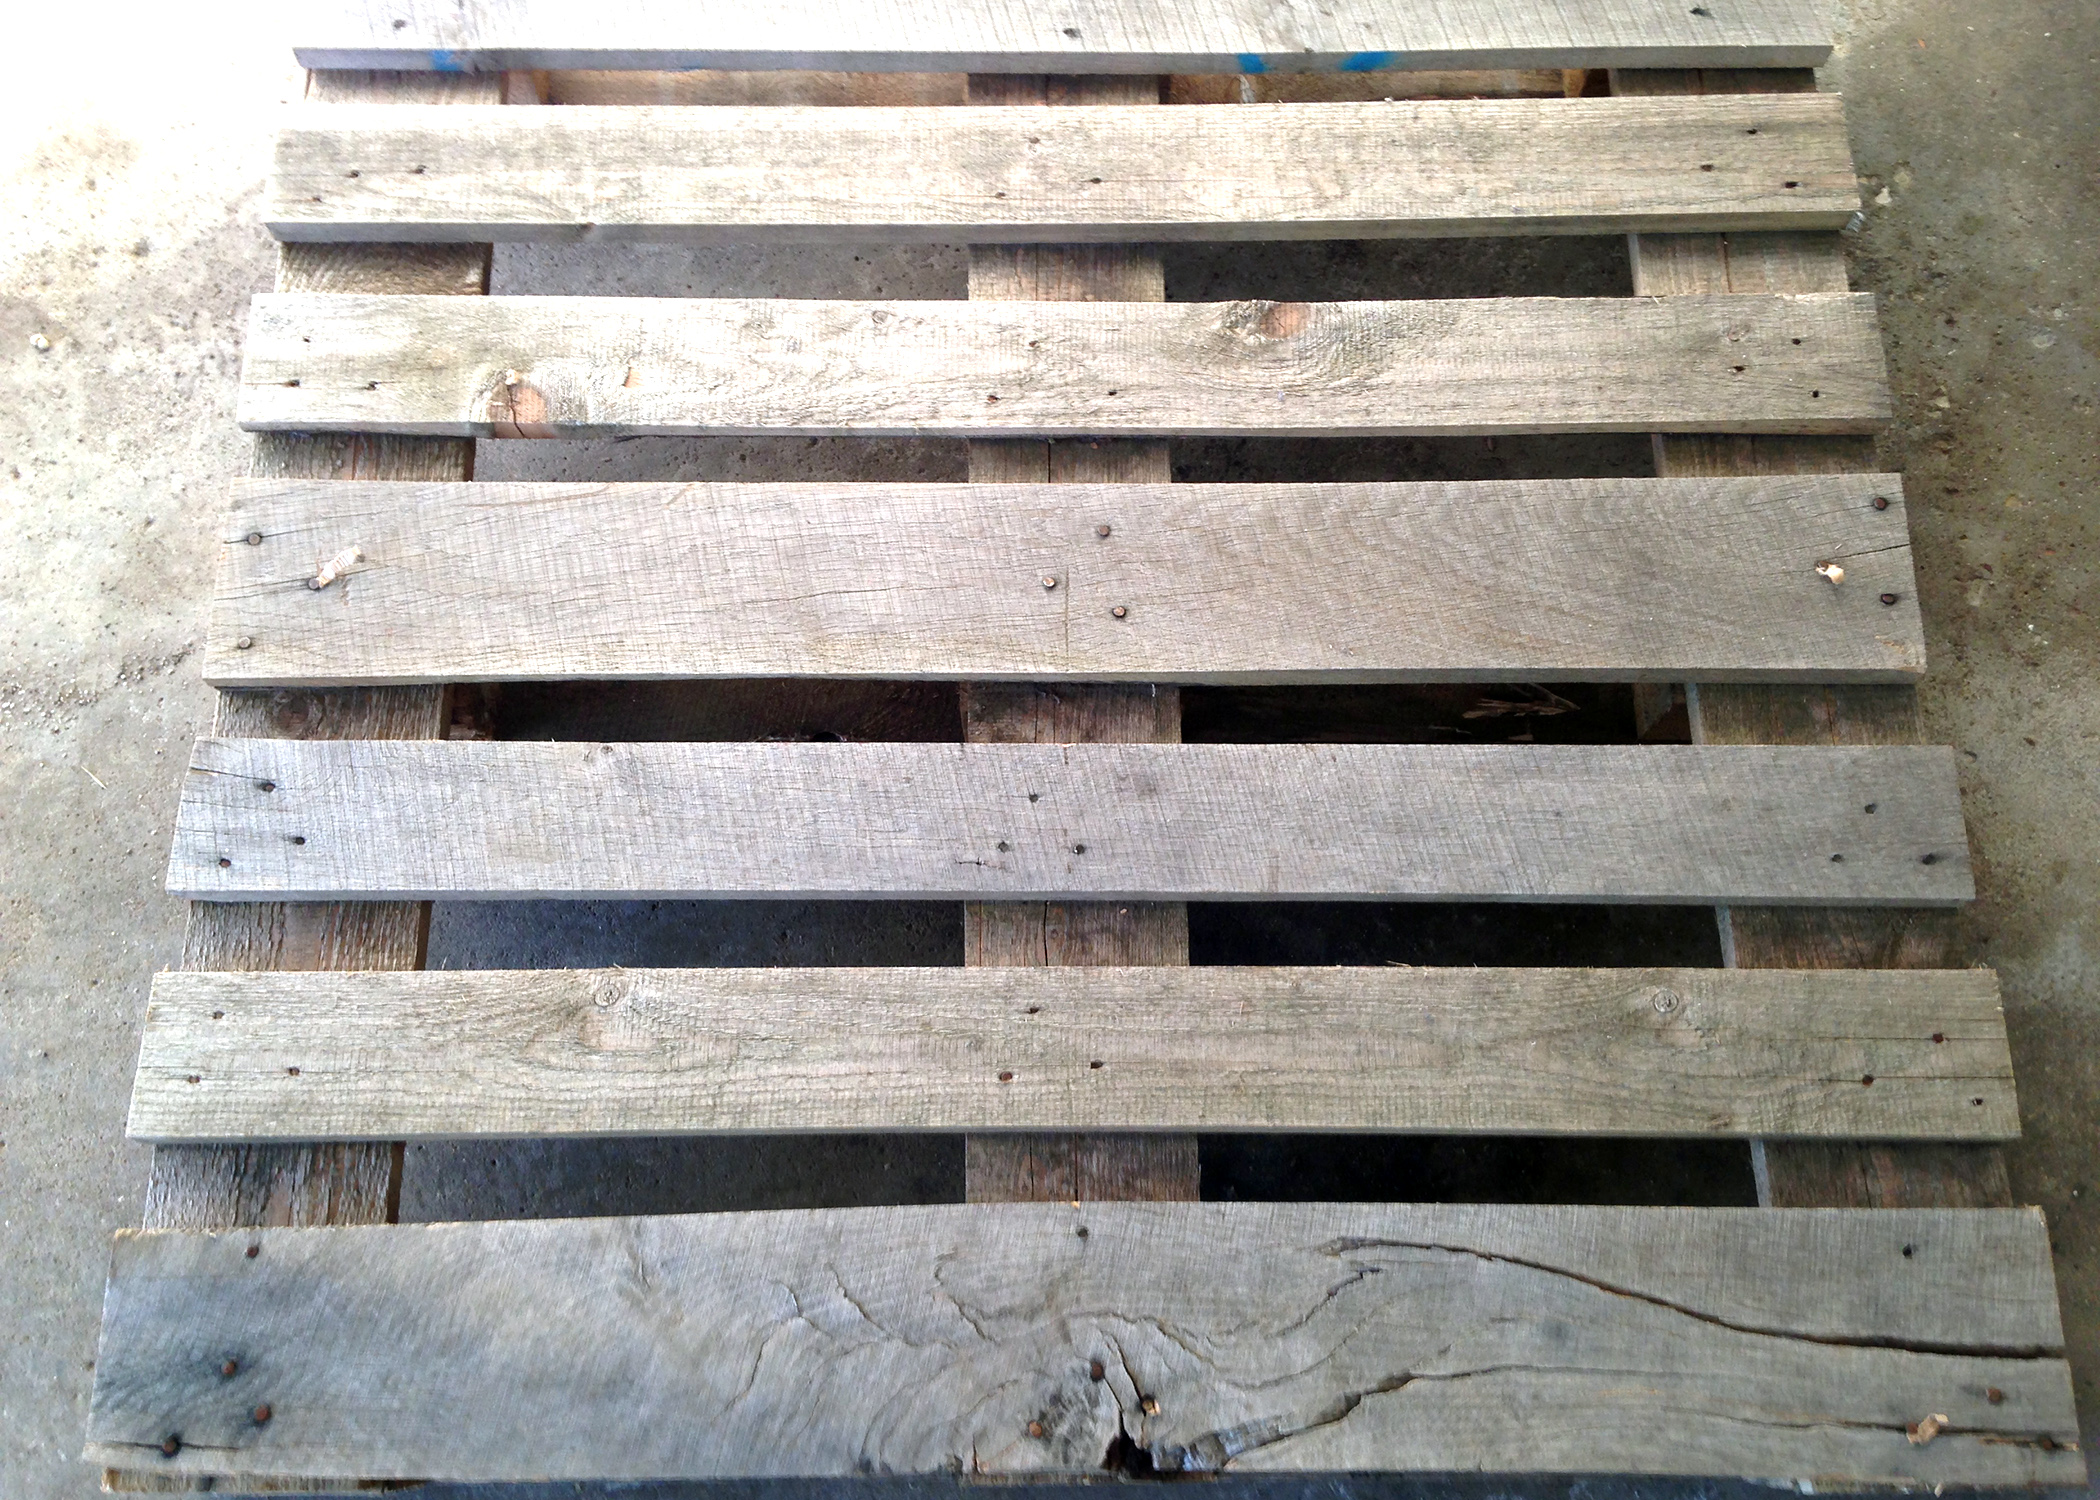
I got my pallet from a girl in my neighborhood who had a bunch, and just wanted them gone. Plus, I already had the paint from previous projects. So yeah, in my book, this is the best. project. ever.
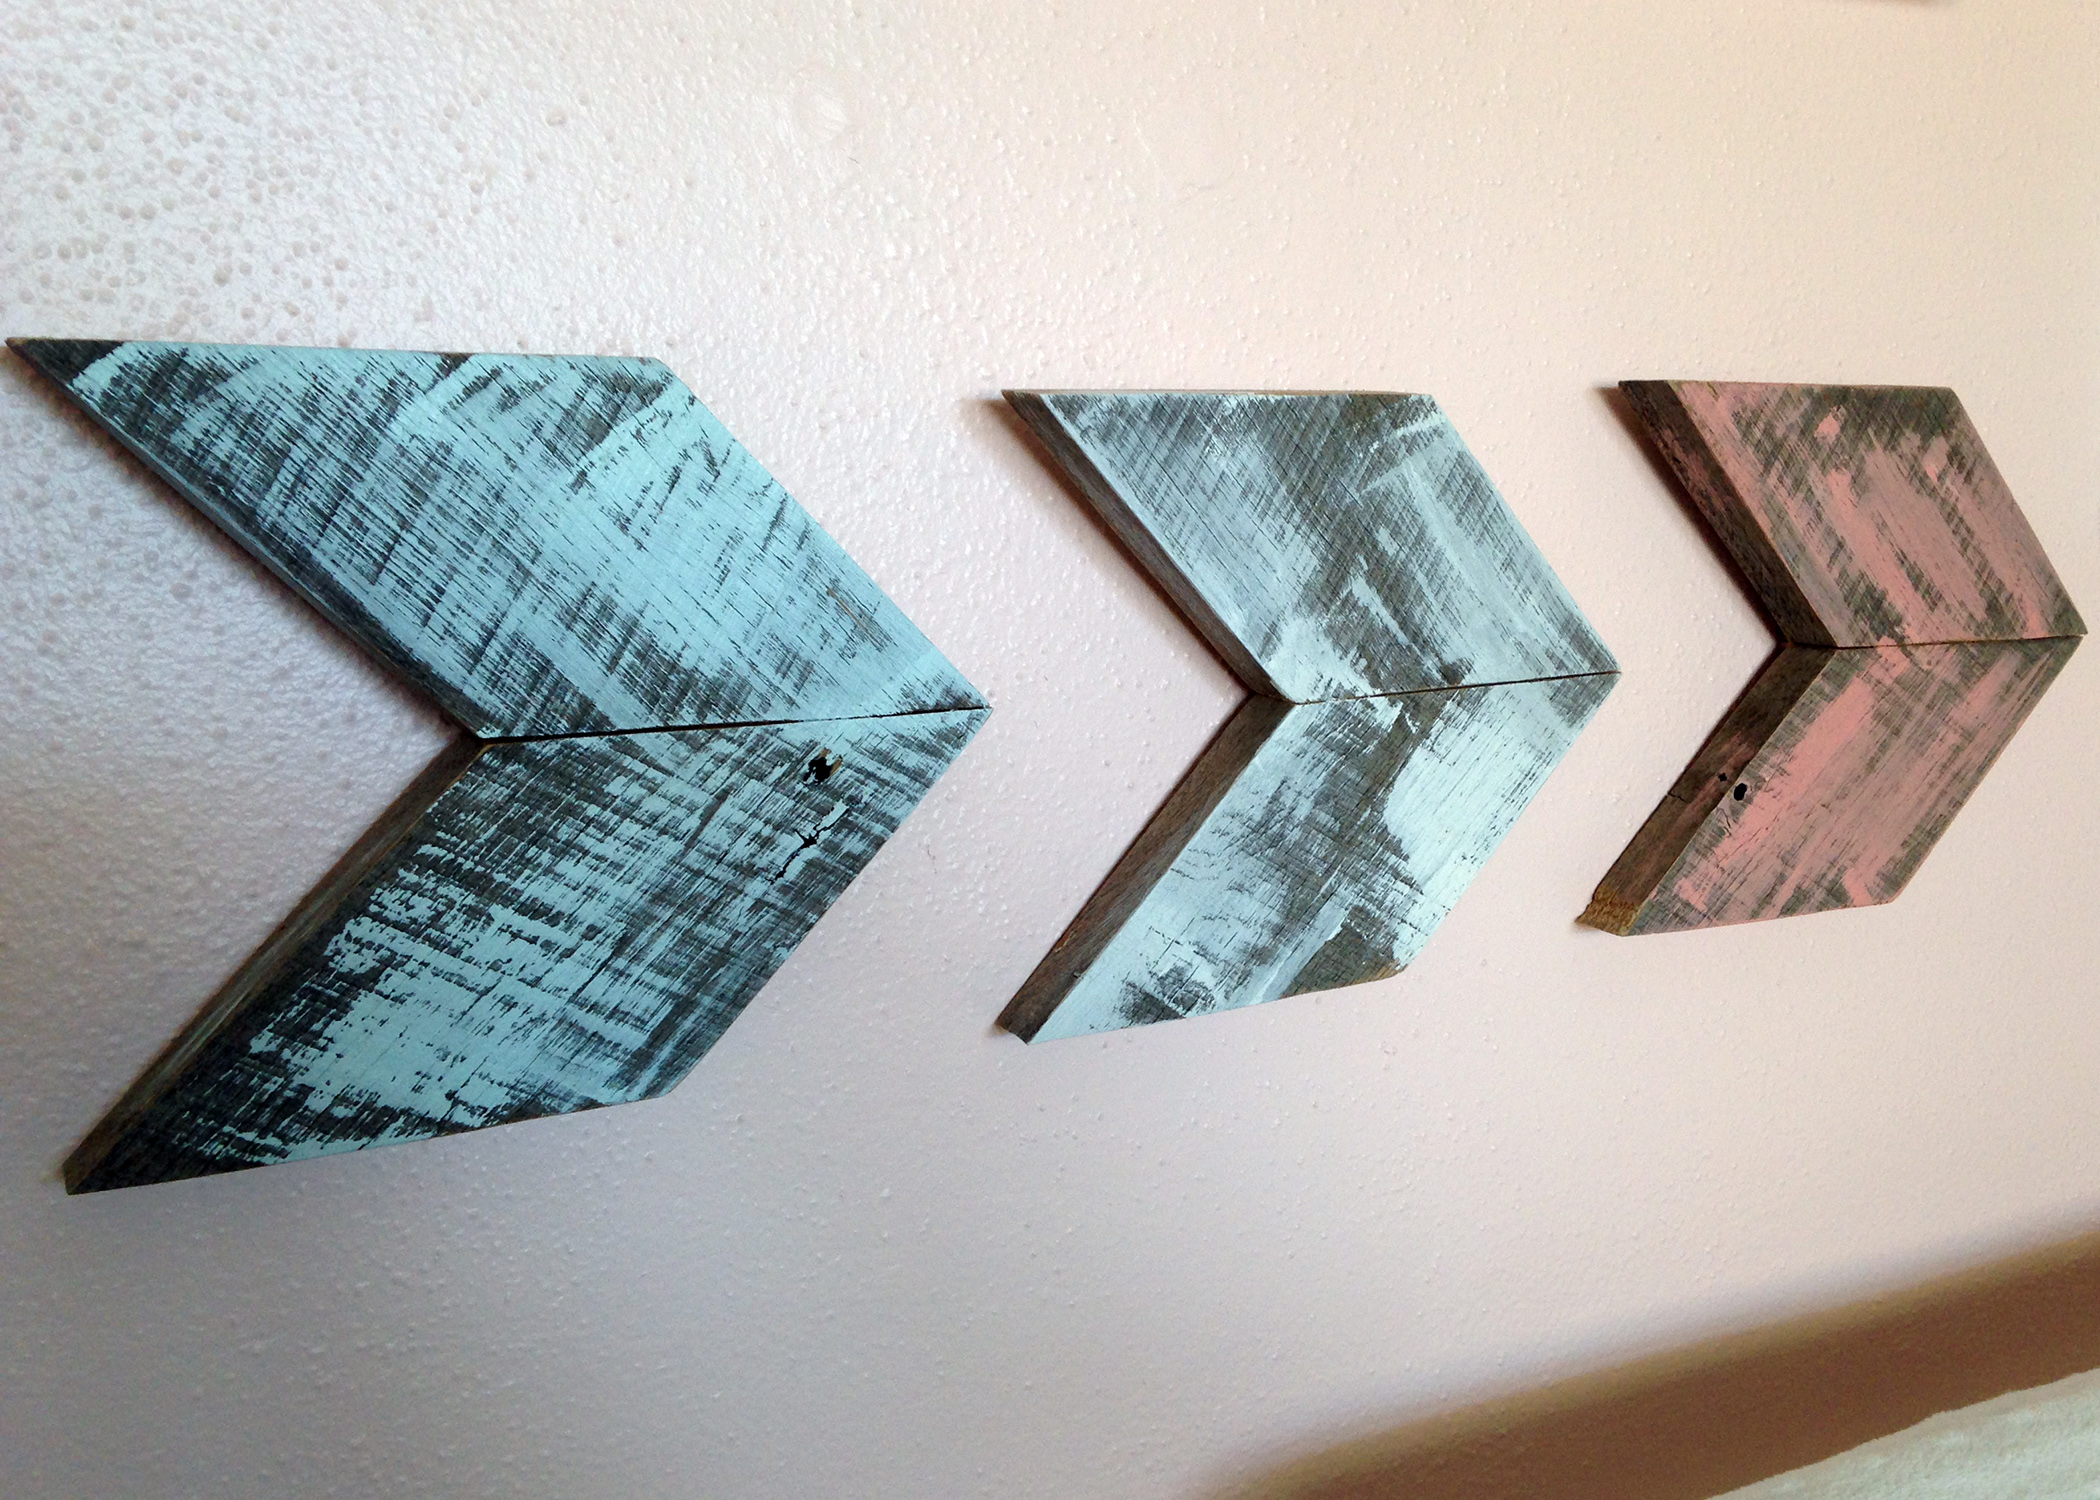
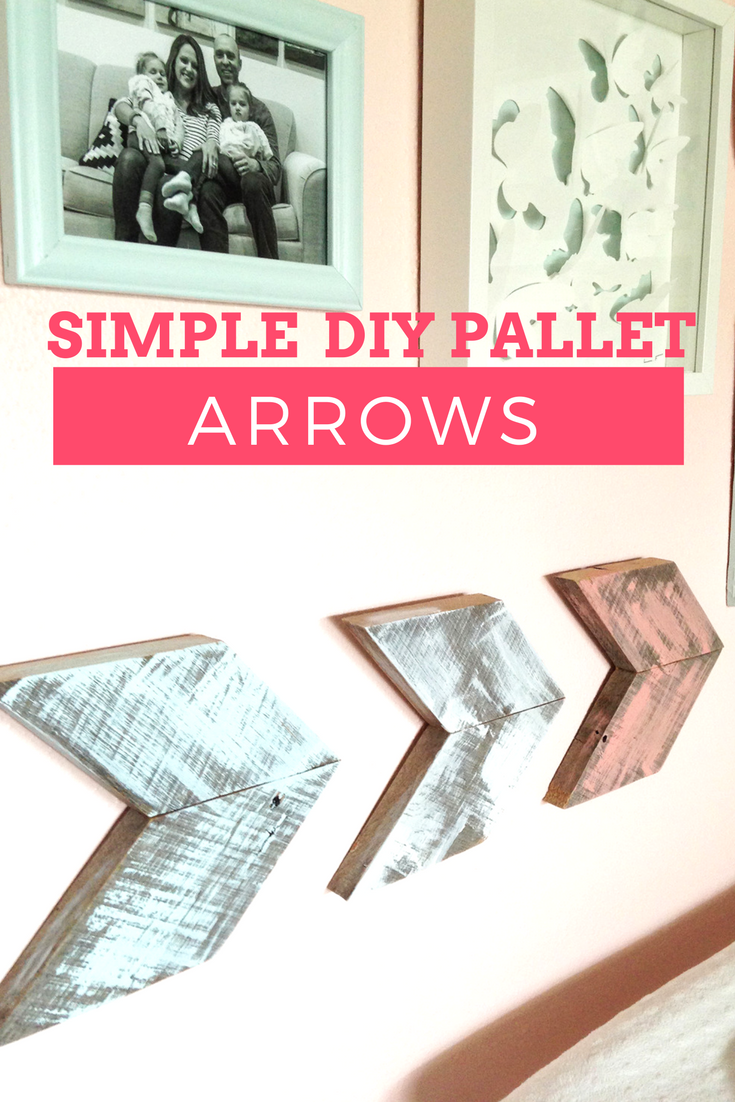
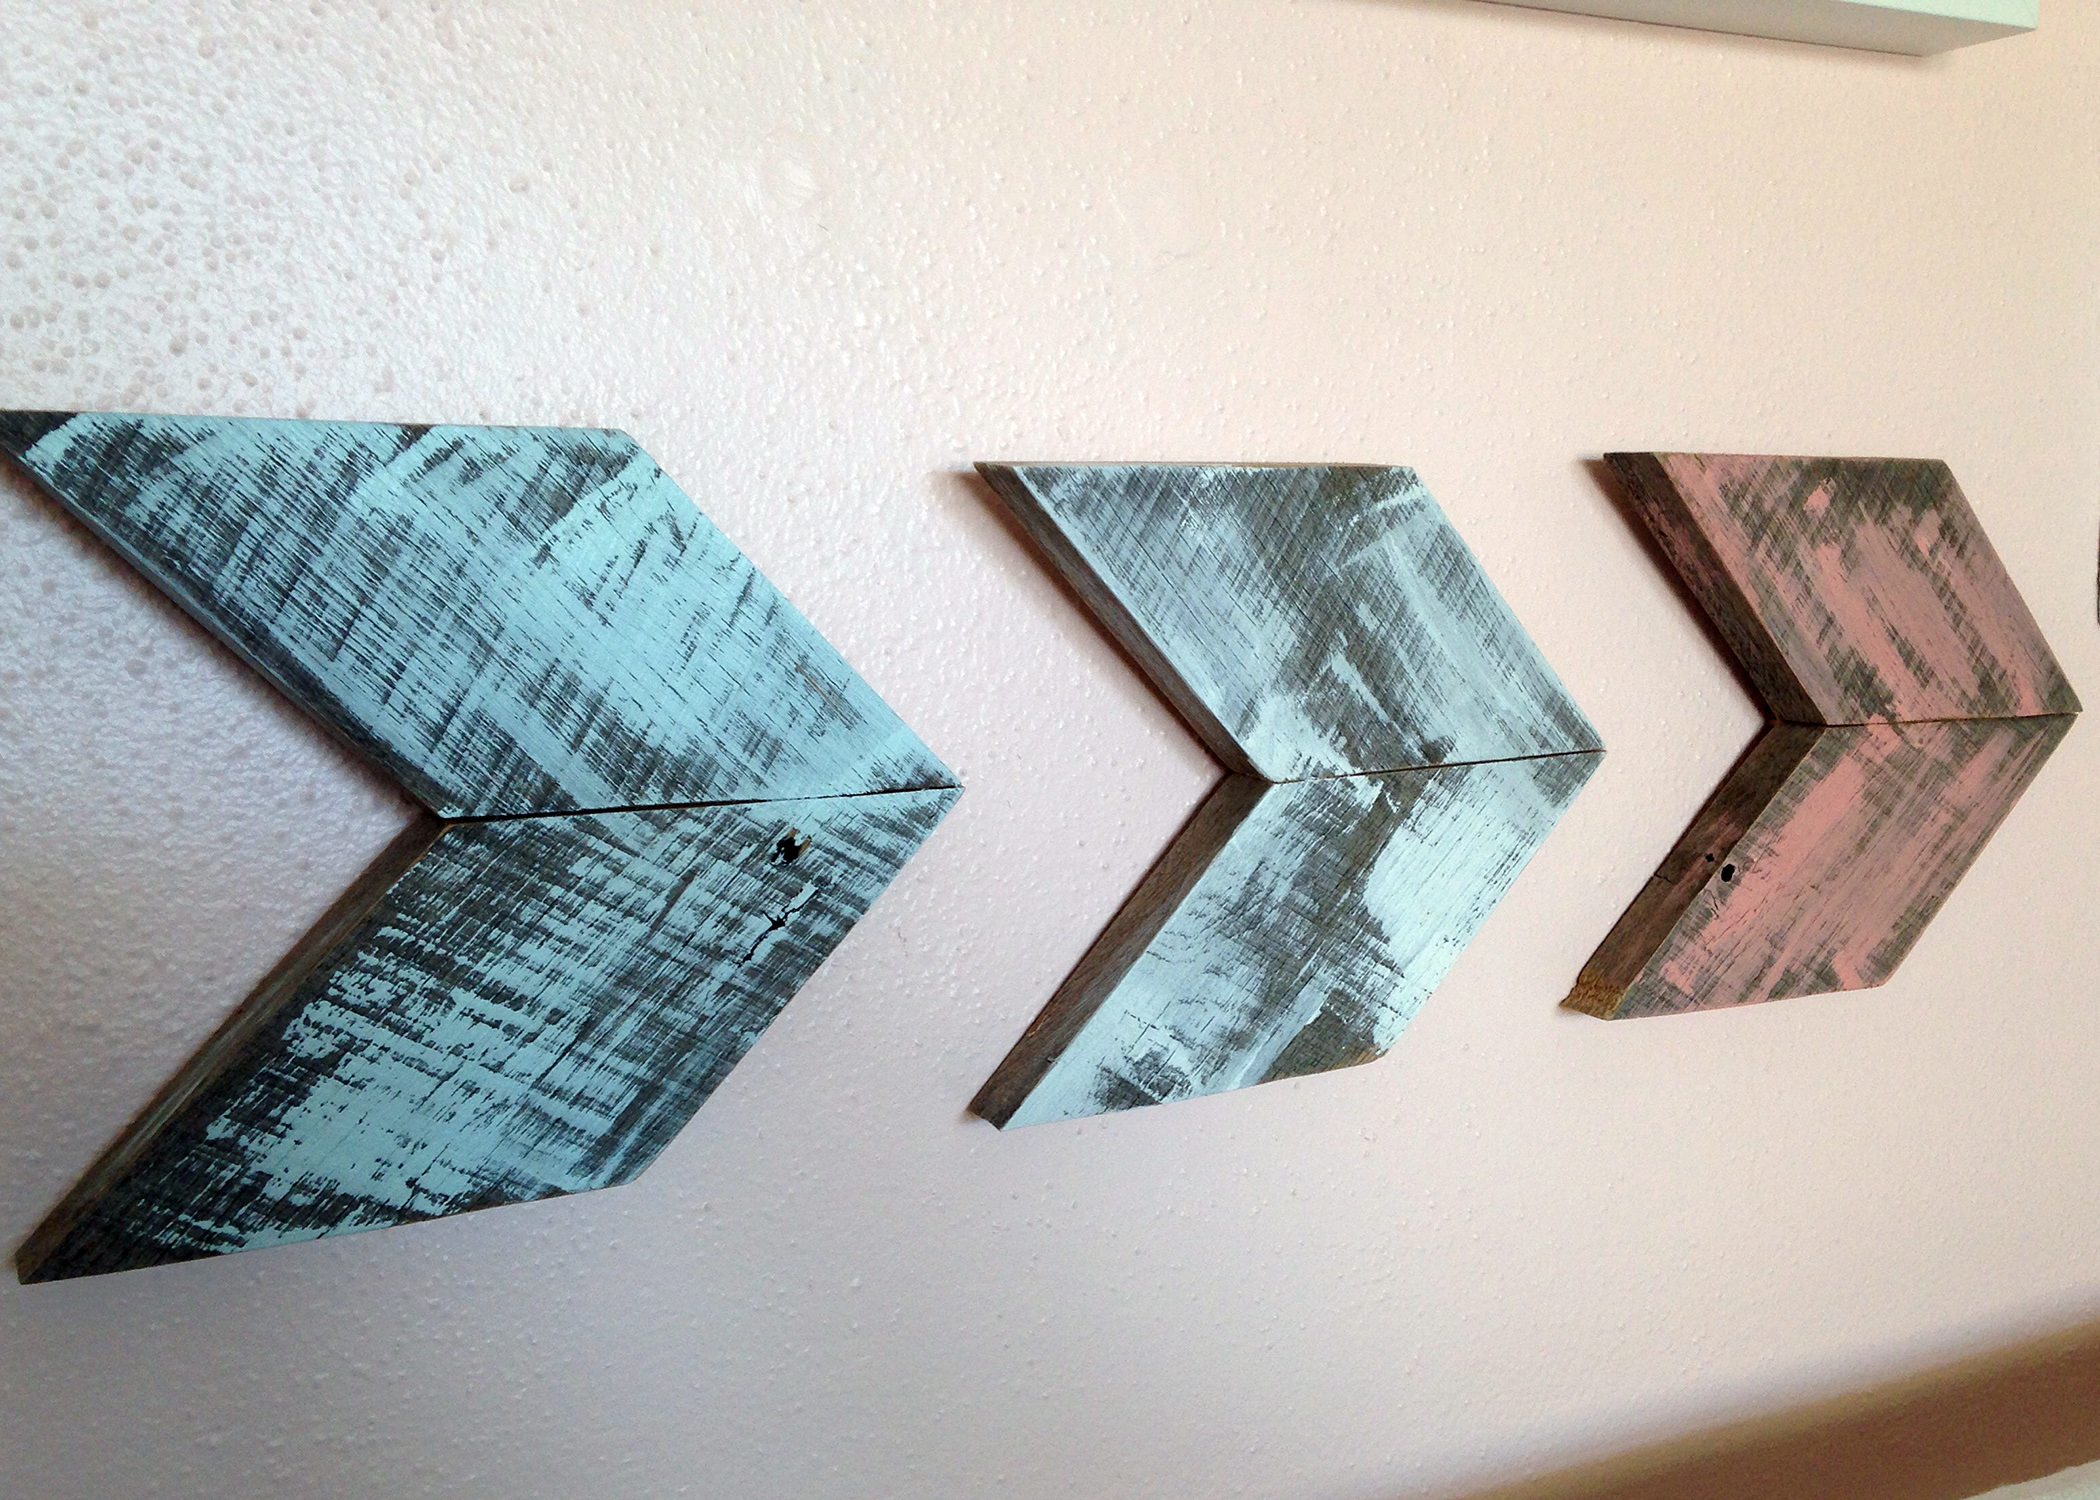
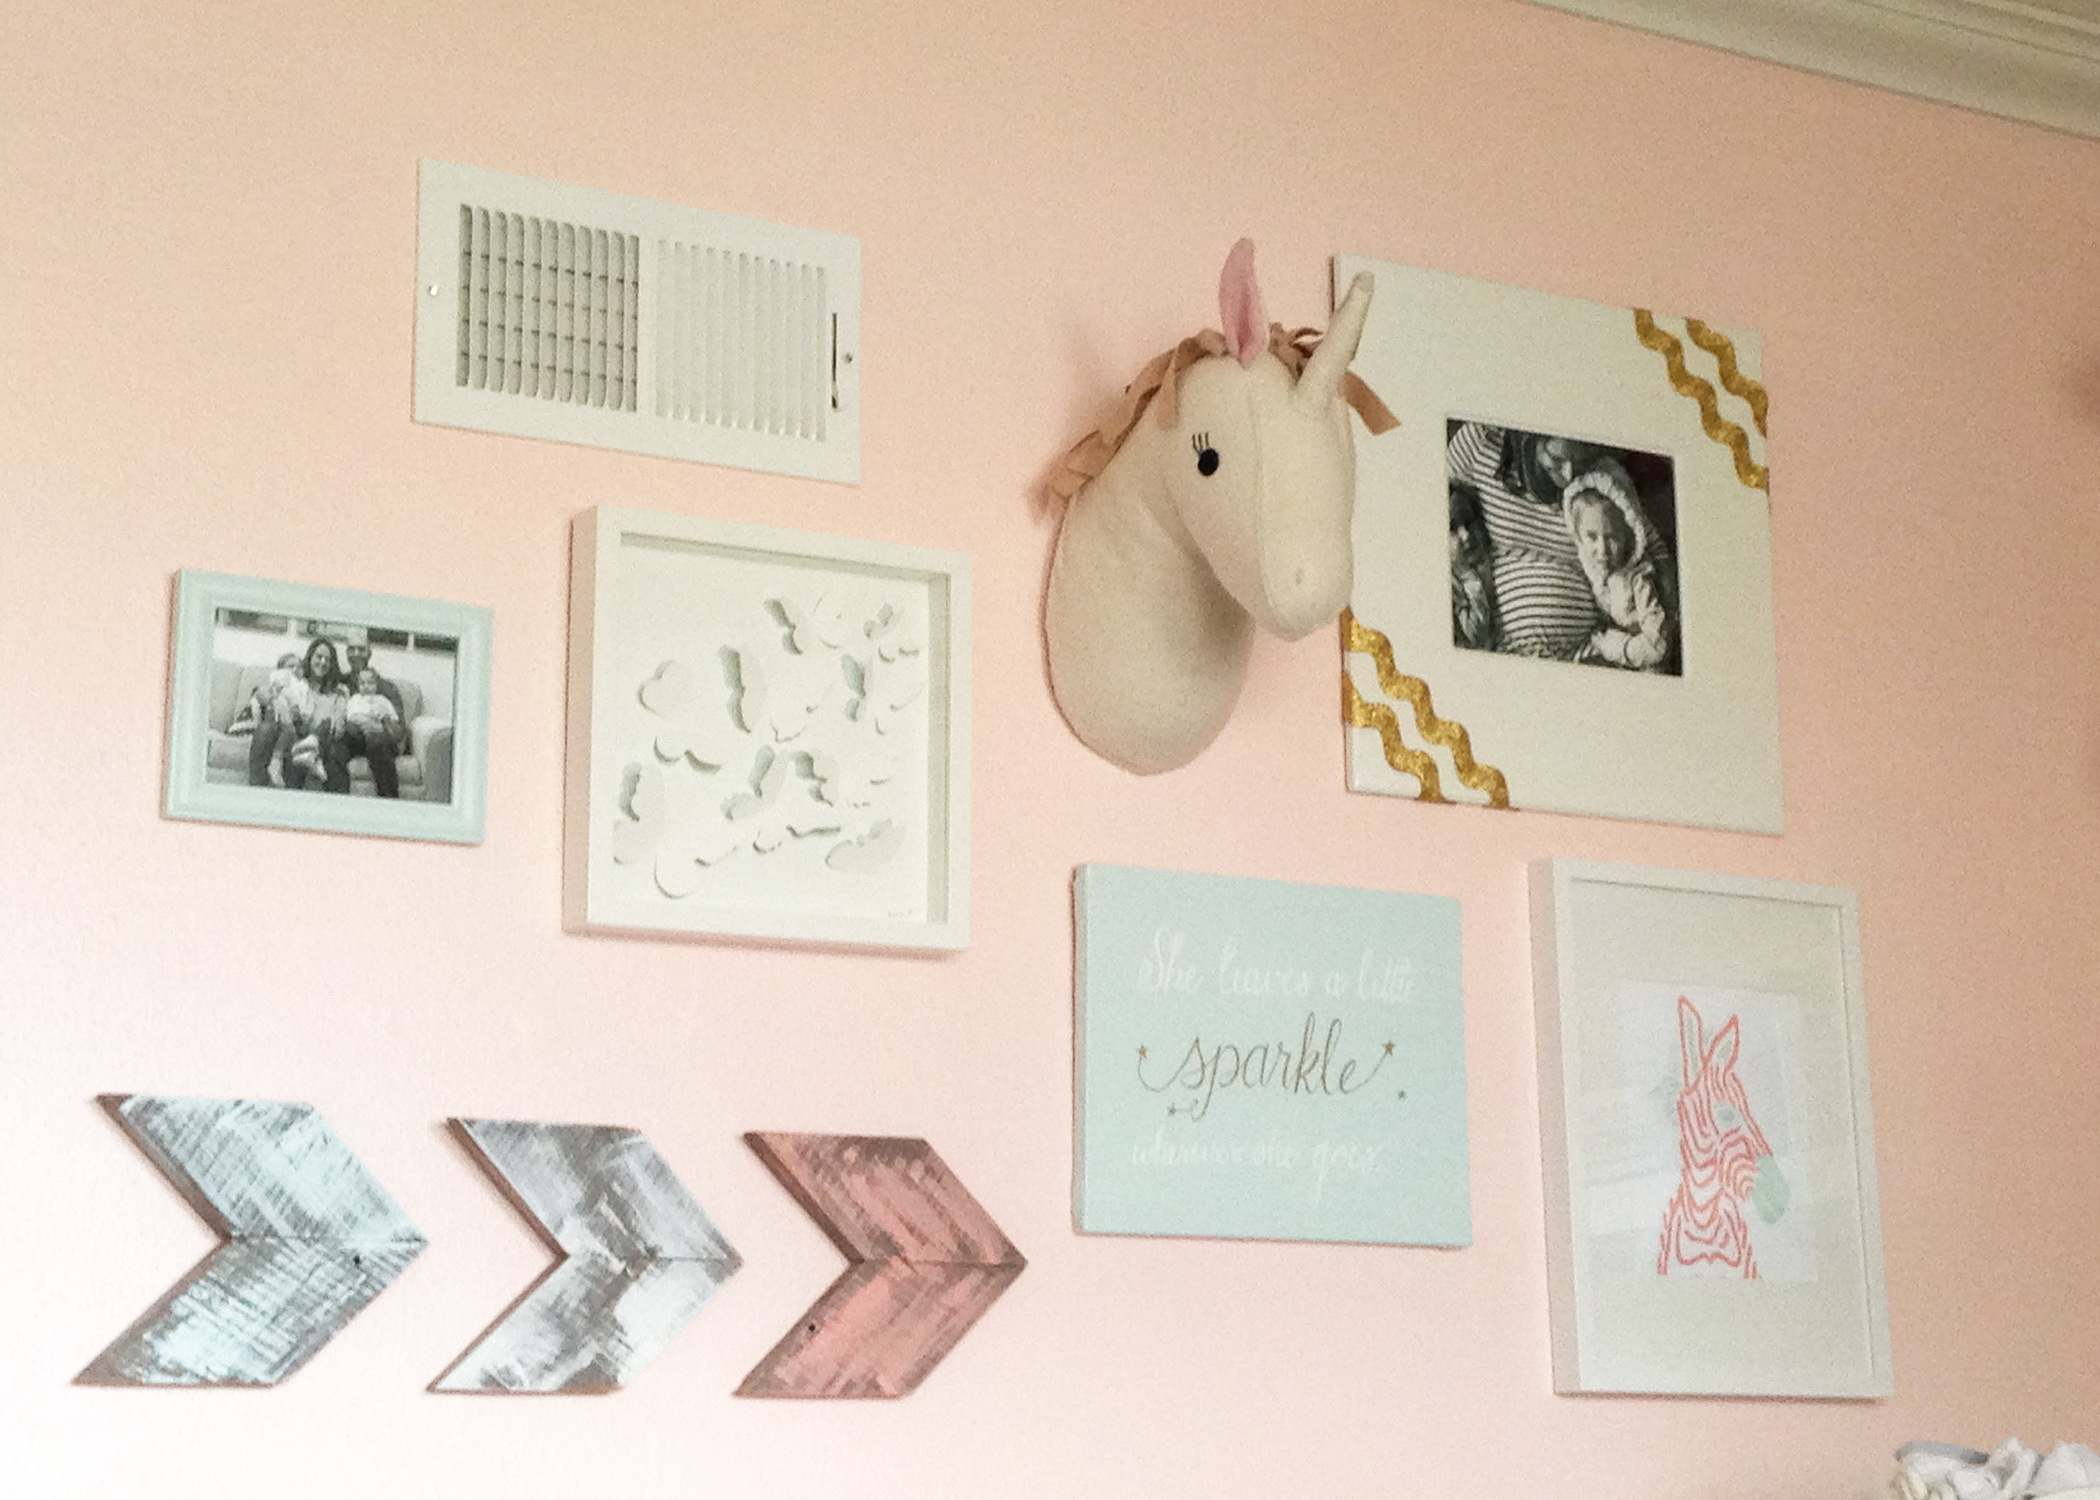
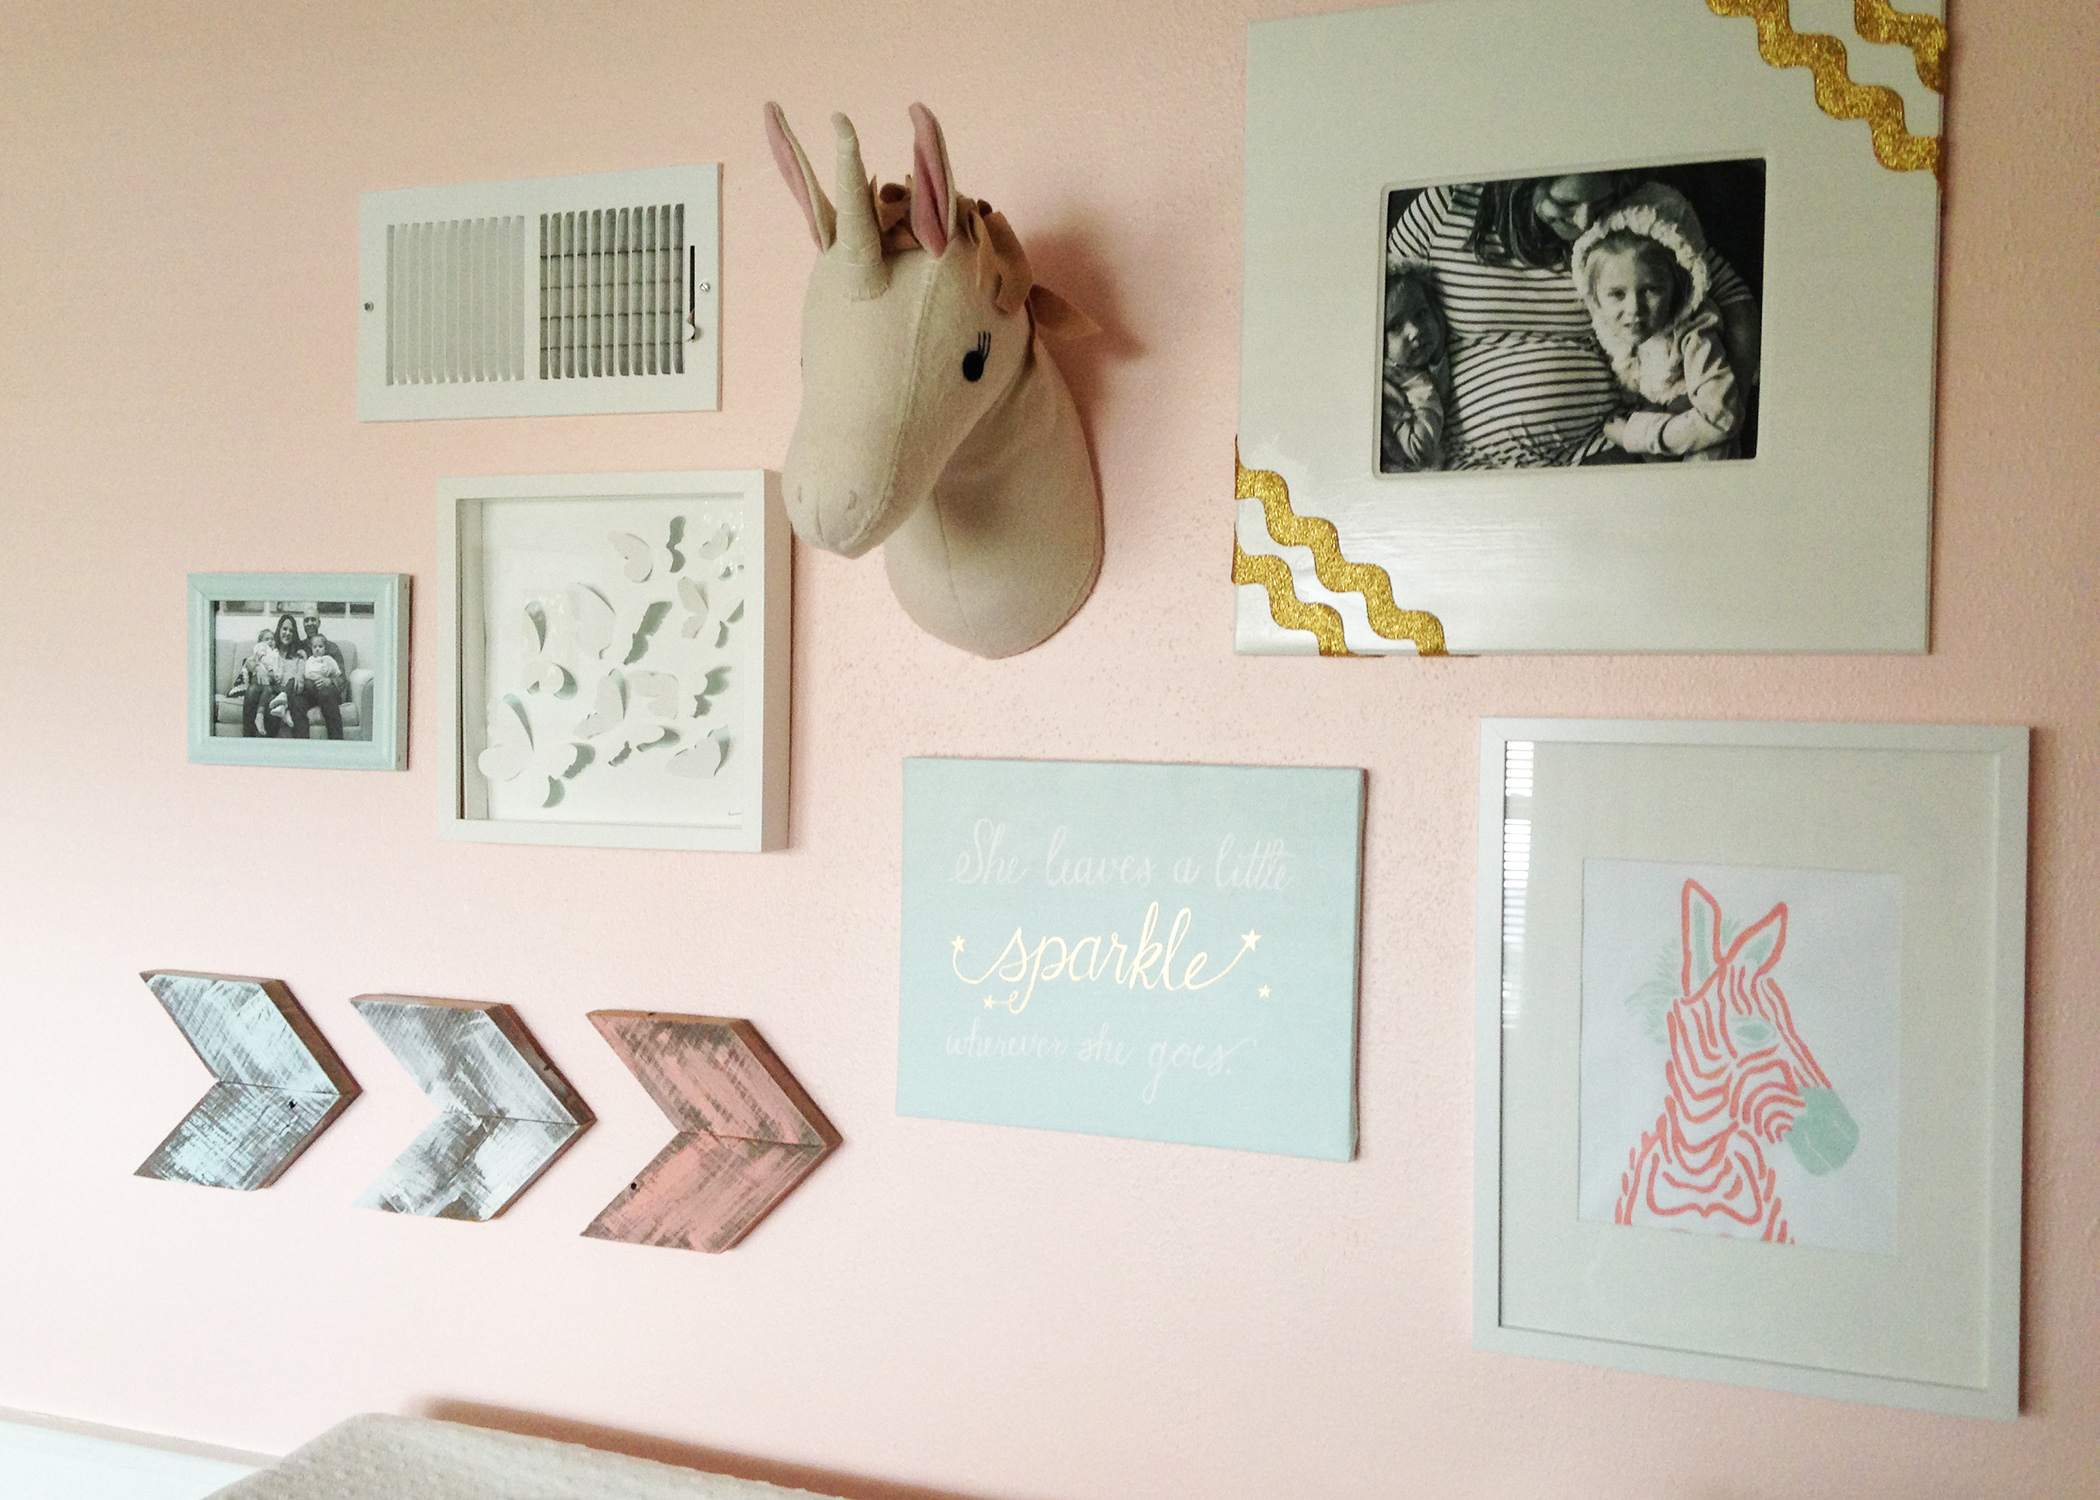
I opted for three arrows, and wanted them to hang in my baby girl’s nursery, adding some much-needed texture and dimension to a collage wall. The best part is, when I show people the nursery, I constantly get the question, “Where’d you buy the arrows?” Compliment of the century right there : )
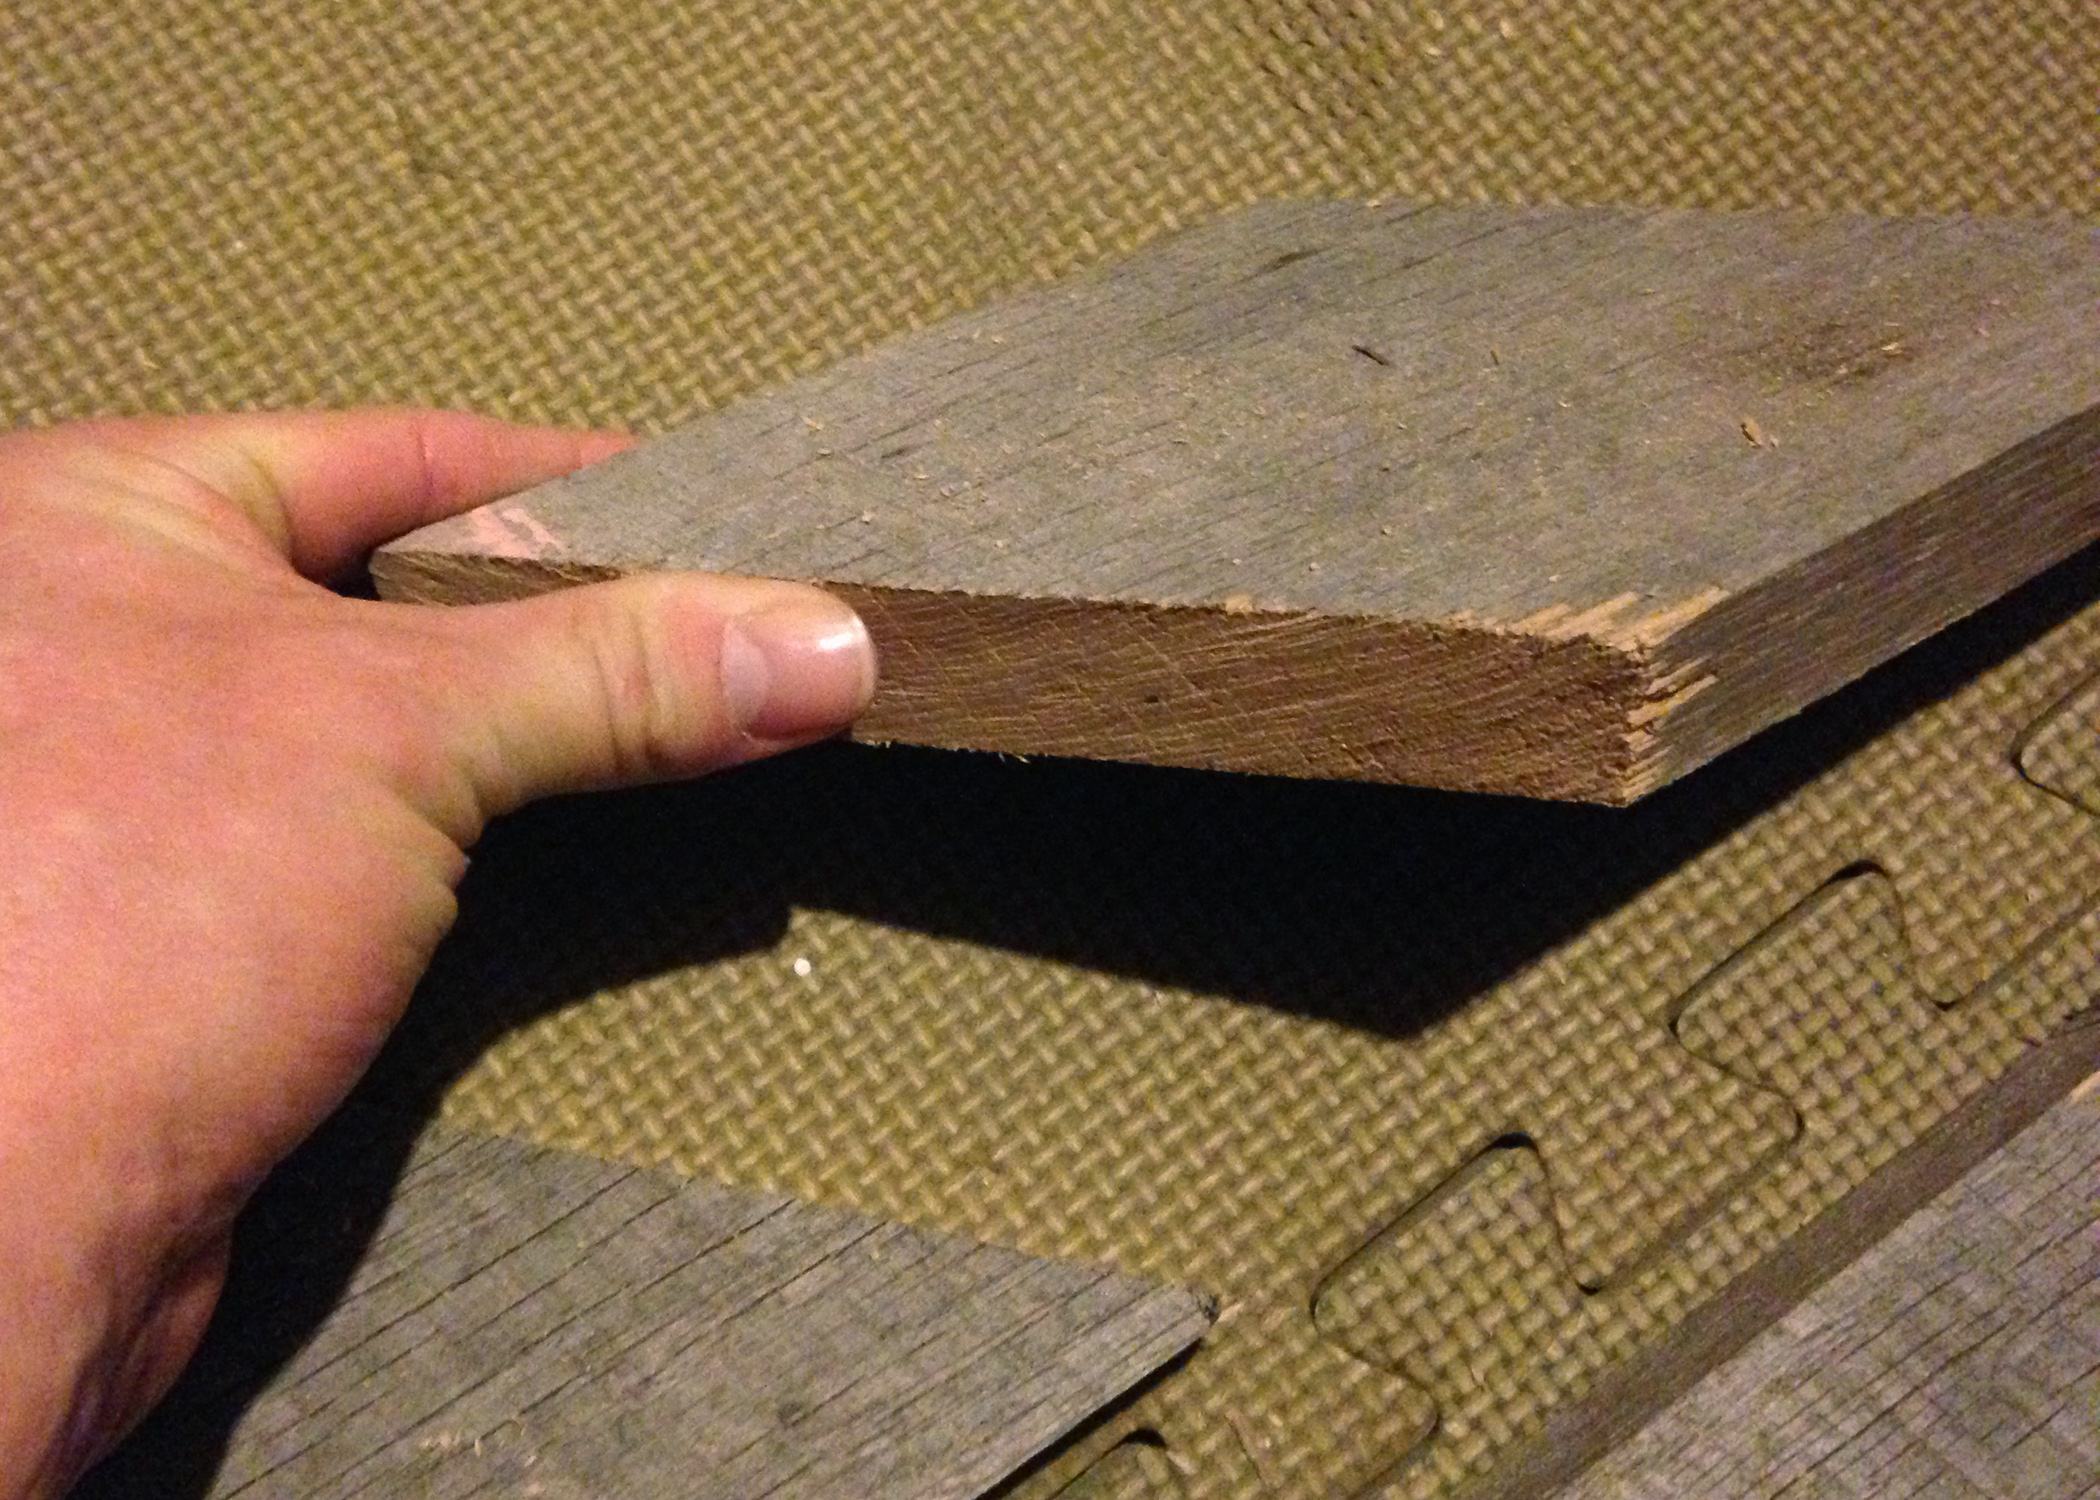
I asked my husband to do what I knew he wouldn’t let me do at 8 months pregnant: Cut the pallet a part with his sawzall. He also used a crowbar to pry some of the pieces, and a hammer to get some of the nails out. Otherwise, it was sawzall all the way.
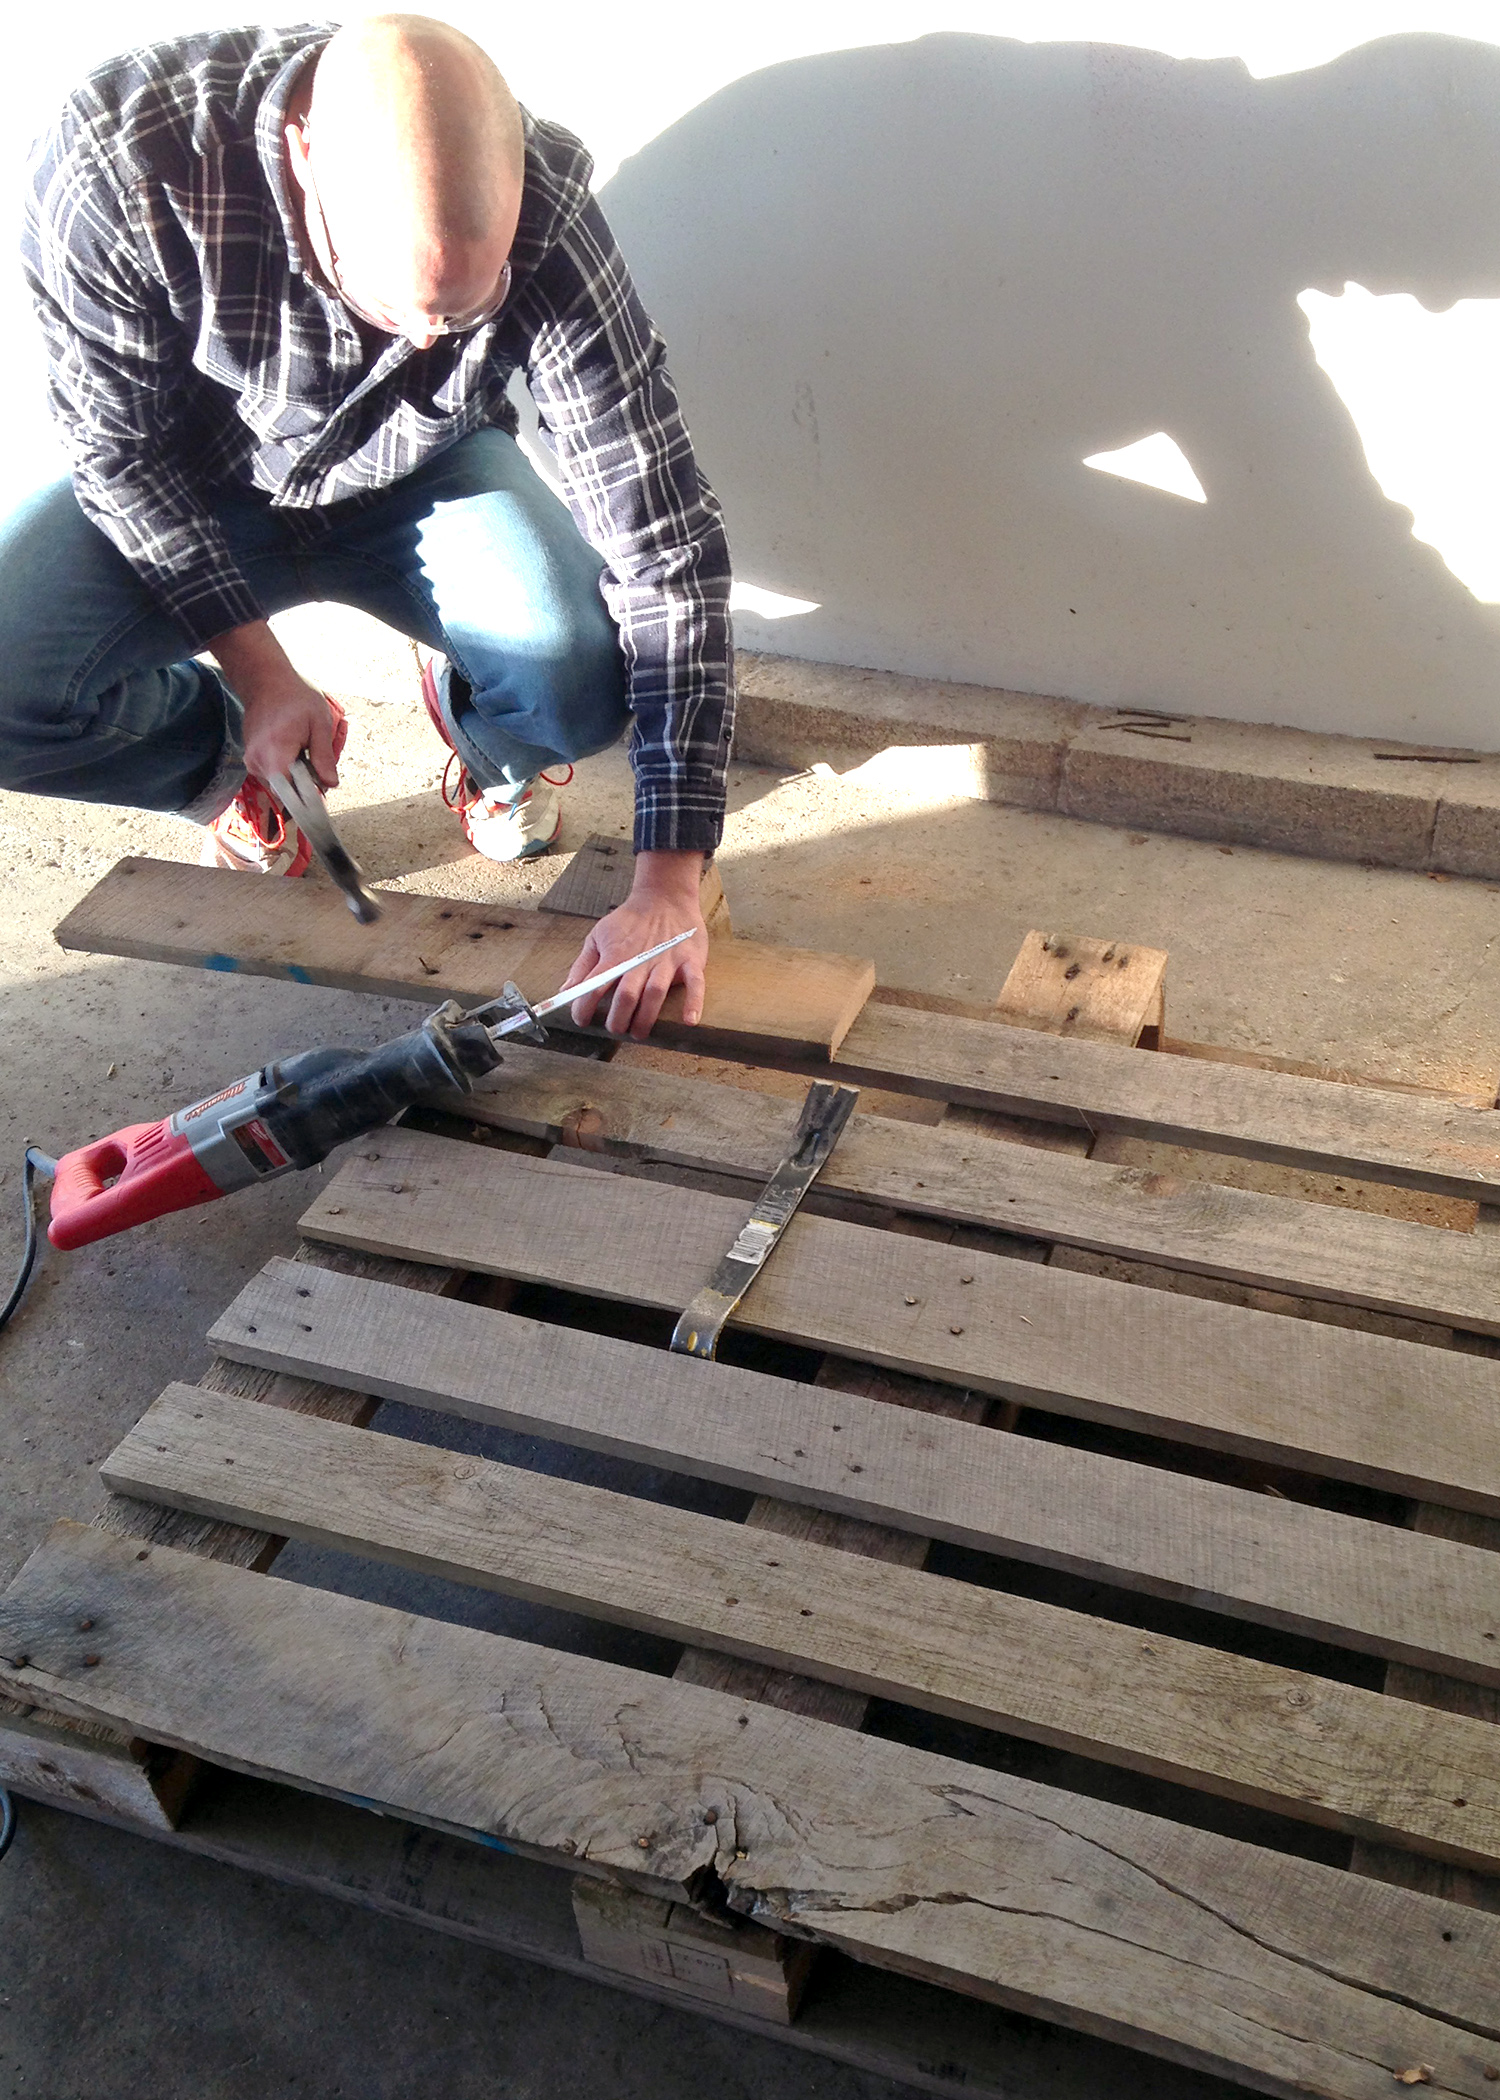
One thing to note before attempting any project with pallets: It’s best to know where your pallet originated as there are often harsh chemicals that come into contact with the wood, and you don’t want to bring that into your home.
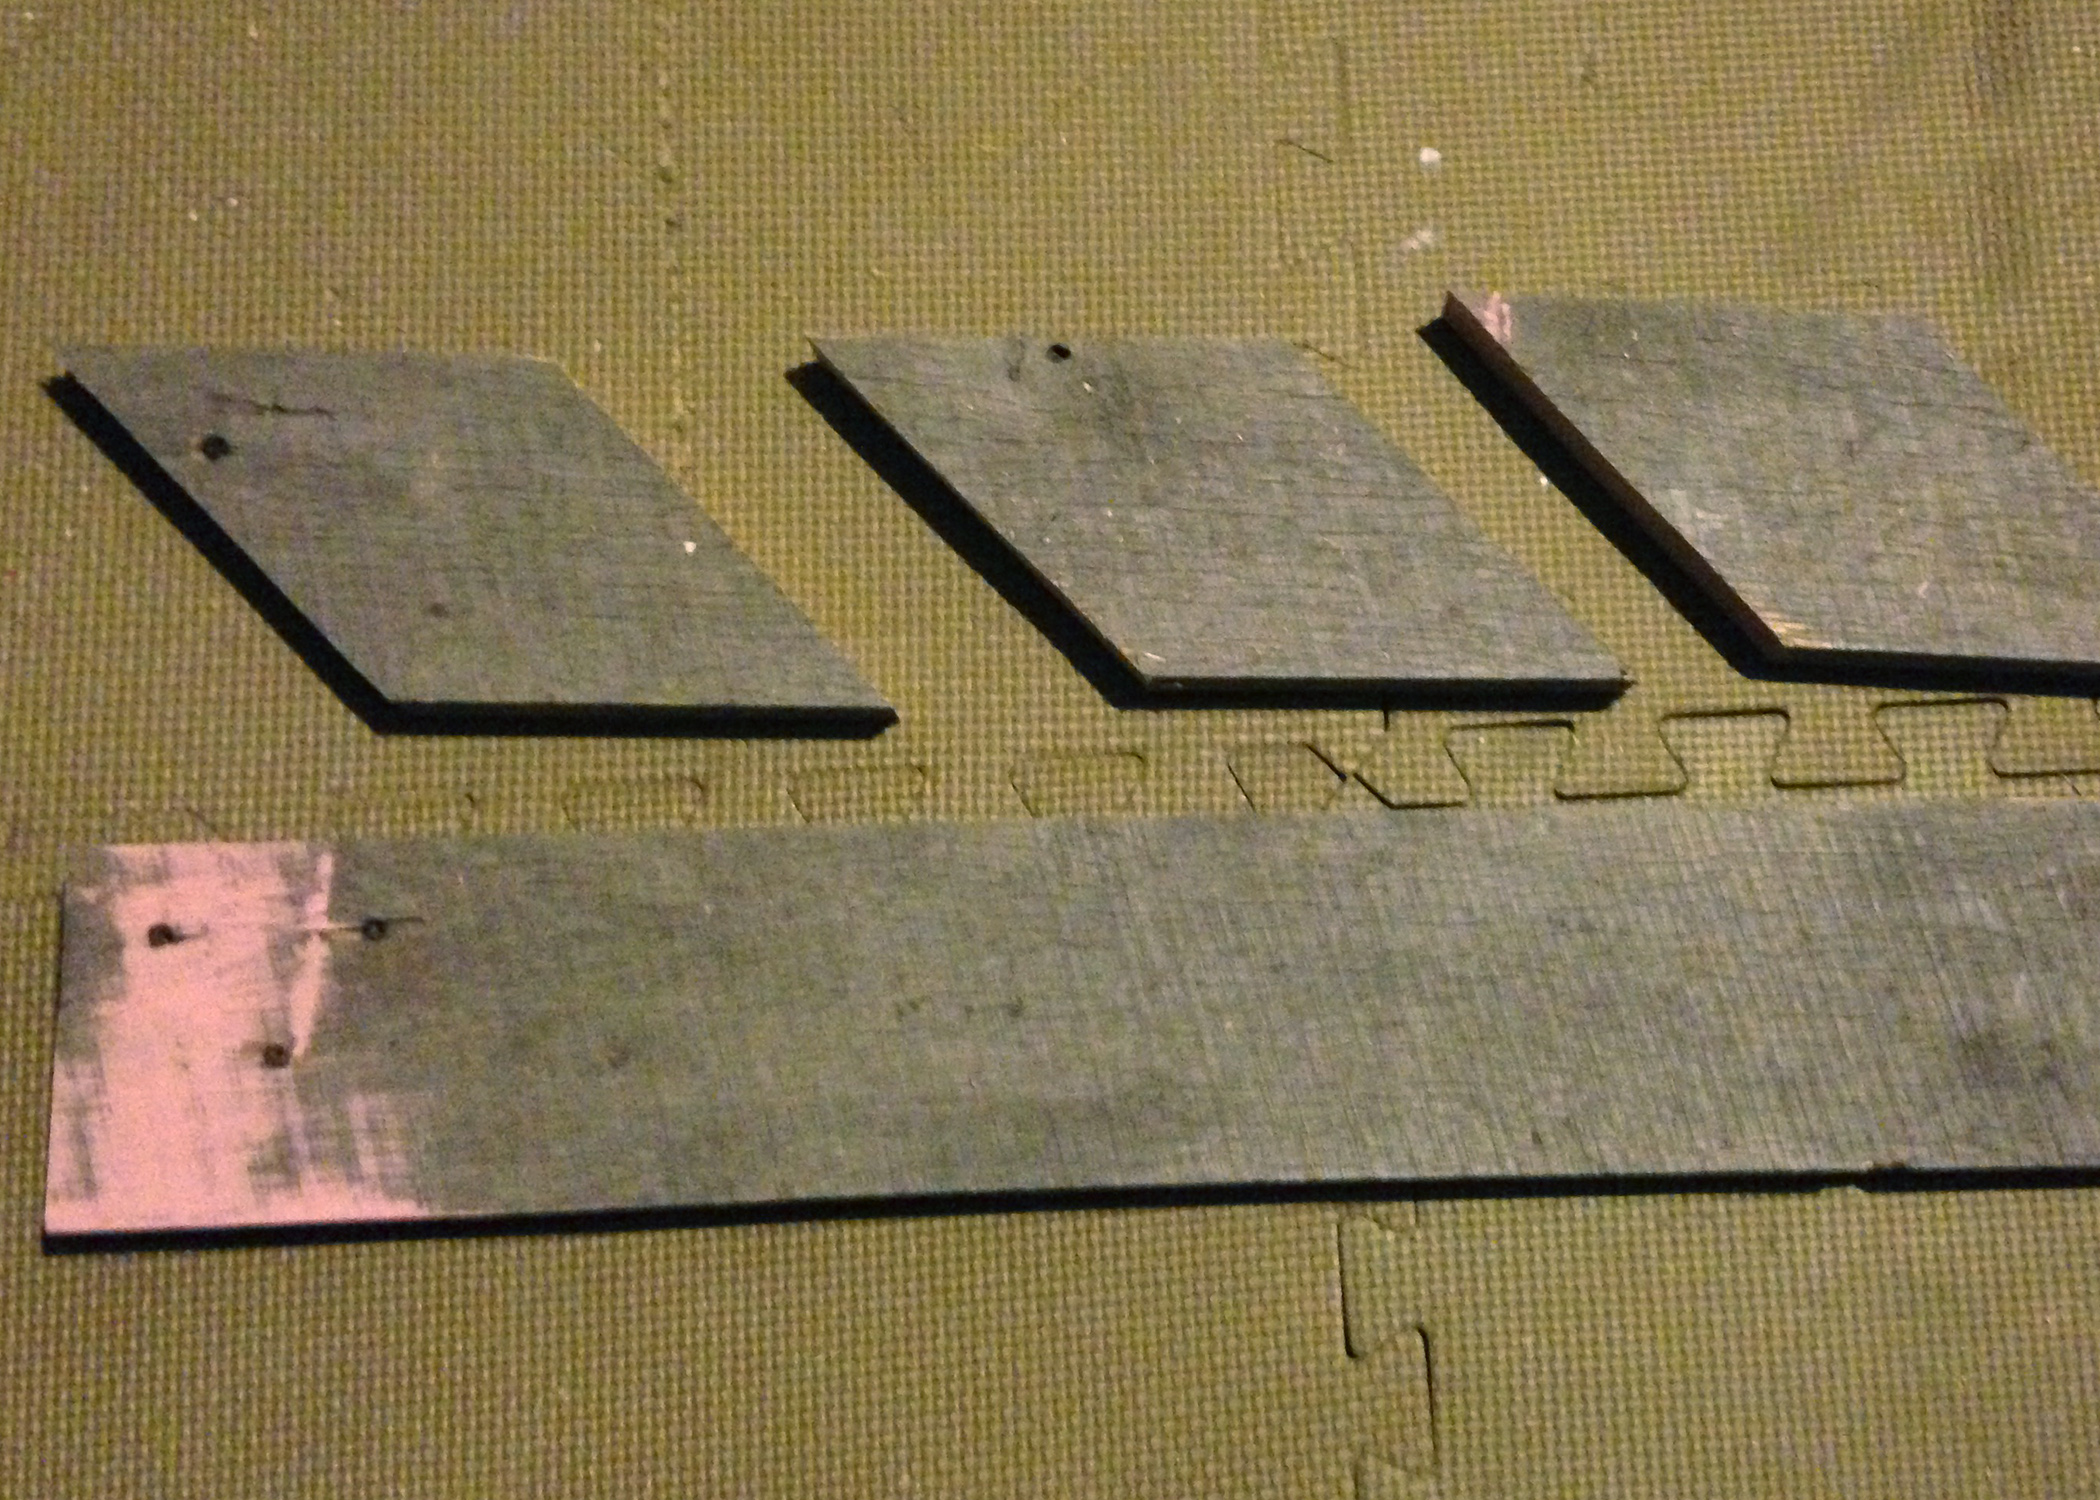
Lay out your wood and figure out the size of your arrows. For me, this wasn’t a science. I knew relatively how big of a space I had on my collage wall, so I inspected the pallet wood, chose the coolest looking pieces (“cool” being determined by distress, nail holes, etc.), and eyeballed the size based on the boards I liked best. You can see some rough pieces here, along with the final cuts.
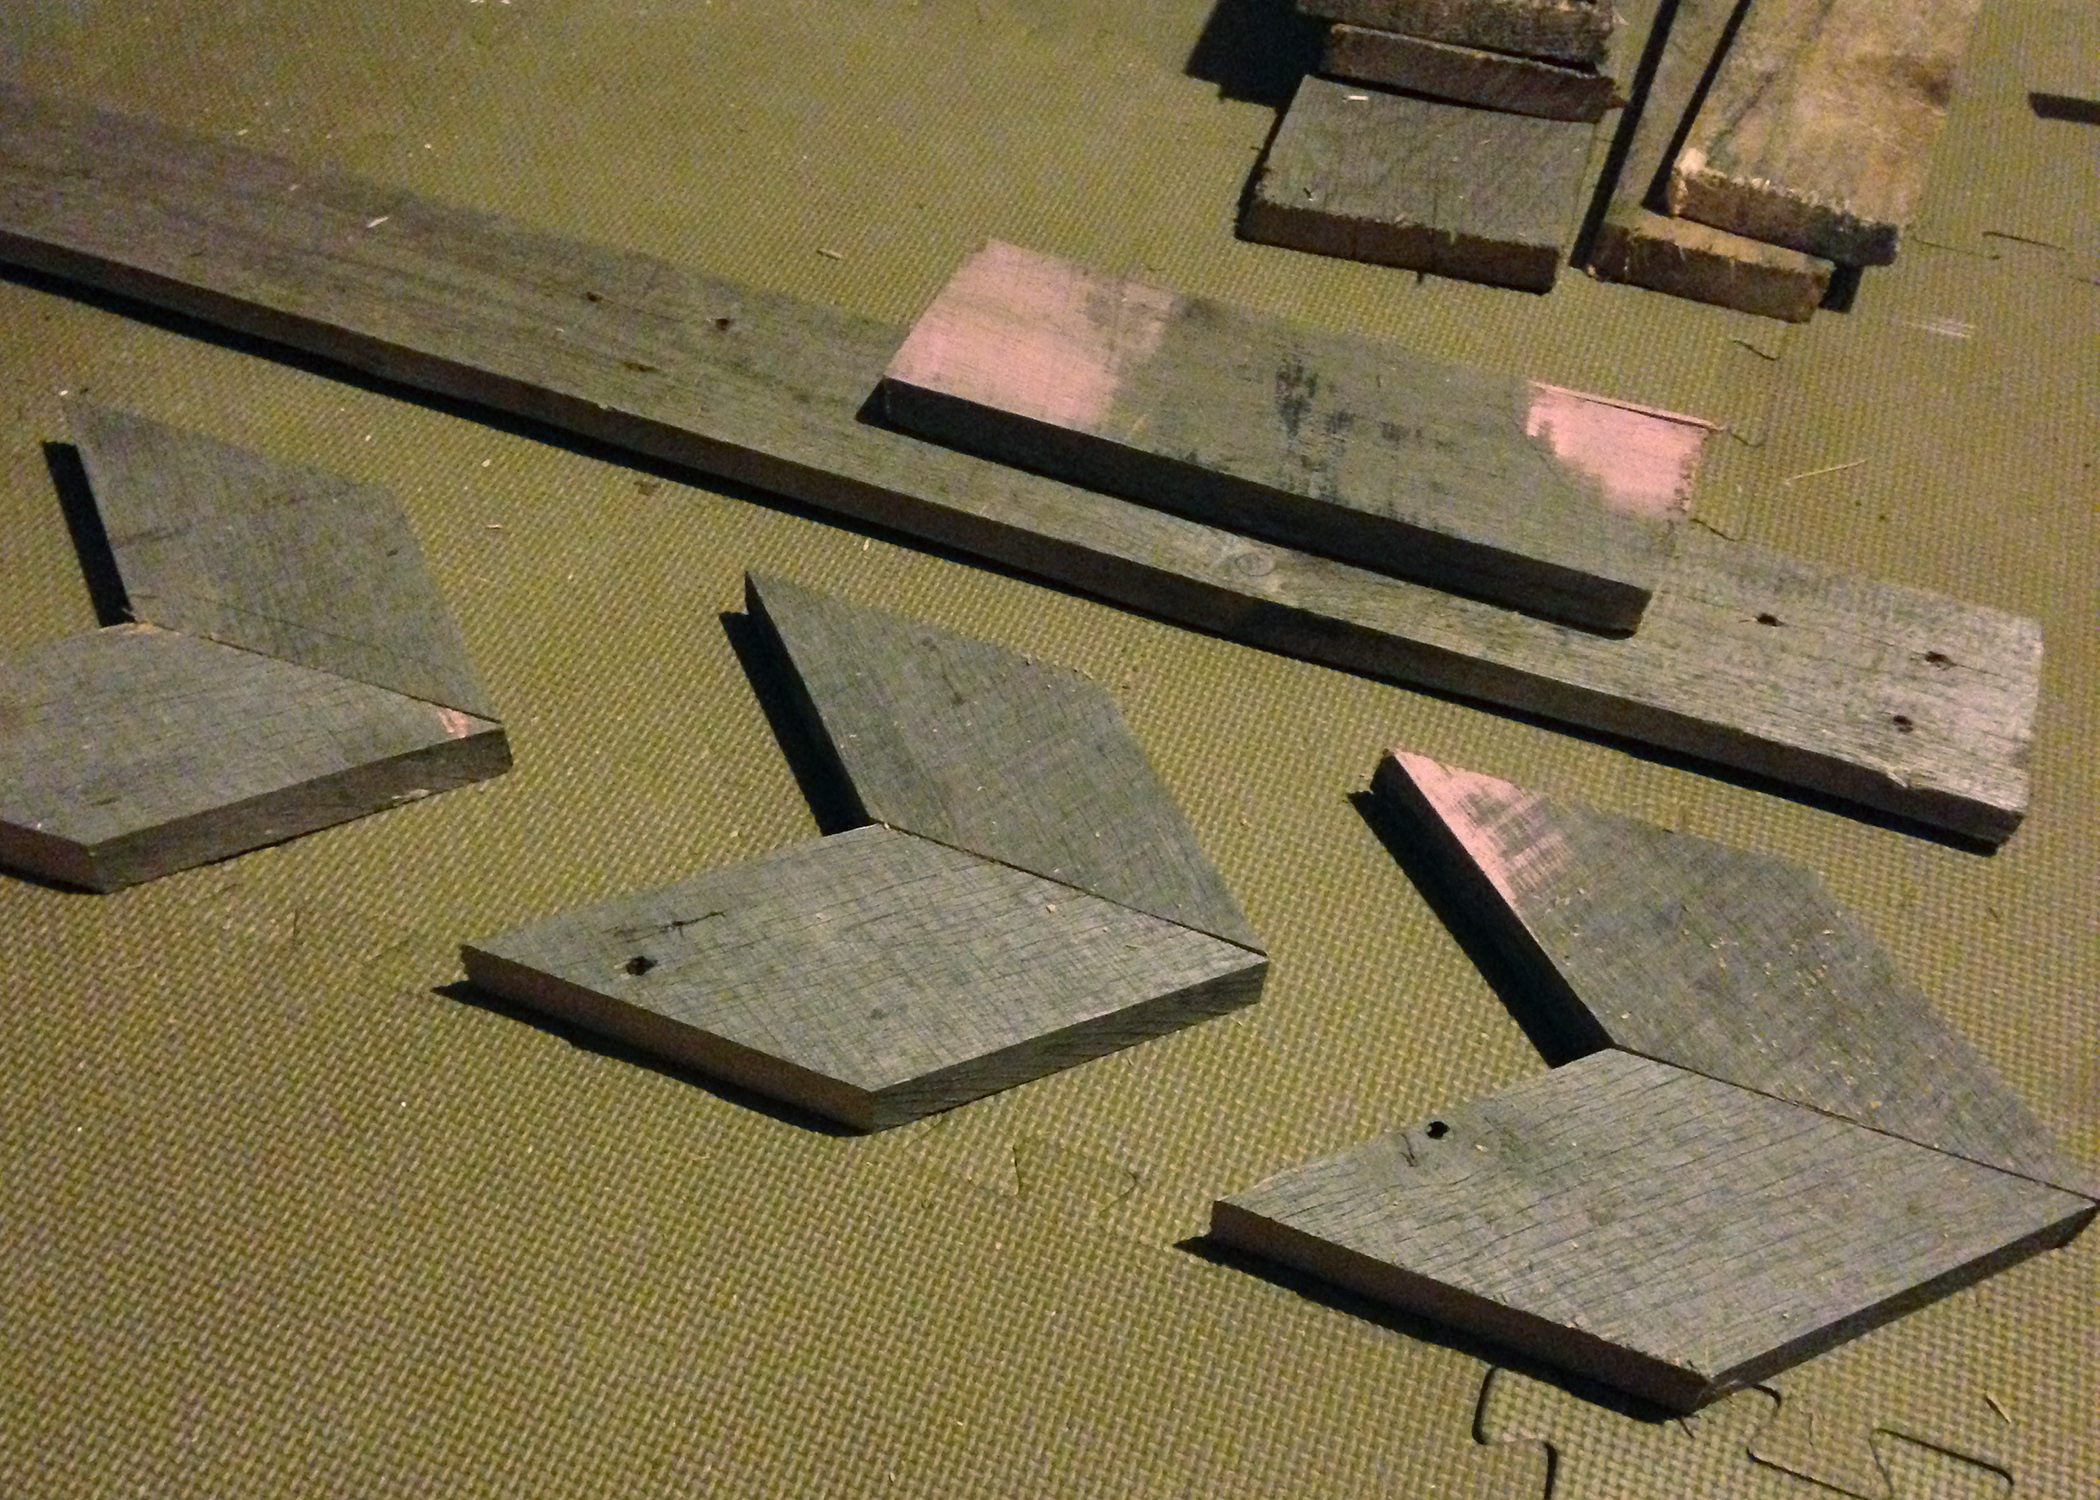
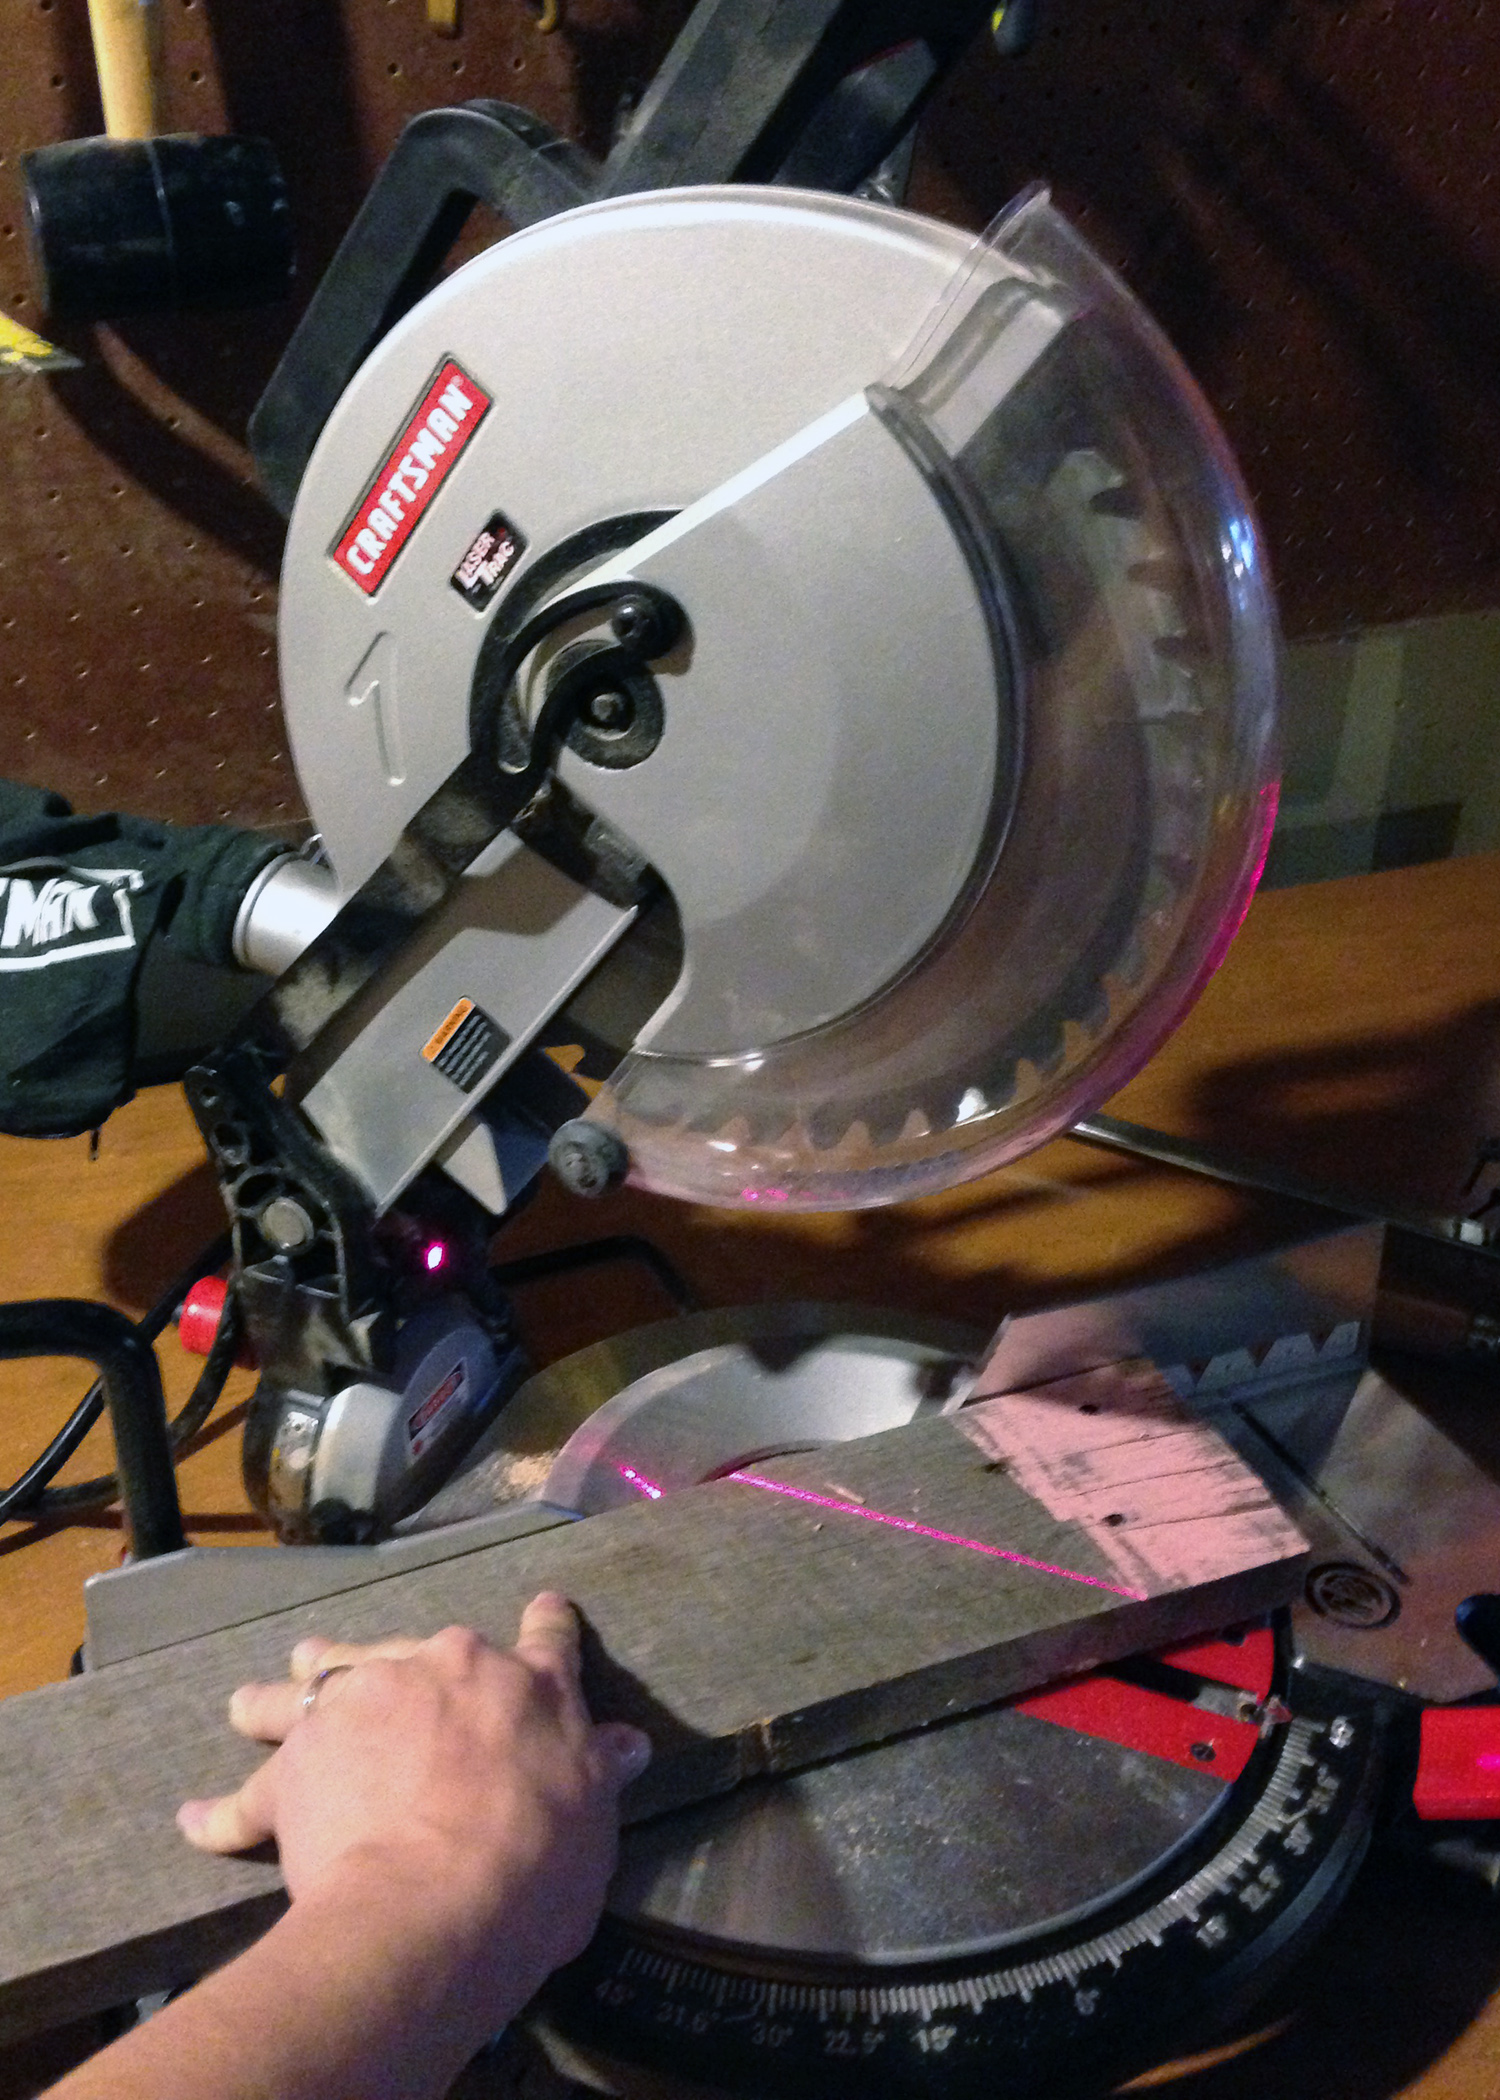
Since I wanted 3 arrows, I needed to cut 6 equal pieces (2 pieces per arrow). I couldn’t even tell you how big each piece is as I started by simply cutting my first piece, and using that as a template for every other piece. Just set your miter saw to 45-degrees, put on your safety goggles, and cut away.
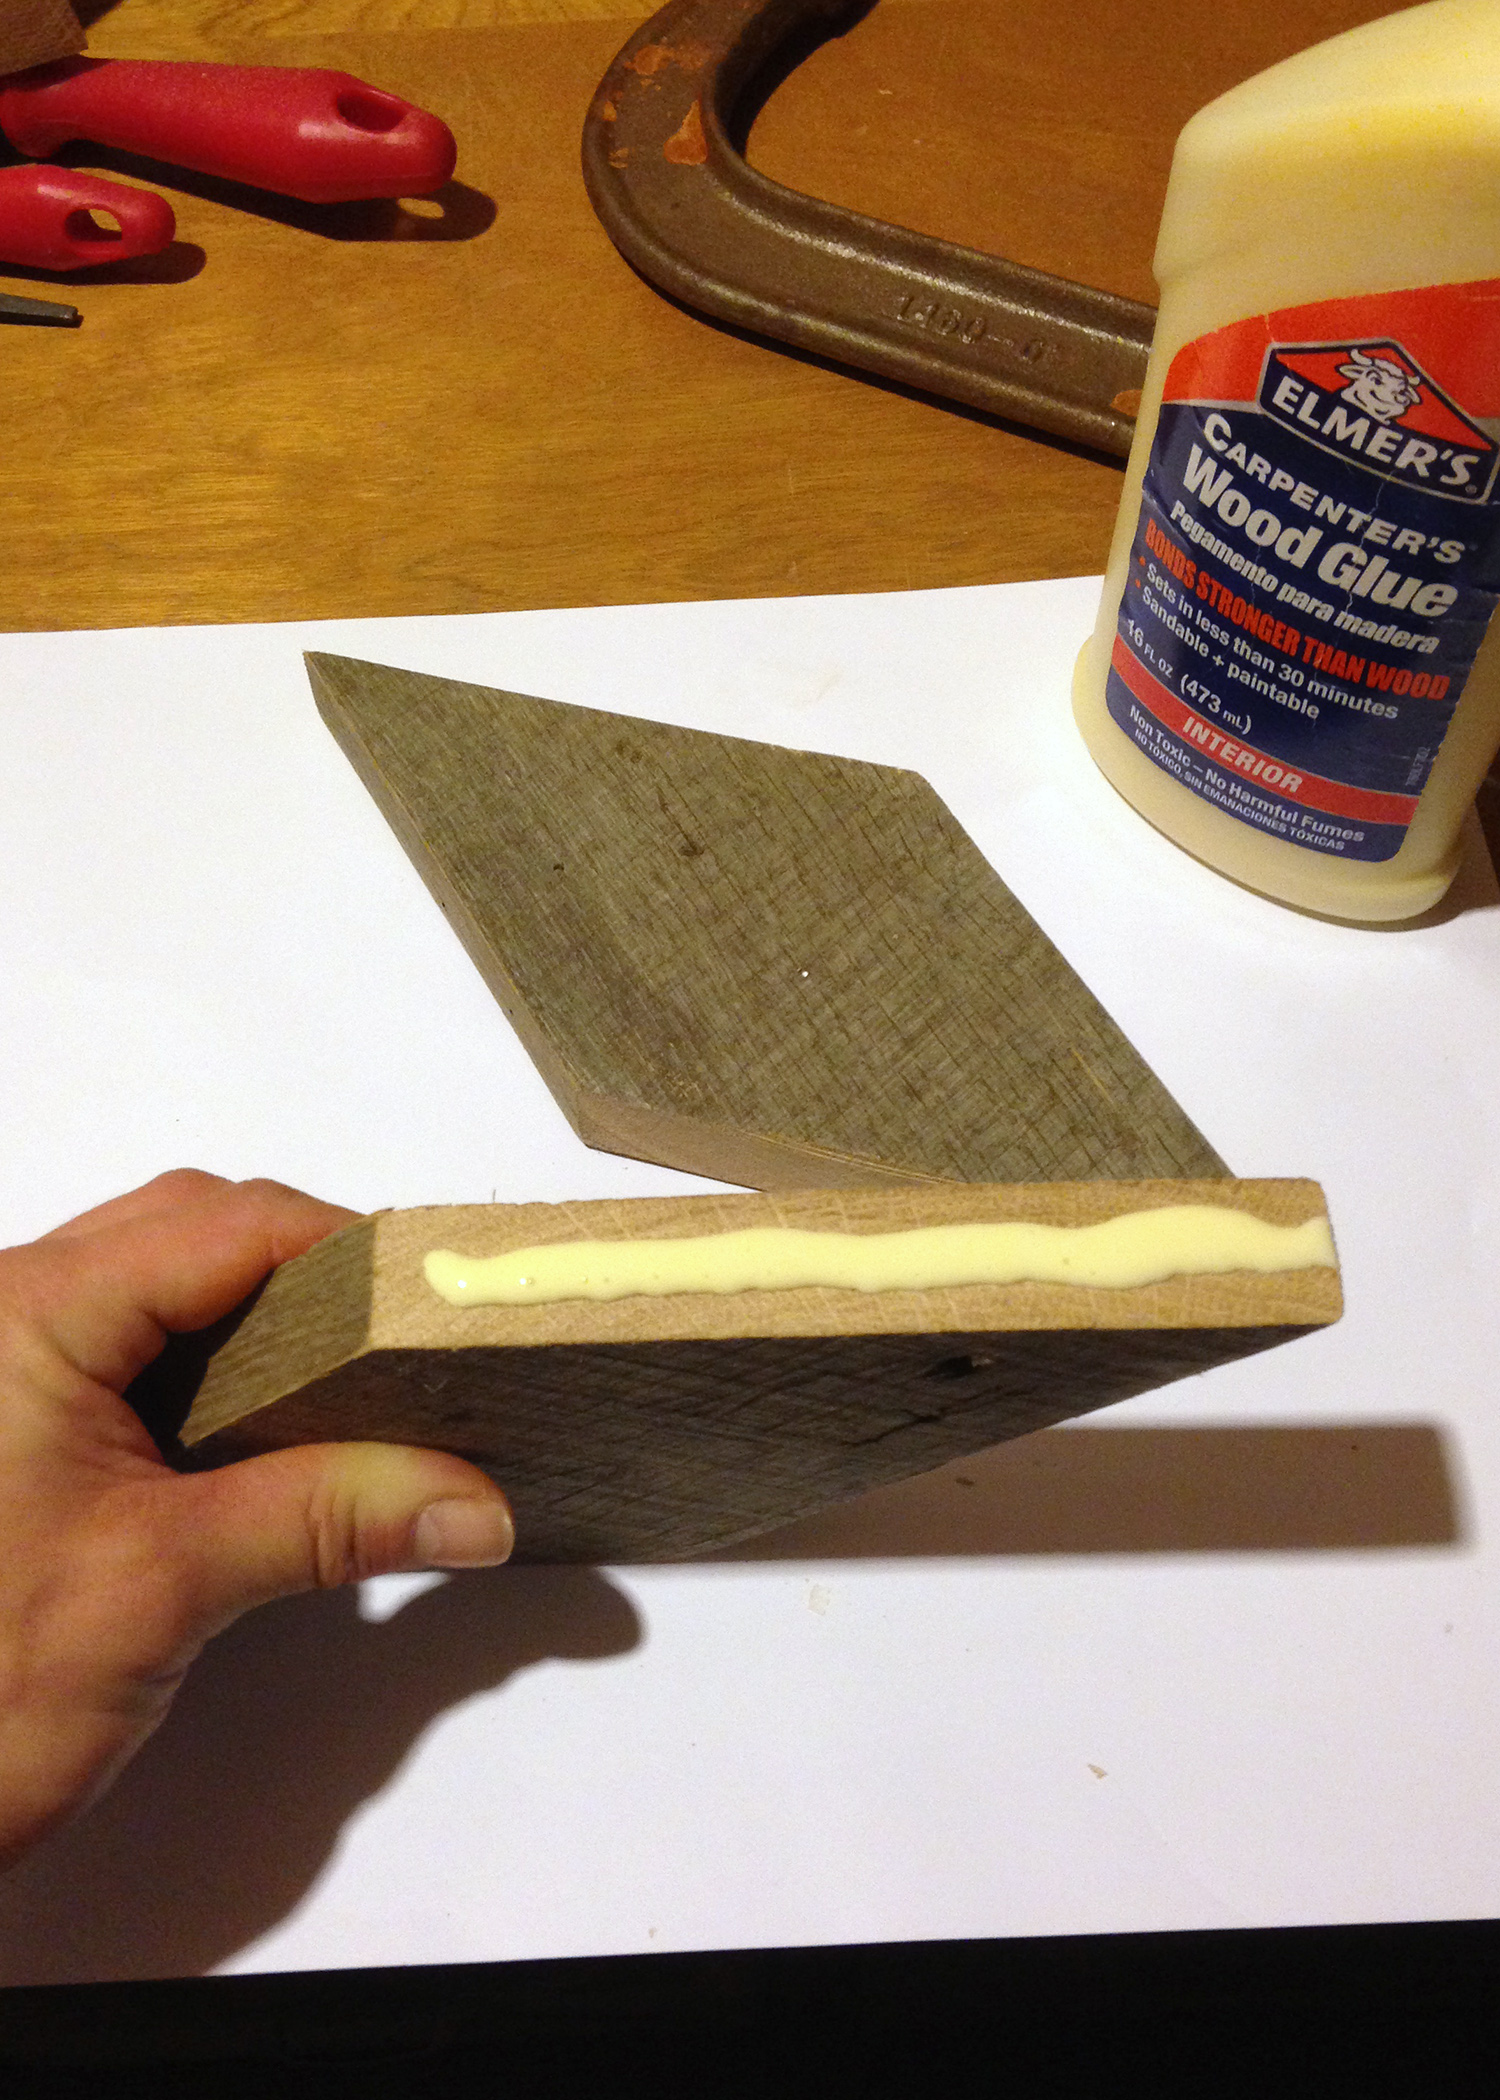
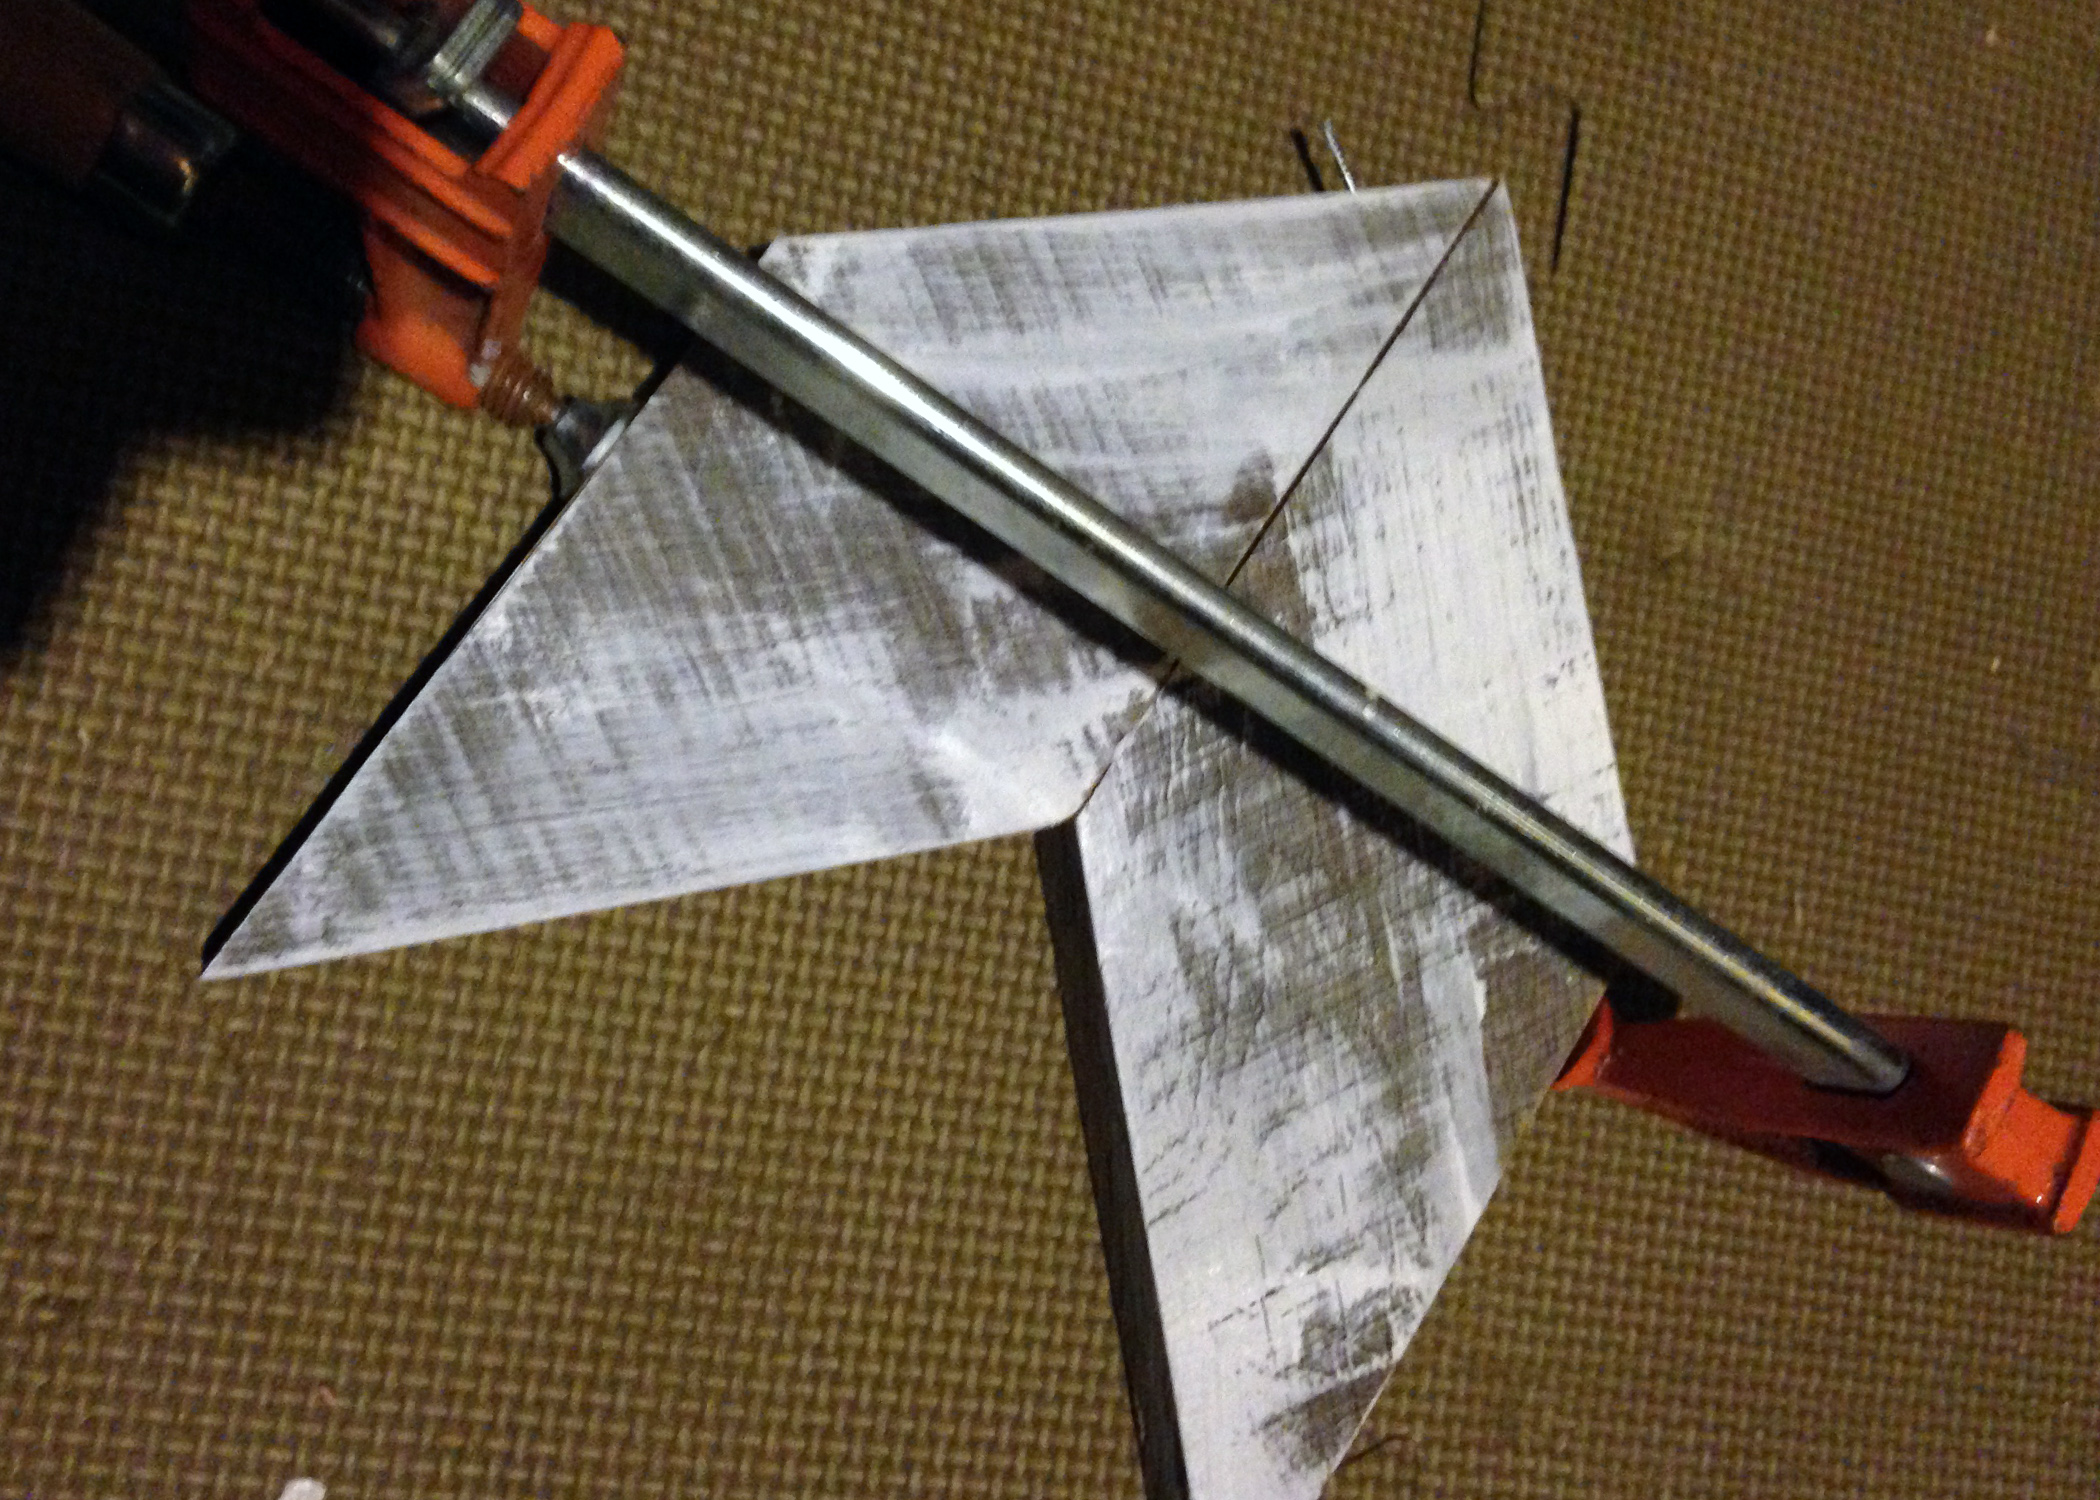
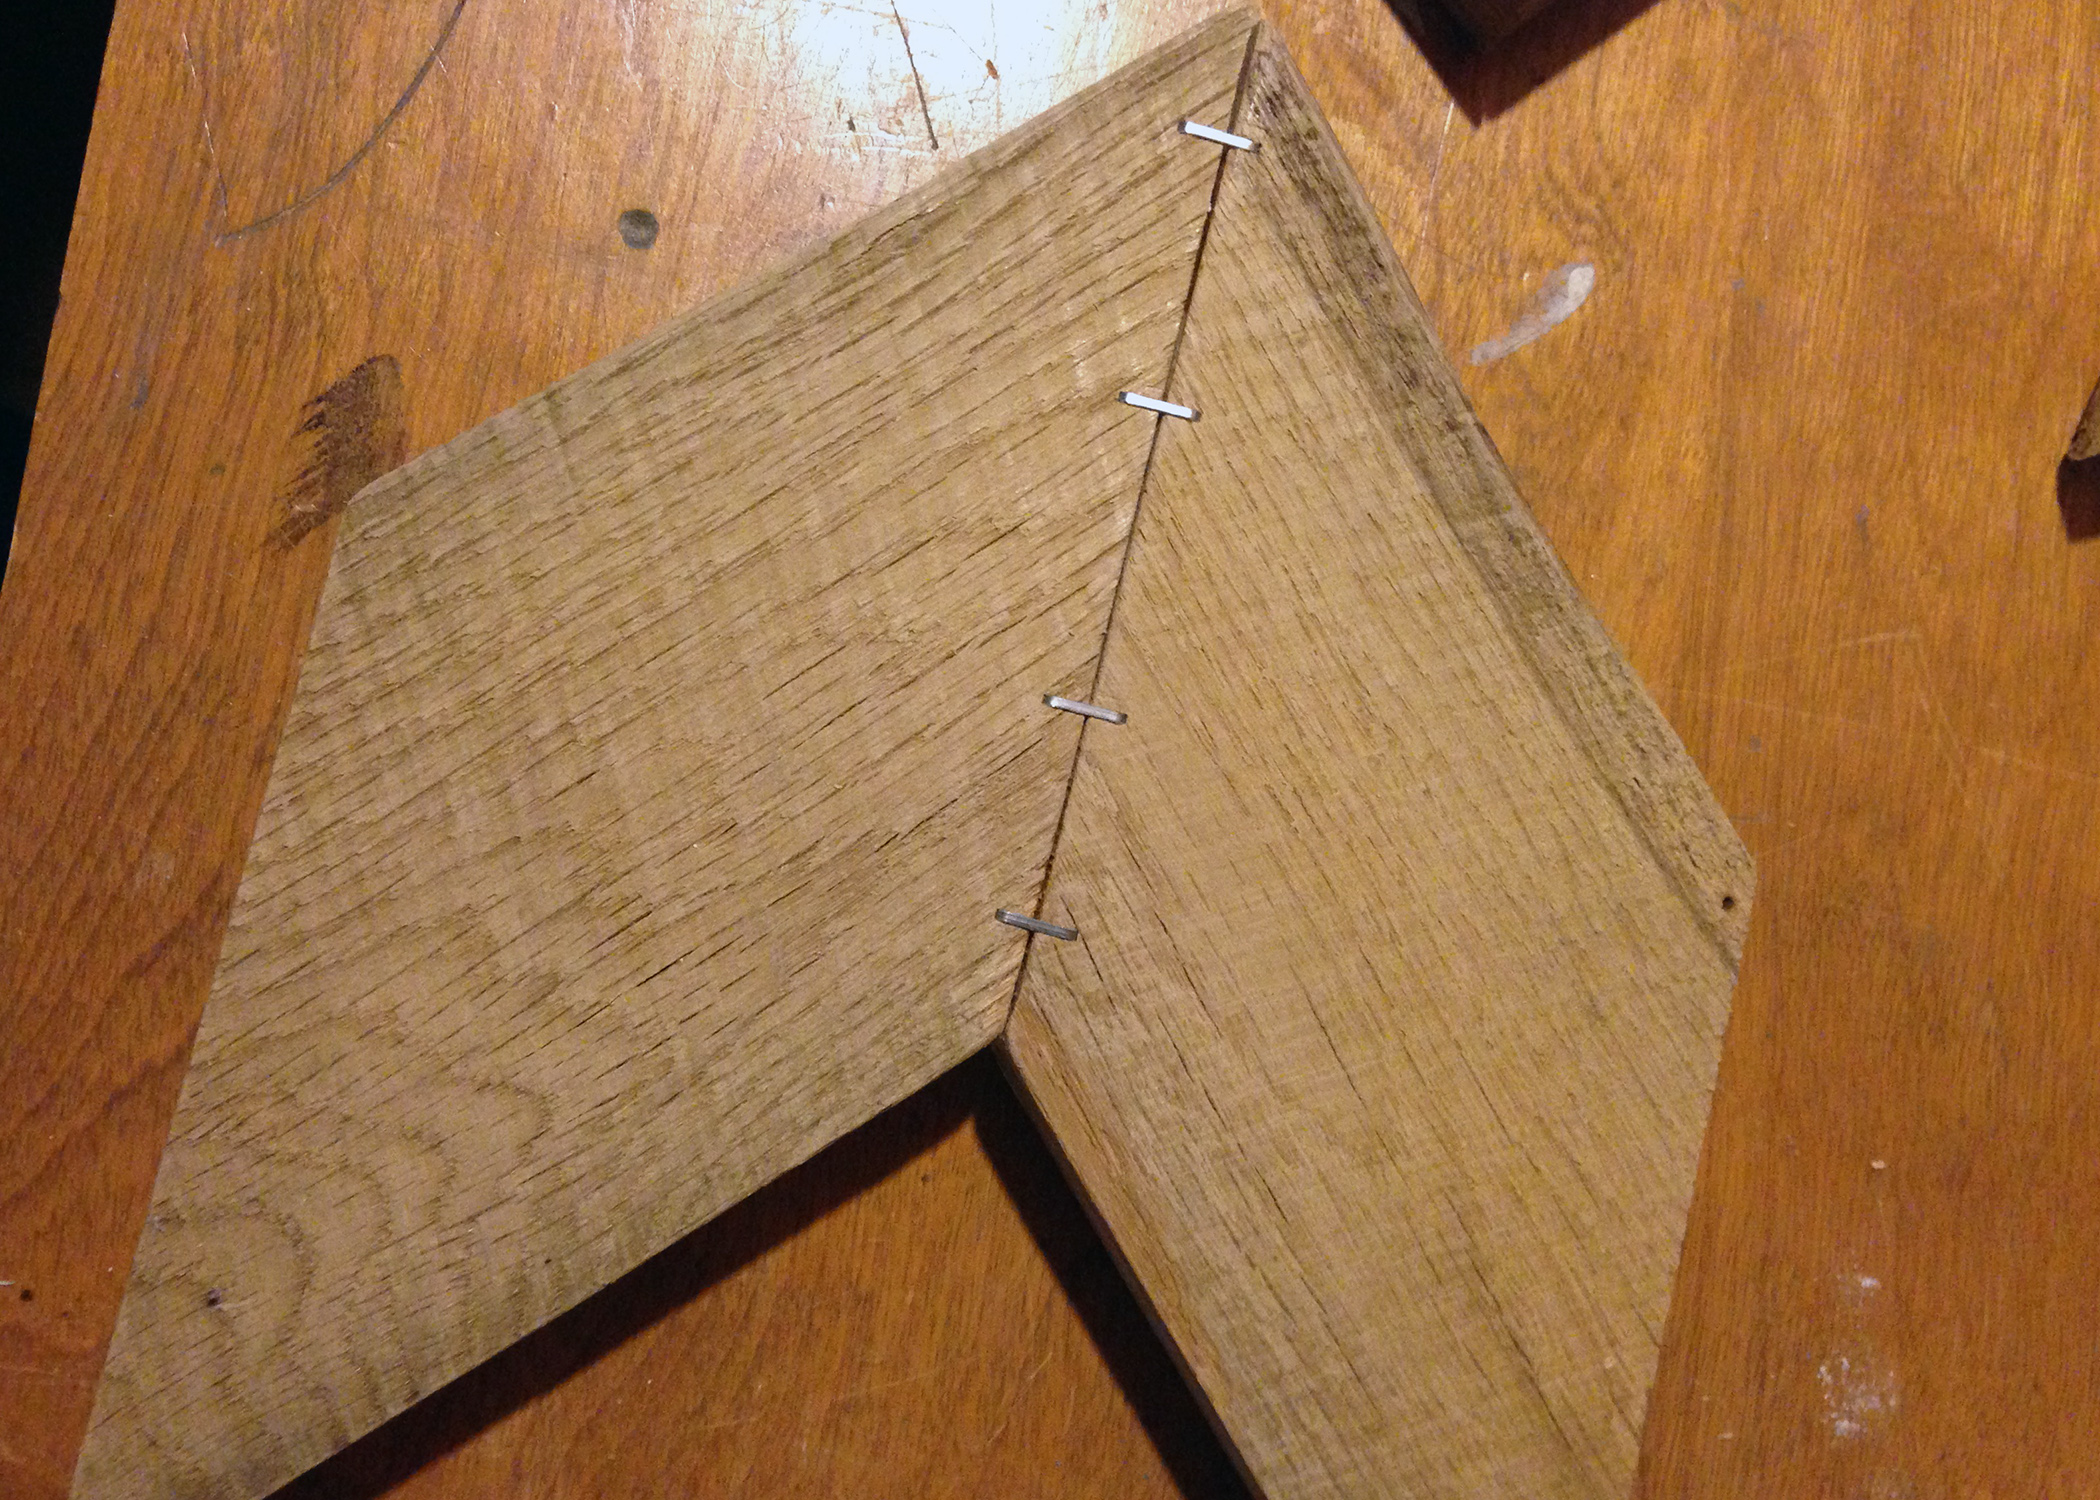
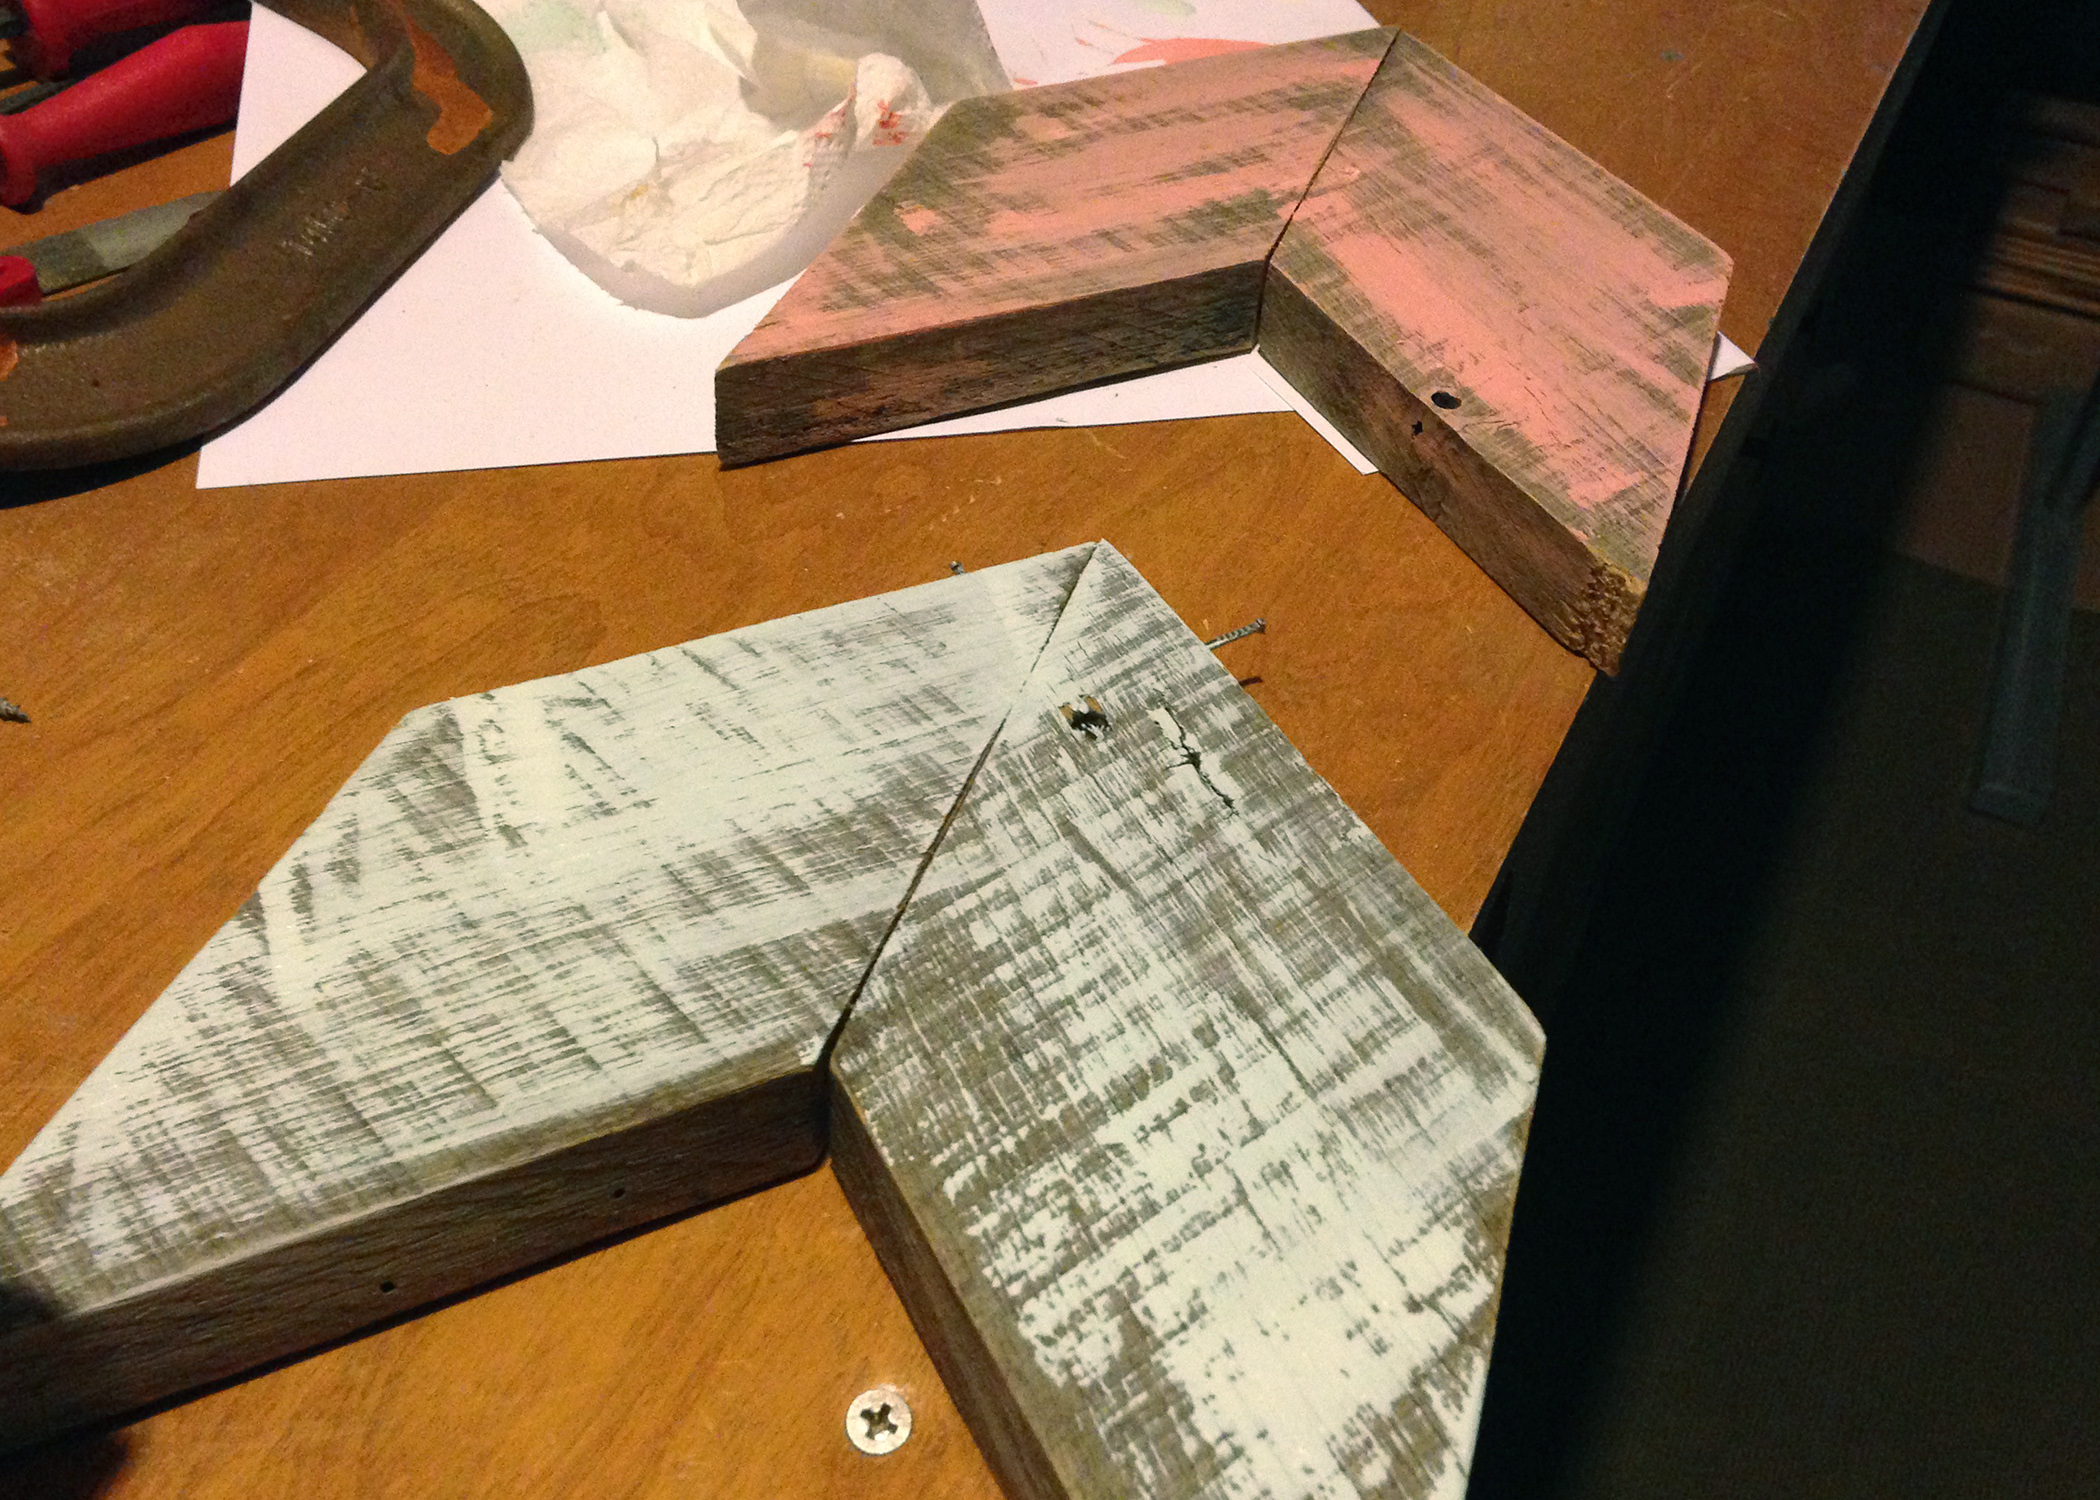
Once you have your six pieces cut, put a little wood glue between them, and clamp them together. Be sure you allow proper dry time here, or I assure you, they will fall a part. At this point, I also started experimenting with paint (yes, I’m impatient :), so you can see that in some pics.
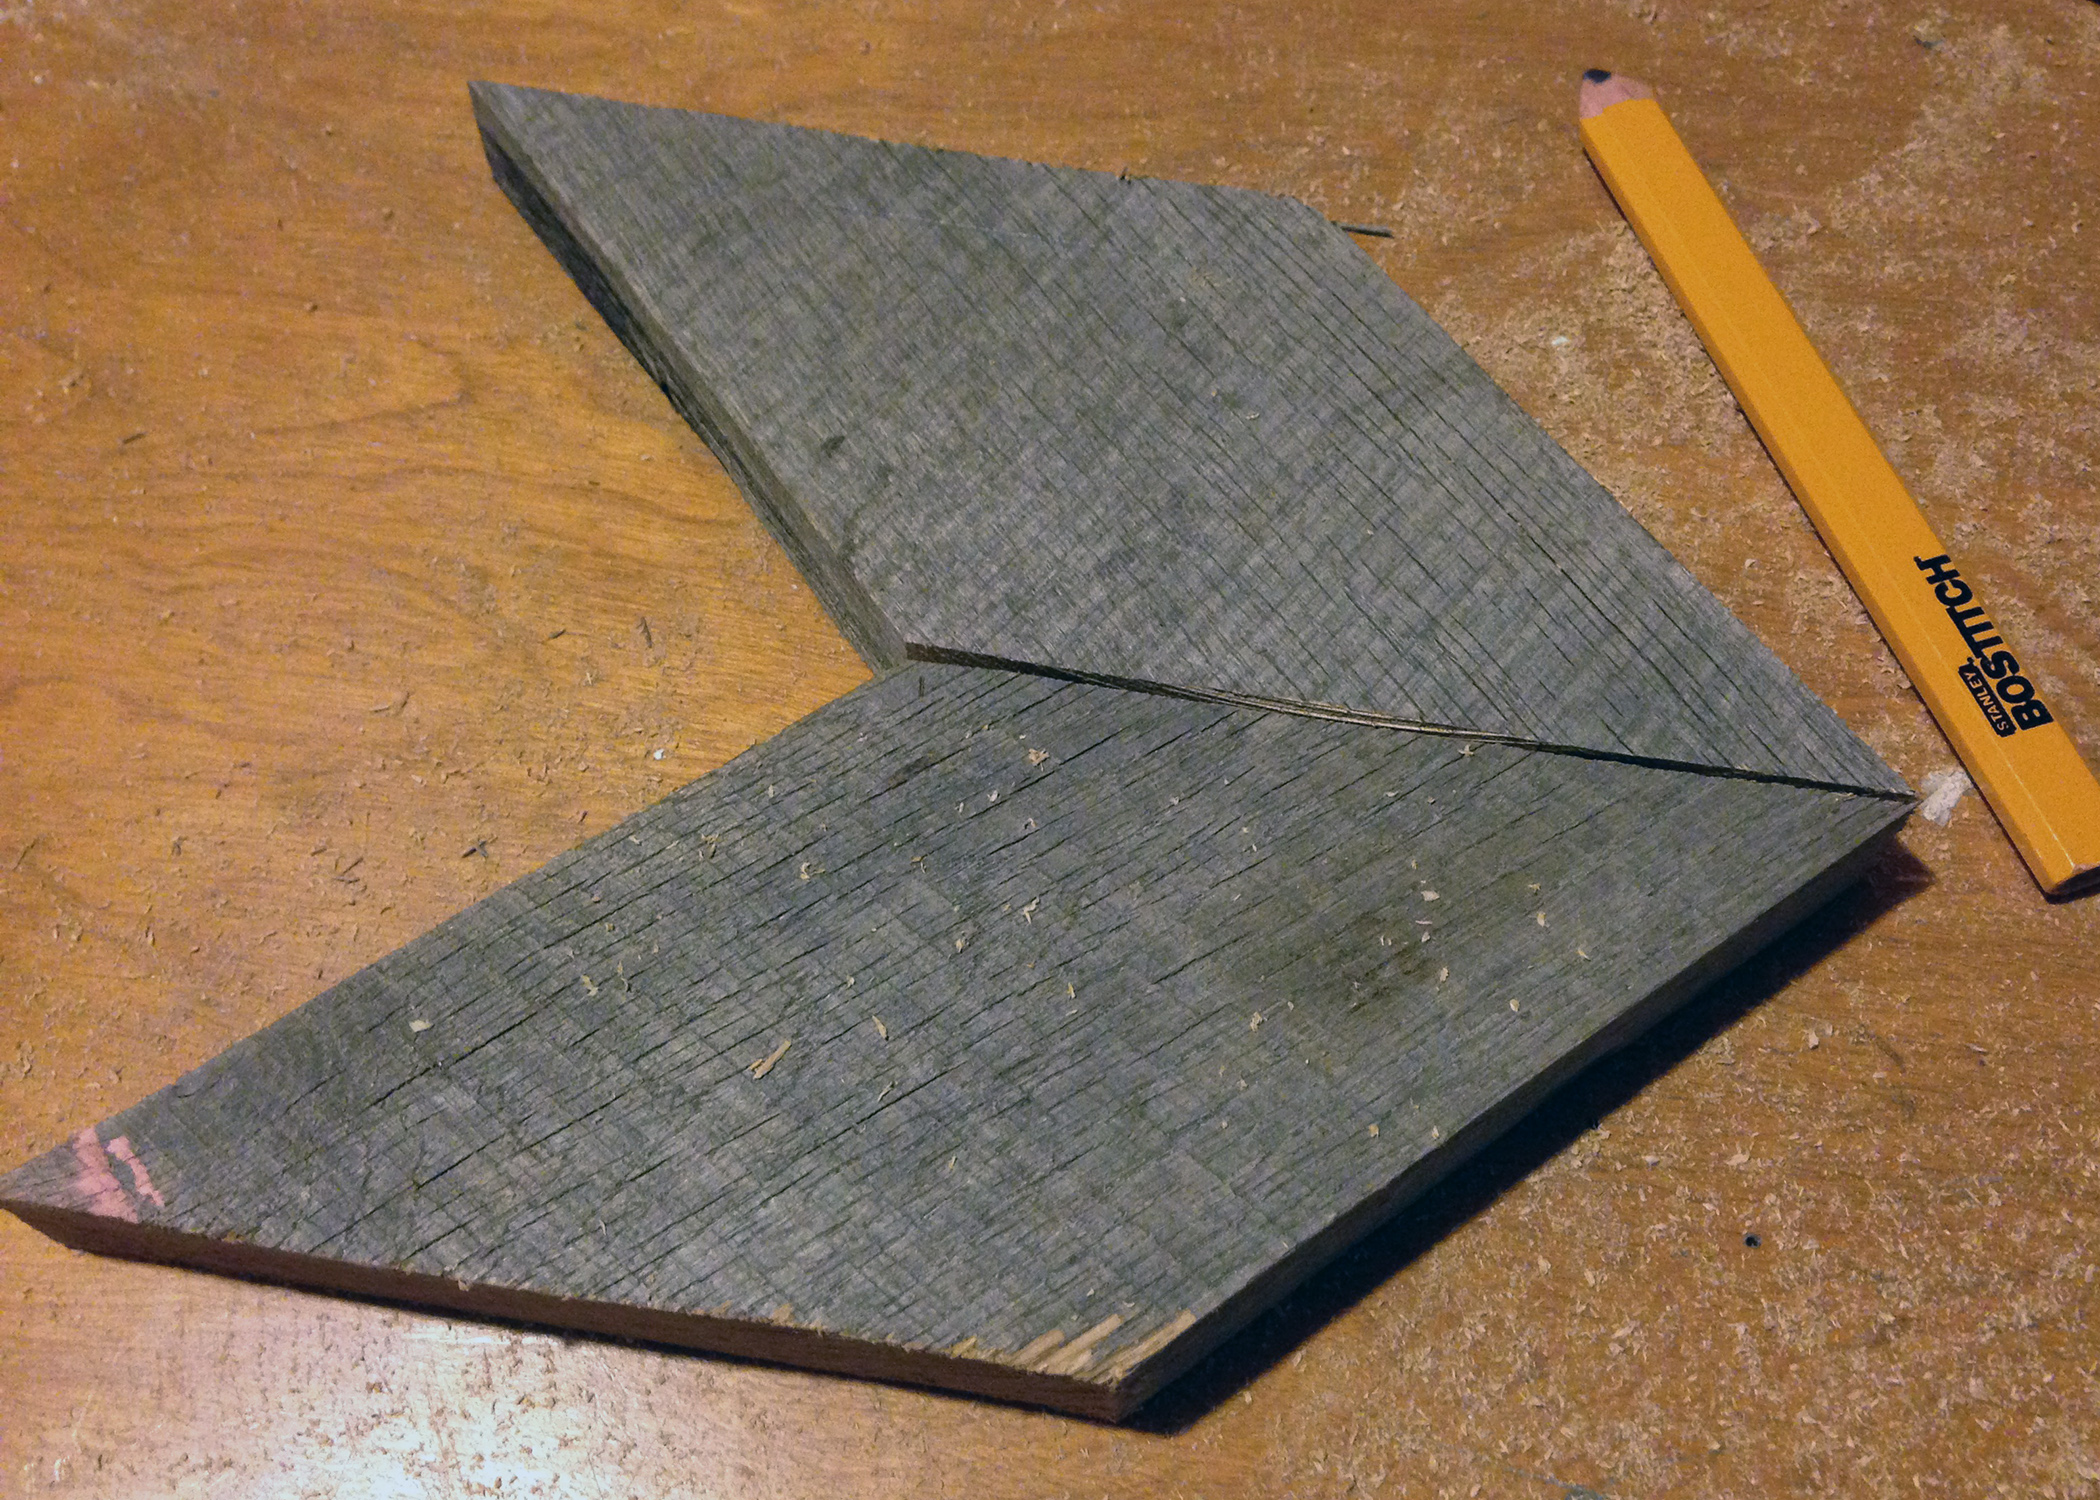
I noticed some pretty rough edges on the outsides of my arrows, so make sure you have some medium-grit sandpaper on hand to sand out any imperfections.
I chose my staple gun to reinforce the wood glue, but you could do this a number of other ways.
Like I said, I already had my paint colors leftover from previous projects, so all I had to do was figure out how best to apply it. I really wanted a distressed finish, and I found that the best way to achieve this was using a small foam brush, and just a bit of paint. I lightly applied it, just barely allowing my brush to touch the wood. And I love the finished look! Once the paint dries, all that’s left is your hardware to hang, and that’s it. ENJOY!


2 Comments