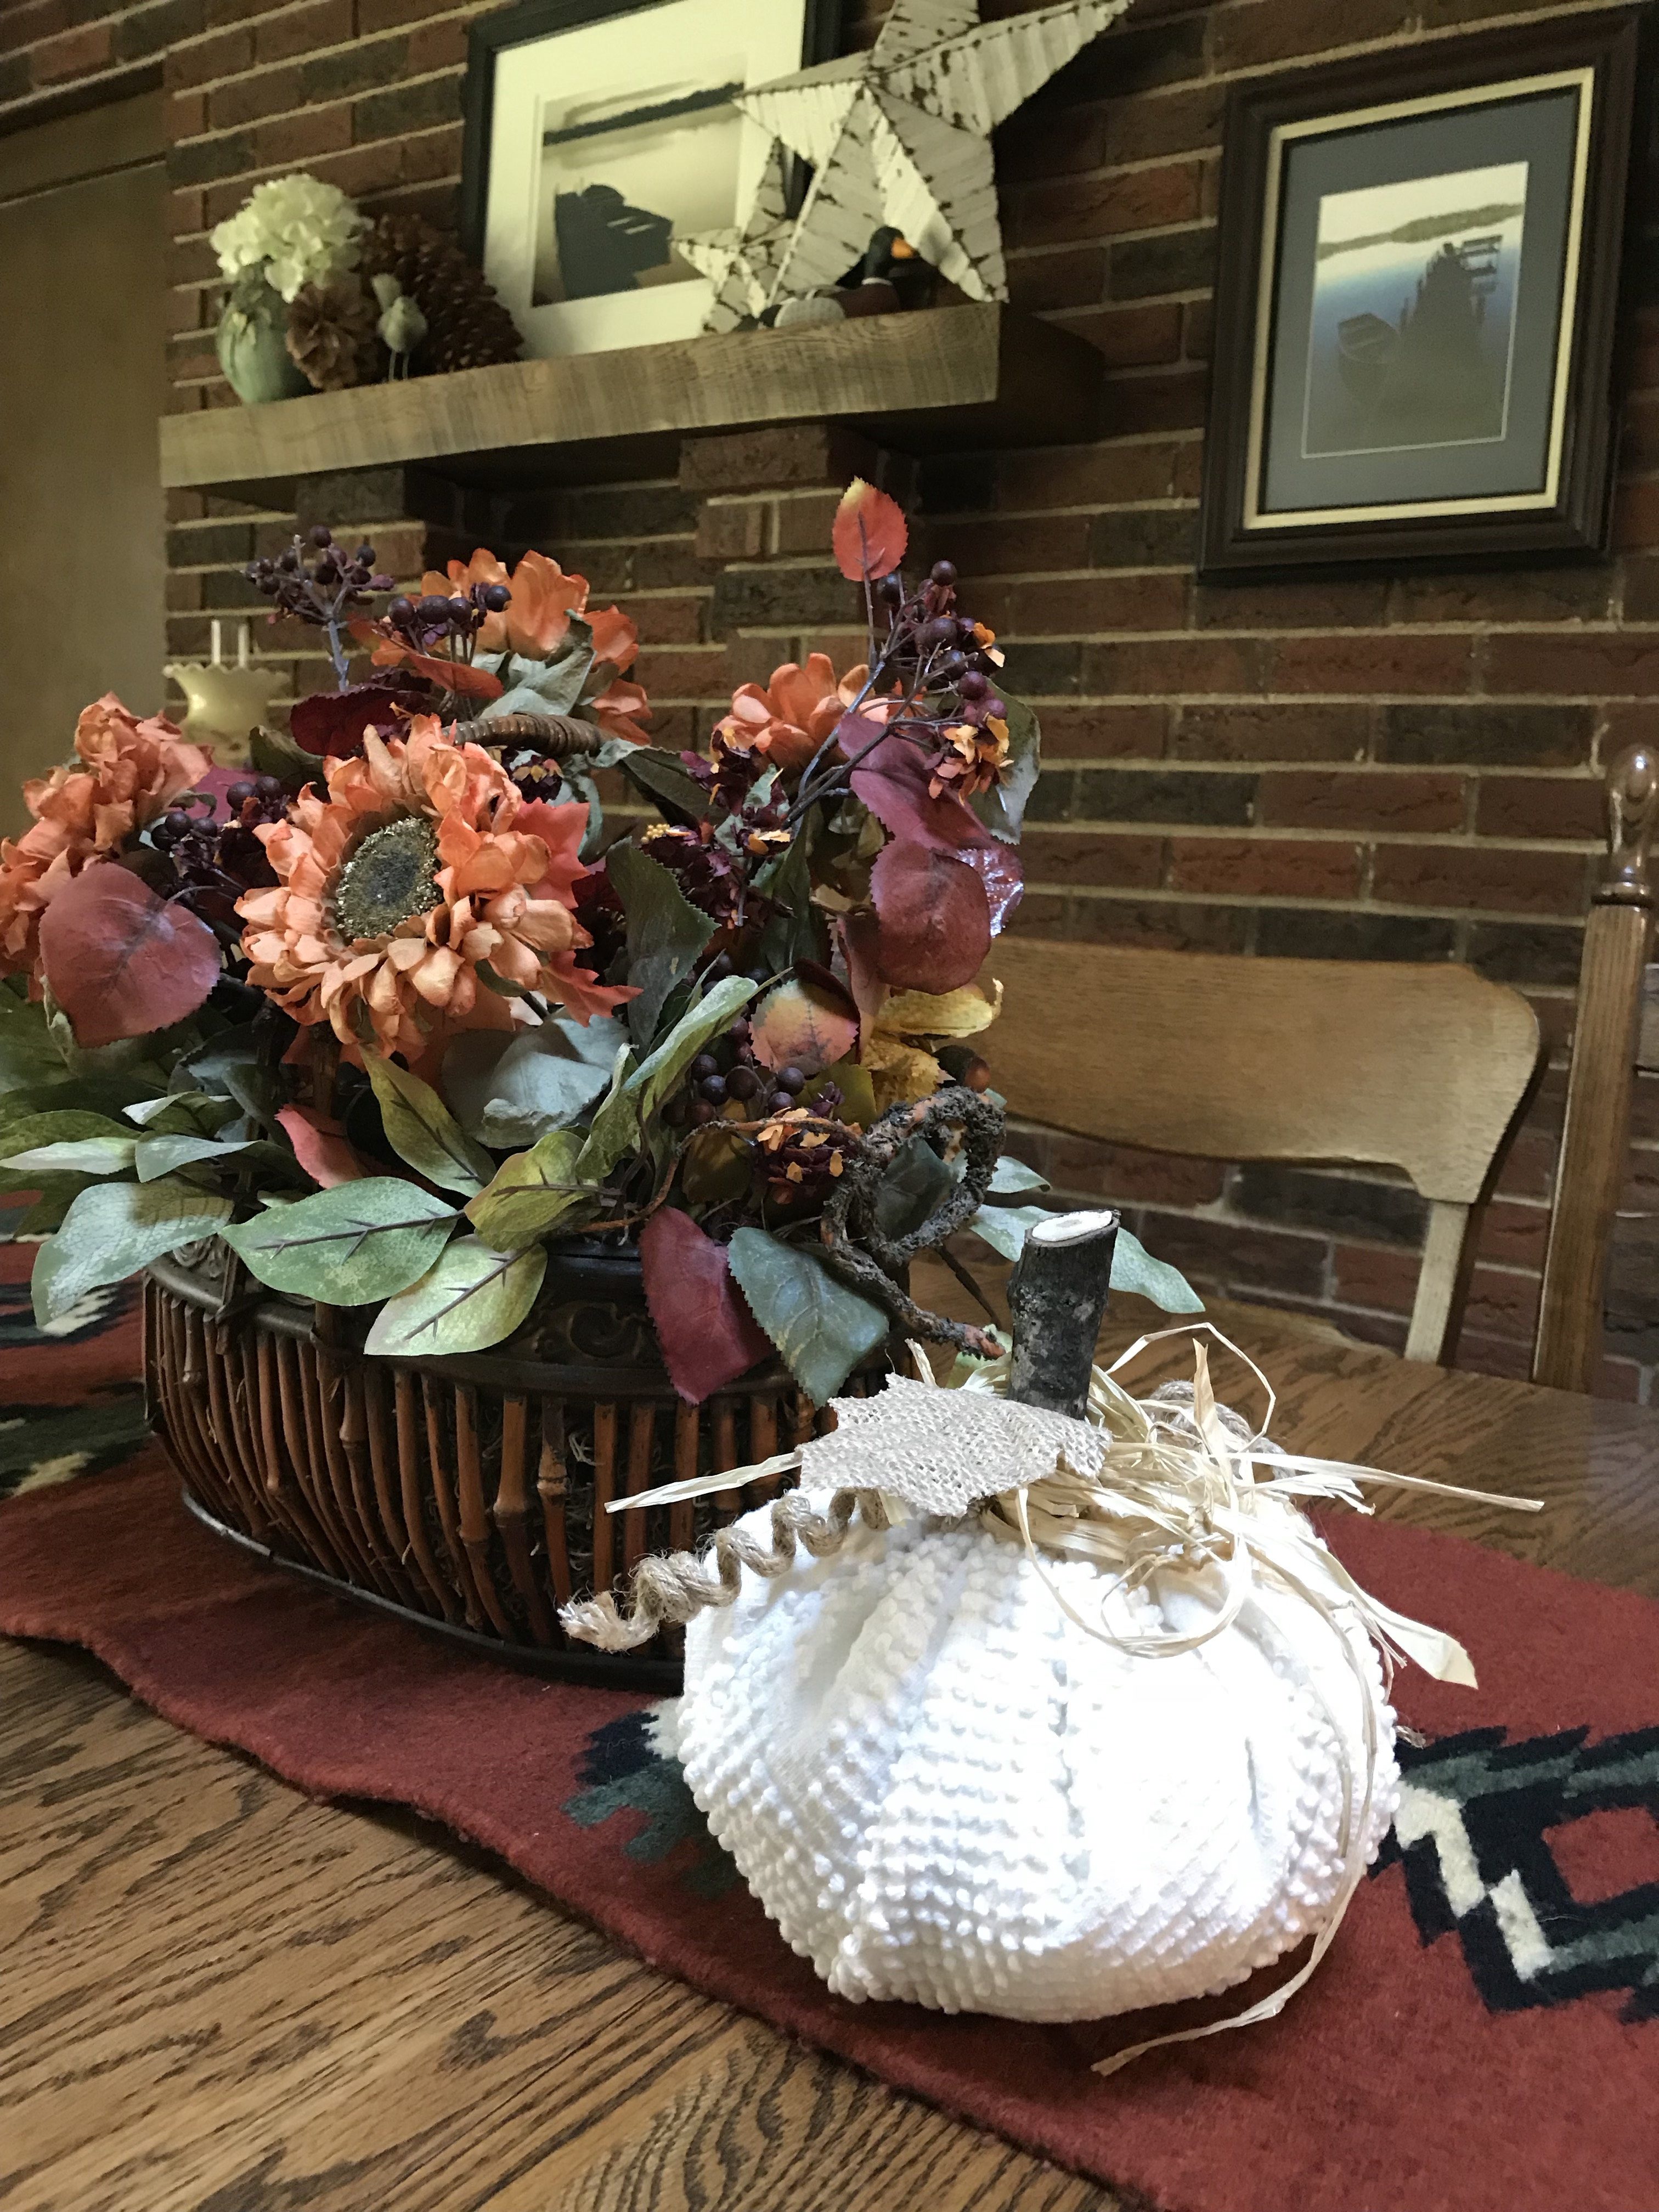
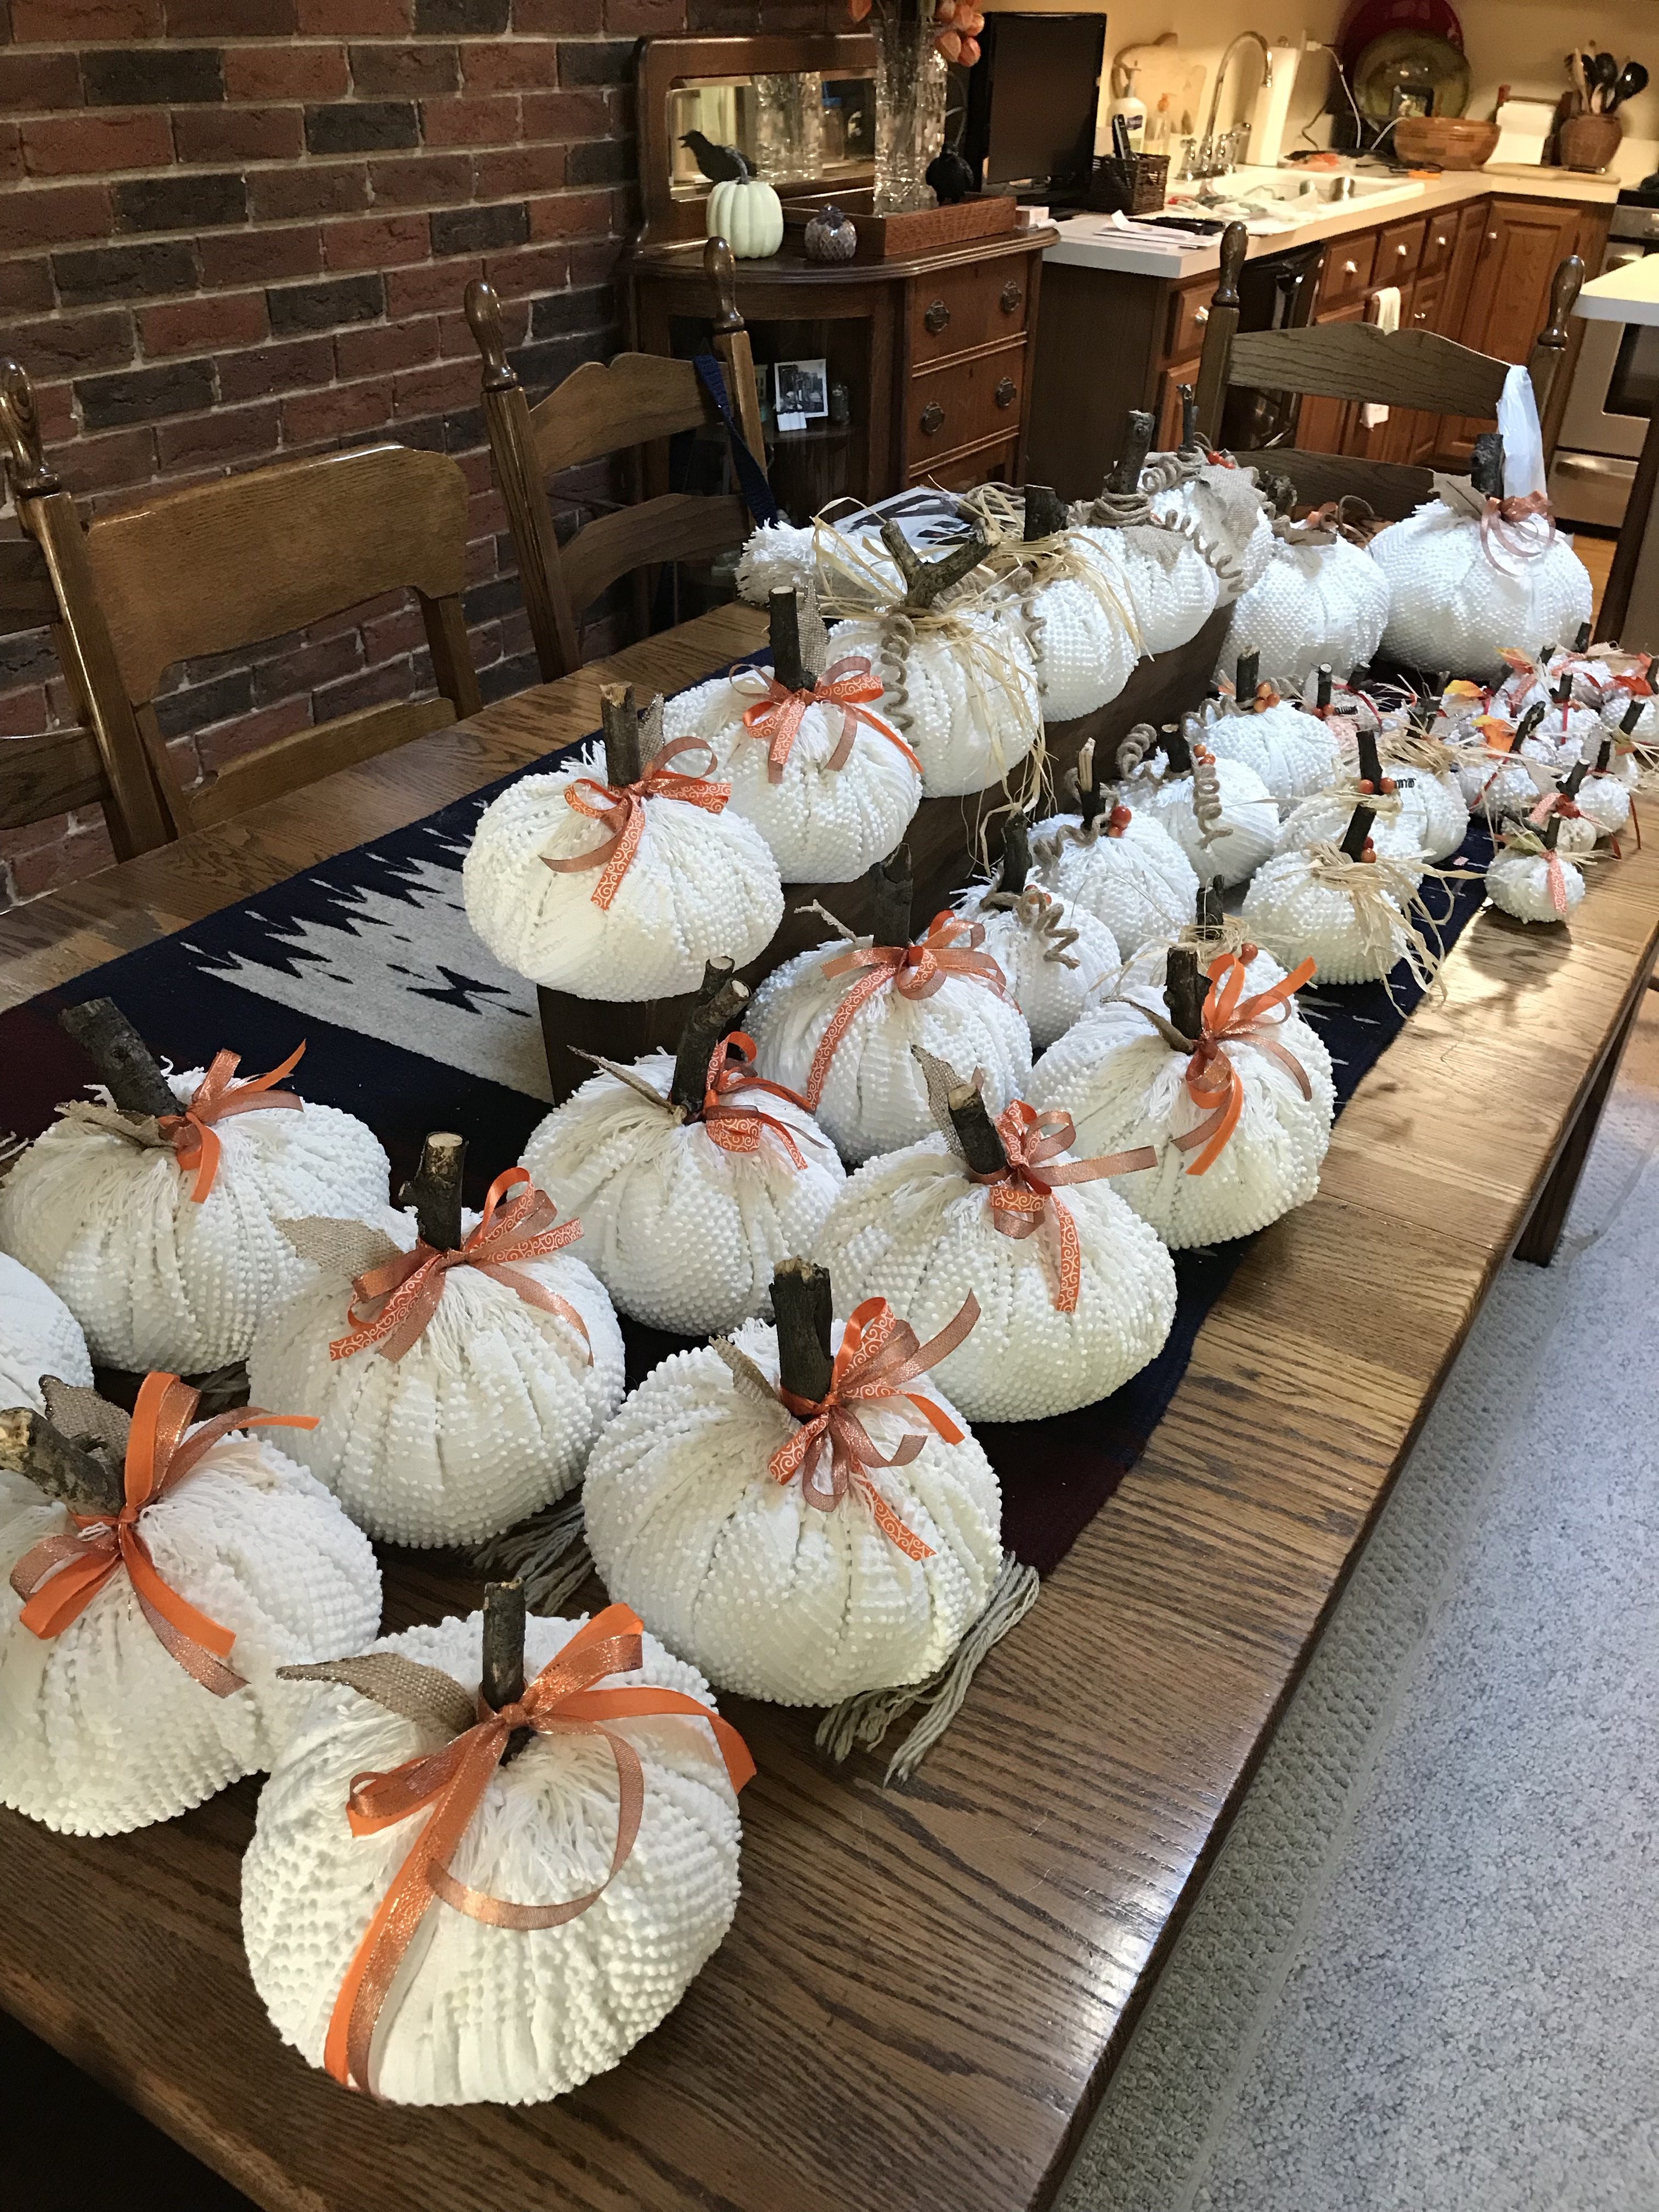
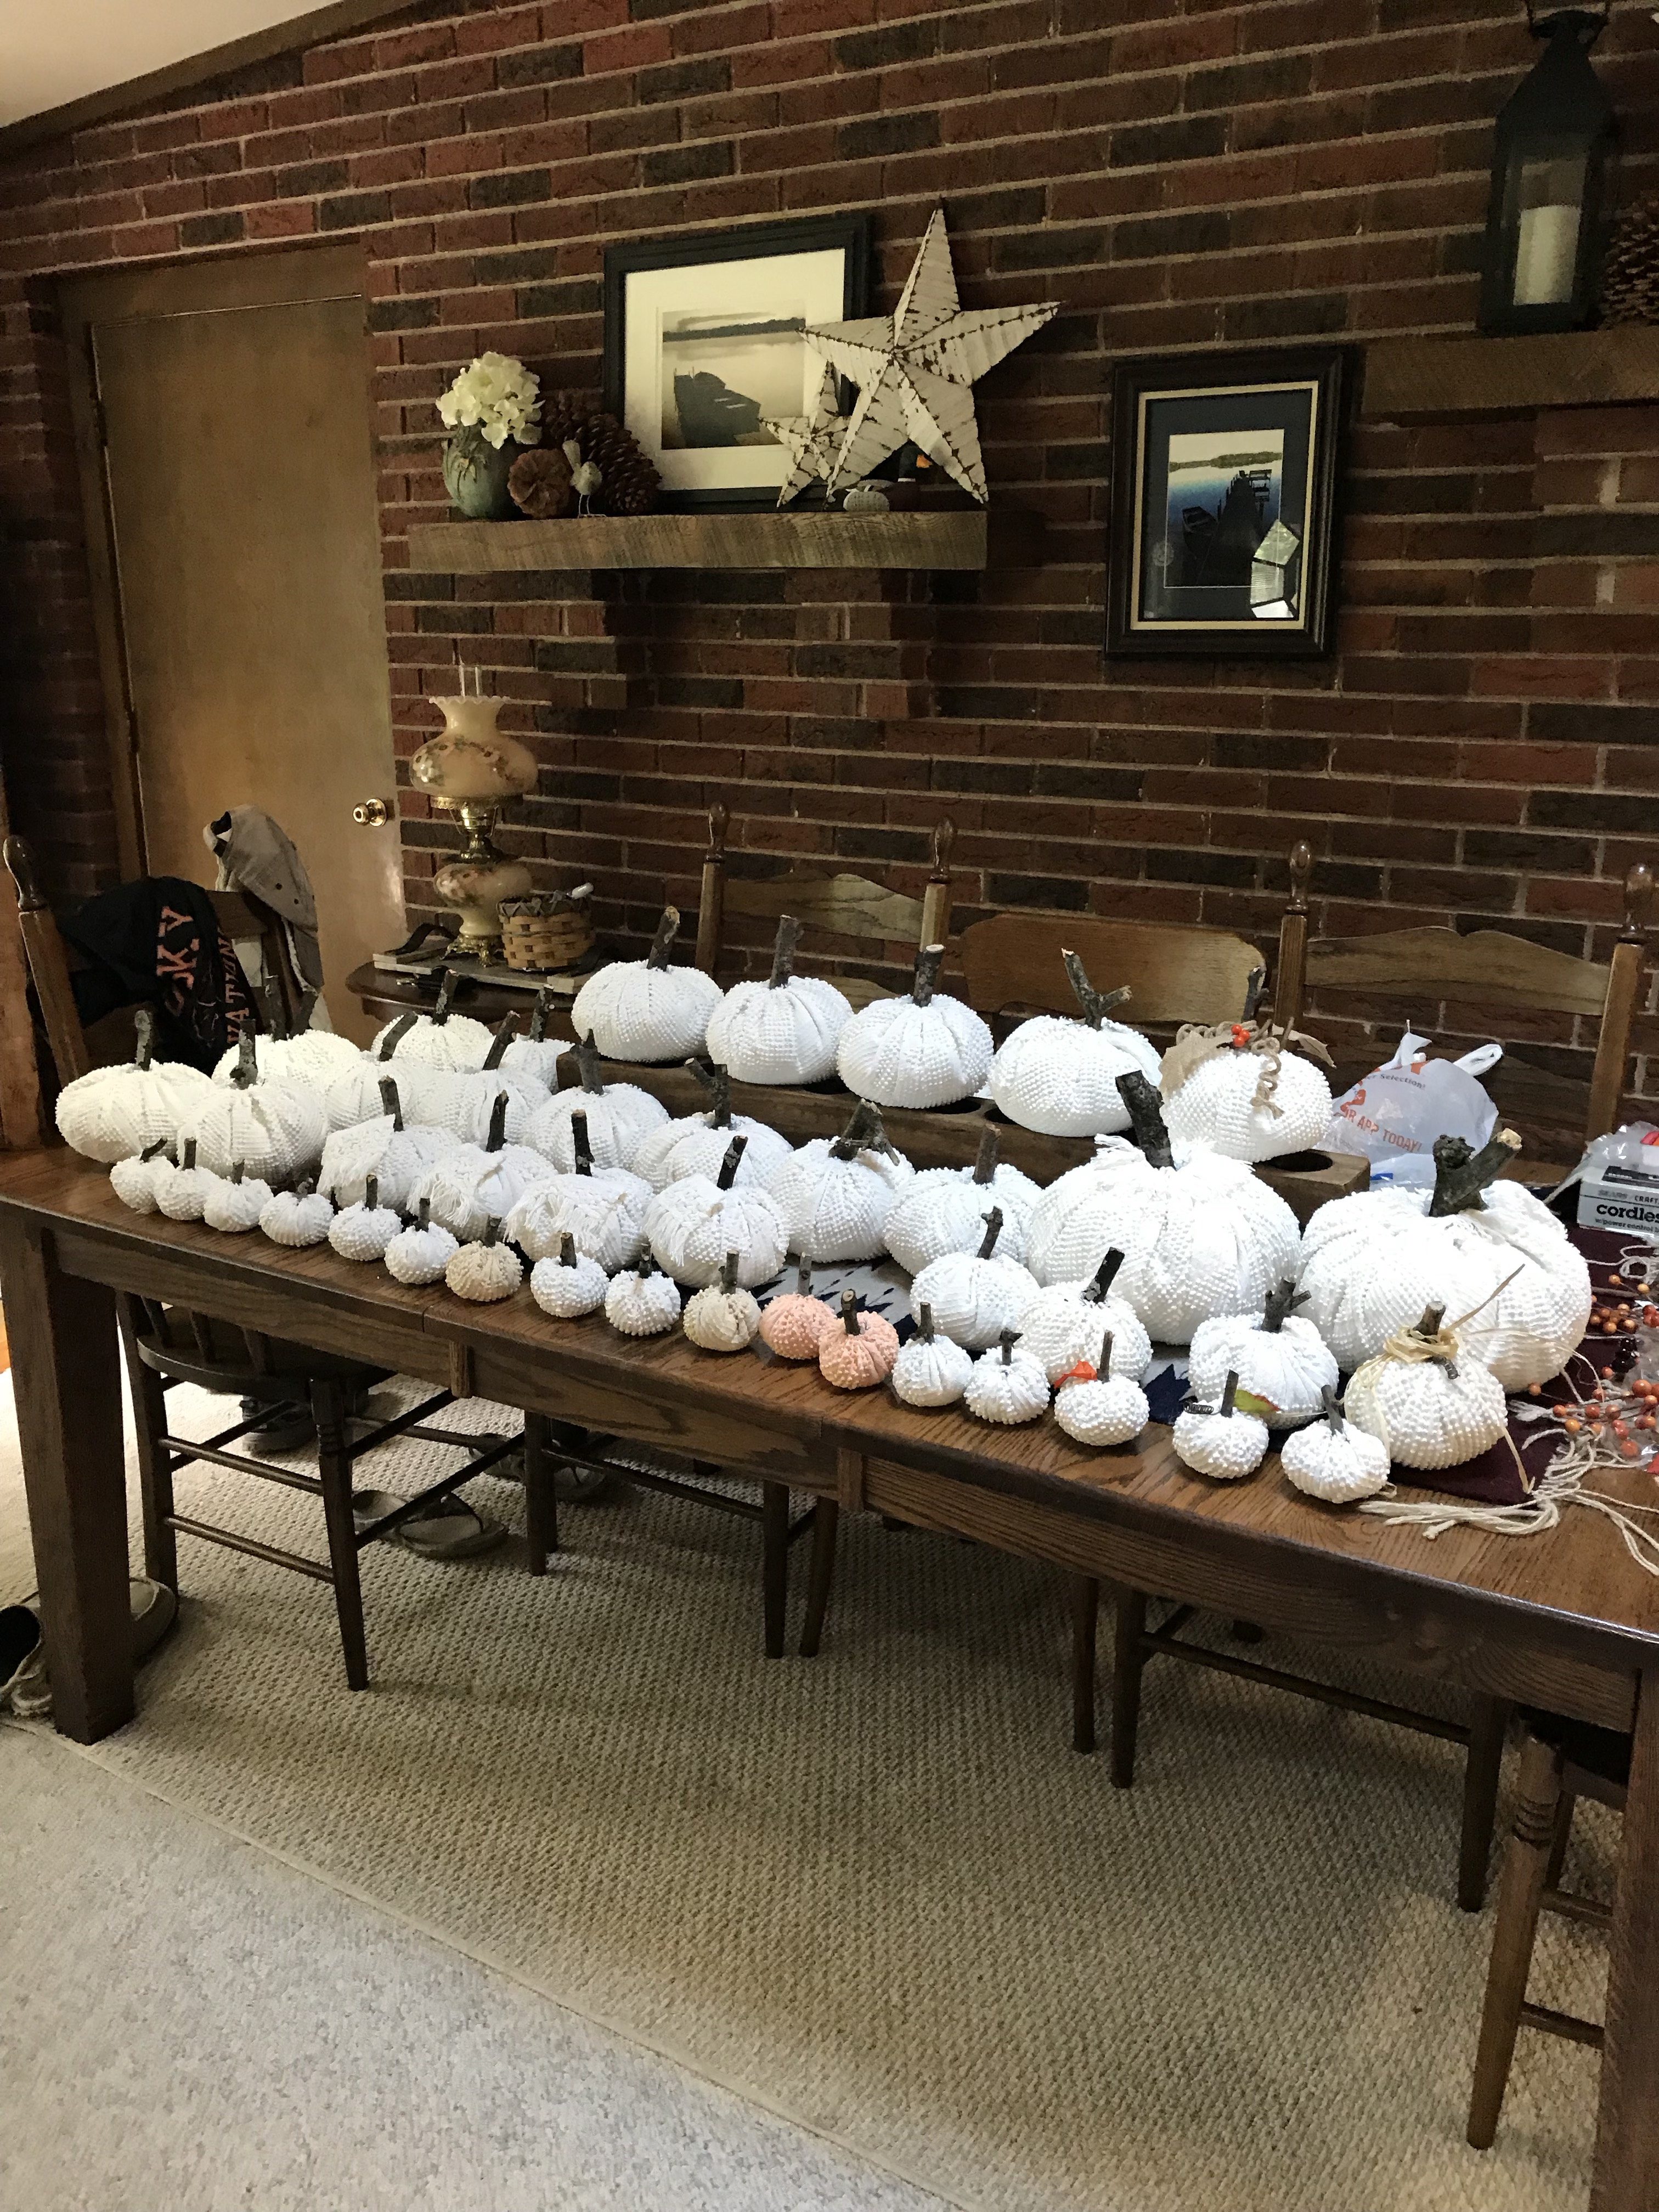
My mom’s cousin sent me a snapshot of these pumpkins she made just before Halloween, and ladies and gentlemen, they are the CUTEST! The best part is there is no sewing involved, so just about anyone with time, willingness and some fabric can create them.
What’s even better is how special this craft can become. My mom’s cousin used a very sentimental bedspread that belonged to her 96-year-old grandmother. How’s that for repurposing?! If you don’t have something special like that laying around, here are some other ideas:
- Old blanket or throw
- Flannel shirts
- Old bridesmaid’s dresses
- Wedding veil
Here’s the very simple process:
- Choose your fabric & cut it to size: My mom’s cousin made three sizes. She traced a platter for the largest one, a dinner plate for the medium and a cereal bowl for the small.
- Whip stitch the edge: Nothing special here, just a quick whip stitch of the edges and pull it to gather.
- Fill with batting & tie off: You can use any kind of filler for this part, but batting is what my mom’s cousin opted for. Then, tie it off. filled with batting and tied off.
- Create a stem: Branches from the yard would work, or even something faux from the craft store. Cut the barnch down to size, add hot glue and glue it in place. Next I picked up branches in my yard, cut to size, a little hot glue to hold the stem in place.
- Dress them up: Whatever you have in your house will work for this part (i.e. ribbon, leaves, twine, etc.) – just something to deck them out a bit. My mom’s cousin added the fringe from the bedspread to some of the pumpkins, too.
- Decorate away! The beauty of these is they look good solo, or when bunched together.Enjoy!


Leave a Reply