Previous post
Next post

Farmhouse signs. Let’s just say the obsession is real. My love for weathered, or otherwise chippy, wood signs is no exception. But the one thing I will not do (and this should come as no surprise) is spend a ton of money purchasing one.
So naturally, I created one myself. And surprise, surprise, I did so without a stencil, or any other fancy, pricey equipment. The good news is, you can do the same.
 (like the kind from grade school)


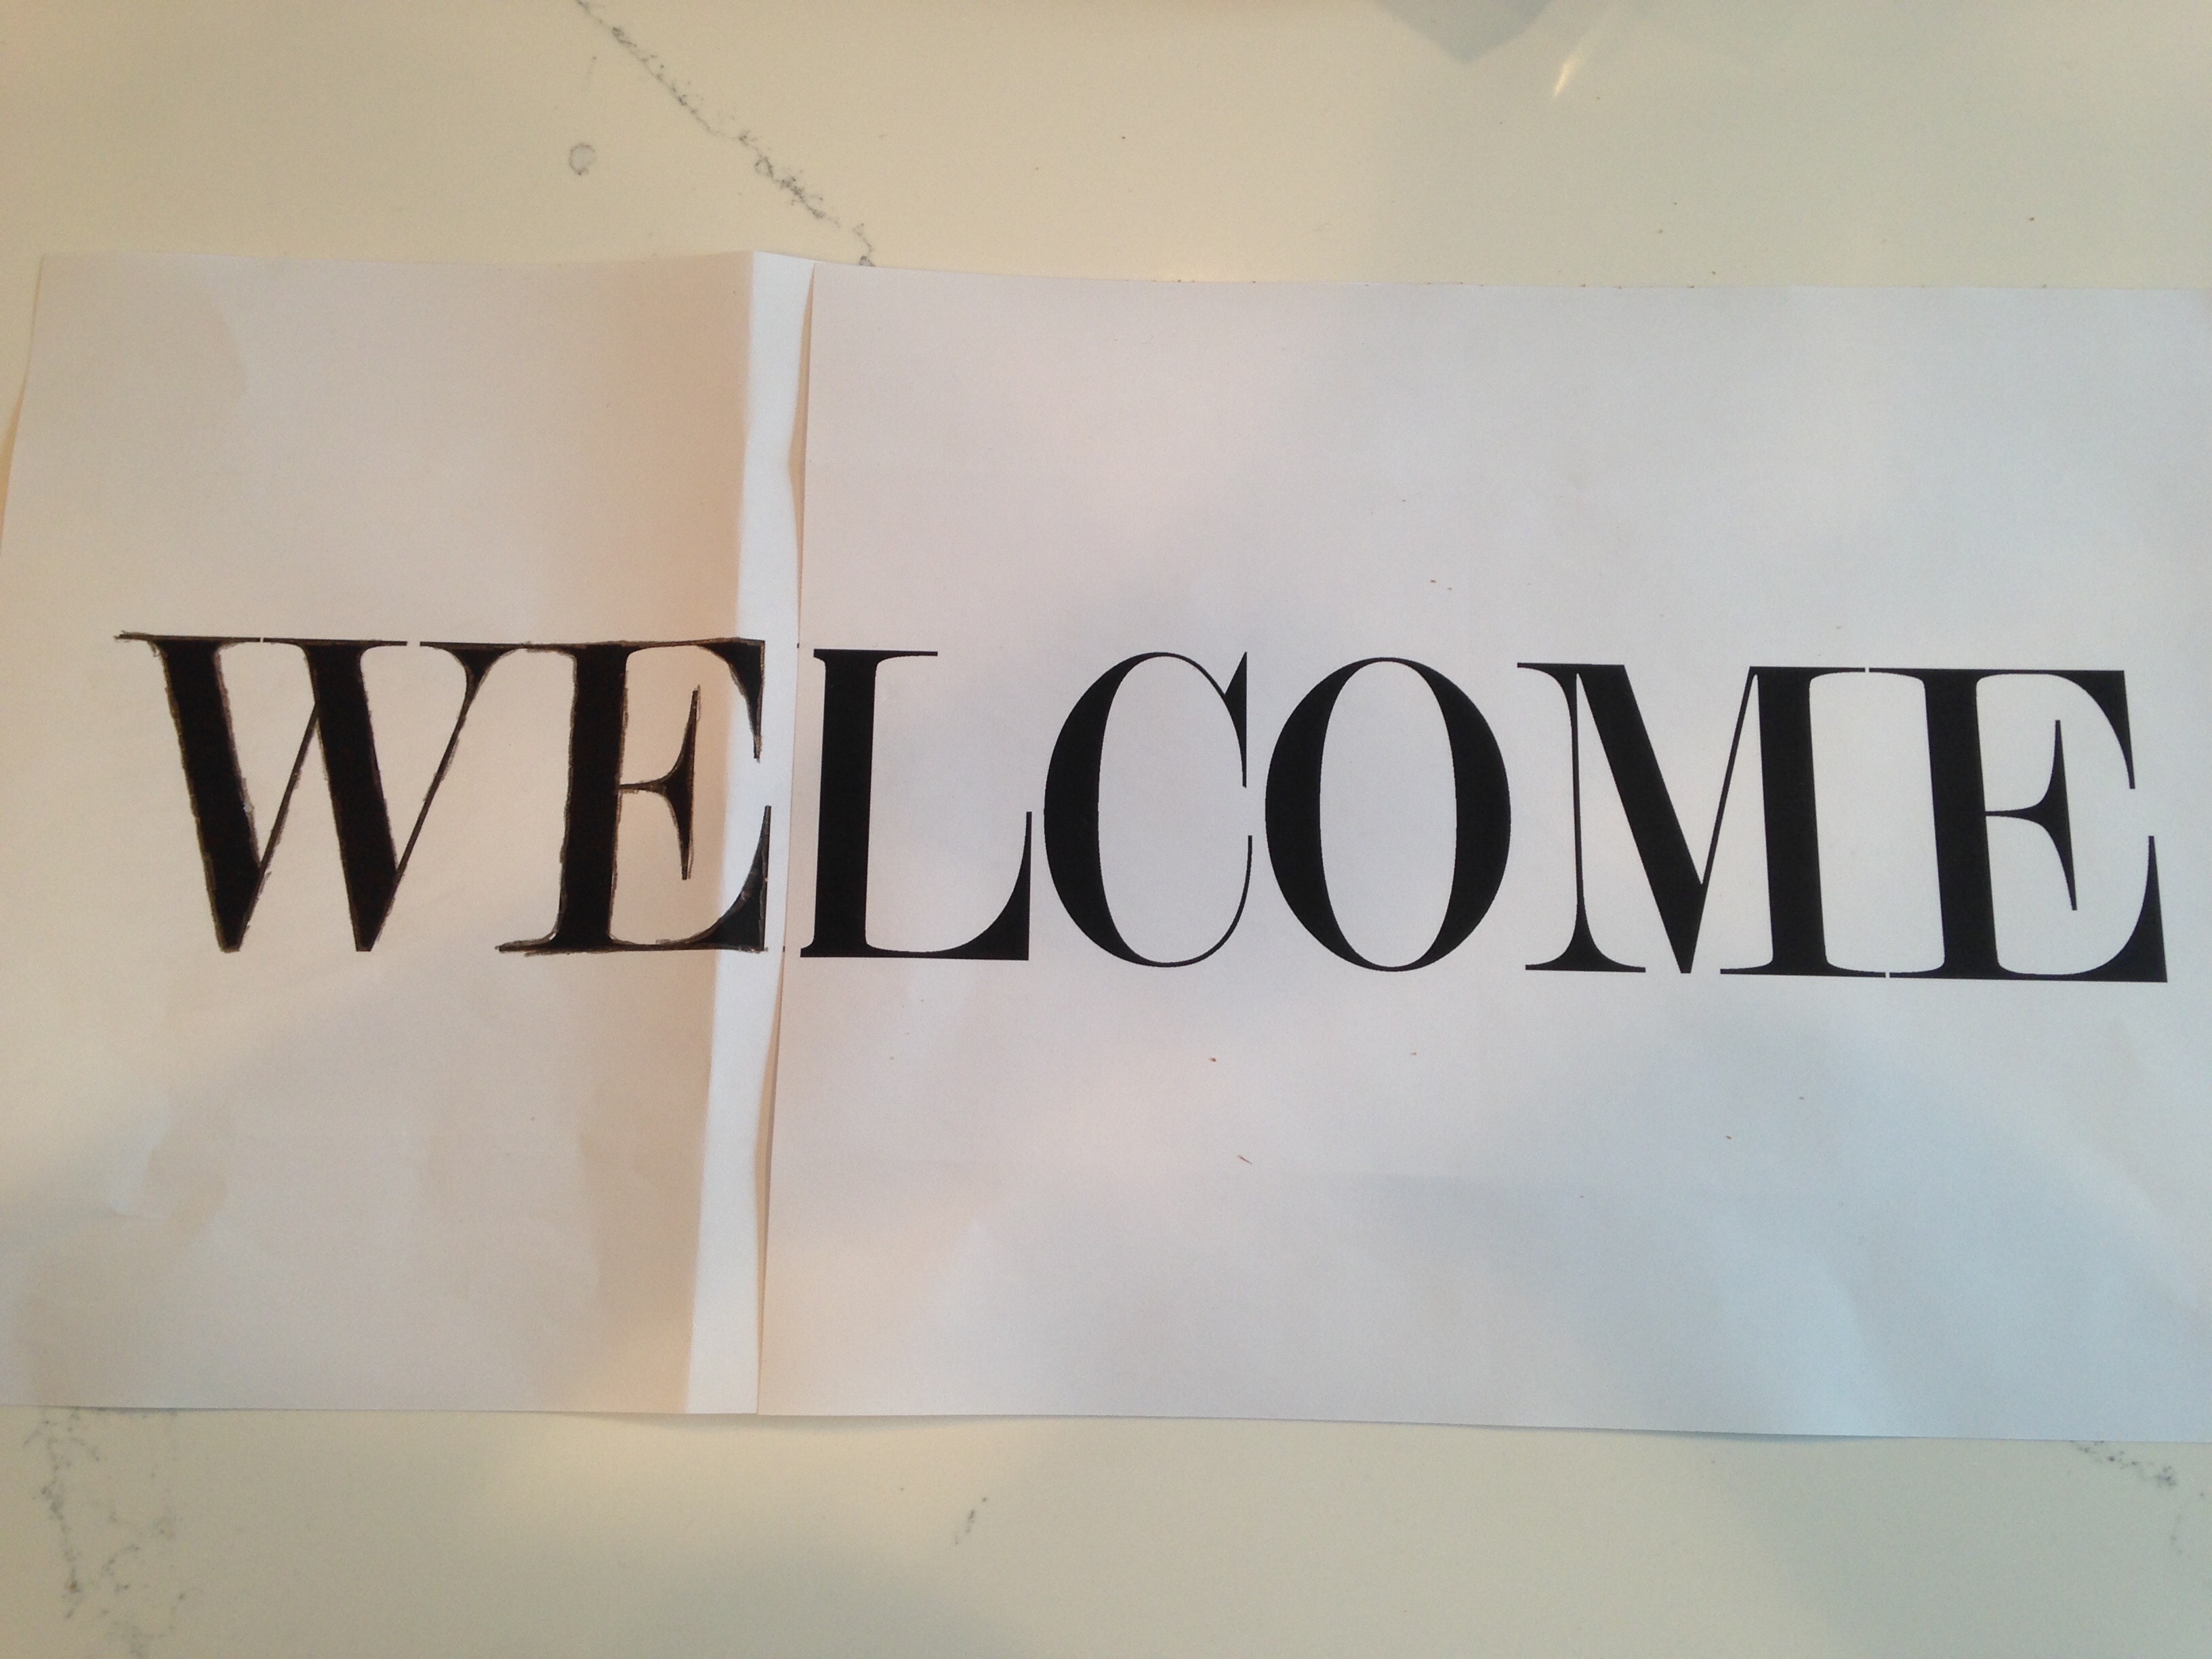
I went with Modern No. 20, but you could opt for something scripty, a handwritten look or whatever you want. There are so many great fonts out there – many of which you can find for free online – so start searchin’ until you find one you love.
I used Adobe Illustrator, but you could use a number of programs. If I lost you at “Adobe,” don’t fret, you can even use a Word doc for this. Simply measure your piece of wood, open your Word doc and size your word(s) appropriately knowing that you are working with an 8.5 x 11 or 11 x 17″ document. With the ruler guides along the side, it’s simple. Once sized, print it out. (I used my home printer which is nothing fancy, so it printed in multiple pages that I taped together.)

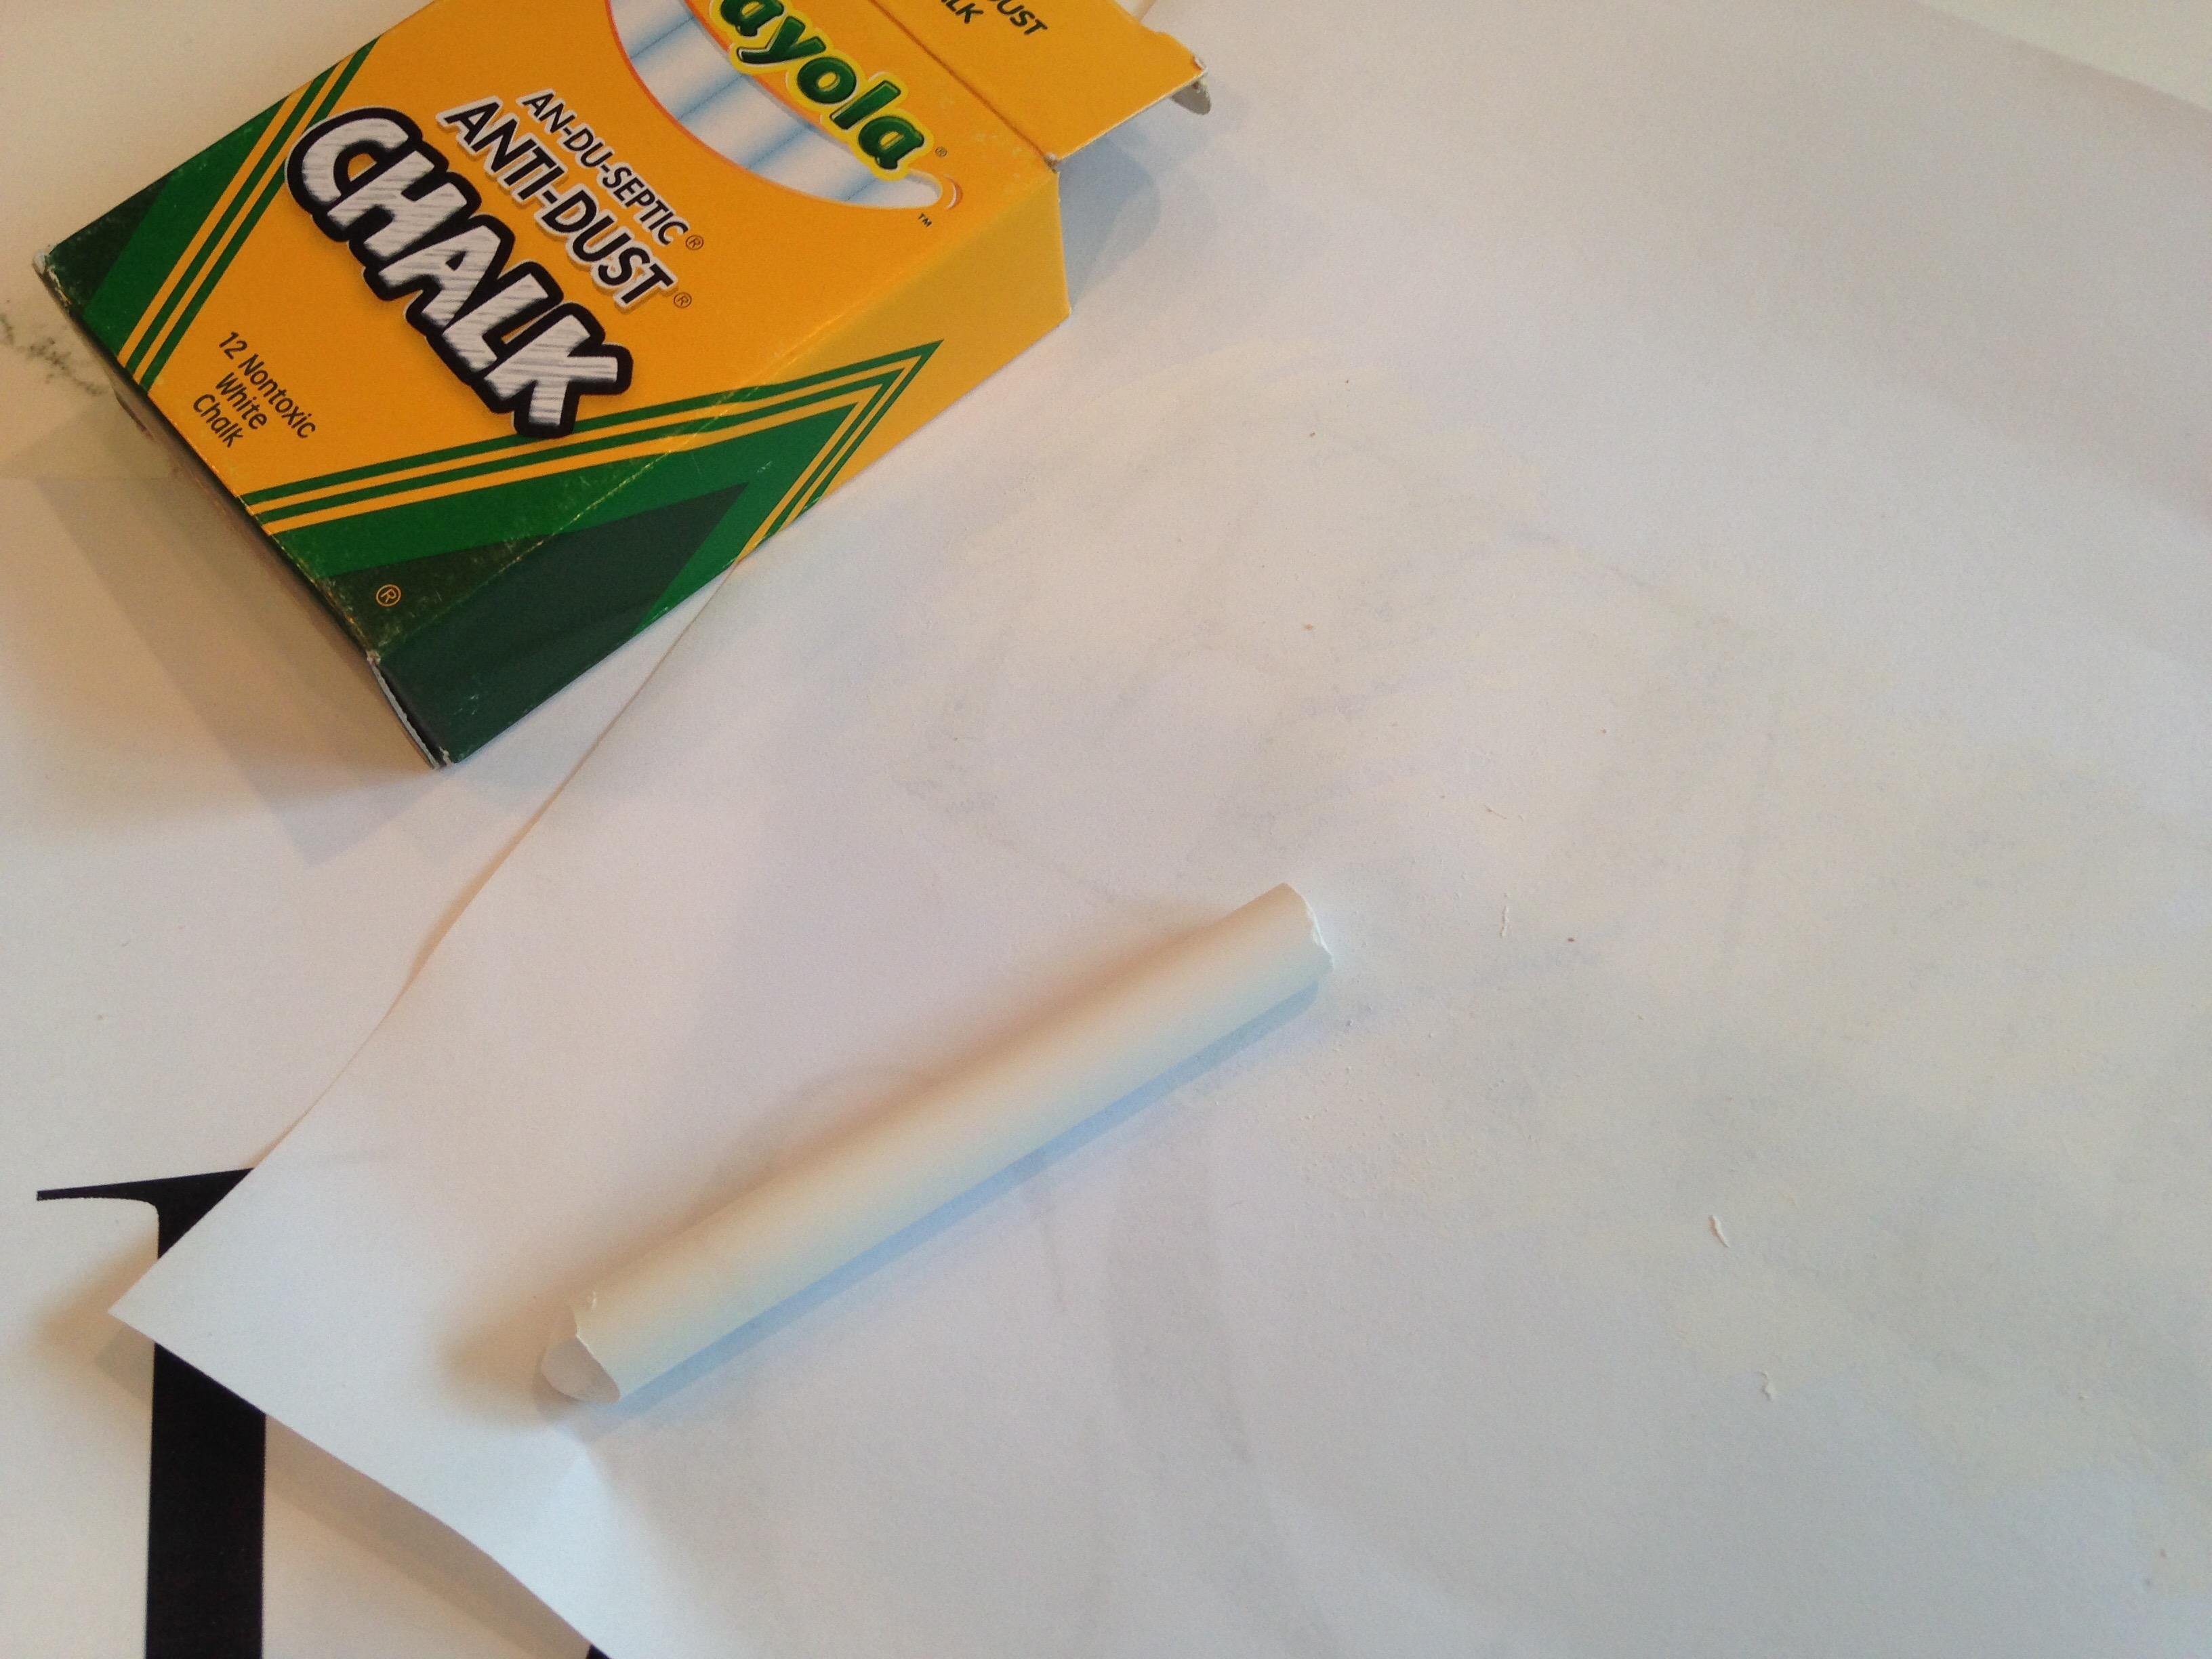
This is where you summon your inner second-grader. Turn your piece of paper over, and wherever you see ink, simply scribble your chalk all over, making sure to cover the entire word of phrase.

It’s kinda hard to see in the above picture, but you don’t need to get fancy, just scribble away.
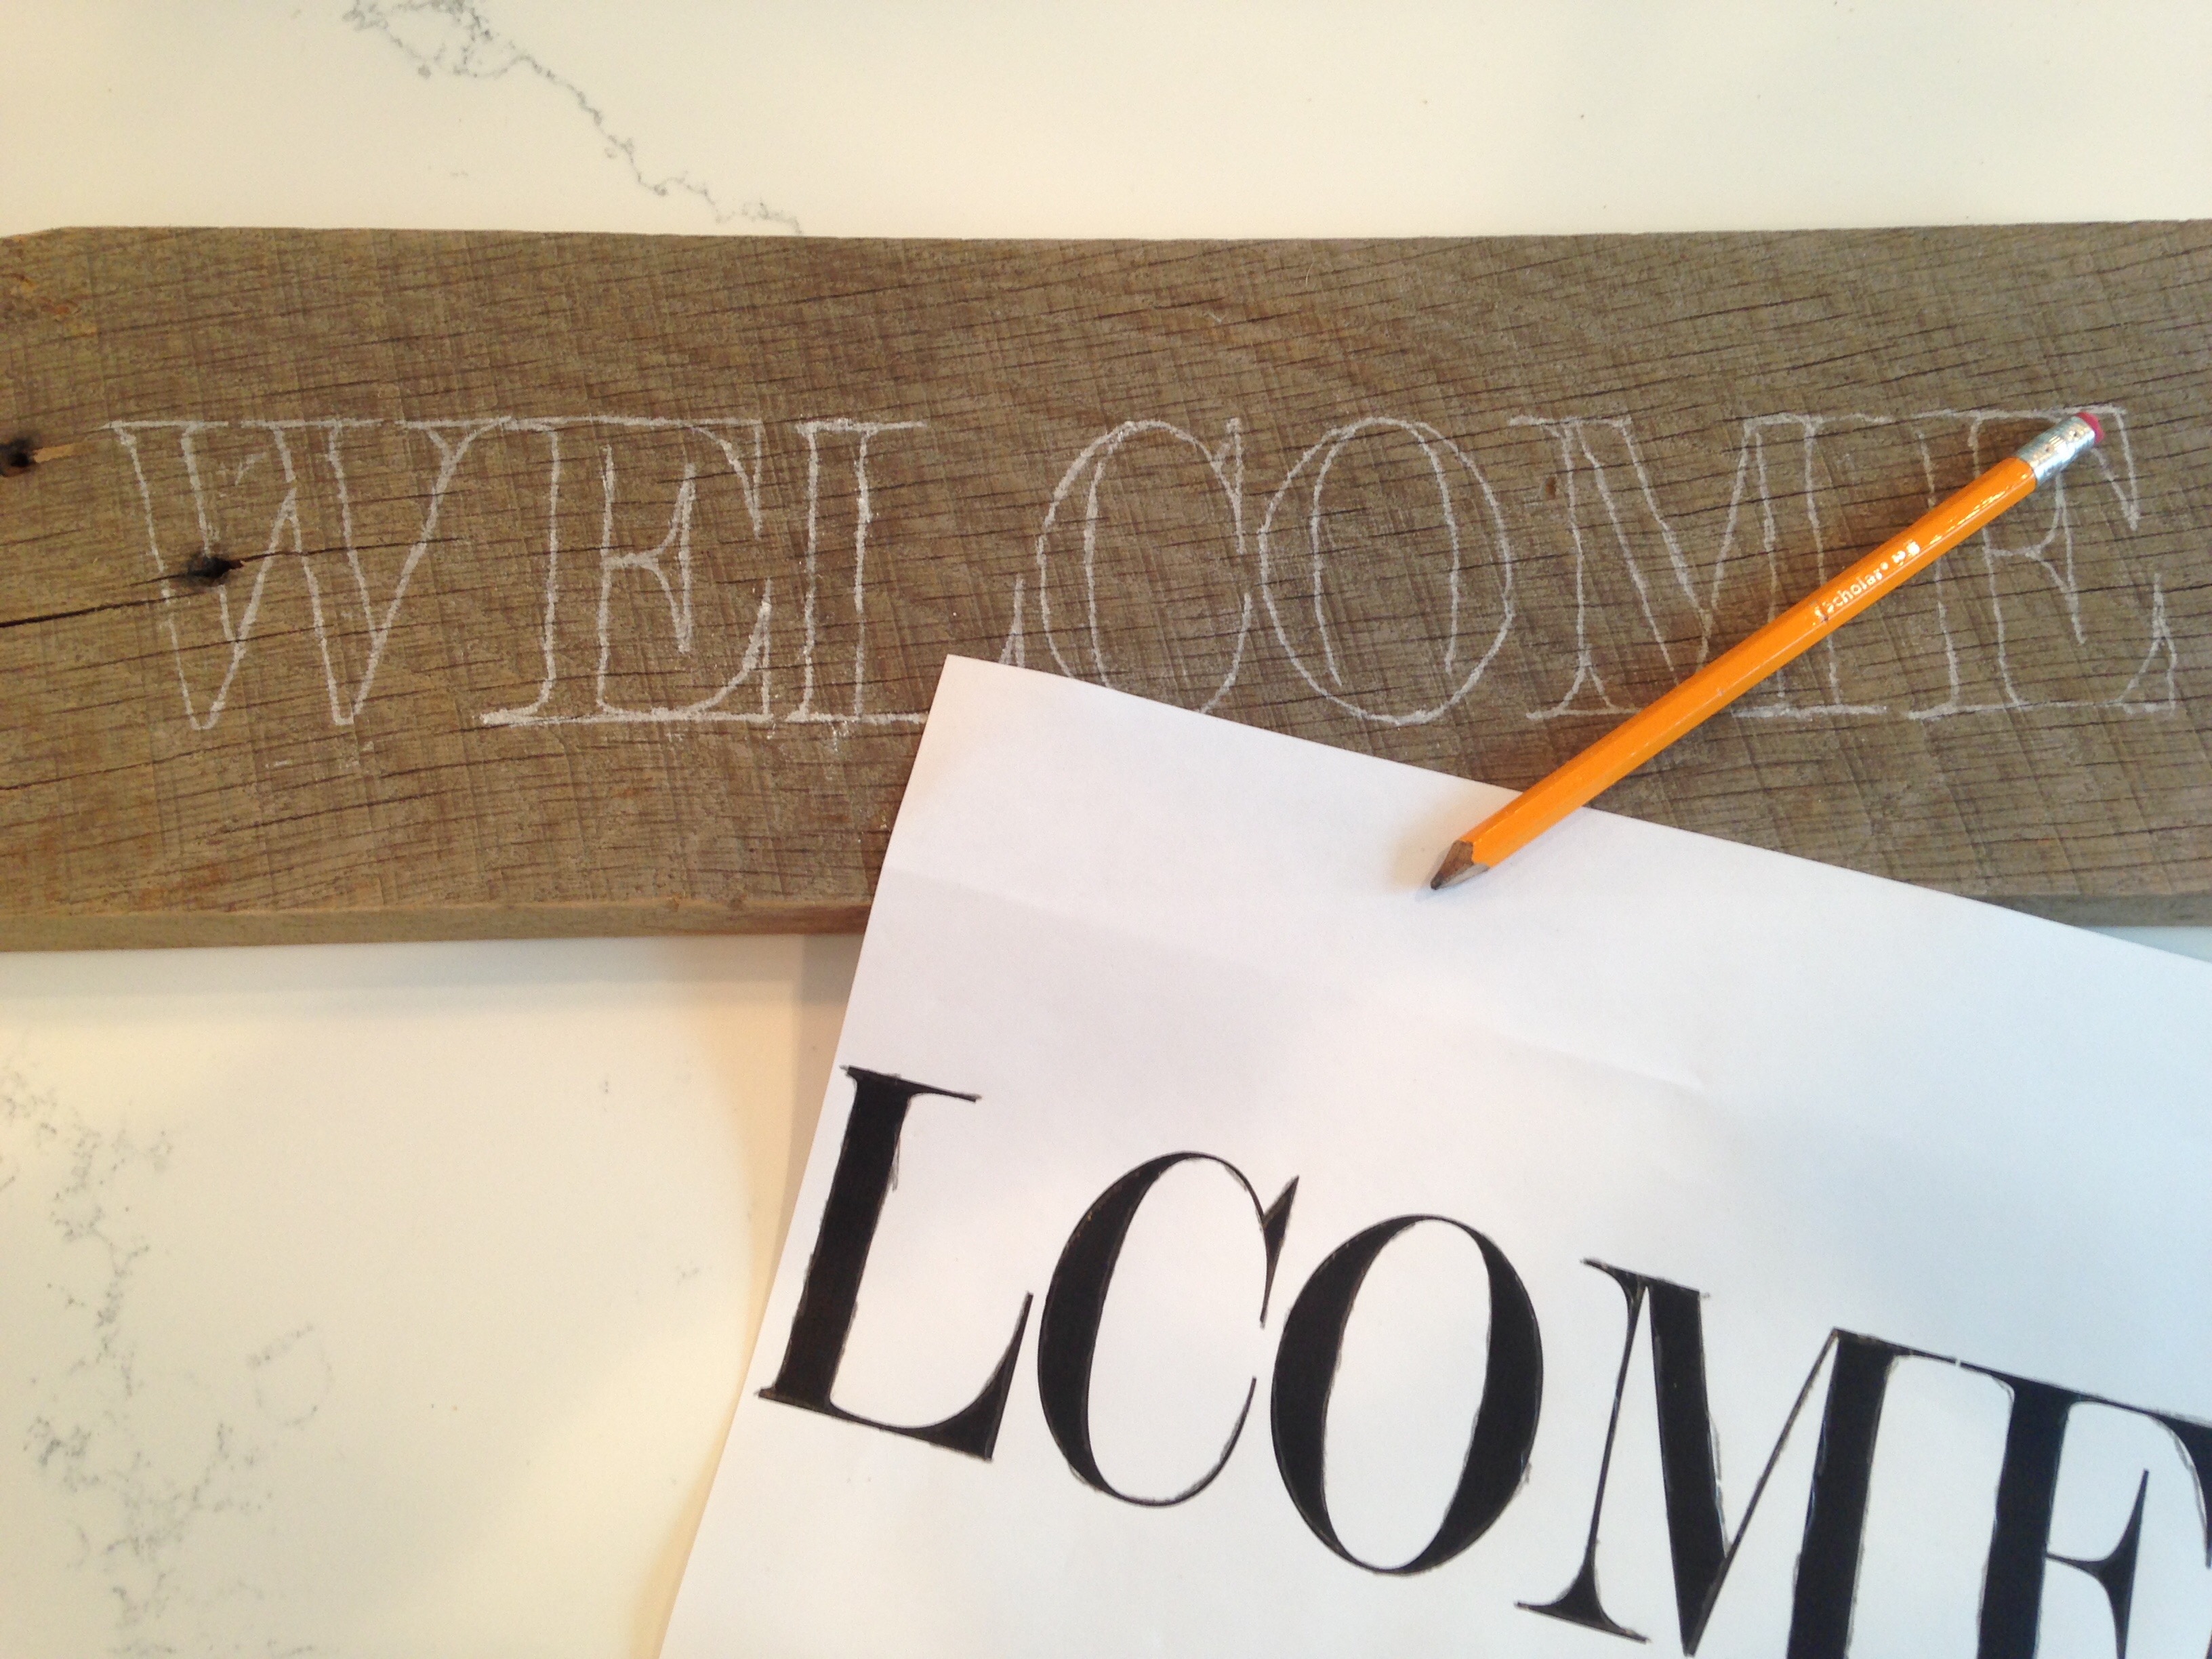
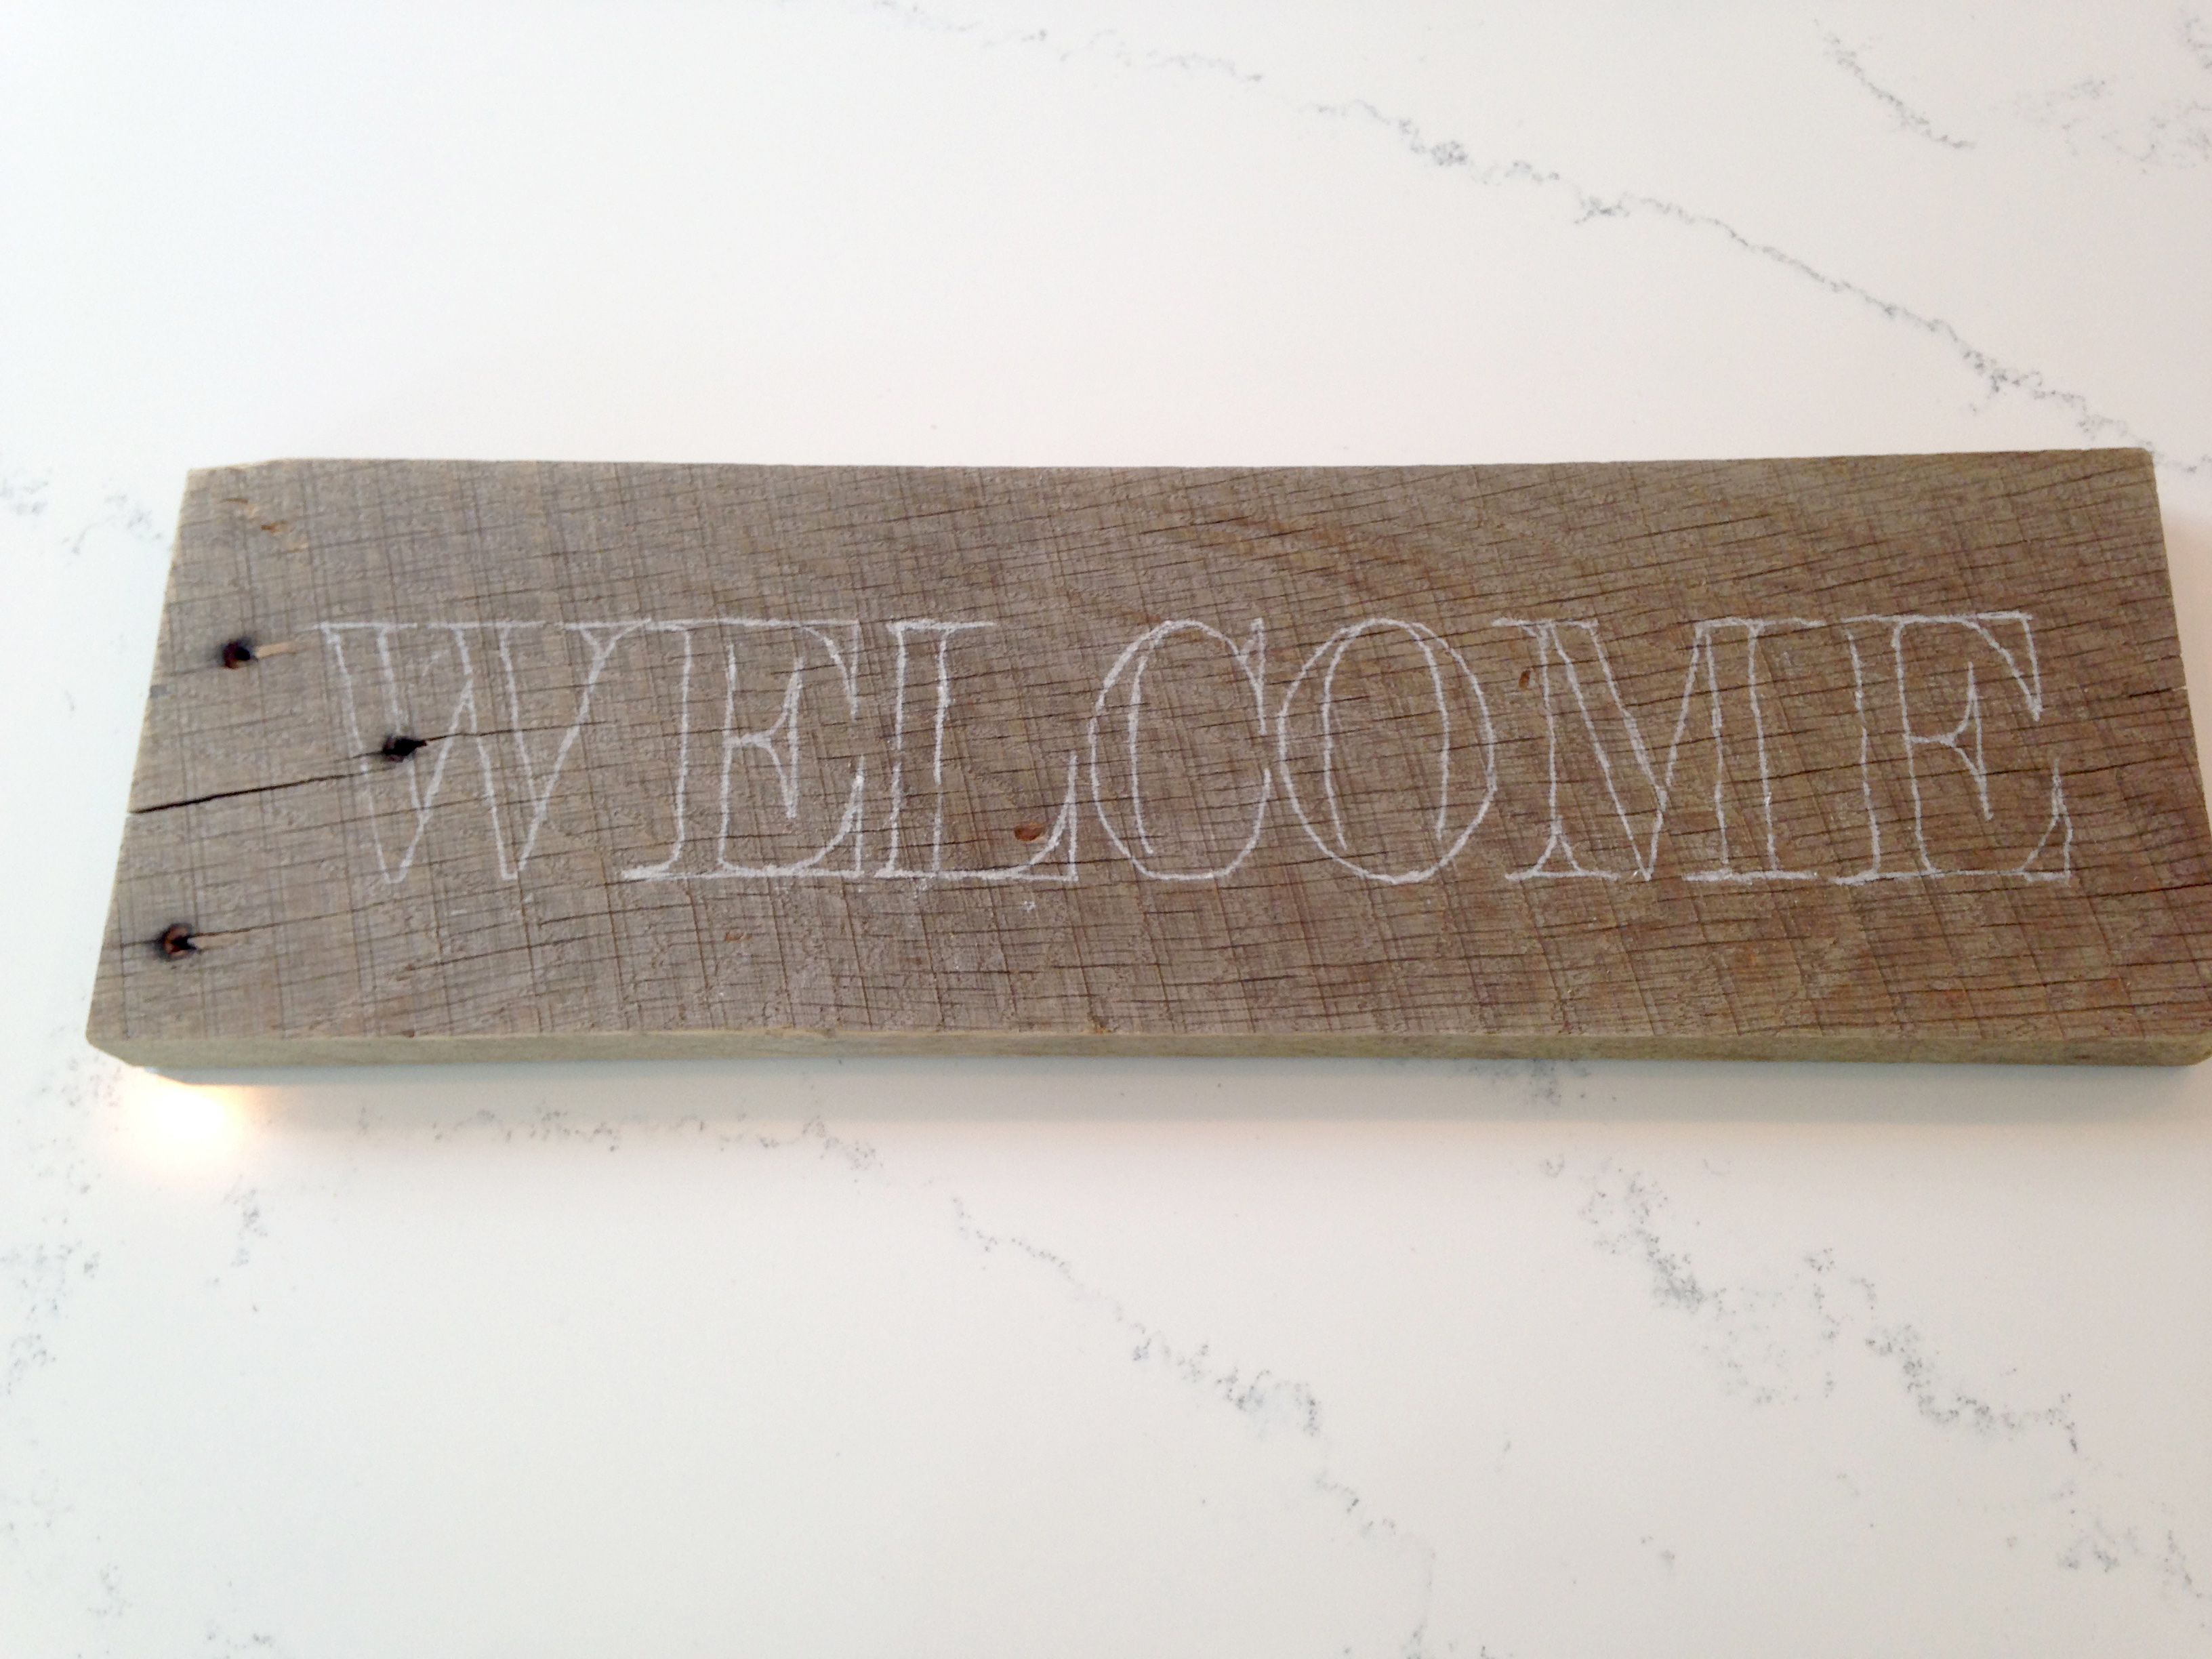
Now – and this is where it gets cuh-razzzzyyyy if you don’t already remember this from grade school – flip your paper right side up, align it on your piece of wood (don’t cut any corners here; grab a ruler if it helps) and trace over your printed letters with a sharp pencil. Make sure to push firmly, and if you do, the outline that you are tracing will transfer a chalk outline onto your wood. Sneak a peek and your wood should start looking like this:


Now that you have an outline, grab your paint and get to work. I always have multiple brushes on hand for this since you are working with a range of skinny to chunky outlining. And don’t forget some sort of paint tray. This set is great if you don’t have the right tools:
Because I prefer a weathered look, I used sand paper and a sanding block to rough up my letters. If you’ve never used a sanding block, I suggest you give it a try. It’ll save your hands and I use mine all. the. time. Here’s the one I have:
The last thing you want after you get your sign looking perfecto is for it not to last. That’s why I always finish my projects with a protective sealant. Just make sure you pay close attention to exactly what you’re buying (i.e. Gloss finish, satin finish, matte finish). Otherwise you’ll end up with an end product you’re not happy with. This is my go-to sealer in matte:
That’s it. Now you can tell your friends that you’re a sign-making pro, and bonus, it barely cost you anything to become one. Enjoy!
Cool! I’m not very crafty, but even I can do this. 🙂 Thanks!
Oh I love this! I have a large chalkboard in my kitchen that I change designs every month. I find it hard to use stencils so I write freehand but I love this idea. Thanks for sharing!!
3 Comments