
Previous post
too many ideas. too little time. (and far too much chai.)

Have you ever lived quite contentedly with something in your home only to wake up one morning and think, ‘this is not for me anymore’ ?
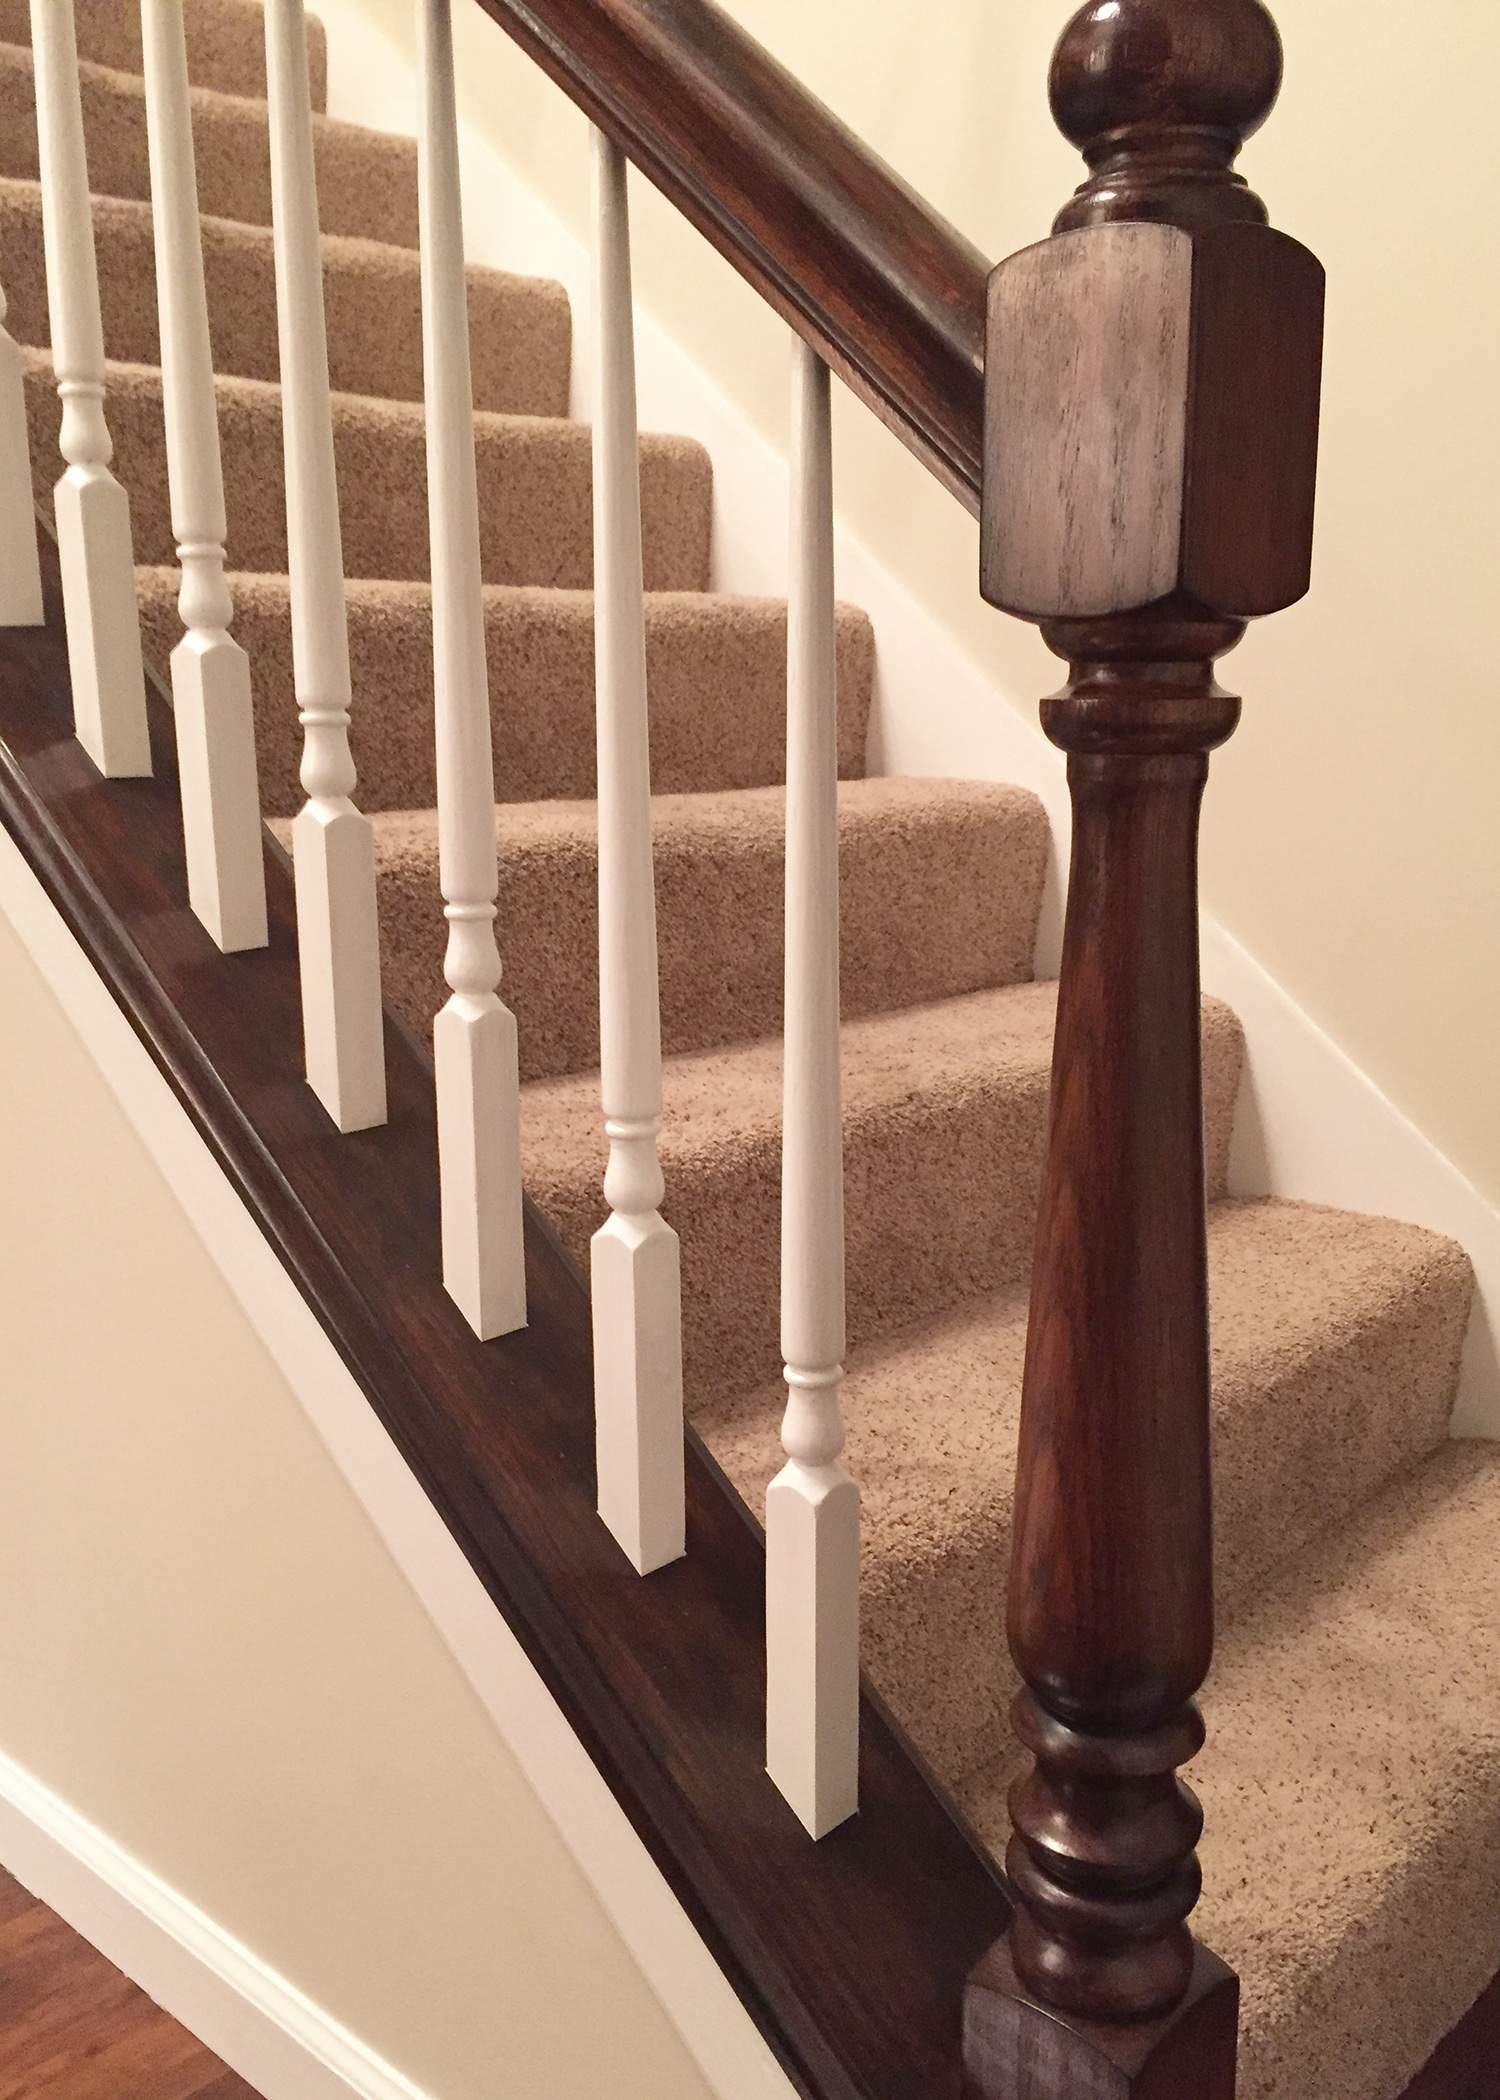
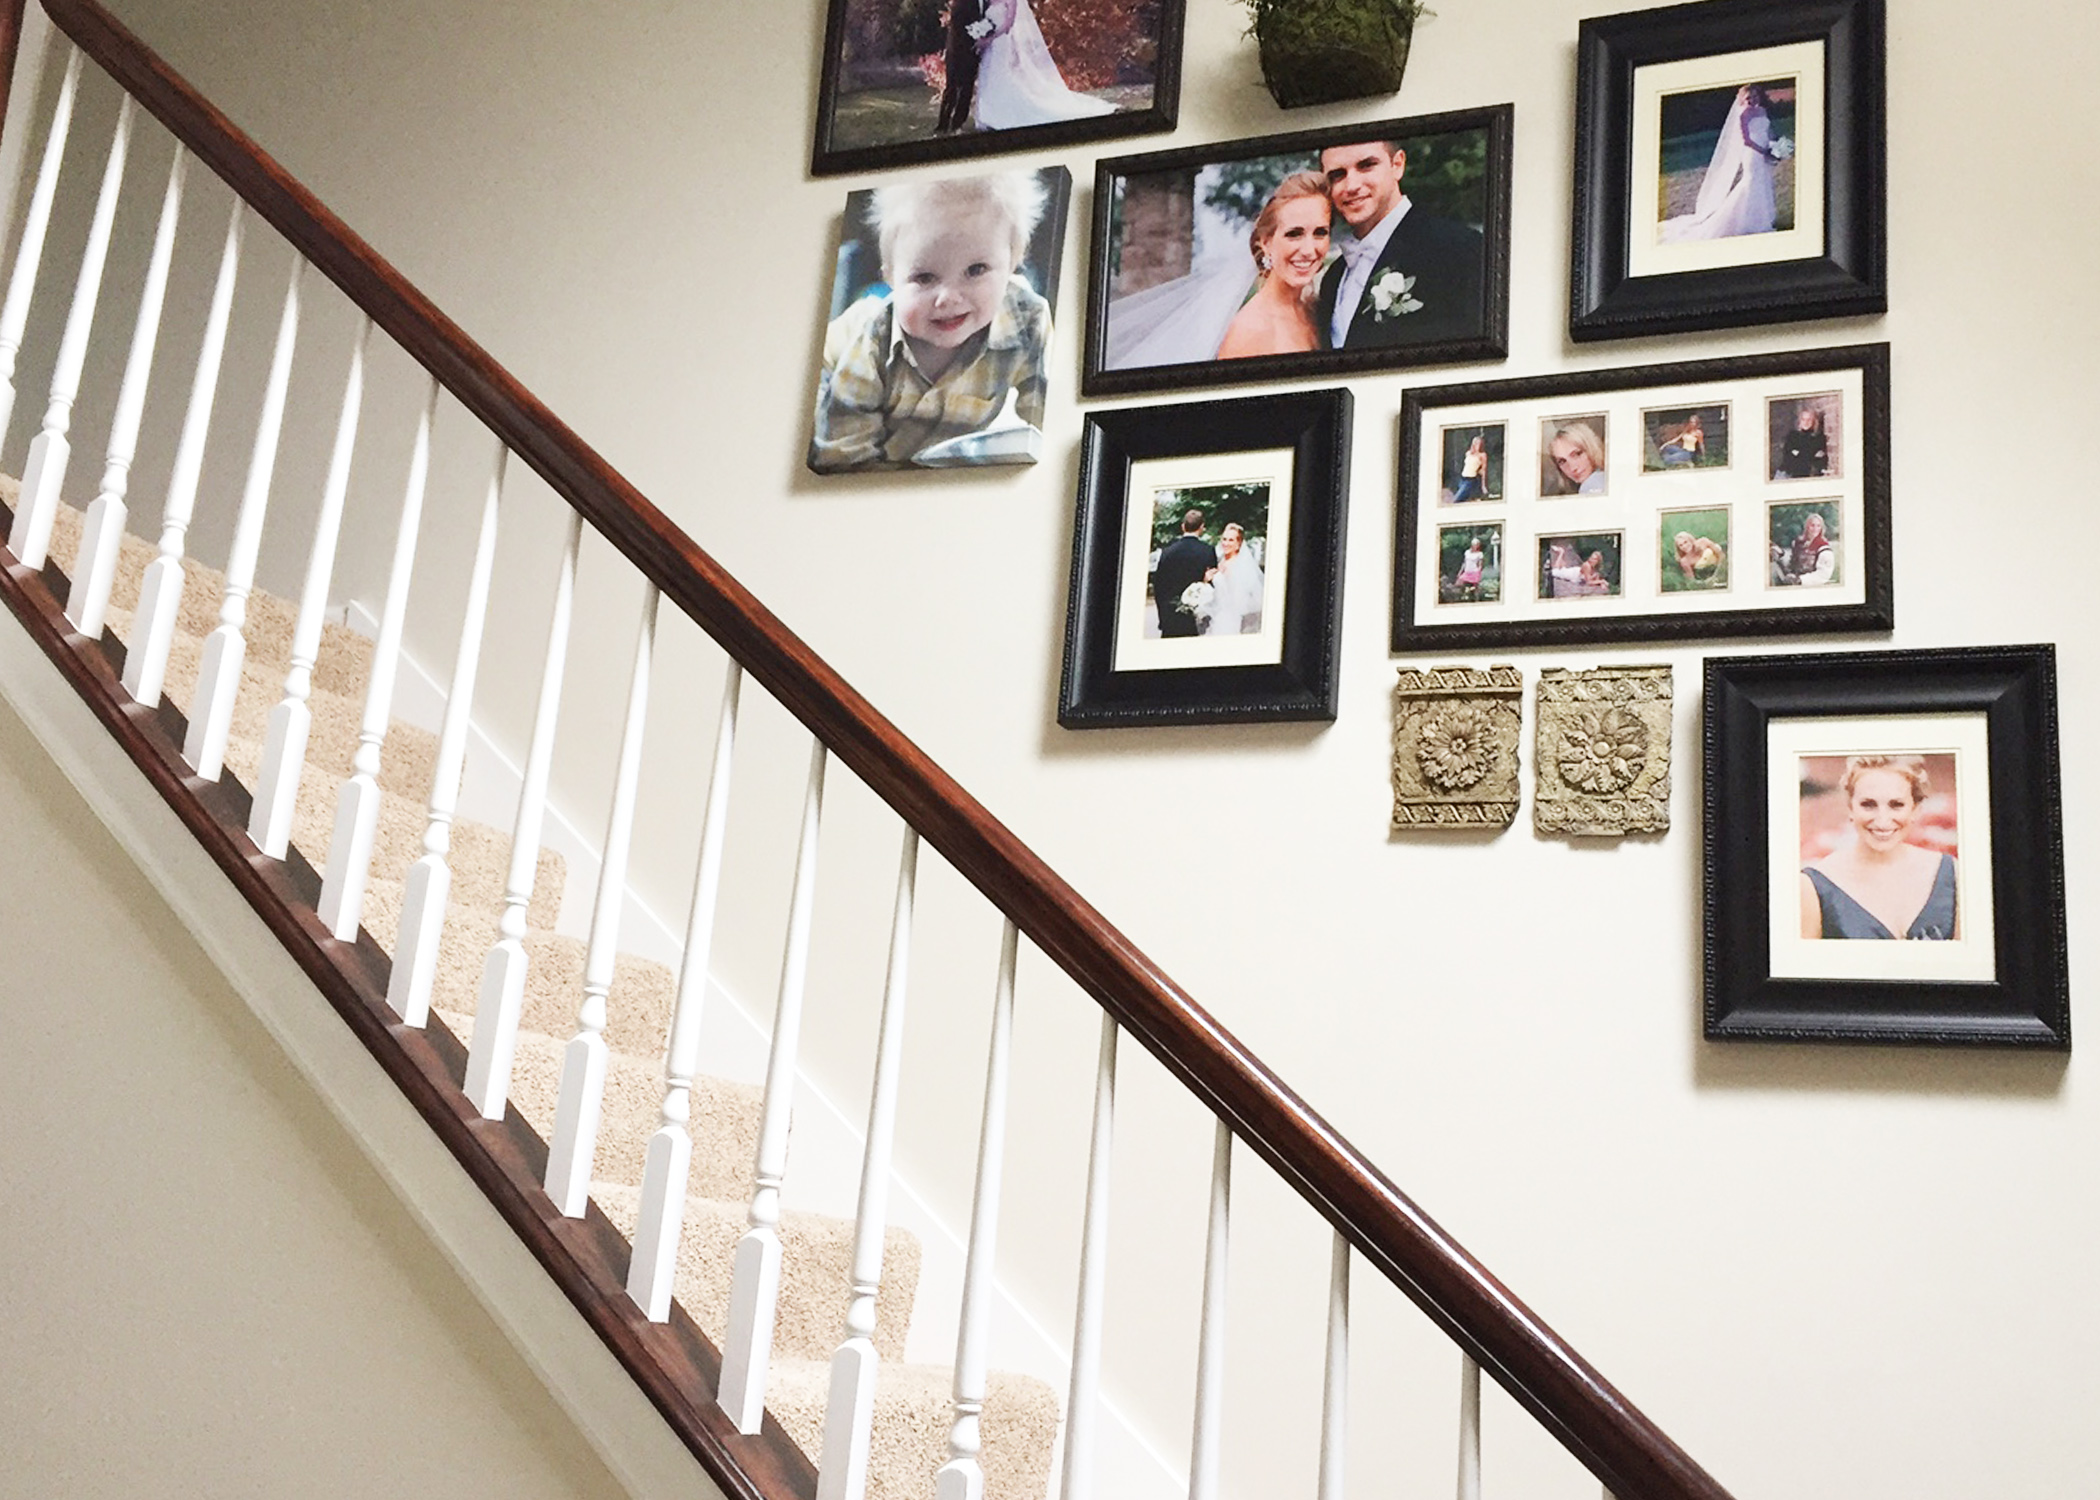
It has happened to me many times, but most recently I looked at the honey oak railing going from my foyer to the second level of my home, and decided the color no longer suited the rest of my décor. (Excuse the painter’s tape in the photo: Clearly I got to work shortly after having these thoughts 🙂 )

Now, this isn’t the first time I’ve looked at that railing and felt… underwhelmed. In fact, I’ve stained that very same railing before—twice actually. So I knew what a big job it would be. But I also knew that a big job usually means big results, so I kept dreaming of the day I’d refinish it… FOR A THIRD TIME.
That day was here. My dream railing? Dark java on the handrail and end posts, and pure white on the spindles. BE STILL MY HEART.
But first, some logistics. There are 38 spindles and 2 end posts—not that I counted (wink, wink). Again, this is a tedious job, so my goal in writing this to you all is to be more cheerleader (“you can do it!”), and less coach (“here is exactly how to do it”). Let’s start now, shall we? YOU CAN DO IT!
For a task of this size, I find it helps to remember how to eat an elephant: One bite at a time. Don’t even consider trying to finish a project like this quickly. Just tackle a small portion each time you work on it, and eventually those small portions will add up to a completed job. So let’s do this.

Step one was to gel stain the handrail and end posts. I have used General Finishes Java Gel Stain before, and I love the color. I thought it would make more sense to stain first and paint second since you can paint over stain dribbles, but you can’t stain over paint dribbles.
But before any stain can be applied, make sure you prep your surfaces. I sanded everything lightly (including the spindles), wiped it all clean and then applied my first coat of gel stain. TIP: I like to use an old t-shirt for this type of project. And I beg you, buy yourself the correct kind of gloves. I didn’t heed my own advice, and this is the result. (Certain products will literally eat through certain gloves, so check labels.)
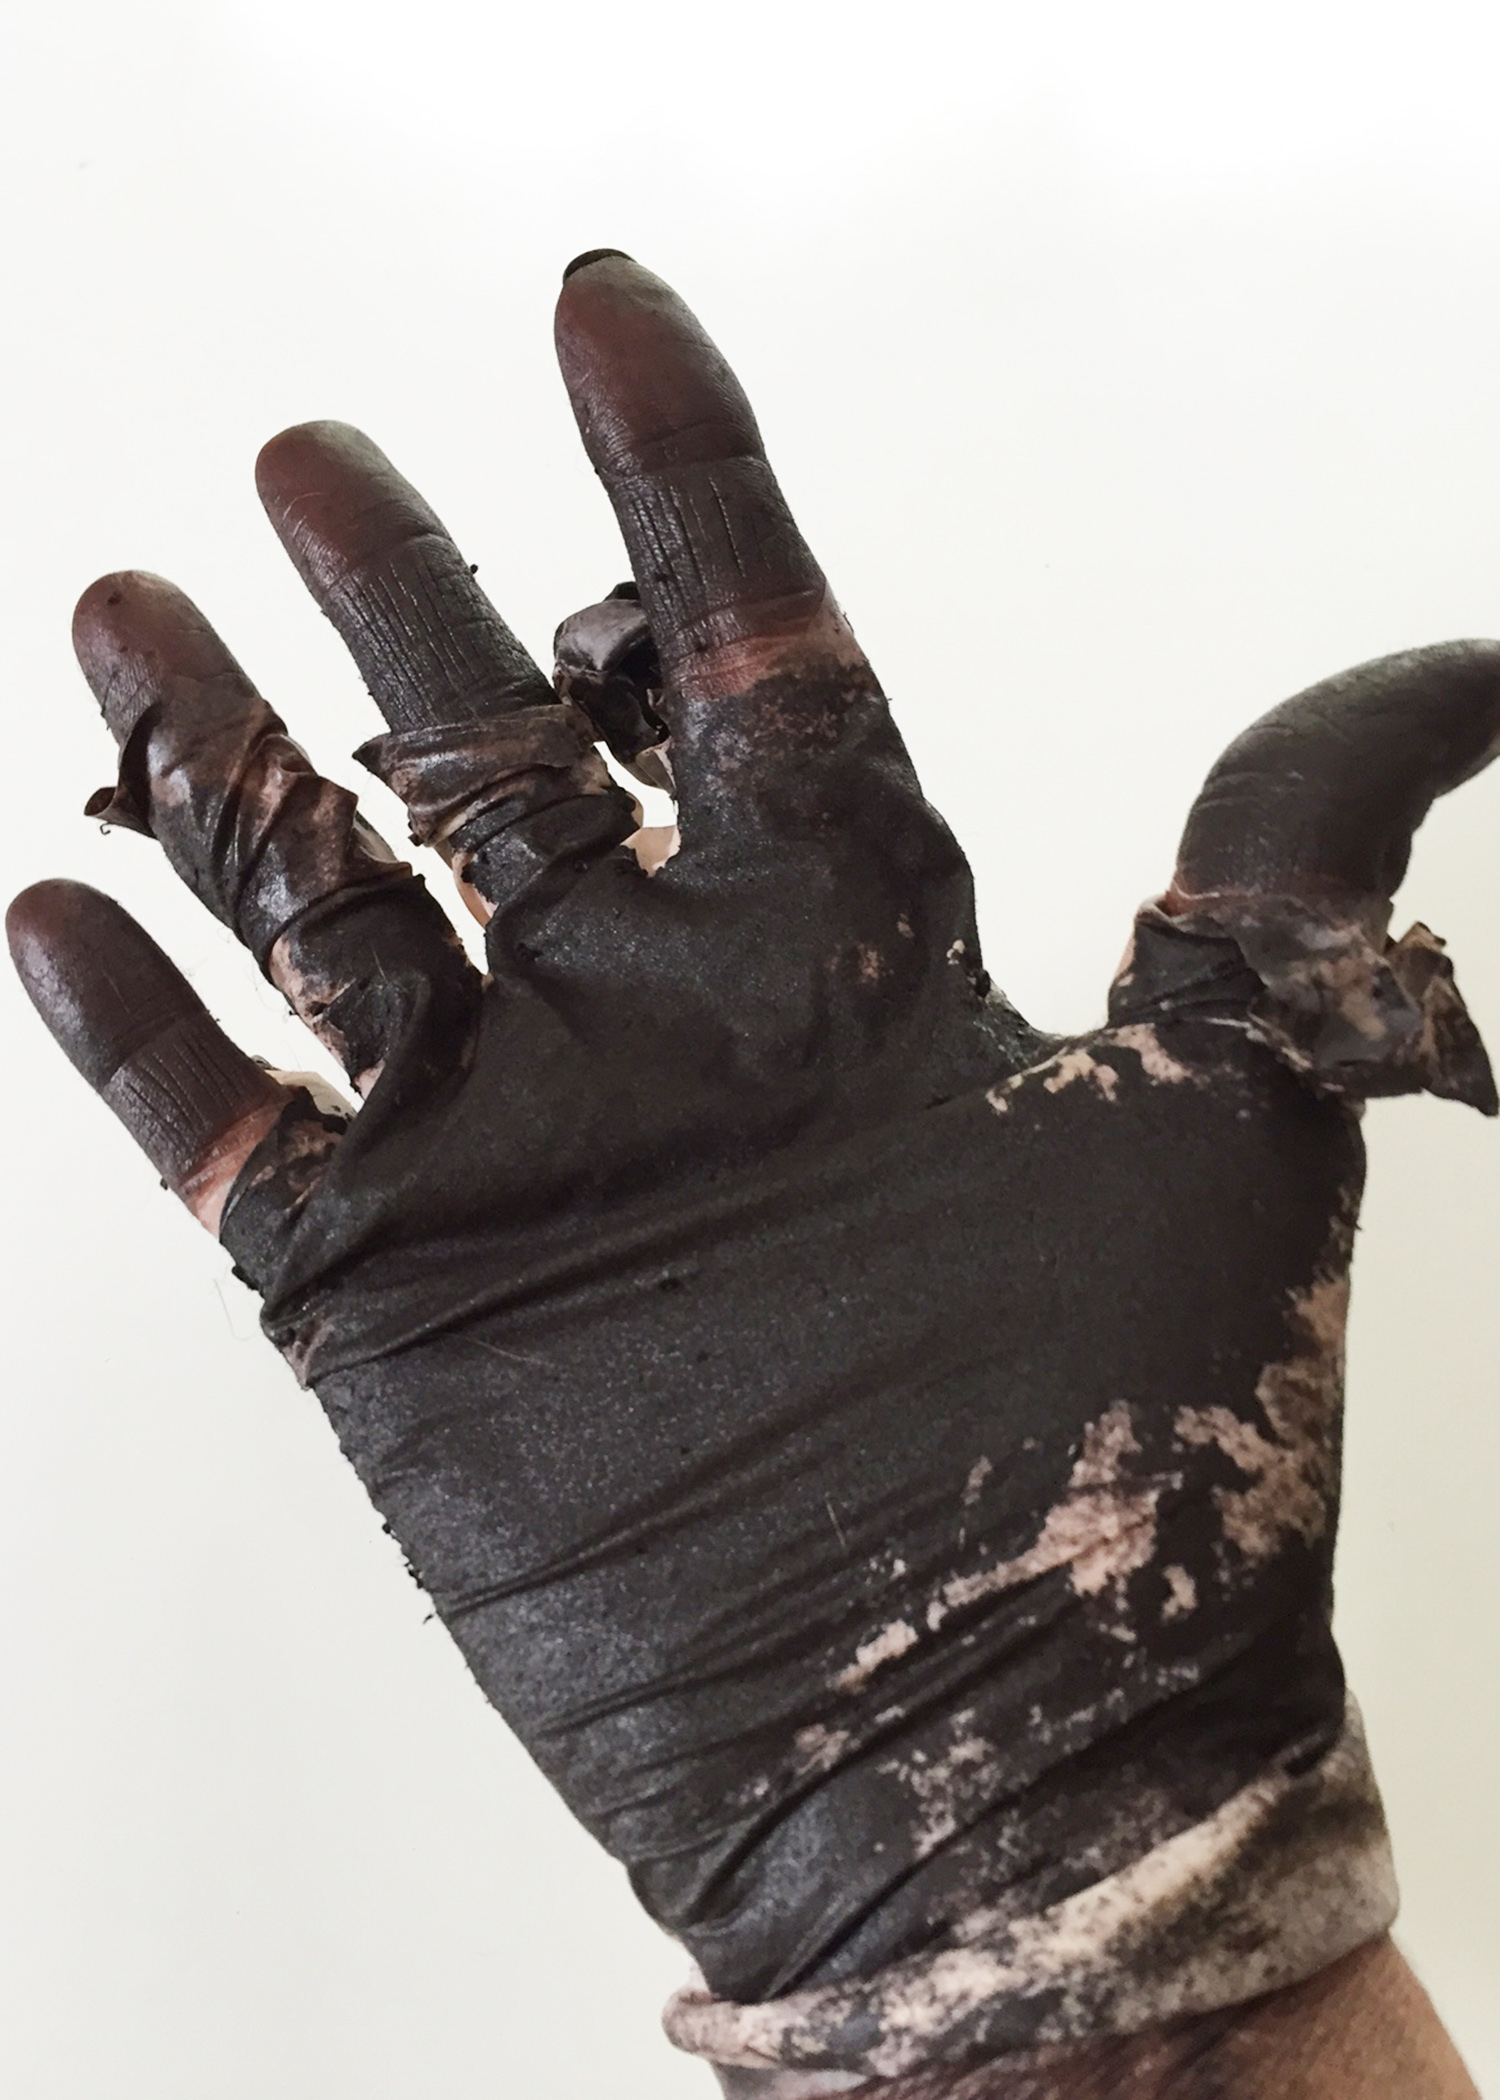
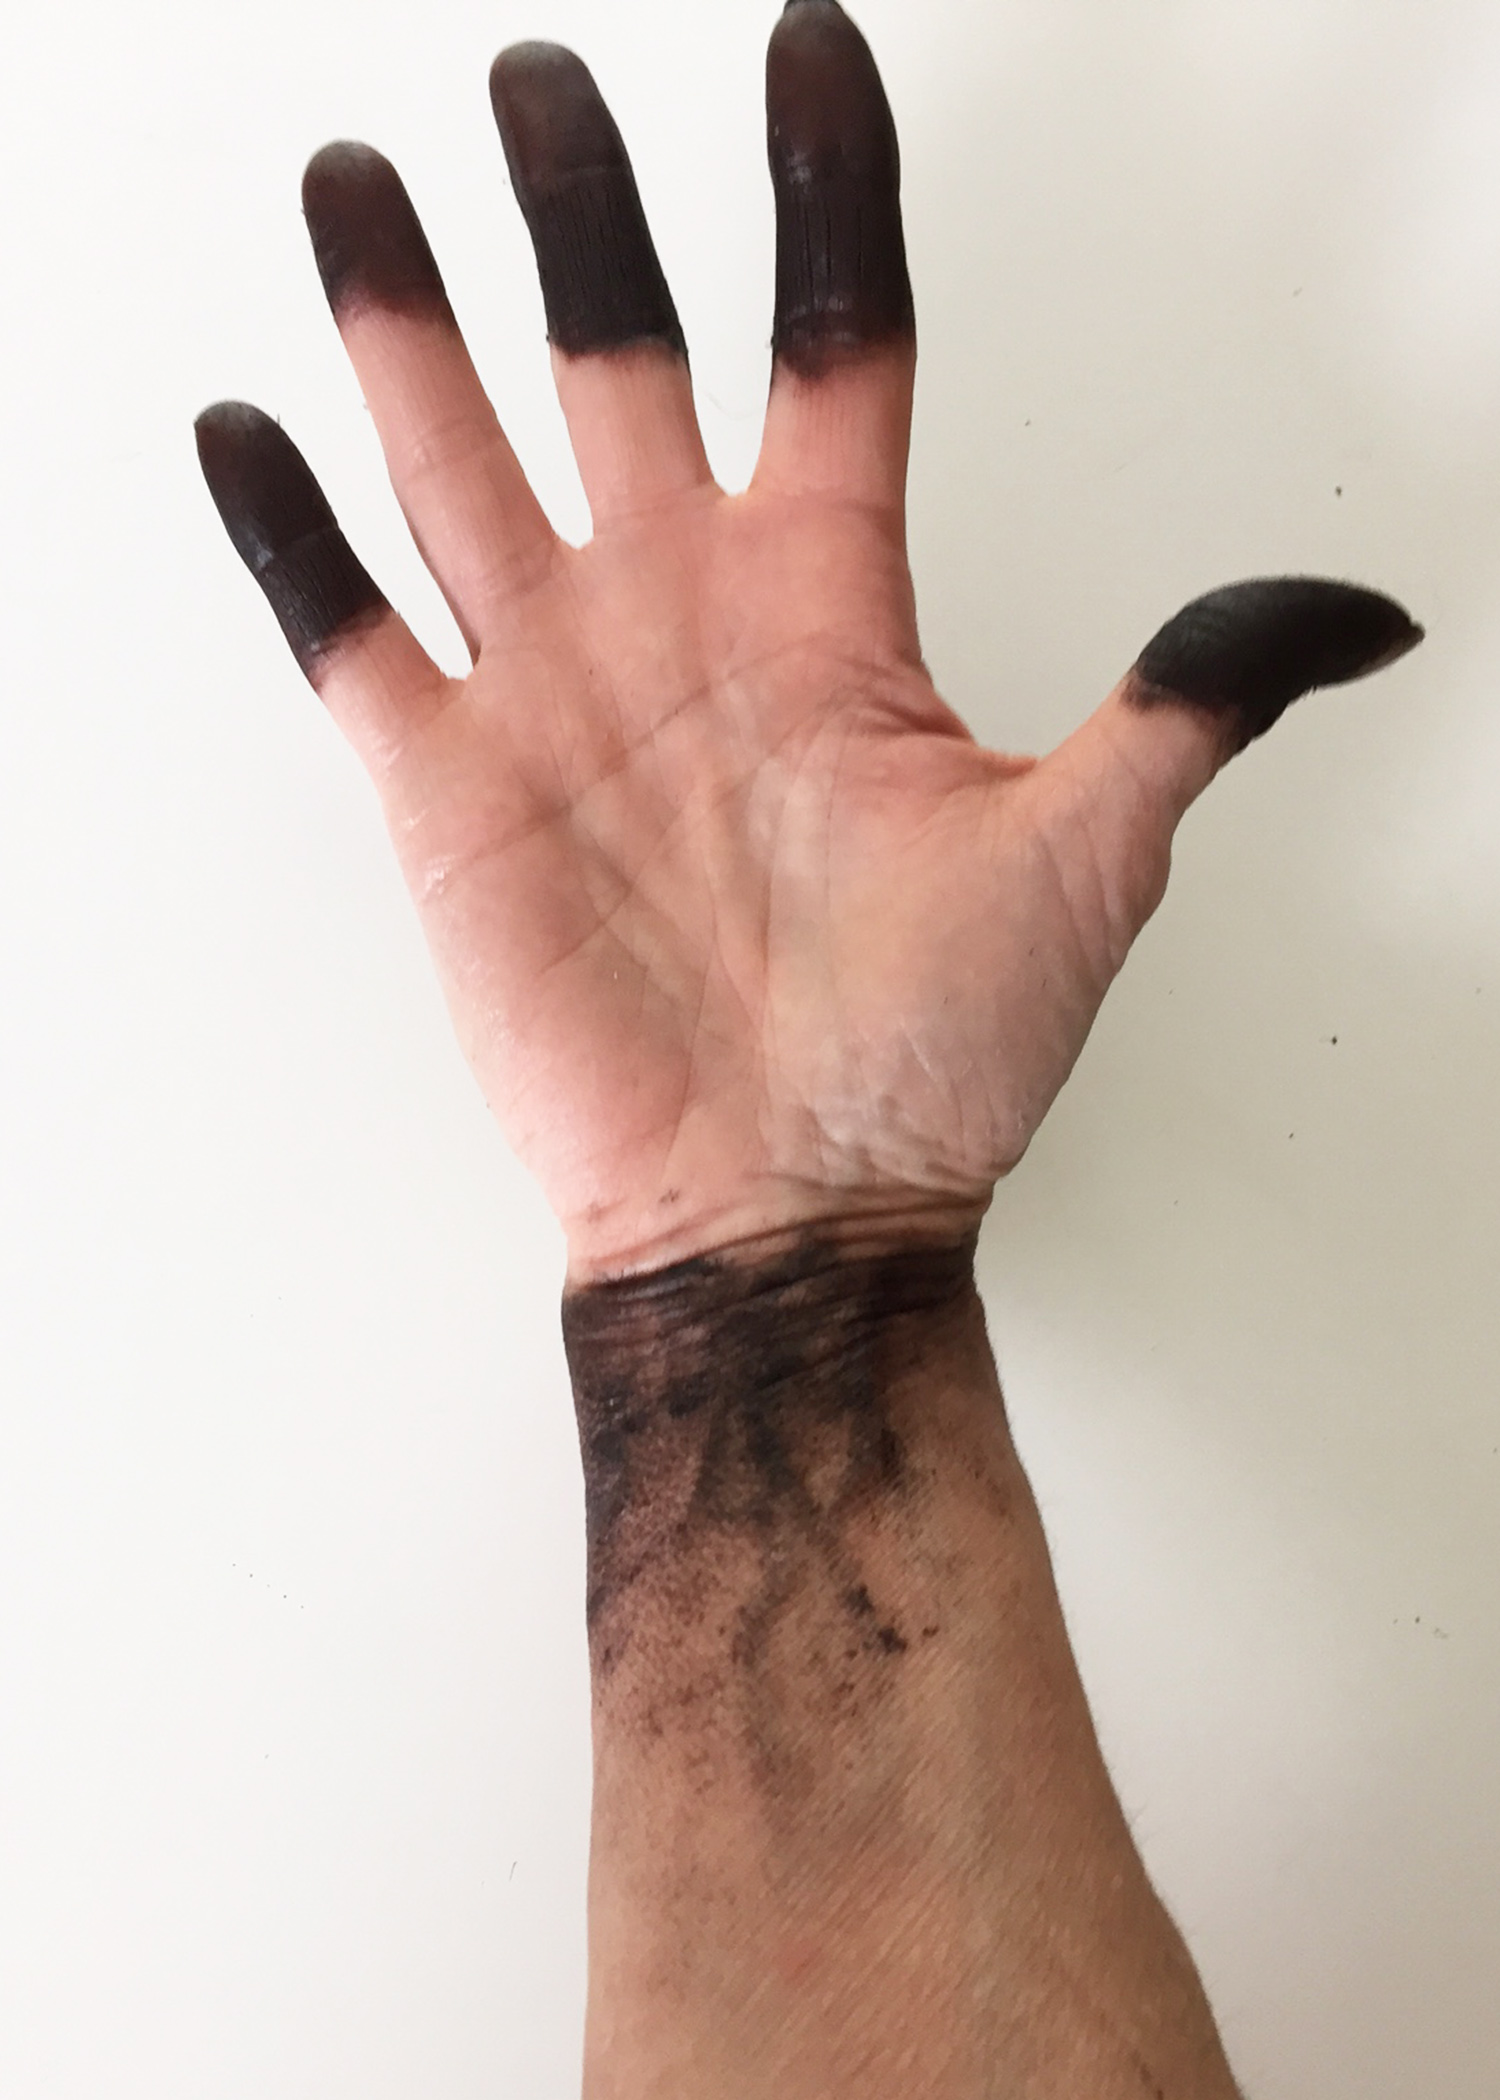
Very Paula Abdul in her killer black leather gloves, no? Too bad these aren’t gloves, they’re MY HANDS.
Once your stain is applied, give it plenty of dry time. (And your hands, plenty of relaxation time.) I applied a second coat about a week after the first, and then a third coat several days later, lightly sanding between coats. And to top it off, I used General Finishes Gel Topcoat wipe on urethane in satin. Again, allow this plenty of dry time.
With the Java nearly complete, it was time to move on to the spindles. I carefully taped off every bit of stained wood that touches the spindles. This is another tedious job, but well worth the effort. The photo below is obviously after I applied my first coat of paint, but at least you can get an idea of how to tape everything off.
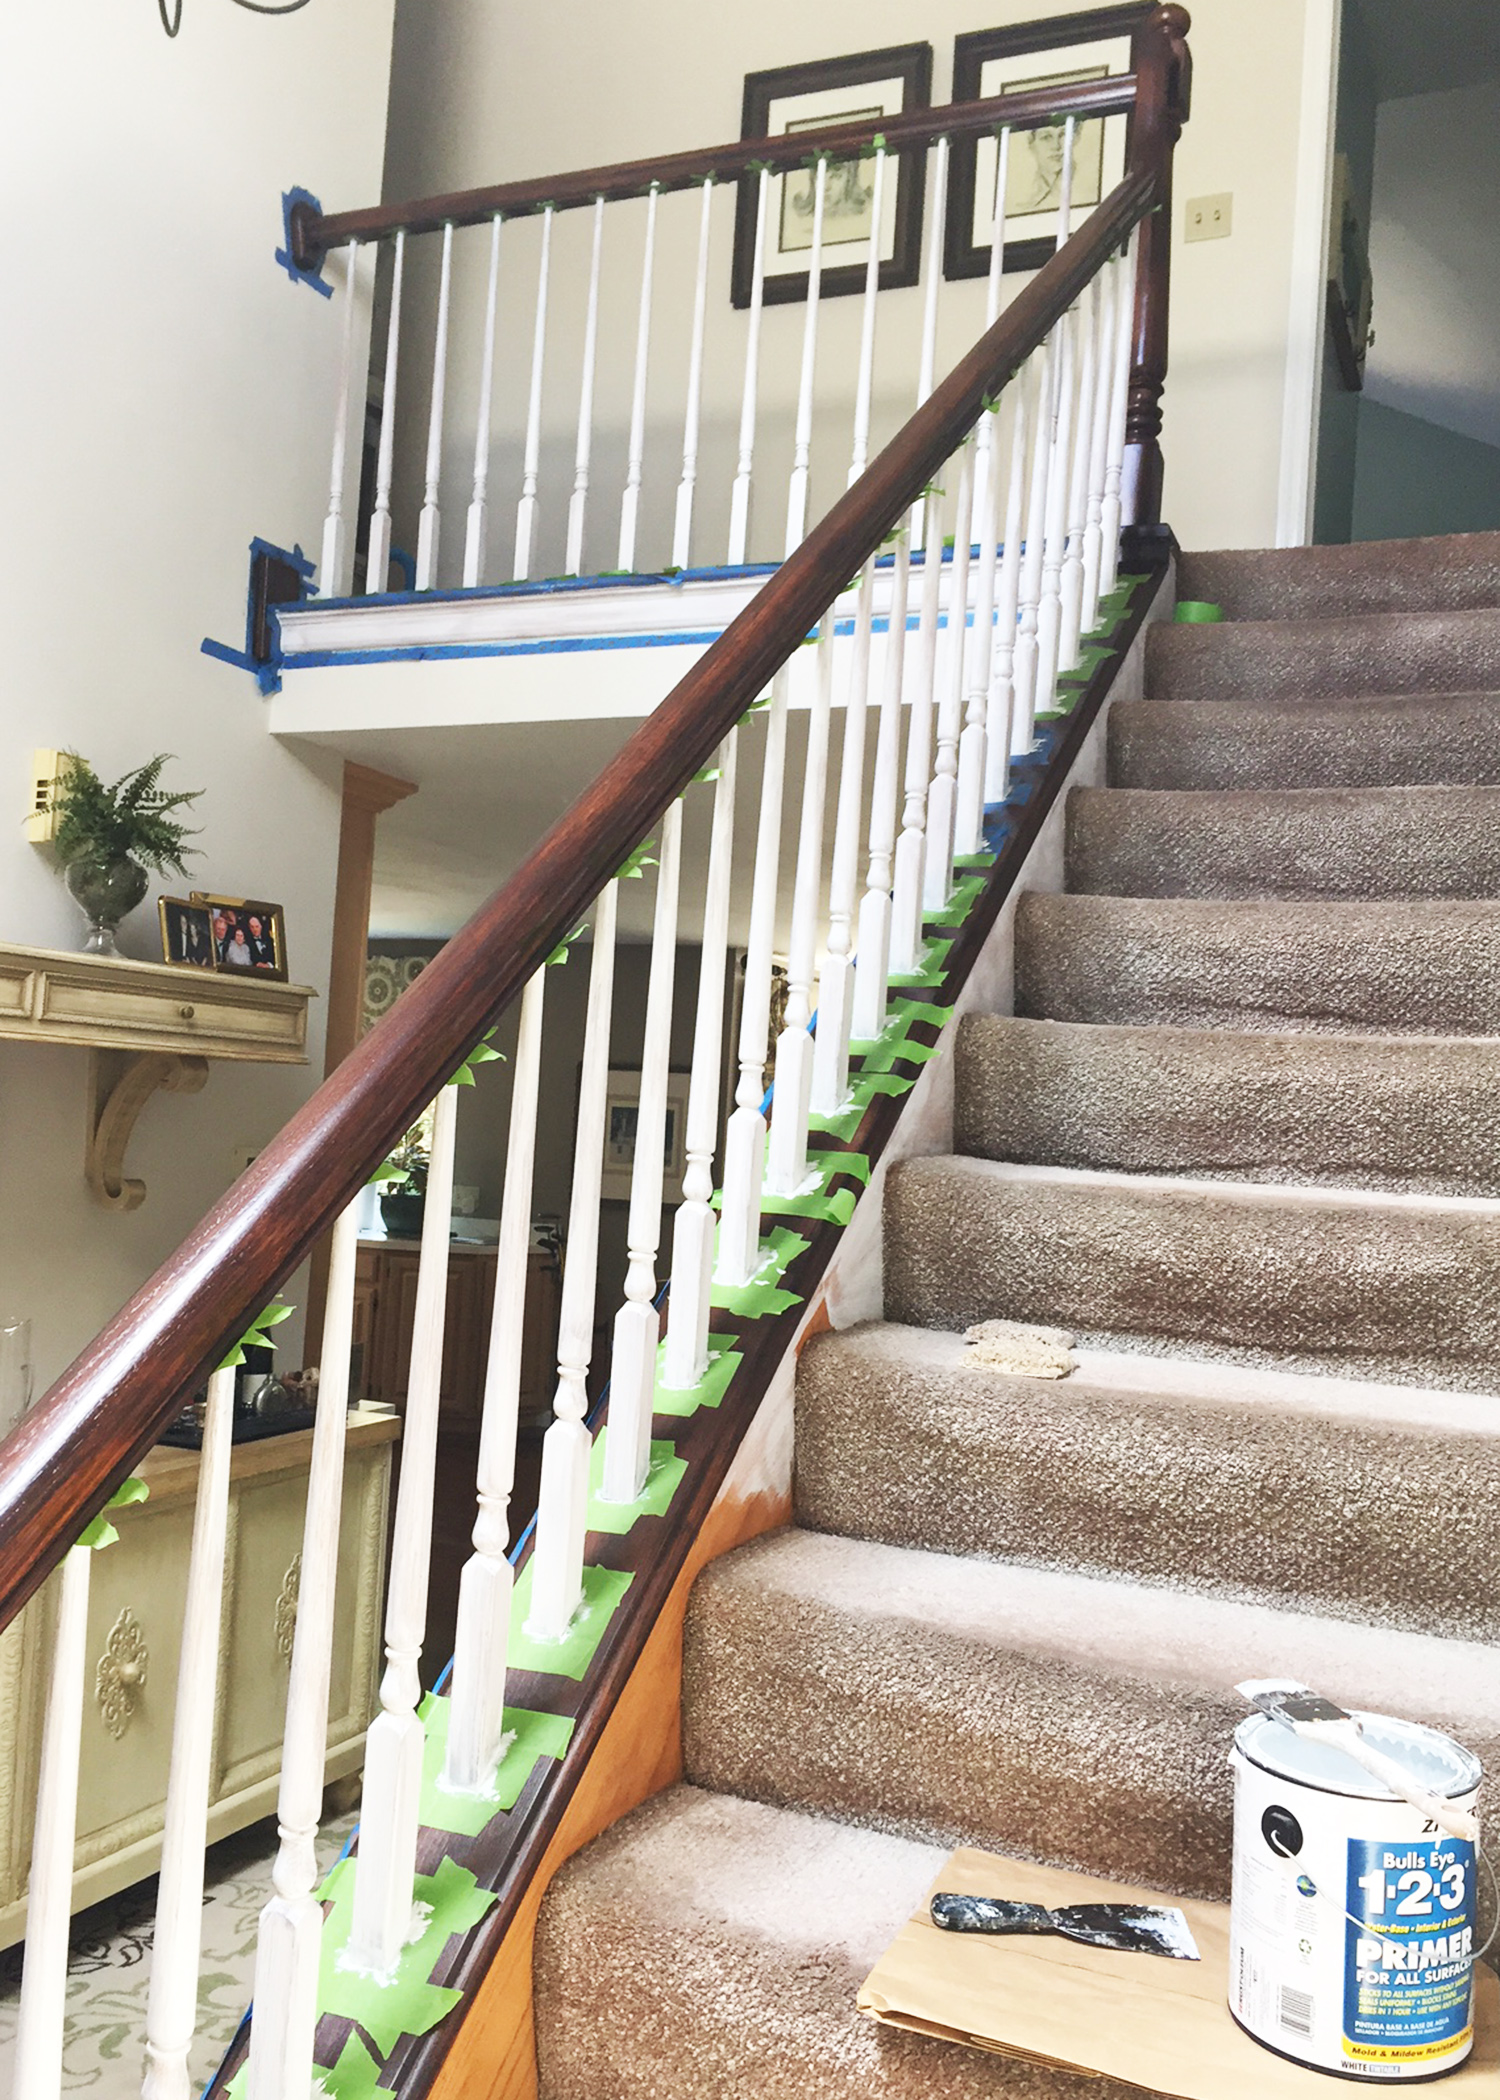
I decided to use the same semi gloss white paint on the spindles that I’ve used throughout my home on trim and doors (Behr Premium Plus ultra pure white), but you could go with any number of options. But first, I applied a coat of primer (always a good idea in my book), and gave it a good day or two to dry.
Next, get to painting.
I applied three coats of the semi gloss white, allowing plenty of dry time between coats. Once everything was good and dry, I pulled off my painter’s tape only to realize that oops… in a few small areas, the paint pulled off, too. Which brings me to my next tip. For the best result, painter’s tape should always be removed while your paint is still wet. Lesson learned for me, so now you can learn from my mistakes.
Luckily, a few touchups is all it needed. And I have to say, I LOVE the result. Of course, projects like these are never 100% perfect, but for me, the updated look to my foyer was well worth the effort. Plus, I got to experience Paula Abdul hands for a bit, and who doesn’t like that? : )


What a beautiful transformation. Will you please come to my house and do my banister?
This is great! I’ve been looking into banister inspiration as I need to replace mine. It just has the hand rail, and nothing to keep little boys from jumping through. Not a good thing! Though I wouldn’t be refinishing my banister I love the look of the white and dark stain! Thanks for the inspiration!
I think I am having Banister envy! Our stairs have been a mess since we moved in, just one more job on a seemingly endless list of DIY. However, this is inspiring me to get them sorted Looks amazing, brilliant transformation!

6 Comments