Previous post
too many ideas. too little time. (and far too much chai.)

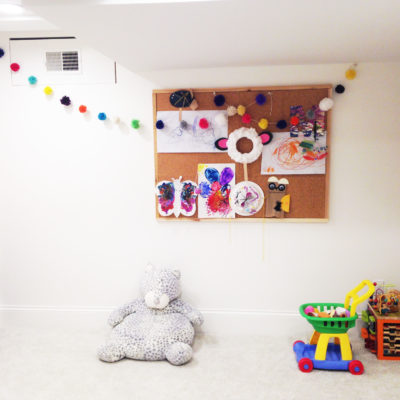
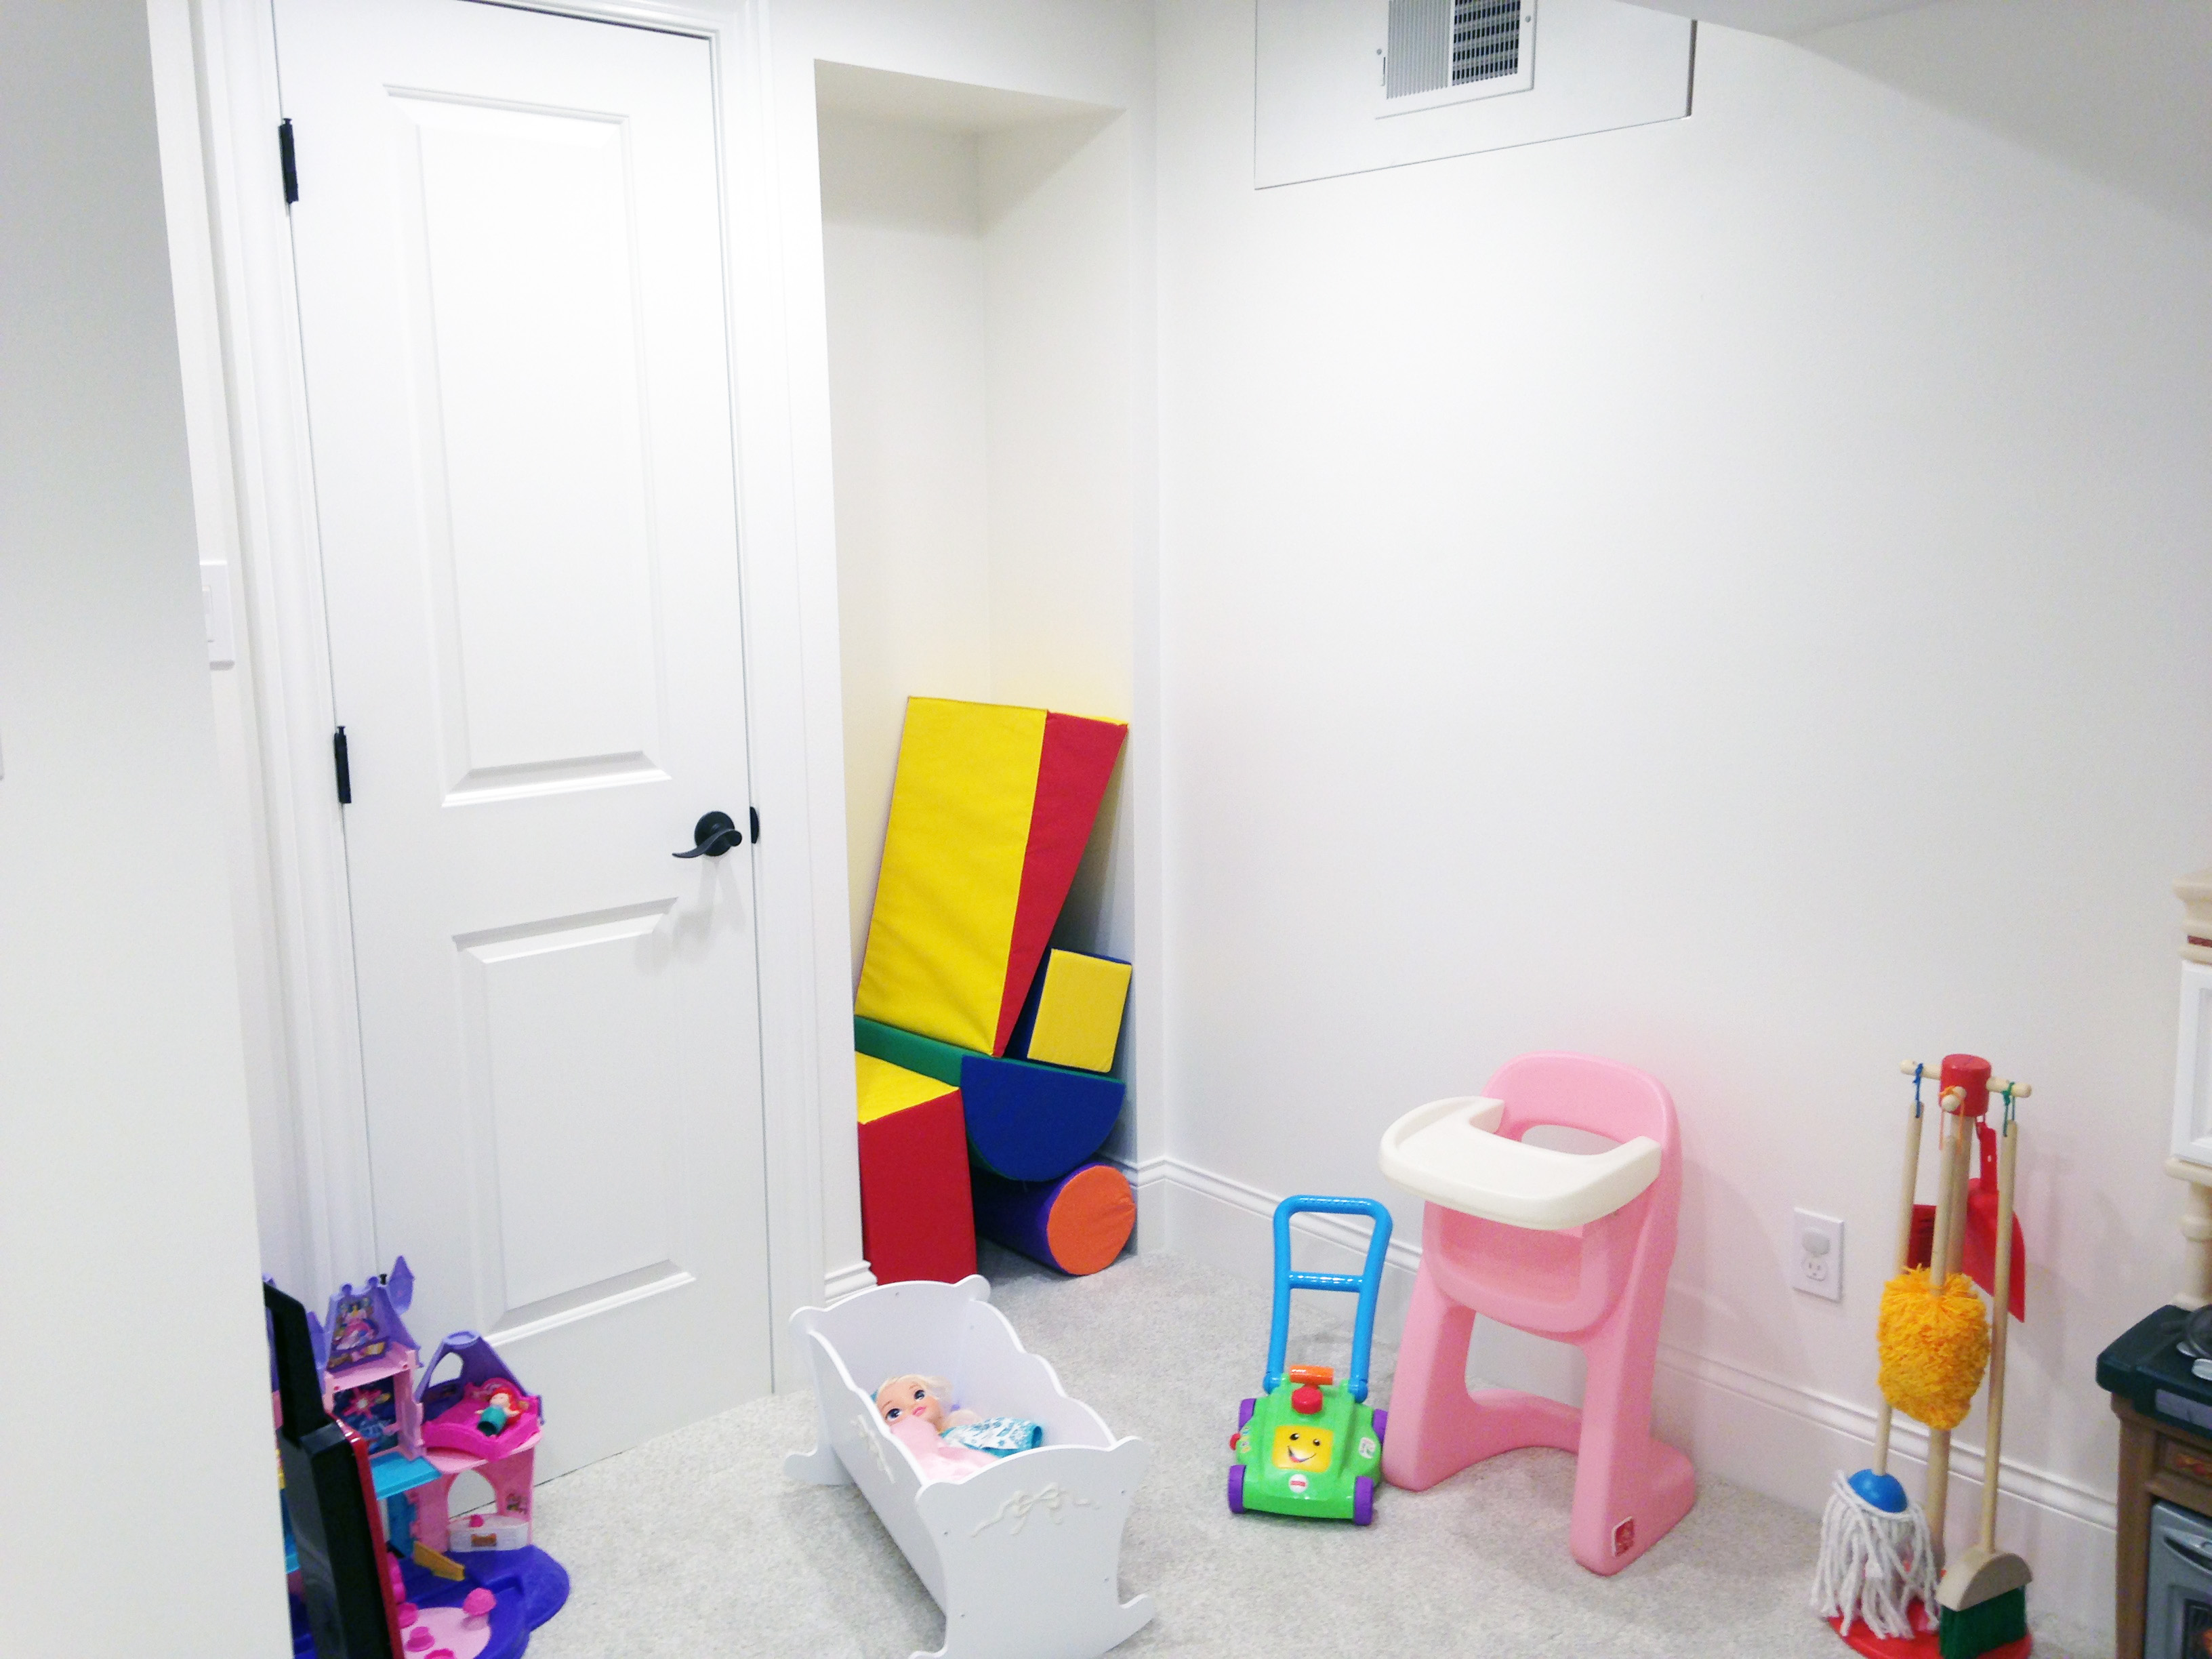
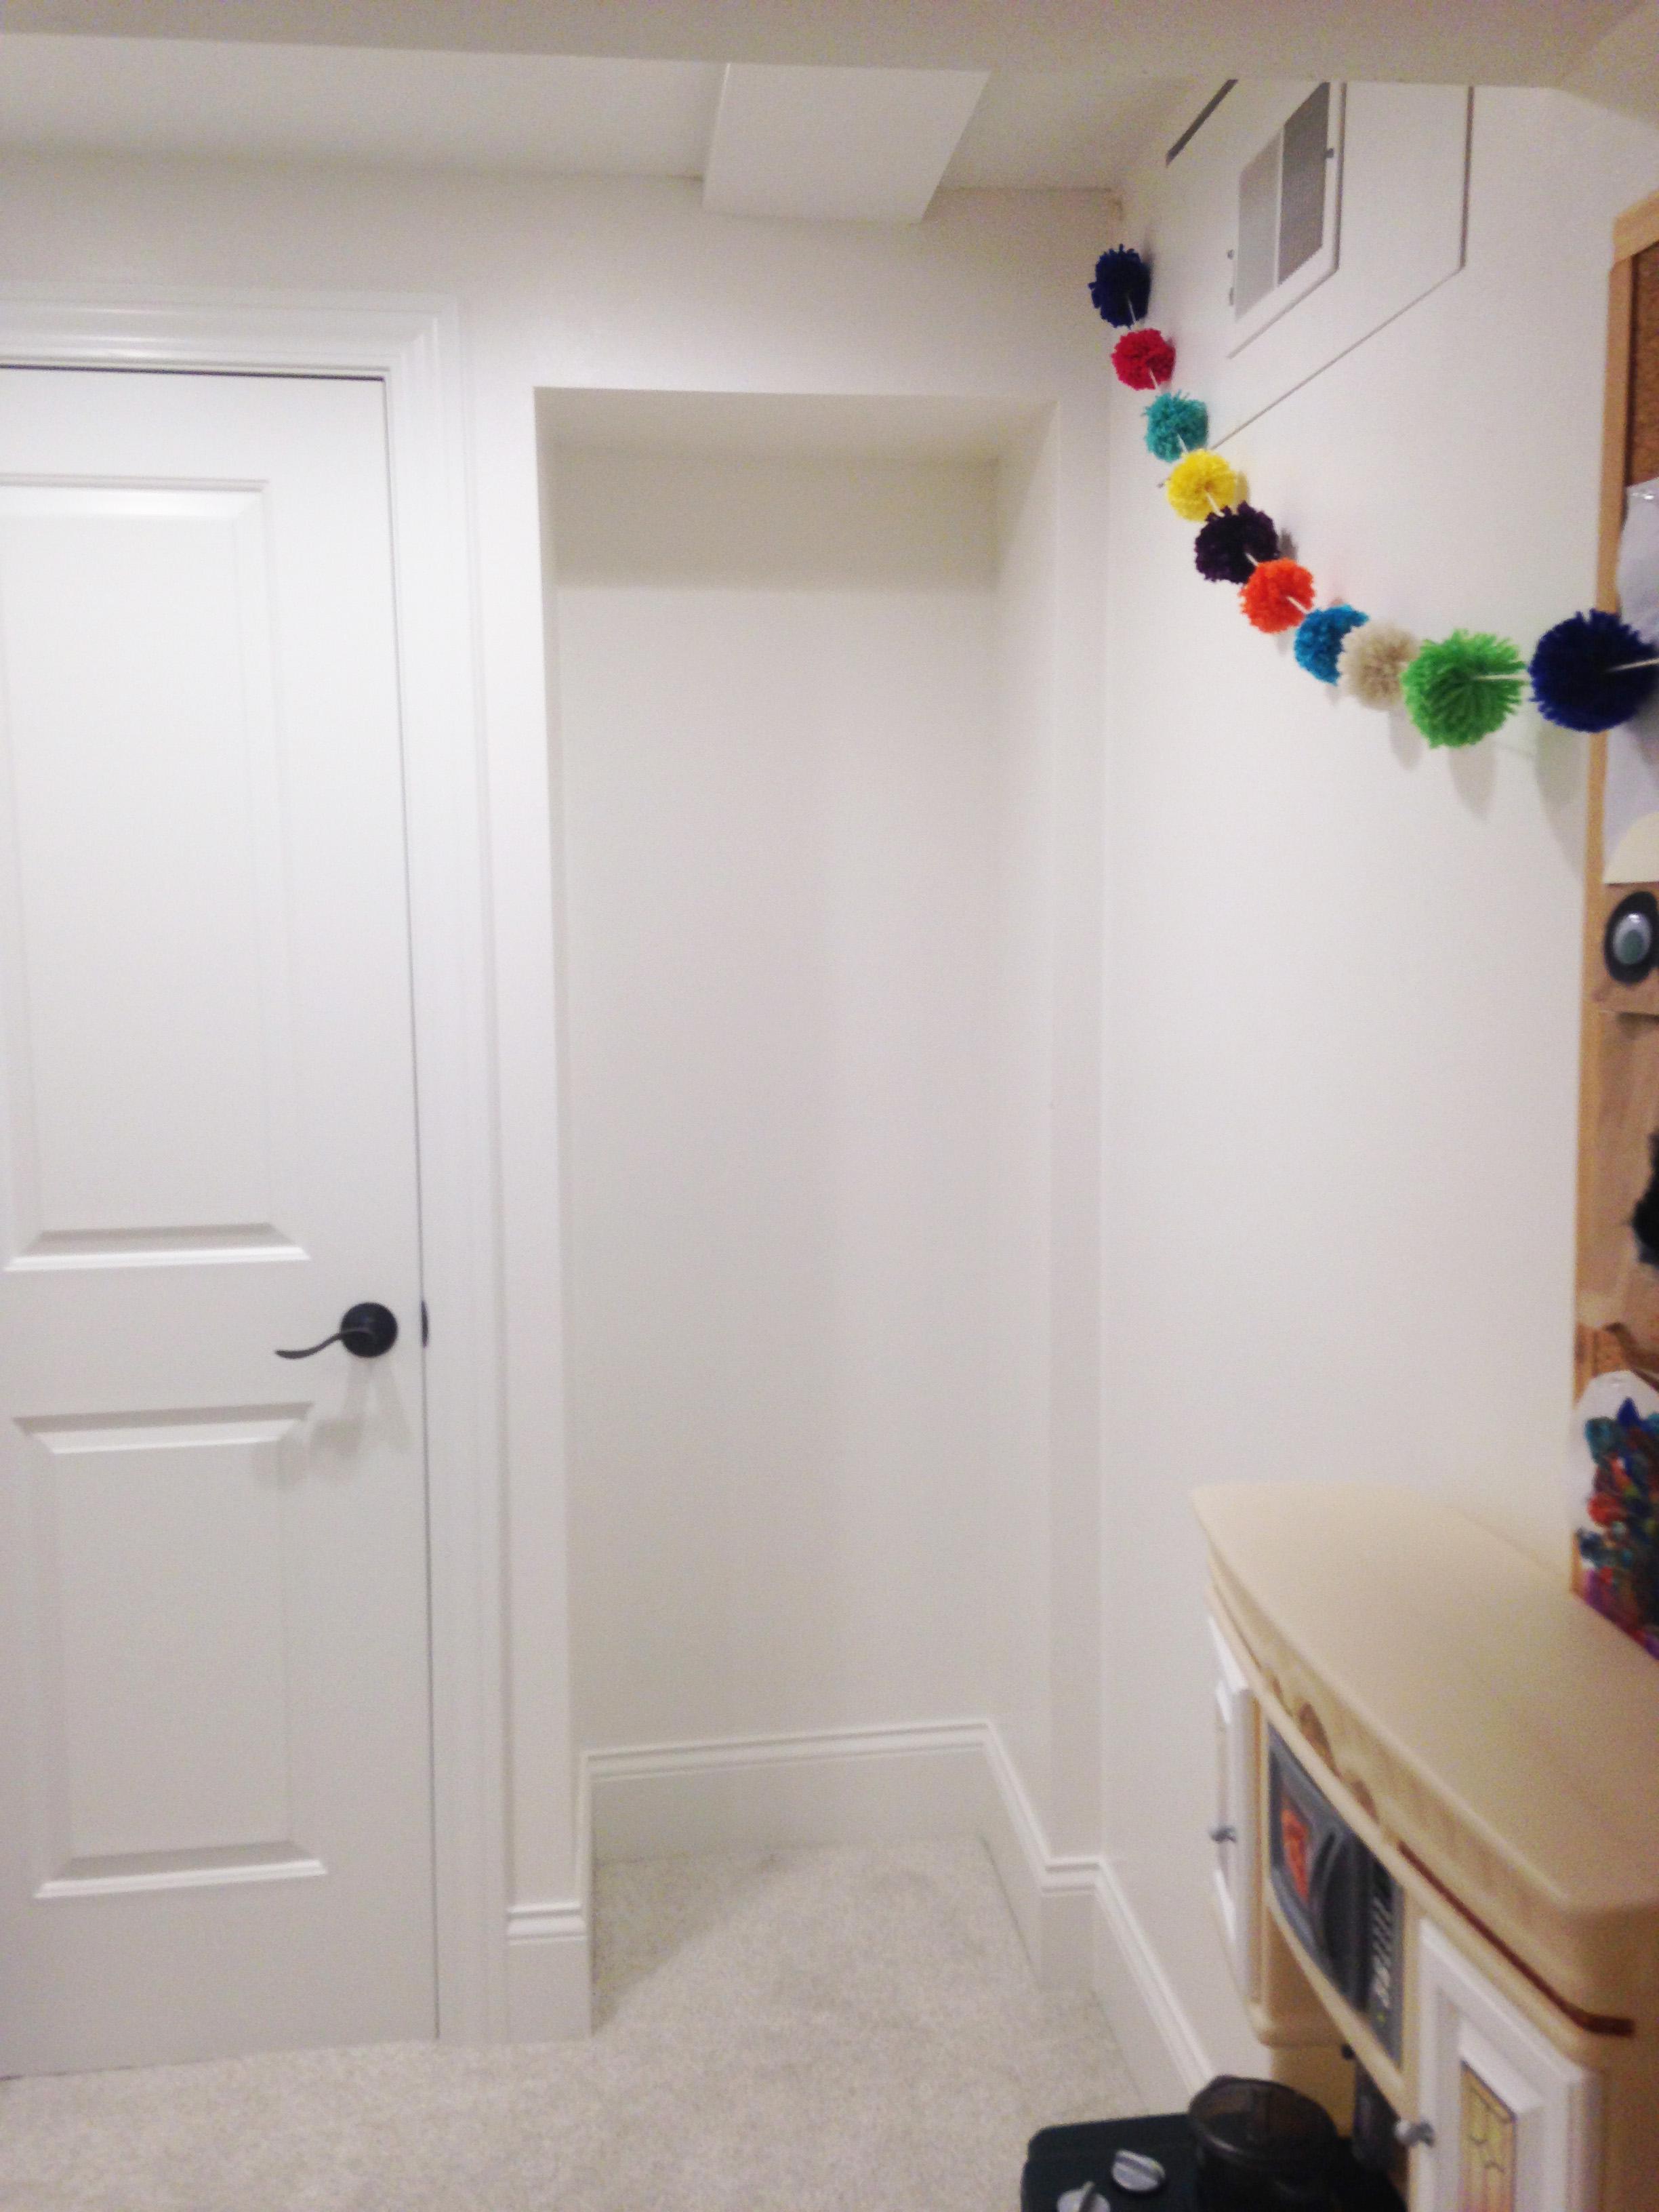
Part of remodeling our basement was adding lots and lots of storage space. So we specifically designed the room to have plenty of opportunities for things like shelves, bins, etc. Take this “closet” for example. I use “closet” in quotes because it ended up being a dumping ground for oversized toys and tumbling blocks. Noooooot exactly part of the original plan.
After a few months, enough was enough.
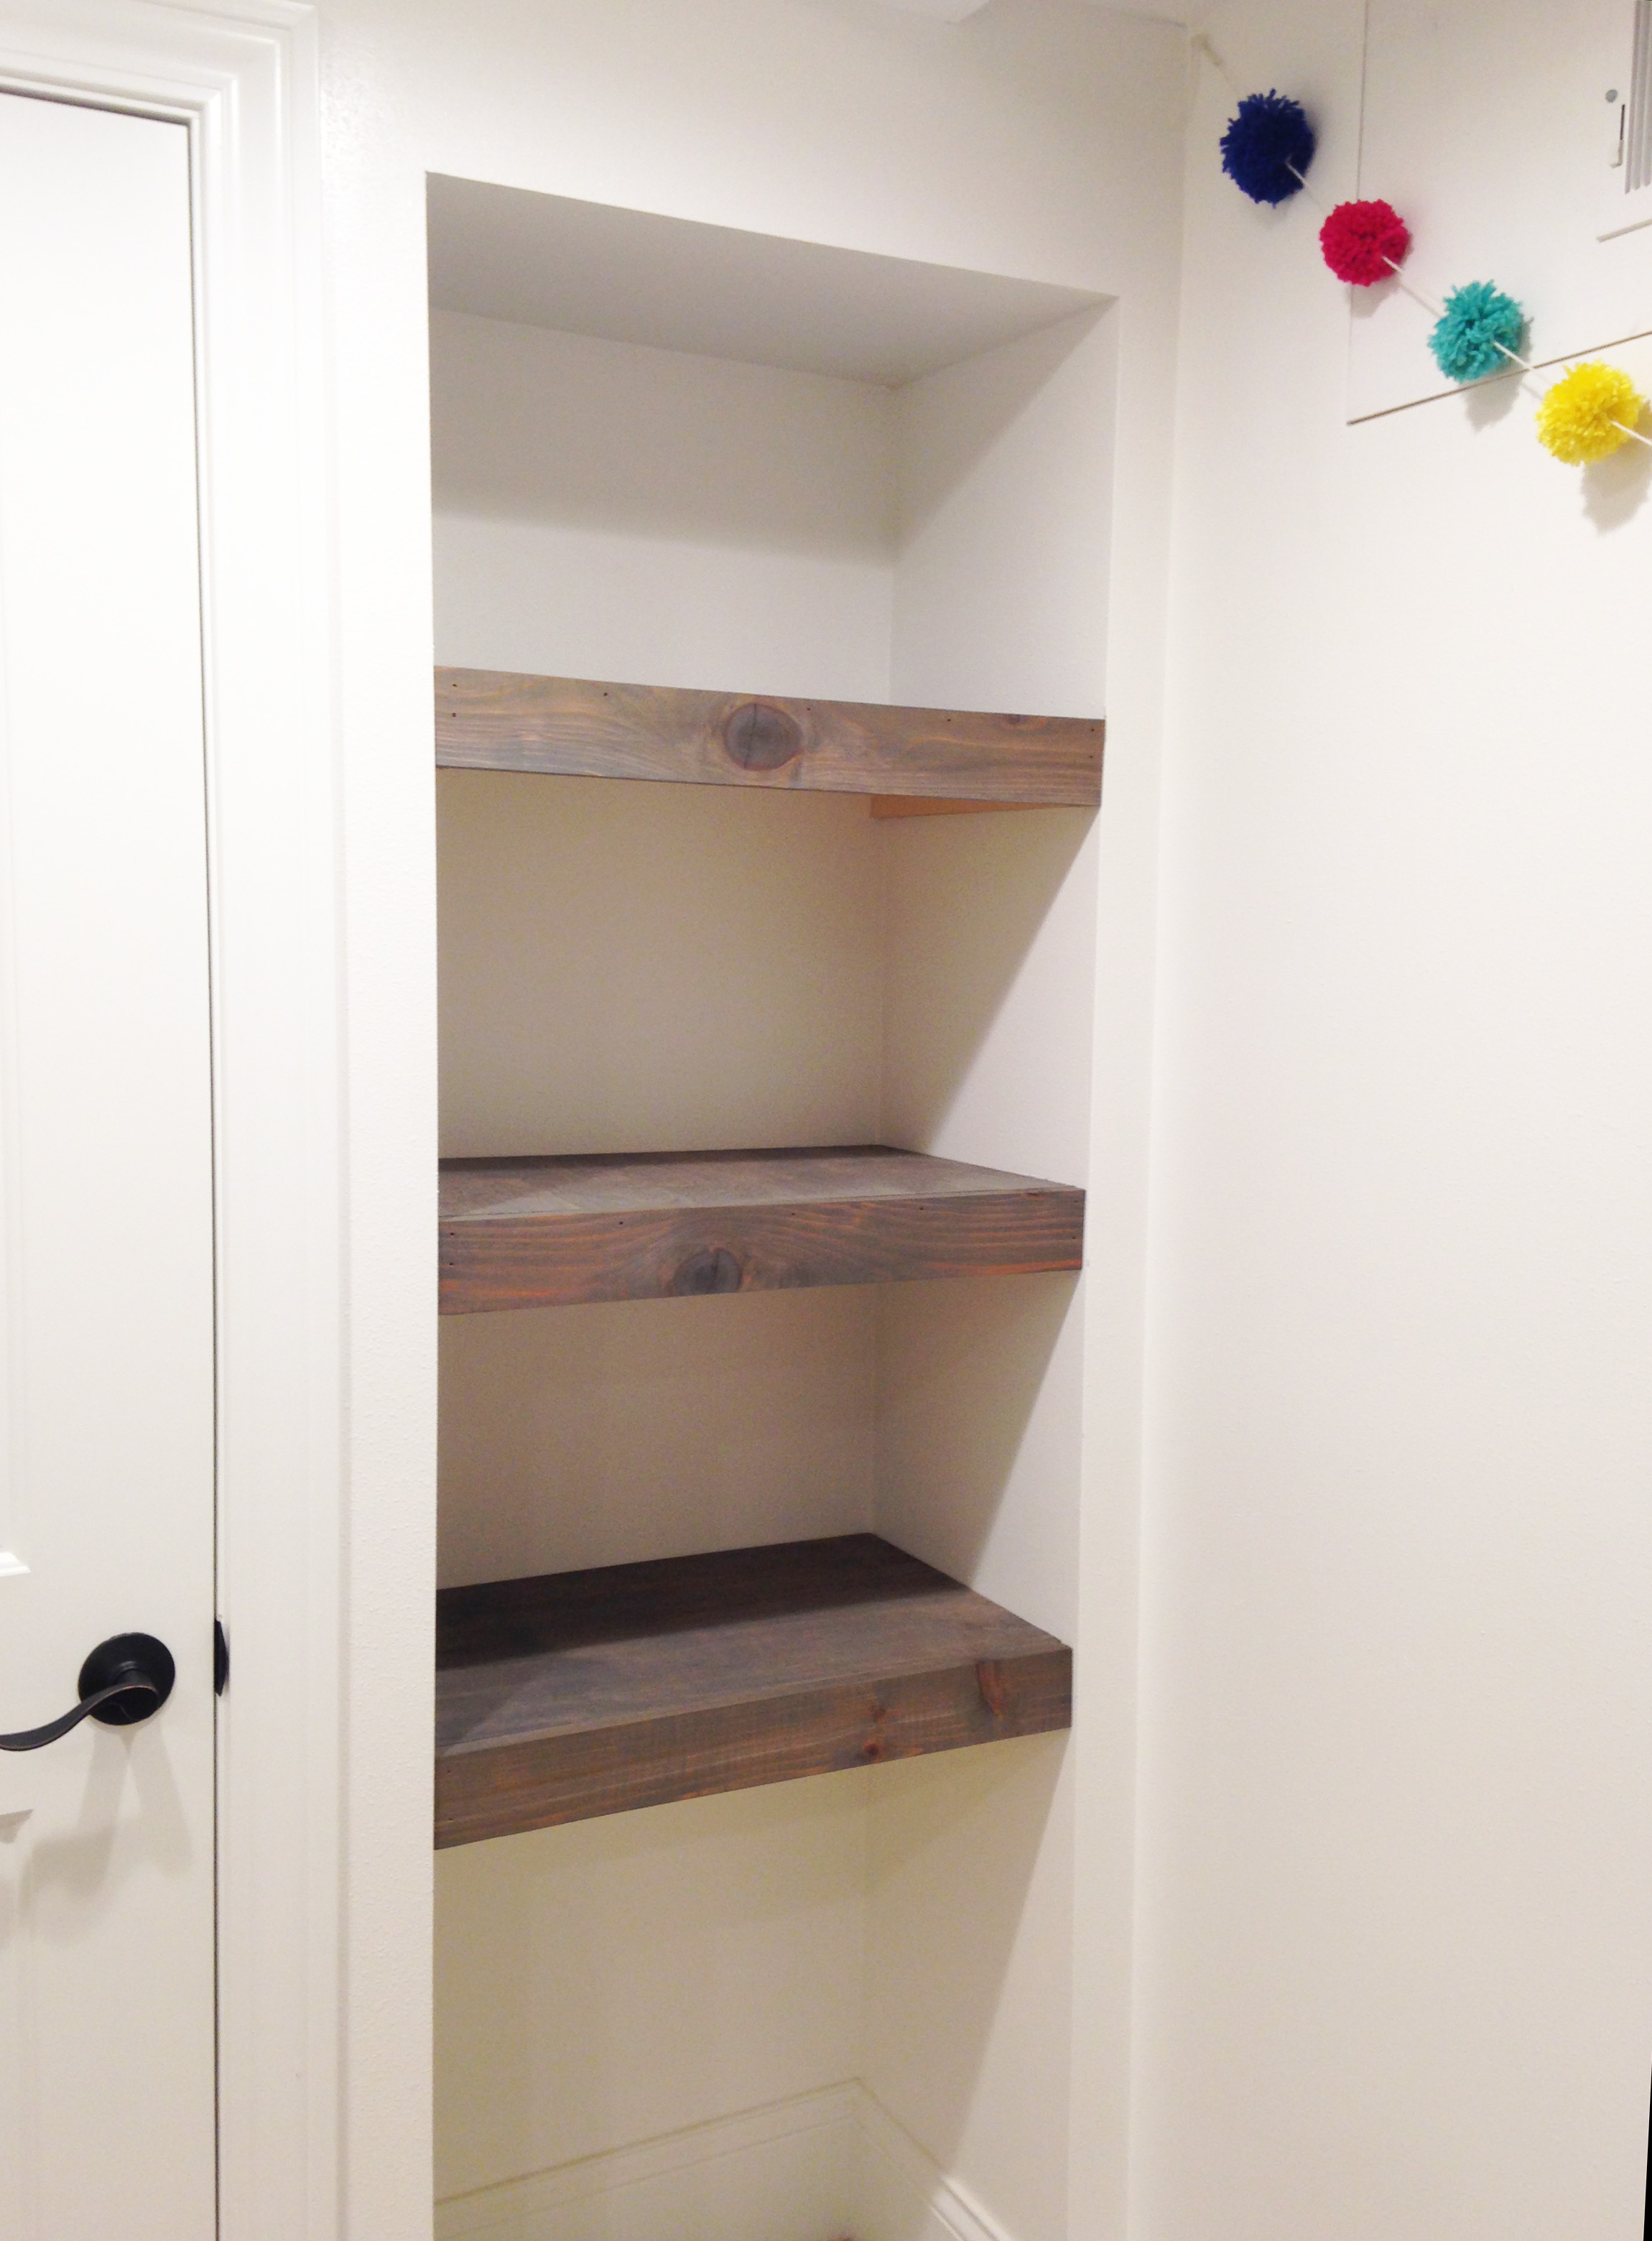
My husband and I decided this space was in dire need of shelves, so we got to work on a super simple project: 3 floating shelves in a weathered grey stain to match our newly finished bar. It only took two nights to accomplish. It would’ve only been one if it weren’t for the waiting dry time of the stain.
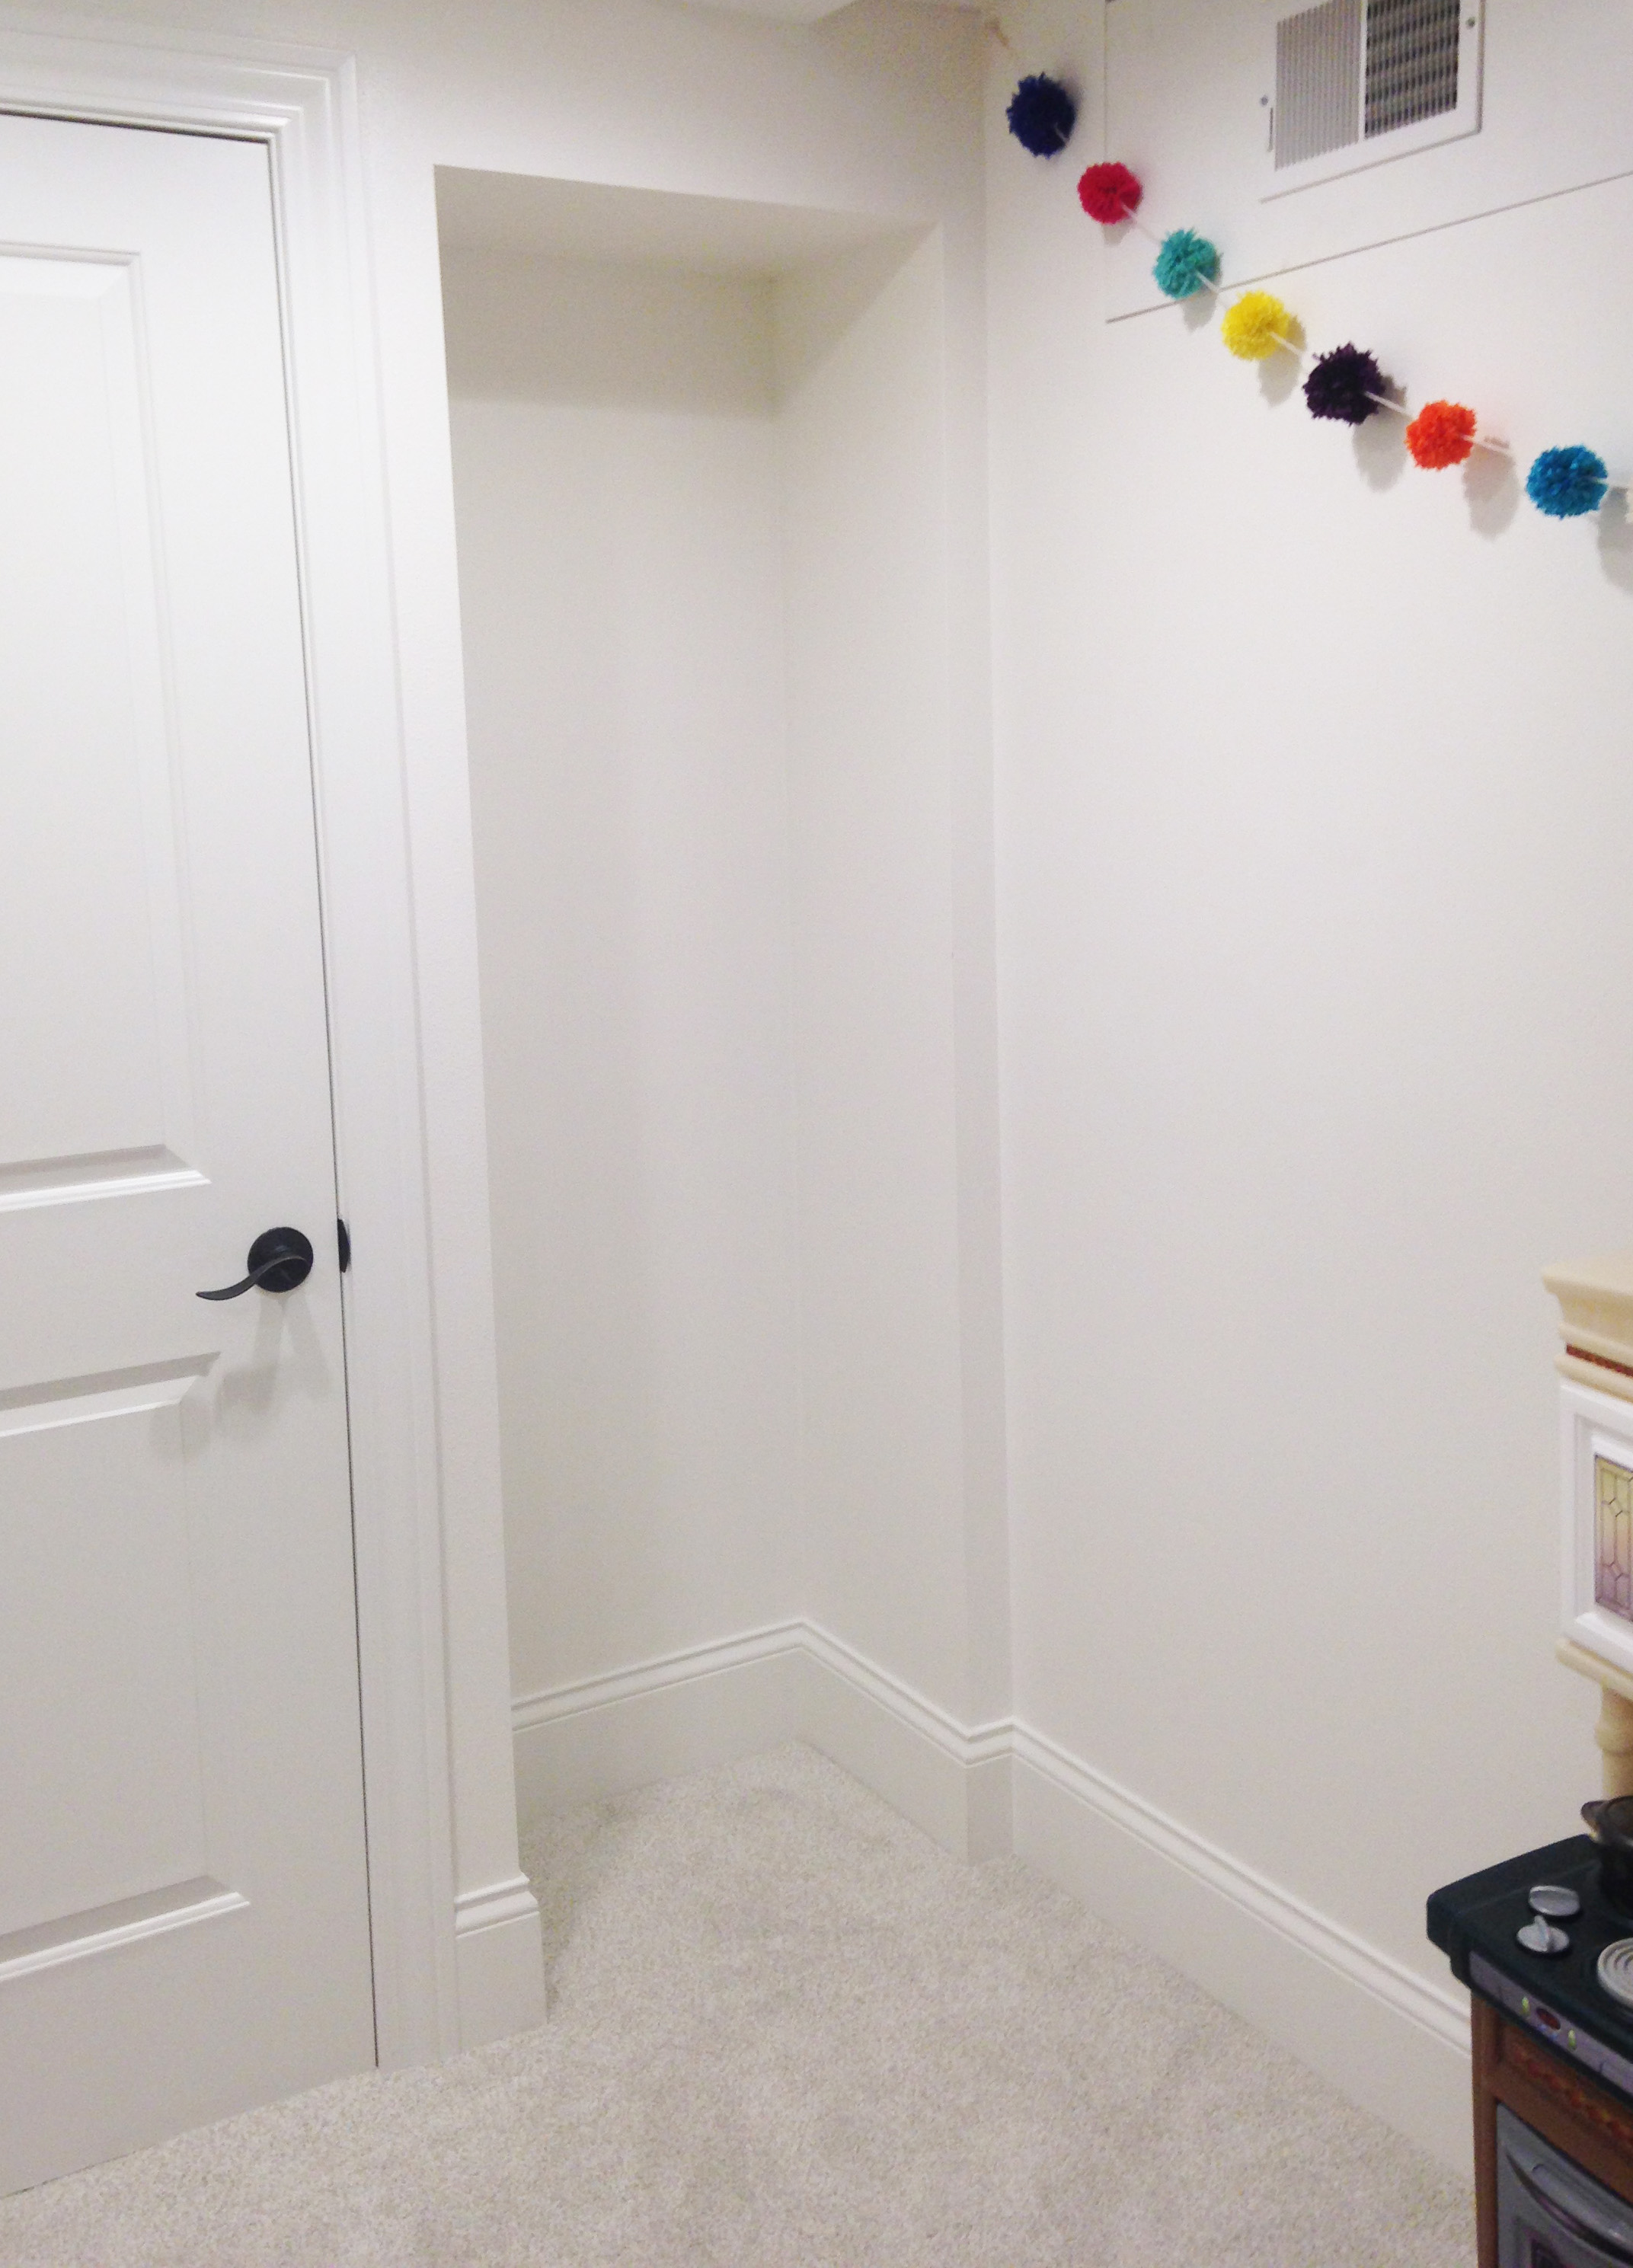
Again, here’s the before.
And here’s the process.
We have all sorts of games lying everywhere around the house—always in random, inconvenient places. So first and foremost, I wanted these shelves to be large enough to fit our plethora of games. Some simple measurements, and we determined three floating shelves would do the trick.
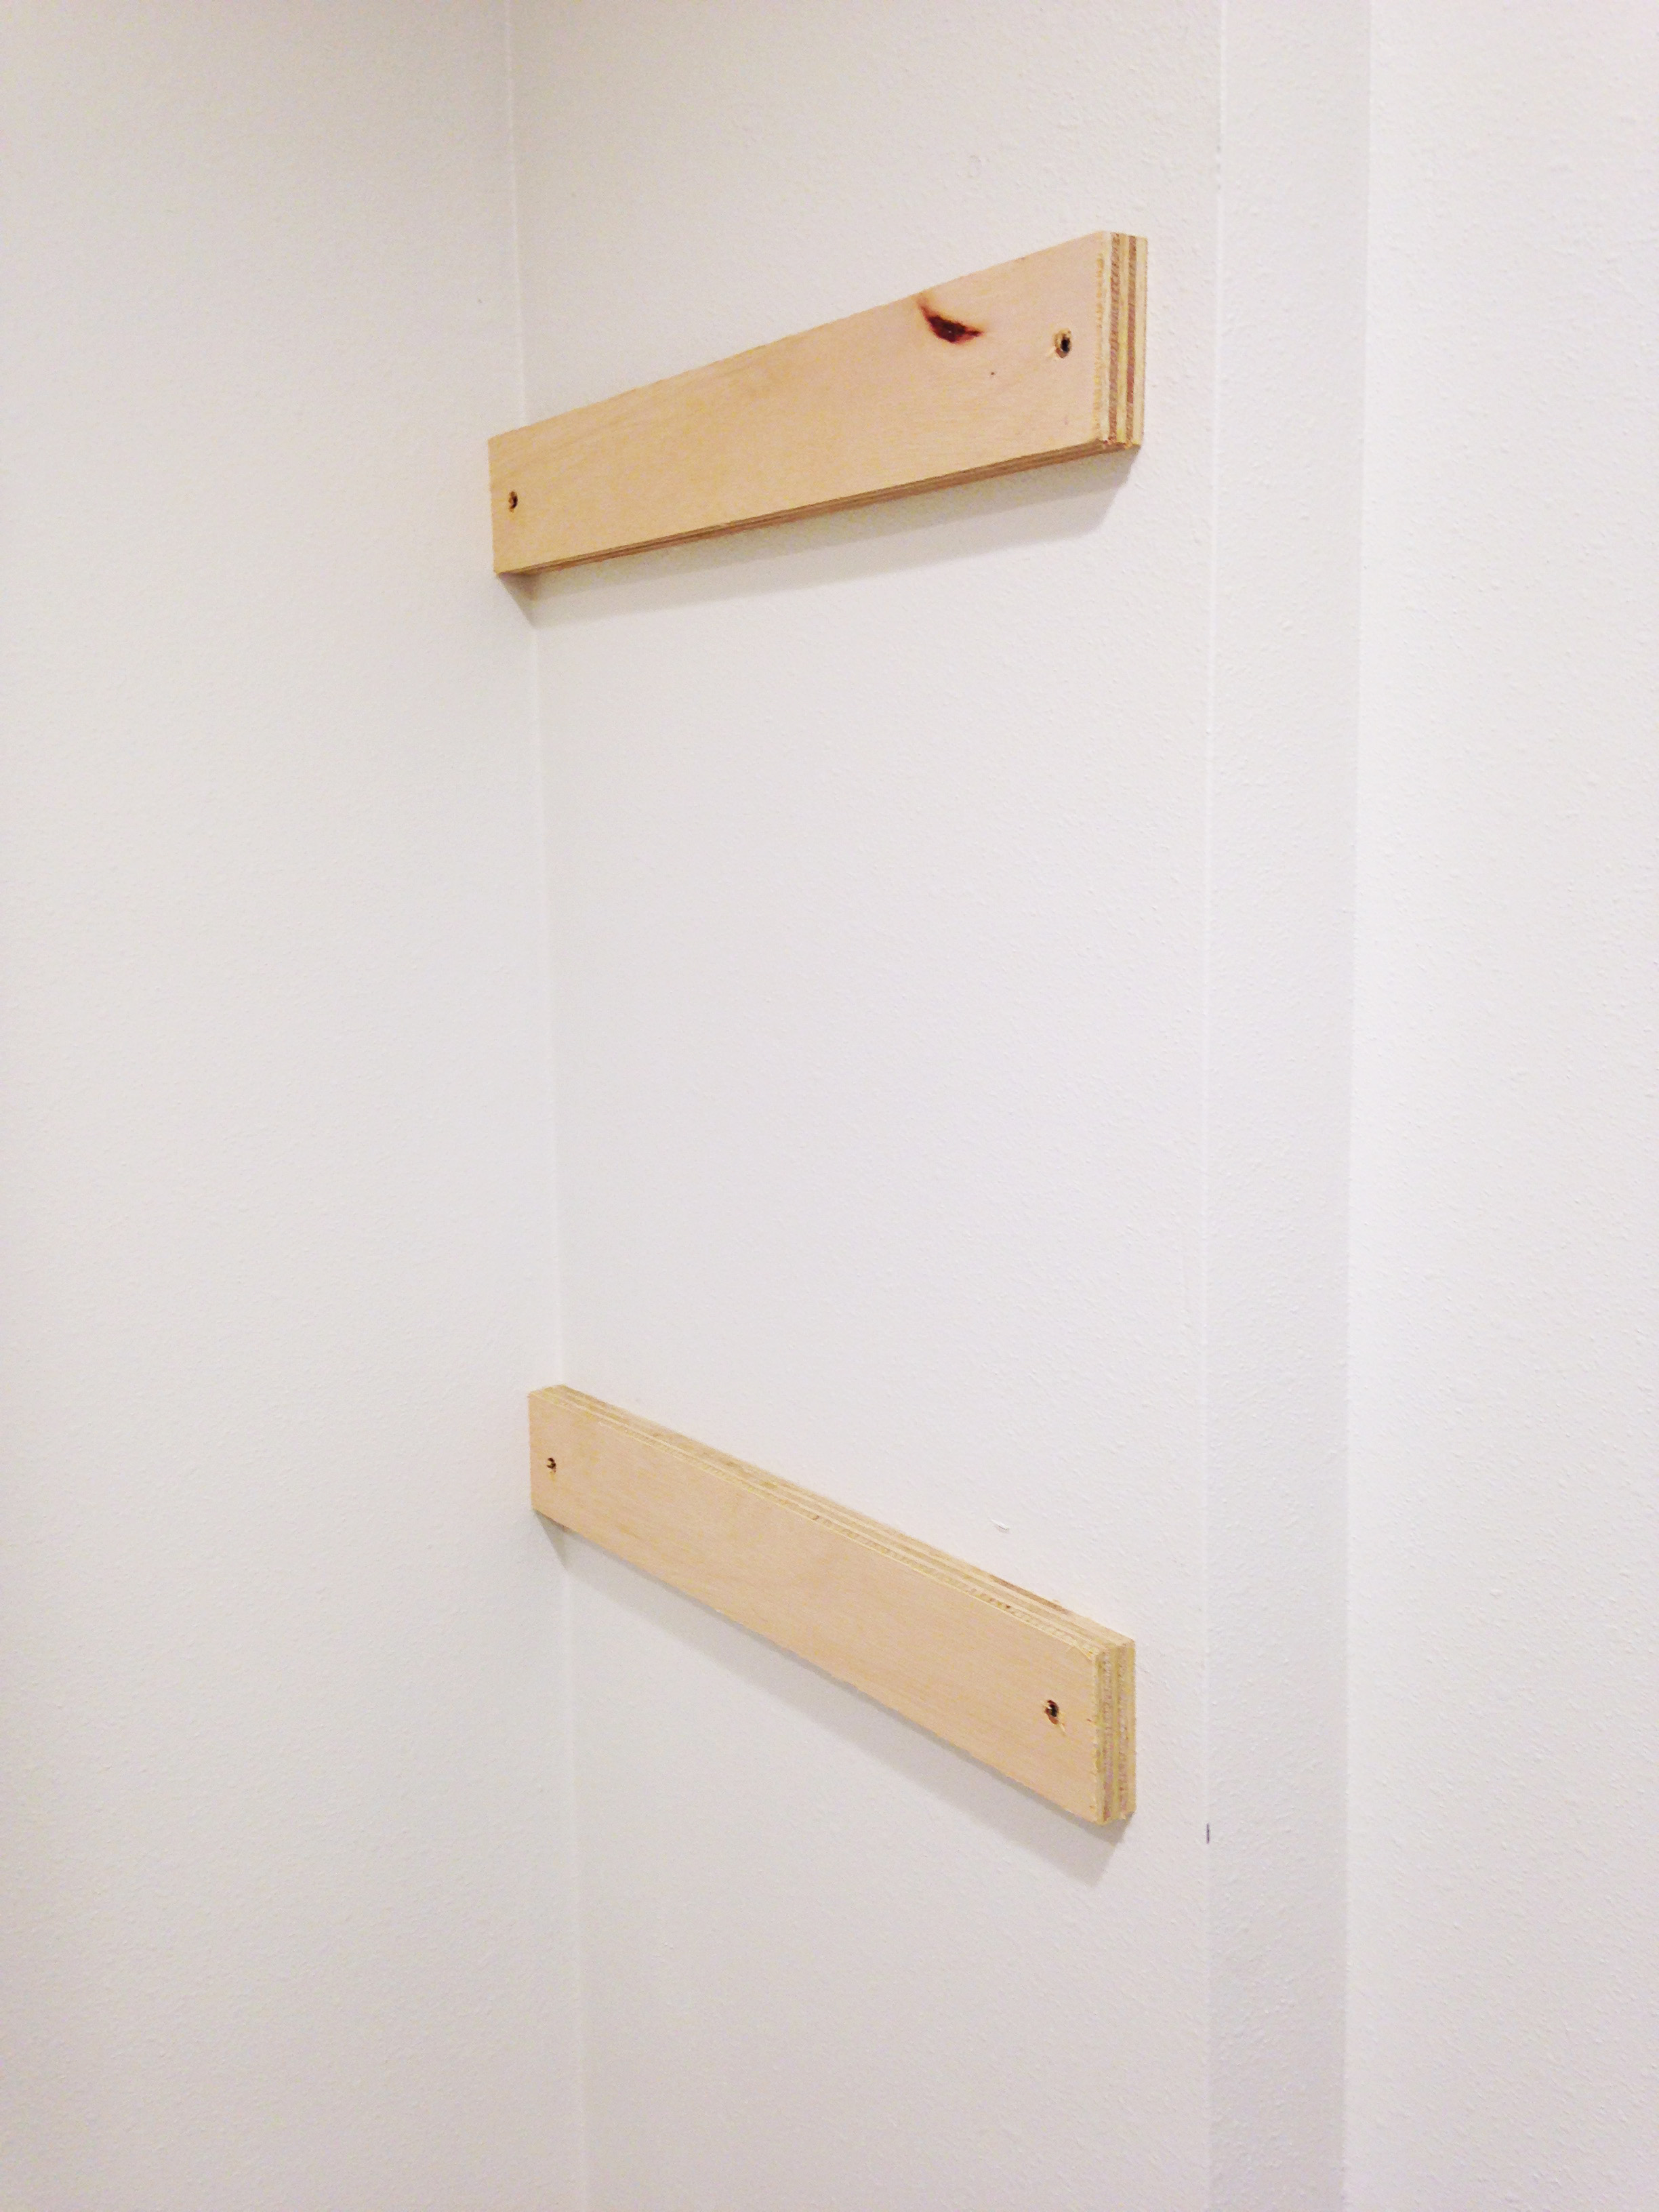
We love the look of floating shelves, so that’s what we set out to do. In our case, we went the uber simple route of building braces for the shelves, the shelves themselves, and then adding a piece of trim in the front to give the “look” of floating shelves, without having to actually build them. The trim piece gives the illusion of a thick shelf, and that’s exactly the look I wanted.
And when in doubt, measure again. First, measure the depth of your space, so you know how long to make your braces. Then measure the width, so you know the size of your shelves, and your front trim pieces.
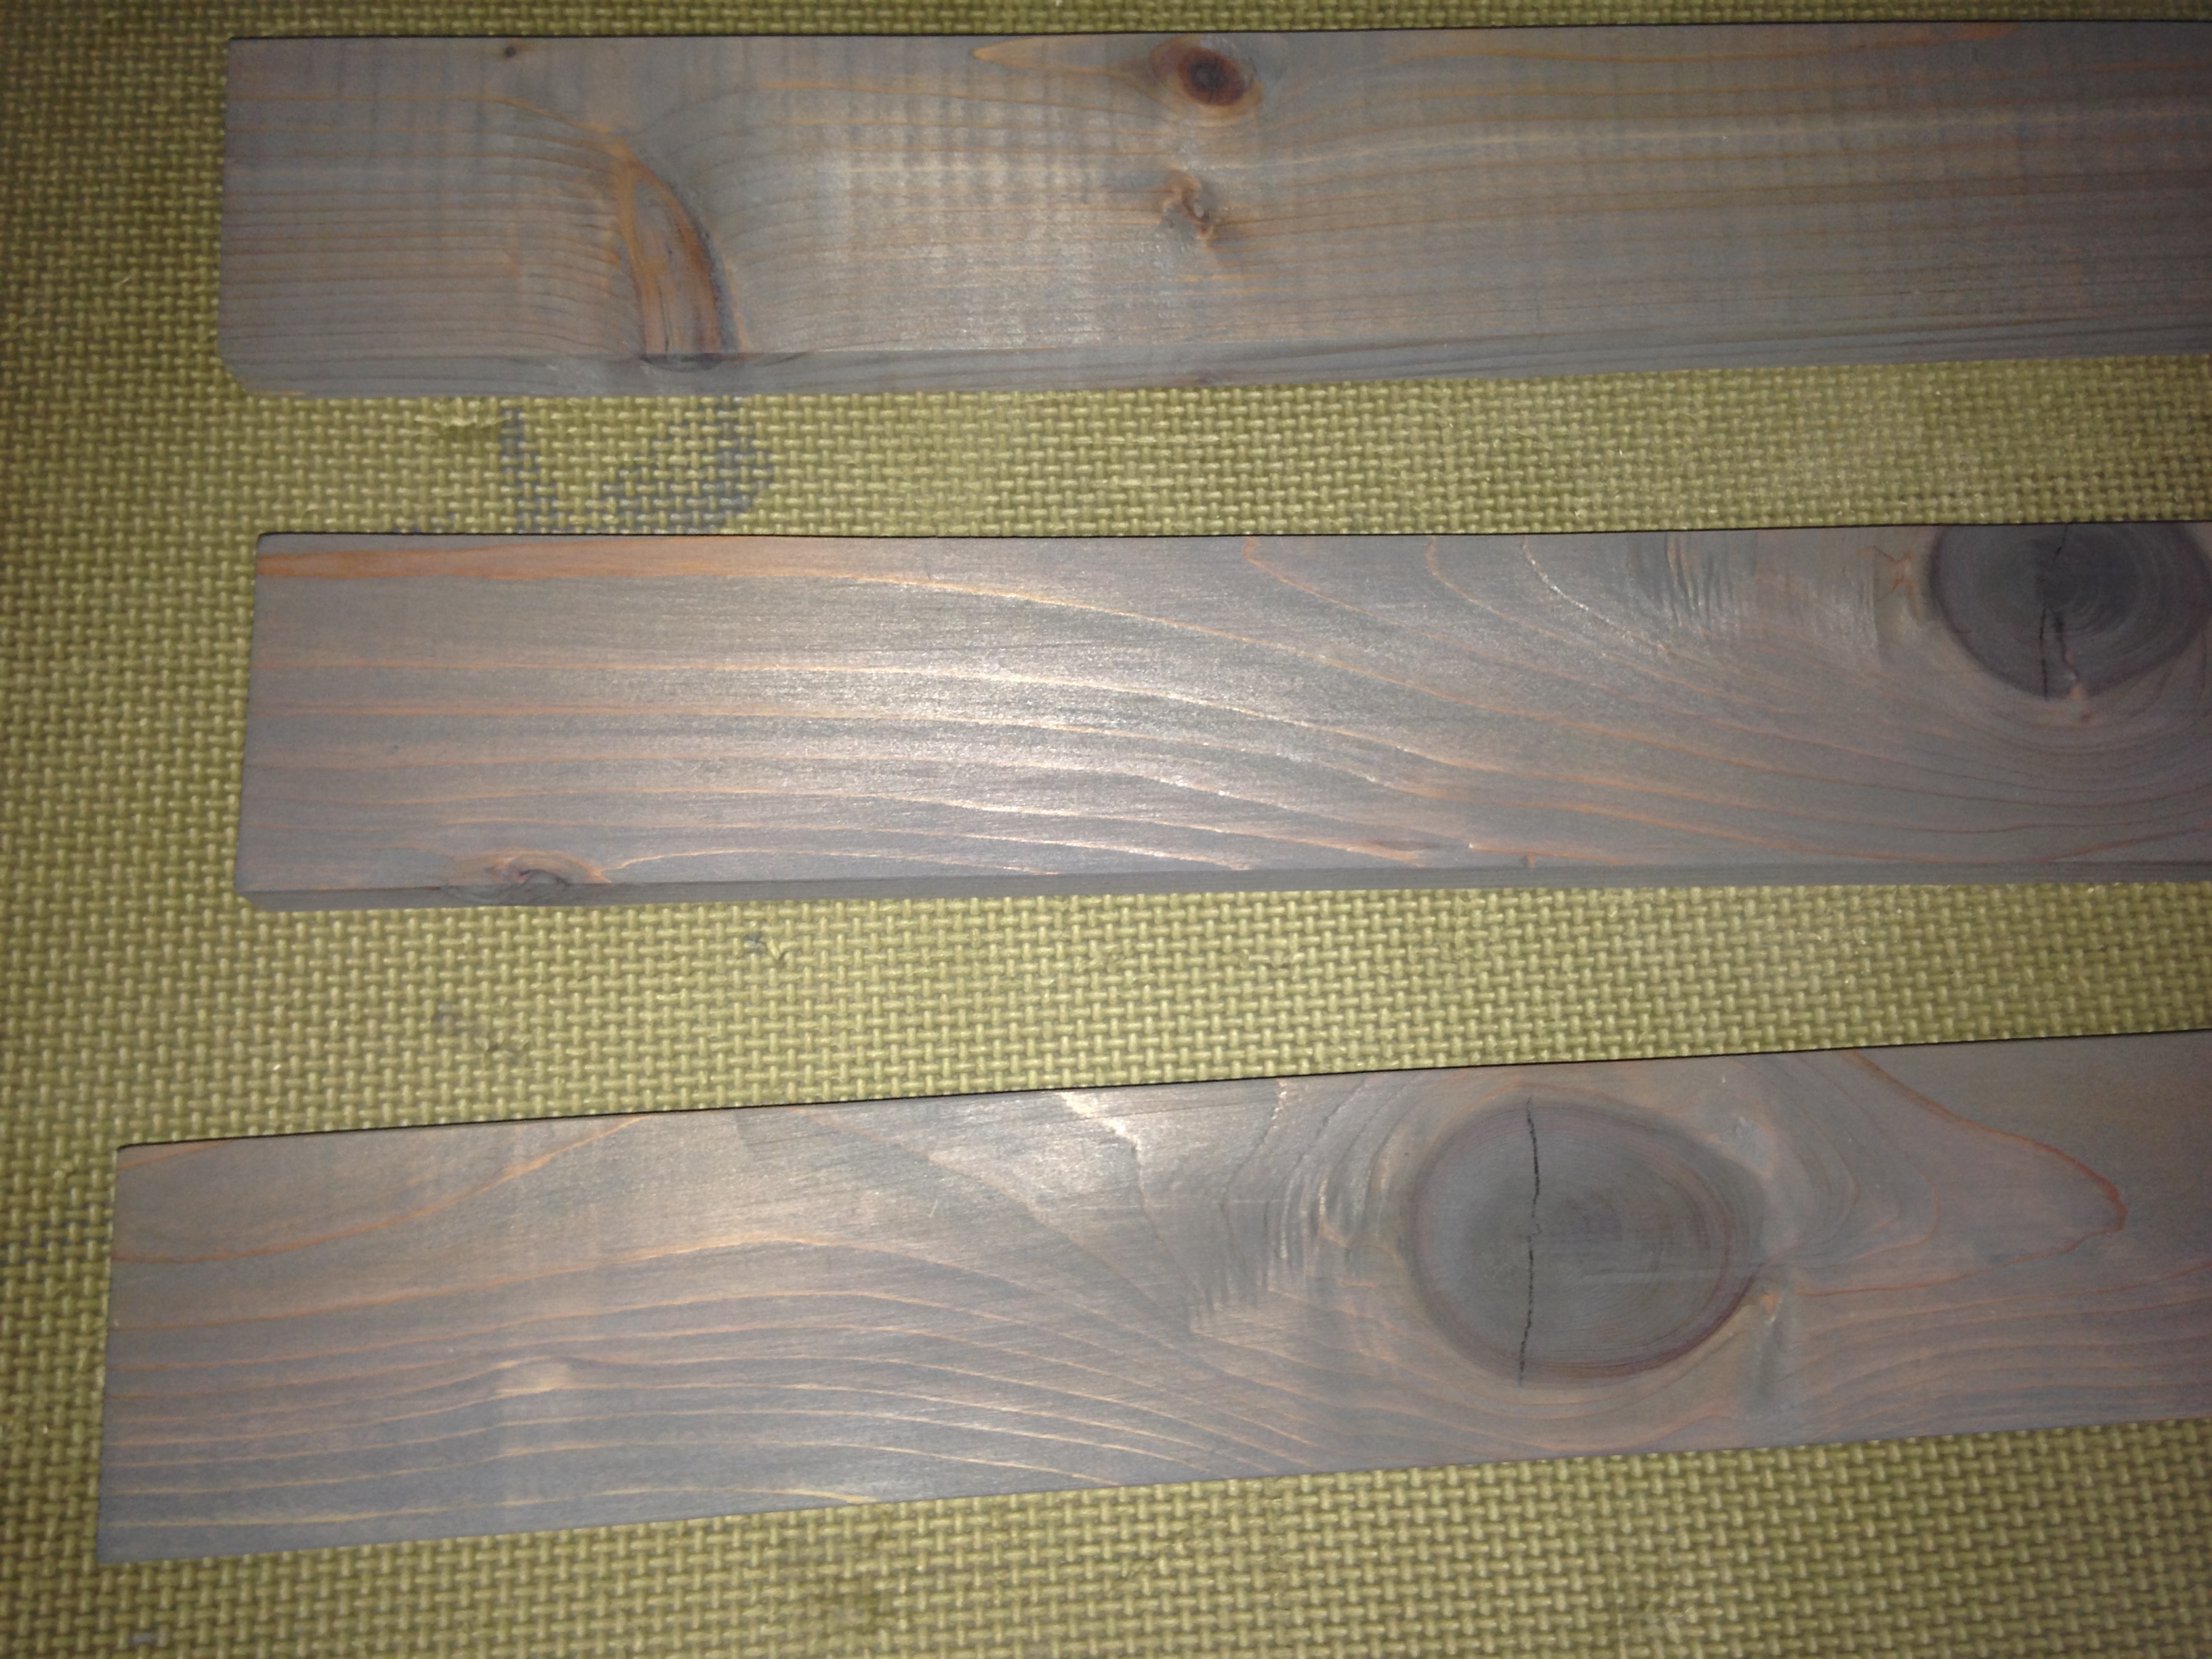
Like I said, we opted to match the style of another piece of furniture in our basement (post on that coming soon), so we used the same weathered grey stain. Here are all the pieces spread out to dry. We did NOT stain the braces, but you could always do that, too, if you’re worried about seeing those.

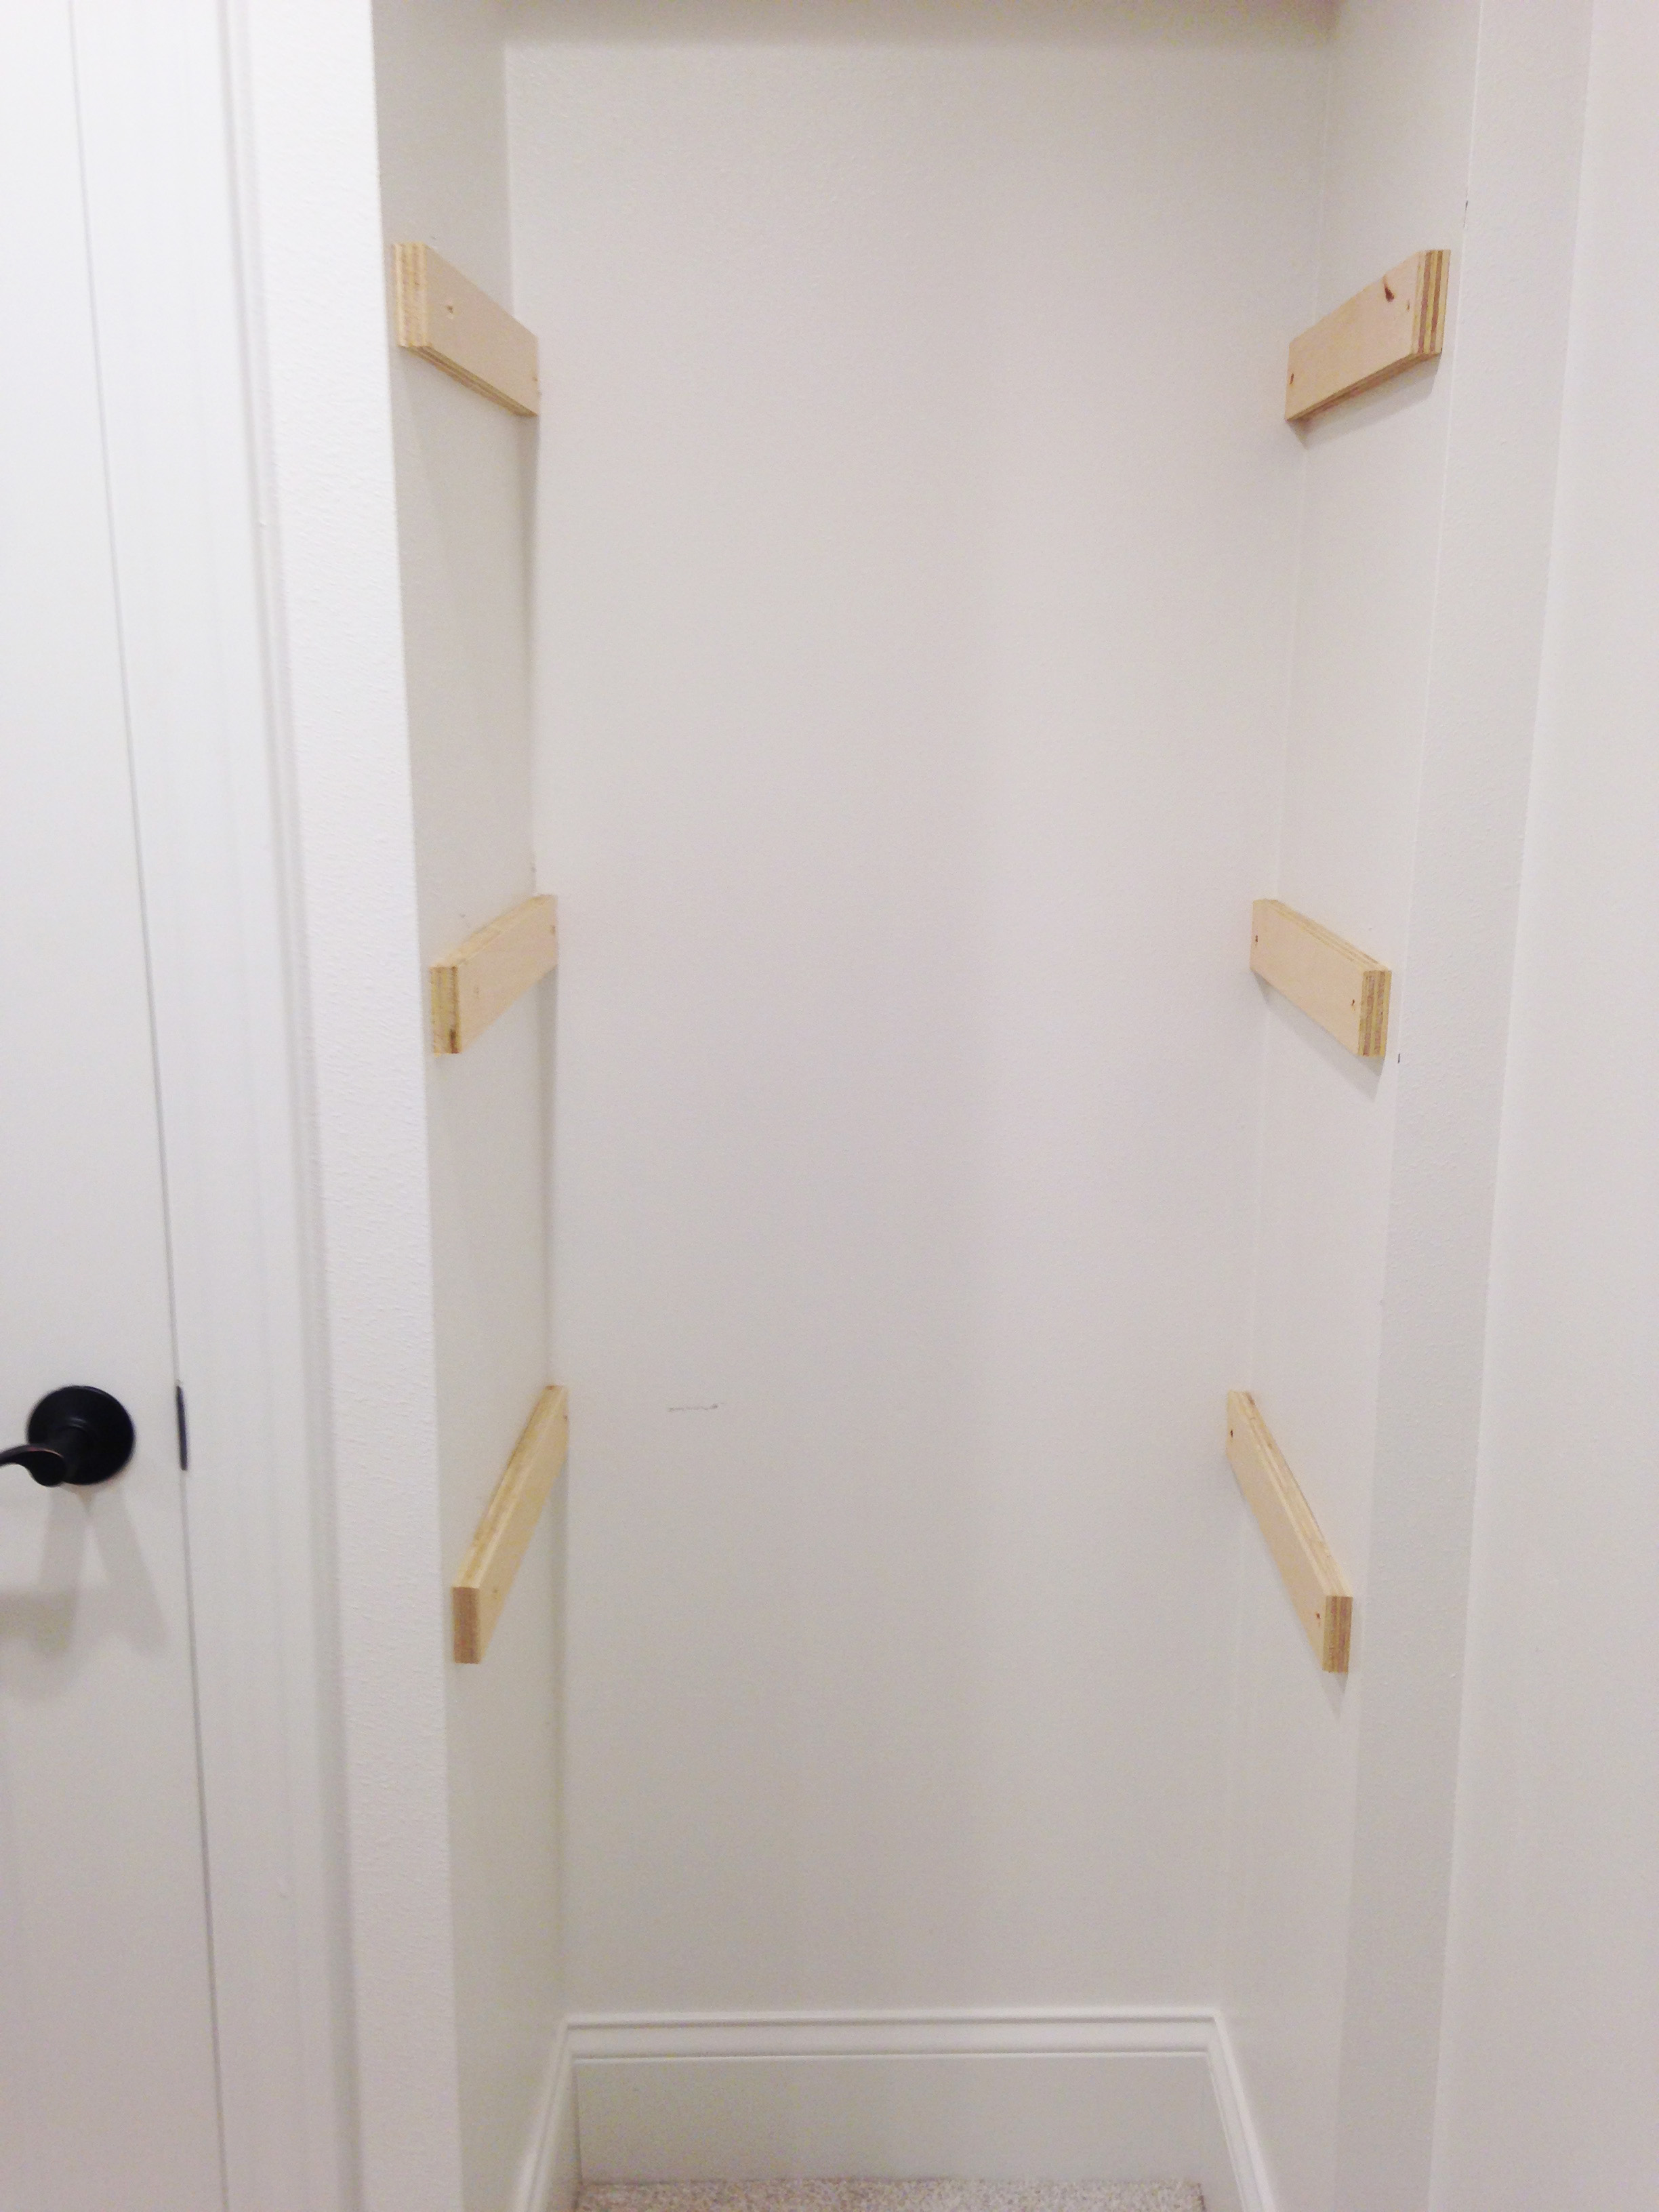
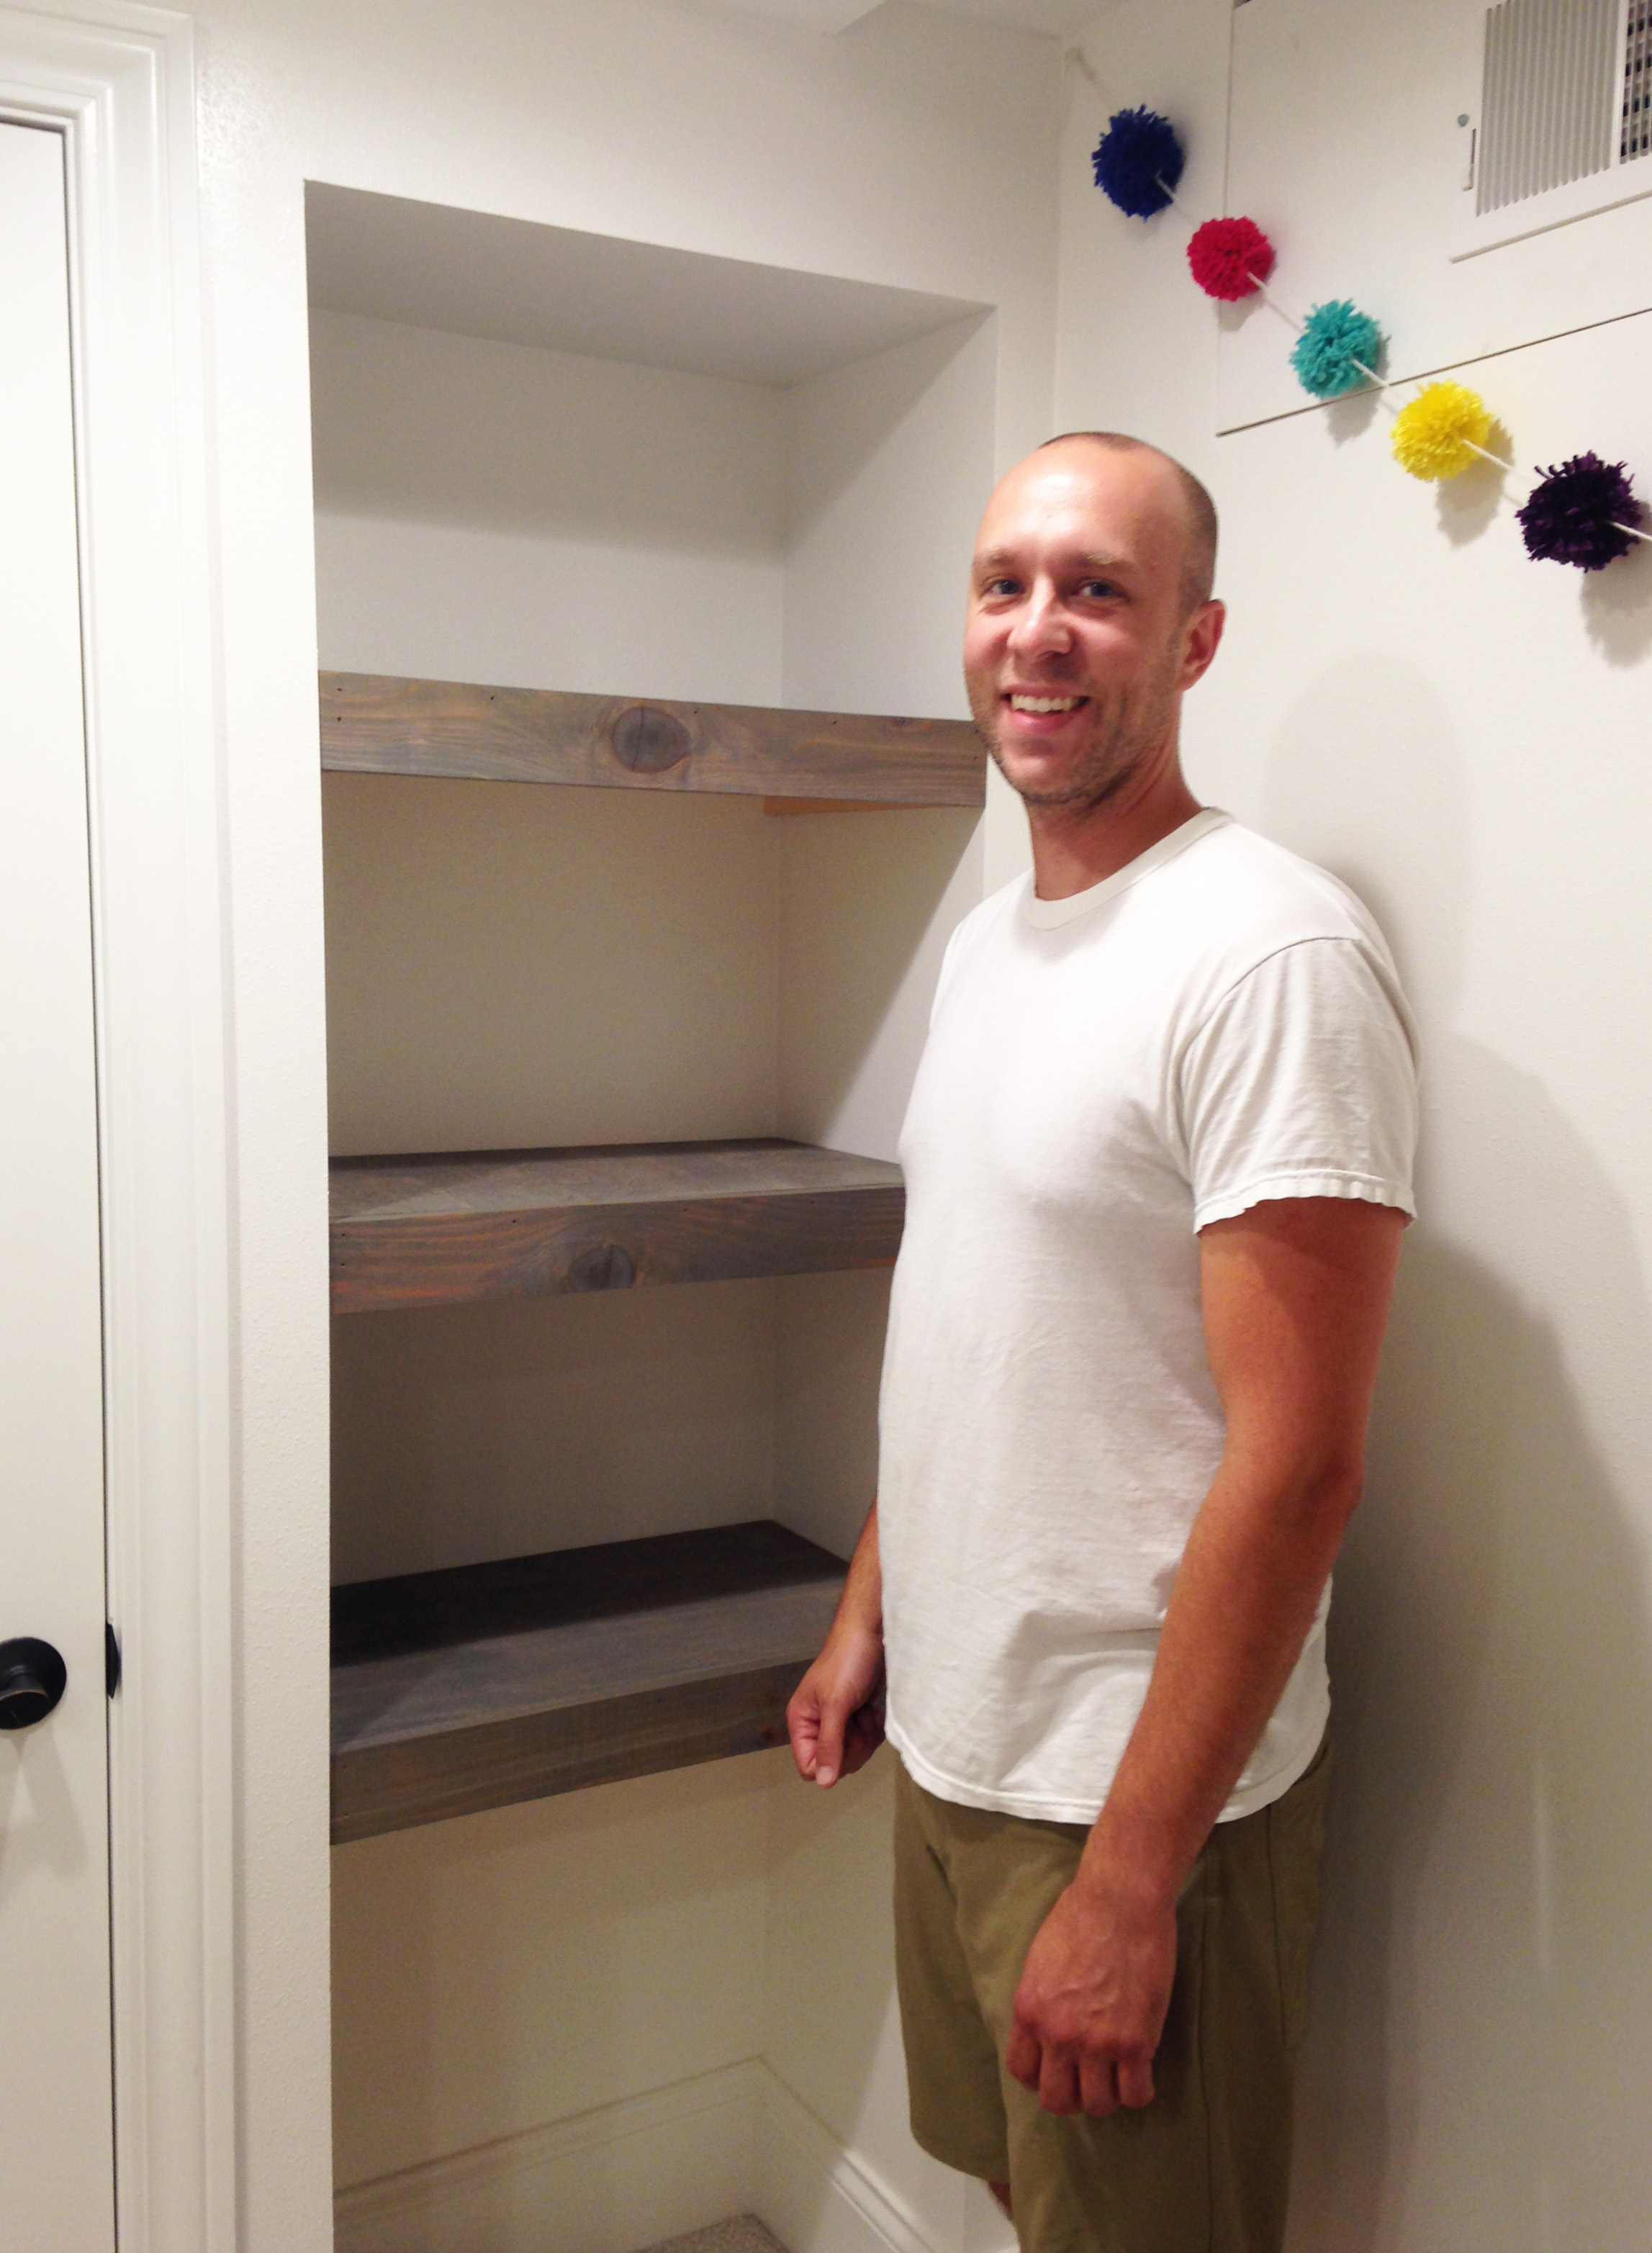
I think the best way to show this step, is to literally show it. So here you go. Three shelves, three sets of braces, evenly spaced down the wall. You could, of course, decide on any variety of spacing, but we opted for an even, streamlined look.
Super simple. Just a couple of finish nails to secure the front trim pieces to the shelves/braces.

As you can see, Andy was pleased. Now all we have to do is find all the junk to put on them!!!
Very cool!!!!
Great to hear! We’re in the process of building more elaborate (and BIGGER) ones in our basement as we speak : ) I’ll OF COURSE post about that later. Send pics of your bathroom if you add.

4 Comments