Previous post
too many ideas. too little time. (and far too much chai.)

Or as I like to call it, controlling the chaos. If you have kids, then you know how many art projects enter your household over the course of a school year. My girls aren’t even in REGULAR school yet (I consider K4 “regular,” in case you’re wondering) and the amount of artwork we already take in is extraordinary. The problem is: What to do with it?
There are some great apps out there. One I just recently started using is Artkive that lets you snap pics, save them and turn them into books or other memorable pieces along the way. But there’s also something really special about the tangible, real thing. Not just the digital version. So my solution was a giant cork board to organize the madness.
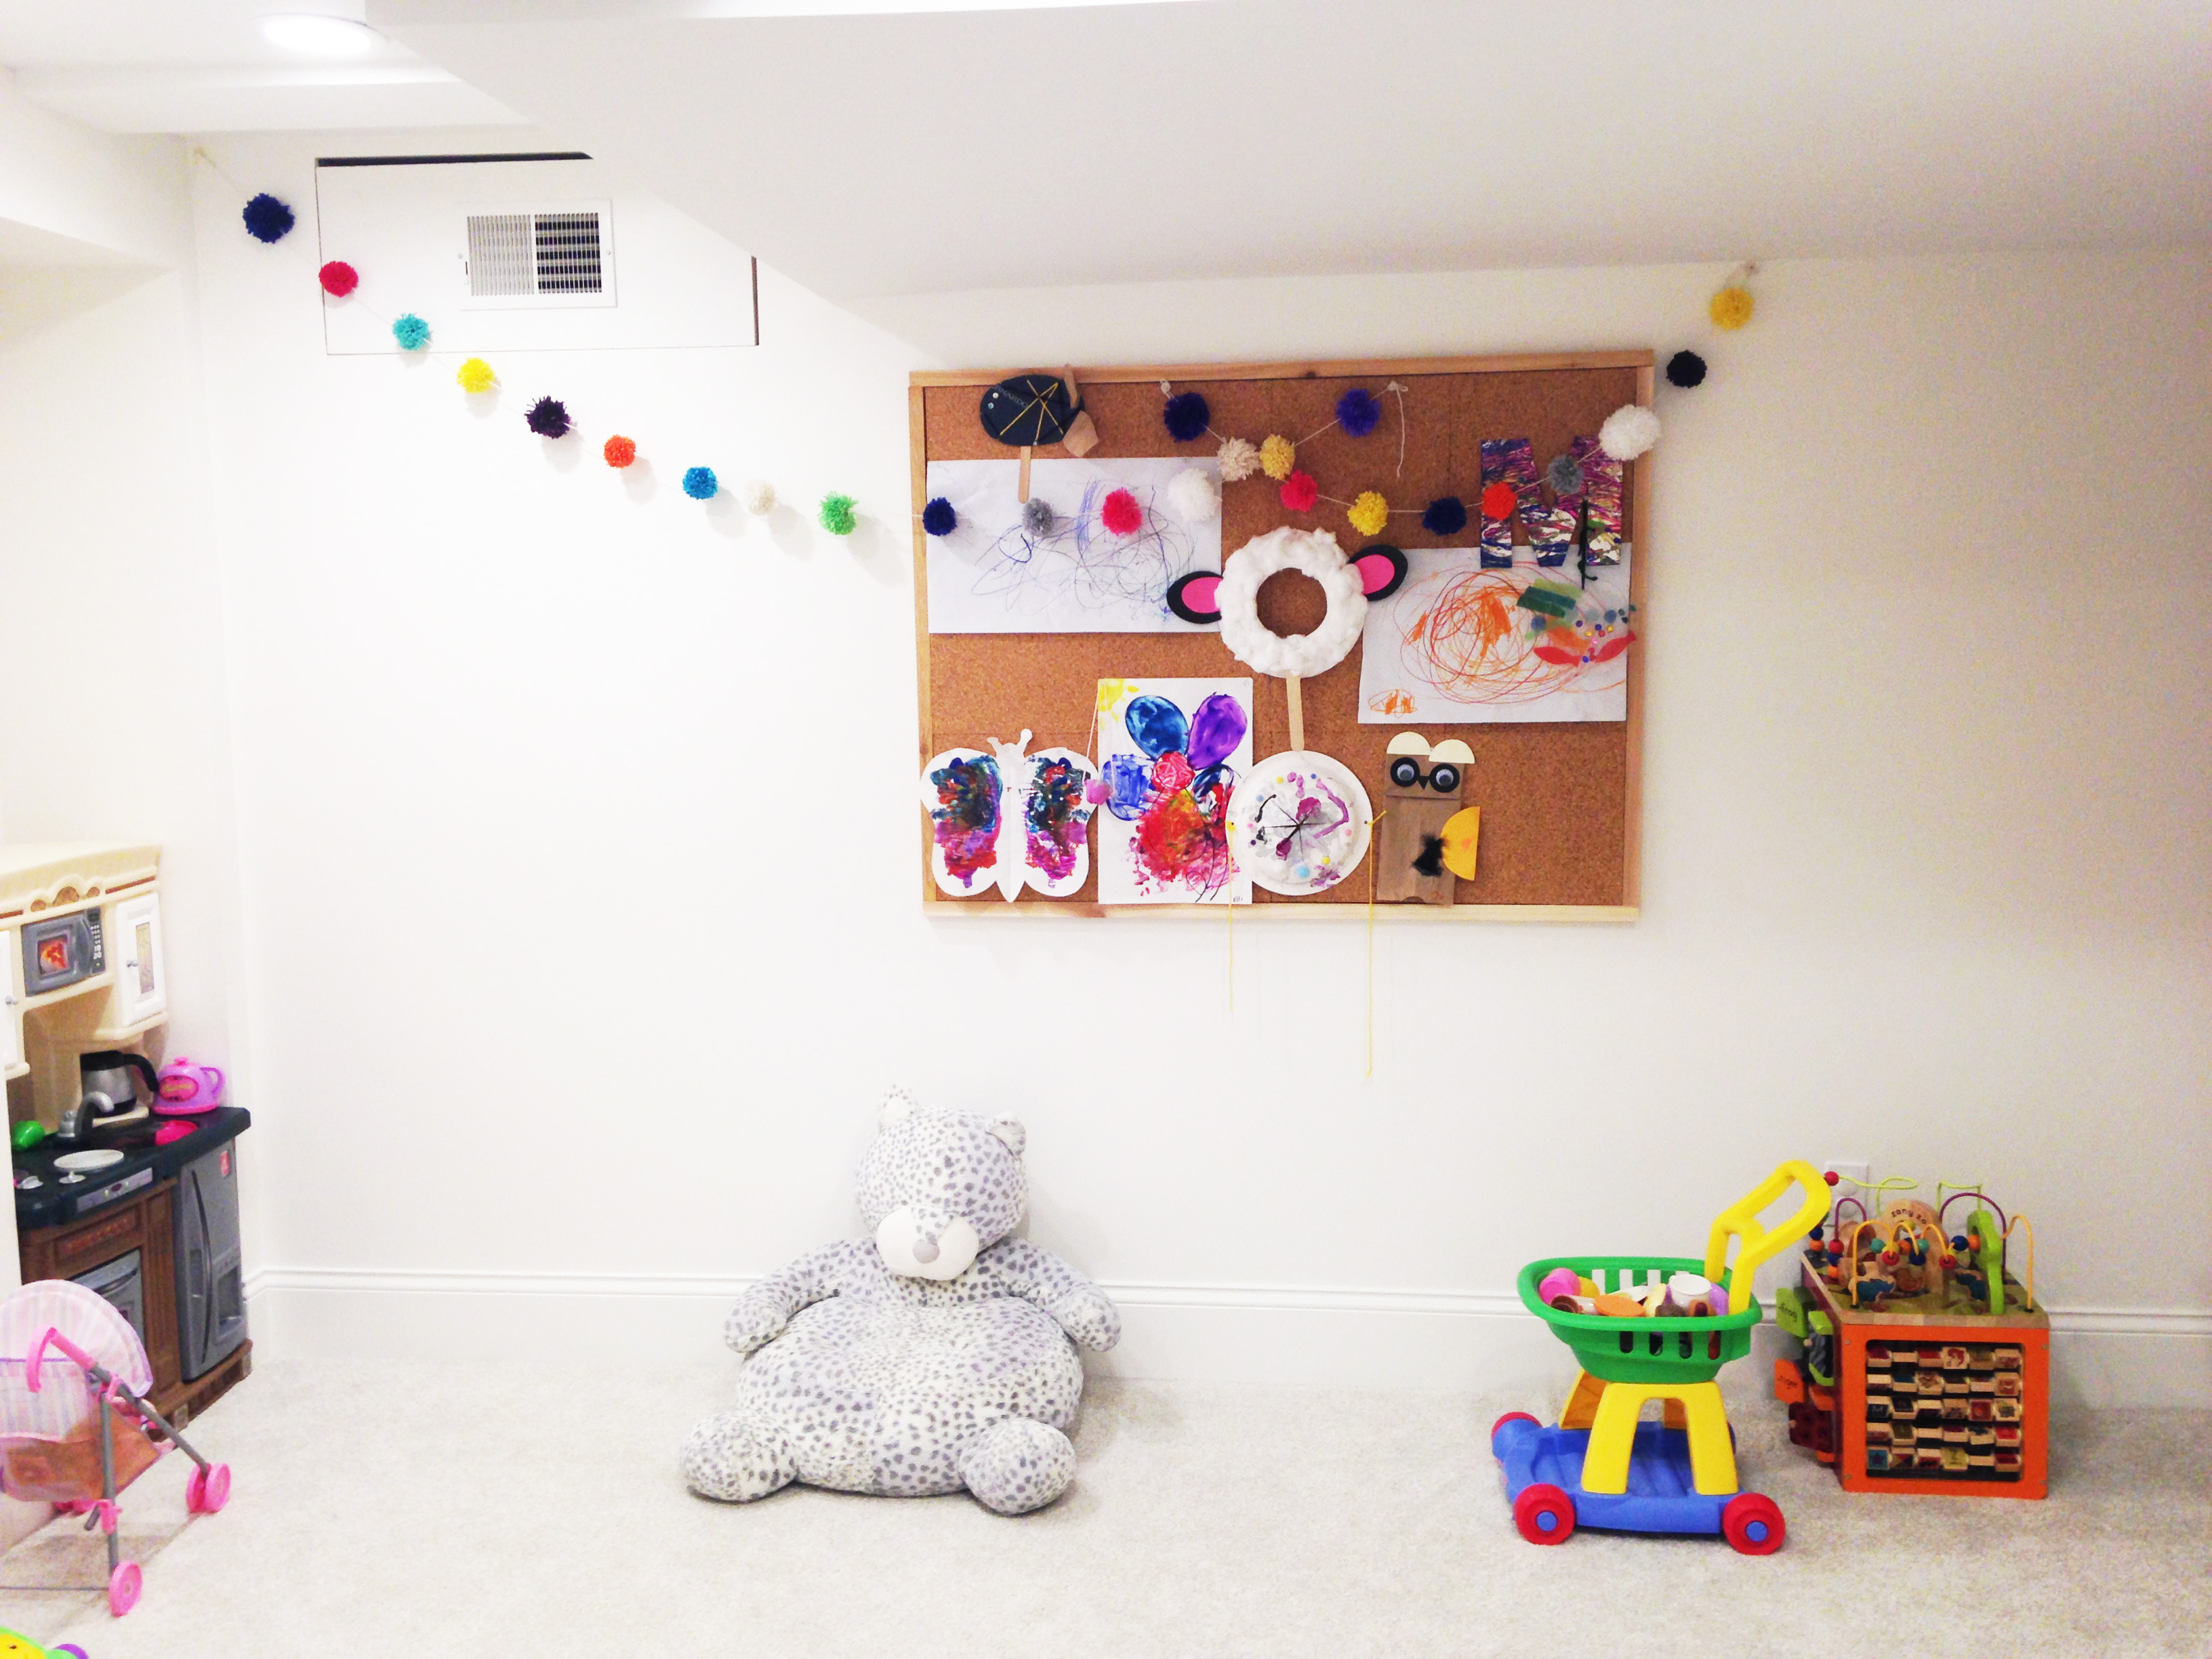
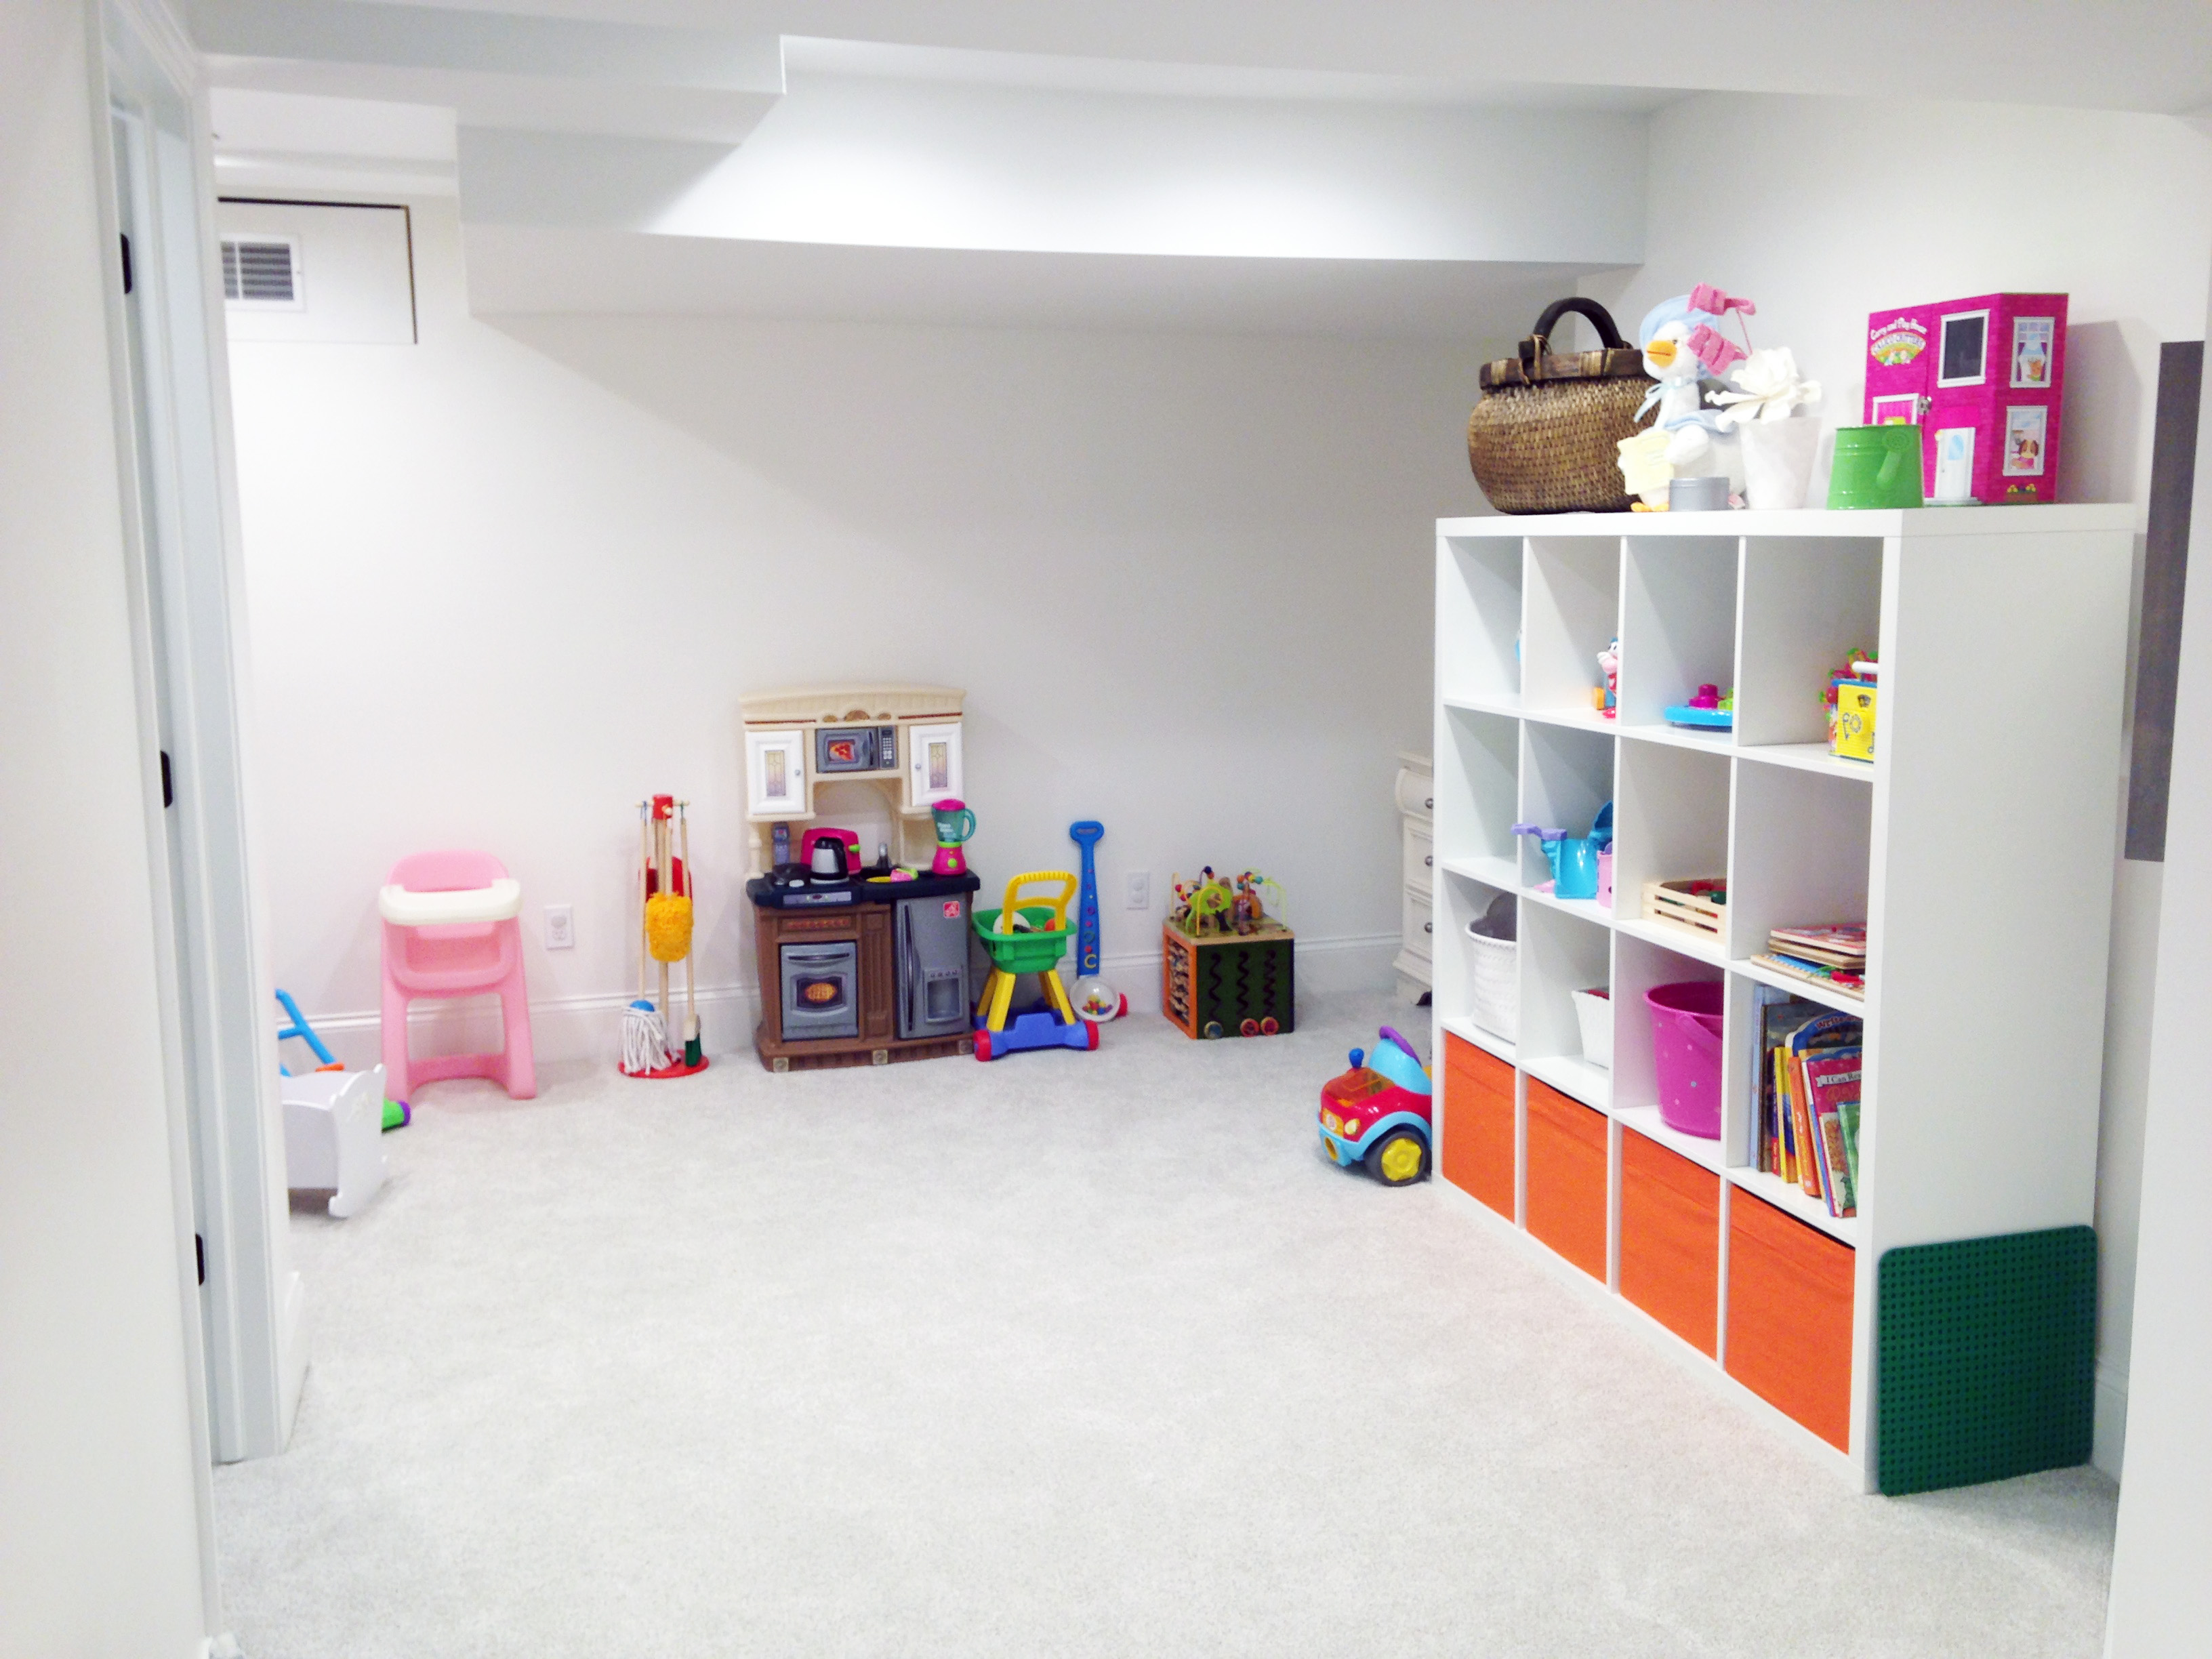
Here’s what our basement looked like before, bare walls and all:
As you can see, that wall was BEGGING for a little sumthin.
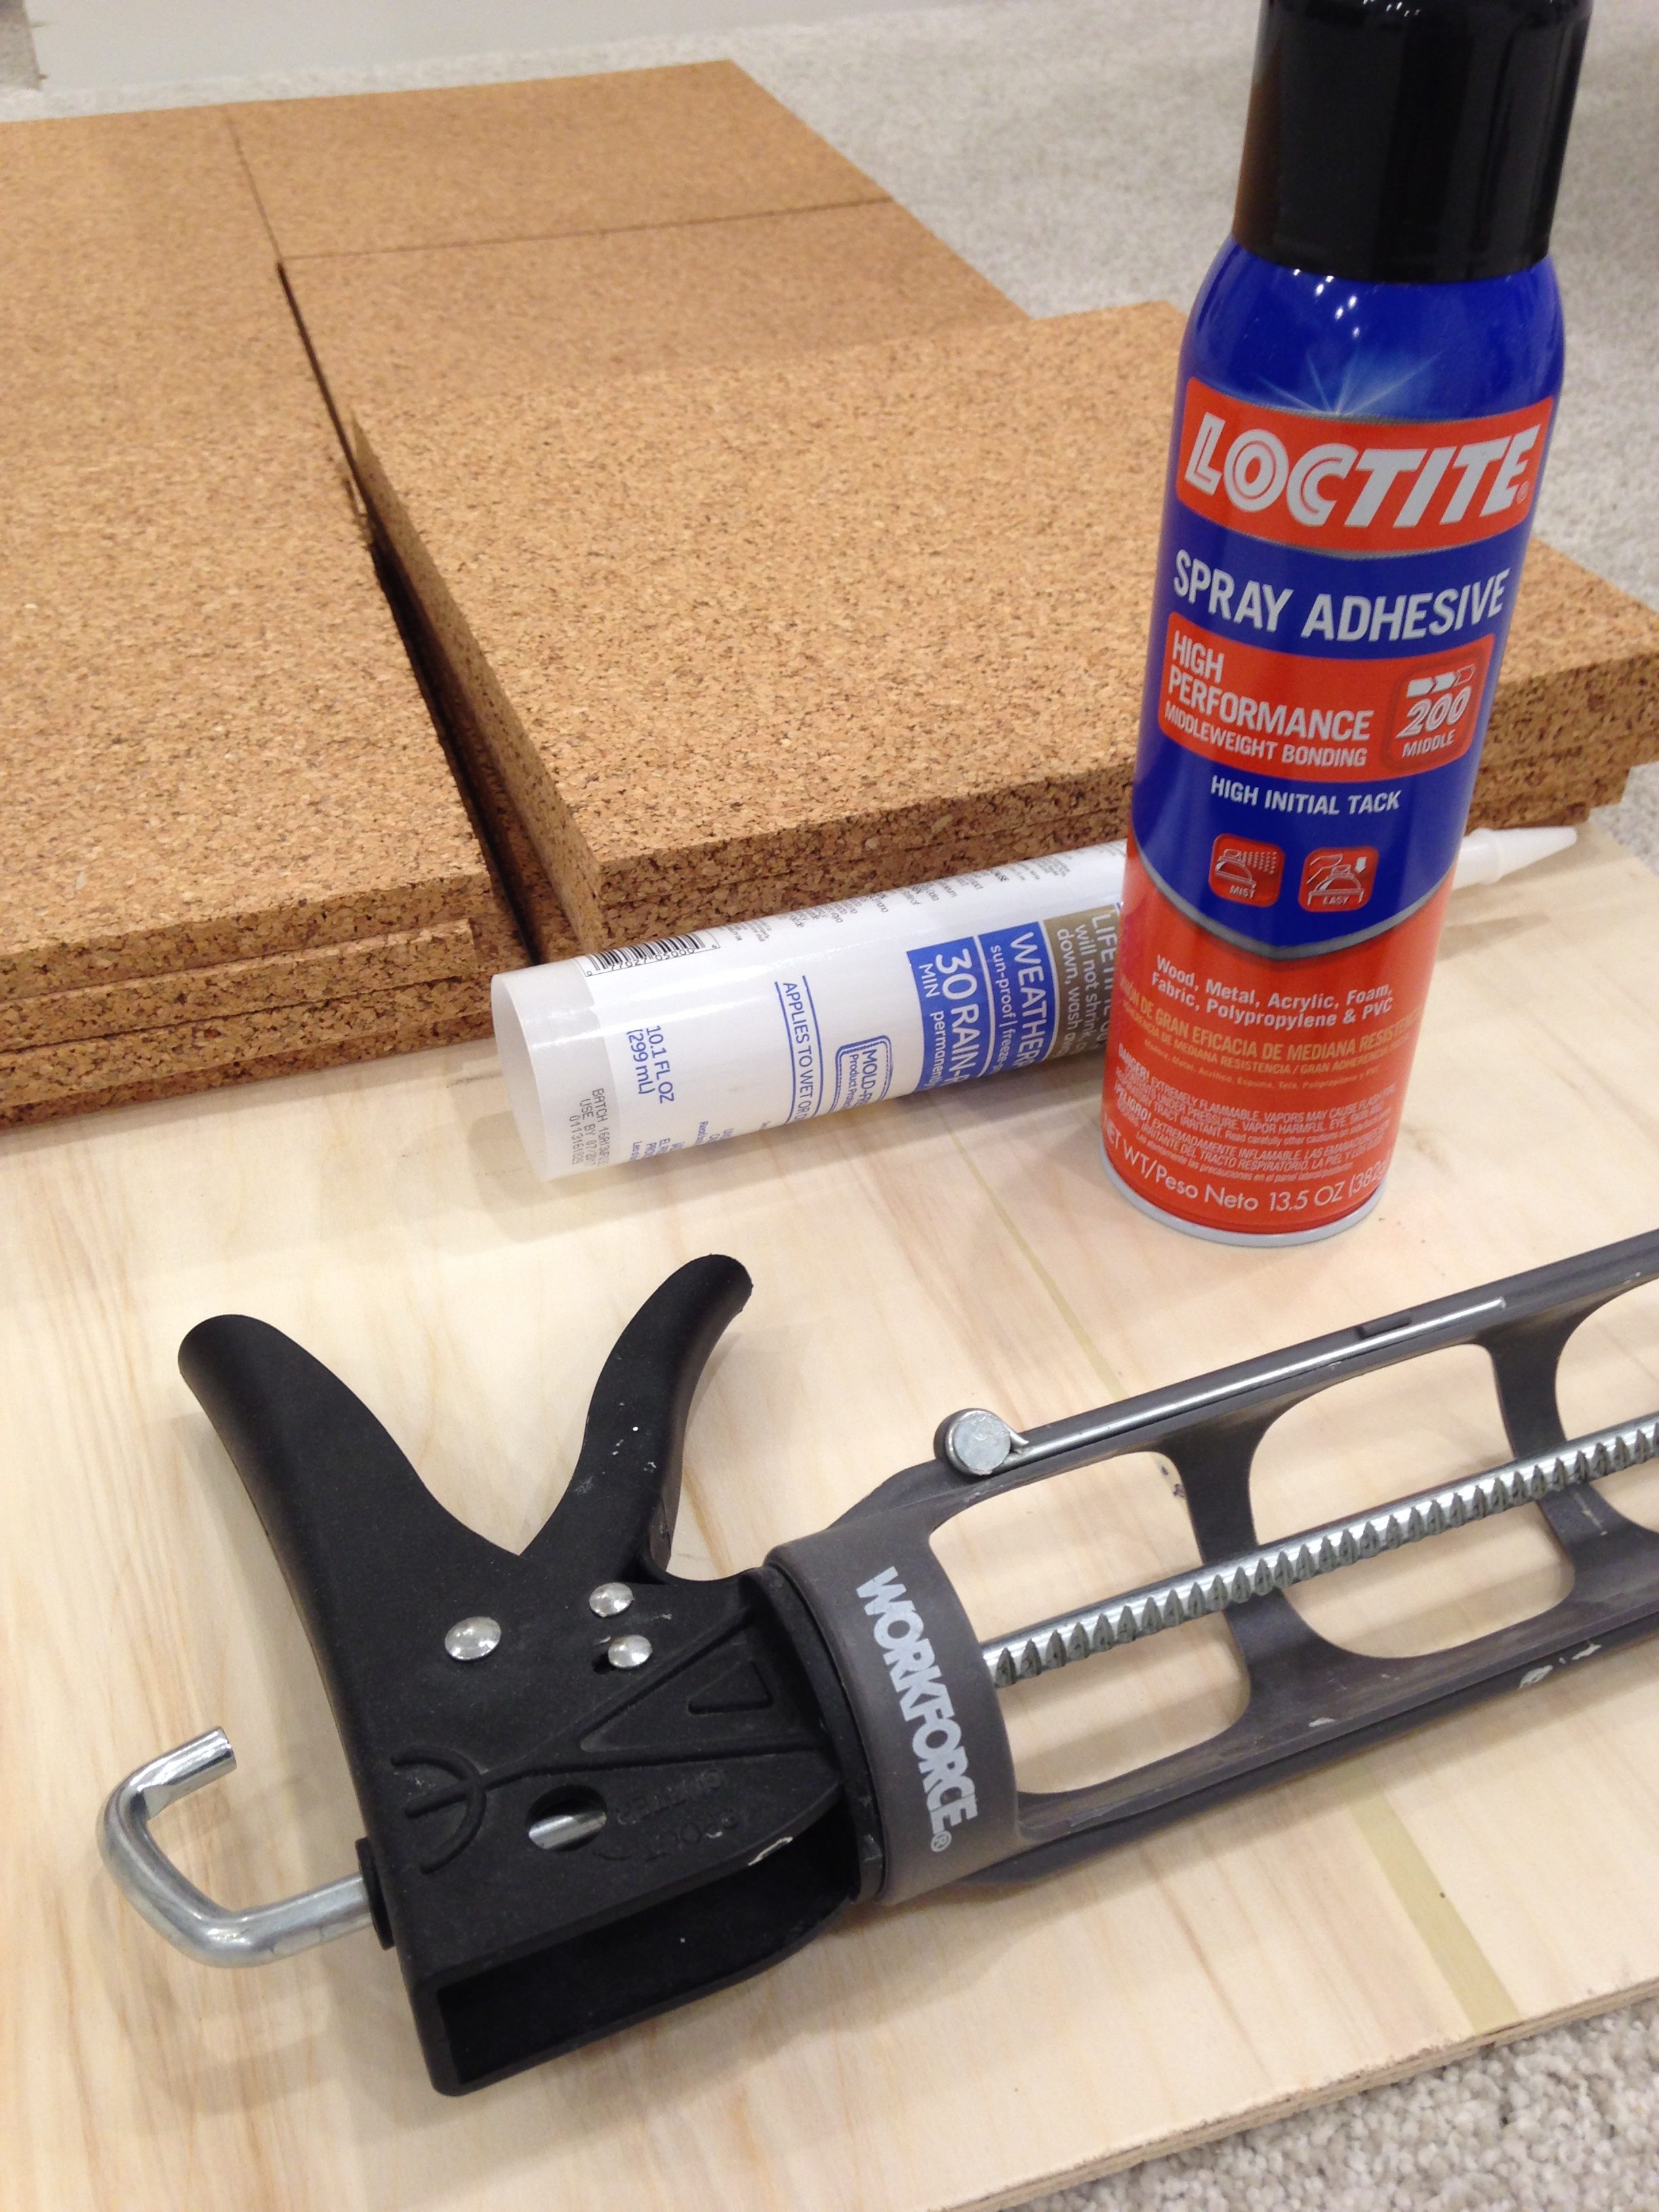
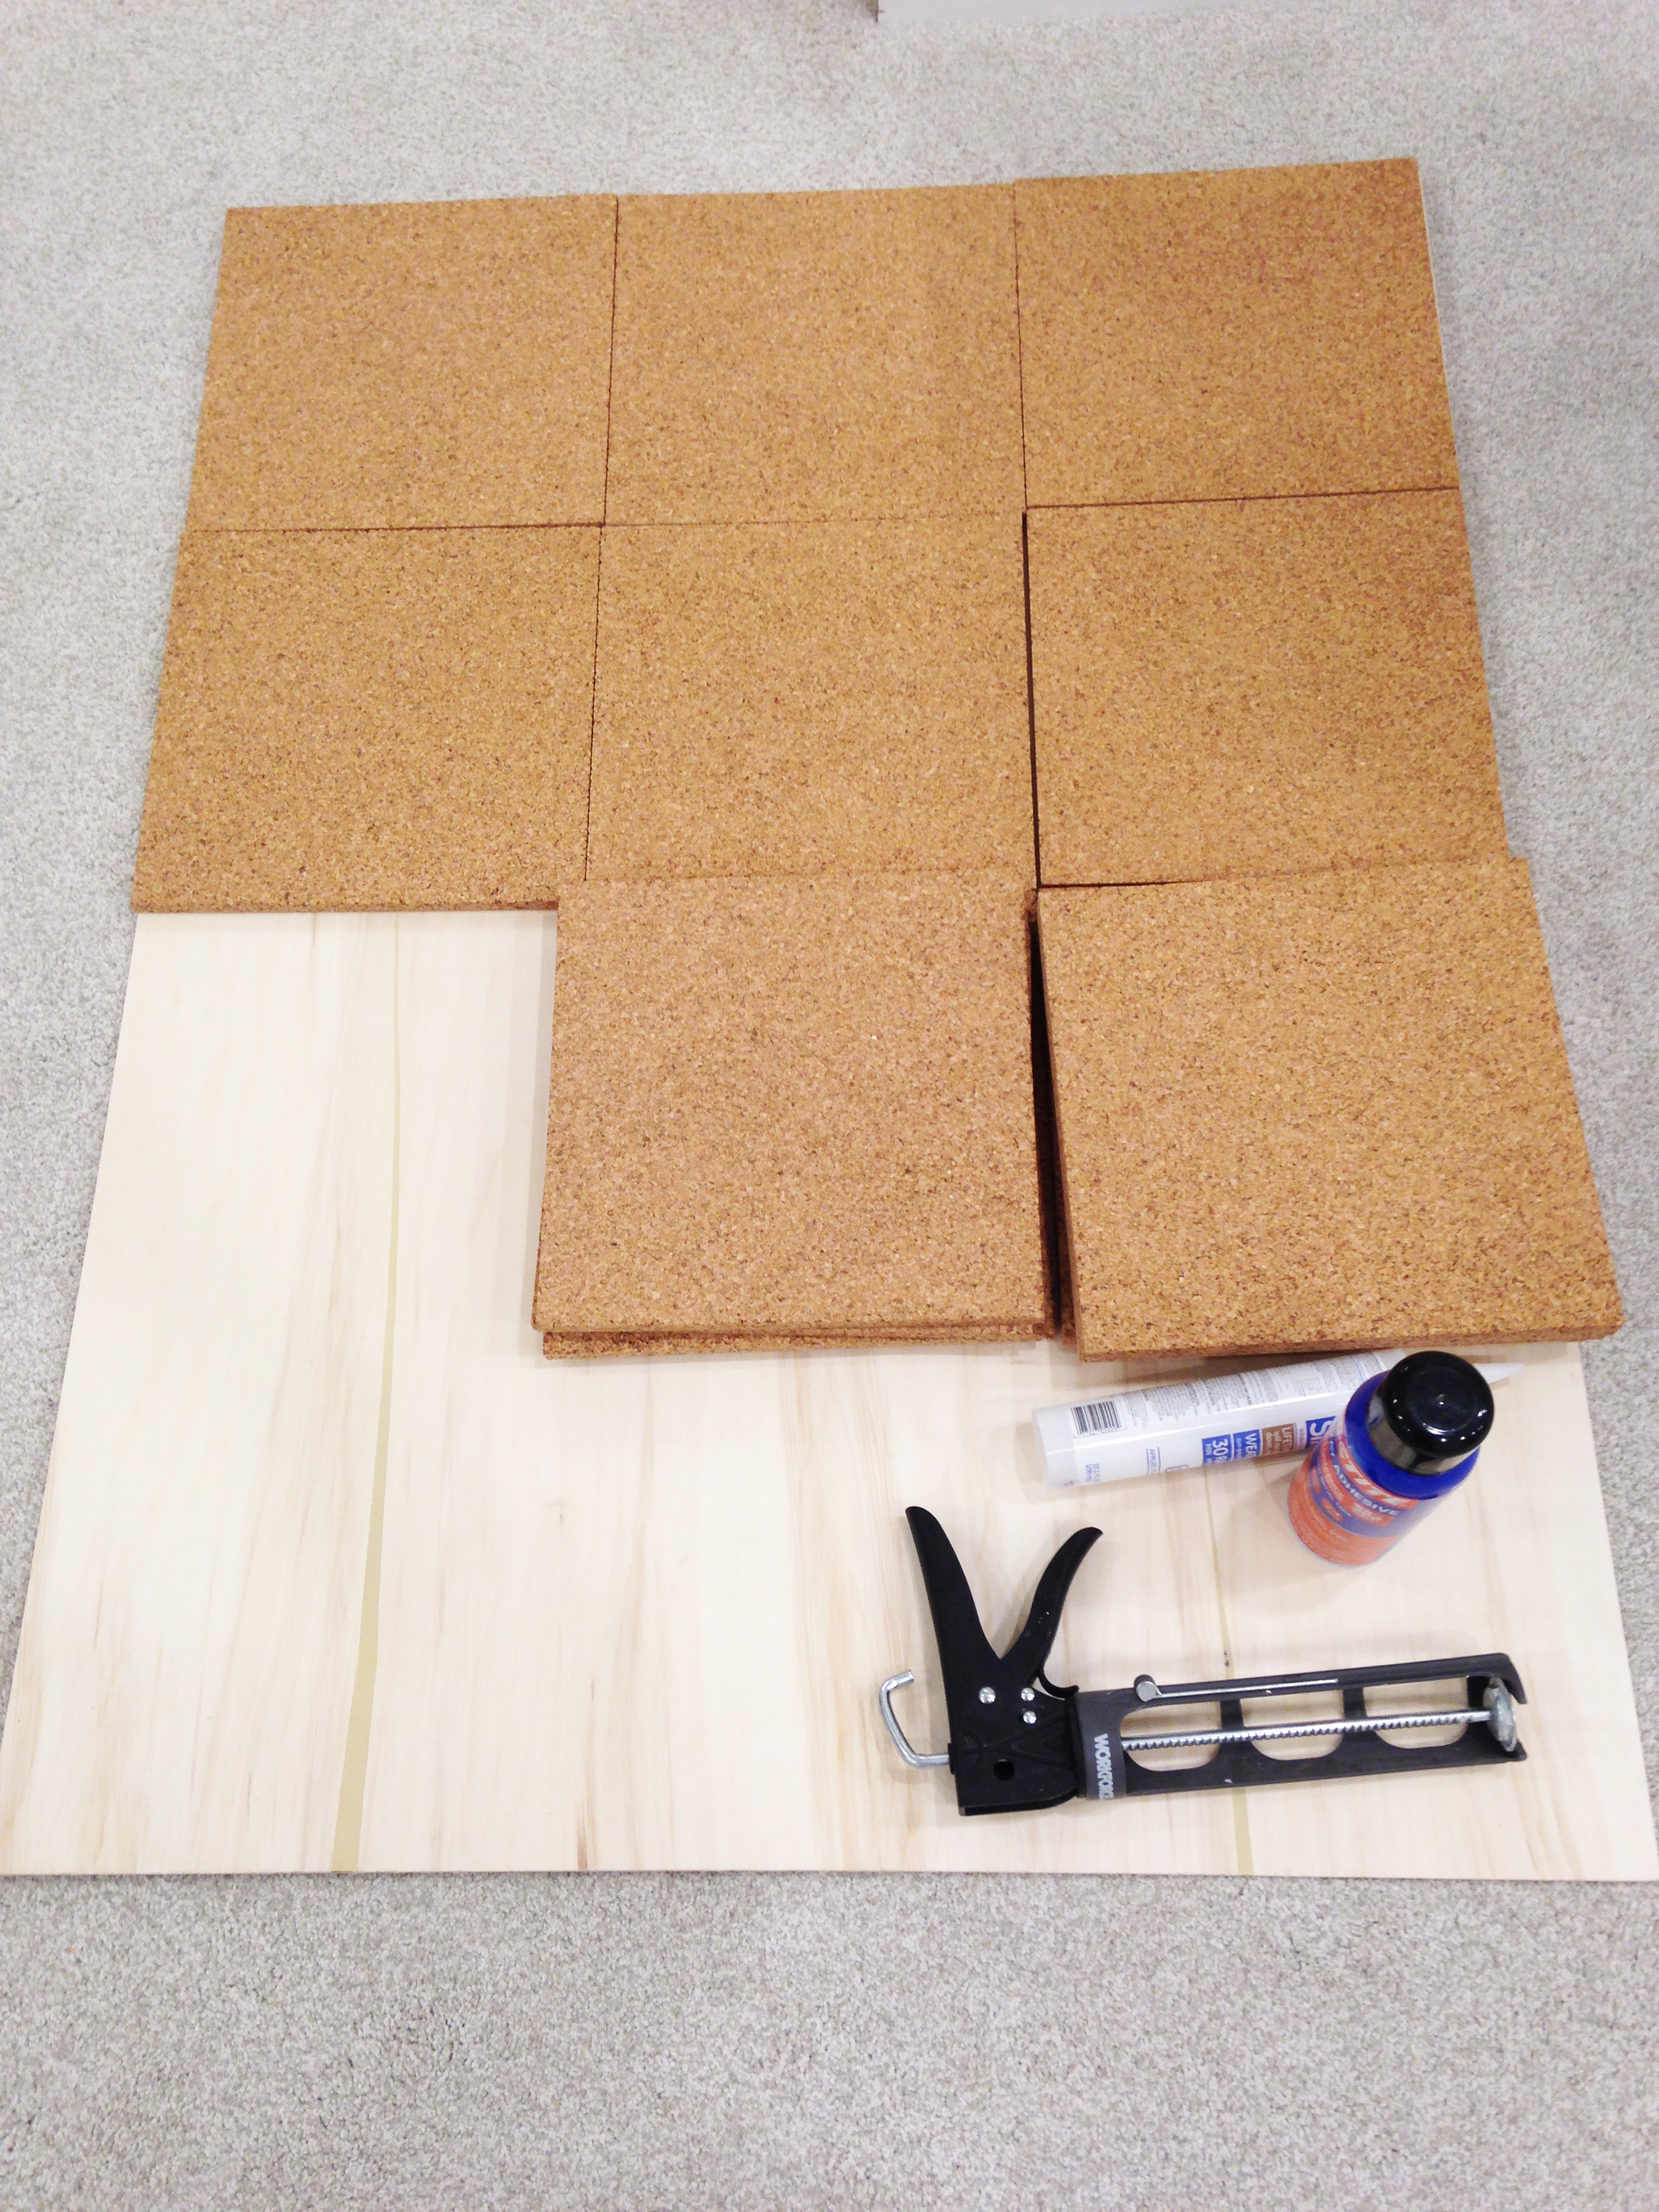
Supplies needed:
Once I decided on size (4ft wide x 3ft high), my husband picked up a pre-cut piece of 1/4″ plywood from Home Depot.
I got lucky and scored these great, thick (free) squares from my agency that was remodeling. Morgan – 1. Chaos – 0.

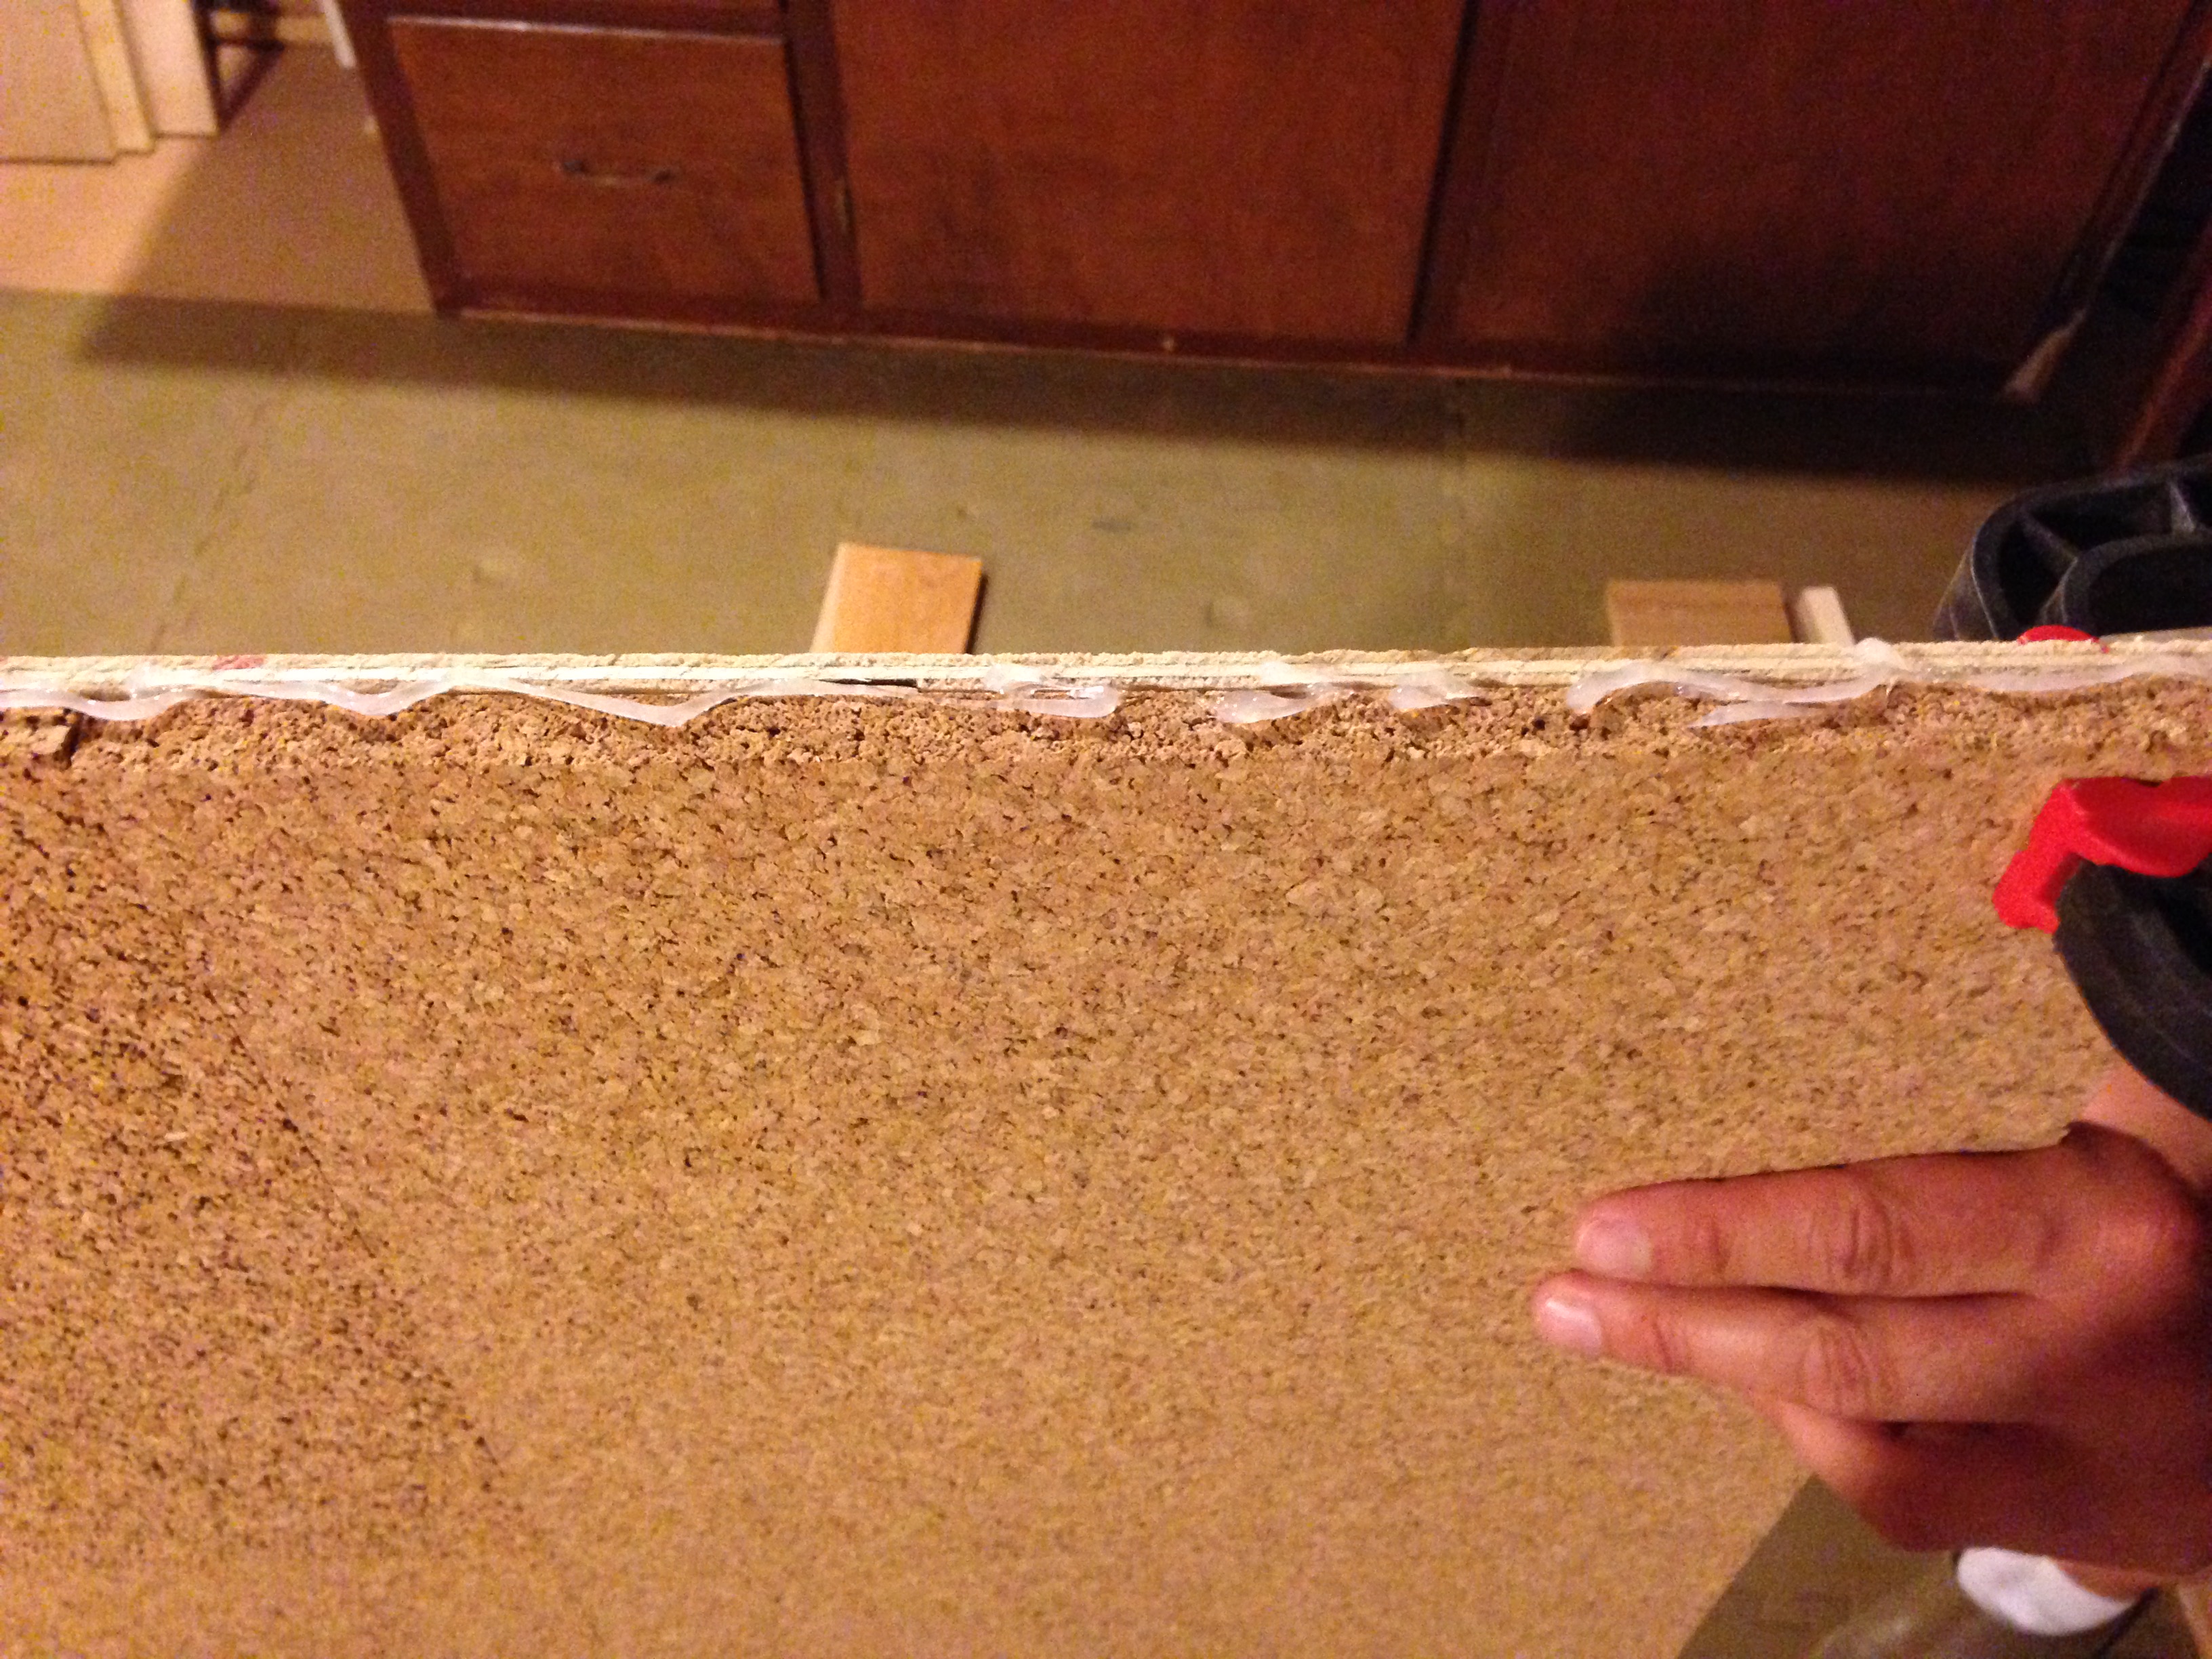
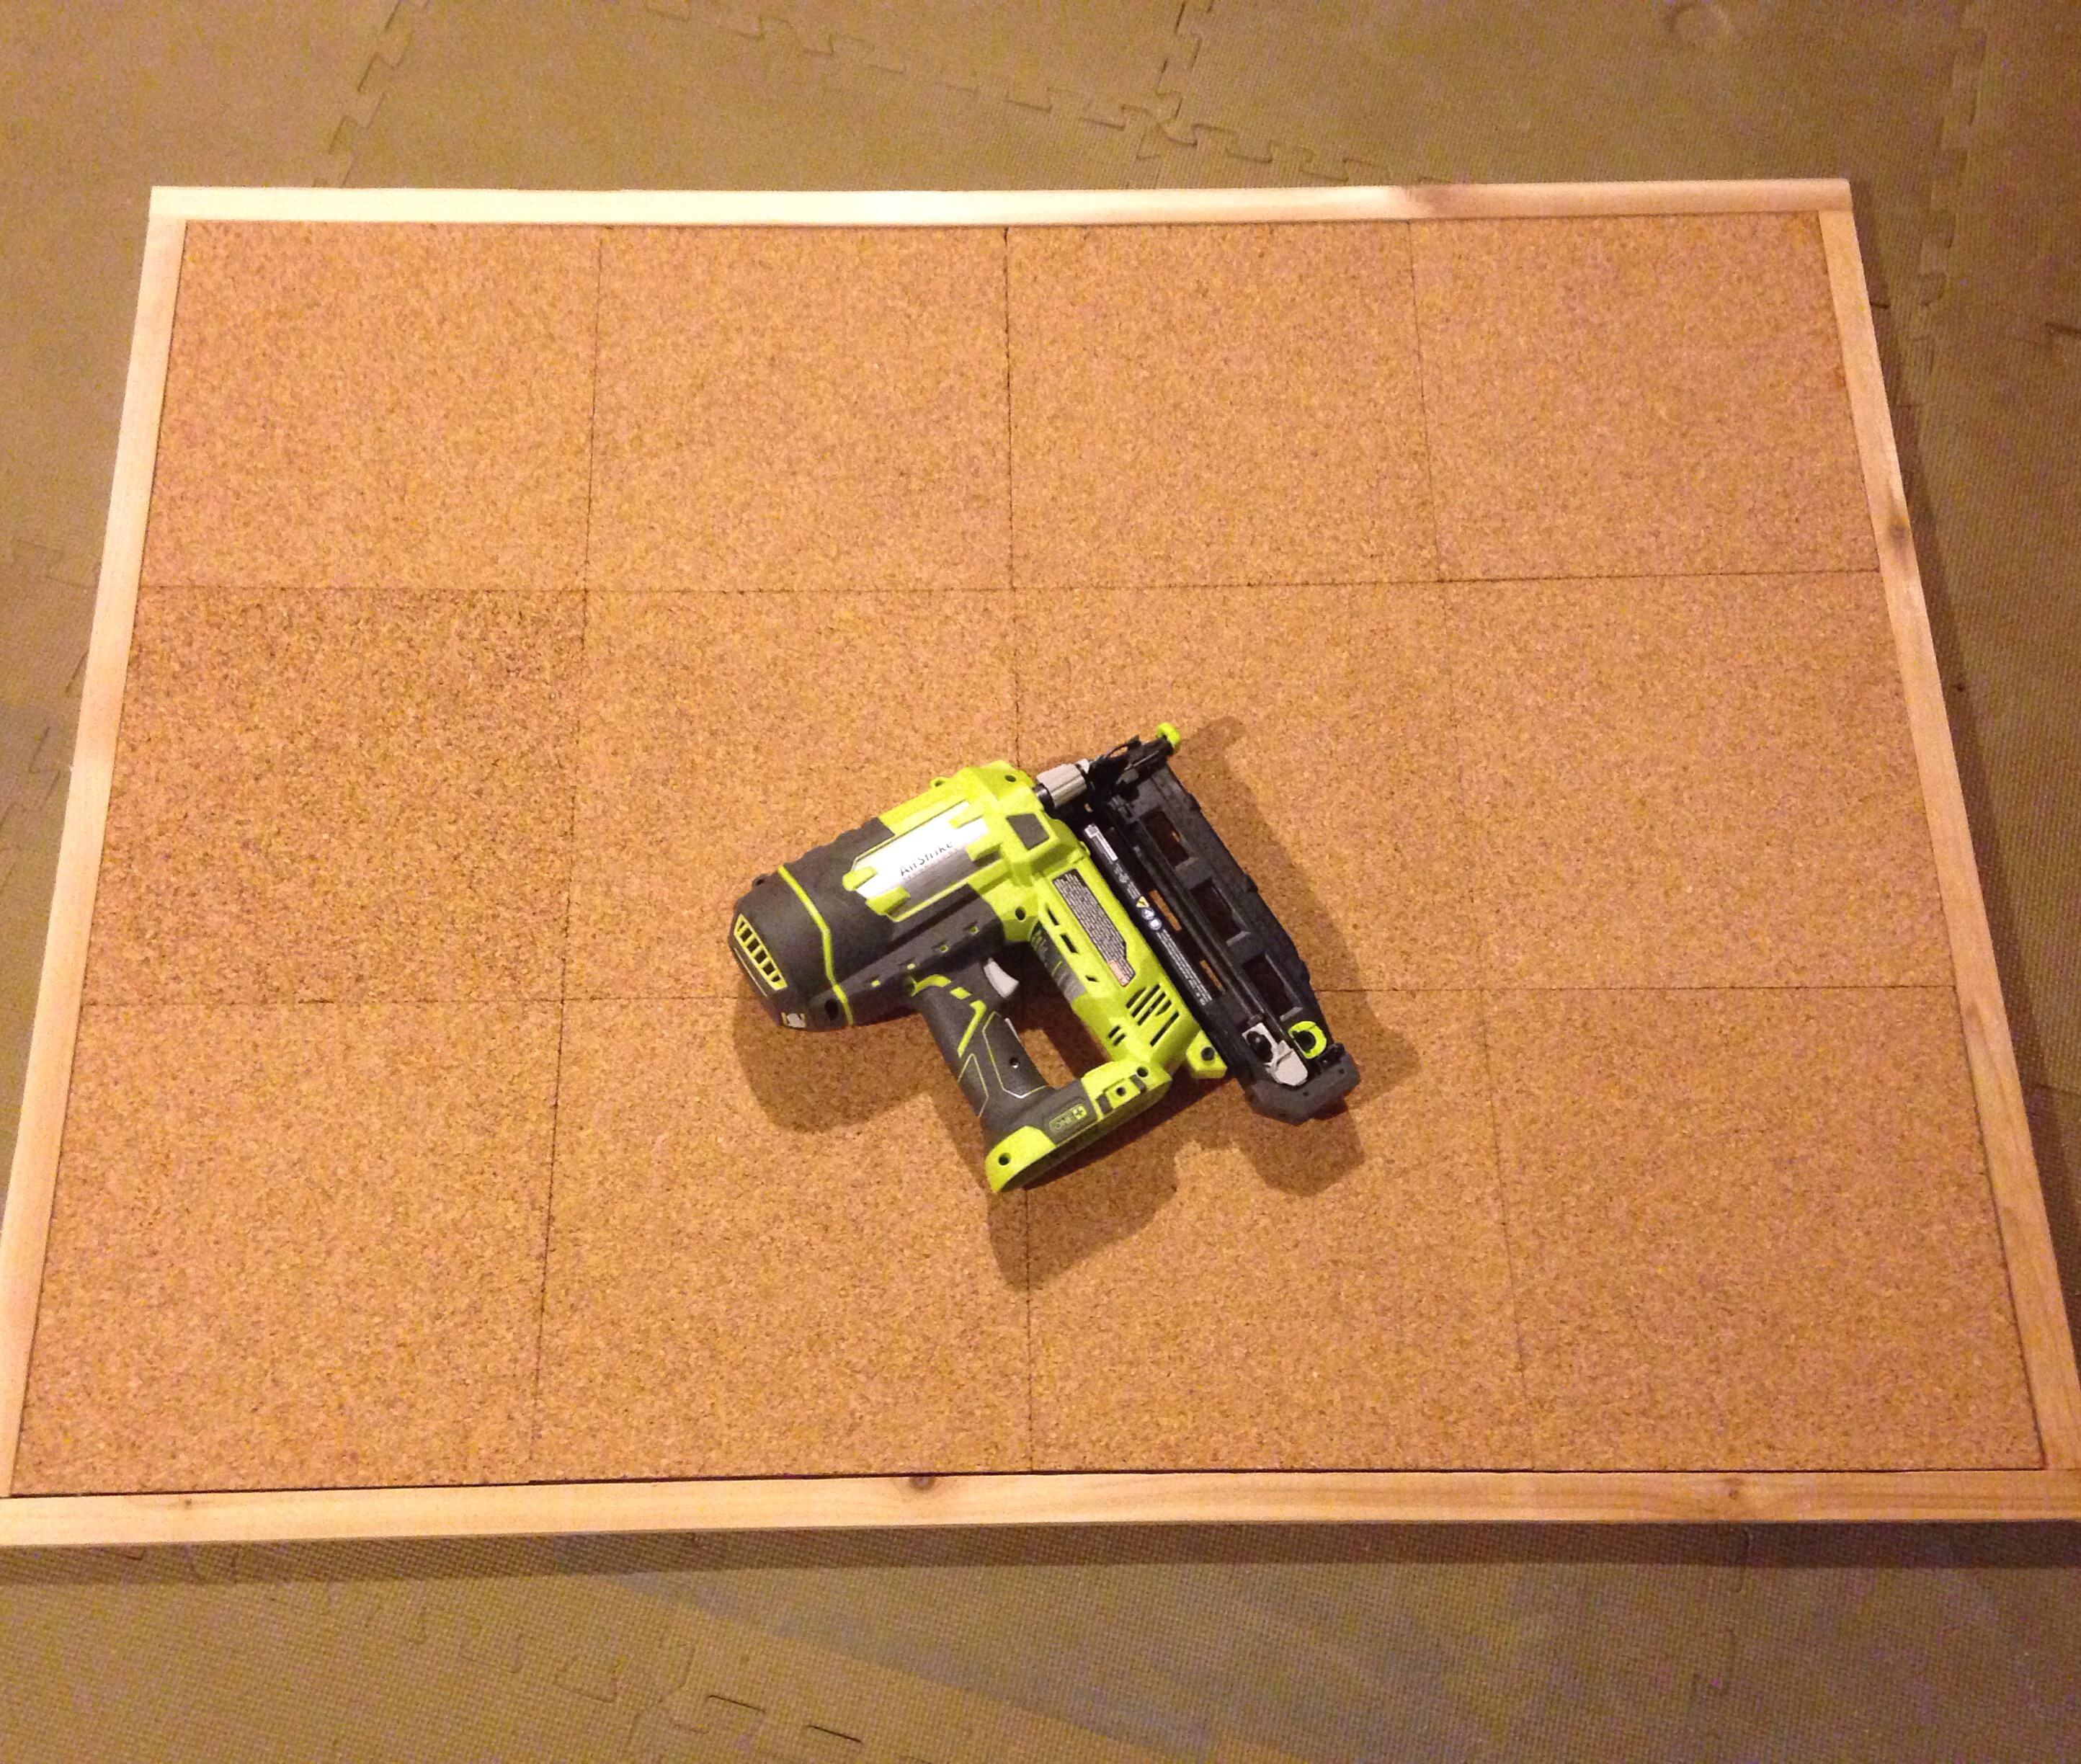
And then I got to work adhering them to the board. Because I have read many tutorials on others doing this same type of project, I opted for a combo of adhesives, but there are many products to accomplish the job. If at any point, my squares become loose, I will add tiny finishing nails to each corner. But so far, my squares seem secure.
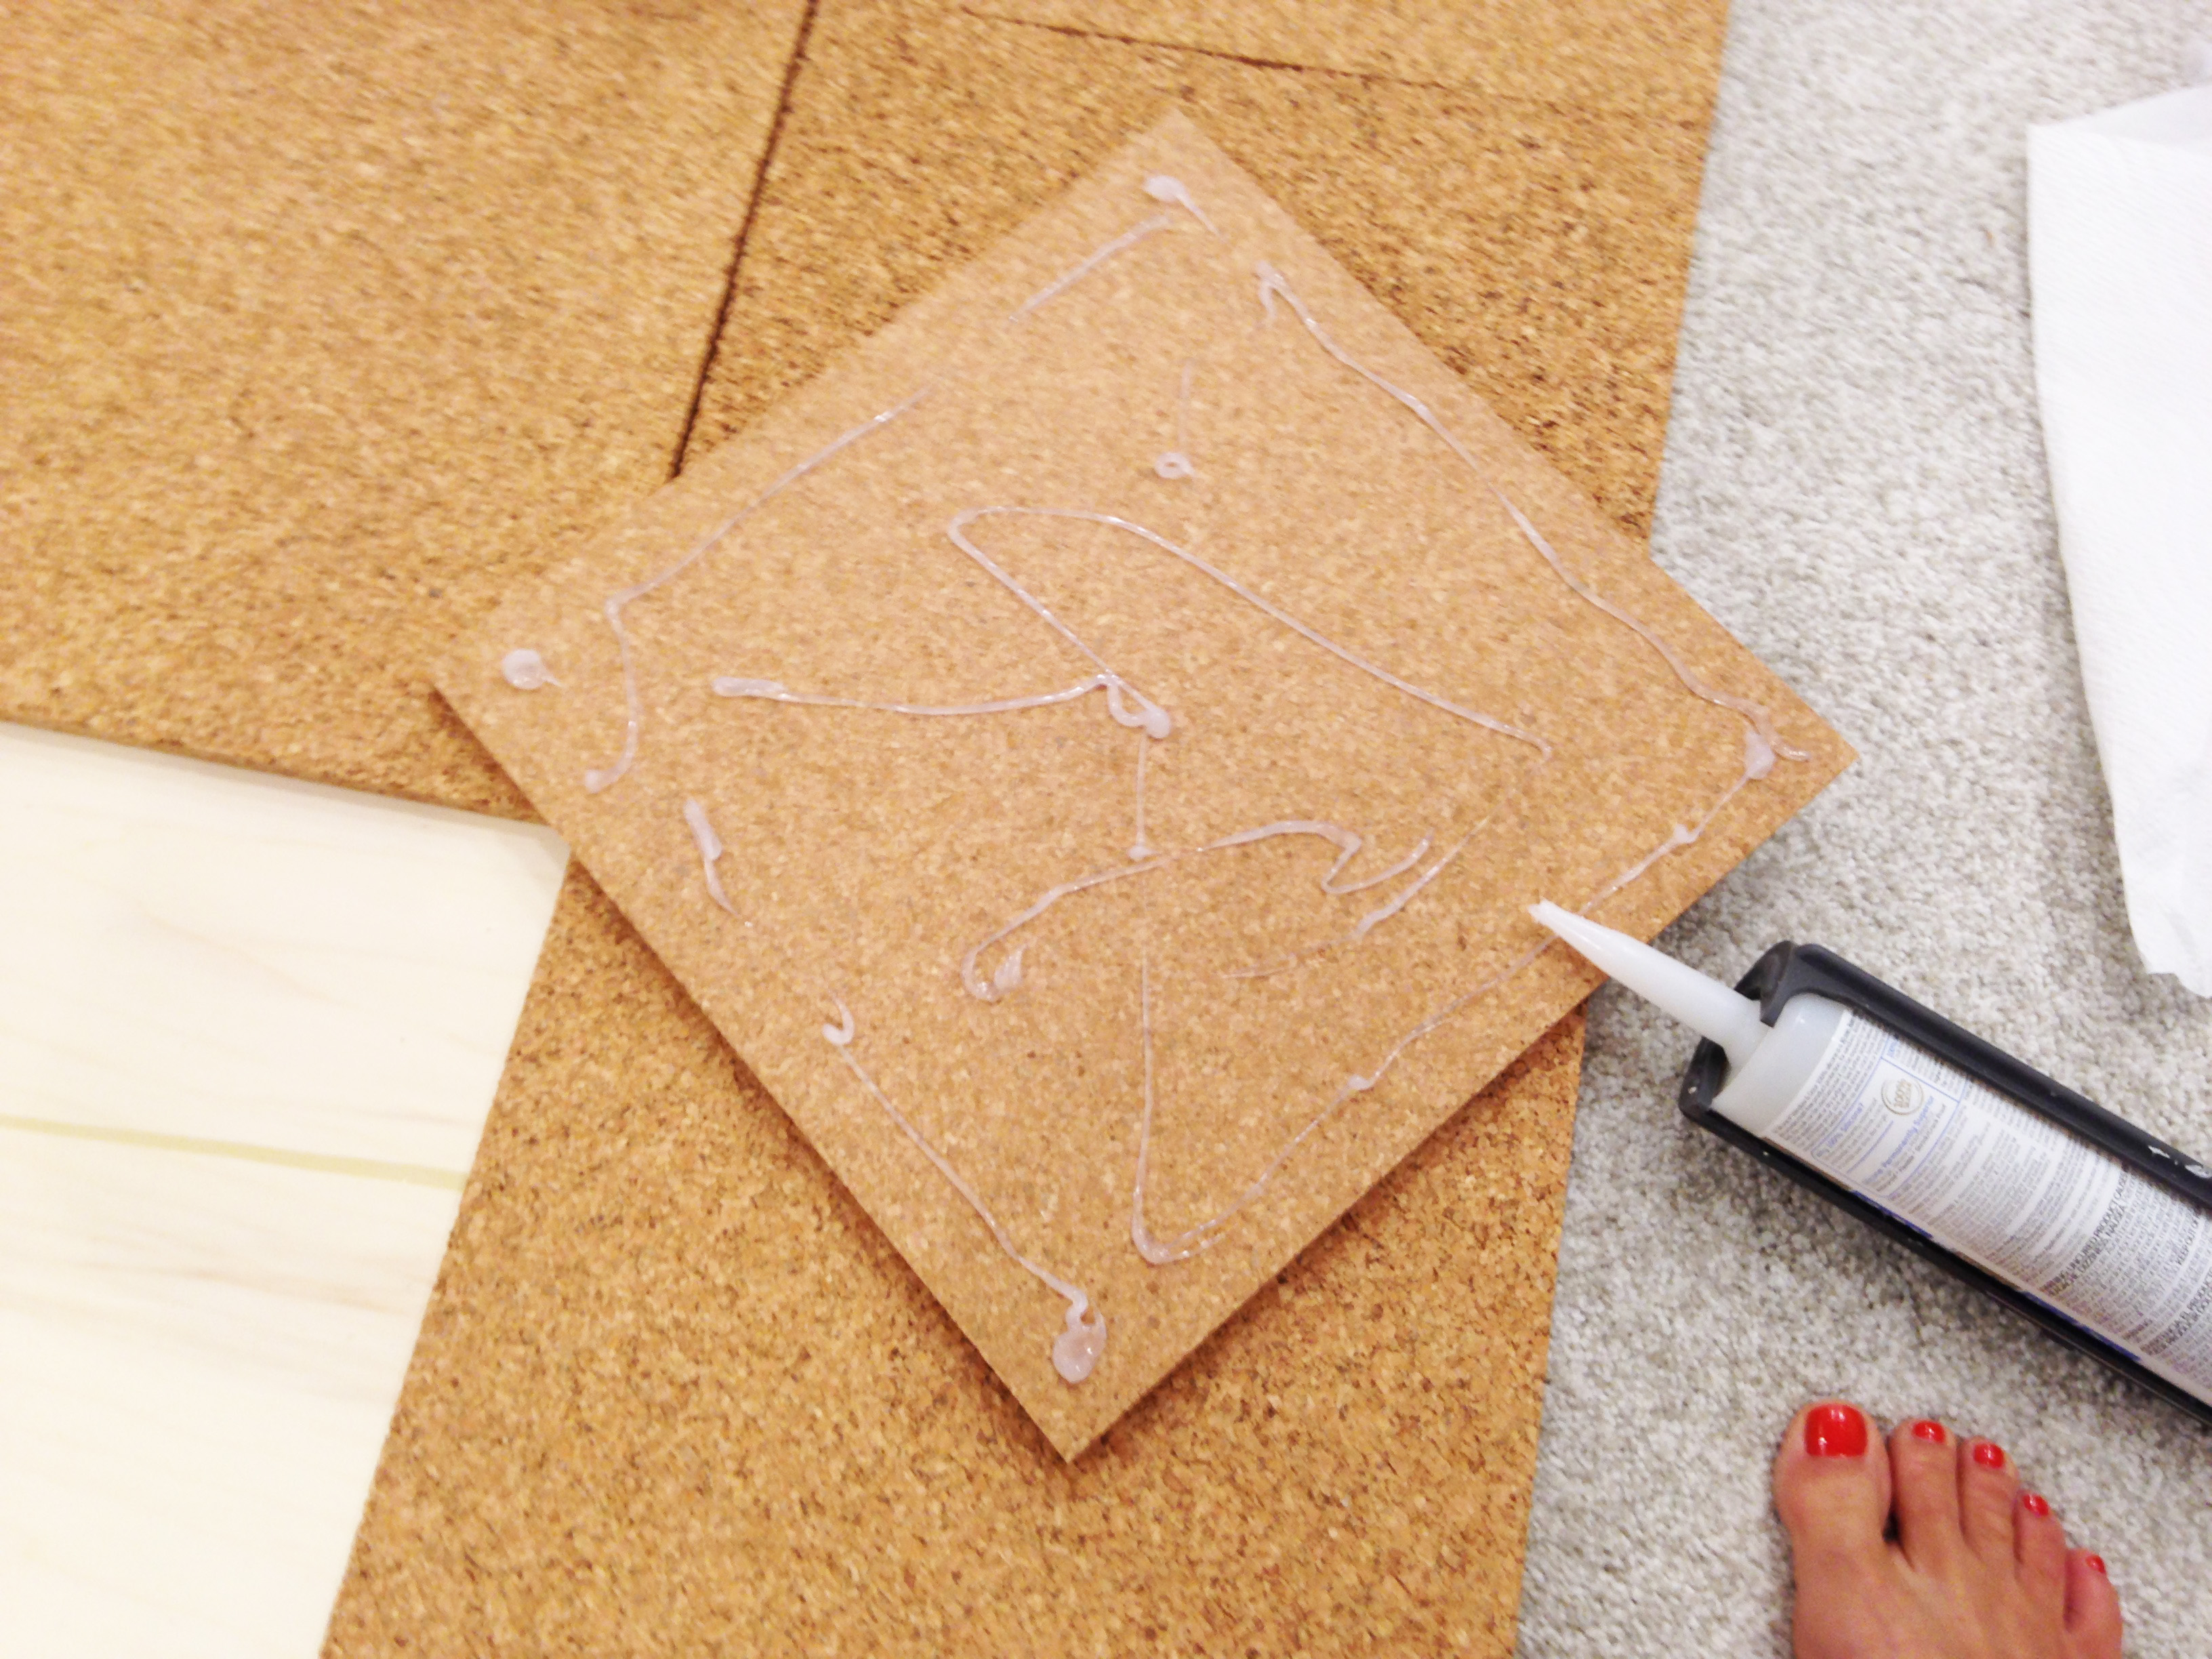
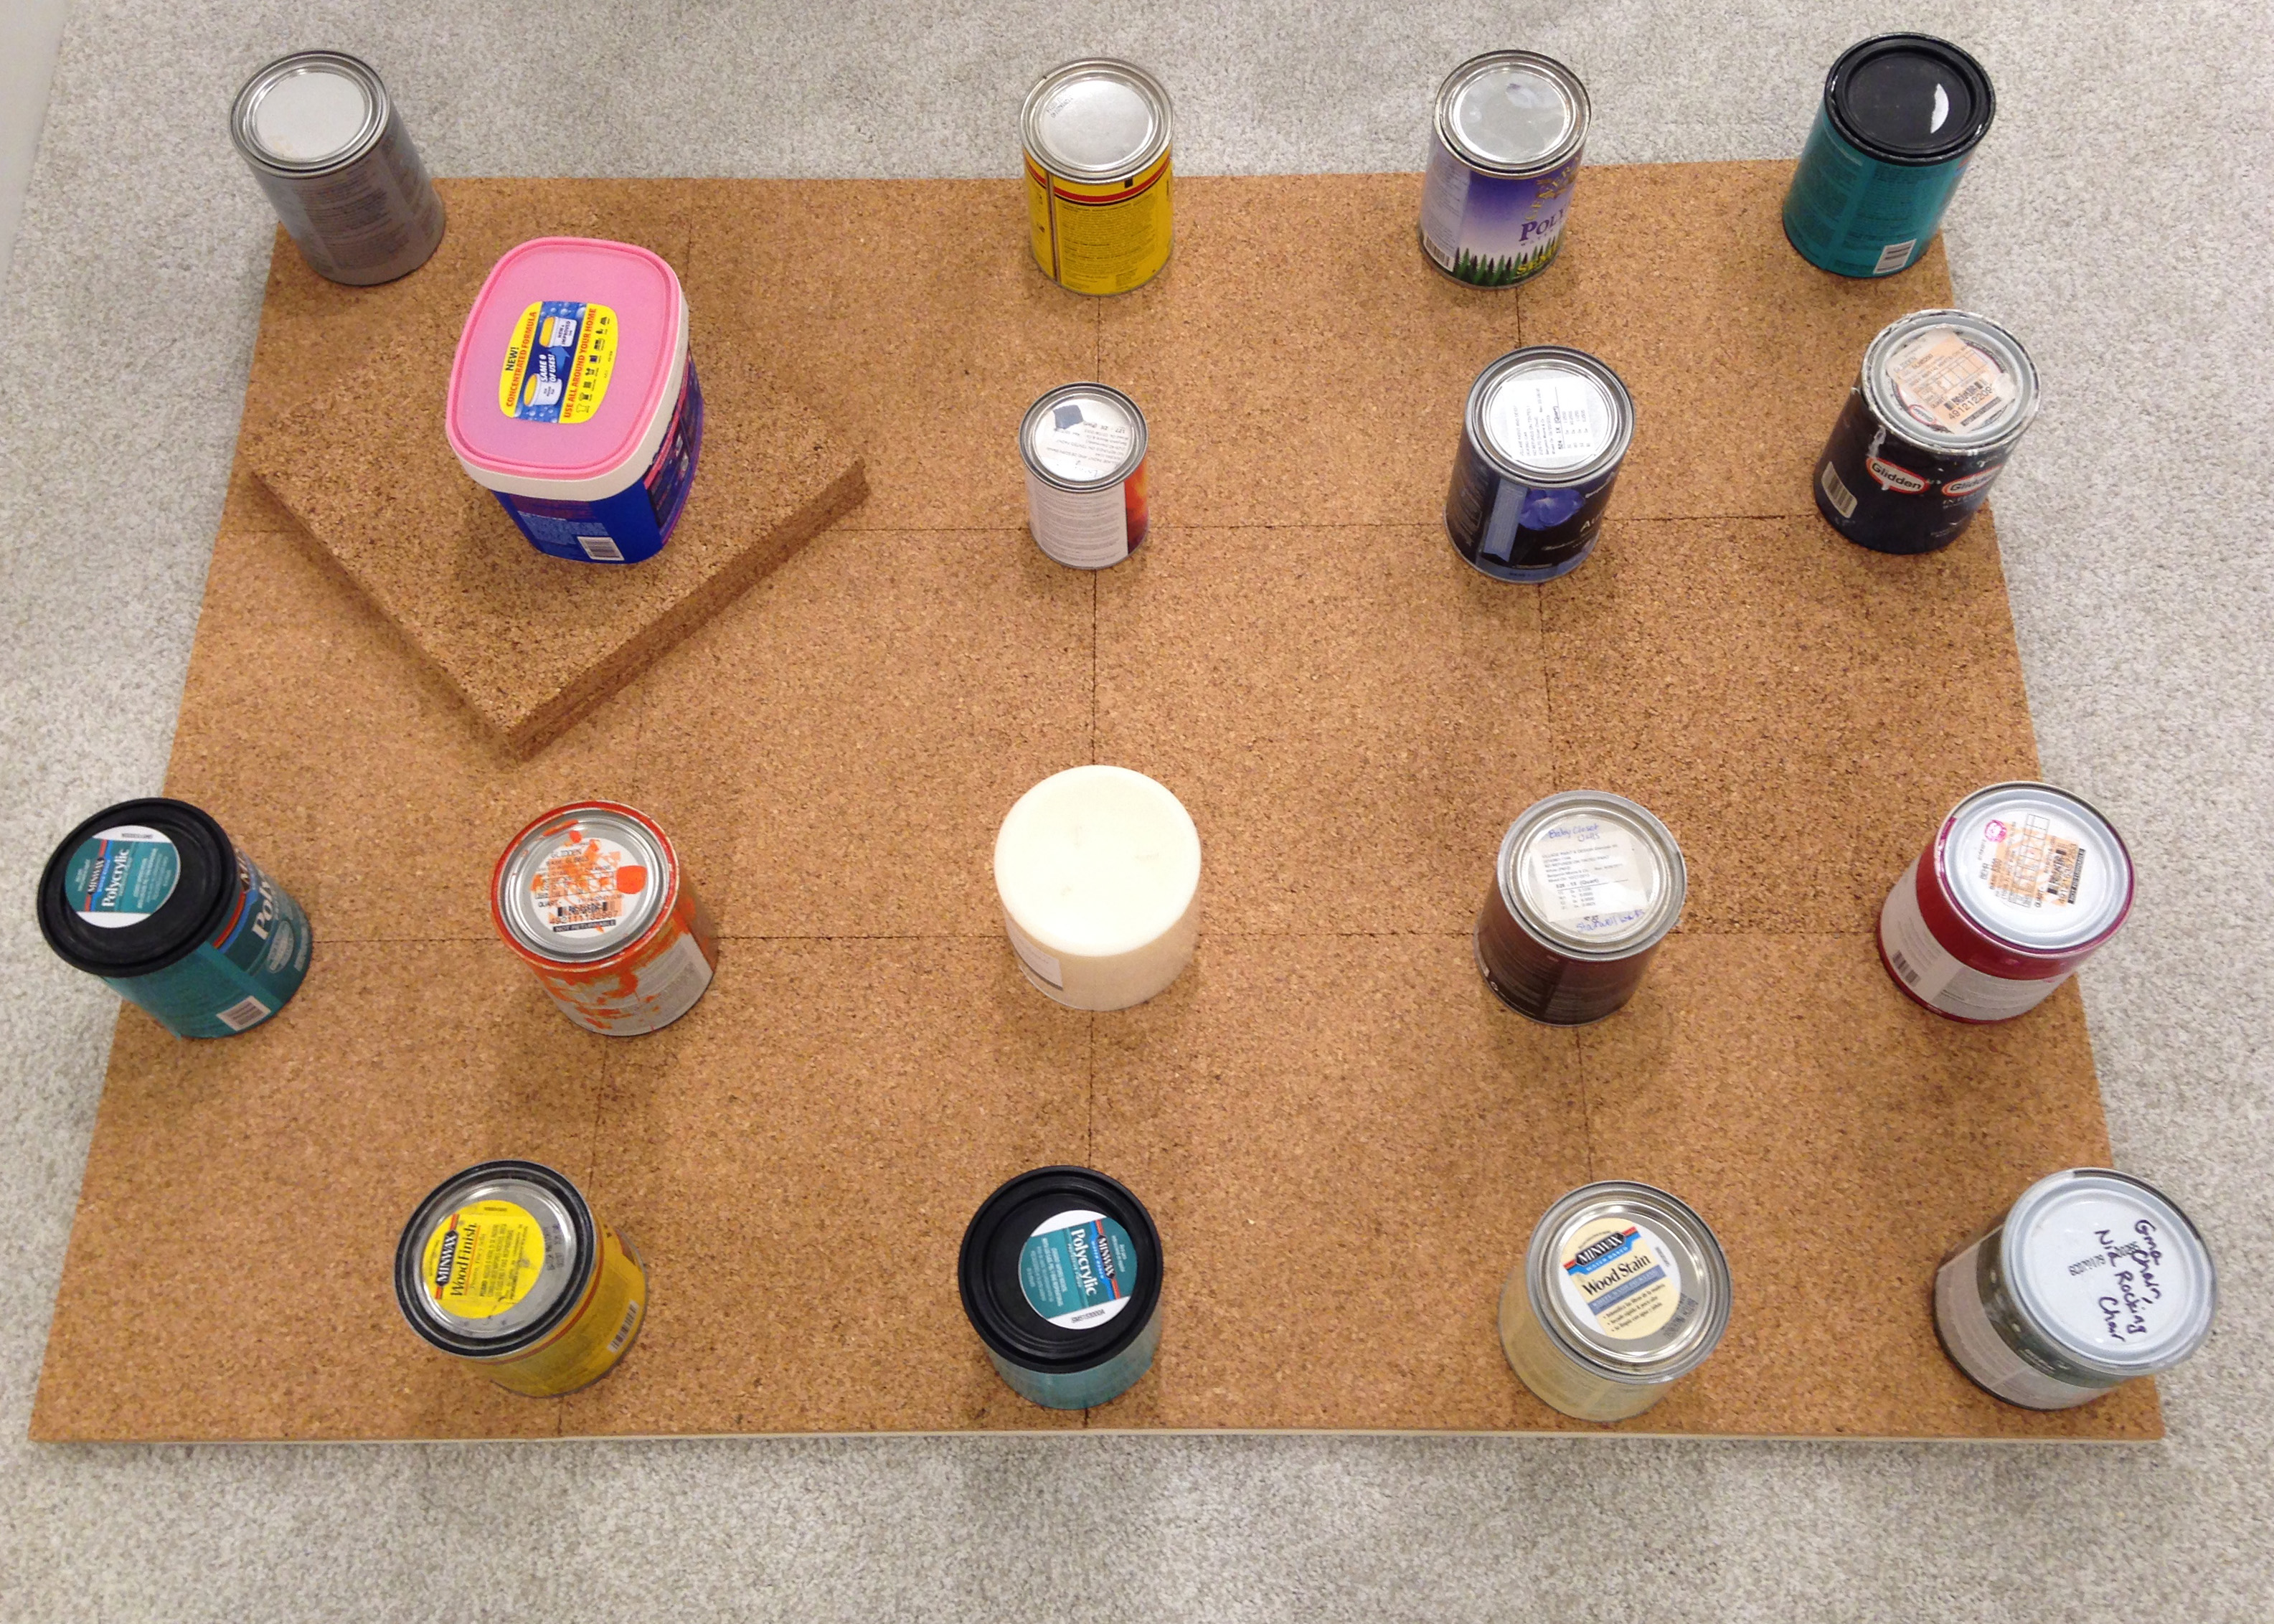
Once I got all the pieces glued in place, I let it dry overnight, making sure every square was properly weighed down.
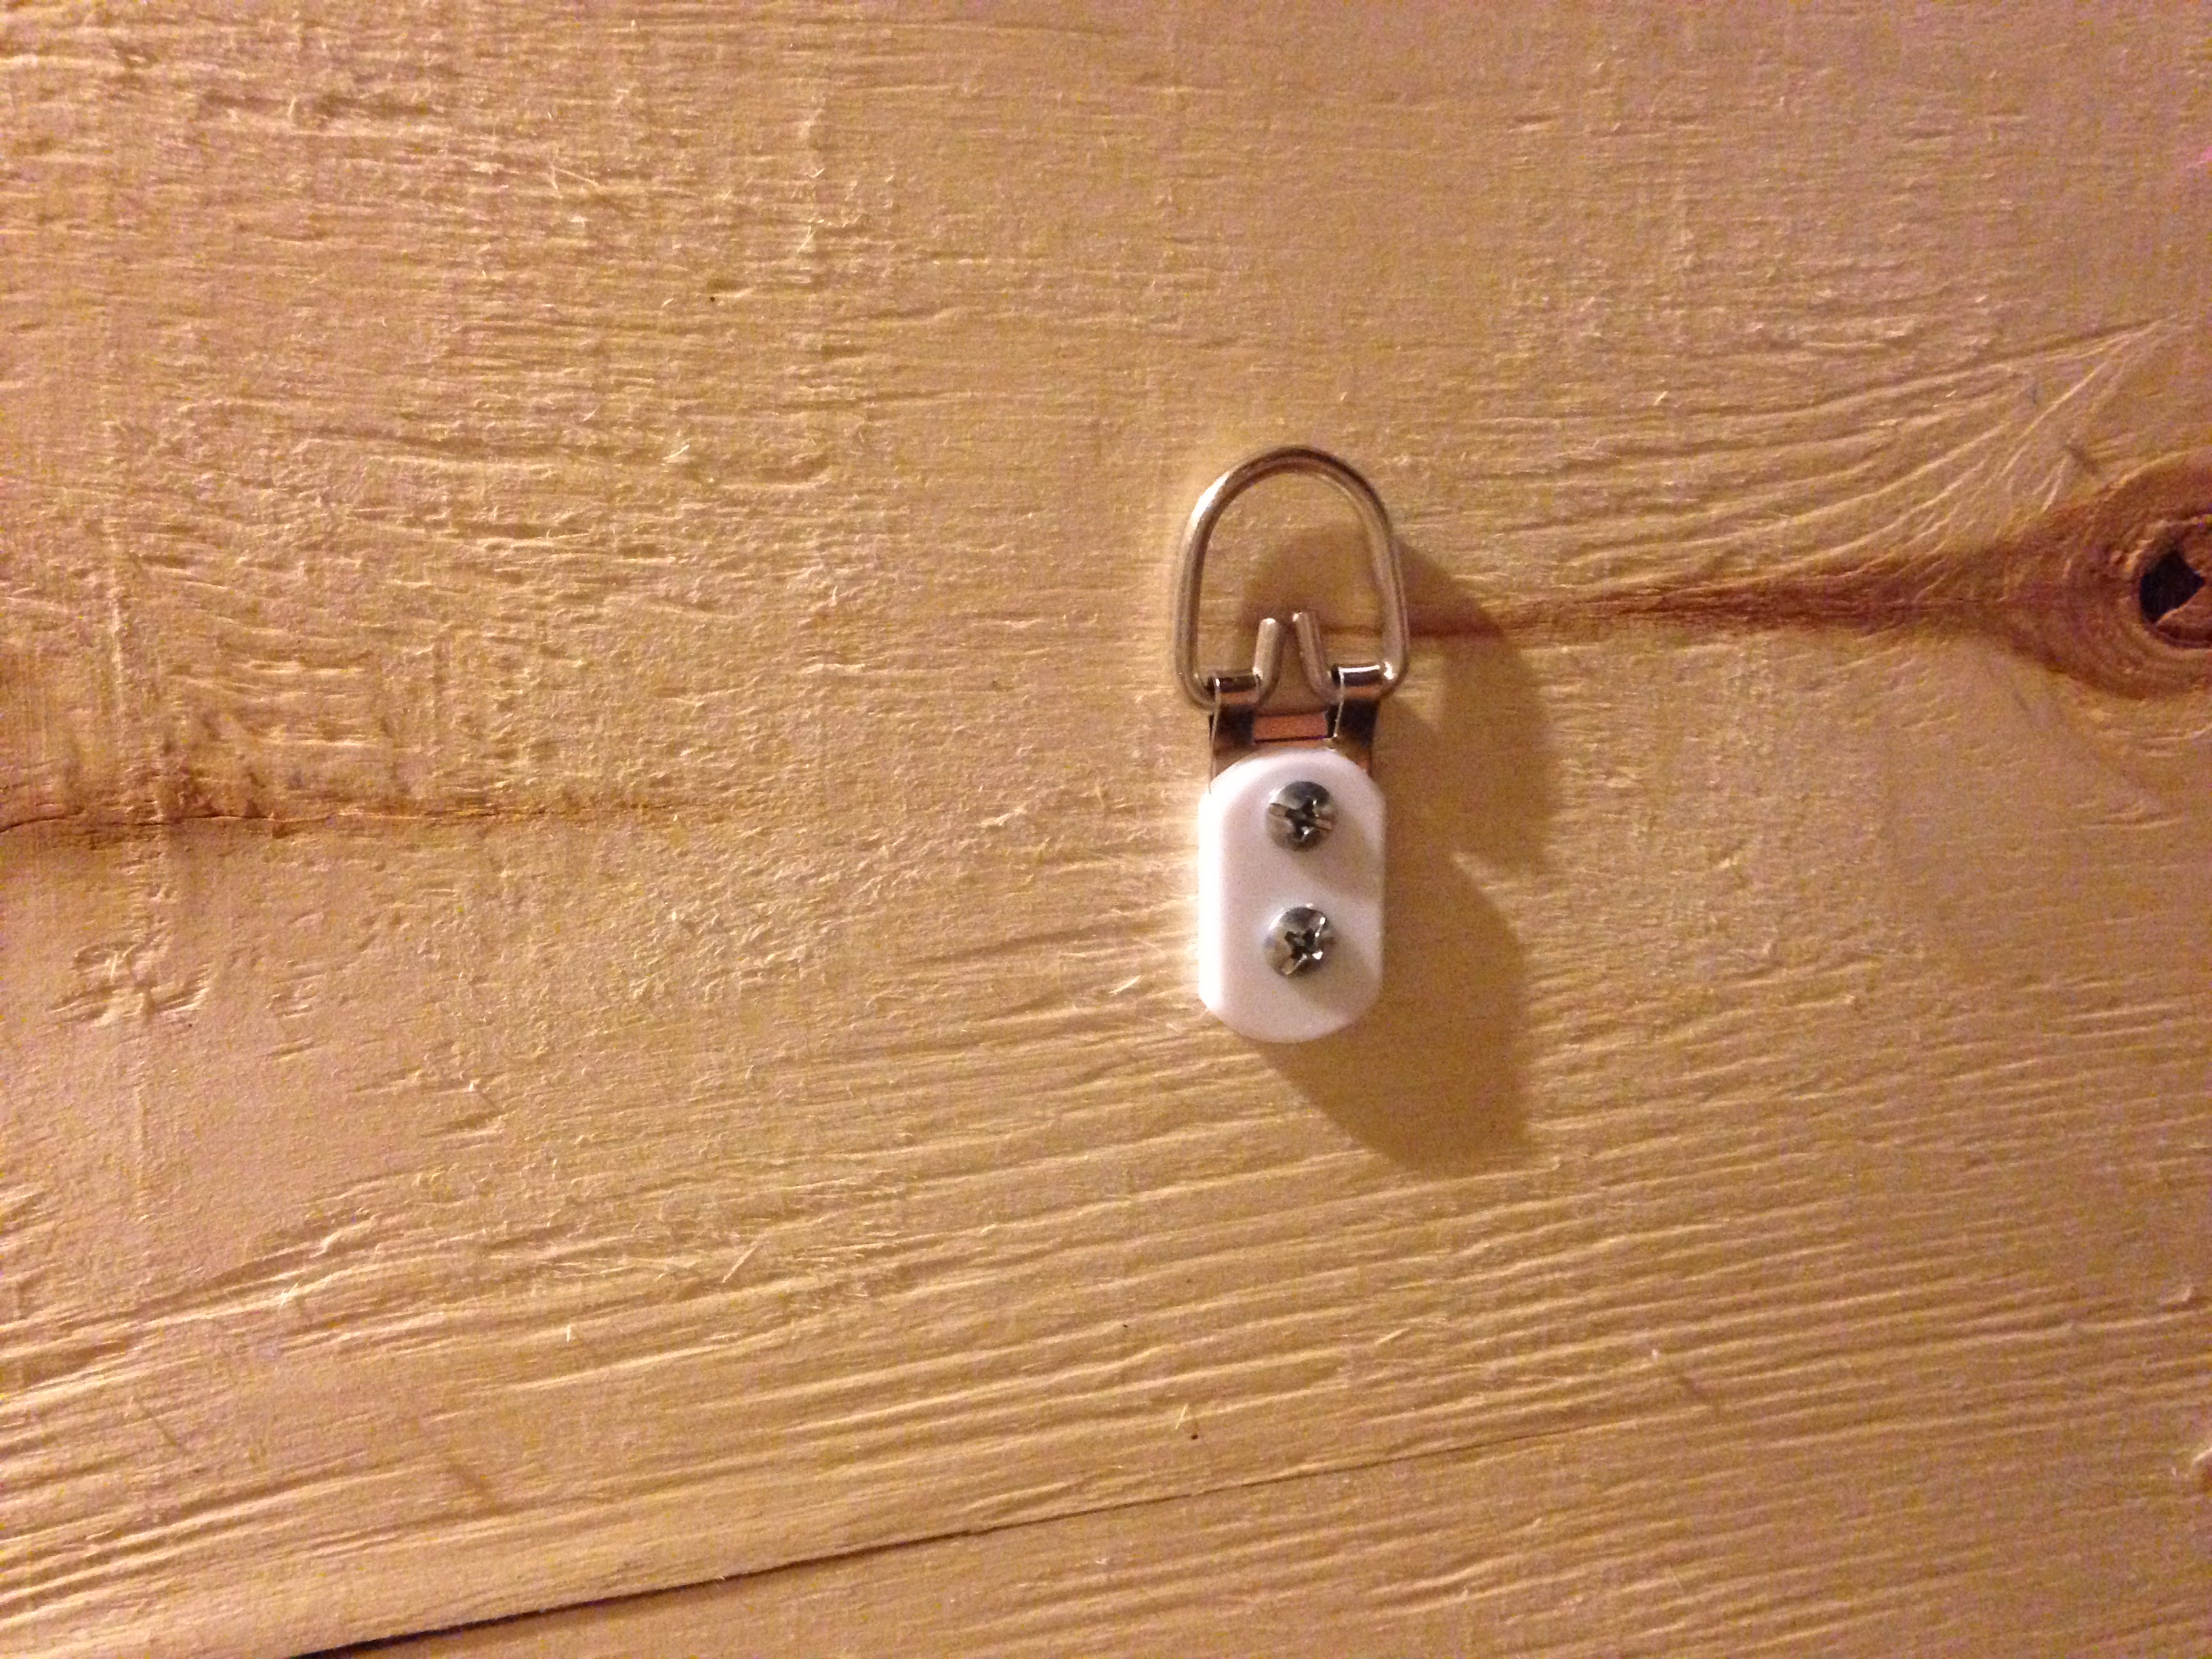
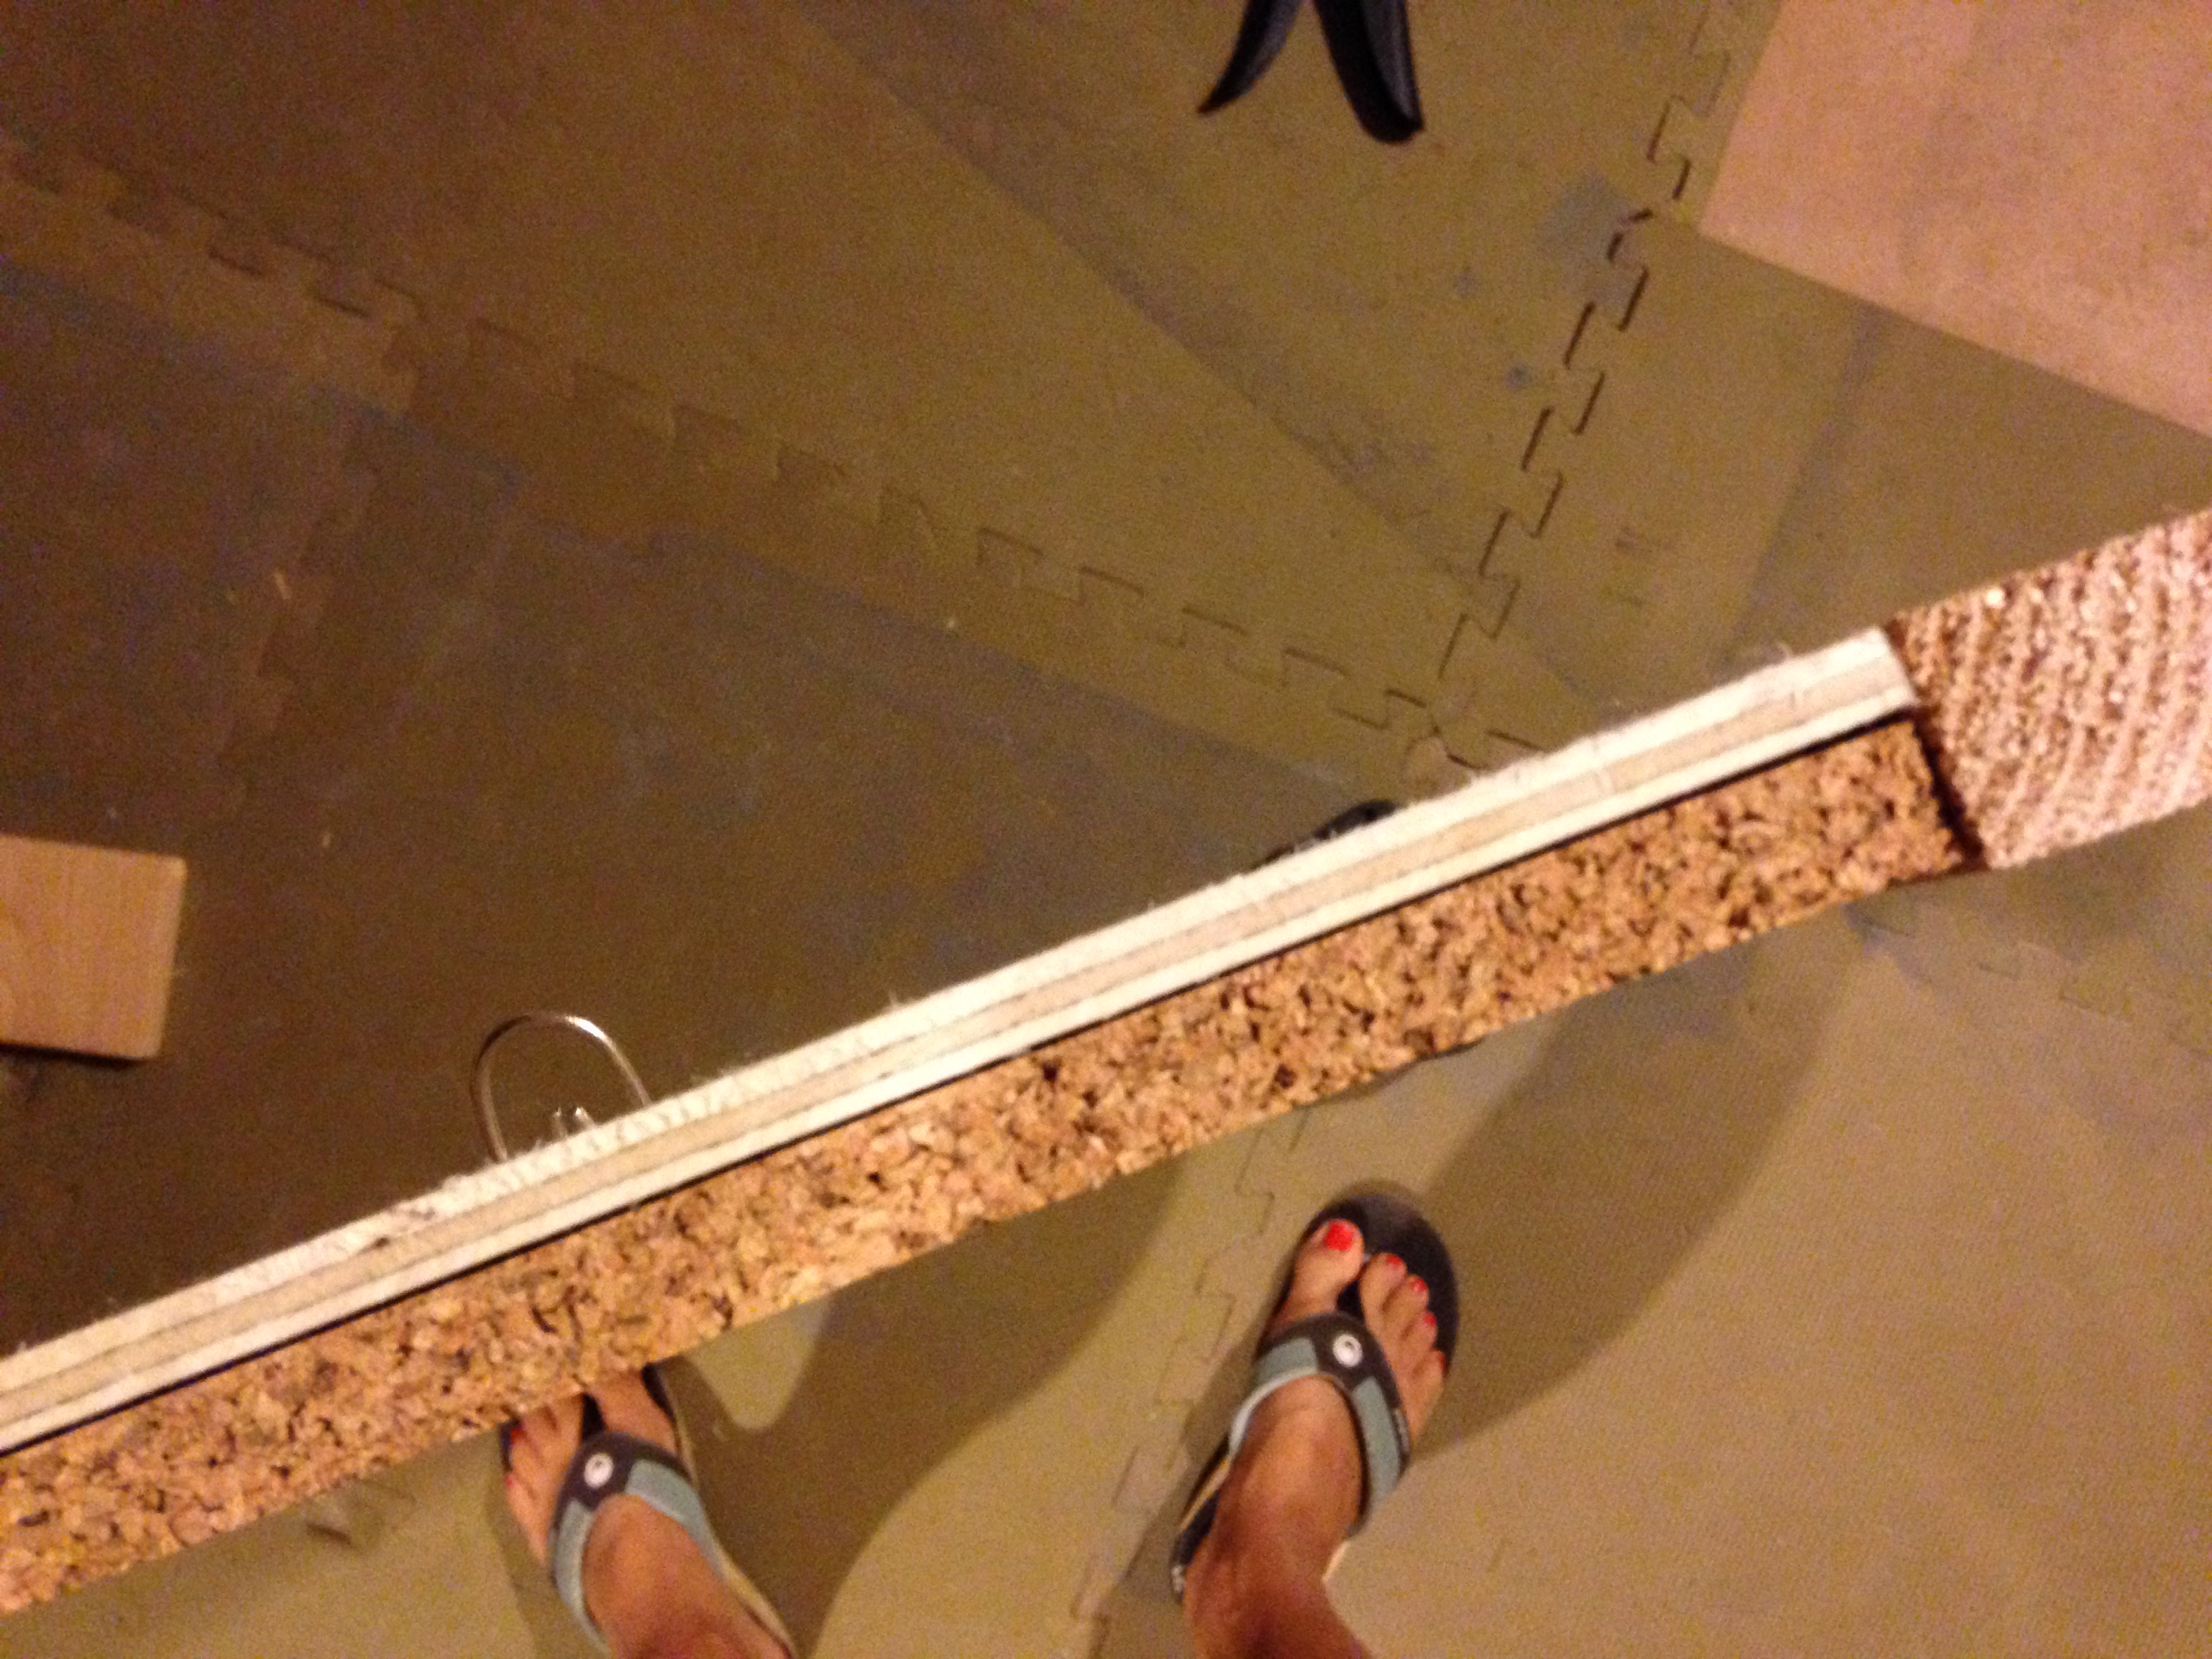
The next step was to add hardware to the back of the board, then trim out the entire thing. Lots of options for both, so no issues there. For the trim, we simply opted for scrap pieces we already had lying around. And because we have a bar (post on that coming soon!) that incorporates bare wood, I kept the trim its original color to tie in the style of the bar.
To attach the trim, we used glue first, and nails second. Double reinforcement.
And here’s the finished (couldn’t-be-simpler) product.
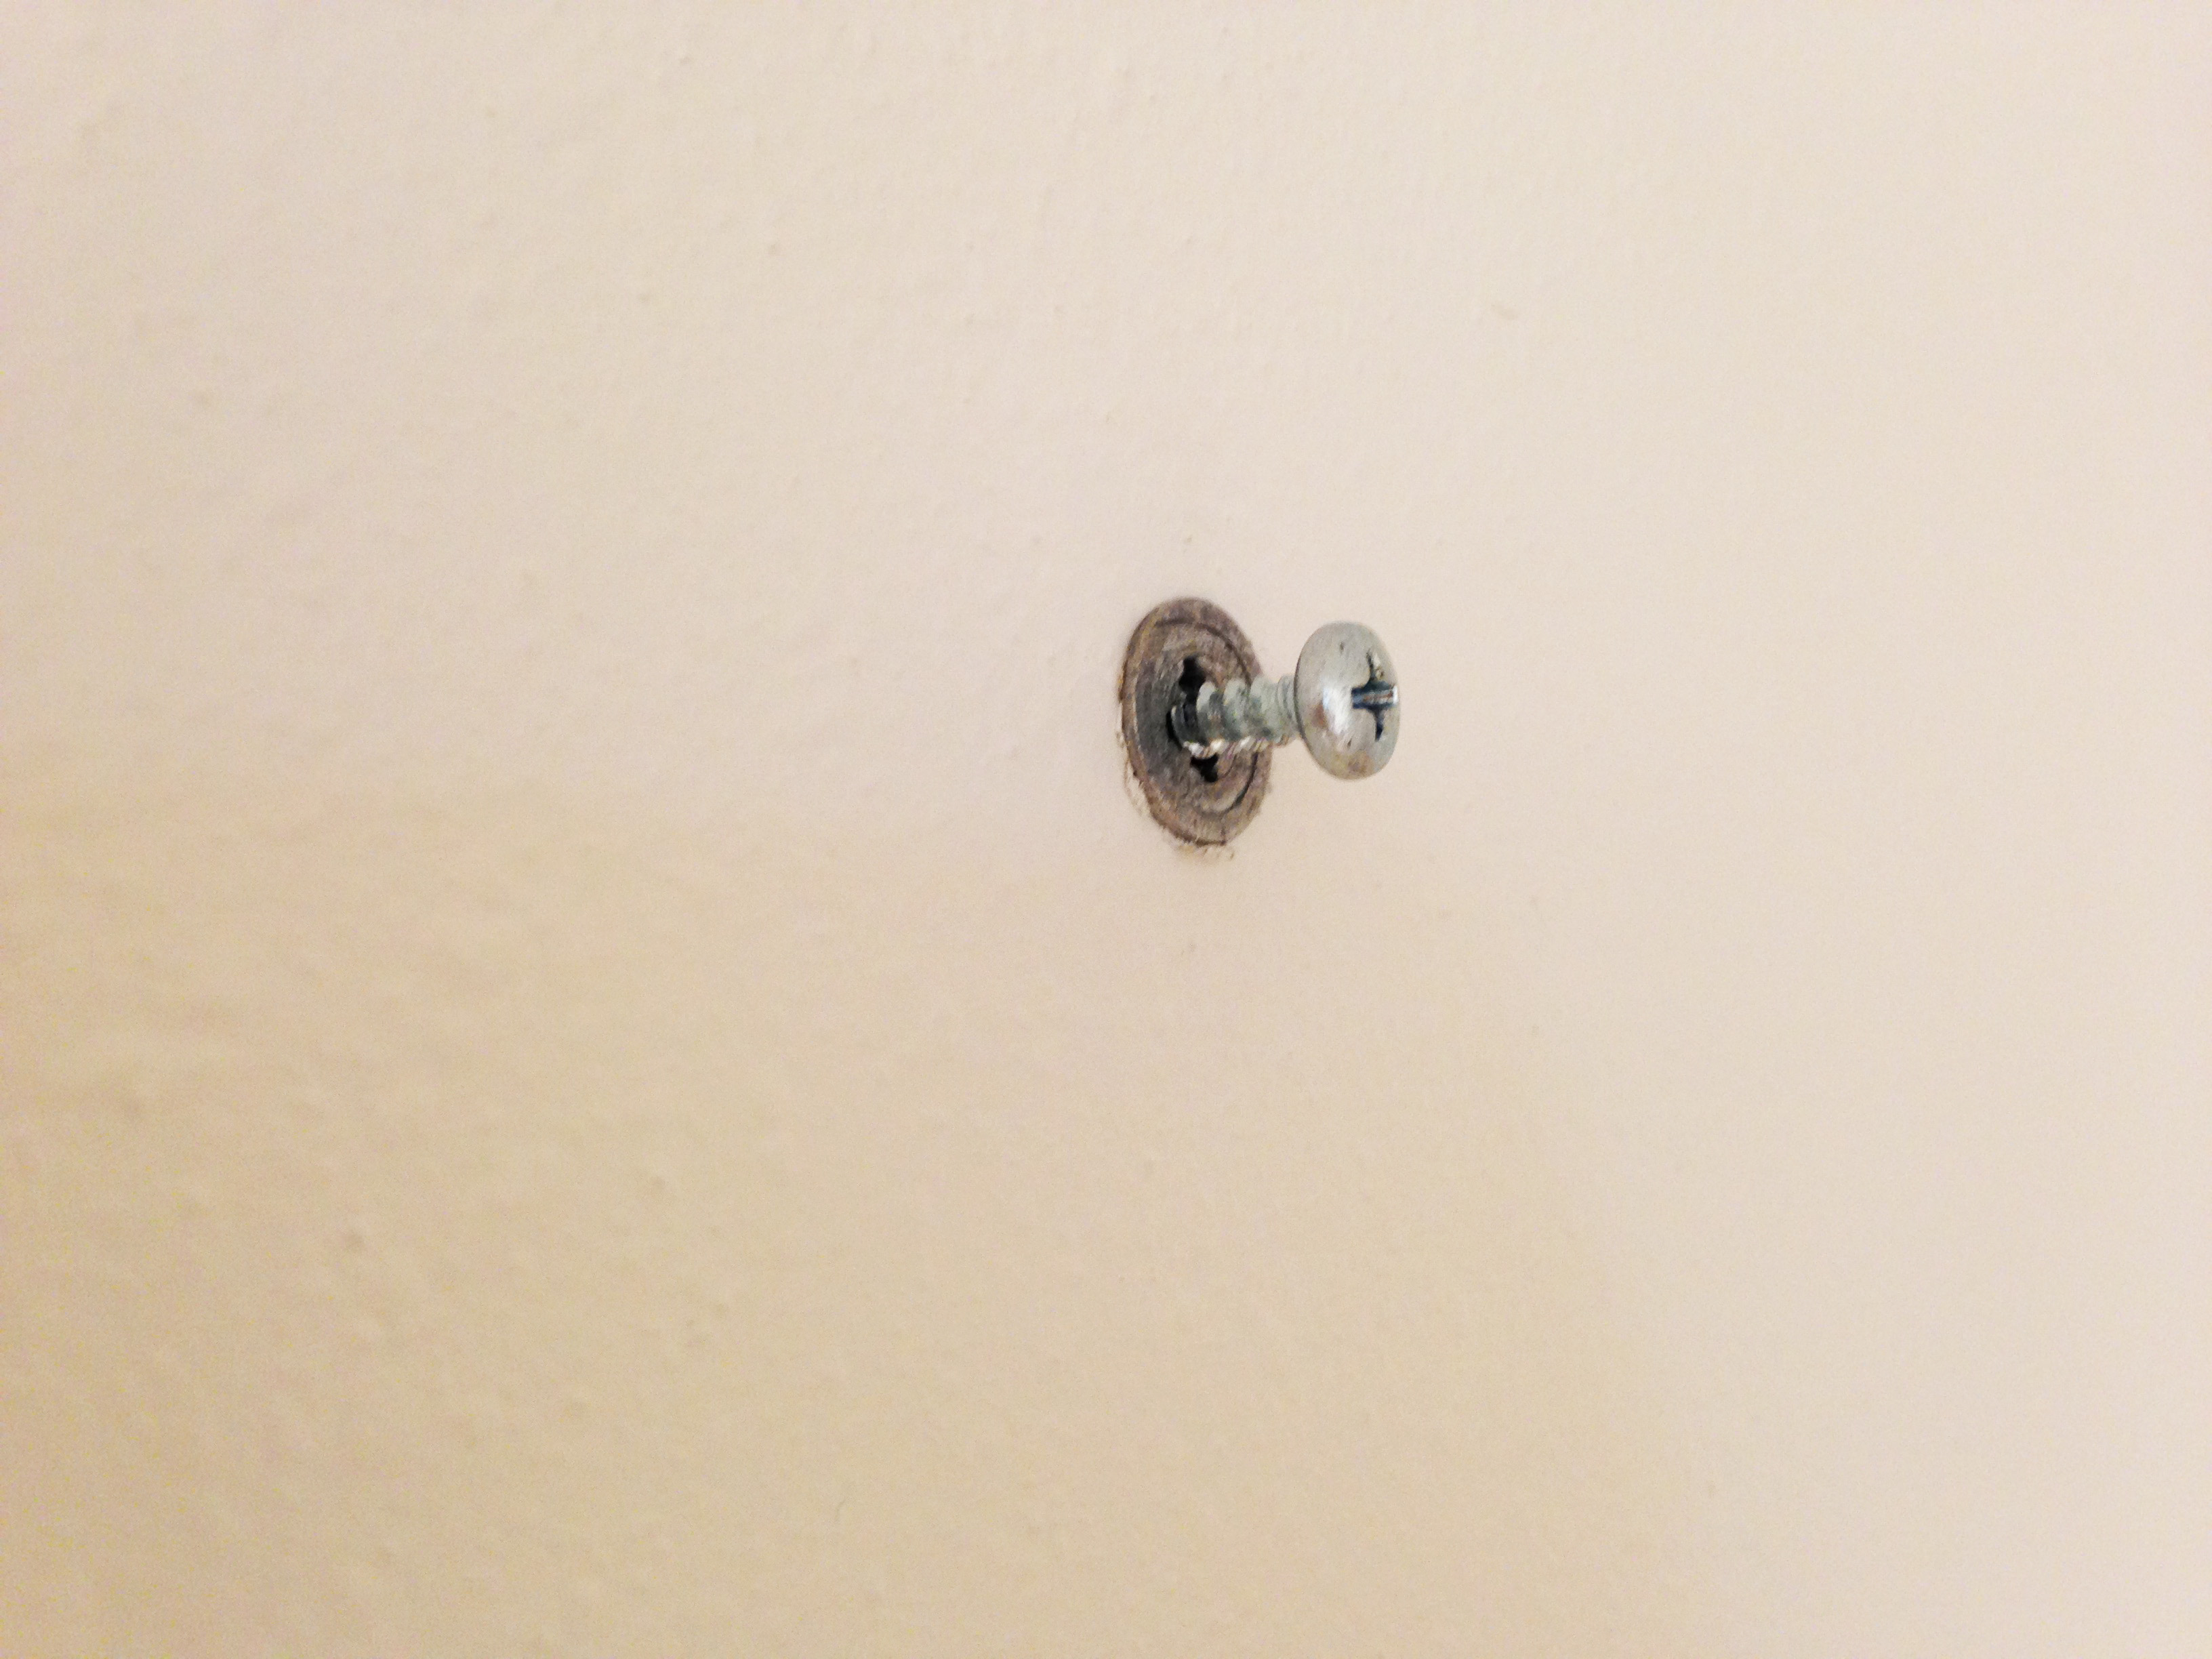
After we staked out exactly where we wanted to hang it, my husband insisted on using anchors to ensure our newly drywalled wall could handle the weight of it (it was pretty heavy).
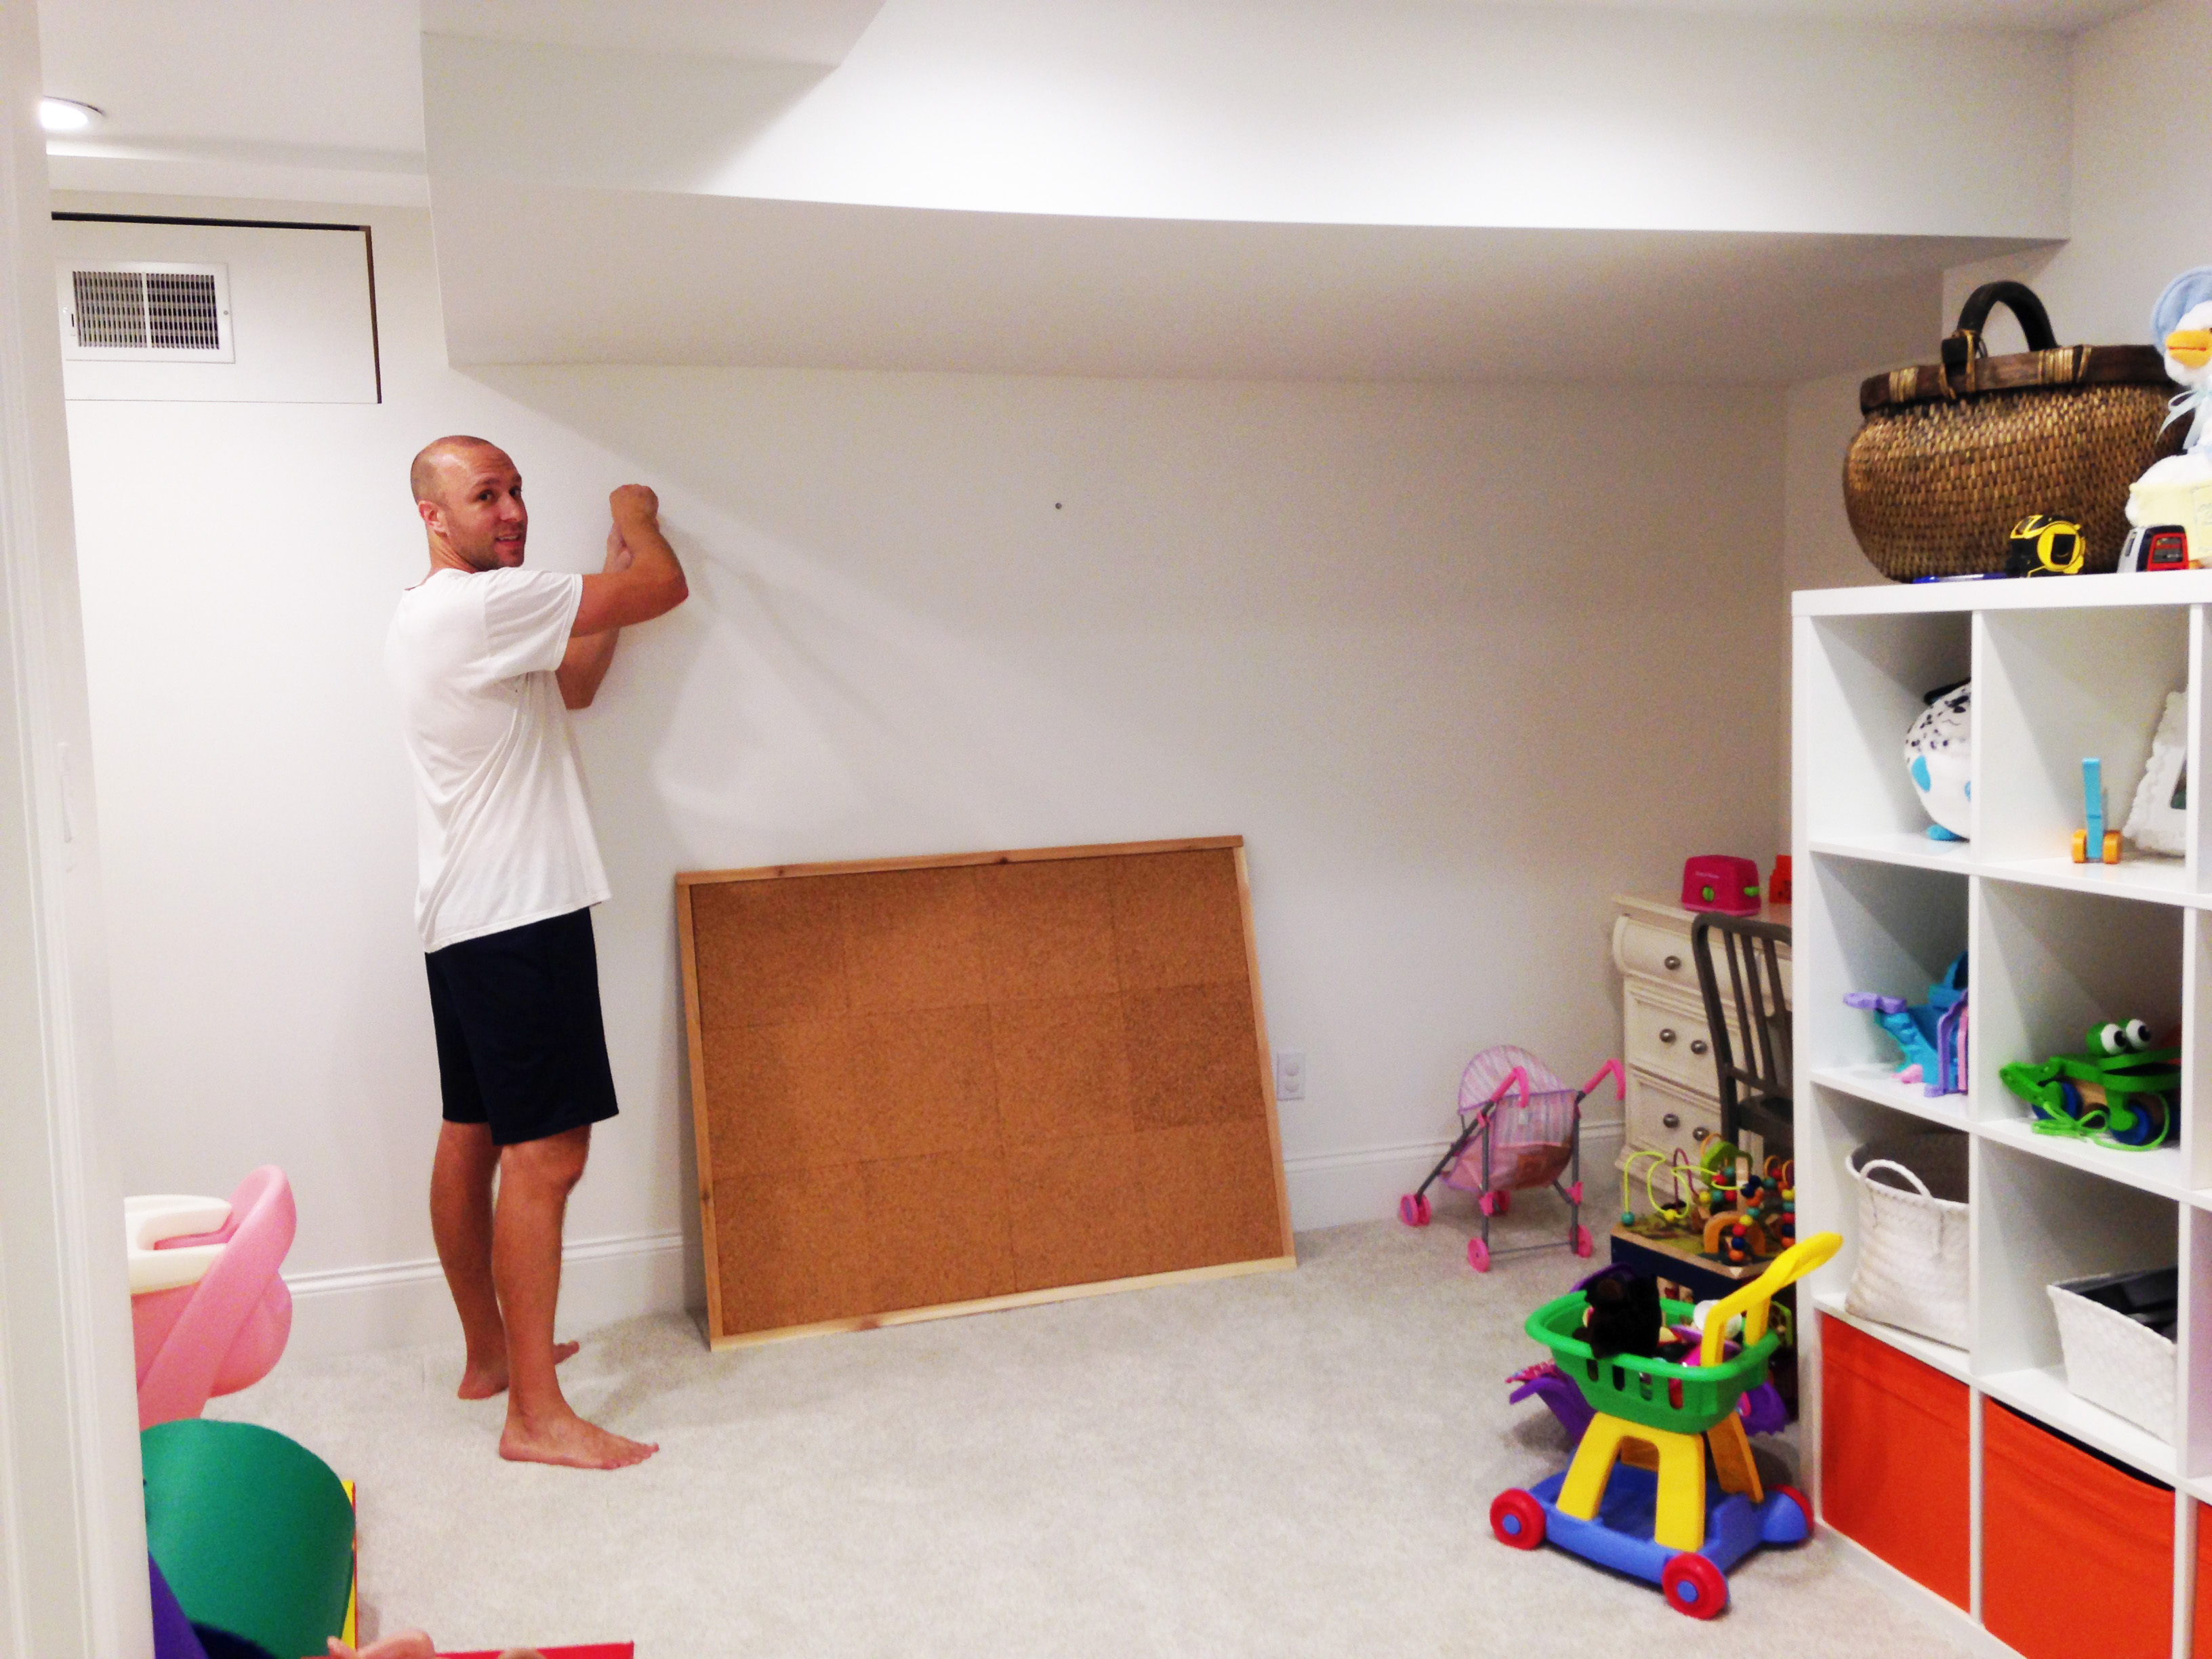
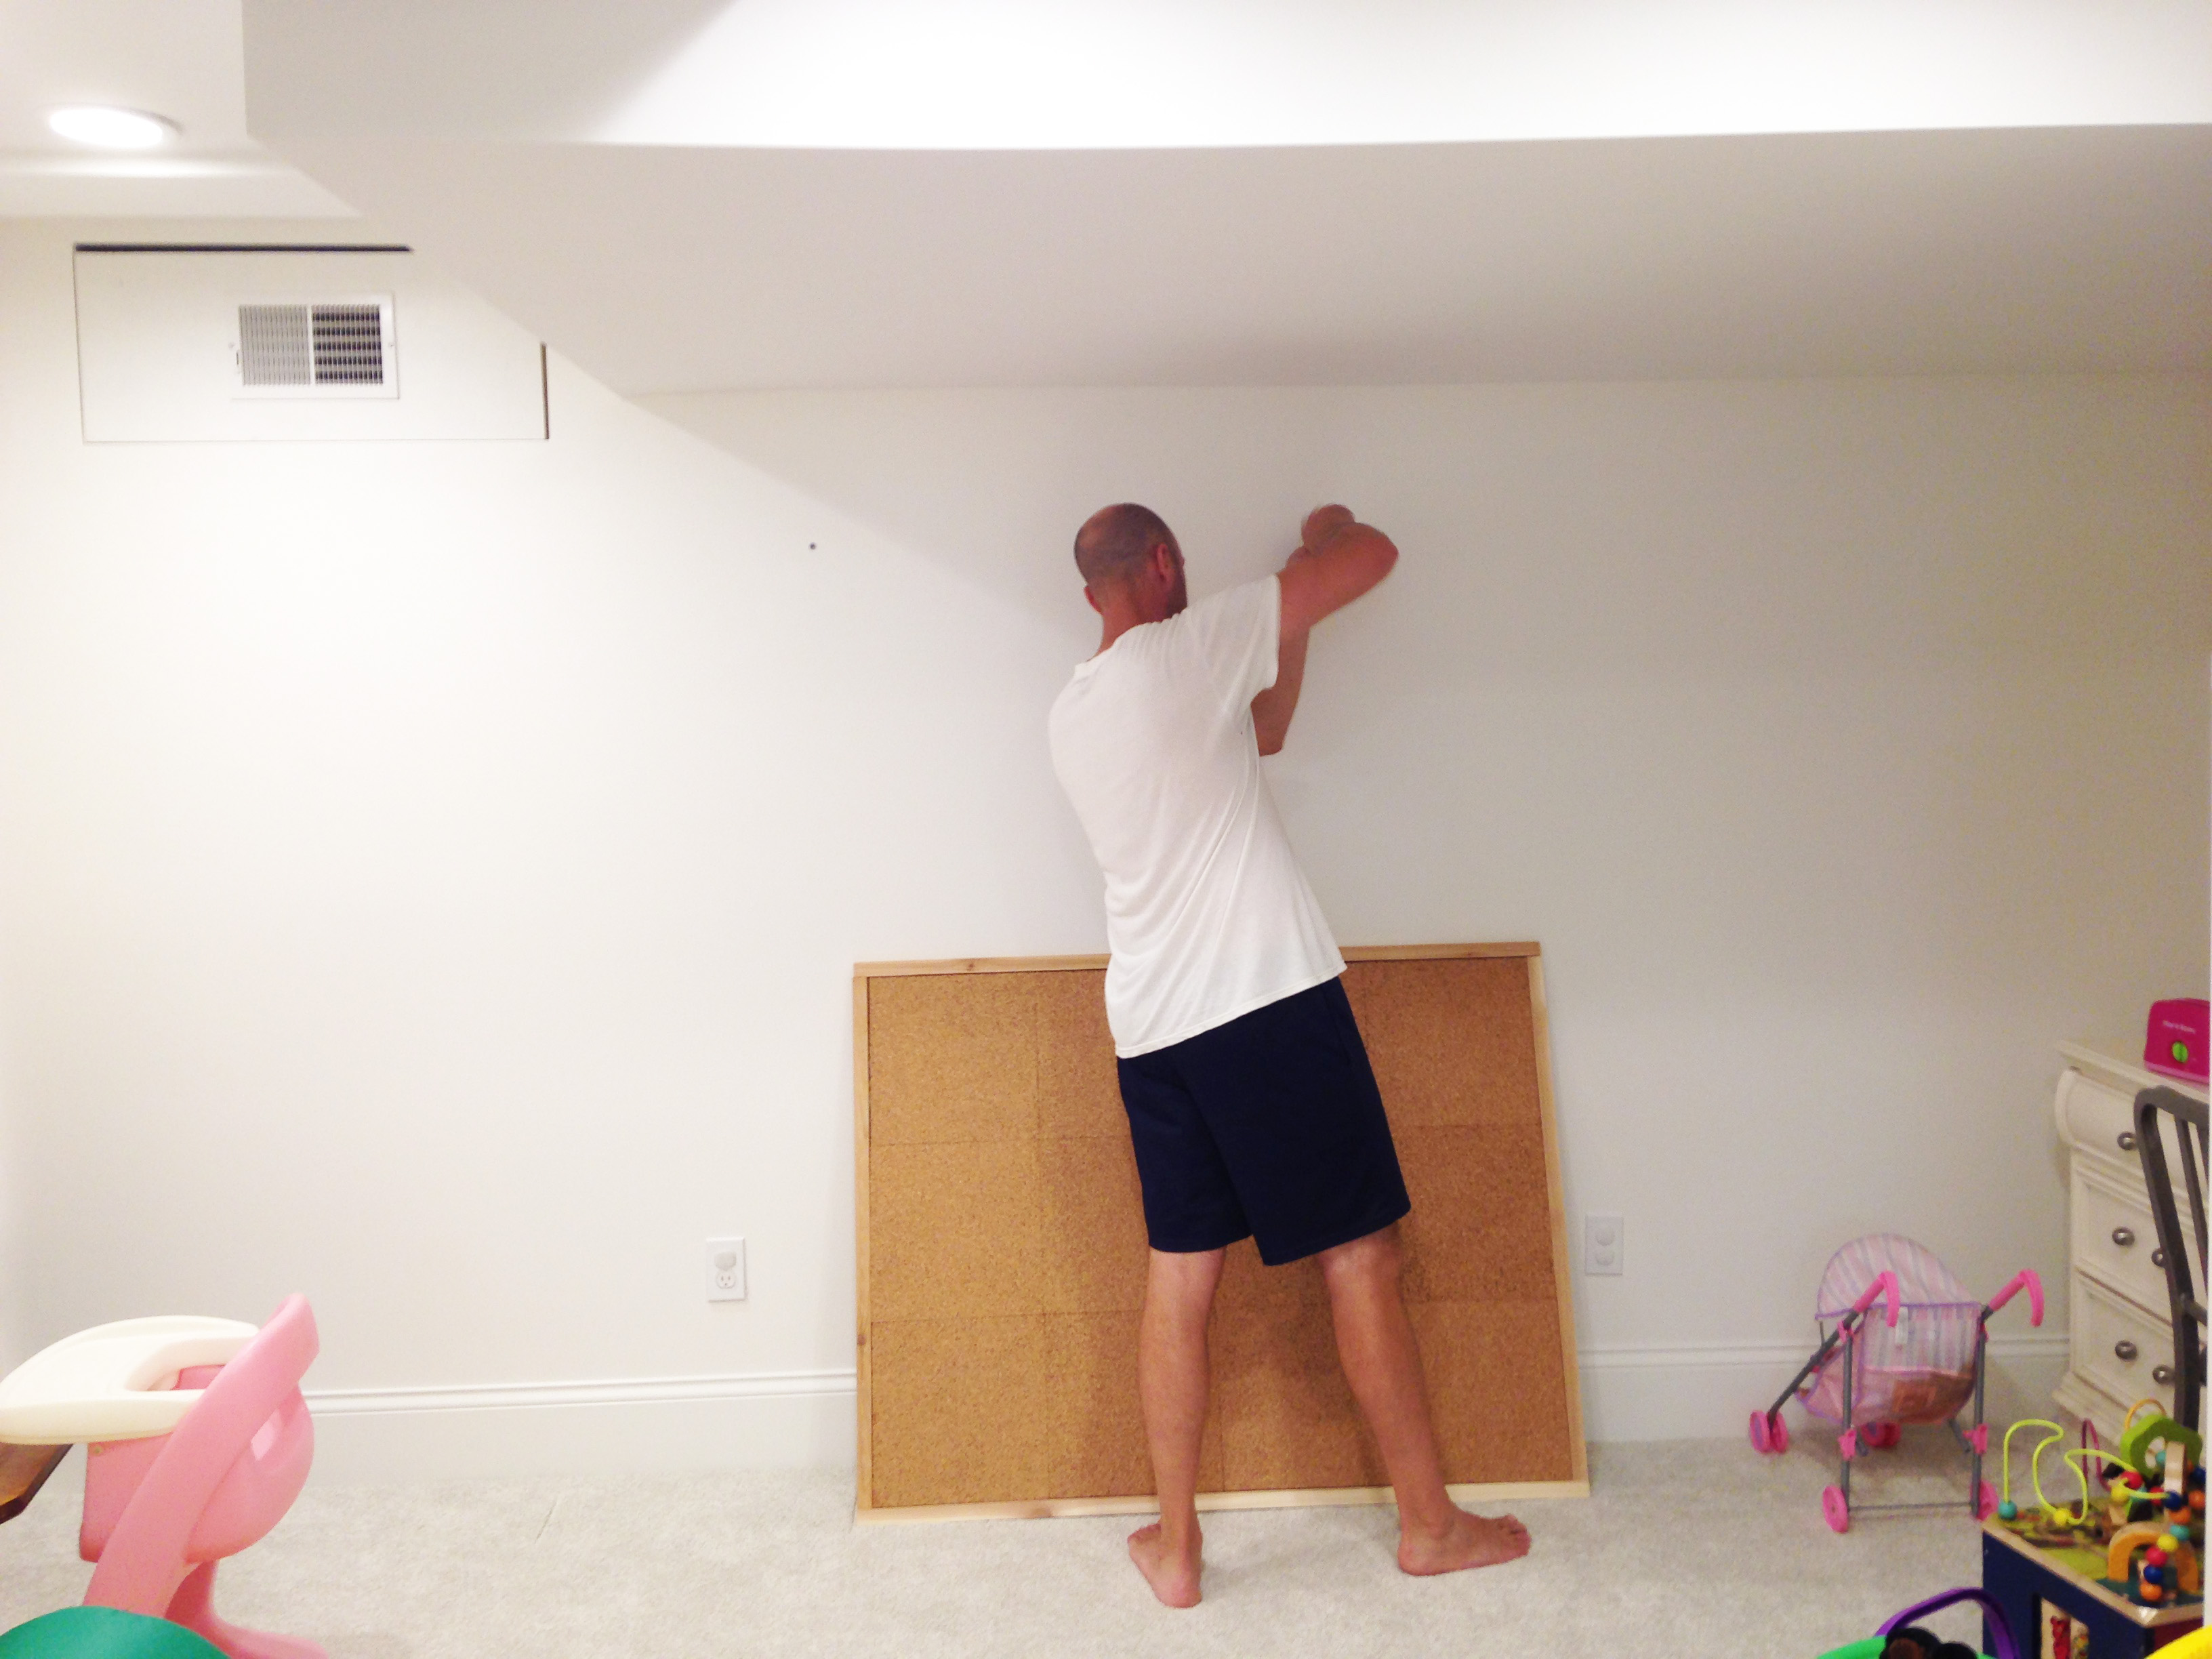
He also chose metal anchors and drywall screws. We’ve been slammed in the past for attempting to hang heavy things with plastic anchors, and every time, we’ve regretted it. Better safe than sorry here.
And there you have it. Super simple, and super effective for giving our precious art a place to live : )
As a finishing touch, I added yarn pom poms, because well… why not?! We look forward to changing up the cork board routinely, and my girls have already expressed their pride in showcasing their pieces.
Project giant cork board = Success.


I like you how you put directions on here to tell us how to create it. That is awesome. The cork board turned out very nice. Again, your pictures are awesome. You are rally making want to start putting more pictures on my blog. 😄


2 Comments